
Articles
How To Store Boots Upright
Modified: January 19, 2024
Learn how to store your boots upright with these helpful articles. Avoid creases and keep your boots looking their best for longer.
(Many of the links in this article redirect to a specific reviewed product. Your purchase of these products through affiliate links helps to generate commission for Storables.com, at no extra cost. Learn more)
Introduction
Storing boots upright is a crucial step in maintaining their shape, preventing creases, and maximizing their longevity. Whether you have a few pairs of boots or a substantial collection, proper storage is essential to ensure that your boots remain in excellent condition. The last thing you want is to pull out a pair of boots only to find them misshapen, wrinkled, or damaged.
In this article, we will explore the importance of storing boots upright and share various methods to achieve this. We will discuss the materials needed, step-by-step instructions, and alternative solutions to cater to different budgets and preferences. By the end, you’ll have a range of options for keeping your boots in pristine condition and ready to wear at a moment’s notice.
Key Takeaways:
- Properly storing boots upright maintains their shape, prevents creases, and maximizes longevity. Use boot shapers, boxes, clips, or DIY stands to keep boots in pristine condition and easily accessible.
- Cleaning and preparing boots before storage is crucial. Utilize boot shapers, boxes, clips, or DIY stands to maintain boot shape. Choose a cool, dry location and periodically check stored boots for optimal maintenance.
Read more: How To Store Ski Boots
Why Store Boots Upright?
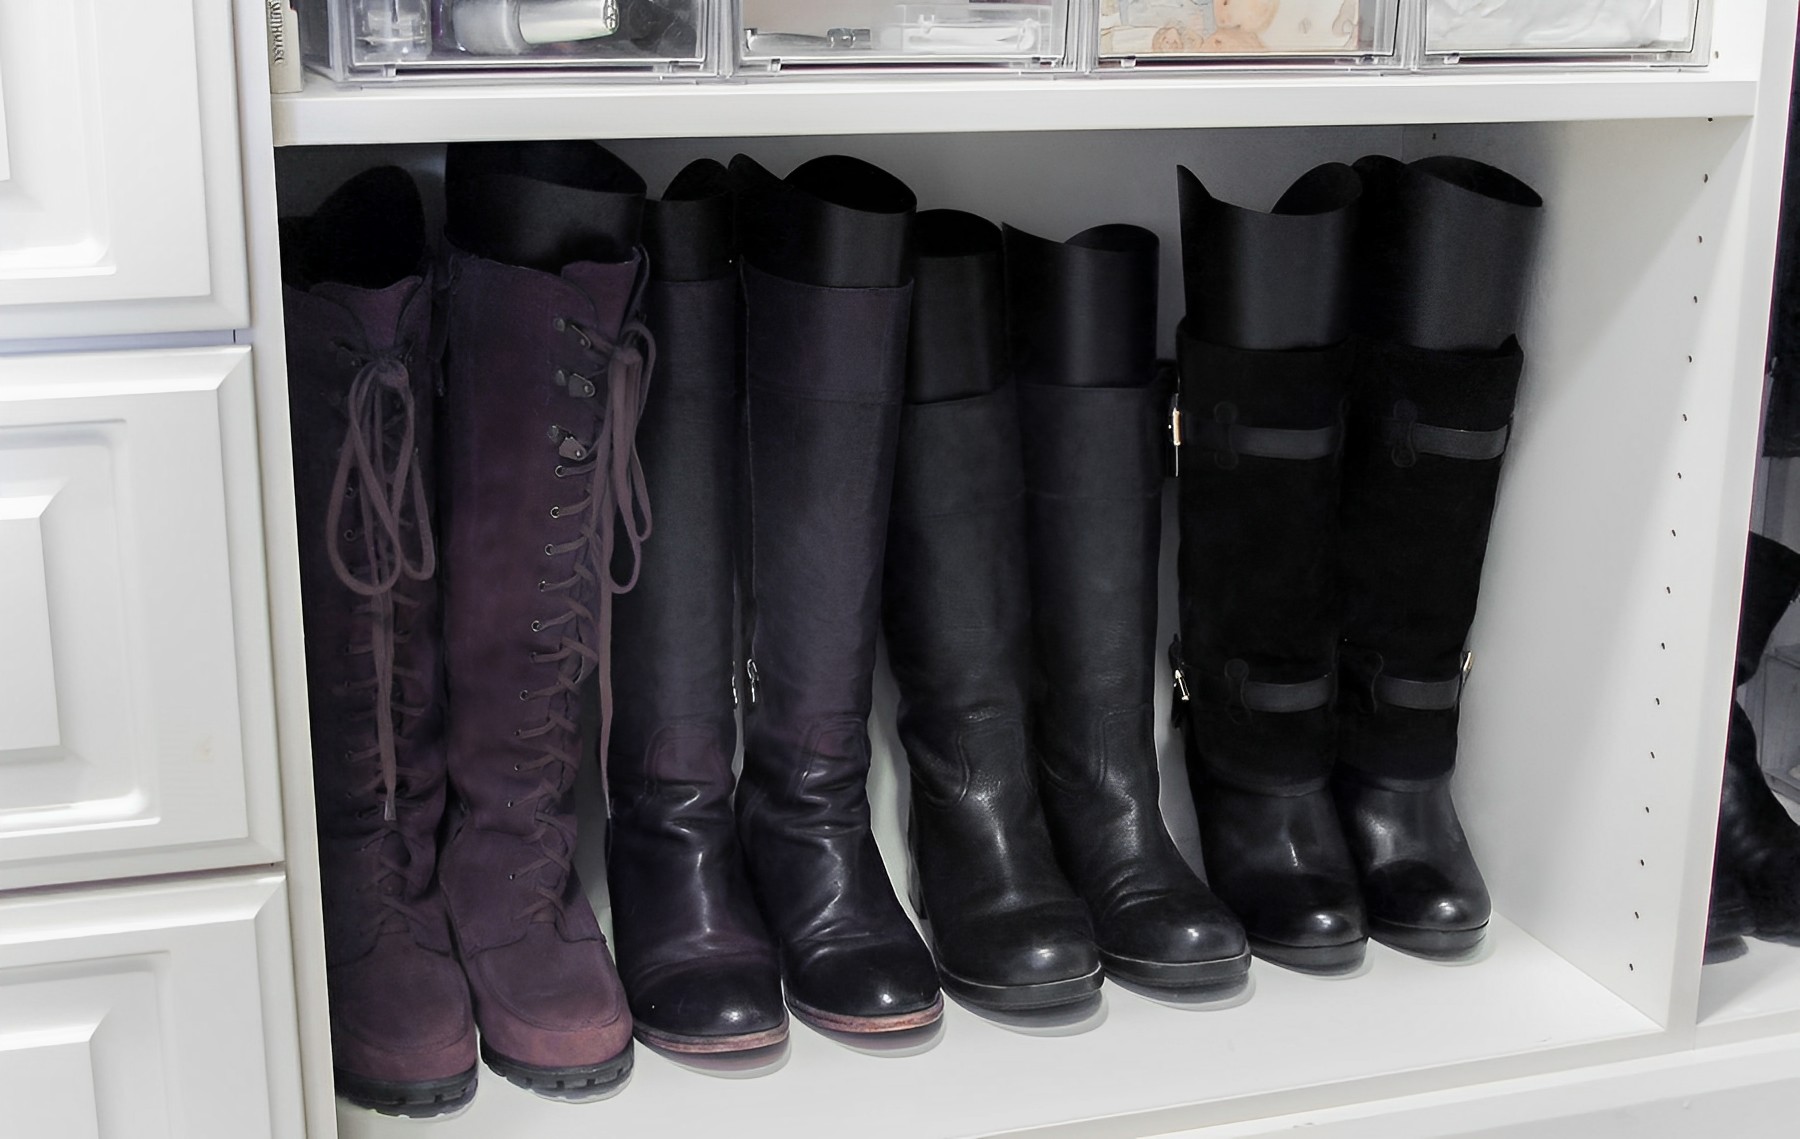
Storing boots upright is crucial for several reasons. First and foremost, it helps maintain the shape and structure of the boots. When boots are stored flat or folded, they are more likely to develop creases, which can be challenging to remove. By keeping boots upright, you preserve their original form and prevent unsightly wrinkles.
Additionally, storing boots upright allows for efficient use of space. Boots take up more room when they are laid flat or stacked on top of each other. By standing them upright, you can optimize your storage area and potentially fit more boots in the same amount of space. This is particularly beneficial for individuals with limited closet space or shoe racks.
Furthermore, storing boots upright allows better air circulation. When boots are stored flat, moisture can become trapped inside, leading to mold and mildew growth. By keeping them upright, air can circulate freely, preventing the buildup of moisture and potential shoe damage.
Another advantage of storing boots upright is improved accessibility and organization. When boots are neatly lined up and visible, it becomes easier to find the pair you want to wear. You won’t have to dig through a pile of shoes or worry about damaging other boots in the process. This can save you time and frustration, especially when you’re in a hurry or getting ready in the morning.
Lastly, storing boots upright reduces the risk of damage. When boots are piled up or haphazardly stored, they can get scuffed, scratched, or crushed. By keeping them upright, you minimize the likelihood of these accidents occurring, ensuring that your boots remain in pristine condition for years to come.
Materials Needed
Before you start storing your boots upright, gather the following materials:
- Boot shapers: These are specially designed inserts that help maintain the shape of your boots. They come in various materials such as plastic or foam and are available in different sizes to fit different boot heights.
- Boot boxes: These are sturdy, clear plastic boxes designed specifically for storing boots. They provide protection against dust, moisture, and other potential damage.
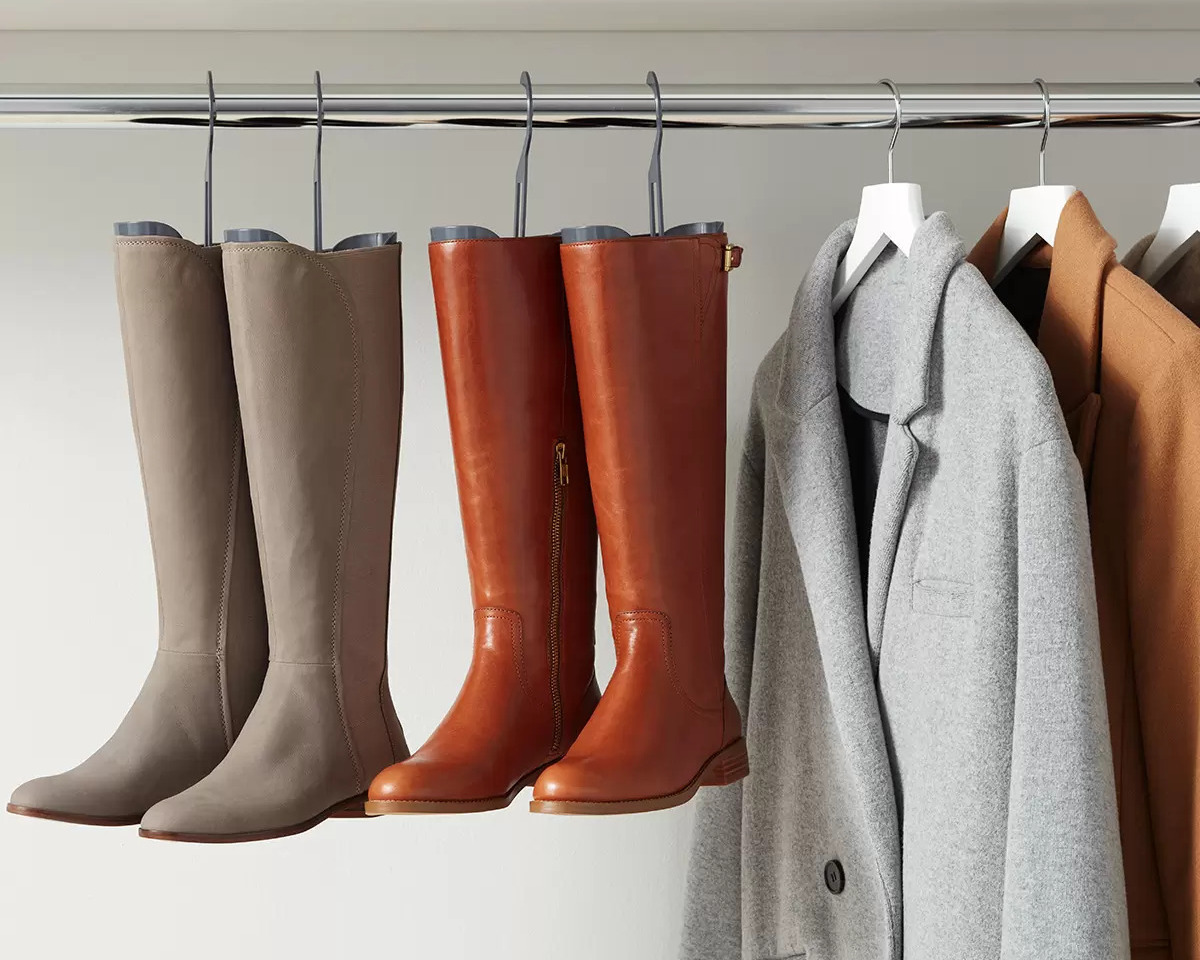
- Boot clips: Boot clips are hangers with clips at the bottom that securely hold boots in an upright position. They are ideal for hanging boots in a closet or on a clothing rack.
- DIY boot stand materials: If you prefer a do-it-yourself approach, you can gather materials such as PVC pipes, connectors, and a saw to create your own customized boot stand.
These materials will ensure that you have everything you need to store your boots upright and keep them in optimal condition.
Step 1: Cleaning and Preparing the Boots
Before you start storing your boots upright, it’s essential to clean and prepare them properly. This step ensures that your boots are in the best possible condition for storage. Follow these simple steps:
- Remove any dirt or debris from the boots. Use a soft brush or cloth to gently wipe away any dust or dirt on the surface.
- If your boots are made of leather, use a leather cleaner or conditioner to restore their natural shine and softness. Follow the instructions on the cleaning product and apply it evenly on the boots.
- For non-leather boots, check the manufacturer’s instructions for any specific cleaning recommendations. Use an appropriate cleaner that won’t damage the material.
- Allow the boots to dry completely before proceeding to the next step. Avoid storing damp boots, as this can lead to mold and mildew growth.
- If your boots have zippers or buckles, make sure they are securely fastened to prevent them from getting tangled or damaged during storage.
- Stuff the boots with acid-free tissue paper or crumpled newspaper to help them maintain their shape. Avoid using colored paper or anything that may transfer dye to the boots.
By properly cleaning and preparing your boots, you ensure that they are free from dirt and moisture, which can potentially damage them during storage. Taking this extra step will help prolong the life of your boots and keep them looking their best.
Step 2: Using Boot Shapers
Boot shapers are a practical and effective tool for keeping your boots upright and maintaining their shape. Follow these steps to use boot shapers properly:
- Choose a boot shaper that matches the height and width of your boots. Boot shapers are available in different sizes, so make sure to select the appropriate one.
- Insert one boot shaper into each boot, making sure they are positioned all the way to the toe.
- Ensure that the boot shapers are fully extended, creating a straight and upright shape.
- If your boots have a calf or knee-high length, consider using two boot shapers per boot for added stability.
- Place the boots upright in your closet or on a shoe rack. Make sure they are not leaning against each other or any other items.
Using boot shapers helps prevent your boots from developing creases, wrinkles, and sagging. They provide structure and support to the boots, ensuring they stay in perfect condition during storage. Boot shapers also allow air to circulate within the boots, helping to keep them fresh and free from moisture.
If you don’t have access to boot shapers, you can use alternatives such as rolled-up magazines or pool noodles. Ensure that whatever you use fits snugly inside the boot, providing enough support to maintain the shape.
By using boot shapers, you can ensure that your boots are always ready to wear, maintaining their original form and extending their lifespan.
Read more: How To Store Winter Boots
Step 3: Alternatives to Boot Shapers
If you don’t have access to boot shapers or prefer alternatives, there are several options you can consider to store your boots upright. Here are a few effective alternatives:
- Use rolled-up magazines or newspapers: Roll up magazines or newspapers into tight cylinders and insert them inside your boots. Ensure they are sturdy enough to provide support and maintain the shape of the boots.
- Try pool noodles: Cut a pool noodle to the desired length and insert it into the boots. This can be a cost-effective option and works well for both short and tall boots.
- Utilize empty plastic bottles: Fill empty plastic bottles with water and place them inside the boots. This can provide structure and help the boots retain their shape.
- Wrap boots with towels or fabric: Roll up small towels or fabric scraps tightly and place them inside the boots. This makeshift solution can effectively support the boots.
- Consider using shoe trees: If you have shoe trees designed for regular shoes, they can be used for shorter boots as well. Adjust the size if needed and use them to help your boots maintain their shape.
These alternative methods may require a bit of creativity and resourcefulness, but they can be effective in keeping your boots upright and preventing them from developing creases or sagging. Choose the option that suits your preferences and the materials you have readily available.
Remember, the key is to provide adequate support and structure to your boots to ensure they maintain their shape during storage. By utilizing these alternative methods, you can still achieve the desired outcome even without traditional boot shapers.
Use boot shapers or pool noodles to keep boots upright. Stuff them with newspaper or use boot inserts to maintain their shape. Avoid stacking them to prevent creasing.
Step 4: Storing in Boot Boxes
Storing boots in dedicated boot boxes is an excellent option for protecting them from dust, moisture, and potential damage. Here’s how to store your boots in boot boxes effectively:
- Ensure your boots are clean and dry before placing them in the boxes. Refer to the previous steps for cleaning and preparing your boots.
- Choose clear plastic boot boxes that are the appropriate size for your boots. Clear boxes allow you to see the contents without having to open each box.
- Insert the boot shapers into your boots to help them maintain their shape.
- Place each boot in an individual boot box. The boxes should be tall enough to accommodate the boot shapers without squishing the boots.
- Secure the boxes with lids to protect your boots from dust and moisture. Make sure the lids fit securely to maintain a sealed environment.
- Label the boxes to easily identify the pairs of boots inside. You can use stickers or create labels with the boot style or color.
- Stack the labeled boot boxes in a cool, dry place, away from direct sunlight or extreme temperatures.
Storing your boots in boot boxes not only keeps them protected but also helps you save space. The boxes can be stacked neatly, freeing up valuable closet or storage space.
It’s worth mentioning that when using boot boxes, it’s essential to periodically check them for any signs of moisture or mold. If you notice any issues, remove the boots, clean the boxes, and ensure the boots are fully dry before returning them to the boxes.
By opting for boot boxes, you can keep your boots organized, easily accessible, and well-protected until you’re ready to wear them again.
Step 5: Hanging Boots with Boot Clips
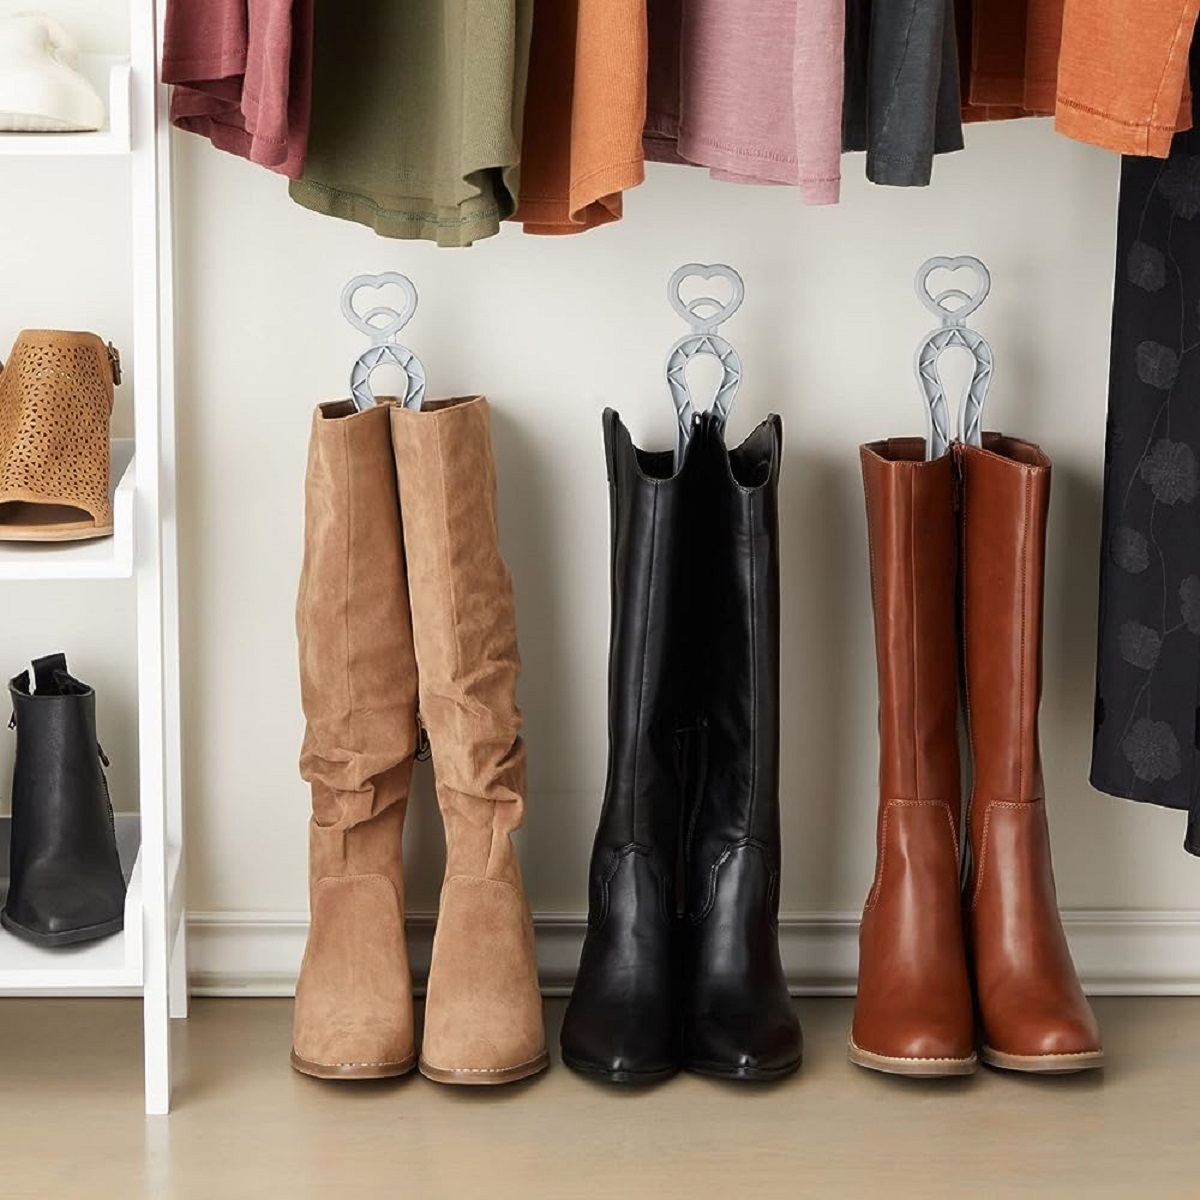
Hanging boots with boot clips is an excellent option if you have limited shelf or floor space. This method keeps your boots upright and easily accessible. Follow these steps to hang your boots using boot clips:
- Choose boot clips that are designed specifically for hanging boots. These clips are typically made of plastic or metal and have a secure grip to hold the boots in place.
- Insert the boot clips onto a sturdy clothing rack or hanger. Make sure the clips are evenly spaced and can adequately support the weight of the boots.
- Place one boot in each clip, ensuring that the clip grips the top of the boot shaft securely.
- Ensure that the boots are hanging freely and not touching the ground or any other items. This helps maintain their shape and prevents damage.
- Consider covering the boots with cloth or fabric covers to protect them from dust and sunlight. This is particularly important if your boots are made of delicate materials.
By hanging your boots with boot clips, you maximize vertical space and keep your boots organized and easily visible. This method is especially useful for tall boots that would take up a lot of floor or shelf space.
Remember to periodically check the clips to make sure they are securely holding the boots. If you notice any signs of slippage or instability, adjust the clips or consider using a different hanging method.
Hanging boots with boot clips is a convenient storage solution that allows you to display and access your boots with ease.
Step 6: Creating a DIY Boot Stand
If you’re feeling crafty and prefer a do-it-yourself approach, creating a DIY boot stand is a creative and cost-effective solution for storing your boots upright. Here’s how you can make your own DIY boot stand:
- Gather the materials needed for the DIY boot stand, including PVC pipes, connectors, a saw, and a measuring tape.
- Measure the height and width of your boots to determine the dimensions for your DIY boot stand.
- Using a saw, cut the PVC pipes to the desired length for the vertical side supports of the boot stand.
- Assemble the PVC pipes and connectors to create the frame of the boot stand. Ensure that the connectors are securely attached to the pipes.
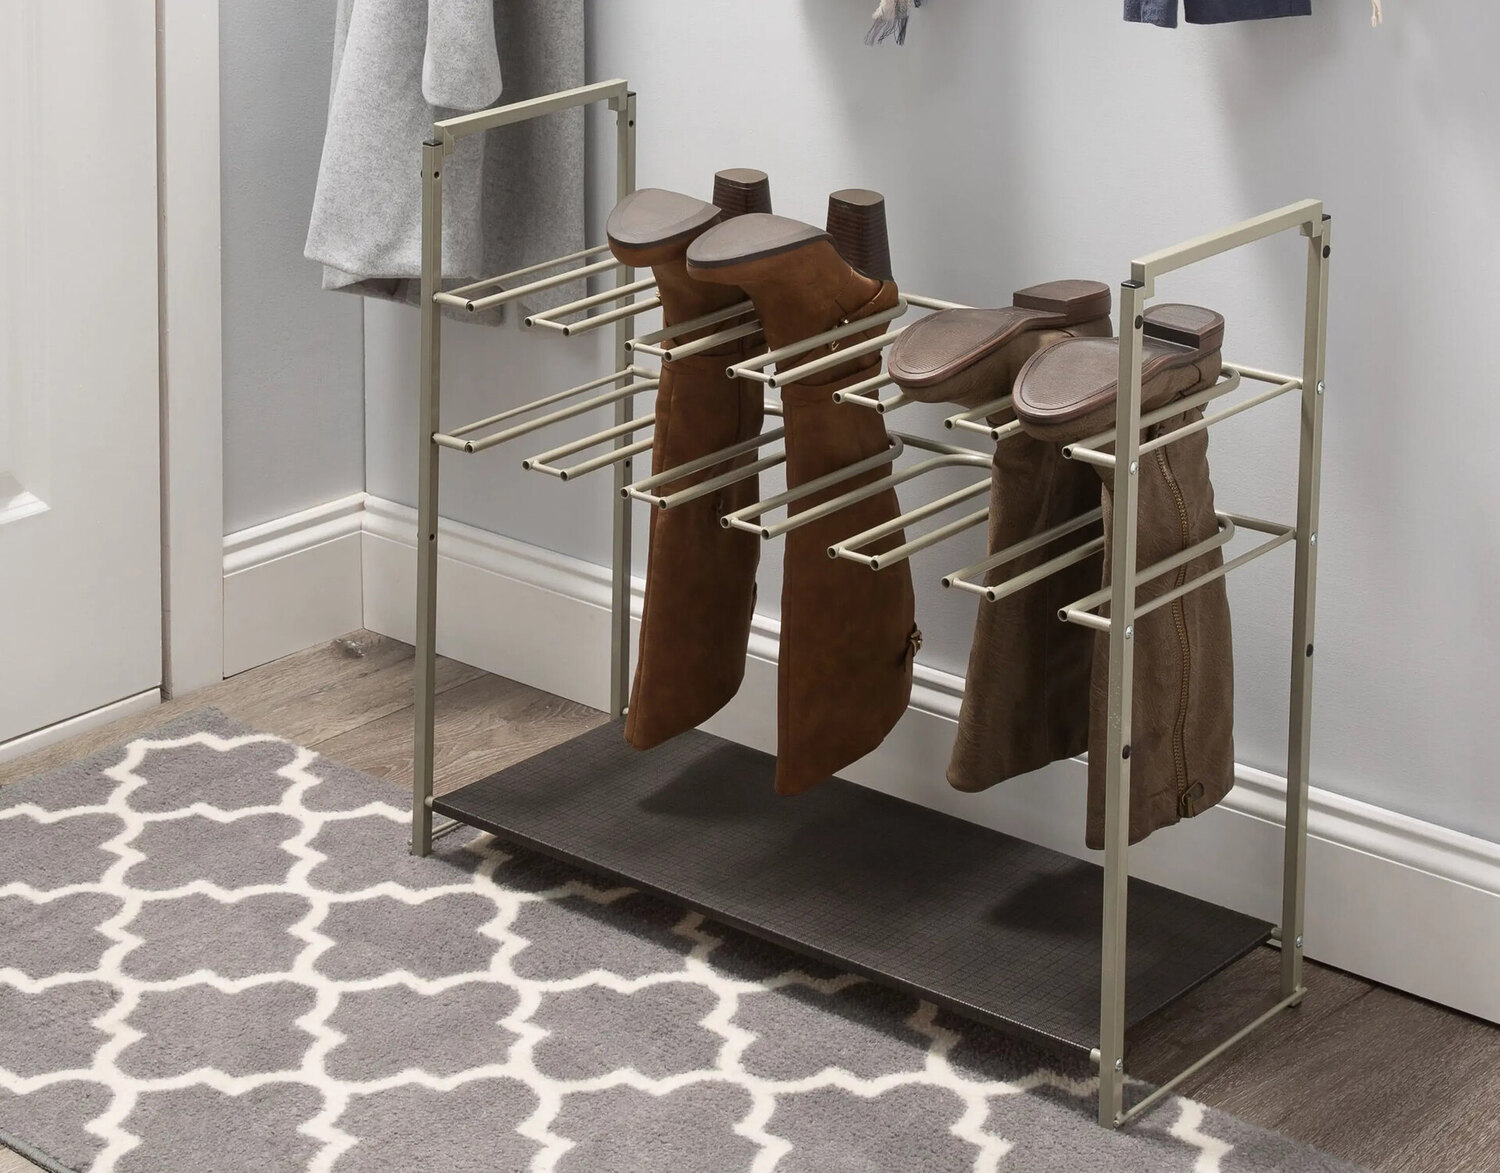
- Add additional horizontal PVC pipes and connectors to create additional support for the boots. These pipes will serve as the shelves on which the boots will rest.
- Place the DIY boot stand in a suitable location, such as a closet or storage area.
- Slide each boot over the horizontal PVC pipes, allowing them to rest upright on the shelves.
A DIY boot stand provides a customized and sturdy solution for storing your boots. It allows you to easily organize and access boots of different heights and sizes.
Be sure to periodically check the stability of the DIY boot stand and make any necessary adjustments to ensure the boots are secure and won’t topple over.
Creating a DIY boot stand not only serves a practical purpose but also adds a touch of creativity and personalization to your storage solution. So, let your imagination run wild and design a boot stand that suits your style and fits perfectly into your space.
Read more: How To Store Boots In Closet
Step 7: Proper Placement and Location for Storing Boots
Proper placement and location of your stored boots are essential to ensure their longevity and accessibility. Here are some guidelines for selecting the ideal spot for storing your boots:
- Choose a cool, dry, and well-ventilated area. Excessive heat and humidity can damage the materials of your boots and promote the growth of mold and mildew.
- Avoid direct sunlight, as prolonged exposure can fade and damage the color and integrity of your boots.
- Keep your boots away from areas with fluctuating temperature, such as attics or garages, as extreme temperature changes can cause damage.
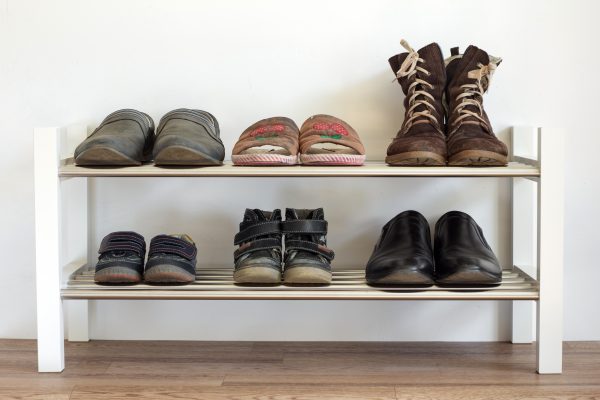
- Consider storing your boots in a dedicated shoe rack, closet, or shelf. This allows for easy organization and accessibility.
- If you’re placing boots in boxes, stack them in an orderly manner to avoid putting excessive weight on the lower boxes.
- When hanging boots, ensure they are not overcrowded or overlapping as this can lead to creasing or misshaping.
- Label the boxes or use clear containers to easily identify the boots you want to wear without having to open each box.
By following these placement and location guidelines, you can help prolong the lifespan of your boots and keep them in optimal condition for future wear.
It’s also important to periodically check on your stored boots to ensure they remain in good condition. Inspect for any signs of moisture, mold, or insects, and address any issues promptly.
Remember, the proper placement and location of your stored boots play a vital role in maintaining their quality and ensuring they are readily accessible whenever you need them.
Conclusion
Storing your boots upright is a simple yet crucial step in maintaining their shape, preventing creases, and maximizing their lifespan. By following the steps outlined in this article, you can ensure that your boots remain in excellent condition and are readily accessible whenever you need them.
Cleaning and preparing your boots before storage is essential to remove dirt and moisture, ensuring they are in the best possible condition. Using boot shapers, boot boxes, hanging with boot clips, or creating a DIY boot stand are all effective methods for storing your boots upright.
Choosing the right location for storing your boots is equally important. Keep them in a cool, dry, and well-ventilated area, away from direct sunlight and extreme temperature changes. Proper organization and labeling will help you easily find the pair you want to wear and prevent unnecessary handling and potential damage.
Remember to periodically check on your stored boots and address any issues promptly. This includes inspecting for moisture, mold, insects, and adjusting any storage methods if necessary.
By implementing these storage techniques, you can maintain the shape, condition, and longevity of your boots, ensuring that they remain a fashionable and reliable footwear option for years to come.
So go ahead, give your boots the proper care they deserve, and enjoy the benefits of having a well-maintained collection of boots that are always ready to wear.
Frequently Asked Questions about How To Store Boots Upright
Was this page helpful?
At Storables.com, we guarantee accurate and reliable information. Our content, validated by Expert Board Contributors, is crafted following stringent Editorial Policies. We're committed to providing you with well-researched, expert-backed insights for all your informational needs.


0 thoughts on “How To Store Boots Upright”