Articles
How To Replace Plumbing Vent Boots
Modified: October 20, 2024
Learn how to replace plumbing vent boots with our informative articles. Discover step-by-step instructions and expert tips for a successful replacement.
(Many of the links in this article redirect to a specific reviewed product. Your purchase of these products through affiliate links helps to generate commission for Storables.com, at no extra cost. Learn more)
Introduction
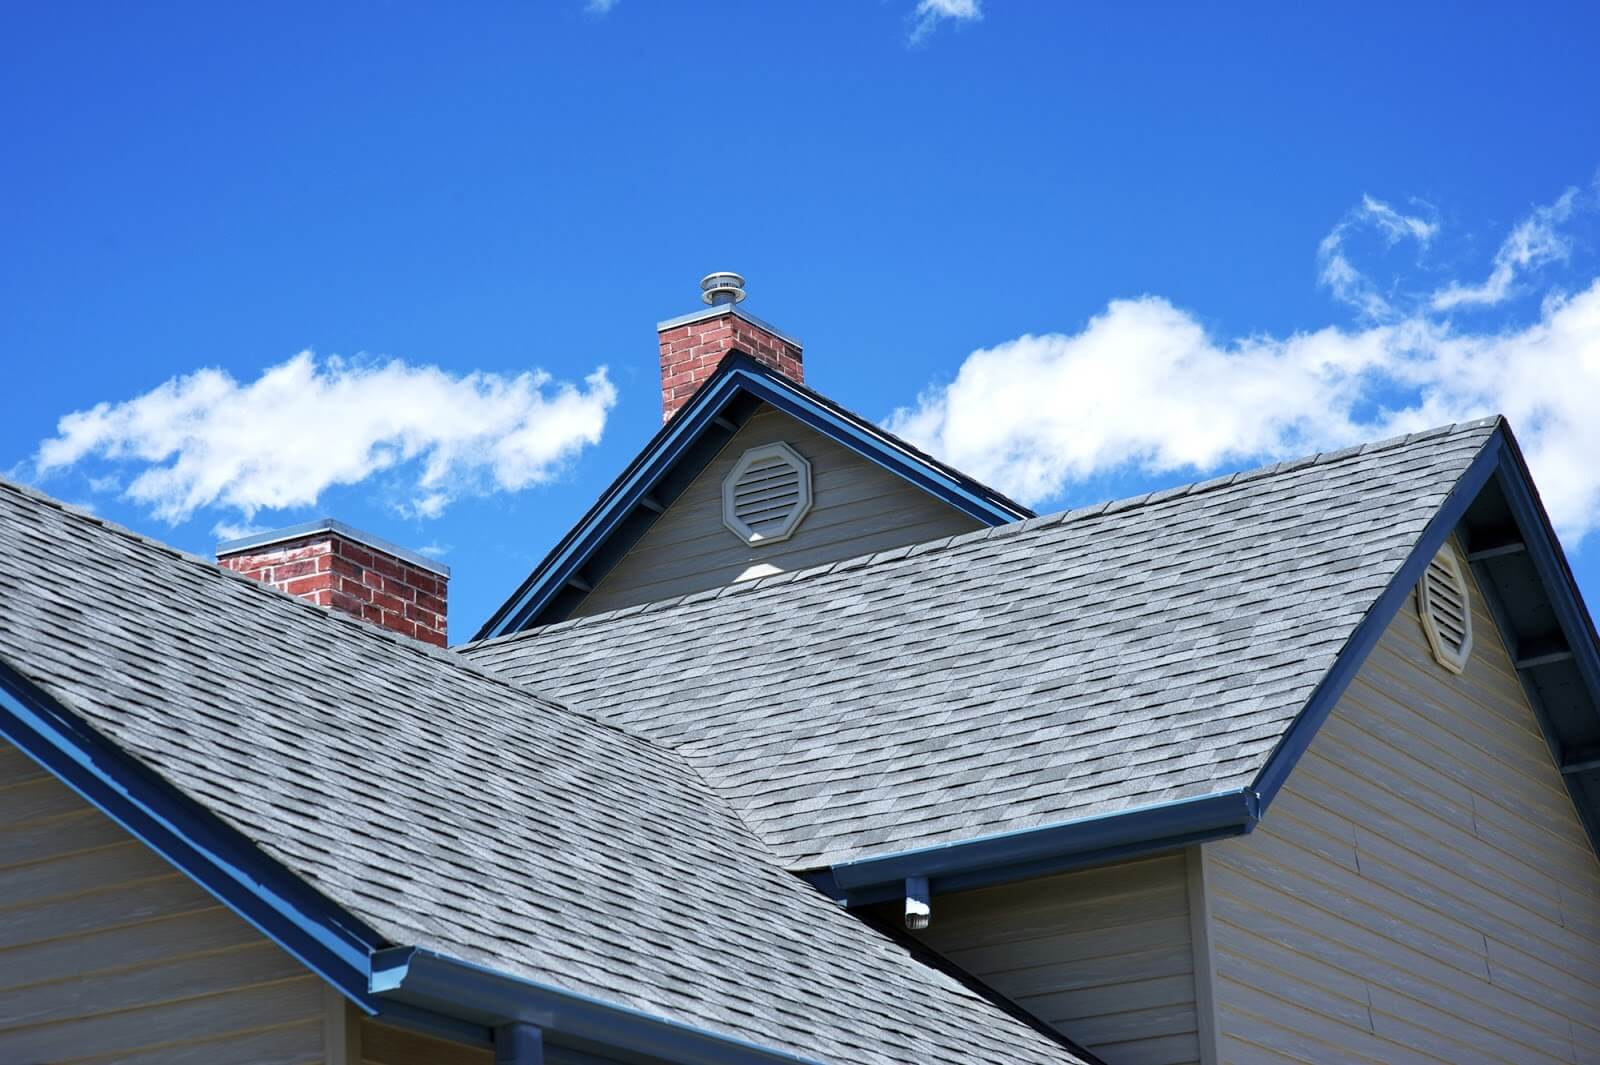
Welcome to our comprehensive guide on how to replace plumbing vent boots. Plumbing vent boots, also known as roof vent boots, play a crucial role in maintaining the integrity of your home’s plumbing system. These boots are installed on your roof to cover and protect the vent pipes that extend from your plumbing system. Over time, these boots can become damaged due to exposure to the elements, aging, or improper installation, leading to potential leaks and water damage.
In this article, we will walk you through the step-by-step process of inspecting, removing, and replacing a damaged plumbing vent boot. Whether you are a seasoned DIY enthusiast or tackling this project for the first time, our guide will provide you with all the information you need to successfully complete the task.
Before we delve into the details, it’s important to note that working on your roof can be dangerous. If you are not comfortable with heights or lack the necessary experience and safety equipment, we recommend hiring a professional. However, if you feel confident and take the necessary precautions, this can be a rewarding and cost-saving DIY project.
Before we get started, let’s first take a look at some common signs that indicate a damaged plumbing vent boot.
Key Takeaways:
- Regularly inspect your plumbing vent boots for signs of damage, such as water leaks, mold, cracks, or rust, to prevent potential water damage and ensure the integrity of your home’s plumbing system.
- When replacing a damaged plumbing vent boot, prioritize safety, gather the necessary tools and materials, and follow the step-by-step process to ensure a proper and secure installation, protecting your home from leaks and water damage.
Read more: How To Install A Plumbing Vent
Common Signs of a Damaged Plumbing Vent Boot
Identifying a damaged plumbing vent boot early on is crucial to preventing further damage to your home. Some common signs that indicate a damaged plumbing vent boot include:
- Water Leaks: One of the most obvious signs of a damaged plumbing vent boot is water leaks. If you notice water stains on your ceiling or walls, especially around your vent pipes, it could indicate a leak caused by a faulty boot.
- Mold or Mildew: A damaged plumbing vent boot can lead to excess moisture buildup in your attic or other areas of your home. This excess moisture creates the perfect breeding ground for mold and mildew. If you notice mold or a musty odor, it is essential to inspect your plumbing vent boots for any signs of damage.
- Visible Cracks or Tears: Over time, exposure to the sun, rain, and extreme temperatures can cause the plumbing vent boot material to degrade. Inspect the boot for any visible cracks, tears, or deterioration. If you notice any damage, it is a clear indication that the boot needs to be replaced.
- Loose or Displaced Boot: A properly installed plumbing vent boot should be snugly fitted around the vent pipe and securely attached to the roof. If you notice any signs of the boot being loose, shifted, or out of place, it could indicate damage or improper installation.
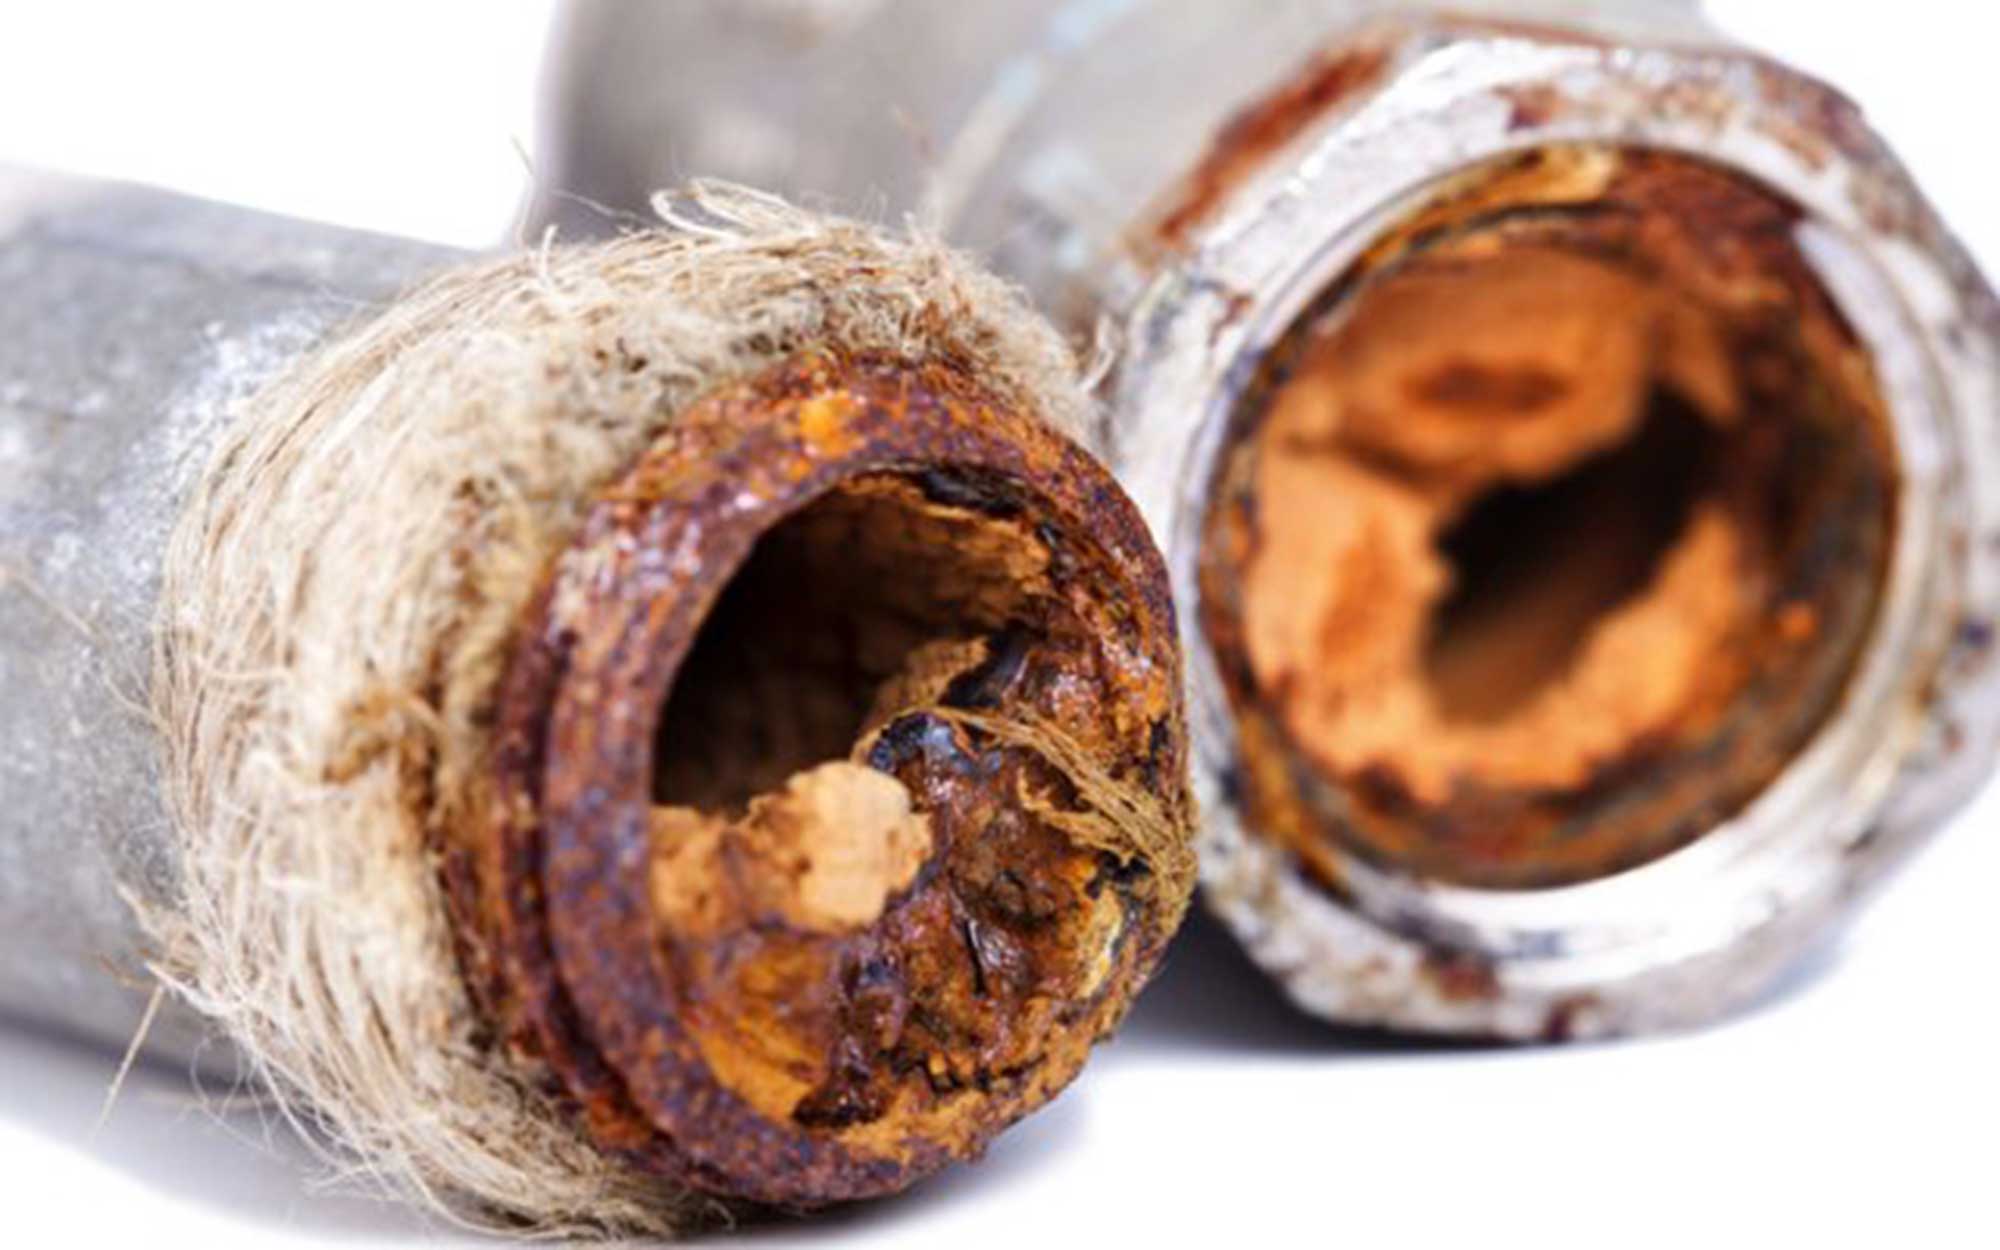
- Rust or Corrosion: If you have a metal plumbing vent boot, such as a galvanized steel boot, check for signs of rust or corrosion. Rust can weaken the boot’s structural integrity and compromise its ability to protect against leaks.
It’s important to note that these signs may also indicate other issues with your plumbing system or roof. If you are unsure whether the problem is specifically related to the plumbing vent boot, it is recommended to seek professional assistance.
Now that you are familiar with the common signs of a damaged plumbing vent boot, let’s move on to the tools and materials you will need for this project.
Tools and Materials Needed
Before you begin replacing your plumbing vent boot, it’s important to gather all the necessary tools and materials. Here is a list of what you will need:
Tools:
- Safety goggles
- Gloves
- Ladder
- Roofing shovel or pry bar
- Utility knife
- Caulking gun
- Screwdriver or drill
- Roofing nails or screws
- Hammer
- Measuring tape
Materials:
- New plumbing vent boot
- Roofing cement or silicone caulk
- Roofing tar or sealant
- Flashing (if necessary)
- Roofing nails or screws
- Roofing adhesive
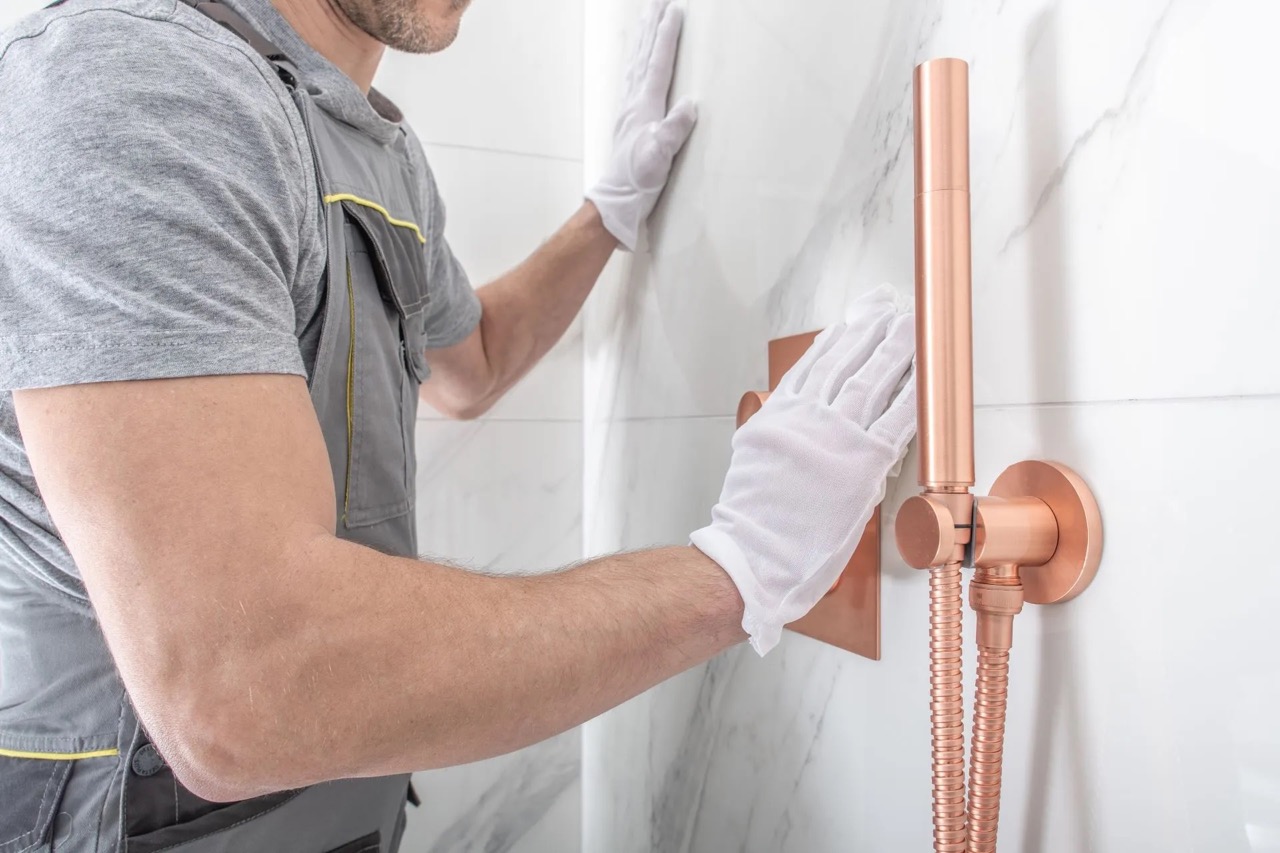
Make sure to wear safety goggles and gloves to protect yourself during the installation process. It’s also recommended to have a sturdy ladder to access the roof safely.
When choosing a new plumbing vent boot, ensure that it is compatible with your roof type and vent pipe size. Consider the material of the boot, such as rubber or thermoplastic, which can provide durability and resistance to weathering.
Additionally, depending on the condition of your roof and the specific installation requirements, you may need flashing to ensure a watertight seal. Flashing typically consists of metal strips or sheets that are installed around the vent pipe to divert water away from vulnerable areas.
Now that you have all the necessary tools and materials, let’s move on to the step-by-step process of replacing your plumbing vent boot.
Read more: How To Vent A Bathroom Plumbing
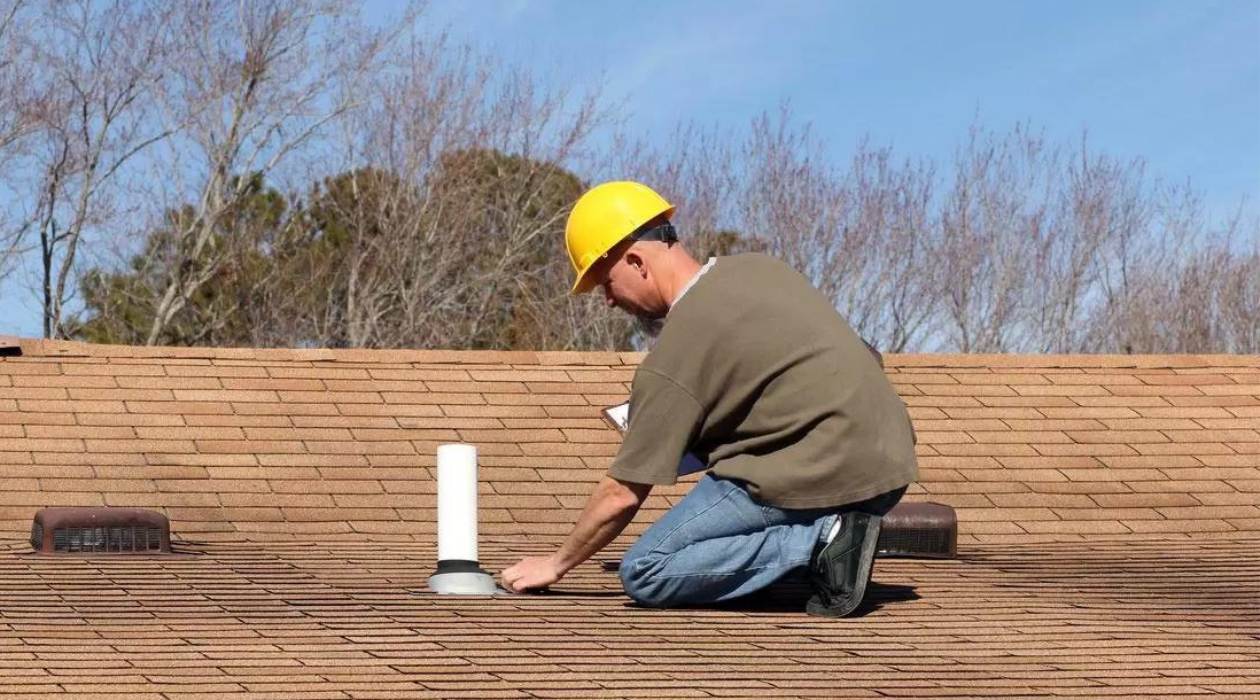
Step 1: Inspecting the Roof and Identifying the Damaged Boot
Before you can replace a damaged plumbing vent boot, you need to inspect your roof and identify the problematic boot. Here’s how to do it:
- Begin by safely accessing your roof using a ladder. Ensure that the ladder is secure and positioned on a stable surface.
- Once on the roof, carefully examine the area around the vent pipes. Look for any signs of damage, such as cracks, tears, or shifts in the boot.
- Inspect the vent pipe itself for any corrosion, rust, or loose connections.
- Check for water stains or discoloration on the ceiling or walls inside your home. This can help pinpoint the exact location of the leak.
- If you have multiple plumbing vent boots on your roof, identify the specific boot that is causing the problem.
It’s important to note that sometimes the damage to the plumbing vent boot may not be visible from the roof. In such cases, you may need to inspect the attic or crawl space under the roof to locate any signs of water damage or leaks.
If you’re having trouble identifying the damaged plumbing vent boot or assessing the extent of the damage, it may be best to consult a professional roofer or plumber to ensure an accurate diagnosis and appropriate solution.
Once you have identified the damaged boot, you’re ready to move on to the next step: removing the old plumbing vent boot.
Step 2: Removing the Old Plumbing Vent Boot
Now that you have identified the damaged plumbing vent boot, it’s time to remove it. Follow these steps:
- Put on your safety goggles and gloves to protect yourself.
- Using a roofing shovel or pry bar, carefully lift and remove any roofing material around the base of the vent boot. Be cautious not to damage or puncture the roof during this process.
- Once the roofing material is removed, you should see the base of the old vent boot. In some cases, the boot may be secured with screws or nails. Use a screwdriver or drill to carefully remove any fasteners.
- Gently lift and pry the old vent boot away from the roof. Take care not to cause any further damage to the surrounding area.
- Inspect the area around the vent pipe for any signs of damage or deterioration. If there is any damage, it may need to be repaired before installing the new vent boot.
- Clear away any debris or loose materials from the area to ensure a clean, smooth surface for the installation of the new plumbing vent boot.
Remember to use caution when removing the old plumbing vent boot, as you don’t want to cause any further damage to your roof or plumbing system. If you are uncertain or uncomfortable with this step, it is best to seek professional assistance.
With the old plumbing vent boot removed, you’re now ready to move on to the next step: preparing the roof for installation.
Step 3: Preparing the Roof for Installation
Before installing the new plumbing vent boot, it is essential to prepare the roof to ensure a proper and secure fit. Follow these steps to prepare the roof for installation:
- Inspect the area around the vent pipe for any signs of damage, deterioration, or rot. If you notice any issues, it is important to repair them before proceeding.
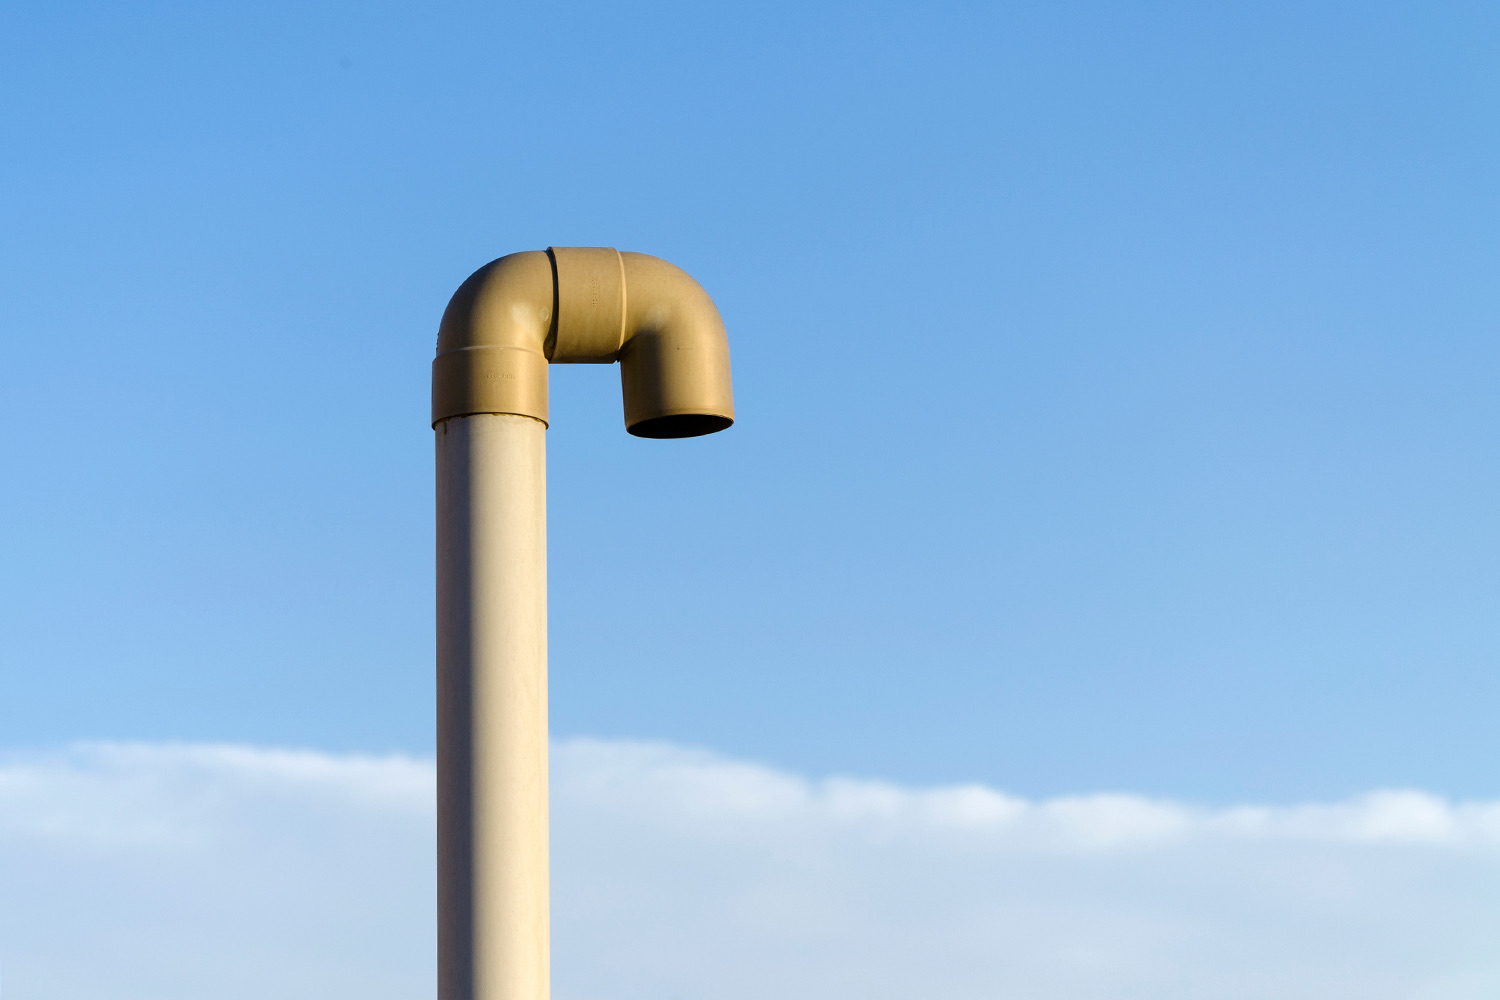
- Measure the diameter of the vent pipe to ensure you select the correct size of the new plumbing vent boot.
- If there is any remaining roofing cement or sealant on the roof, carefully scrape it away using a utility knife or scraper. Make sure the surface is clean and free from any debris.
- If the roof decking around the vent pipe is damaged or deteriorated, it may be necessary to replace or reinforce it. This will provide a strong and stable base for the new plumbing vent boot.
- Apply a layer of roofing tar or sealant around the area where the new plumbing vent boot will be installed. This will create a watertight seal and help prevent leaks.
- If necessary, cut a piece of flashing to fit around the vent pipe. The flashing should extend at least 6 inches above the roof surface and overlap with the surrounding roofing material. Secure the flashing in place using roofing nails or screws.
Preparing the roof for installation is an important step in ensuring the longevity and effectiveness of the new plumbing vent boot. Taking the time to properly prepare the roof surface will help prevent future issues and ensure a secure and leak-free installation.
With the roof properly prepared, you are now ready to move on to the next step: installing the new plumbing vent boot.
When replacing plumbing vent boots, be sure to choose a high-quality material such as neoprene or EPDM to ensure a long-lasting and watertight seal.
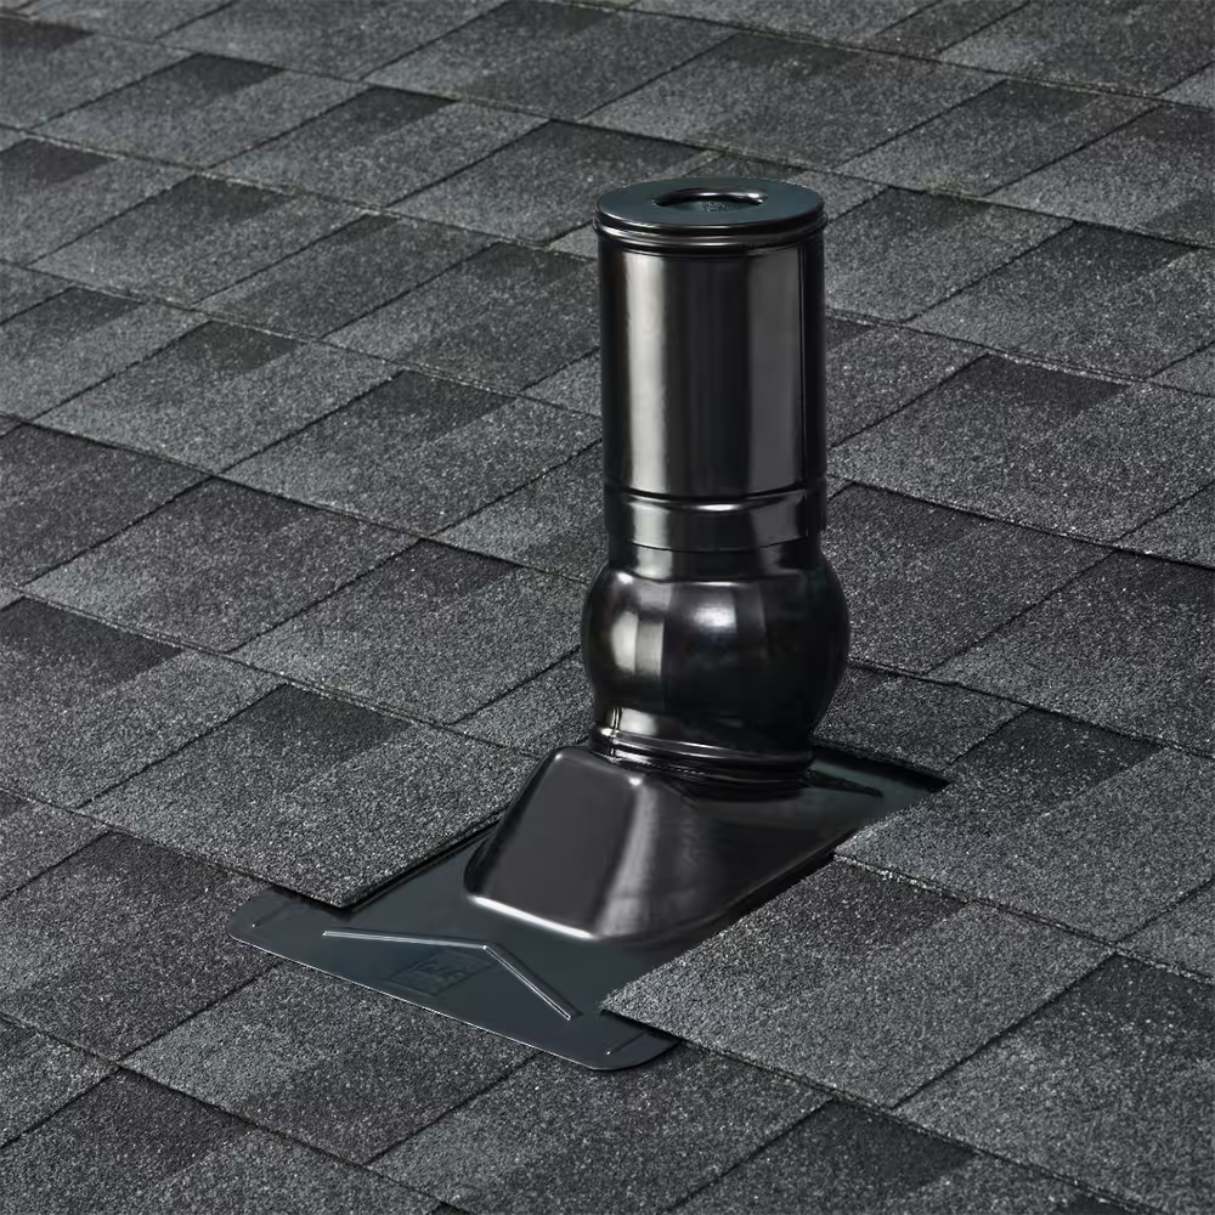
Step 4: Installing the New Plumbing Vent Boot
Now that the roof is prepared, it’s time to install the new plumbing vent boot. Follow these steps:
- Take the new plumbing vent boot and slide it over the vent pipe. Ensure that the boot is centered and level.
- If the new boot has pre-drilled holes, use them as a guide to mark the roof for screw or nail placement. If there are no pre-drilled holes, mark the location where the boot will be secured.
- Using a drill or screwdriver, attach the boot to the roof by inserting roofing nails or screws through the pre-drilled holes or marked locations.
- Ensure that the boot is securely fastened to the roof, but avoid over-tightening the screws or nails, as this can damage the boot or roof materials.
- Check that the boot is properly aligned with the vent pipe and sits flush against the roof surface.
When installing the new plumbing vent boot, it’s important to follow the manufacturer’s instructions and guidelines specific to the product you are using. This will ensure a proper and secure installation.
If necessary, you can also apply a layer of roofing cement or silicone caulk around the base of the plumbing vent boot. This will provide additional waterproofing and help seal any gaps or potential areas for water intrusion.
With the new plumbing vent boot securely in place, you’re ready to move on to the next step: sealing and securing the boot.
Read more: How To Replace Dryer Vent
Step 5: Sealing and Securing the Boot
After installing the new plumbing vent boot, it’s essential to seal and secure it to ensure a watertight fit. Follow these steps to seal and secure the boot:
- Inspect the area around the base of the boot for any gaps or openings.
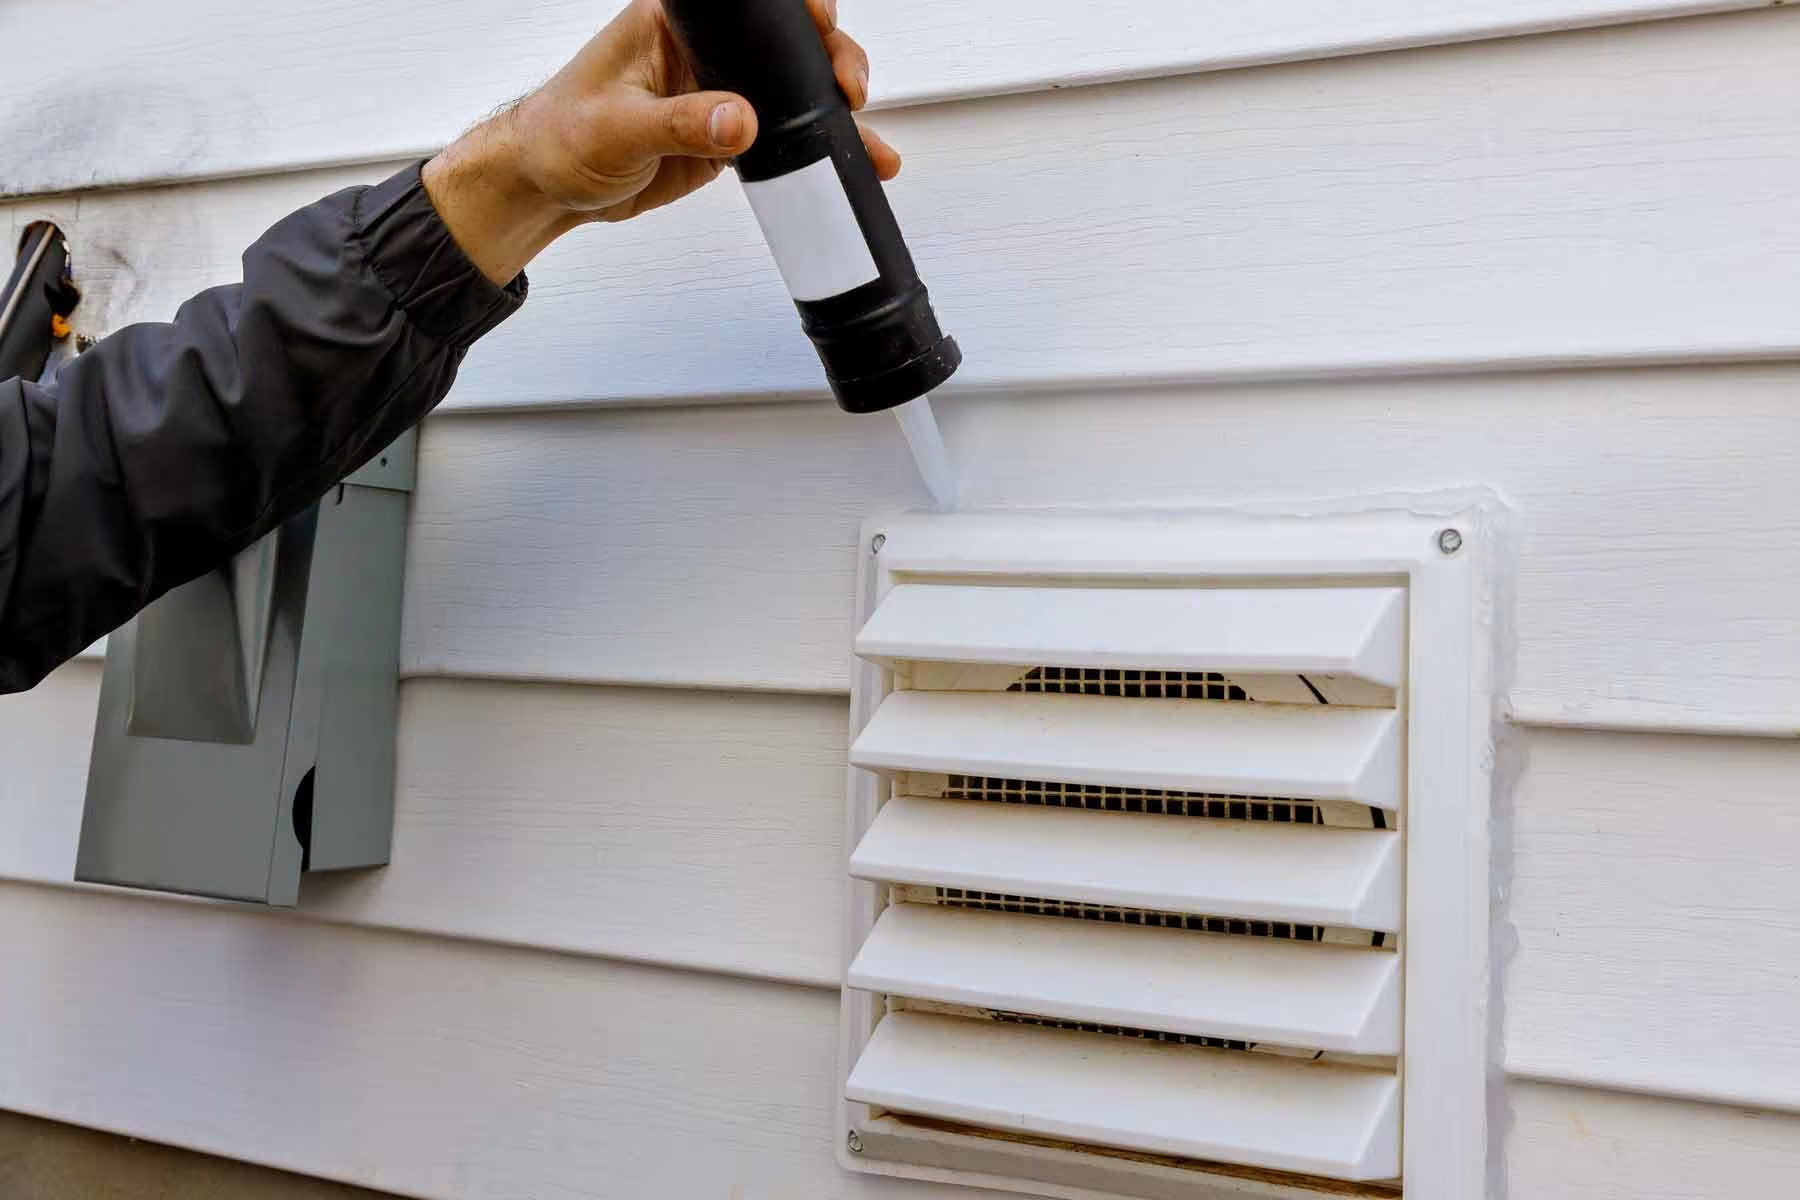
- Using a caulking gun, apply a bead of roofing cement or silicone caulk around the base of the boot where it meets the roof. Make sure to fill any gaps or openings completely.
- Smooth the caulking or cement with a putty knife or your gloved finger to ensure a neat and even finish.
- If the new boot has a collar or flange that extends upward, apply roofing cement or caulk around the edges to seal any potential points of water entry.
- If necessary, secure the collar or flange to the roof using roofing nails or screws, following the manufacturer’s instructions.
Sealing and securing the plumbing vent boot is crucial to preventing leaks and water damage. Taking the time to properly seal any gaps or openings will ensure the long-term functionality and integrity of the boot.
Once you have sealed and secured the boot, you’re ready to move on to the final step: testing the installation.
Step 6: Testing the Installation
After completing the installation and sealing process, it’s important to test the plumbing vent boot to ensure it is functioning properly and that there are no leaks. Follow these steps to test the installation:
- Wait for a dry day with no rain or moisture to perform the test.
- Inspect the area around the plumbing vent boot on the roof for any visible signs of water or moisture. Ensure that the sealant is intact and there are no gaps or openings.
- Go inside your home and check for any leaks or water stains on the ceiling or walls near the vent pipe. Make sure to inspect both the attic and the rooms below the plumbing vent.
- If you notice any signs of water or moisture, or if you experience any leaks during the testing process, it may indicate an improper installation or a problem with the new plumbing vent boot.
- If everything looks dry and secure, run water down the vent pipe from inside your home. This will help you confirm that the plumbing vent boot is effectively diverting any water away from your roof and preventing leaks.
By testing the installation, you can ensure that the new plumbing vent boot is functioning as intended and protecting your home from potential water damage. If you notice any issues or leaks during the testing process, it’s essential to address them promptly to prevent further damage and ensure the proper functioning of your plumbing system.
Congratulations! You have successfully replaced your plumbing vent boot and completed the installation process. With a properly installed and sealed vent boot, you can enjoy the peace of mind knowing that your plumbing system is protected from leaks and potential water damage.
Remember to periodically inspect your plumbing vent boots for any signs of damage or deterioration, and replace them as needed to maintain the integrity of your home’s plumbing system.
If you’re uncertain about any aspect of the installation process or if you encounter any difficulties, it’s always best to consult a professional for assistance.
Thank you for using our comprehensive guide on how to replace plumbing vent boots. We hope you found this information helpful and that your replacement project was a success!
Conclusion
Replacing a damaged plumbing vent boot is a crucial maintenance task to protect your home from potential water damage and leaks. By following the step-by-step process outlined in this guide, you can successfully replace a damaged plumbing vent boot and ensure the integrity of your plumbing system.
We began by discussing the common signs of a damaged plumbing vent boot, such as water leaks, mold or mildew, visible cracks or tears, loose or displaced boots, and rust or corrosion. Recognizing these signs can help you identify whether your plumbing vent boot needs to be replaced.
We then provided a detailed list of tools and materials needed for the project, such as safety goggles, gloves, a ladder, roofing shovel or pry bar, utility knife, caulking gun, and roofing nails or screws. Gathering these supplies beforehand will make the replacement process smoother and more efficient.
We walked you through each step of the replacement process, including inspecting the roof and identifying the damaged boot, removing the old plumbing vent boot, preparing the roof for installation, installing the new plumbing vent boot, sealing and securing the boot, and testing the installation to ensure there are no leaks.
Throughout the guide, we emphasized the importance of safety and encouraged readers to seek professional assistance if they are uncomfortable with heights or lack experience. Safety should always be a top priority when working on your roof or any elevated areas.
We hope that this comprehensive guide has empowered you with the knowledge and confidence to successfully replace a damaged plumbing vent boot. Regular maintenance and prompt replacements can help preserve the integrity of your plumbing system and prevent costly water damage.
Remember, if you are unsure about any aspect of the replacement process, it’s best to consult a professional for guidance. They will ensure the job is done properly and safely.
Thank you for choosing our guide, and we wish you success in your plumbing vent boot replacement project!
Frequently Asked Questions about How To Replace Plumbing Vent Boots
Was this page helpful?
At Storables.com, we guarantee accurate and reliable information. Our content, validated by Expert Board Contributors, is crafted following stringent Editorial Policies. We're committed to providing you with well-researched, expert-backed insights for all your informational needs.


0 thoughts on “How To Replace Plumbing Vent Boots”