Home>Renovation & DIY>Home Renovation Guides>How To Clean Backsplash Grout

Home Renovation Guides
How To Clean Backsplash Grout
Modified: August 28, 2024
Learn the best techniques for cleaning grout on your backsplash with our comprehensive home renovation guide. Keep your kitchen looking fresh and new!
(Many of the links in this article redirect to a specific reviewed product. Your purchase of these products through affiliate links helps to generate commission for Storables.com, at no extra cost. Learn more)
Introduction
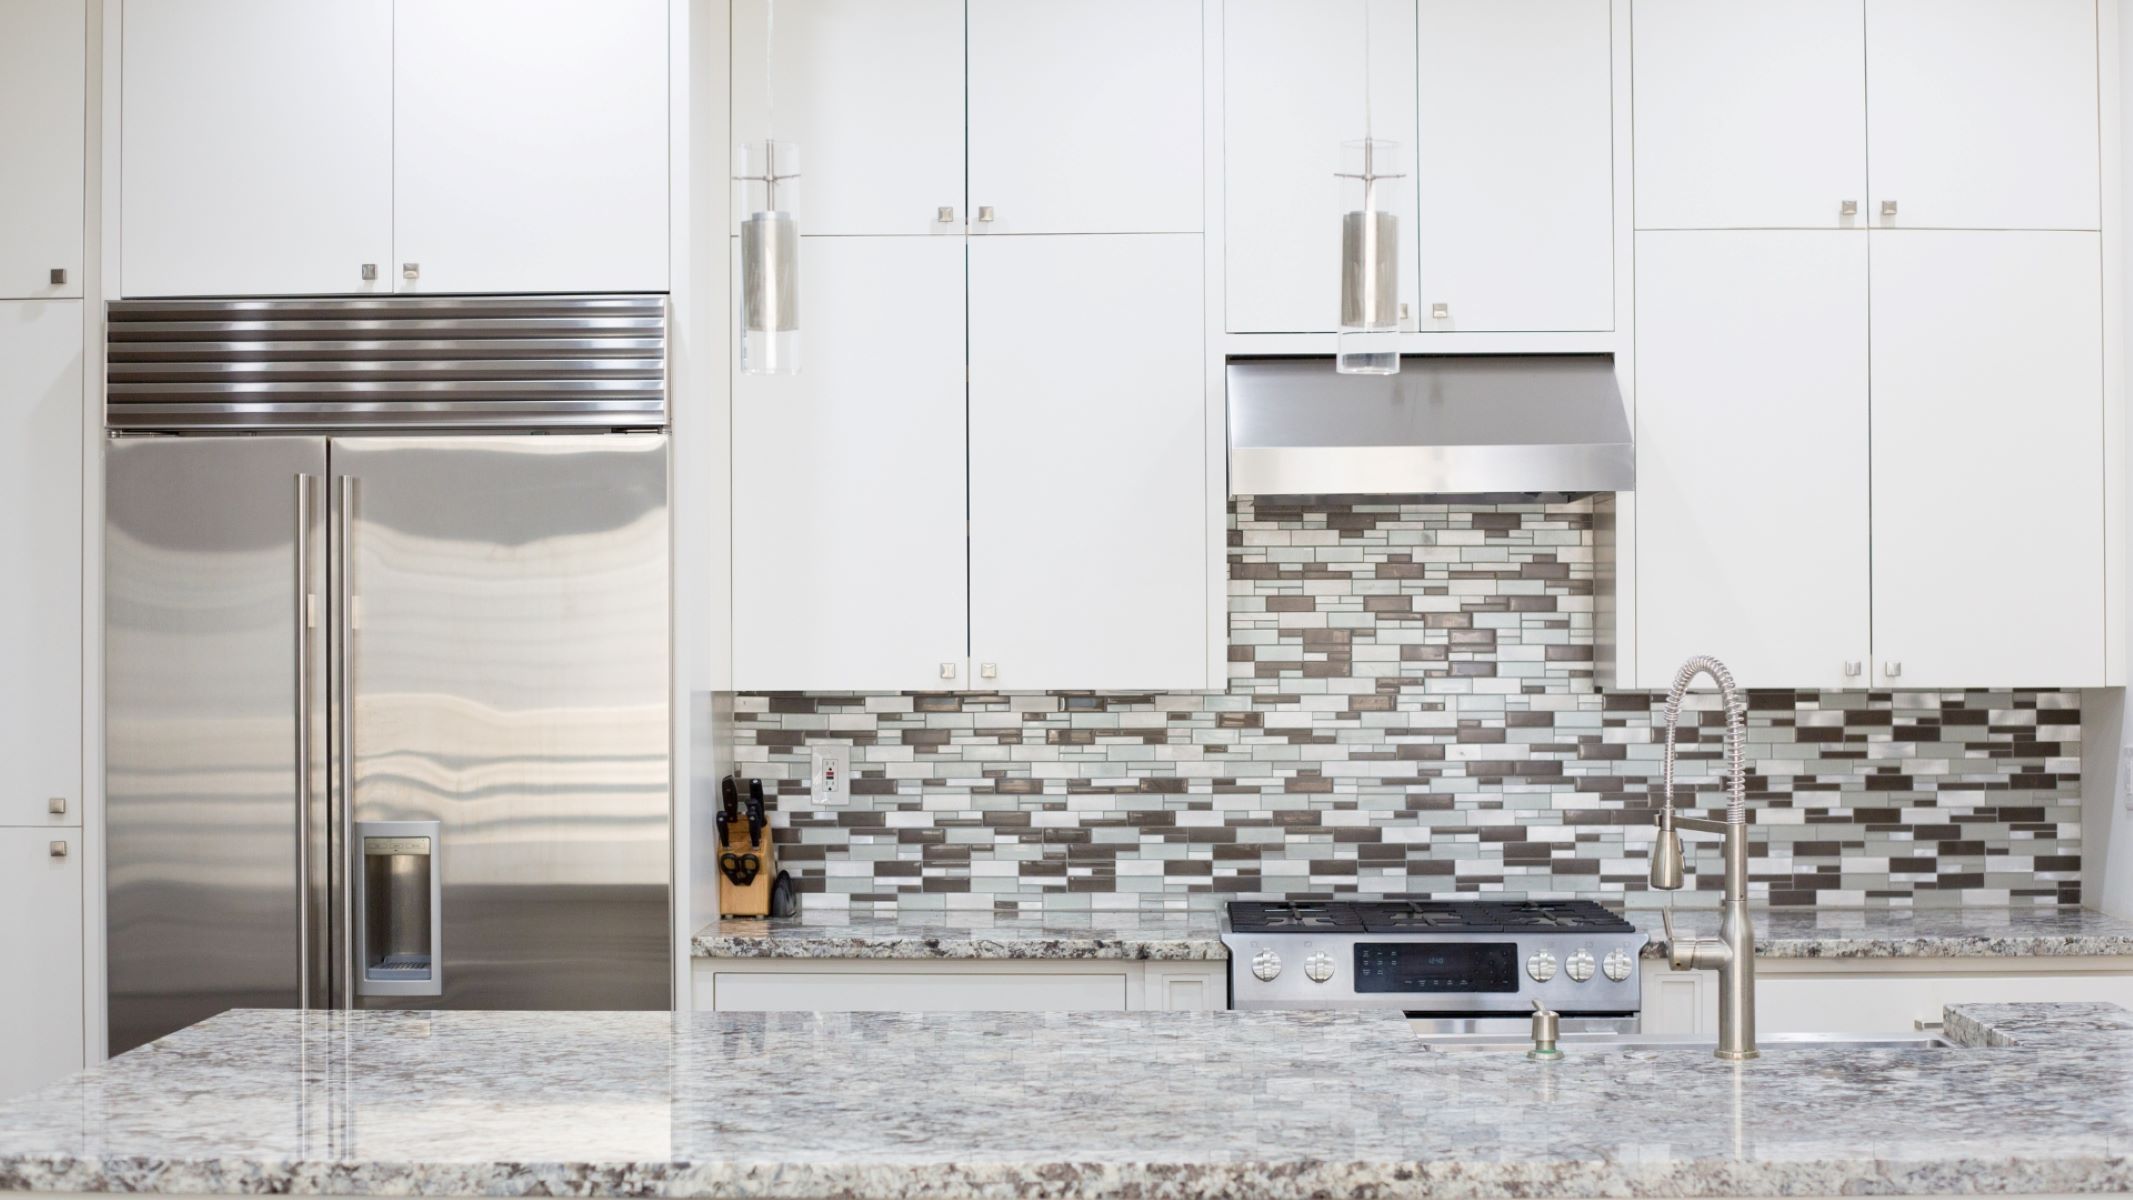
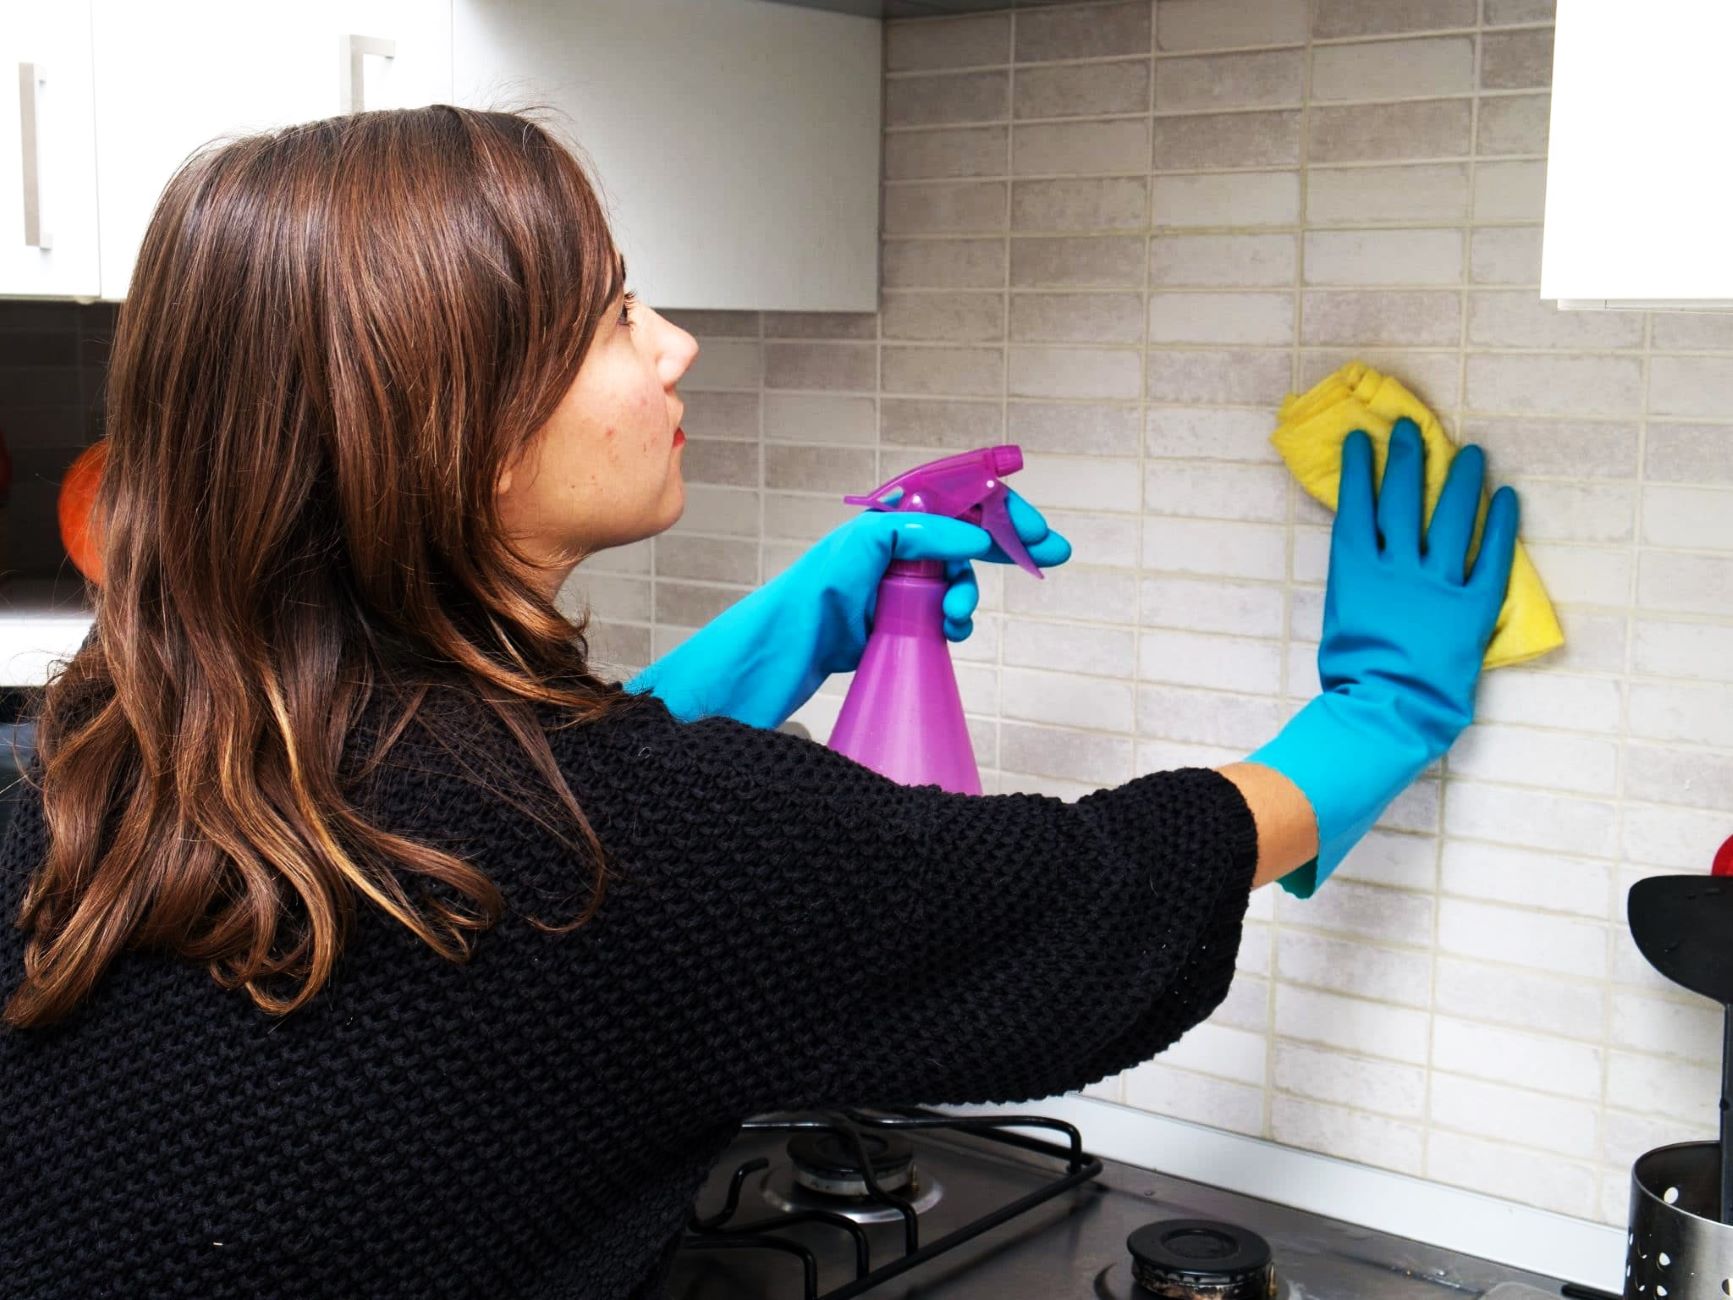
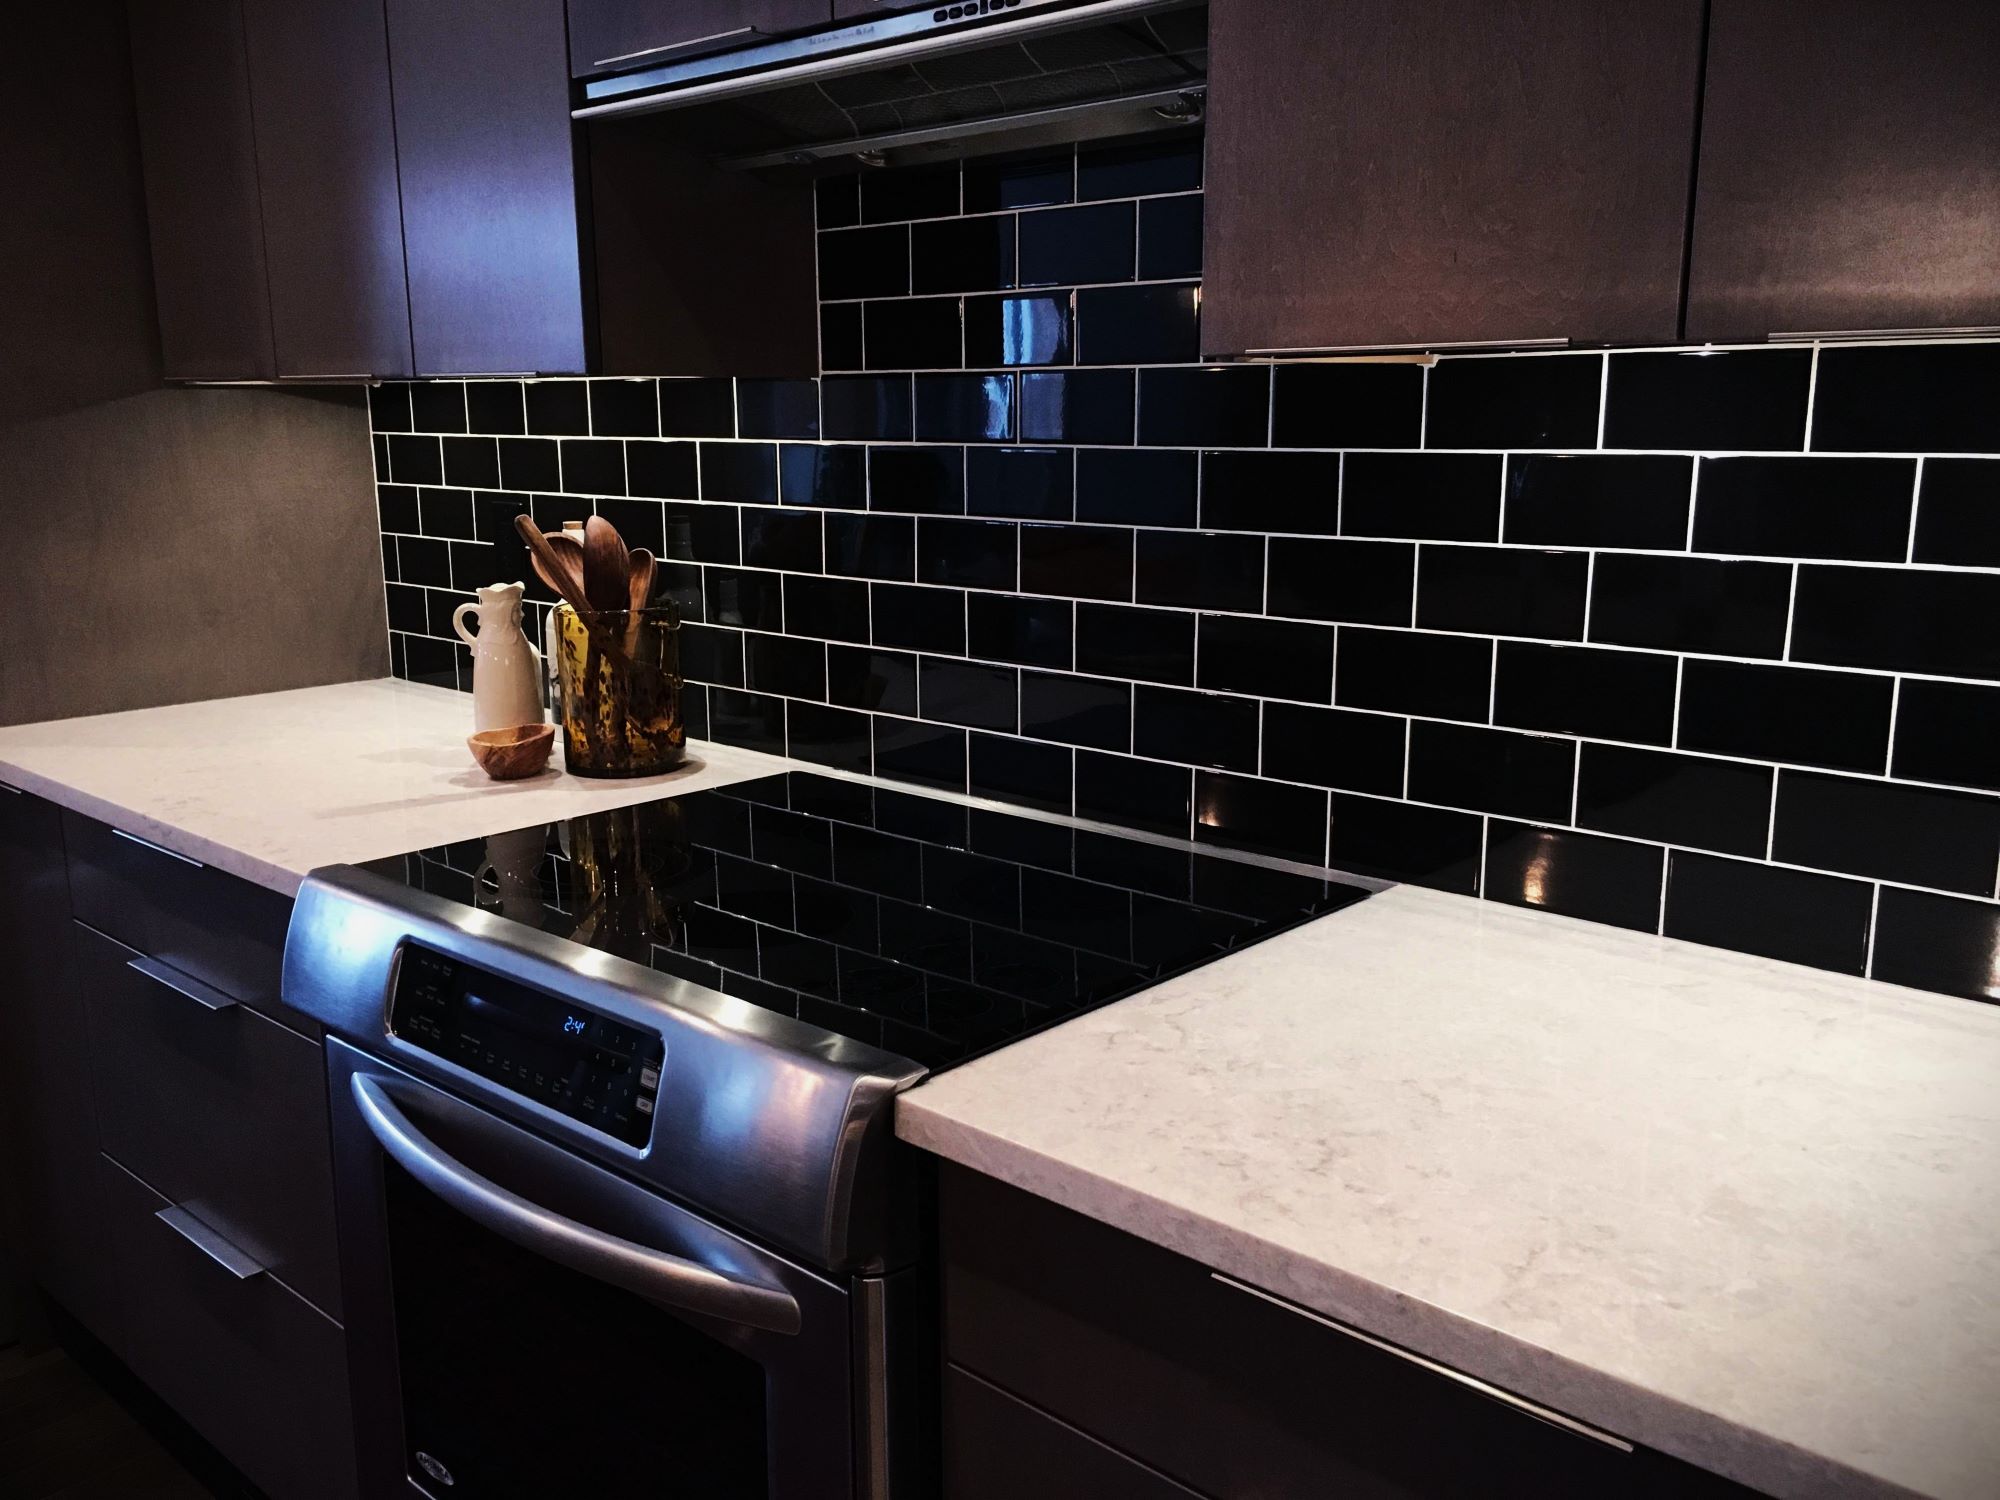
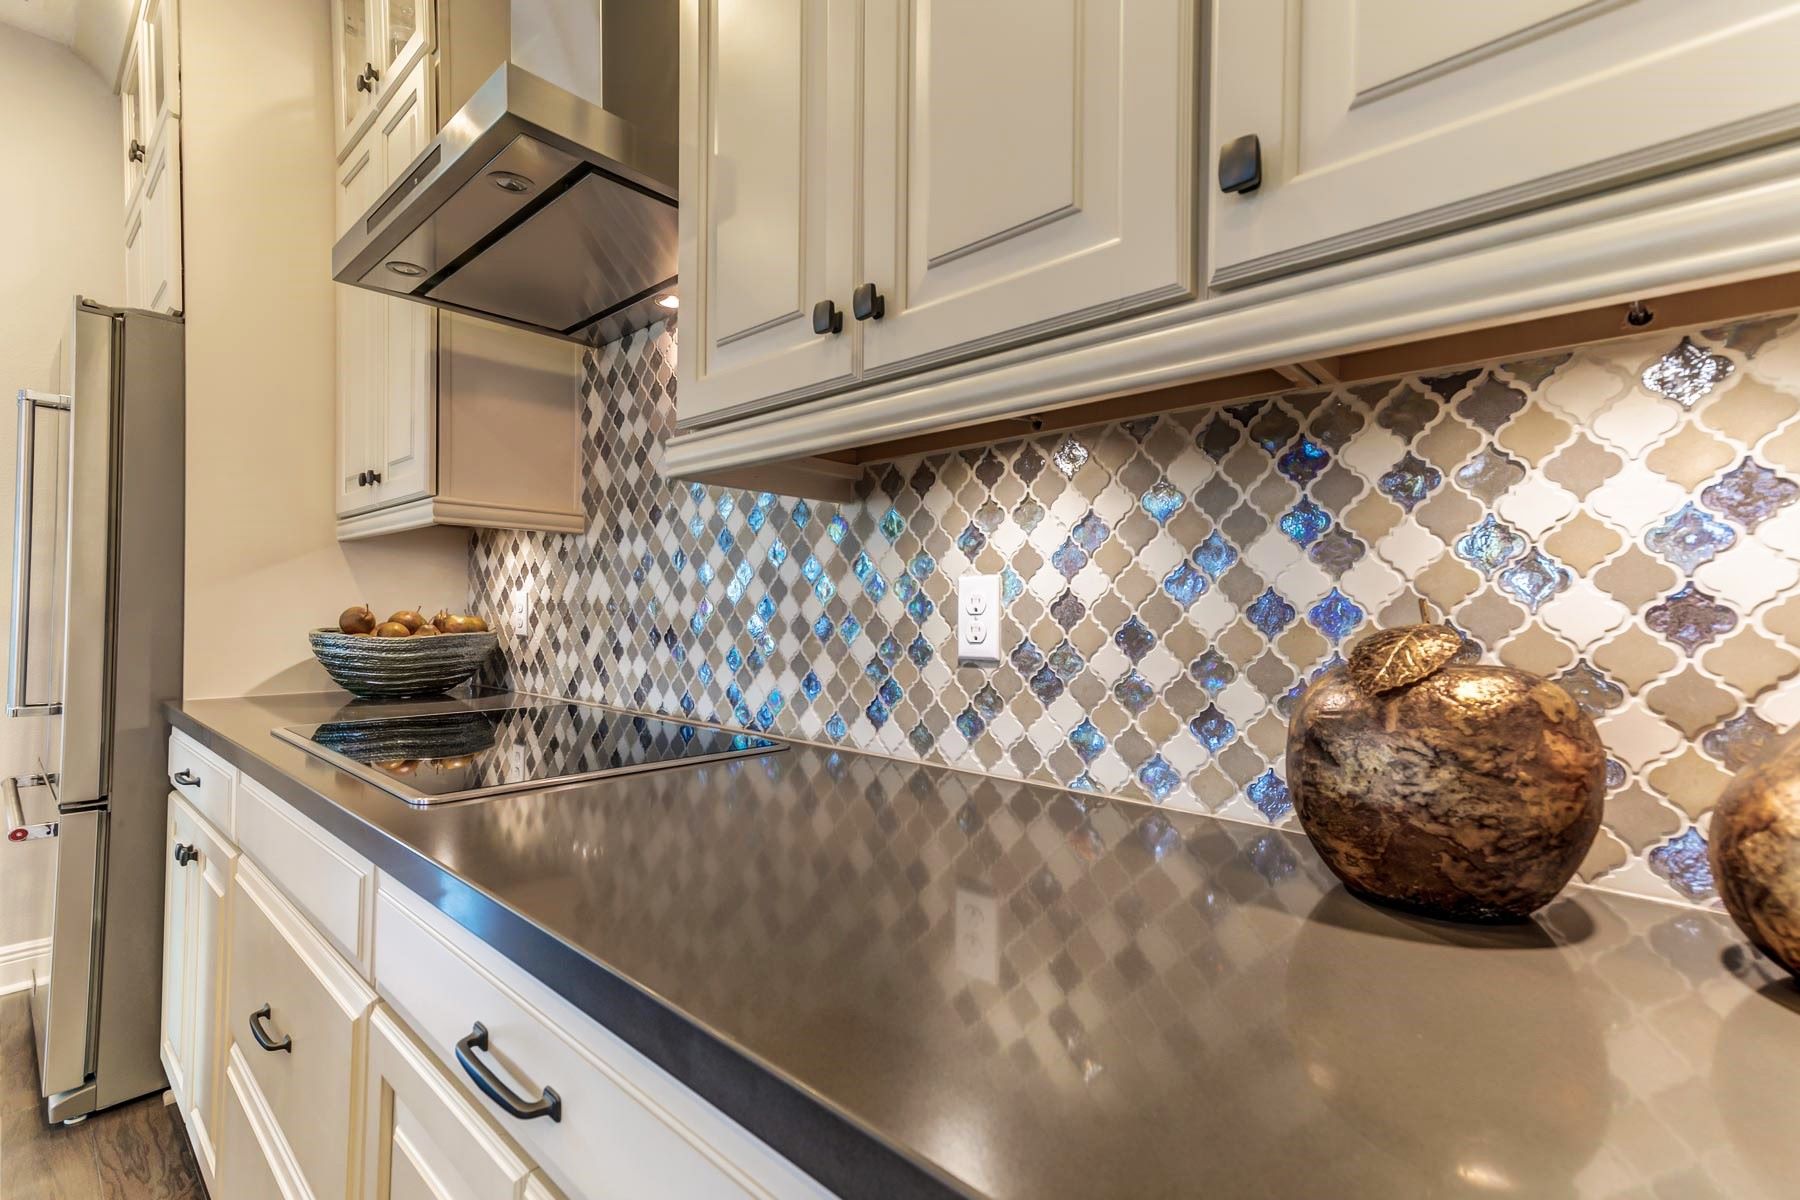
Cleaning the grout in your backsplash can breathe new life into your kitchen or bathroom. Over time, grout can become discolored and stained, detracting from the overall aesthetic of the space. However, with the right materials and techniques, you can restore the grout to its original luster, enhancing the beauty of your backsplash.
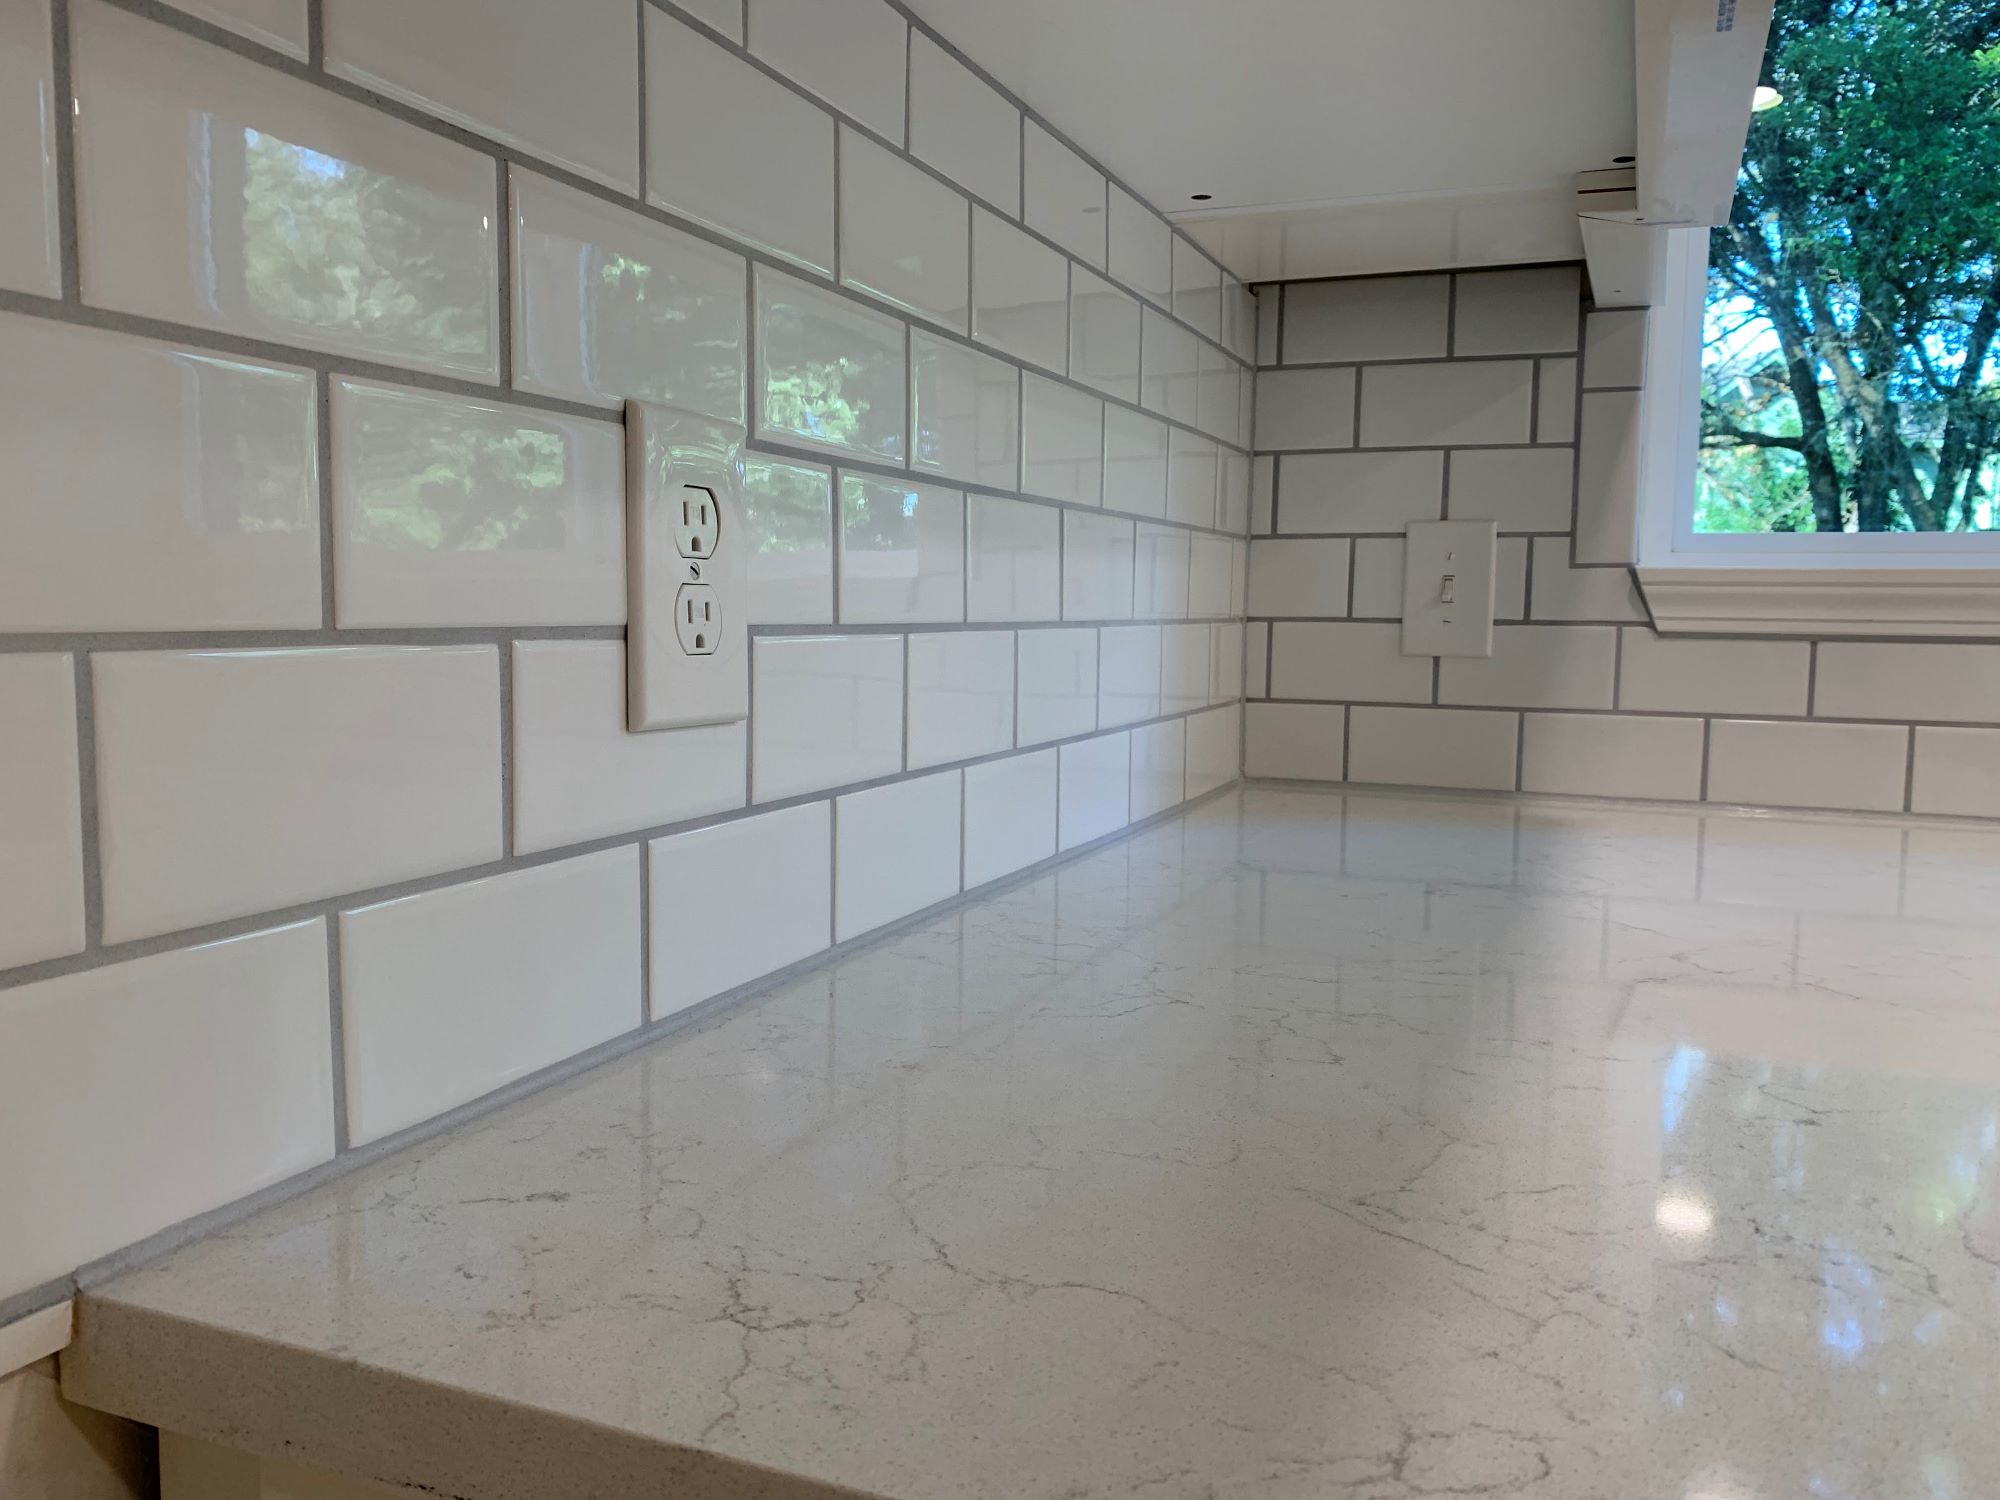
Grout, a mixture of cement, sand, and water, is used to fill the gaps between tiles, providing stability and preventing moisture from seeping beneath the surface. While grout is essential for maintaining the integrity of your tiles, its porous nature makes it susceptible to absorbing dirt, grease, and other contaminants. As a result, the once pristine white grout can gradually turn into an unsightly shade of brown or gray.
Fortunately, with a few simple steps and some elbow grease, you can revitalize your grout and transform the appearance of your backsplash. By following the methods outlined in this guide, you can effectively remove dirt, mold, and stains, leaving your grout looking fresh and clean.
In the following sections, we will discuss the materials needed for this task and provide a step-by-step guide on how to clean the grout in your backsplash. Whether you're a seasoned DIY enthusiast or a novice homeowner, this comprehensive guide will equip you with the knowledge and confidence to tackle this home improvement project. So, roll up your sleeves and get ready to restore the sparkle to your backsplash grout!
Key Takeaways:
- Transform your kitchen or bathroom by cleaning backsplash grout. Follow simple steps and use the right tools to revitalize your grout and enhance your living space.
- By cleaning your backsplash grout, you not only improve its appearance but also contribute to its longevity. Embrace the revitalized allure and take pride in your efforts!
Read more: How To Remove Backsplash Grout
Materials Needed
Before embarking on the task of cleaning your backsplash grout, it's essential to gather the necessary materials. Having the right tools and cleaning agents at your disposal will streamline the process and ensure effective results. Here's a comprehensive list of the materials you'll need:
-
Grout Cleaner: Select a high-quality grout cleaner specifically designed to remove dirt, stains, and mold from grout lines. Look for a cleaner that is safe for both the grout and the surrounding tiles.
-
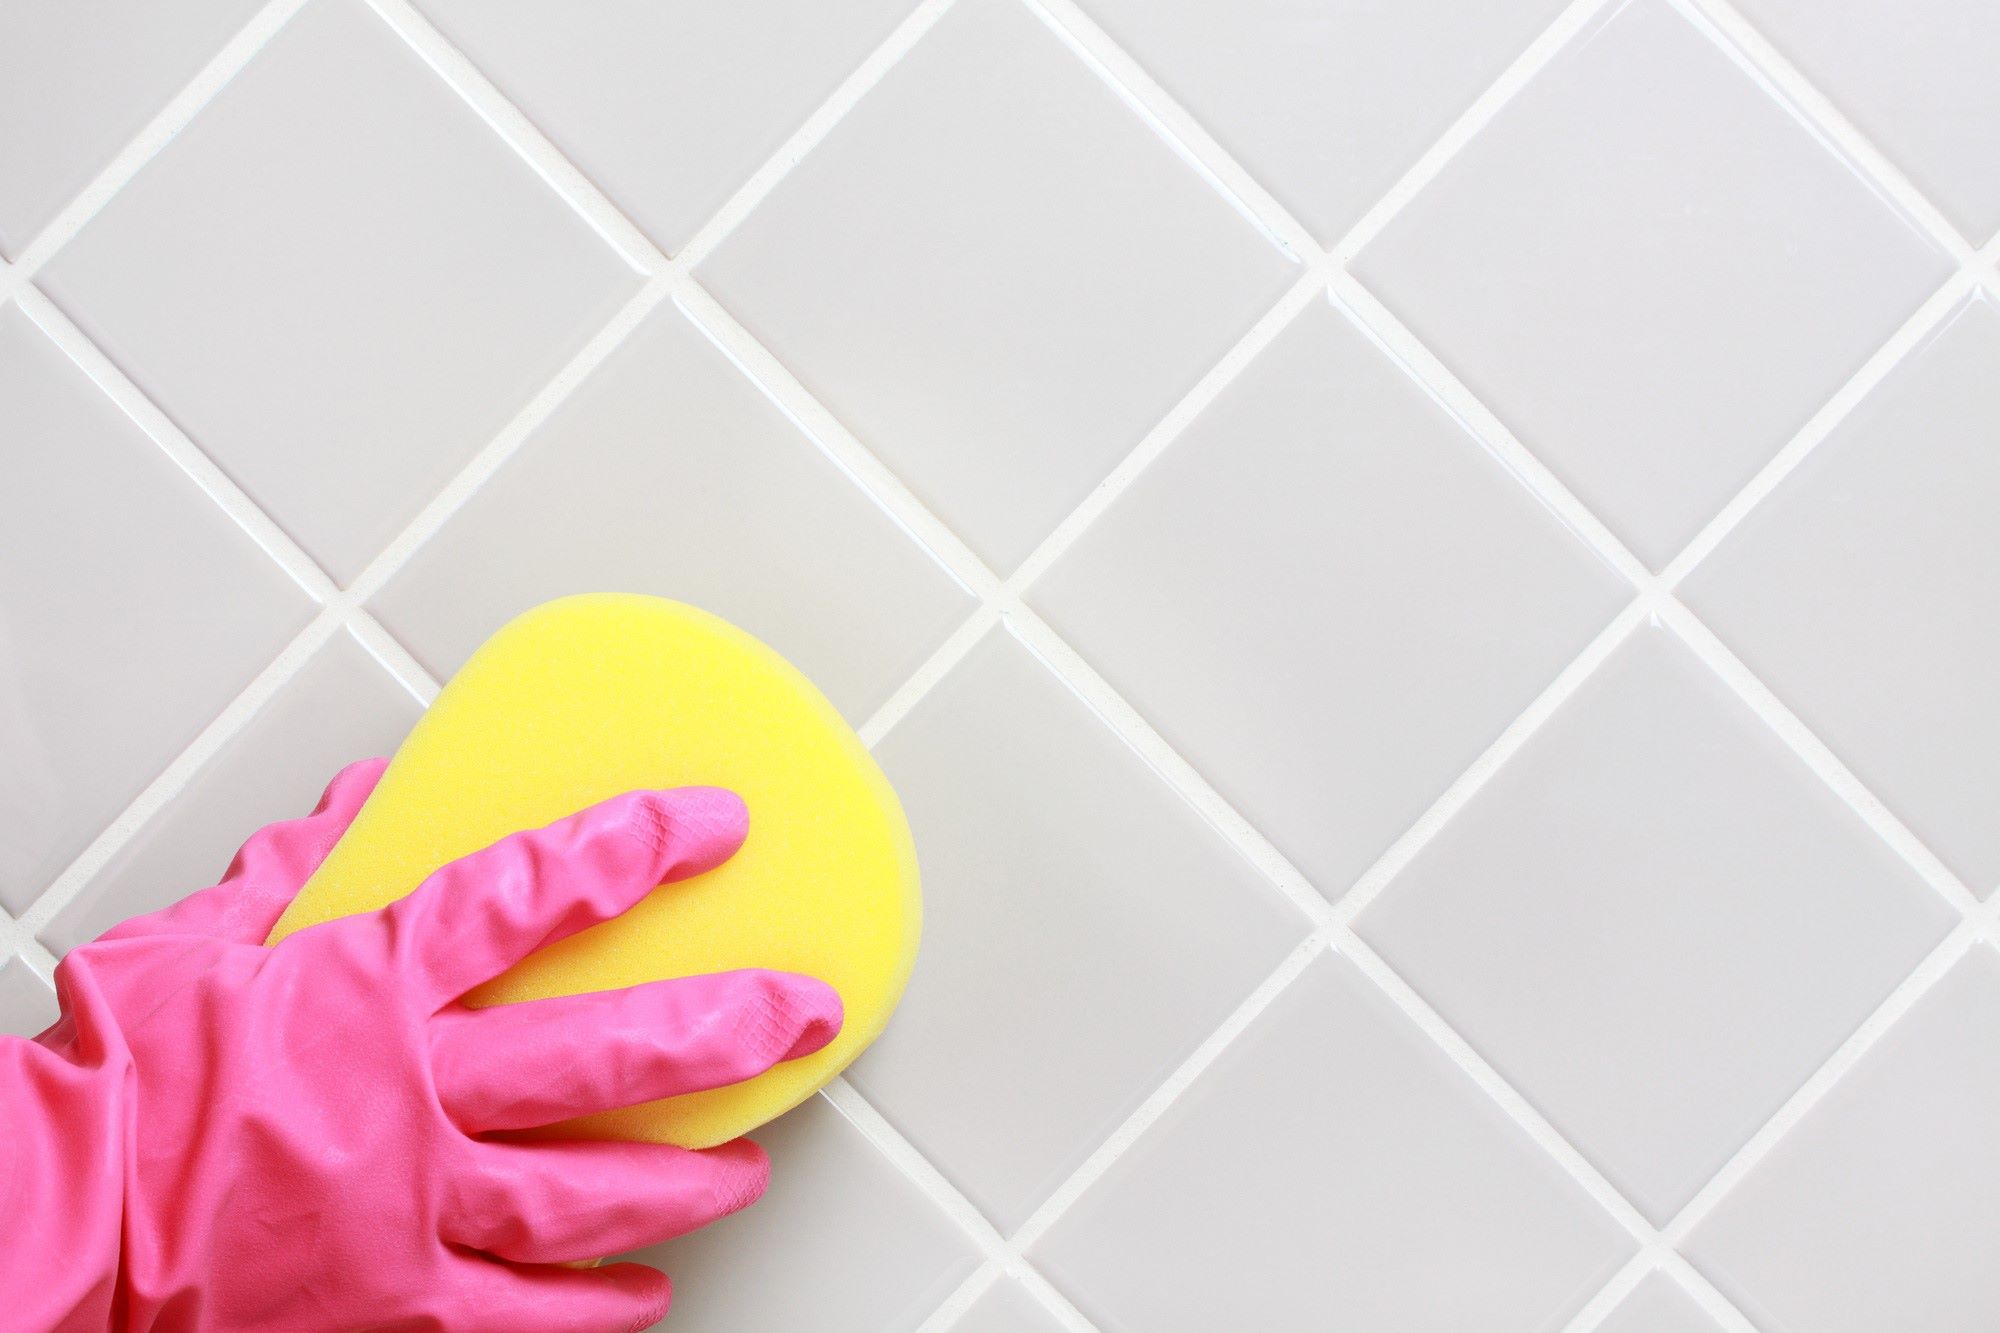
Protective Gear: It's crucial to prioritize safety when working with cleaning solutions. Equip yourself with rubber gloves to protect your hands from the cleaning agents and to maintain good hygiene throughout the process.
-
Old Toothbrush or Grout Brush: An old toothbrush or a grout brush with firm bristles will be your go-to tool for scrubbing the grout lines. The small, sturdy bristles are ideal for reaching into the narrow spaces between the tiles.
-
Microfiber Cloth or Sponge: A microfiber cloth or sponge is essential for wiping and rinsing the grout lines. These materials are highly absorbent and gentle on the grout and tiles.
-
Protective Sealer (Optional): If you want to prolong the cleanliness of your grout and prevent future staining, consider investing in a protective grout sealer. This optional step can provide an additional layer of defense against dirt and moisture.
-
Warm Water: You'll need warm water for diluting the grout cleaner and rinsing the grout lines after cleaning.
-
Bucket: A small bucket will come in handy for mixing the cleaning solution and for holding the warm water during the rinsing process.
-
Ventilation: Ensure proper ventilation in the area where you'll be working. If possible, open windows or use a fan to maintain good airflow and minimize exposure to cleaning fumes.
By gathering these materials, you'll be well-prepared to tackle the task of cleaning your backsplash grout. With the right tools and cleaning agents at your disposal, you can proceed with confidence, knowing that you have everything you need to achieve a refreshed and revitalized grout appearance.
Step 1: Preparing the Grout
Before diving into the cleaning process, it's crucial to prepare the grout and the surrounding area to ensure optimal results. Proper preparation sets the stage for effective grout cleaning and minimizes the risk of damaging the tiles or grout lines. Here's a detailed breakdown of the essential steps for preparing the grout:
Clearing the Area:
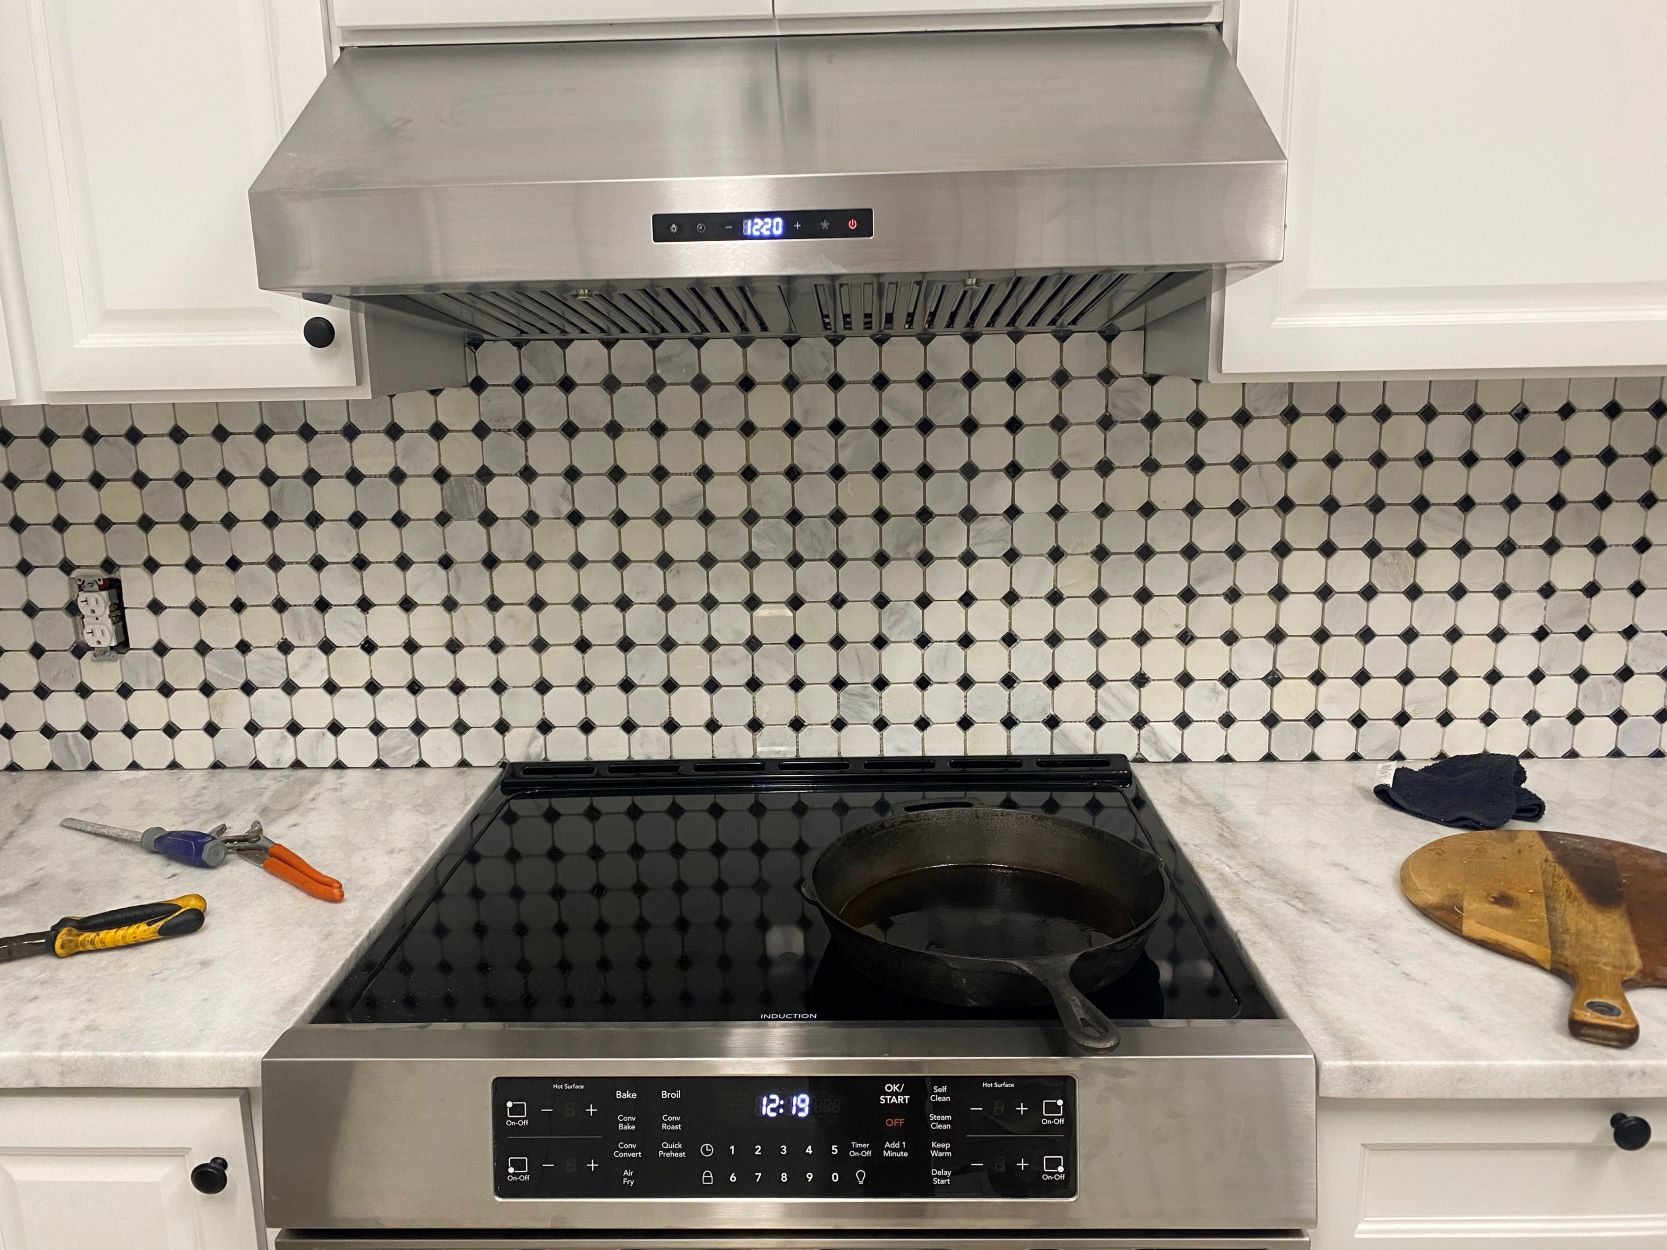
Begin by clearing the backsplash area around the grout lines. Remove any decorative items, such as kitchen utensil holders or bathroom toiletries, to create unobstructed access to the grout. Clearing the area not only allows for easier maneuverability but also prevents any items from coming into contact with the cleaning solution.
Pre-Cleaning Inspection:
Take a moment to inspect the grout lines for any loose debris, such as crumbs or dust. Use a dry cloth or a vacuum with a brush attachment to gently remove any surface dirt or loose particles from the grout. This pre-cleaning step prevents loose debris from mixing with the cleaning solution, ensuring a more thorough and effective cleaning process.
Read more: How To Do Grout For Backsplash
Diluting the Grout Cleaner:
Refer to the manufacturer's instructions on the grout cleaner bottle to determine the appropriate dilution ratio. In a small bucket, mix the grout cleaner with warm water according to the specified proportions. Thoroughly stir the solution to ensure that the cleaner is evenly distributed in the water. Proper dilution is essential for maximizing the cleaning power of the solution while safeguarding the integrity of the grout and tiles.
Test Patch:
Before applying the cleaning solution to the entire grout area, it's advisable to perform a test patch in an inconspicuous area. Select a small section of the grout lines and apply the diluted cleaner using a sponge or cloth. Allow the solution to sit for the recommended duration, typically specified on the cleaner's instructions. After the designated time, rinse the test patch with warm water and assess the results. This test patch serves as a precautionary measure to ensure that the cleaner is compatible with the grout and does not cause any adverse effects.
By meticulously preparing the grout and the surrounding area, you lay the groundwork for a successful grout cleaning endeavor. This initial phase sets the tone for the subsequent steps, allowing you to proceed with confidence and precision as you work towards achieving impeccably clean and rejuvenated grout lines.
Step 2: Applying the Cleaning Solution
Once the grout and surrounding area are meticulously prepared, it's time to apply the cleaning solution to the grout lines. This pivotal step sets the stage for the removal of dirt, stains, and grime that have accumulated over time. The application of the cleaning solution requires precision and thoroughness to ensure comprehensive coverage and effective cleaning. Here's a detailed breakdown of the process for applying the cleaning solution:
-
Even Application: Using a sponge, cloth, or spray bottle, apply the diluted grout cleaner evenly along the grout lines. Ensure that each section of the grout receives a generous coating of the cleaning solution. The goal is to saturate the grout with the cleaner, allowing it to penetrate and loosen the embedded dirt and stains.
-
Dwell Time: Once the cleaning solution is applied, allow it to dwell on the grout lines for the specified duration recommended by the cleaner's instructions. The dwell time is crucial as it allows the active ingredients in the cleaner to effectively break down and dissolve the accumulated grime, making it easier to remove during the scrubbing phase.
-
Avoid Oversaturation: While it's important to ensure thorough coverage, it's equally essential to avoid oversaturating the grout lines. Excessive moisture can seep into the grout, potentially causing damage or weakening its integrity. Therefore, exercise caution to apply the cleaning solution judiciously, focusing on achieving comprehensive coverage without excess pooling of the liquid.
-
Monitoring the Reaction: As the cleaning solution dwells on the grout, observe any visible reactions, such as the lifting of stains or discolorations. This visual feedback provides insight into the effectiveness of the cleaner and can guide the subsequent steps in the cleaning process.
-
Safety Precautions: During the application of the cleaning solution, ensure adequate ventilation in the area to minimize exposure to fumes. If working in a confined space, consider using a protective mask to prevent inhalation of cleaning vapors.
By methodically applying the cleaning solution to the grout lines, you set the foundation for the subsequent scrubbing phase. This critical step initiates the process of lifting and loosening the embedded dirt and stains, paving the way for a thorough and effective grout cleaning endeavor.
Step 3: Scrubbing the Grout
With the cleaning solution effectively penetrating the grout lines and loosening the embedded dirt and stains, the next crucial step involves the physical act of scrubbing the grout. This hands-on phase is where diligent effort and precision come into play, as thorough scrubbing is essential for dislodging and removing the discolored residues from the grout. Here's a detailed breakdown of the process for scrubbing the grout:
-
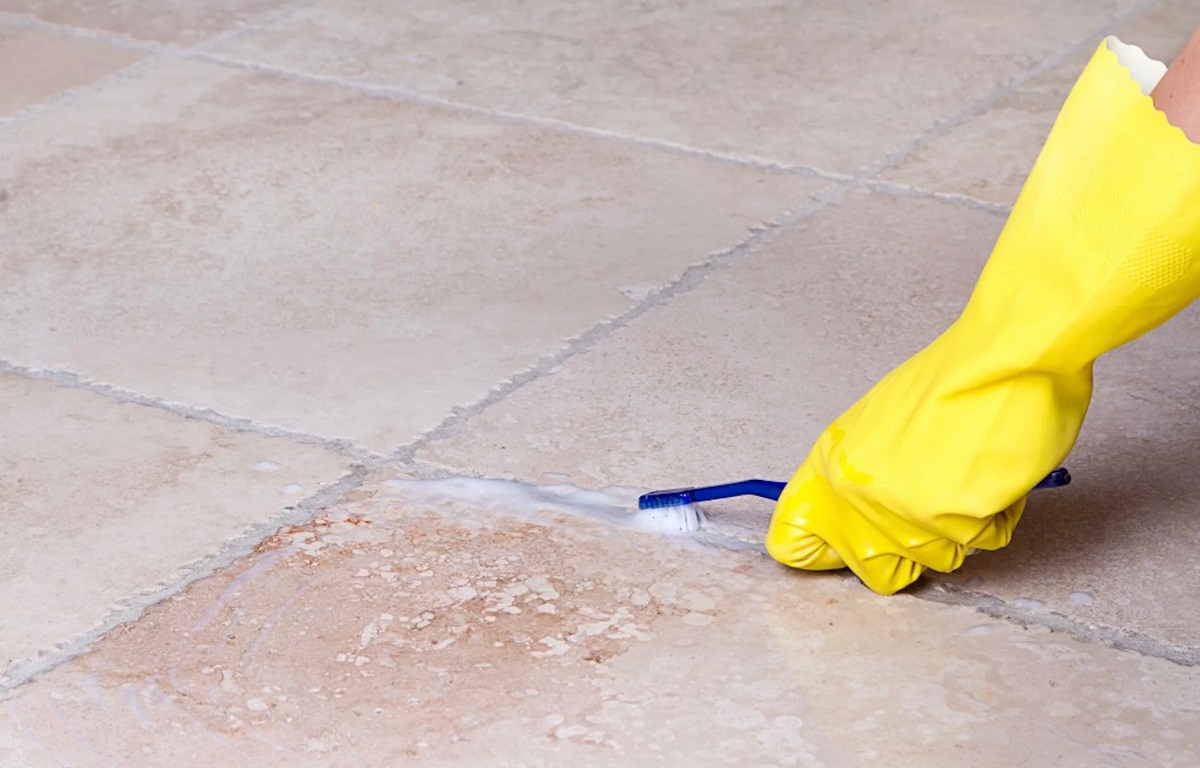
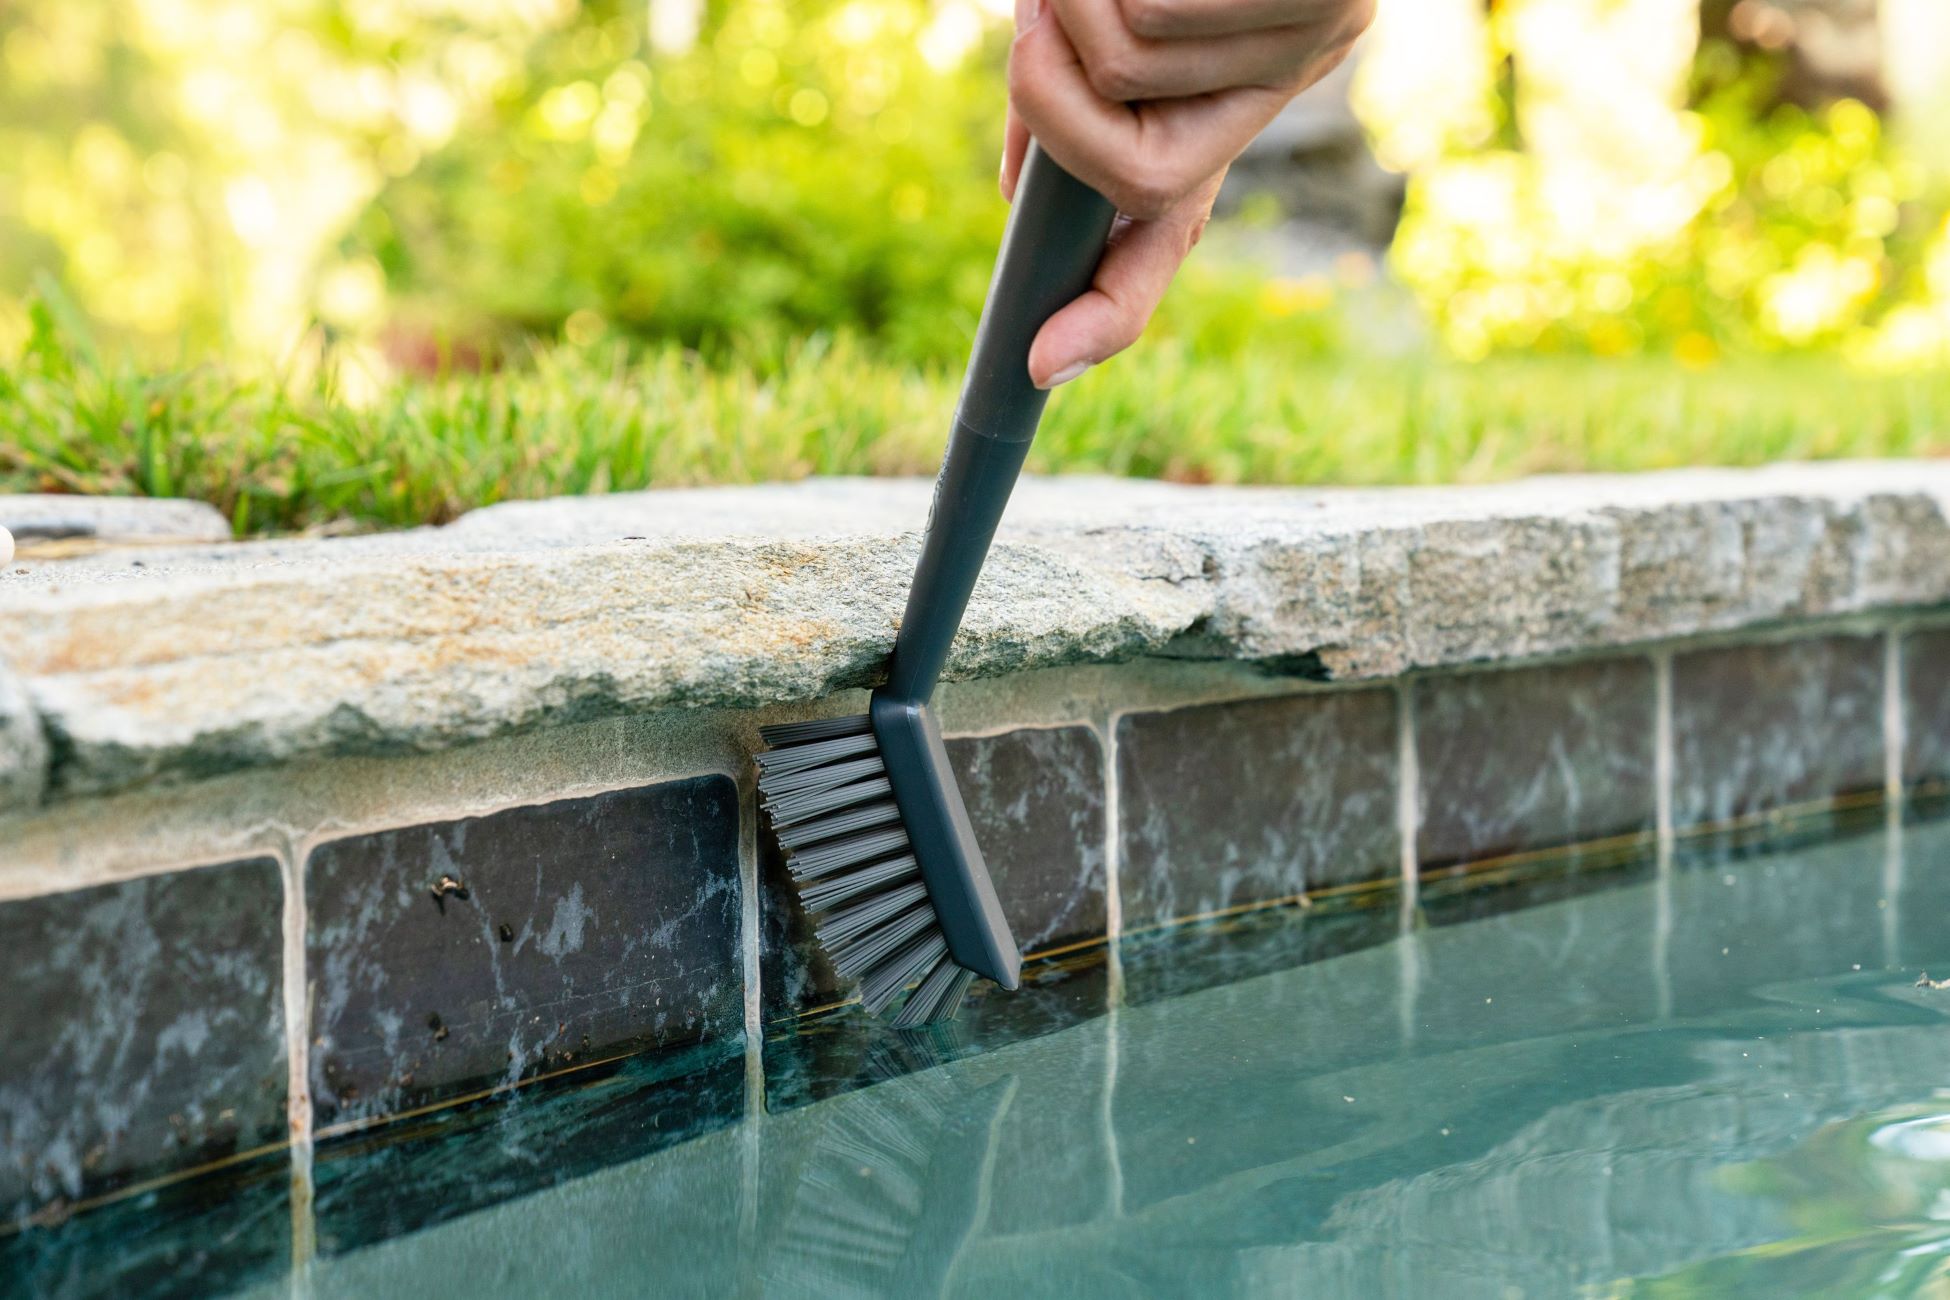
Selecting the Appropriate Tool: Choose an old toothbrush or a grout brush with firm bristles as your primary scrubbing tool. The small, sturdy bristles are adept at reaching into the narrow spaces between the tiles, allowing for targeted and effective scrubbing of the grout lines.
-
Focused Scrubbing Motion: Dip the toothbrush or grout brush into the cleaning solution to moisten the bristles. With a firm yet controlled grip, concentrate on the grout lines, using back-and-forth and circular scrubbing motions. Apply consistent pressure to dislodge the dirt and stains while being mindful not to exert excessive force that could potentially damage the grout or surrounding tiles.
-
Detail-Oriented Approach: Work systematically, addressing small sections of the grout at a time to ensure thorough coverage and meticulous scrubbing. Pay special attention to areas with pronounced discoloration or stubborn stains, dedicating extra effort to effectively lift and remove the blemishes.
-
Periodic Rinsing and Inspection: Periodically rinse the toothbrush or grout brush in warm water to remove dislodged grime and prevent re-deposition onto the grout lines. As you scrub, intermittently inspect the progress, observing the gradual transformation of the grout from dingy to revitalized.
-
Patience and Persistence: Understand that achieving pristine grout requires patience and persistence. Persistently scrub each section until the grout appears visibly cleaner and the embedded stains are noticeably diminished.
-
Maintaining Hygiene and Safety: Throughout the scrubbing process, maintain good hygiene by periodically washing your hands and avoiding contact with your face. If using a grout cleaner with potent ingredients, adhere to safety precautions and avoid skin contact with the solution.
By methodically scrubbing the grout lines with precision and dedication, you are actively working towards restoring the grout to its original brightness. This pivotal step, when executed diligently, sets the stage for remarkable results, paving the way for a backsplash grout that exudes cleanliness and revitalized charm.
Read more: How To Grout Stone Backsplash
Step 4: Rinsing and Drying
After the thorough scrubbing of the grout lines, the next critical phase involves the meticulous rinsing and drying of the treated area. This step is pivotal in ensuring the complete removal of the cleaning solution and dislodged grime, as well as facilitating the drying process to reveal the revitalized appearance of the grout. Here's a detailed breakdown of the essential steps for rinsing and drying the grout:
-
Warm Water Rinse: Begin by saturating a clean microfiber cloth or sponge with warm water. Gently wipe the entire treated area, ensuring that all remnants of the cleaning solution are thoroughly removed from the grout lines. The warm water rinse serves to neutralize and flush away any residual cleaner, preventing potential chemical interactions with the grout.
-
Repeat Rinsing: If necessary, perform a second round of rinsing to ensure that no traces of the cleaning solution remain on the grout. Thorough rinsing is crucial for preventing any lingering residue that could compromise the cleanliness and appearance of the grout lines.
-
Drying with a Microfiber Cloth: Once the grout lines have been effectively rinsed, use a dry microfiber cloth to gently pat and absorb excess moisture from the treated area. The microfiber cloth's absorbent properties aid in efficiently drying the grout while minimizing the risk of water spots or streaks.
-
Air Drying: Allow the freshly cleaned grout to air dry naturally. Proper ventilation in the room will expedite the drying process, ensuring that the grout lines achieve a pristine, dry state. If applicable, use fans or open windows to enhance airflow and promote swift drying.
-
Optional Protective Sealer Application: If you've opted to apply a protective grout sealer, ensure that the grout lines are completely dry before proceeding with the sealing process. The absence of moisture is essential for the optimal adhesion and effectiveness of the sealer.
-
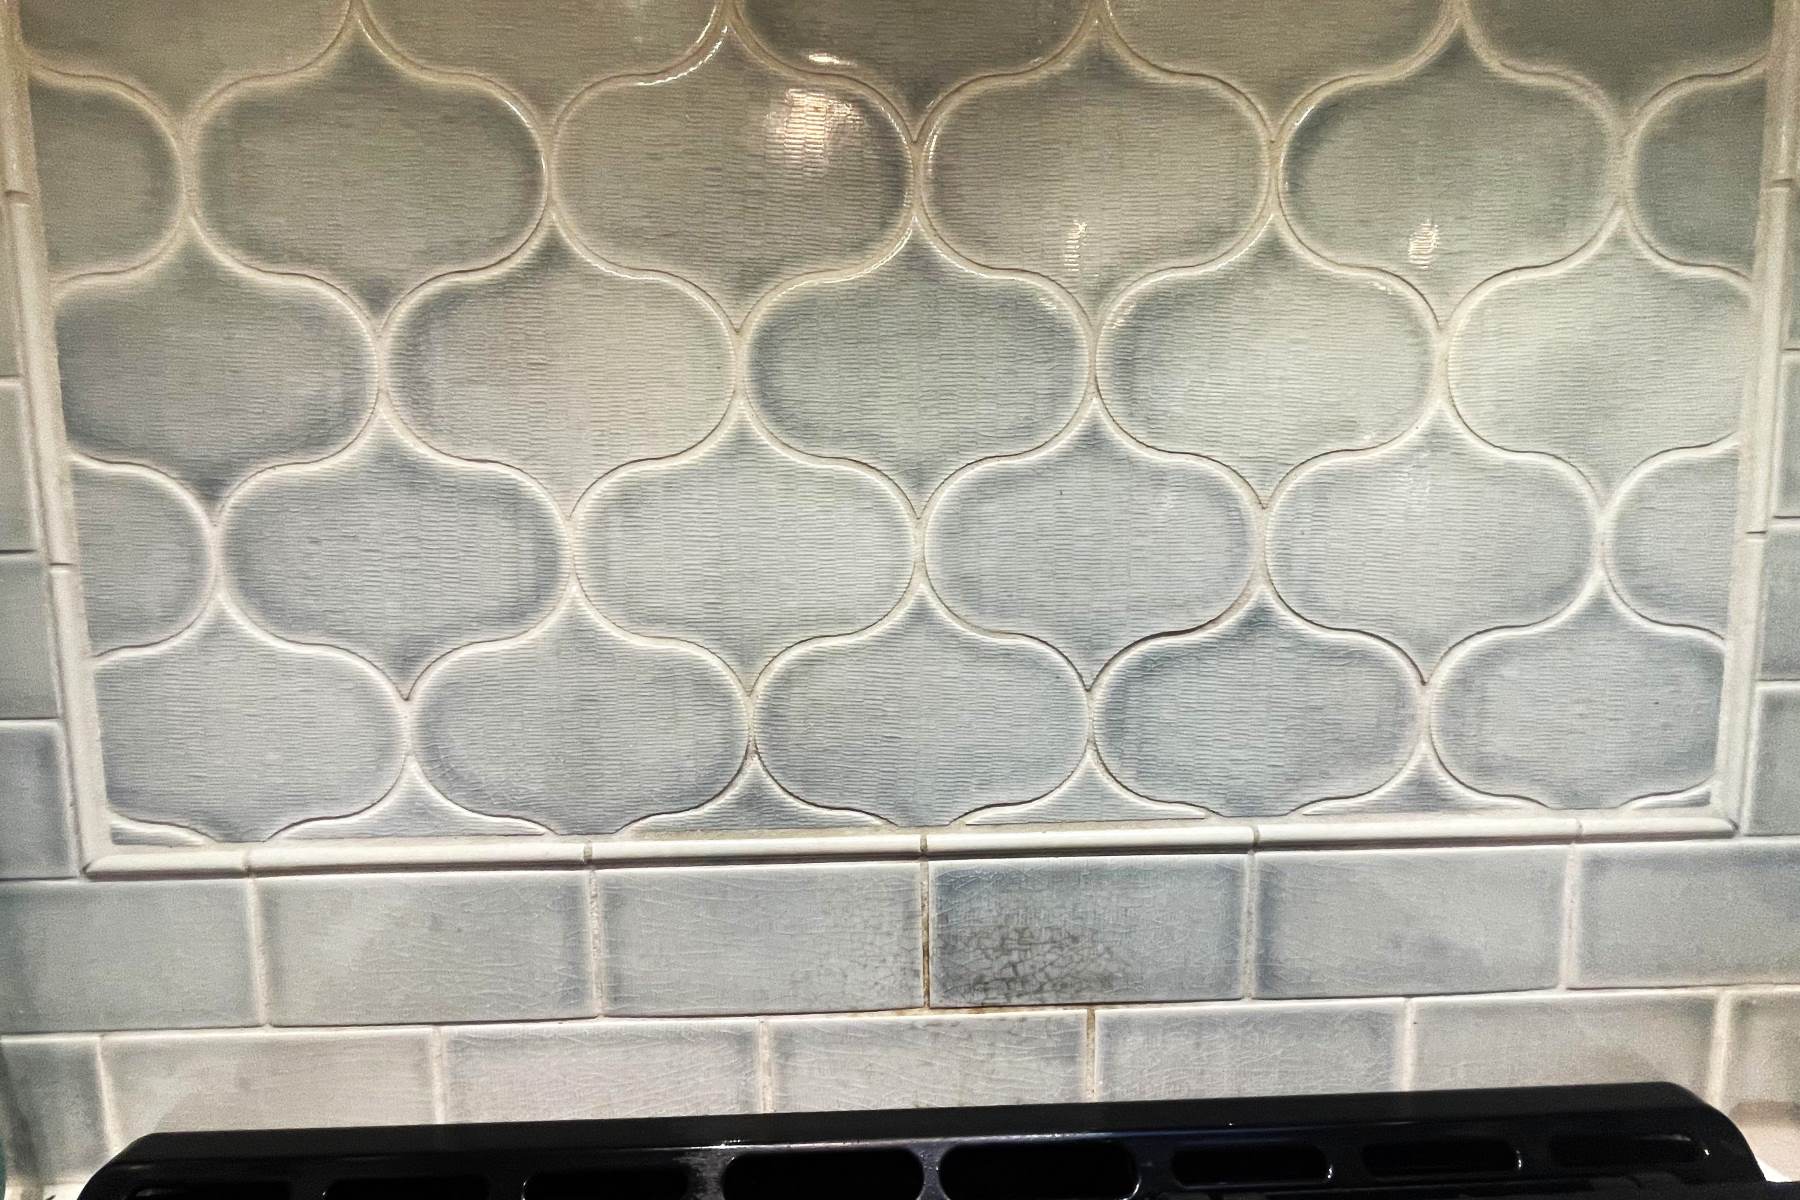
Final Inspection: Once the grout lines are thoroughly dried, take a moment to inspect the area, reveling in the revitalized appearance of the grout. Admire the renewed brightness and cleanliness, appreciating the transformative impact of the meticulous cleaning process.
By diligently executing the rinsing and drying phase, you conclude the grout cleaning endeavor with a sense of accomplishment and satisfaction. The culmination of this step unveils the fruits of your labor, presenting impeccably clean and rejuvenated grout lines that enhance the overall allure of your backsplash.
Use a mixture of equal parts water and white vinegar to clean grout on your backsplash. Apply the solution with a toothbrush, let it sit for 10 minutes, then scrub and rinse.
Conclusion
In conclusion, the process of cleaning the grout in your backsplash is a transformative endeavor that yields remarkable results. By following the meticulous steps outlined in this guide, you have embarked on a journey to revitalize and rejuvenate the appearance of your backsplash grout. From the initial preparation and application of the cleaning solution to the dedicated scrubbing and thorough rinsing, each phase has contributed to the restoration of the grout's original luster.
As you stand back and admire the freshly cleaned grout lines, take pride in the dedication and effort invested in this home improvement project. The once dingy and discolored grout has been replaced with a renewed brightness, enhancing the overall aesthetic of your kitchen or bathroom. The revitalized grout serves as a testament to your commitment to maintaining a clean and inviting living space.
Furthermore, the impact of this endeavor extends beyond visual appeal. By effectively cleaning the grout, you have also contributed to the maintenance and longevity of your backsplash. The removal of dirt, stains, and grime not only enhances the appearance but also safeguards the integrity of the grout and surrounding tiles, prolonging their lifespan and preserving their inherent beauty.
As you revel in the success of this undertaking, consider implementing preventive measures to sustain the cleanliness and pristine condition of your grout. Regular maintenance, such as swift cleaning of spills and periodic gentle scrubbing, can help prevent the accumulation of stubborn stains and preserve the freshly cleaned appearance of the grout.
In closing, the journey of cleaning your backsplash grout has not only resulted in a visually striking transformation but also embodies the spirit of care and attention you bestow upon your living space. Your commitment to maintaining a clean and inviting environment has manifested in the rejuvenated charm of your backsplash, leaving a lasting impression on all who behold it. Embrace the revitalized allure of your backsplash grout and take pride in the remarkable impact of your efforts.
Frequently Asked Questions about How To Clean Backsplash Grout
Was this page helpful?
At Storables.com, we guarantee accurate and reliable information. Our content, validated by Expert Board Contributors, is crafted following stringent Editorial Policies. We're committed to providing you with well-researched, expert-backed insights for all your informational needs.


0 thoughts on “How To Clean Backsplash Grout”