Articles
How To Store Breast Milk Soap
Modified: January 19, 2024
Learn how to store breast milk soap safely and effectively with our informative articles. Follow our expert tips to ensure the longevity and freshness of your breast milk soap.
(Many of the links in this article redirect to a specific reviewed product. Your purchase of these products through affiliate links helps to generate commission for Storables.com, at no extra cost. Learn more)
Introduction
Welcome to the world of breast milk soap! As a new parent, you know just how precious breast milk is for your baby’s nourishment and well-being. But did you know that breast milk can also be transformed into a luxurious soap? That’s right – you can now harness the amazing benefits of breast milk and create your own soap that is not only gentle on your baby’s skin but also nourishing and moisturizing.
Breast milk soap has been gaining popularity among parents who want to utilize every drop of their precious liquid gold. Not only does it provide a creative way to repurpose excess breast milk, but it also allows you to create a truly unique and personalized product for your little one.
In this article, we will guide you through the process of making and storing breast milk soap. We will cover everything you need to know, from the supplies you’ll need to the step-by-step process. So, let’s dive in and discover how you can transform your breast milk into a beautiful and beneficial soap!
Key Takeaways:
- Transform your excess breast milk into a nourishing and personalized soap for your baby’s delicate skin. Enjoy the creative process and cherish the sentimental value of repurposing your liquid gold.
- Embrace the eco-friendly and gentle benefits of breast milk soap, providing personalized care for your baby while preserving the memories of your breastfeeding journey. Enjoy the rewarding and meaningful experience of soap making.
Read more: How To Store Expired Breast Milk
Benefits of Breast Milk Soap
Using breast milk as an ingredient in soap offers a range of benefits for both you and your baby. Let’s explore some of the advantages of incorporating breast milk into your soap-making routine:
- Moisturizing and Nourishing: Breast milk is packed with nutrients and antibodies that help protect and nourish your baby. When used in soap, these properties can provide moisturizing benefits for your baby’s delicate skin. Breast milk soap can help hydrate dry skin, soothing any irritation and leaving it soft and supple.
- Gentle on Sensitive Skin: Babies often have sensitive skin that can be prone to rashes and irritations. Commercial soaps may contain harsh chemicals that can aggravate the skin. Breast milk soap, on the other hand, is all-natural and gentle, making it ideal for babies with sensitive skin conditions such as eczema or allergies.
- Antibacterial and Antifungal Properties: Breast milk contains antibodies that help fight off bacteria and fungi. These properties can be beneficial in treating conditions such as diaper rash or cradle cap. The antibacterial and antifungal properties of breast milk soap can provide relief and help prevent further infections.
- Personalized and Unique: Making breast milk soap allows you to create a personalized and unique product for your baby. Each batch of soap will contain your own breast milk, making it a special and meaningful gift for your little one. It is a great way to repurpose excess breast milk and create something useful while preserving the memories associated with breastfeeding.
- Eco-Friendly: By making your own breast milk soap, you have control over the ingredients used. You can avoid synthetic additives, artificial fragrances, and unnecessary packaging, making it an eco-friendly choice. It’s a sustainable and natural option for caring for your baby’s skin.
Now that we’ve explored the benefits of breast milk soap, let’s move on to the supplies you’ll need to get started with this exciting and rewarding project!
Supplies Needed
Before you embark on your breast milk soap-making journey, it’s important to gather all the necessary supplies. Here’s a list of the items you’ll need:
- Breast Milk: Of course, the star of the show is breast milk! Make sure you have an ample supply of frozen breast milk ready to use in your soap-making process.
- Lye: Lye is a crucial component in soap making as it helps with saponification, the process that turns oils/fats into soap. Make sure to purchase food-grade lye specifically for soap making, as other forms of lye can be harmful.
- Oils/Fats: You’ll need a selection of oils or fats to create a well-balanced and nourishing soap. Some popular options include coconut oil, olive oil, shea butter, and cocoa butter. Choose oils that are skin-friendly and will contribute to the moisturizing properties of the soap.
- Additives and Fragrances: You can enhance your breast milk soap with various additives such as essential oils, herbs, or natural coloring agents. These can provide fragrance and aesthetic appeal to your soap.
- Molds: To shape your soap, you will need molds. Silicone molds are a popular choice as they are flexible and make it easy to remove the soap once it has hardened.
- Stirring Utensils and Safety Equipment: It’s important to have separate utensils for soap making to avoid cross-contamination. You’ll need a stainless steel pot or heat-resistant container for mixing, a stick blender for emulsifying the ingredients, and safety equipment such as goggles and gloves to protect yourself from the lye.
- Thermometer: A thermometer is essential to monitor the temperature of the lye solution and the oils. It ensures that the ingredients reach the right temperature for successful soap making.
- Labels and Packaging Materials: Once your soap is ready, you’ll want to label and package it properly. Consider using eco-friendly packaging options such as recycled paper or biodegradable materials.
Now that you have an idea of the supplies you’ll need, it’s time to move on to the step-by-step process of collecting and storing breast milk for soap making!
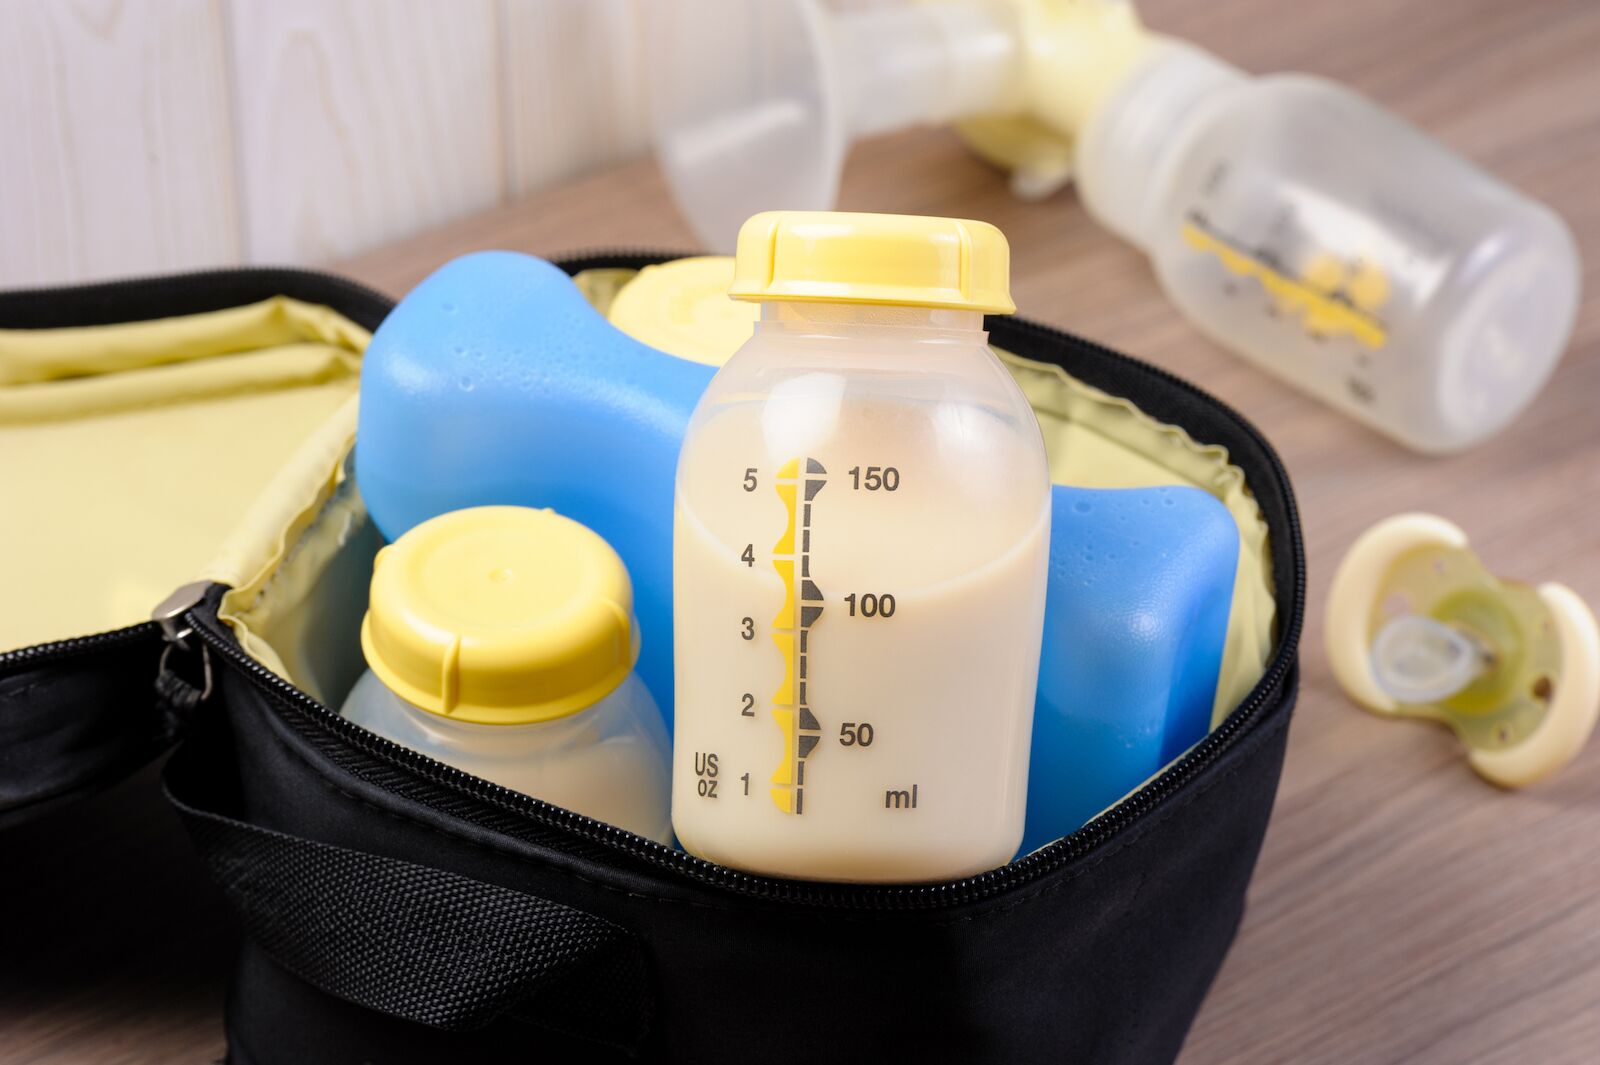
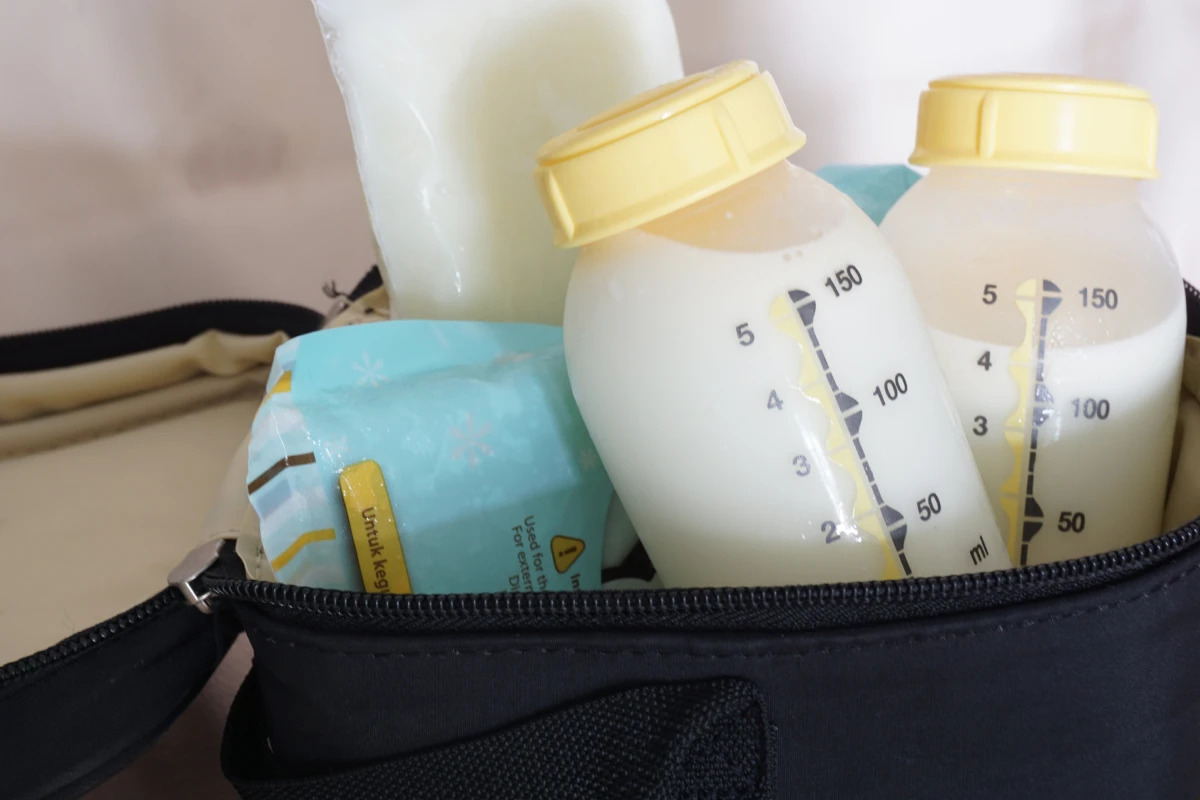
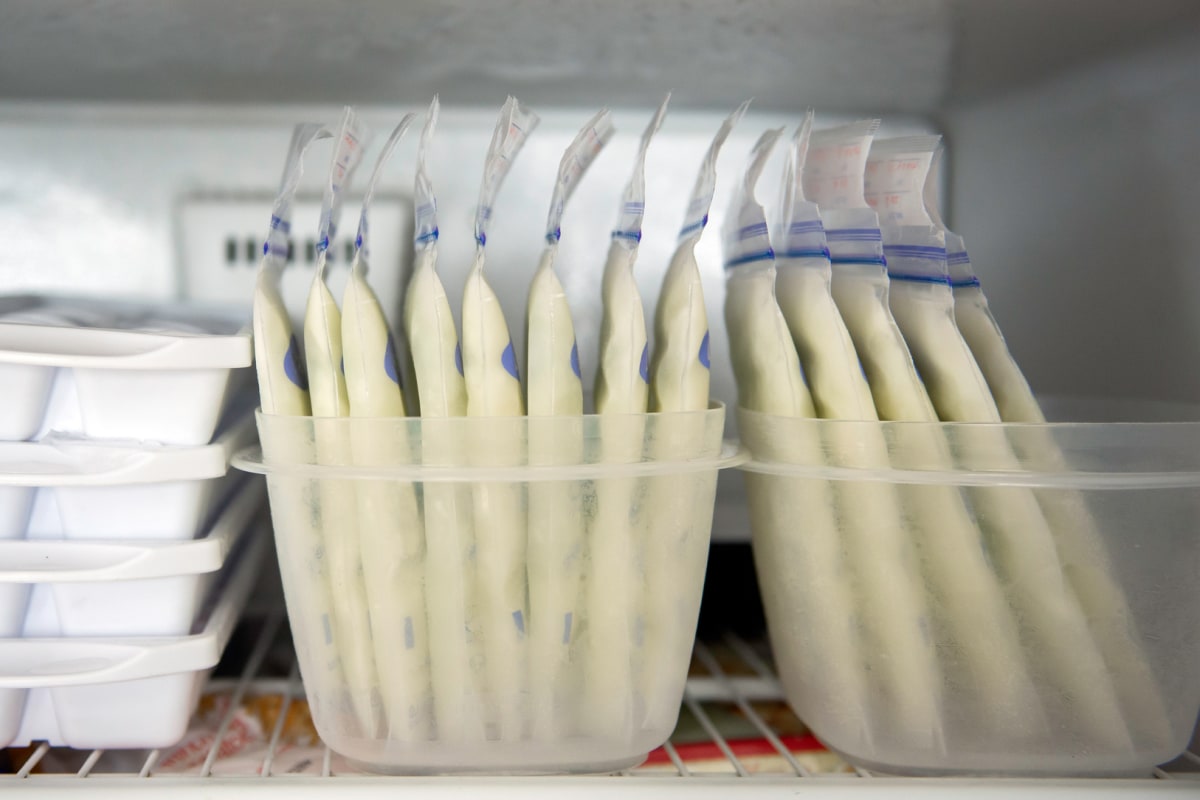
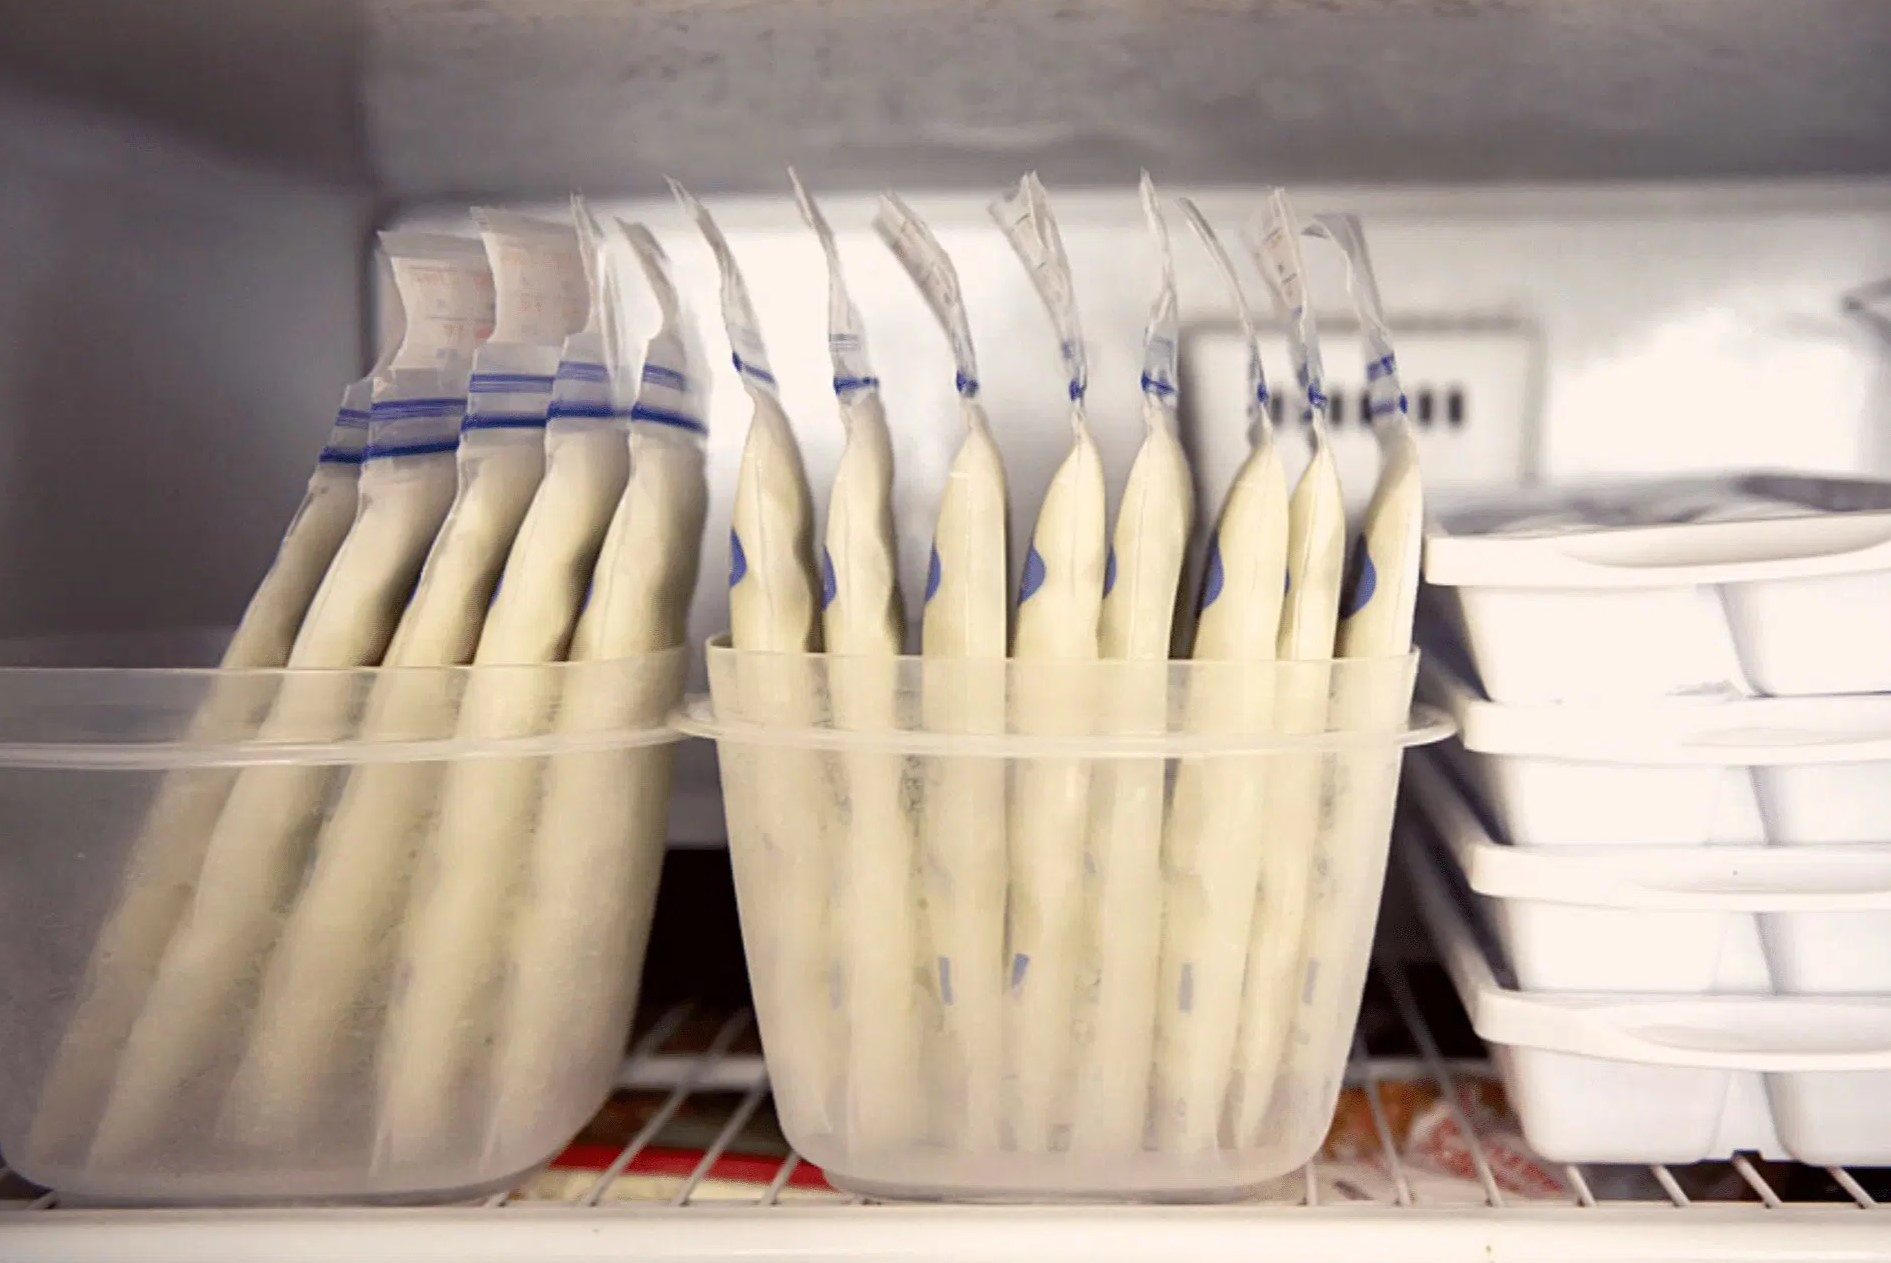
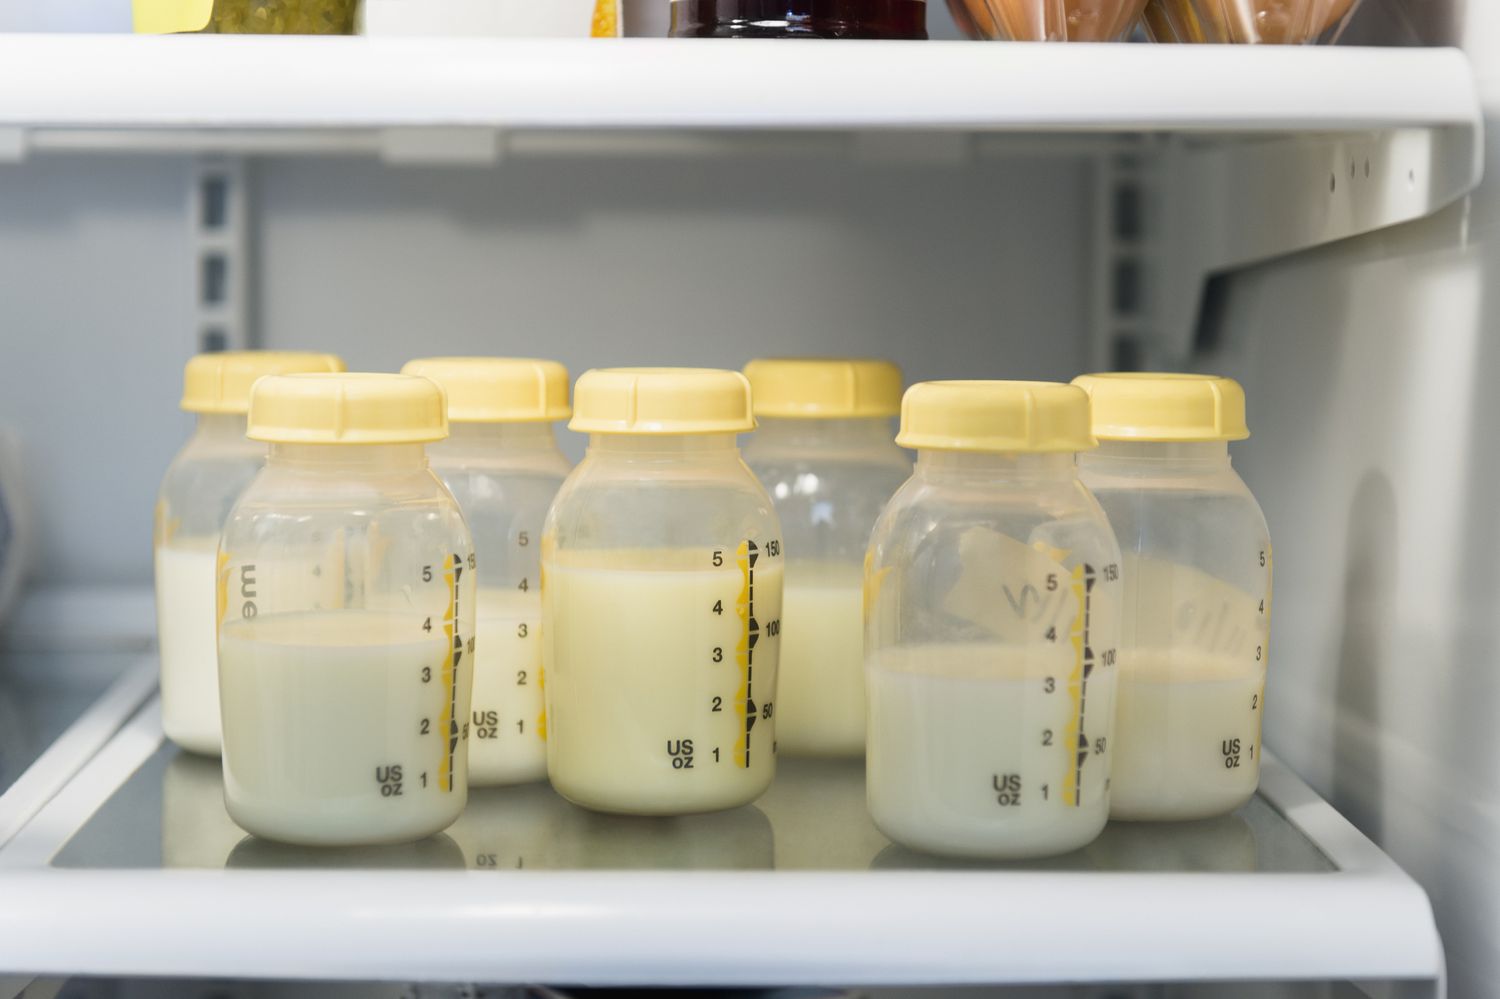
Step 1: Collecting and Storing Breast Milk
The first step in making breast milk soap is collecting and storing breast milk. Here’s a simple guide to help you with this process:
- Sanitize: Before expressing breast milk, ensure that all the equipment you use, including the breast pump and containers, are properly cleaned and sanitized. This will help maintain the freshness and quality of the milk.
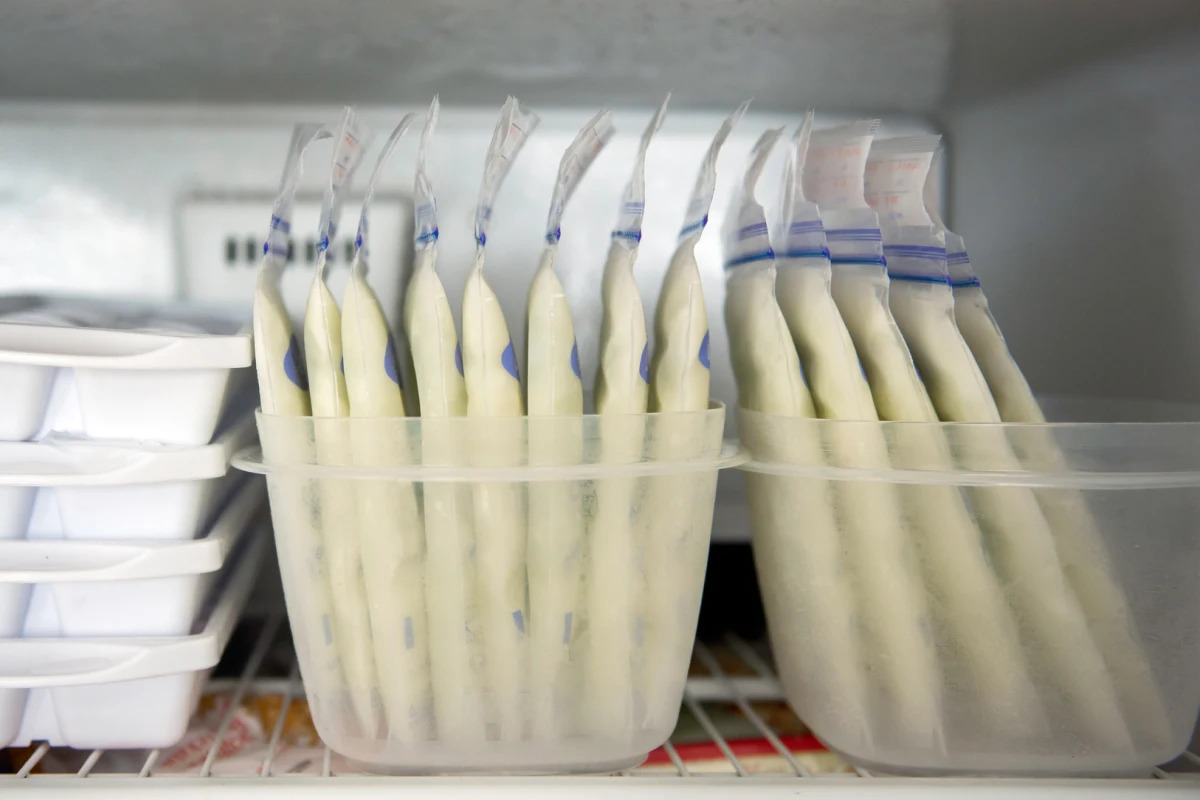
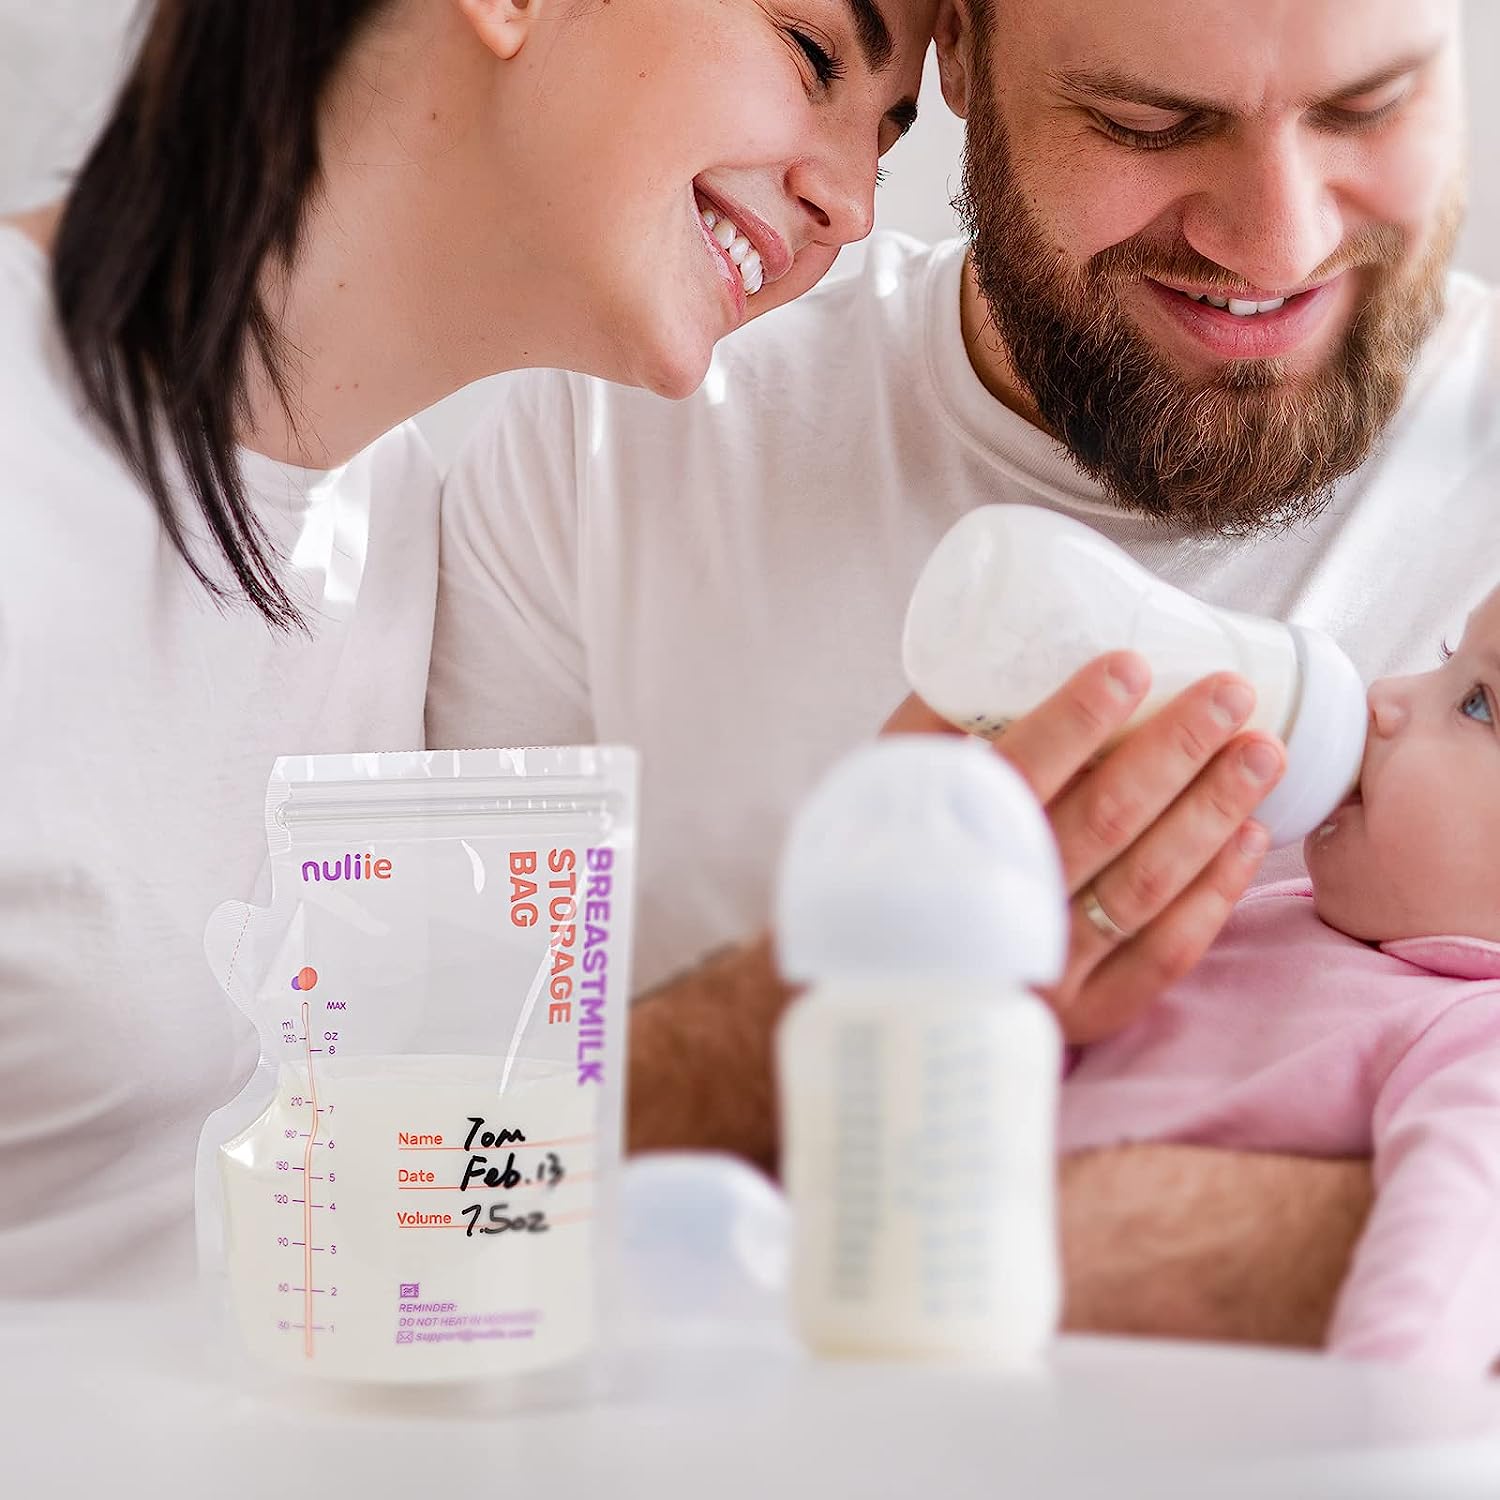
- Choose Storage Containers: Use BPA-free containers or breast milk storage bags to store your expressed milk. Make sure they are clean and sterilized before use.
- Label and Date: It’s important to label each container with the date and time of expression. This will help you keep track of the freshness of the milk.
- Store in the Freezer: Place the containers in the coldest part of the freezer to ensure the milk remains frozen throughout the storage period. Breast milk can be stored in the freezer for up to 6 months.
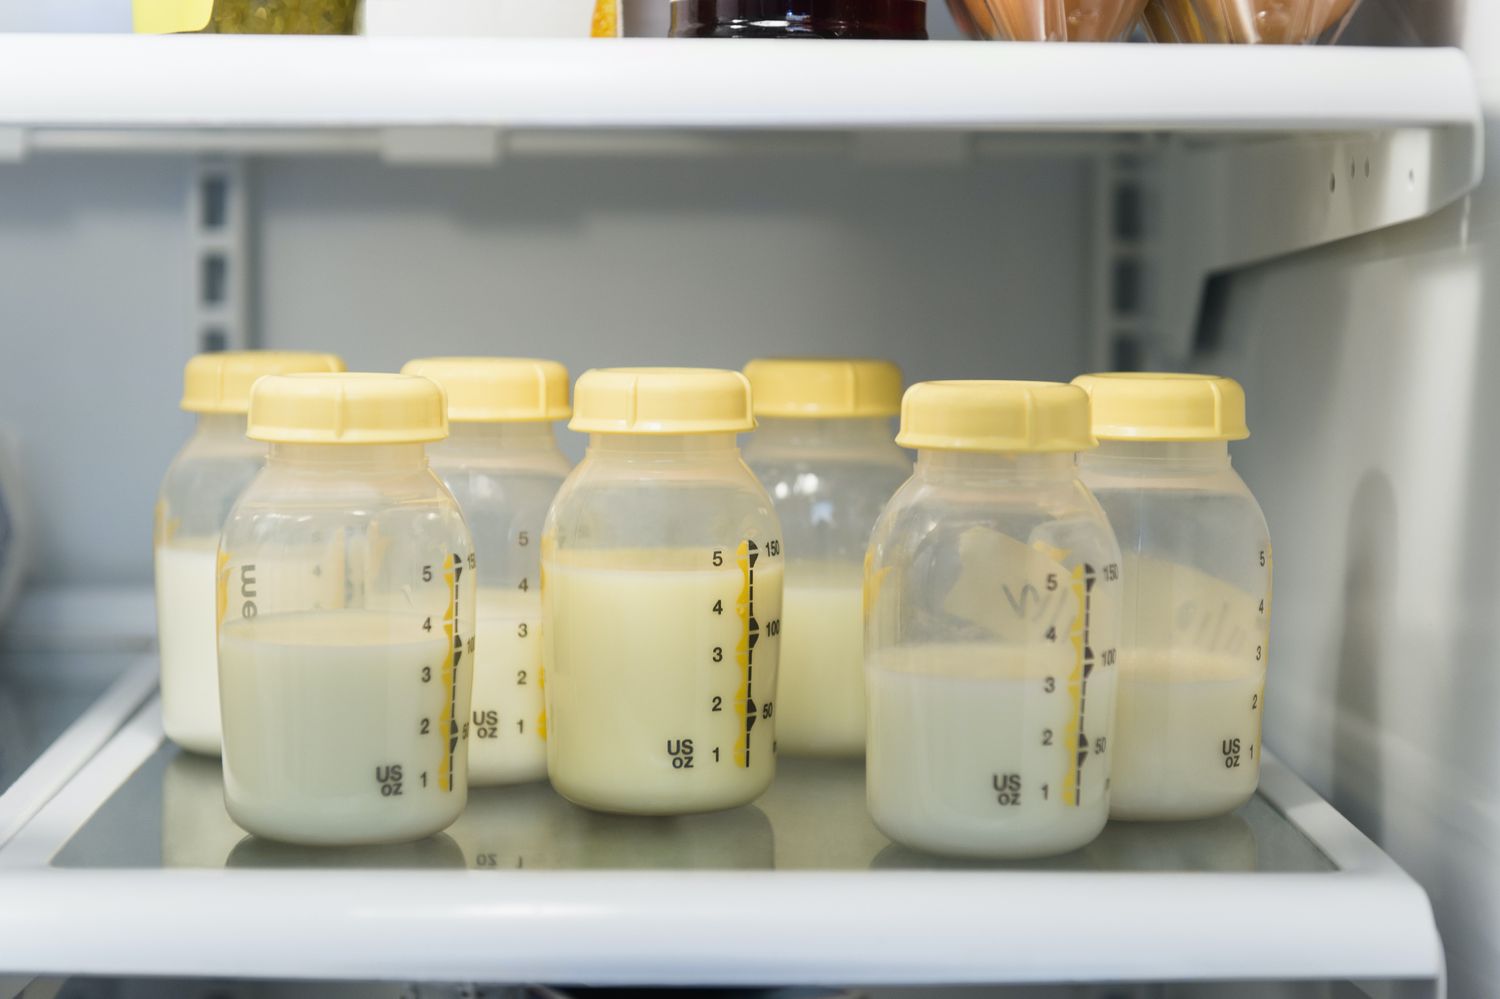
- Thawing: When you’re ready to make soap, remove the desired amount of breast milk from the freezer and transfer it to the refrigerator to thaw overnight. Avoid using the microwave or hot water to thaw breast milk, as this can impact its quality.
Once you have thawed the breast milk and it is ready for soap making, proceed to the next step of the process: thawing and preparing the breast milk for soap making.
Step 2: Thawing and Preparing Breast Milk for Soap Making
Now that you have thawed your breast milk, it’s time to prepare it for the soap making process. Follow these steps to ensure your breast milk is ready to be incorporated into your soap:
- Check the Quality: Before using the thawed breast milk, examine its color, smell, and consistency to ensure it is still fresh and suitable for use. If you notice any abnormalities or unpleasant odors, discard the milk and use fresh breast milk instead.
- Measure the Quantity: Determine the amount of breast milk you will need for your soap recipe. Make sure to take into account the size of your soap batch and the desired concentration of breast milk in the soap.
- Warm Gently: To prepare the breast milk for soap making, warm it gently. You can do this by placing the thawed breast milk container in a warm water bath. Avoid heating the breast milk directly on the stove or using high temperatures, as this can denature its beneficial properties.
- Add Preservative (optional): Depending on your soap recipe and personal preferences, you may choose to add a preservative to the warmed breast milk. Preservatives help prolong the shelf life of the soap and prevent the growth of mold or bacteria. Consult your soap recipe or a soap-making expert for guidance on choosing and using the appropriate preservative.
Once the breast milk is warmed and any optional preservative added, you are now ready to incorporate it into the soap-making process. In the next step, we will guide you through the soap making process itself.
Store breast milk soap in a cool, dry place away from direct sunlight to maintain its quality and effectiveness. Avoid storing it in the bathroom, as the humidity can cause the soap to soften and break down.
Read more: How To Store Pumped Breast Milk
Step 3: Soap Making Process
Now that you have prepared your breast milk, it’s time to dive into the soap making process. Follow these steps to create your own breast milk soap:
- Prepare Your Work Area: Set up your workspace with all the necessary equipment and ingredients. Ensure that your work area is clean and well-ventilated.
- Measure and Heat the Oils/Fats: Begin by measuring out the oils/fats according to your soap recipe. Heat them gently in a stainless steel pot or heat-resistant container over low heat until they reach the desired temperature specified in your recipe. Use a thermometer to monitor the temperature.
- Mix the Lye Solution: In a separate container, carefully measure and add the specified amount of lye to a pre-measured amount of water. Stir gently until the lye is fully dissolved. Be cautious and wear protective gloves and goggles, as lye can be caustic. Allow the lye solution to cool to the temperature specified in your recipe.
- Combine Oils/Fats and Lye Solution: Once the oils/fats and lye solution have reached the correct temperatures, slowly pour the lye solution into the oils/fats. Use a stick blender to emulsify the mixture. Continue blending until the mixture reaches trace, which is the consistency of custard or pudding.
- Add Breast Milk: Once the soap mixture has reached trace, it’s time to add the warmed breast milk. Pour the breast milk into the soap mixture and blend it thoroughly using the stick blender. This ensures that the breast milk is evenly incorporated into the soap mixture.
- Add Additives and Fragrances: If you wish to include any additives such as essential oils, herbs, or natural coloring agents, this is the time to add them. Stir the mixture gently to distribute the additives evenly.
- Pour into Molds: Carefully pour the soap mixture into your chosen molds. Gently tap the mold on a solid surface to remove any trapped air bubbles. Smooth the surface of the soap with a spatula or spoon if needed.
- Allow to Set: Place the molds in a cool and undisturbed place to allow the soap to set. The curing process typically takes around 24 to 48 hours, but follow the specific instructions in your recipe for the recommended curing time.
Congratulations! You have successfully completed the soap making process. However, the soap is not yet ready to be used. In the next step, we will cover the crucial process of mold and curing the soap.
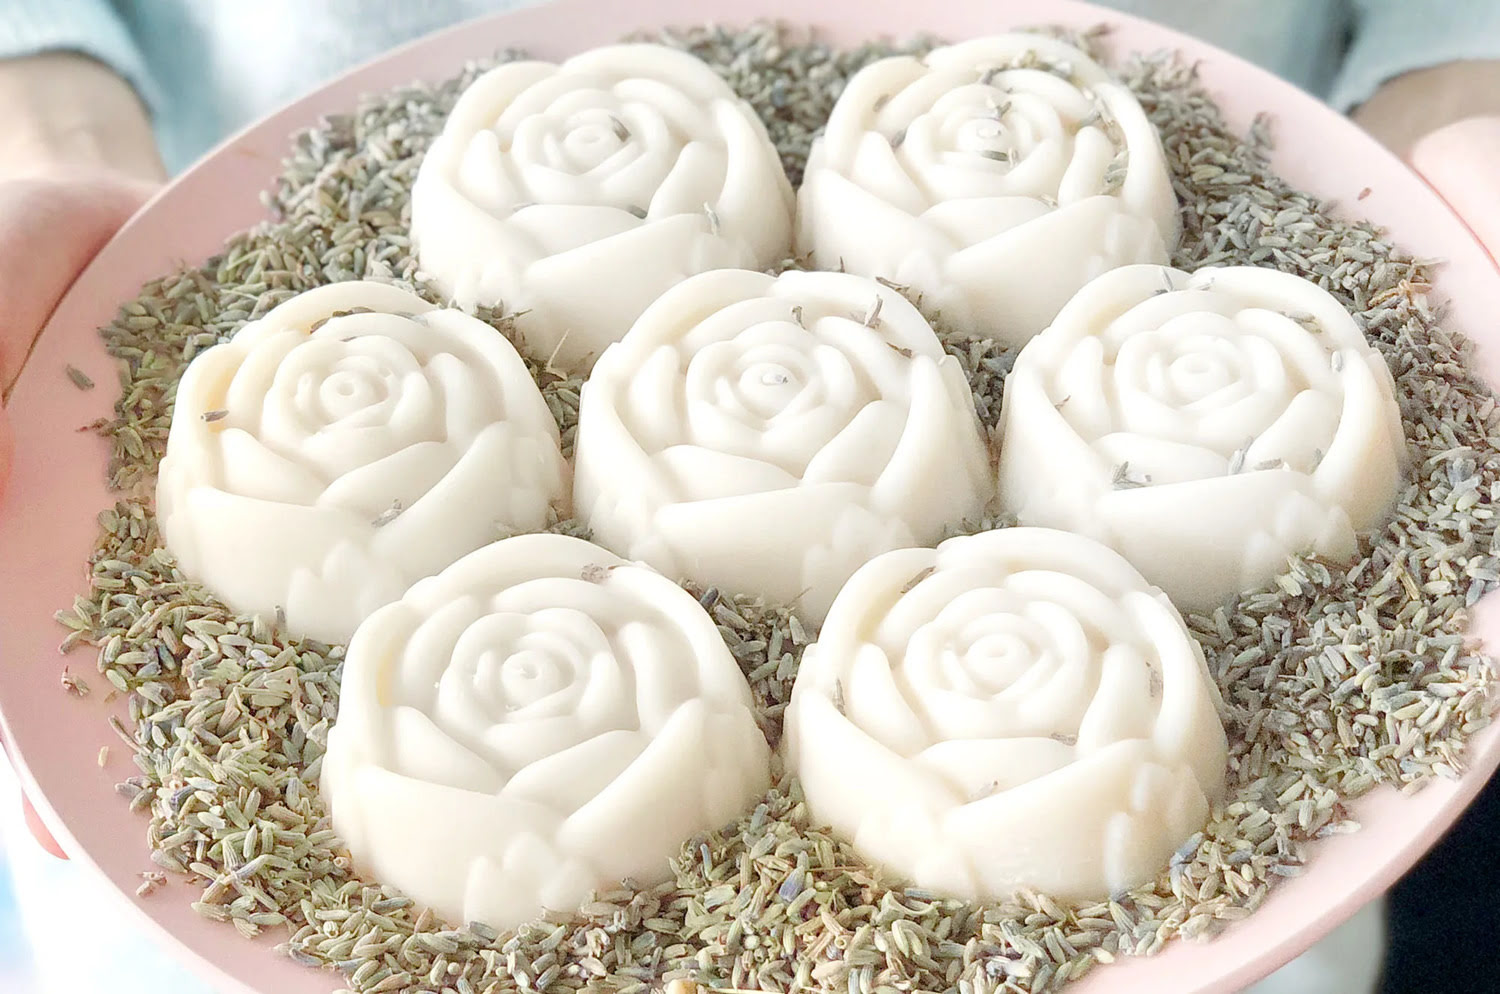
Step 4: Mold and Cure the Soap
After pouring your soap mixture into molds, it’s important to properly mold and cure the soap to ensure its quality and longevity. Follow these steps to complete the molding and curing process:
- Insulate the Soap: To help the soap retain heat and promote the saponification process, you can insulate the molds. Cover the molds with a towel or place them in a cardboard box lined with towels. This insulating step is optional but can aid in a more thorough curing process.
- Allow the Soap to Harden: Leave the soap undisturbed in the molds for at least 24 to 48 hours. During this time, the soap will harden and become easier to handle. Avoid touching or moving the soap during this period to prevent any mishaps.
- Remove from the Molds: After the initial curing period, check if the soap is firm enough to remove from the molds. Gently press on the top of the soap to test its firmness. If it feels solid and doesn’t leave an indentation, carefully remove the soap from the molds. If the soap is still too soft, allow it to cure for a little longer.
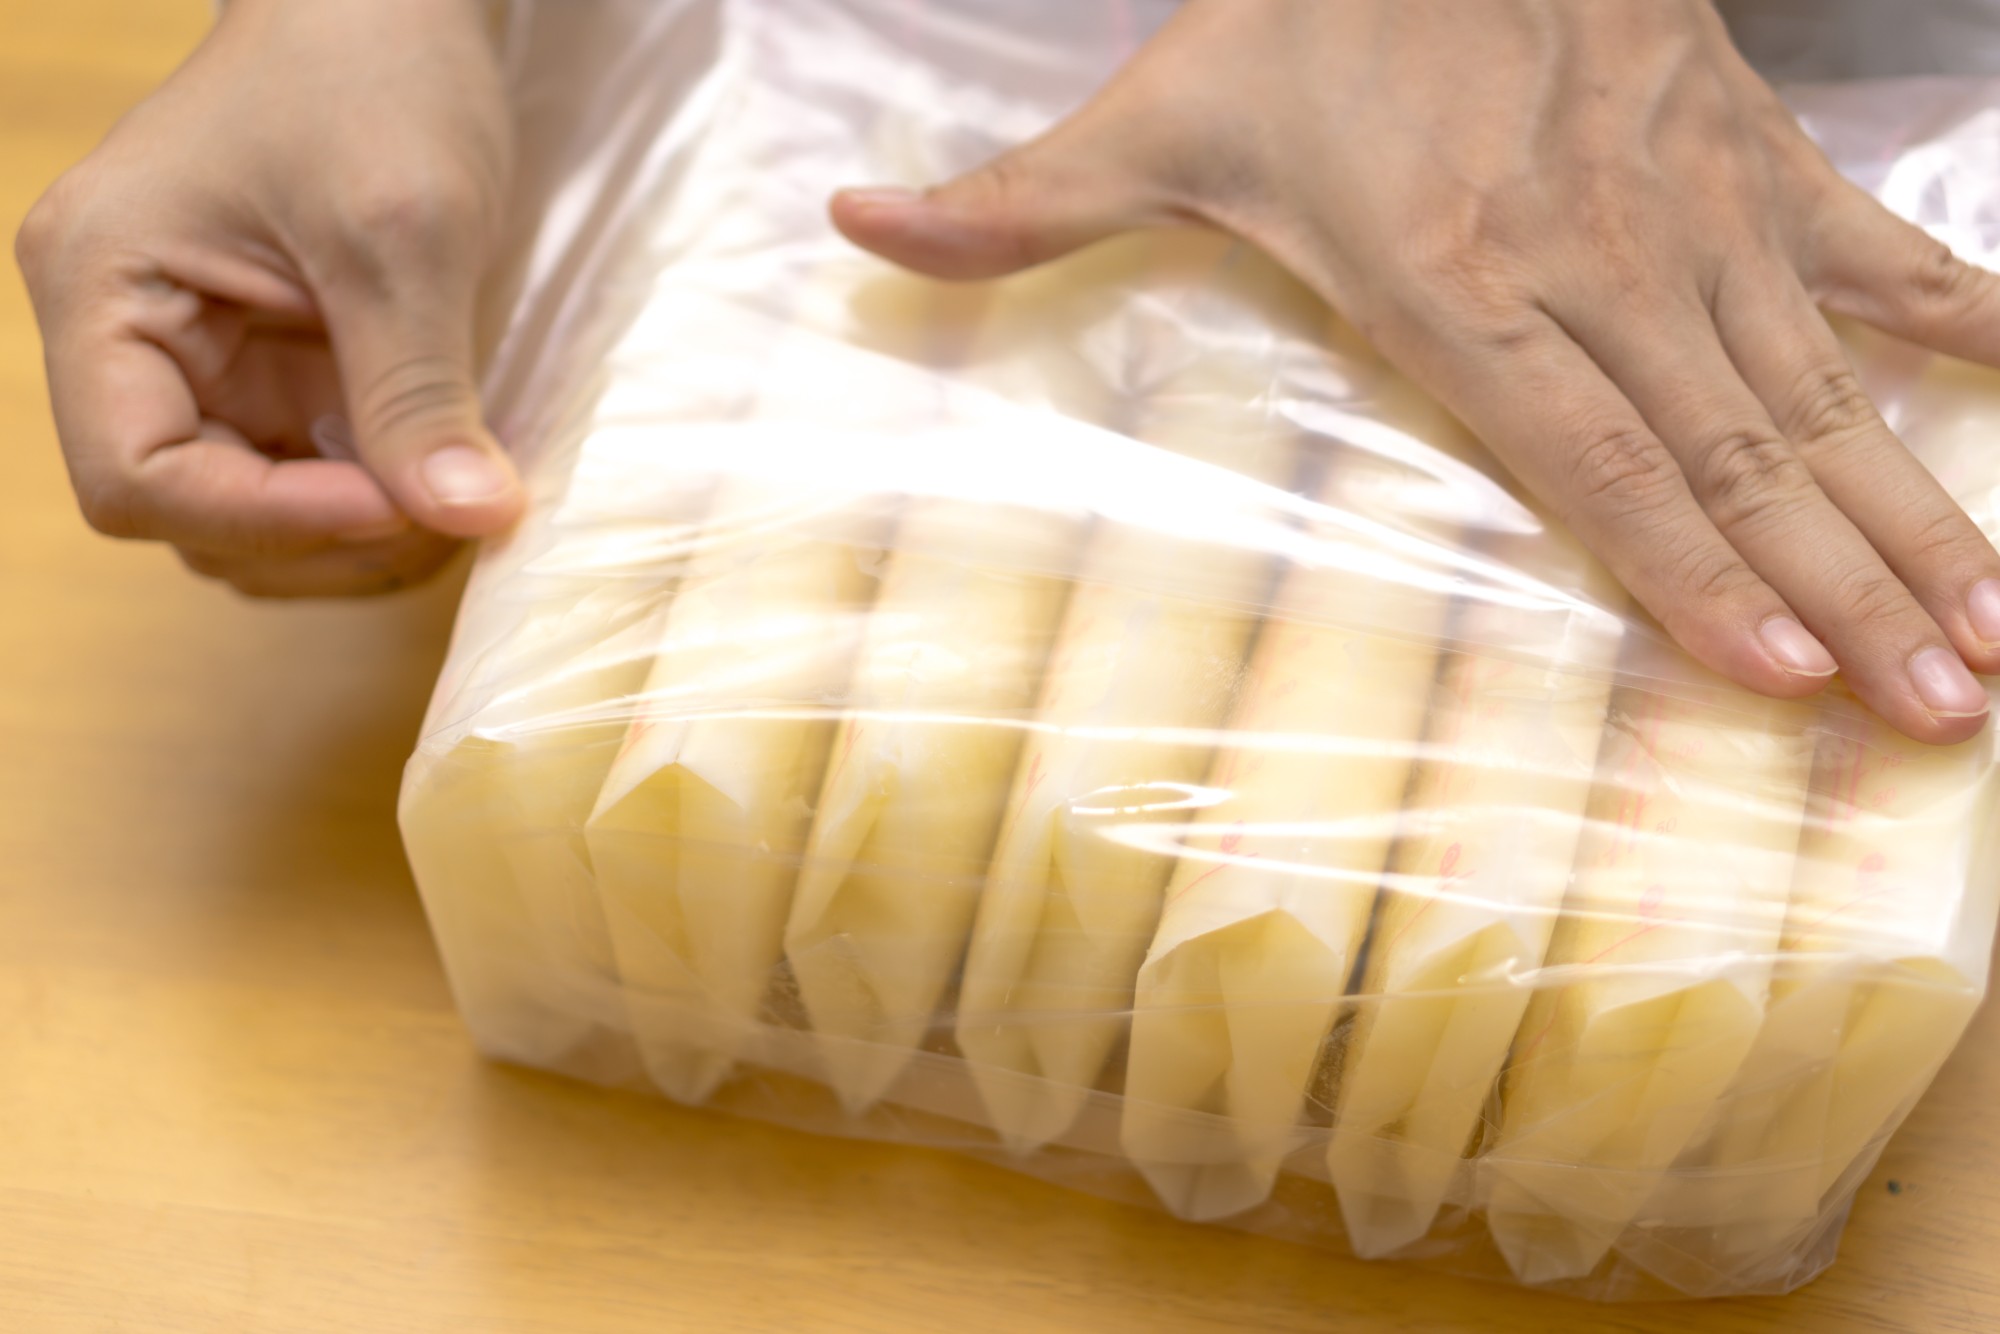
- Cut into Bars: Once the soap is out of the molds, you can proceed to cut it into bars. Use a sharp knife or a soap cutter to create individual bars of soap. Ensure that the bars are of uniform size for a professional look.
- Air Dry and Cure: Place the cut soap bars on a drying rack or a well-ventilated area. Allow them to air dry for a minimum of four weeks. This curing period allows excess moisture to evaporate, resulting in a harder and longer-lasting bar of soap. Turn the bars occasionally to ensure even drying.
- Label and Store: Once the soap bars have fully cured, it’s time to label and store them. Use waterproof labels to clearly indicate the ingredients used and the date of creation. Store the soap bars in a cool, dry place away from direct sunlight or excessive heat.
Now that your breast milk soap has been properly molded and cured, it’s time to learn how to store it to maintain its quality and freshness. Continue to the next step to find out more.
Step 5: Storing Breast Milk Soap
Proper storage is key to maintaining the quality and longevity of your breast milk soap. Follow these steps to ensure your soap stays fresh and ready for use:
- Avoid Moisture: Moisture can cause your soap to become soft and deteriorate faster. Keep your breast milk soap in a dry environment, away from humidity and water sources like sinks or showers.
- Use Soap Dishes: Invest in soap dishes or trays that allow for proper drainage. This will prevent the soap from sitting in standing water, which can cause it to become mushy and disintegrate.
- Allow Air Circulation: Ensure that your soap is exposed to proper airflow. This will help it dry out between uses, extending its lifespan. Avoid storing your soap in airtight containers or plastic bags that trap moisture.
- Keep Away from Sunlight: Sunlight exposure can fade the colors of your soap and degrade its quality. Store your soap in a cool, dark place, preferably in a drawer or cupboard, to protect it from direct sunlight.
- Rotate Soap Bars: If you have multiple bars of breast milk soap, it’s a good idea to rotate them. Using one bar at a time and allowing others to fully dry out will prevent them from getting too soft or sticky.
- Check for Rancidity: Over time, oils in the soap can become rancid. Keep an eye out for any changes in smell or color. If you notice any signs of rancidity, it’s best to discard the soap and make a fresh batch.
Following these storage practices will help maintain the quality and effectiveness of your breast milk soap for an extended period. With proper care, your soap will continue to provide the nourishing benefits of breast milk for your baby’s skin.
Now that you’re aware of the storage techniques for breast milk soap, let’s move on to some precautions and considerations you should keep in mind while making and using it.
Precautions and Considerations
While making and using breast milk soap can be a wonderful experience, it’s important to keep a few precautions and considerations in mind. Here are some key points to remember:
- Handling Lye Safely: Lye is a caustic substance that can cause burns and irritation. Always wear protective gear, including gloves and goggles, when working with lye. Mix lye in a well-ventilated area, away from children and pets, and follow proper safety guidelines.
- Allergies and Sensitivities: Although breast milk is generally well-tolerated, it’s possible for some individuals to be sensitive or allergic to it. If you or your baby have any known allergies or sensitivities, it’s best to consult with a healthcare professional before using breast milk soap.
- Label Clearly: To avoid any confusion or accidental use, label your breast milk soap clearly. Indicate the ingredients, including the presence of breast milk, and the date of creation. This is especially important if you plan to gift or share your soap with others.
- Perform Patch Tests: Before using breast milk soap on your baby’s skin, perform a patch test on a small area. This will help ensure that your baby doesn’t have any adverse reactions to the soap. Observe the area for any redness, irritation, or discomfort.
- Regularly Inspect and Discard: As with any skincare product, regularly inspect your breast milk soap for any signs of spoilage, mold, or changes in texture or smell. If you notice any abnormalities, it’s best to discard the soap to prevent any potential skin issues.
- Consult a Professional: If you have any concerns or questions about making or using breast milk soap, it’s always best to consult a professional soap maker or a healthcare provider. They can provide guidance and address any specific concerns you may have.
By taking these precautions and considerations into account, you can ensure a safe, enjoyable, and beneficial experience with breast milk soap.
Now, armed with all the knowledge you need, you are ready to embark on your breast milk soap-making journey. Enjoy the process and cherish the personal and nurturing touch you bring to your baby’s skincare routine!
Read more: How To Store Breast Milk In Fridge
Conclusion
Congratulations on learning how to make and store breast milk soap! You have discovered a creative and meaningful way to repurpose your precious breast milk to create a nourishing and gentle soap for your baby’s delicate skin. By following the steps outlined in this article, you can successfully transform breast milk into a luxurious soap that offers numerous benefits for your little one.
Breast milk soap is not only moisturizing and nourishing, but it is also gentle on sensitive skin, thanks to its all-natural ingredients. It contains antibacterial and antifungal properties that can help soothe and protect your baby from common skin irritations. Plus, making your own breast milk soap allows you to add a personalized touch to each batch, making it a unique and special product for your little one.
Remember to gather all the necessary supplies, properly collect and store breast milk, and thaw it before incorporating it into the soap-making process. Take precautions when handling lye and consider any allergies or sensitivities that you or your baby may have. Label and store your soap correctly to maintain its quality and longevity.
By following these steps and considerations, you can create breast milk soap that not only provides gentle care for your baby’s skin but also carries the sentimental value of your breastfeeding journey. Embrace the opportunity to repurpose your excess breast milk and turn it into a beautiful and beneficial product.
As with any new skincare product, perform patch tests and regularly inspect your breast milk soap for any signs of spoilage or changes. If in doubt, consult a professional or healthcare provider for advice.
Now, it’s time to start your breast milk soap-making adventure. Enjoy the process, be creative with your ingredients, and relish in the joy of providing a natural, personalized soap for your baby. Happy soap making!
Frequently Asked Questions about How To Store Breast Milk Soap
Was this page helpful?
At Storables.com, we guarantee accurate and reliable information. Our content, validated by Expert Board Contributors, is crafted following stringent Editorial Policies. We're committed to providing you with well-researched, expert-backed insights for all your informational needs.


0 thoughts on “How To Store Breast Milk Soap”