Articles
How To Store A Printer When Not In Use
Modified: October 27, 2024
Discover the best practices for storing your printer when not in use with our helpful articles. Keep your printer safe and ready for future use.
(Many of the links in this article redirect to a specific reviewed product. Your purchase of these products through affiliate links helps to generate commission for Storables.com, at no extra cost. Learn more)
Introduction
When it comes to storing a printer when it’s not in use, there are a few key steps you need to take to ensure it stays in good condition. Whether you’re storing your printer for a short period of time or packing it away for an extended period, proper storage is essential to maintain its performance and longevity.
In this article, we will guide you through the process of storing a printer effectively, from clearing the printer and preparing it for storage to choosing the right storage location and properly packing it. By following these steps, you can protect your printer from damage, prevent dust buildup, and ensure that it’s ready to use when you need it again.
So, let’s dive into the details and learn how to store a printer when it’s not in use.
Key Takeaways:
- Properly preparing and storing your printer when not in use is crucial for maintaining its performance and longevity. Follow steps such as clearing the printer, choosing the right storage location, and protecting it from dust and debris to ensure it remains in optimal condition.
- Safely removing ink cartridges and printheads, securing cables, and packing the printer for long-term storage are essential steps to protect it from damage. By following these guidelines, you can ensure your printer remains in good condition and ready for use when needed.
Read more: How To Store A Freezer When Not In Use
Clearing the Printer and Preparing for Storage
Before storing your printer, it’s important to clear it of any remaining print jobs or materials. Start by cancelling any print jobs that are currently in the queue. This will prevent the printer from attempting to print while in storage, which can cause issues and waste ink or toner.
Next, remove any paper or media from the printer. Make sure to properly store any unused paper or media in a cool, dry place to prevent moisture damage. If the printer has multiple paper trays, remove and store them separately to avoid any potential damage during storage.
In addition to clearing out the paper trays, it’s also a good idea to remove any memory cards, USB drives, or other external storage devices that may be plugged into the printer. This will prevent any data loss or potential damage to the external devices during storage.
Once the printer is cleared of all materials and external devices, gently clean the exterior surfaces using a soft, lint-free cloth. This will remove any dust or fingerprints and help protect the printer’s finish during storage. Avoid using solvents or harsh chemicals as they can damage the printer’s surfaces.
Lastly, check for any loose or detachable parts, such as trays, covers, or panels. Secure them properly or remove them if necessary to prevent any damage during transportation or storage.
By following these steps to clear and prepare your printer for storage, you’ll ensure that it’s in optimal condition when you’re ready to use it again. Now, let’s move on to choosing the right storage location for your printer.
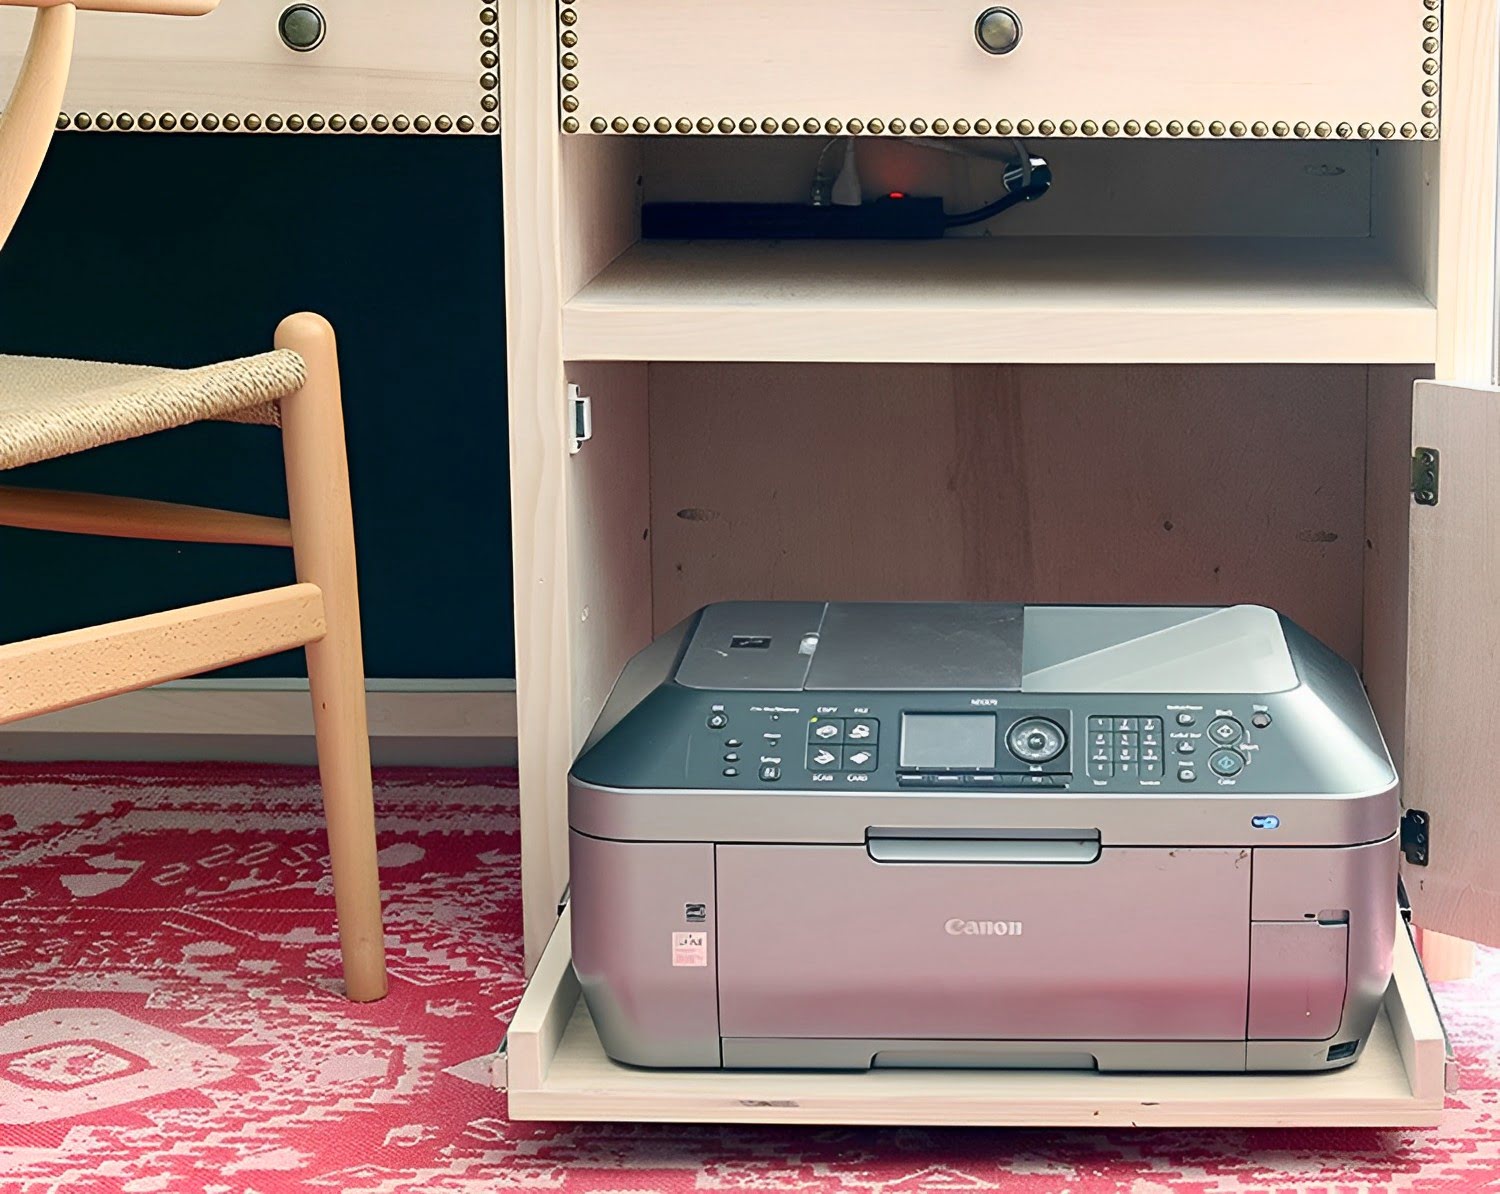
Choosing the Right Storage Location
When selecting a storage location for your printer, it’s important to consider factors such as temperature, humidity, and accessibility. Here are some tips to help you choose the ideal storage spot:
- Avoid extreme temperatures: It’s crucial to store your printer in a location with a moderate and stable temperature. Extreme heat or cold can damage the internal components of the printer. Aim for a temperature between 50-80 degrees Fahrenheit (10-27 degrees Celsius).
- Control humidity: High humidity can lead to moisture buildup inside the printer and cause damage. Select a storage area with low humidity levels and ensure proper ventilation to prevent condensation. If you live in a particularly humid area, consider using a dehumidifier in the storage space.
- Keep it away from direct sunlight: Exposure to direct sunlight can fade the printer’s exterior and affect its performance. Choose a storage location where the printer is shielded from direct sunlight to preserve its appearance and functionality.
- Consider accessibility: While it may be tempting to store your printer in a hard-to-reach area, it’s essential to ensure easy access when you need to retrieve it. Avoid storing it in cluttered spaces or areas prone to frequent movement, as this can increase the risk of accidental damage.
- Protect from environmental elements: Ideally, store your printer in a clean and dry environment to prevent dust, dirt, or moisture from accumulating. If the storage area is prone to dust, consider covering the printer with a clean cloth or using a printer cover to keep it protected.
By considering these factors and selecting the right storage location for your printer, you’ll help prolong its lifespan and ensure it remains in good working condition while not in use. Next, let’s discuss how to clean the printer before storage.
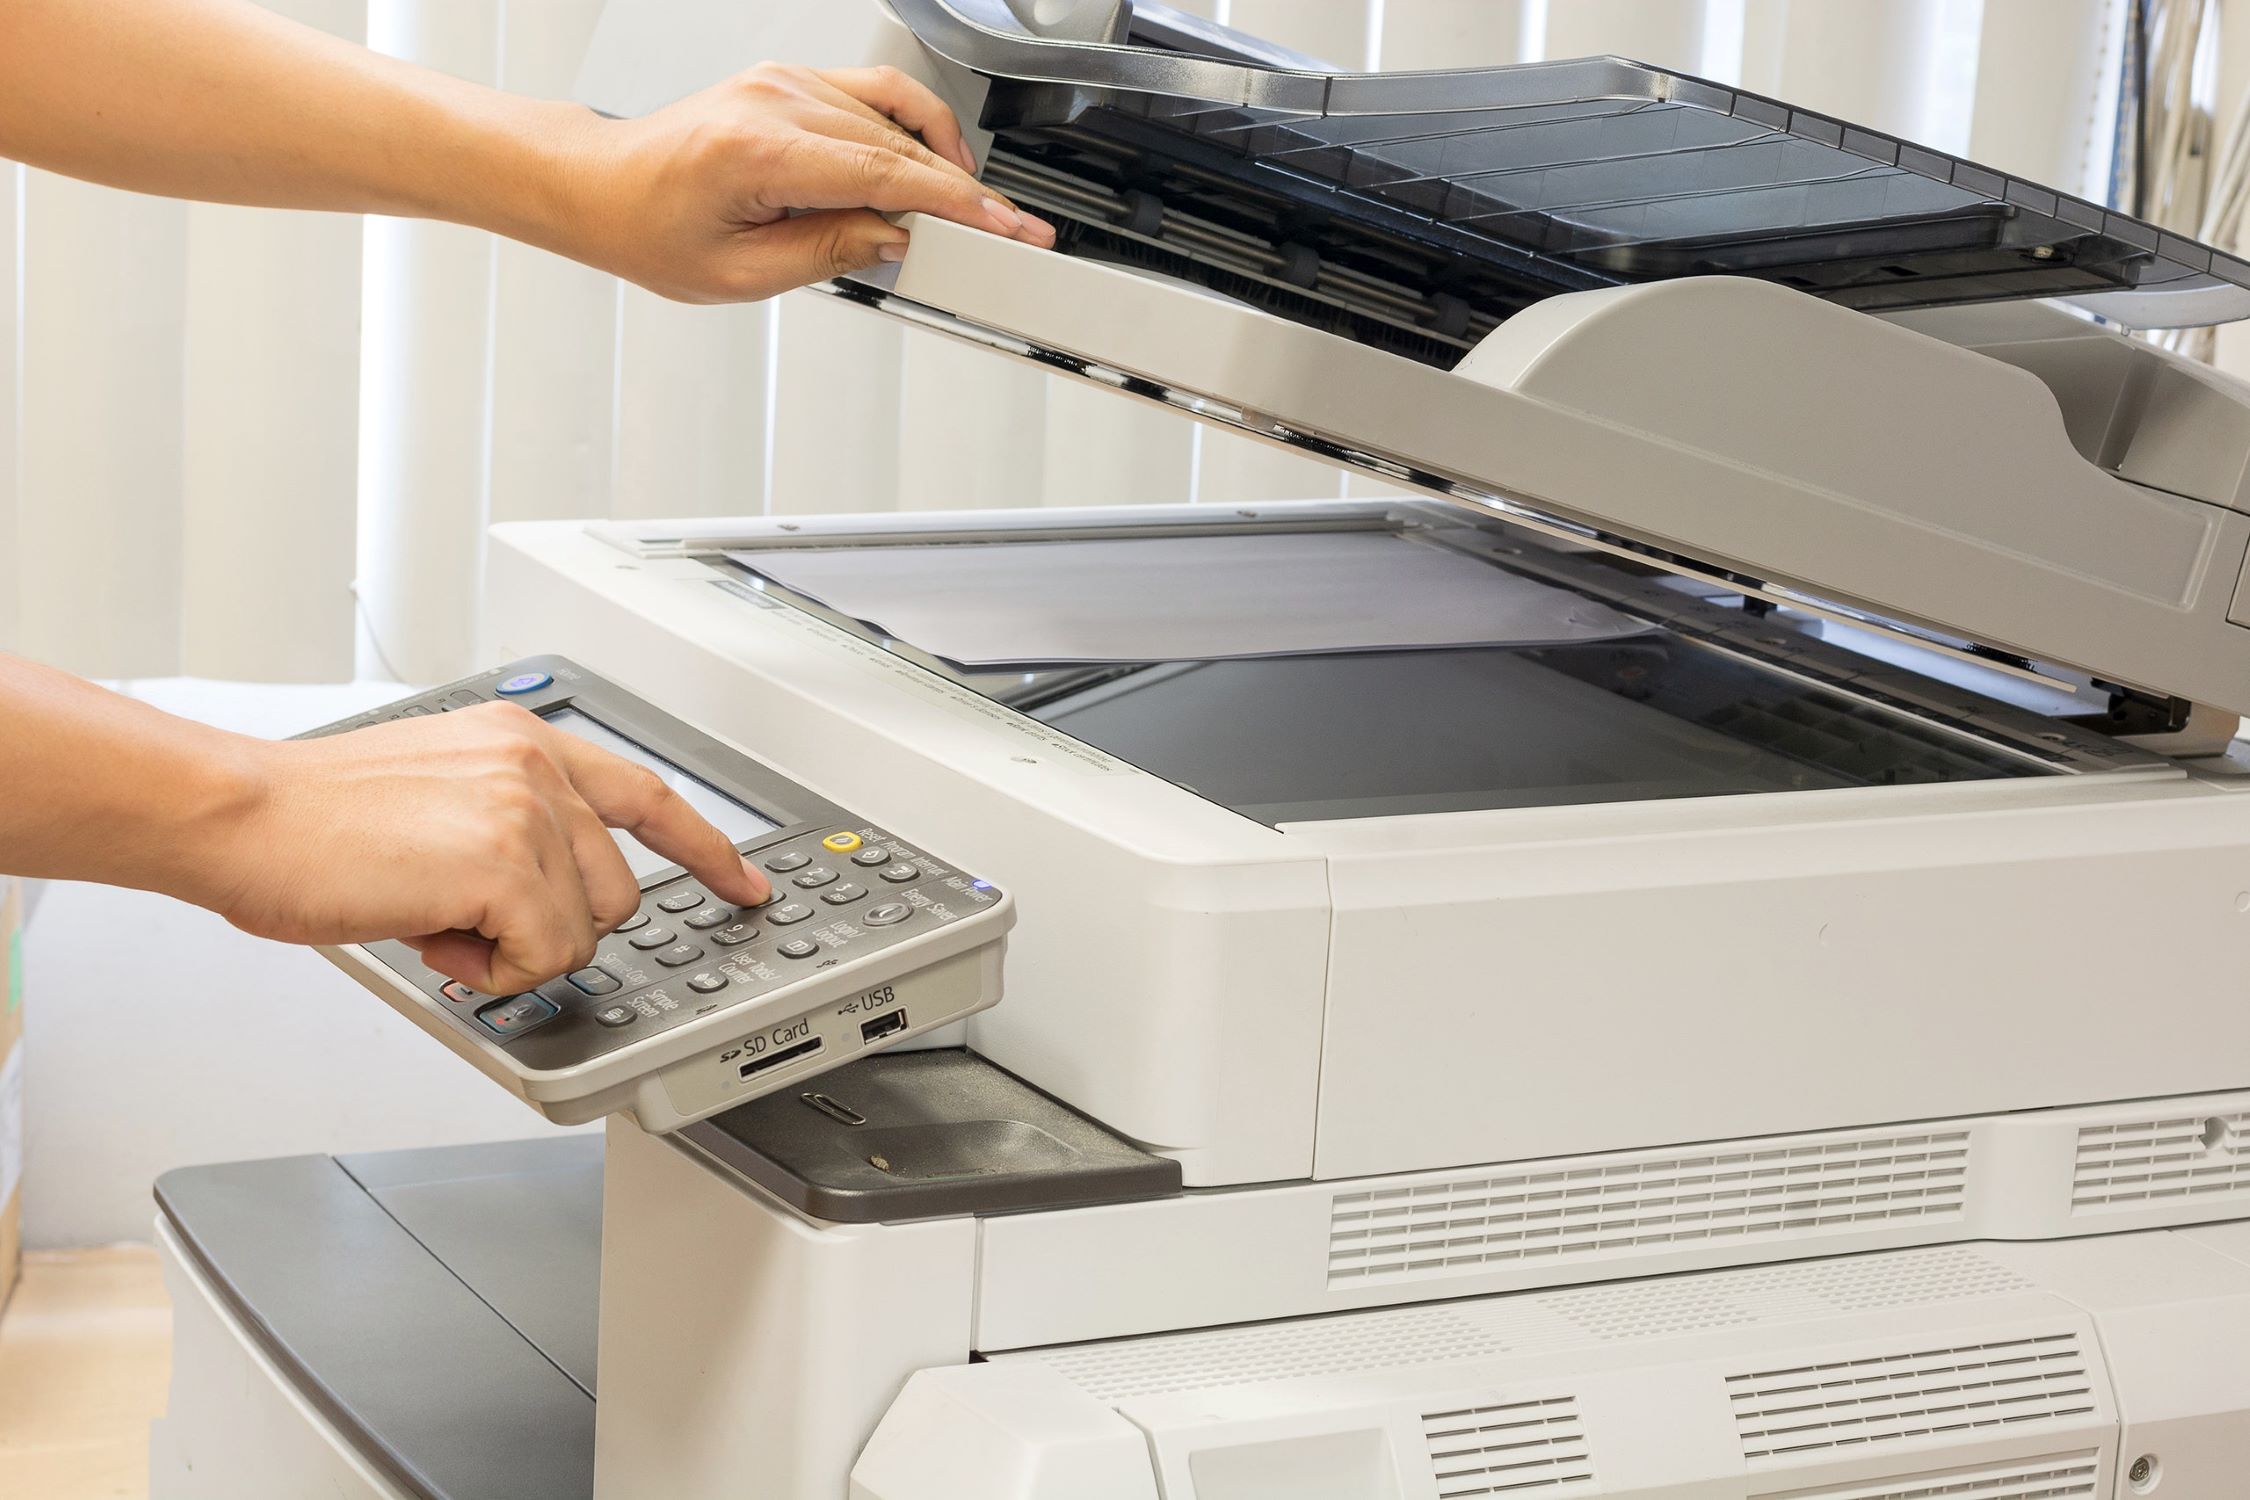
Cleaning the Printer Before Storage
Before you store your printer, it’s crucial to give it a thorough cleaning to remove any dirt, dust, or debris that may have accumulated over time. Here are the steps to effectively clean your printer before storage:
- Power off and unplug the printer: Before cleaning, make sure to turn off the printer and unplug it from the power source. This will prevent any electrical accidents or damage during the cleaning process.
- Use compressed air: Start by using a can of compressed air to blow away any loose dust or debris from the printer’s exterior and hard-to-reach areas such as crevices, vents, and paper feed paths. Be sure to hold the can in an upright position and keep it at a safe distance from the printer to avoid causing damage.
- Clean the exterior surfaces: Dampen a soft, lint-free cloth with water or a mild cleaning solution recommended by the printer manufacturer. Gently wipe down the exterior surfaces, including the control panel, buttons, and any visible areas that need cleaning. Avoid using excessive moisture, as it can seep into the printer and cause damage.
- Clean the printheads: If your printer uses ink cartridges with built-in printheads, follow the manufacturer’s instructions for cleaning them. Some printers have a self-cleaning function that you can activate through the control panel menu. If necessary, you can also use a clean, lint-free cloth lightly moistened with water to carefully wipe the printheads.
- Clean the paper tray and input/output trays: Remove the paper tray and clean it with a damp cloth. Ensure that it’s completely dry before reinserting it into the printer. If there are any external input/output trays or covers, clean them as well following the same method.
- Let the printer dry: Allow the printer to air dry for a few minutes before covering or packing it for storage. This will ensure that there is no residual moisture that can cause damage or mold growth.
By following these cleaning steps, you’ll remove any dirt or debris that can potentially affect your printer’s performance and functionality. In the next section, we’ll discuss the importance of removing ink cartridges and printheads before storing your printer.
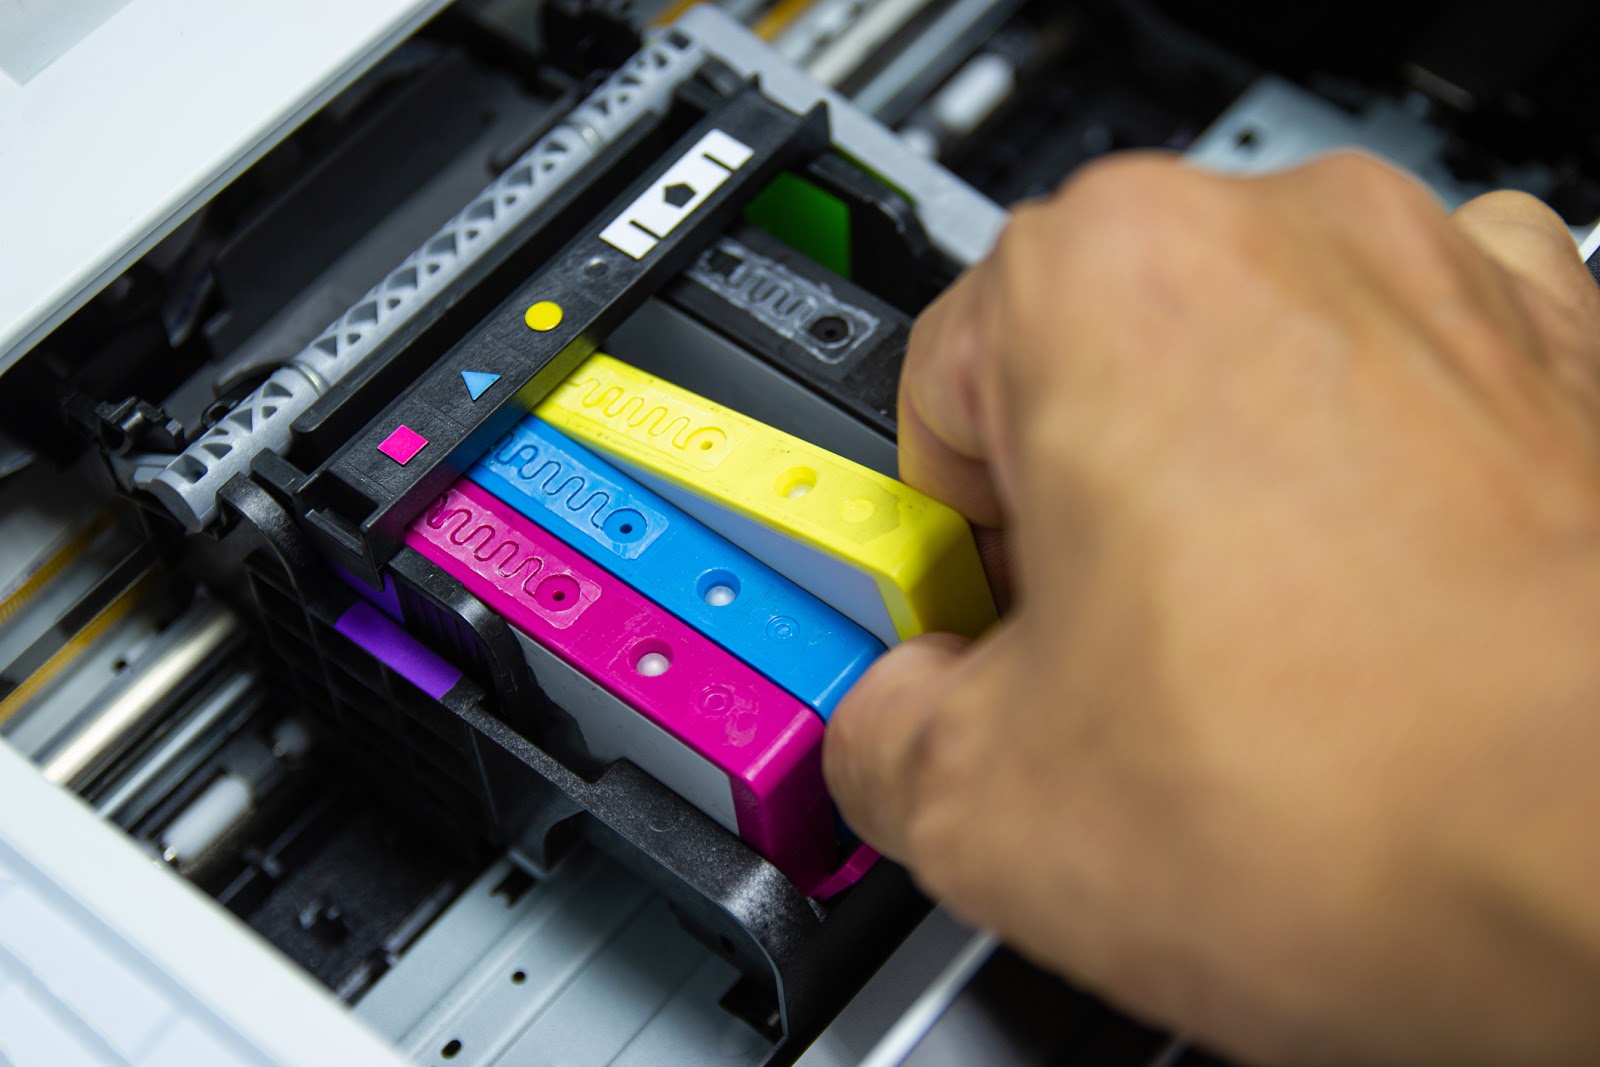
Removing Ink Cartridges and Printheads
Before storing your printer, it’s essential to remove the ink cartridges and printheads to prevent potential issues and ensure their longevity. Here’s how to safely remove them:
- Power off the printer: Make sure the printer is turned off and unplugged from the power source before removing the ink cartridges and printheads. This will prevent any electrical accidents or damage.
- Open the printer cover: Locate the printer cover and open it gently. Refer to the printer’s user manual if you’re unsure of the exact location or method for opening it.
- Identify the ink cartridges: Look for the cartridge holder or carriage, which is the unit that holds the ink cartridges. Depending on the printer model, this may be accessible by lifting a lid, sliding a panel, or unlocking a latch.
- Remove the ink cartridges: Carefully release the clips or levers securing the ink cartridges in place. Gently pull each cartridge out one by one. Place them in a sealable plastic bag or their original packaging for safekeeping.
- Locate the printheads: Printheads are typically separate from the ink cartridges and may be removable or built into the printer. Consult the printer’s manual to locate the printheads and determine if they are replaceable.
- If removable, remove the printheads: If your printer has removable printheads, follow the manufacturer’s instructions to remove them. Take care not to touch the printhead nozzles, as they are delicate and can be easily damaged.
- Store the ink cartridges and printheads: Place the ink cartridges and printheads in a cool, dry place. It’s best to store them in their original packaging or in an airtight container to protect them from dust, moisture, and light.
Remember, it’s important to handle ink cartridges and printheads with care as they contain delicate components and sensitive electronics. By safely removing and storing them, you’ll preserve their quality and avoid potential damage. In the following section, we’ll discuss how to protect your printer from dust and debris during storage.
Read more: How To Store A Cooler When Not In Use
Protecting the Printer from Dust and Debris
Dust and debris can accumulate on the surfaces and internal components of your printer, potentially causing clogs and affecting its performance. To protect your printer from dust and debris during storage, follow these tips:
- Cover the printer: Invest in a printer cover or use a clean, breathable fabric cover to shield your printer from dust and potential damage. The cover will help keep out dust particles while allowing proper airflow.
- Avoid storing near dusty areas: Choose a storage location away from areas prone to dust accumulation, such as workshops, garages, or unfinished basements. These areas often have more airborne particles that can settle on your printer.
- Seal any openings: If your printer has removable trays or compartments, make sure they are securely closed before storage to prevent dust from entering. Seal any external openings, such as USB ports or memory card slots, with tape or covers to further prevent dust penetration.
- Clean the storage area: Before placing your covered printer in storage, give the storage area a good cleaning. Use a vacuum cleaner or a damp cloth to remove any dust or debris from the surrounding area, reducing the chance of dust settling on your printer.
- Use moisture absorbers: If the storage area is prone to high humidity, consider using moisture-absorbing products such as silica gel packets or dehumidifiers. These will help minimize moisture and prevent mold or mildew growth, which can be damaging to your printer.
- Maintain periodic cleanings: While the printer is in storage, it’s a good idea to periodically remove the cover and check for any visible dust or debris. Use a soft brush or compressed air to gently remove any buildup that may have accumulated during the storage period.
By taking these precautions to protect your printer from dust and debris, you’ll ensure that it remains clean and free from clogs or damage during storage. Next, let’s discuss how to properly store printer paper and supplies.
To store a printer when not in use, make sure to clean it thoroughly, remove the ink cartridges, and place it in a dust-free environment. Also, cover it with a cloth or a printer cover to protect it from dust and debris.
Covering the Printer
Covering your printer is an effective way to protect it from dust, moisture, and potential damage while it’s in storage. Here are some tips for properly covering your printer:
- Choose a suitable cover: Invest in a printer cover specifically designed for your printer model, if available. These covers are tailored to fit the dimensions of your printer and provide optimal protection. Alternatively, you can use a clean, breathable fabric cover that completely envelops the printer without restricting airflow.
- Ensure a proper fit: When covering the printer, make sure the cover fits snugly and completely covers the printer from top to bottom. It should not be too tight or too loose, as an improper fit can hinder ventilation or allow dust to enter.
- Clean the printer before covering: Before placing the cover on the printer, ensure that the printer surfaces are clean and free from dust. Use a soft, lint-free cloth to wipe down the exterior to remove any fingerprints or debris.
- Avoid plastic covers: While it may be tempting to use a plastic cover, it’s generally best to opt for a breathable fabric cover. Plastic covers can trap moisture, leading to condensation and potential damage to the printer. Breathable fabric covers allow air circulation while providing protection.
- Store the printer upright: When covering the printer, ensure that it is stored in an upright position. This will prevent any potential damage to the internal components and printheads. If the printer cannot be stored upright, make sure it is secure and supported to avoid any accidental falls or shifts.
- Label the cover: If you are storing multiple printers or equipment, it may be helpful to label the cover with the printer model or any other relevant information. This will make it easier to identify the correct cover when needed.
By properly covering your printer, you’ll provide an additional layer of protection against dust, moisture, and potential damage during storage. In the next section, we’ll discuss how to store printer paper and supplies.
Storing Printer Paper and Supplies
When it comes to storing printer paper and supplies, it’s important to create an environment that preserves their quality and usability. Here are some tips for effectively storing printer paper and supplies:
- Choose a cool, dry location: Find a storage area that is cool and free from humidity. Printer paper is sensitive to moisture and can absorb it from the environment, leading to paper jams and print quality issues. Avoid storing paper in areas like basements or garages where humidity levels may fluctuate.
- Keep paper in its original packaging: If possible, store unopened paper in its original packaging. The packaging is designed to protect the paper from dust, moisture, and light exposure. If the package has been opened, make sure to reseal it tightly with tape or clips to maintain its freshness.
- Store paper flat: Place the paper flat on a shelf or in a storage box to prevent bending or warping. Storing paper upright or on an angle can cause the sheets to curl or develop uneven edges, making them prone to paper jams in the printer.
- Avoid exposure to sunlight: Sunlight can cause the paper to fade or yellow over time. Store printer paper away from direct sunlight to maintain its brightness and whiteness.
- Separate different paper types: If you use different types or sizes of paper, consider separating them to make it easier to find and access the specific type you need. Use dividers or separate storage containers to keep the different paper types organized.
- Check paper expiration dates: Printer paper, especially specialty or photo paper, may have expiration dates. Make sure to check the packaging for any expiration dates and use the paper within the recommended timeframe for optimal print quality.
- Store other supplies properly: Aside from paper, store other printer supplies, such as ink cartridges or toner, in a cool, dry place. Ensure they are stored in their original packaging or in airtight containers to protect them from dust and moisture.
By following these guidelines, you’ll ensure that your printer paper and supplies remain in good condition and are ready for use when you need them. In the next section, we’ll discuss how to secure cables and disconnect power before storing your printer.
Securing Cables and Disconnecting Power
Before storing your printer, it’s important to properly secure cables and disconnect power to prevent any potential damage or accidents. Taking these steps will ensure the safety of your printer and its components. Here’s what you need to do:
- Power off the printer: Before disconnecting any cables, make sure that your printer is powered off. This will prevent any electrical accidents during the process.
- Unplug the power cord: Locate the power cord connected to the printer and unplug it from the electrical outlet. Be careful not to yank the cord, as it may damage the cord or the outlet. Instead, grasp the plug firmly and pull it straight out.
- Remove other cables: Identify any other cables connected to your printer, such as USB, Ethernet, or HDMI cables. Gently unplug each cable from the printer, taking care not to damage the connectors.
- Organize and secure the cables: After disconnecting the cables, it’s a good practice to organize and secure them properly. You can use twist ties, cable organizers, or Velcro straps to keep the cables neat and prevent them from tangling. Consider labeling the cables for easy identification when setting up the printer again.
- Store the cables separately: To further prevent damage or confusion, store the cables separately from the printer. Keep them in a labeled bag or container that is easily accessible when you need to reconnect them.
- Store the power cord safely: Coil the power cord neatly and store it in a safe and dry location. Avoid placing heavy objects on top of the coiled cord to prevent any potential damage.
- Avoid bending or pinching the cables: Take care not to bend or pinch the cables excessively during storage, as this can cause strain on the connectors and potentially damage the cables.
- Keep the printer in a dry and secure location: After securing the cables and disconnecting the power, store the printer in a dry place away from potential hazards. Ensure that the storage area is free from moisture, extreme temperatures, and physical damage.
By properly securing cables and disconnecting power, you’ll protect your printer from electrical accidents and potential cable damage during storage. In the next section, we’ll discuss how to properly pack your printer for long-term storage.
Read more: How To Store Baskets When Not In Use
Properly Packing the Printer for Long-Term Storage
Packing your printer correctly is key to ensuring its safety and protection during long-term storage. By following these steps, you can pack your printer securely and minimize the risk of damage:
- Gather the necessary materials: Before packing your printer, gather the following materials: a sturdy cardboard box that is slightly larger than the printer, packing materials such as bubble wrap or foam, packing tape, and labels for identification.
- Wrap the printer in protective material: Start by wrapping the printer in a layer of bubble wrap or foam padding. This will provide cushioning and protect the printer from any potential shocks or vibrations during storage.
- Secure loose parts: If there are any detachable parts, such as trays or covers, secure them to the printer or pack them separately to avoid damage during transportation and storage. Use tape or packaging materials to keep them in place.
- Place the wrapped printer in a box: Carefully place the wrapped printer in a sturdy cardboard box. Make sure it fits snugly and does not move around inside the box. If there’s any empty space, fill it with additional packing materials to prevent shifting during transport.
- Label the box: Clearly label the box with “Fragile” or “Handle with Care” to alert anyone handling the box to take extra precautions. Include any relevant identification or storage information on the label for easy identification later.
- Store the box in a suitable location: Choose a dry and secure storage area for the packed printer box. Avoid placing heavy objects on top of the box and ensure it is stored upright, if possible.
- Avoid extreme temperatures: It’s crucial to store the printer box in a location with moderate temperatures. Extreme heat or cold can damage the internal components of the printer and affect its functionality.
- Keep the storage area organized: Maintain a well-organized storage area by keeping the printer box in a designated spot. This will make it easier to locate and retrieve the printer when needed.
By properly packing your printer for long-term storage, you’ll ensure that it remains protected and in good condition until it’s time to use it again. Now that you’ve learned how to prepare and pack your printer, let’s conclude with a summary of the key points.
Conclusion
Storing your printer properly when it’s not in use is essential to maintain its performance and protect it from damage. By following the steps outlined in this article, you can ensure that your printer remains in optimal condition during storage:
- Clear the printer and prepare it for storage by cancelling print jobs, removing paper and external devices, and cleaning the surfaces.
- Choose the right storage location, considering factors such as temperature, humidity, and accessibility.
- Clean the printer thoroughly before storage, using compressed air and a damp cloth to remove dust and residue.
- Remove ink cartridges and printheads to prevent damage and store them in a safe, dry place.
- Protect the printer from dust and debris by covering it with a suitable cover and storing it in a clean environment.
- Store printer paper and supplies in a cool, dry location, keeping them separate and away from sunlight.
- Secure cables and properly disconnect the power to prevent damage and accidents.
- Pack the printer carefully for long-term storage, using protective materials and a sturdy box.
By following these guidelines, you can ensure that your printer remains in good condition while not in use, and it will be ready for use again when needed. Remember to periodically check on the printer and perform necessary maintenance to keep it in optimal condition during storage.
Now that you have the knowledge to store your printer effectively, you can safely store it and have peace of mind knowing that it will be protected until you’re ready to use it again.
Frequently Asked Questions about How To Store A Printer When Not In Use
Was this page helpful?
At Storables.com, we guarantee accurate and reliable information. Our content, validated by Expert Board Contributors, is crafted following stringent Editorial Policies. We're committed to providing you with well-researched, expert-backed insights for all your informational needs.


0 thoughts on “How To Store A Printer When Not In Use”