Articles
How To Store Chives Long Term
Modified: January 6, 2024
Learn effective methods for storing chives long term with our informative articles. Keep your chives fresh and flavorful for extended periods.
(Many of the links in this article redirect to a specific reviewed product. Your purchase of these products through affiliate links helps to generate commission for Storables.com, at no extra cost. Learn more)
Introduction
Welcome to our guide on how to store chives long-term. Chives are a flavorful herb that can add a delightful touch to your culinary creations. Whether you grow your own chives in your garden or purchase them from the store, knowing how to properly store them can help you preserve their freshness and flavor for an extended period.
Chives, belonging to the Allium family, are known for their slender green leaves and mild onion-like taste. They can be used in a variety of dishes, such as soups, salads, sauces, and even as a garnish. To ensure you always have a readily available supply of chives, it’s vital to store them properly, whether you have a surplus from your garden or want to take advantage of a sale at the supermarket.
In this article, we will explore several methods for storing chives long-term. We’ll discuss how to select and prepare chives for storage, as well as the various preservation techniques you can use, such as freezing, drying, preserving in oil or vinegar, and making chive butter. Additionally, we’ll share some helpful tips to ensure successful chive storage.
So, if you’re ready to learn how to store your chives effectively, let’s get started!
Key Takeaways:
- Preserve the vibrant flavor of chives year-round by freezing, drying, or infusing them in oil or vinegar. With proper storage, enjoy the convenience of adding chives to your dishes anytime.
- Create homemade chive butter for a rich and savory spread, or store chives in oil or vinegar for infused flavors. Follow simple tips to ensure successful chive storage and elevate your culinary creations.
Read more: How To Store Chives
Importance of Storing Chives
Storing chives properly is essential to maintain their freshness and maximize their shelf life. Here’s why it is important to store chives correctly:
- Prolongs Freshness: Chives, like other herbs, are highly perishable. By storing them properly, you can extend their freshness and prevent them from wilting or spoiling quickly.
- Cost-Effective: If you grow chives in your garden or buy them in bulk when they are in season, storing them can help you save money in the long run. You can avoid waste by ensuring that the chives remain usable for an extended period.
- Convenience: Having a stash of stored chives allows you to add their distinct flavor and aroma to your dishes at any time, even when they are out of season or not readily available.
- Preserving Nutritional Value: Storing chives properly helps retain their nutritional value, including their vitamins, minerals, and antioxidants.
Now that we understand the importance of storing chives, let’s delve into the different methods you can use to preserve them for the long term.
Selecting and Preparing Chives for Long-Term Storage
Before you can store chives for an extended period, it’s crucial to select and prepare them properly. Here are some steps to follow:
- Choose Fresh Chives: Look for chives that are bright green in color and have firm and crisp leaves. Avoid any chives that have wilted or yellowed leaves, as they may not store well.
- Harvesting Chives: If you are harvesting chives from your garden, it’s best to do so in the morning when the essential oils are most concentrated. Use sharp scissors or shears to cut the chives about one inch above the ground, leaving enough foliage for the plant to grow back.
- Quality Check: After harvesting or purchasing chives, give them a quick inspection to remove any damaged or discolored leaves. Be sure to discard any chives with signs of mold or pests.
- Rinse and Dry: Rinse the chives under cold running water to remove any dirt or debris. Gently pat them dry with a clean kitchen towel or paper towels. It’s important to ensure that the chives are completely dry before proceeding with the storage methods.
Once you’ve selected and prepared the chives, you’re ready to proceed with the various long-term storage methods. In the next sections, we will explore five effective techniques for storing chives: freezing, drying, preserving in oil or vinegar, and making chive butter. Keep in mind that each method has its own advantages and considerations, so choose the one that suits your preferences and needs the most.
Method 1: Freezing Chives
Freezing chives is one of the most popular methods for long-term storage. It helps preserve the flavor and aroma of the herb, making it a convenient option for future use. Here’s how you can freeze chives:
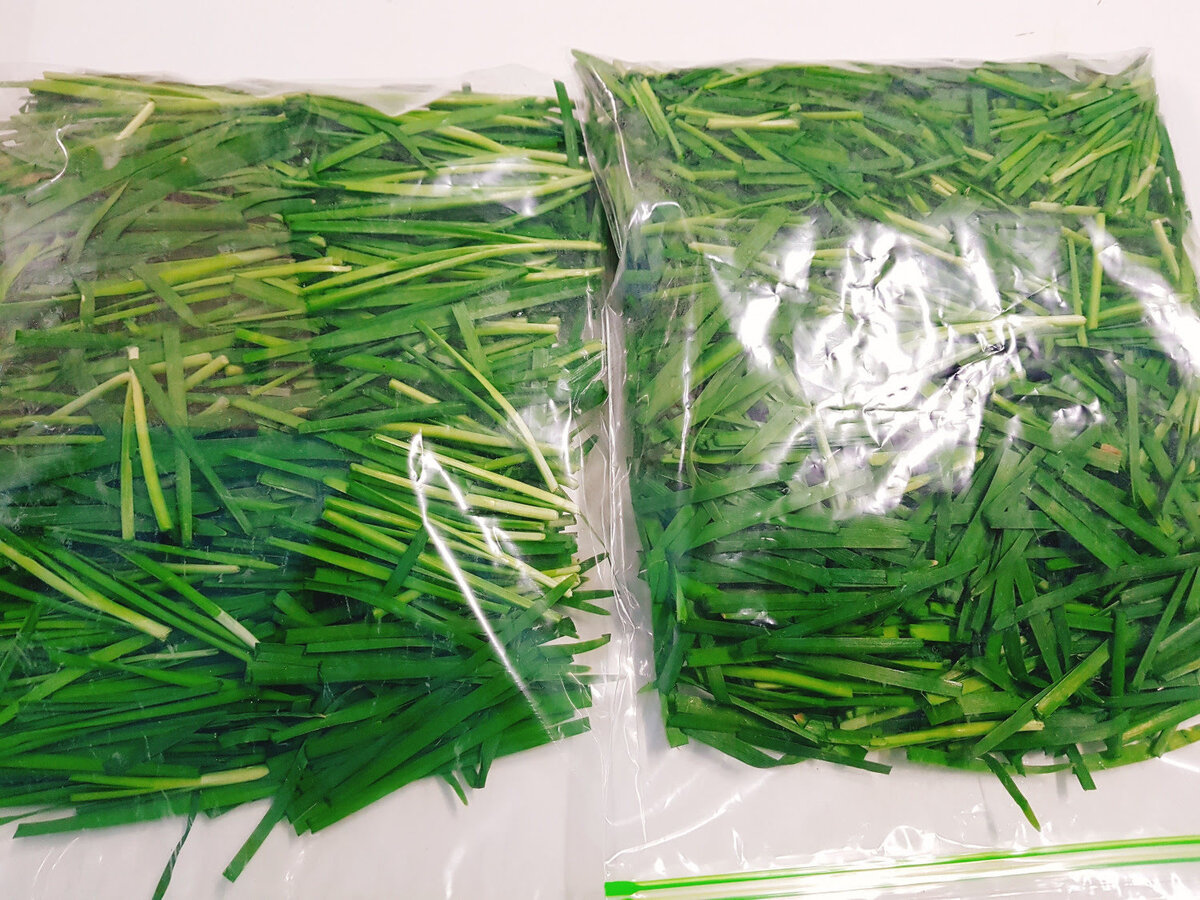
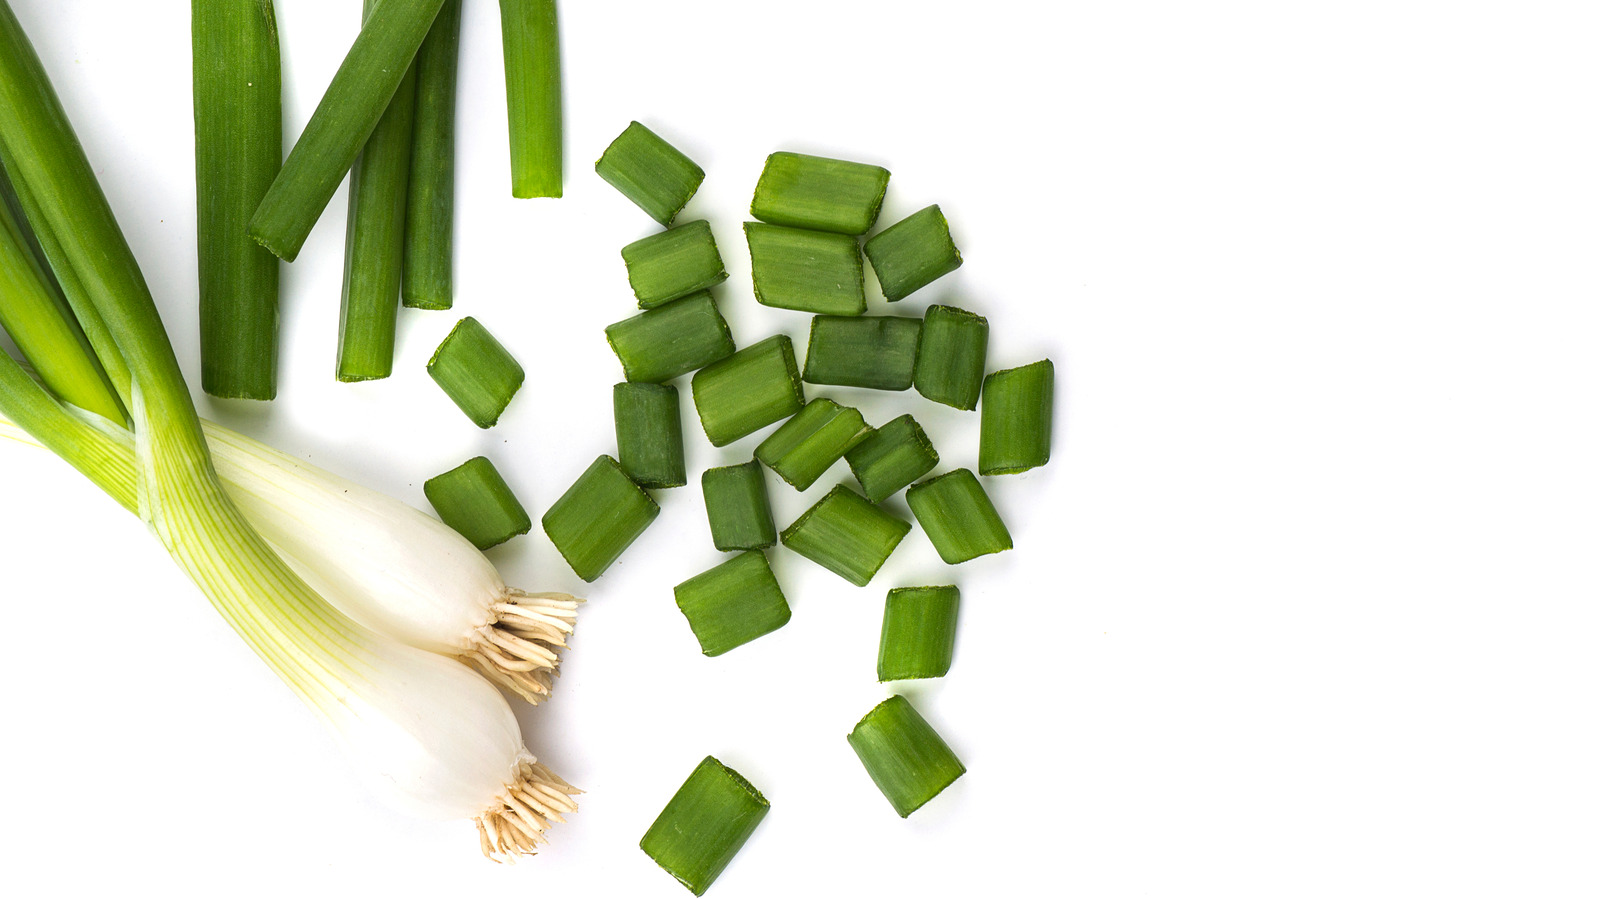
- Chop the Chives: Begin by finely chopping the chives into small pieces. You can use a sharp knife or kitchen scissors for this step. The size of the chopped chives depends on your preference, but aim for uniformity.
- Blanching (Optional): While not necessary, blanching the chives before freezing can help retain their color and texture. To blanch, bring a pot of water to a boil and cook the chives for about 30 seconds. Then, quickly transfer them to an ice bath to stop the cooking process.
- Drain and Dry: If you have blanched the chives, drain them thoroughly and pat them dry. If you skipped the blanching step, simply ensure that the chives are dry before proceeding.
- Divide and Package: Divide the chopped chives into portion sizes that you would typically use in your recipes. You can use small freezer bags, airtight containers, or even ice cube trays lined with plastic wrap. Make sure to remove as much air as possible from the packaging to prevent freezer burn.
- Label and Freeze: Label the packages with the date and contents, then place them in the freezer. Chives can generally be stored in the freezer for up to six months.
To use frozen chives, simply take out the desired portion from the freezer and add them directly to your dish. Since freezing can cause some loss of texture, frozen chives are best used in cooked recipes rather than fresh applications like salads or garnishes.
Freezing chives is an excellent method for preserving their flavor and freshness. It allows you to enjoy the taste of chives throughout the year and is a convenient option when you have an abundant harvest or want to take advantage of chives’ availability and affordability during peak seasons.
Method 2: Drying Chives
Drying chives is another effective method for long-term storage. Dried chives can retain their flavor and aroma for months, allowing you to enjoy their taste even when fresh chives are not readily available. Here’s how you can dry chives:
- Air Drying: The most traditional method for drying chives is air drying. Start by gathering a bunch of chives and loosely tying them together with a string or rubber band. Hang the chives upside down in a warm, well-ventilated area away from direct sunlight.
- Dehydrator: If you have a dehydrator, you can also use it to dry chives. Spread the chopped chives in a single layer on the dehydrator trays, ensuring proper airflow. Follow the manufacturer’s instructions for the recommended drying time and temperature.
- Oven Drying: If you don’t have a dehydrator, you can use your oven to dry chives. Place the chopped chives on a baking sheet lined with parchment paper and set the oven to its lowest temperature setting (usually around 175°F or 80°C). Leave the oven door slightly ajar to allow moisture to escape and let the chives dry for about 2-3 hours, or until they become brittle.
- Check for Dryness: To ensure that the chives are thoroughly dried, check for crispness and brittleness. If they still feel slightly flexible or have any moisture, continue drying them for a bit longer.
- Crush and Store: Once the chives are completely dried, crumble them into small flakes using your hands or a mortar and pestle. Store the dried chives in an airtight container or a glass jar with a tight-fitting lid. Be sure to label the container with the date.
Dried chives can be used in various recipes, including soups, stews, sauces, and marinades. Keep in mind that dried chives have a more concentrated flavor than fresh chives, so you may need to adjust the quantity accordingly when using them in your dishes.
Drying chives is a great way to preserve their flavor and aroma for an extended period. It allows you to have a supply of chives on hand to enhance the taste of your favorite dishes, even when fresh chives are not in season.
To store chives long term, you can freeze them by chopping them up and placing them in an airtight container or freezer bag. Another option is to dry them by hanging them upside down in a well-ventilated area until they are completely dried, then store them in an airtight container.
Read more: How Long To Dry Chives In A Dehydrator
Method 3: Preserving Chives in Oil
Preserving chives in oil is a fantastic method for storing them while also infusing the oil with their delightful flavor. The preserved chives can be used as a condiment or added to recipes to impart a unique taste. Here’s how you can preserve chives in oil:
- Chop the Chives: Begin by finely chopping the chives into small pieces. Ensure that the chives are dry before proceeding with this method.
- Choose the Oil: Select a high-quality oil with a neutral flavor, such as olive oil or vegetable oil. You can also use a combination of oils to add depth to the flavor.
- Sterilize the Jar: Wash a glass jar with a tight-fitting lid in hot, soapy water, and rinse it thoroughly. Place the jar and lid in a pot of boiling water for about 10 minutes to sterilize them. Remove them from the water and let them air dry completely.
- Layer the Chives: Place a layer of chopped chives at the bottom of the sterilized jar. Make sure the chives are evenly distributed and not tightly packed.
- Add Oil: Pour enough oil into the jar to completely cover the layer of chives. Ensure that all the chives are submerged in the oil to prevent spoilage.
- Repeat Layering: Repeat the layering process, alternating between chives and oil until the jar is full. Leave a small headspace at the top to allow for expansion.
- Seal and Store: Once the jar is filled, wipe the rim clean and seal it tightly with the lid. Store the jar in a cool, dark place, such as a pantry or cupboard.
The chives preserved in oil can be stored for several months. The oil will take on the flavor of the chives, making it a versatile ingredient for dressings, marinades, or drizzling over dishes for added flavor.
It’s important to note that preserving chives in oil can present a risk of botulism if not done correctly. To minimize the risk, make sure to use fresh and dry chives, sanitize the jar thoroughly, and store the jar in the refrigerator if you intend to keep it for an extended period.
Preserving chives in oil is a wonderful way to store them while creating an infused oil that can add a burst of flavor to your culinary creations. Enjoy the convenience of having chives readily available and elevate your dishes with the essence of this versatile herb.
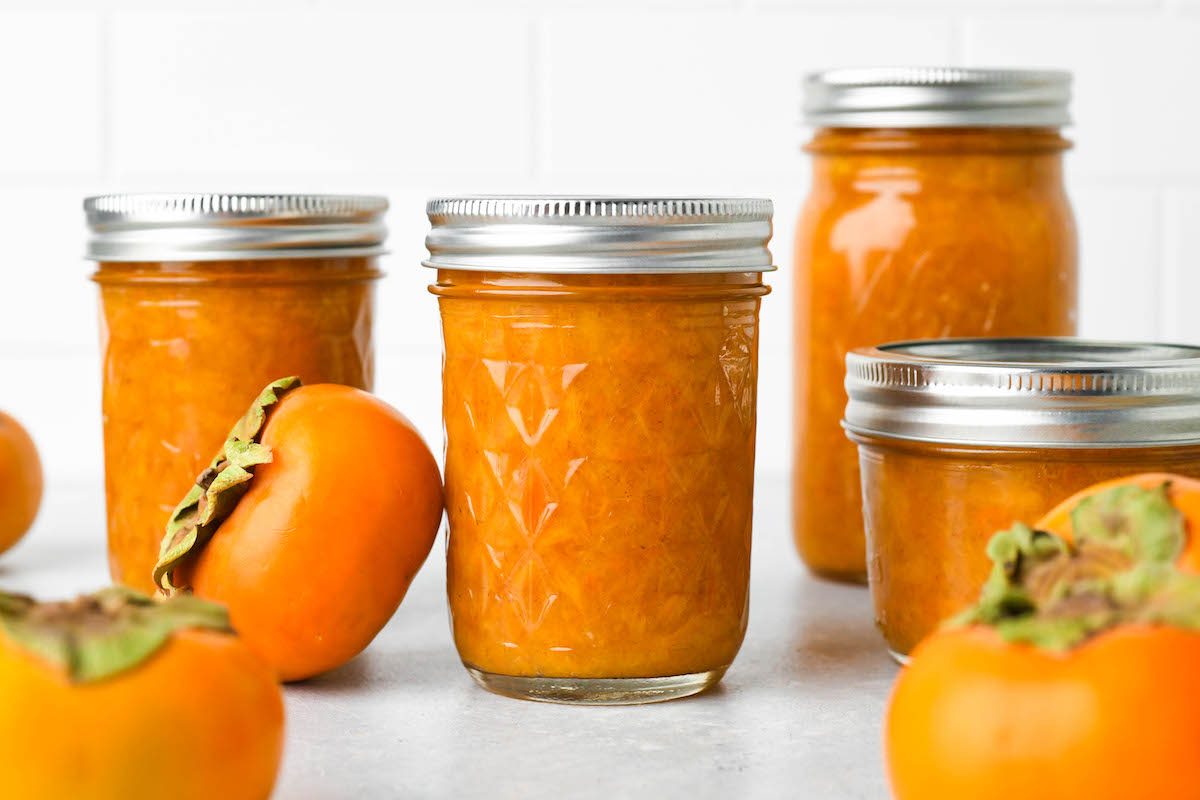
Method 4: Storing Chives in Vinegar
Storing chives in vinegar is an excellent method for preserving their flavor while also creating a tangy and aromatic infused vinegar. This preserved chive-infused vinegar can be used in dressings, marinades, or as a condiment. Here’s how you can store chives in vinegar:
- Chop the Chives: Begin by finely chopping the chives into small pieces. Make sure the chives are dry before proceeding with this method.
- Choose the Vinegar: Select a vinegar with a mild flavor, such as white wine vinegar or apple cider vinegar. The choice of vinegar will influence the taste of the final product, so pick one that complements your preferences.
- Sterilize the Jar: Clean a glass jar with a tight-fitting lid in hot, soapy water, and rinse it thoroughly. Place the jar and lid in a pot of boiling water for about 10 minutes to sterilize them. Remove them from the water and let them air dry completely.
- Layer the Chives: Place a layer of chopped chives at the bottom of the sterilized jar. Spread them evenly and avoid tightly packing them in the jar.
- Add Vinegar: Pour enough vinegar into the jar to completely cover the layer of chives. Ensure that all the chives are submerged in the vinegar.
- Repeat Layering: Repeat the layering process, alternating between chives and vinegar until the jar is filled. Leave a small headspace at the top to allow for expansion.
- Seal and Store: Wipe the rim clean and seal the jar tightly with the lid. Store the jar in a cool, dark place, such as a pantry or cupboard.
The chives stored in vinegar can be left for several weeks to infuse their flavor into the vinegar. The resulting chive-infused vinegar can be used in various culinary applications, offering a unique and tangy taste to your dishes.
Keep in mind that the chive-infused vinegar may darken over time due to the natural pigments in the chives. This change in color is normal and does not affect the quality or flavor of the vinegar.
Storing chives in vinegar provides a dual benefit of preserving the herb while creating a flavorful and versatile infused vinegar. Enjoy the convenience of having chive-infused vinegar on hand to enhance the taste of your favorite recipes.
Method 5: Making Chive Butter
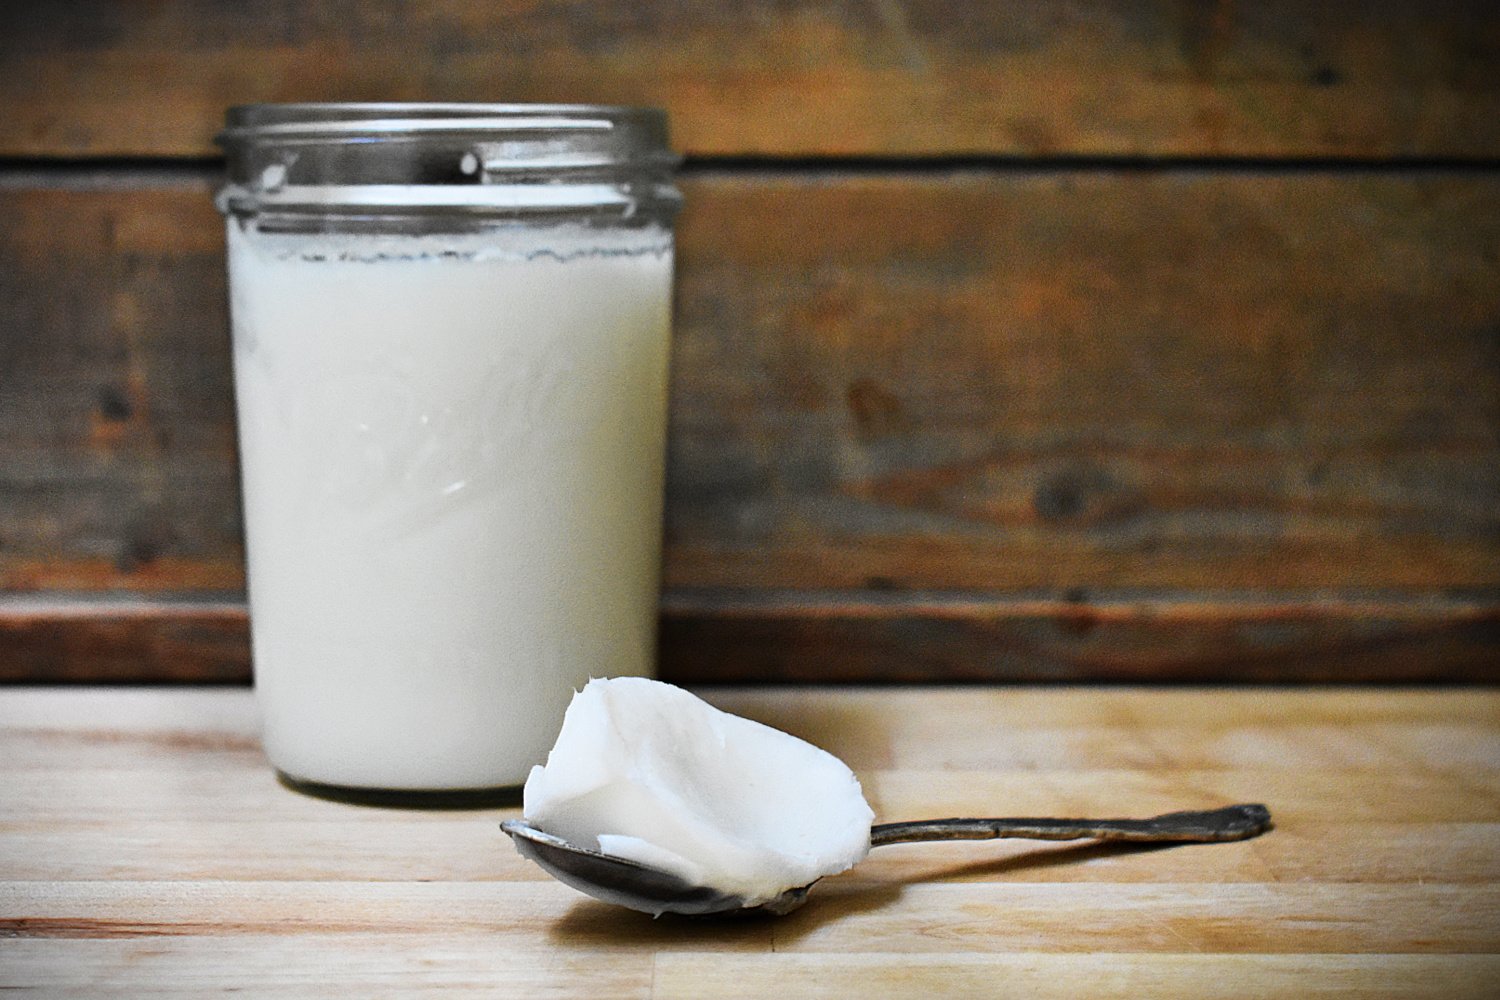
Creating chive butter is a delightful way to store chives while infusing their flavor into a rich and creamy spread. Chive butter can be used as a topping for bread, vegetables, or grilled meats, adding a savory touch to any dish. Here’s how you can make chive butter:
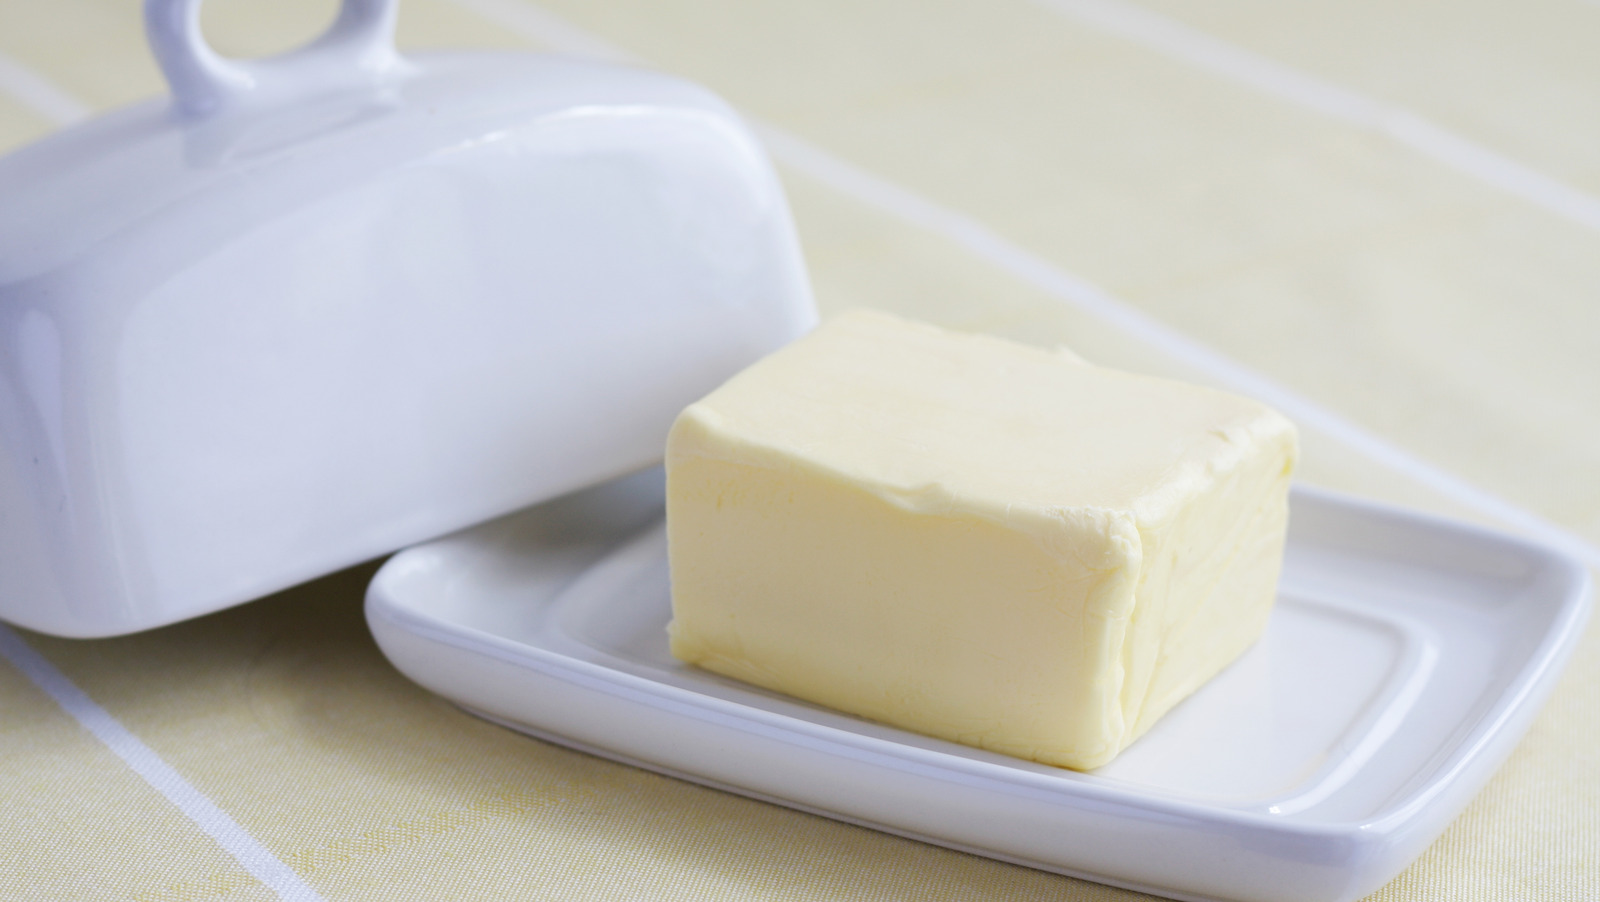
- Gather the Ingredients: You will need softened butter and finely chopped chives. Ensure that the chives are dry before proceeding with this method.
- Combine Butter and Chives: In a bowl, mix the softened butter and chopped chives until well combined. The ratio of butter to chives can vary depending on your preference. Start with a tablespoon of chopped chives for every stick (1/2 cup) of butter and adjust according to your taste.
- Season (Optional): If desired, you can add some salt, pepper, or other seasonings to enhance the flavor of the chive butter. Be mindful of the salt content, as many store-bought butters are already salted.
- Shape and Wrap: Place the chive butter mixture onto a sheet of plastic wrap and shape it into a log or a small mound. Roll the plastic wrap tightly, ensuring that the butter is fully enclosed. Twist the ends of the plastic wrap to secure the shape.
- Chill and Store: Place the wrapped chive butter in the refrigerator for at least an hour to firm up. Once chilled, you can store the chive butter in the refrigerator for up to two weeks, or in the freezer for several months.
Chive butter adds a burst of flavor to dishes. Simply slice off a piece of the chive butter and let it melt on top of warm bread, steamed vegetables, or grilled meats. It can also be used as a base for sauces or as a flavor enhancer in mashed potatoes.
Get creative with your chive butter by experimenting with different herbs, spices, or even add citrus zest for a personalized twist. The possibilities are endless!
Enjoy the convenience of having homemade chive butter at your fingertips to elevate the taste of your favorite meals. Spread it on, melt it in, and savor the rich and savory goodness of chive butter.
Tips for Successful Chive Storage
To ensure successful chive storage, consider the following tips:
- Handle Chives With Care: Chives are delicate herbs, so handle them gently to avoid bruising or damaging the leaves. This will help maintain their freshness and quality.
- Store Fresh Chives in the Refrigerator: If you are storing fresh chives, place them in a plastic bag or wrap them in a damp paper towel and store them in the refrigerator. This will help keep them fresh for up to a week.
- Label and Date: When storing chives using any method, be sure to label the containers and include the date of storage. This will help you keep track of their freshness and know when it’s time to use them.
- Use Airtight Containers: For freezing, drying, or storing chives in oil or vinegar, use airtight containers or jars. This will prevent air and moisture from getting in, preserving the flavor and quality of the chives.
- Keep Frozen Chives for Longer Periods: While frozen chives can be stored for up to six months, they are best used within three months to maintain their optimal flavor and texture.
- Consider Chive Blends: If you have a surplus of chives, consider mixing them with other herbs like parsley, basil, or cilantro to create flavorful herb blends for storage. This will allow you to have versatile herb blends on hand for various recipes.
- Store Dried Chives Properly: Once dried, store the chives in an airtight container in a cool and dark place. Keep them away from direct sunlight, as exposure to light can cause them to lose their flavor more quickly.
- Keep Preserved Chives Refrigerated: Chives preserved in oil or vinegar should be stored in the refrigerator for safety and to maintain their freshness. The cold temperature will help inhibit the growth of harmful bacteria.
- Regularly Check for Spoilage: When using stored chives, always inspect them for any signs of spoilage, such as mold, discoloration, or off smells. Discard any chives that show signs of spoilage.
By following these tips, you can ensure that your stored chives remain fresh and flavorful, ready to enhance your culinary creations at any time.
Remember, proper storage techniques not only help preserve the taste and quality of chives but also contribute to reducing food waste and maximizing the use of this versatile herb.
Read more: How To Store Beans Long Term
Conclusion
Properly storing chives for the long term allows you to enjoy their fresh flavor and aroma throughout the year. Whether you have an abundant harvest from your garden or want to take advantage of the availability of chives at the supermarket, knowing the right storage methods can help you preserve their quality and maximize their use.
In this article, we explored various methods for storing chives long-term. Freezing chives is a popular option that retains their flavor and texture, making them suitable for use in a wide range of recipes. Drying chives provides an alternative approach, preserving their taste while offering convenience and versatility in the kitchen.
For those looking for infused flavors, preserving chives in oil or vinegar provides distinctive condiments that can elevate your dishes. And if you prefer a spreadable option, making chive butter allows you to enjoy the essence of chives on toast, vegetables, or as a flavor enhancer in various recipes.
To ensure successful chive storage, remember to handle them gently, use airtight containers, and label and date your stored chives. Regularly check for spoilage and discard any chives that show signs of deterioration.
By following these guidelines, you can savor the fresh taste of chives in your favorite recipes even when they are out of season. So, whether you’re a dedicated gardener or an avid home cook, make the most out of your chives by storing them properly and enjoying their flavor year-round.
With a bit of planning and the right techniques, you can ensure that the vibrant green of chives and their delightful onion-like taste will always be within your reach, ready to add a delicious touch to your culinary adventures.
Frequently Asked Questions about How To Store Chives Long Term
Was this page helpful?
At Storables.com, we guarantee accurate and reliable information. Our content, validated by Expert Board Contributors, is crafted following stringent Editorial Policies. We're committed to providing you with well-researched, expert-backed insights for all your informational needs.


0 thoughts on “How To Store Chives Long Term”