Articles
How To Store Chocolate Dipped Marshmallows
Modified: January 20, 2024
Learn the best way to store your homemade chocolate dipped marshmallows with these helpful articles. Keep them fresh and delicious for longer!
(Many of the links in this article redirect to a specific reviewed product. Your purchase of these products through affiliate links helps to generate commission for Storables.com, at no extra cost. Learn more)
Introduction
Welcome to the delicious world of chocolate dipped marshmallows! These delightful treats are perfect for satisfying your sweet tooth and impressing guests at any gathering. Whether you’re planning a party, a cozy night in, or just want a fun and easy dessert option, chocolate dipped marshmallows are a versatile and tasty choice.
In this article, we will guide you through the step-by-step process of creating and storing these delectable treats. From gathering the necessary ingredients and supplies to adding creative toppings, we’ll show you how to make scrumptious chocolate dipped marshmallows that will leave everyone wanting more.
So, let’s get started and dive into the world of chocolatey goodness!
Key Takeaways:
- Indulge in the art of creating chocolate dipped marshmallows for any occasion, from parties to cozy nights in. Get creative with toppings and store them properly for up to 2 weeks of delicious enjoyment.
- Gather the necessary ingredients and supplies to create scrumptious chocolate dipped marshmallows. From melting the chocolate to adding decorative toppings, impress your guests with these delightful treats.
Read more: How To Store Marshmallow Fluff
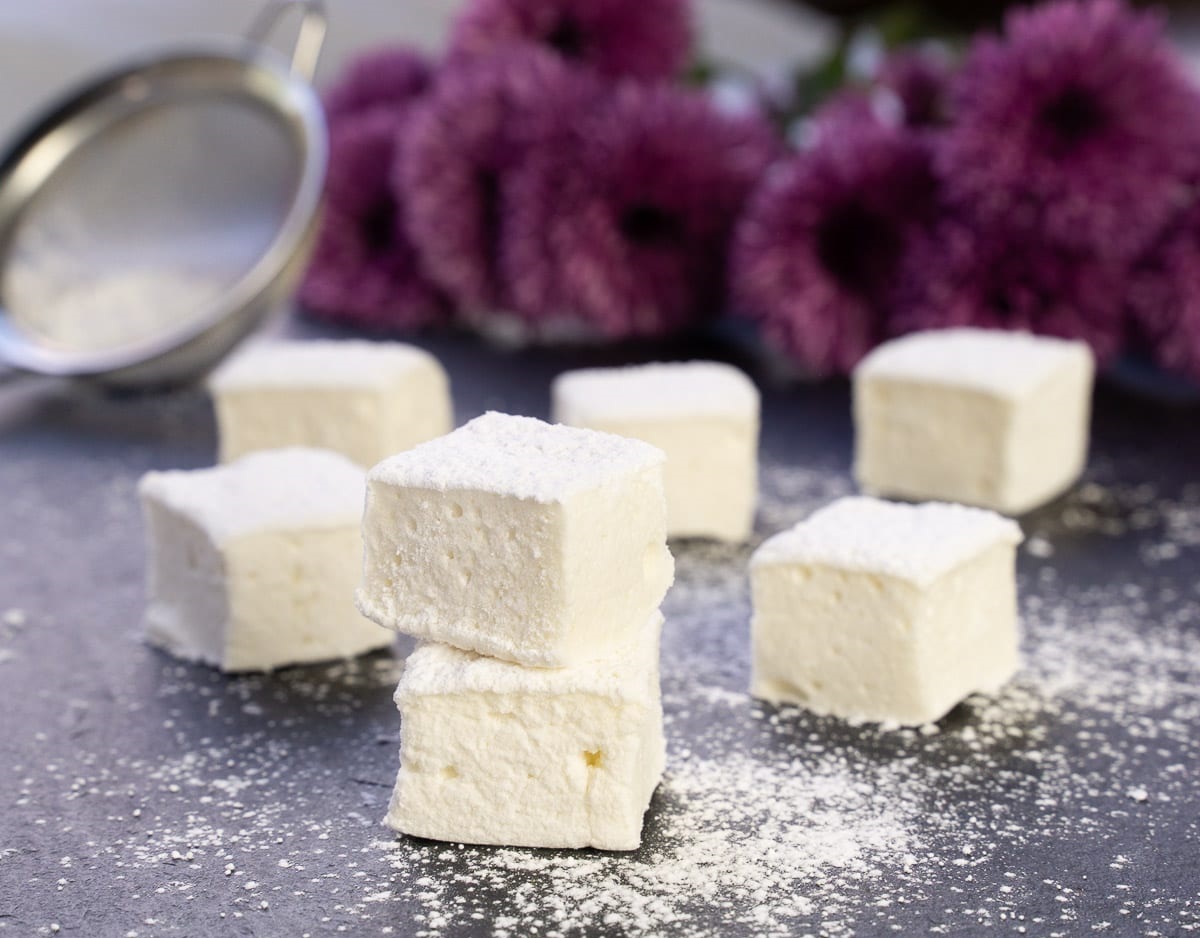
Step 1: Gather the Ingredients and Supplies
Before you begin making chocolate dipped marshmallows, it’s important to gather all the necessary ingredients and supplies. Here’s what you’ll need:
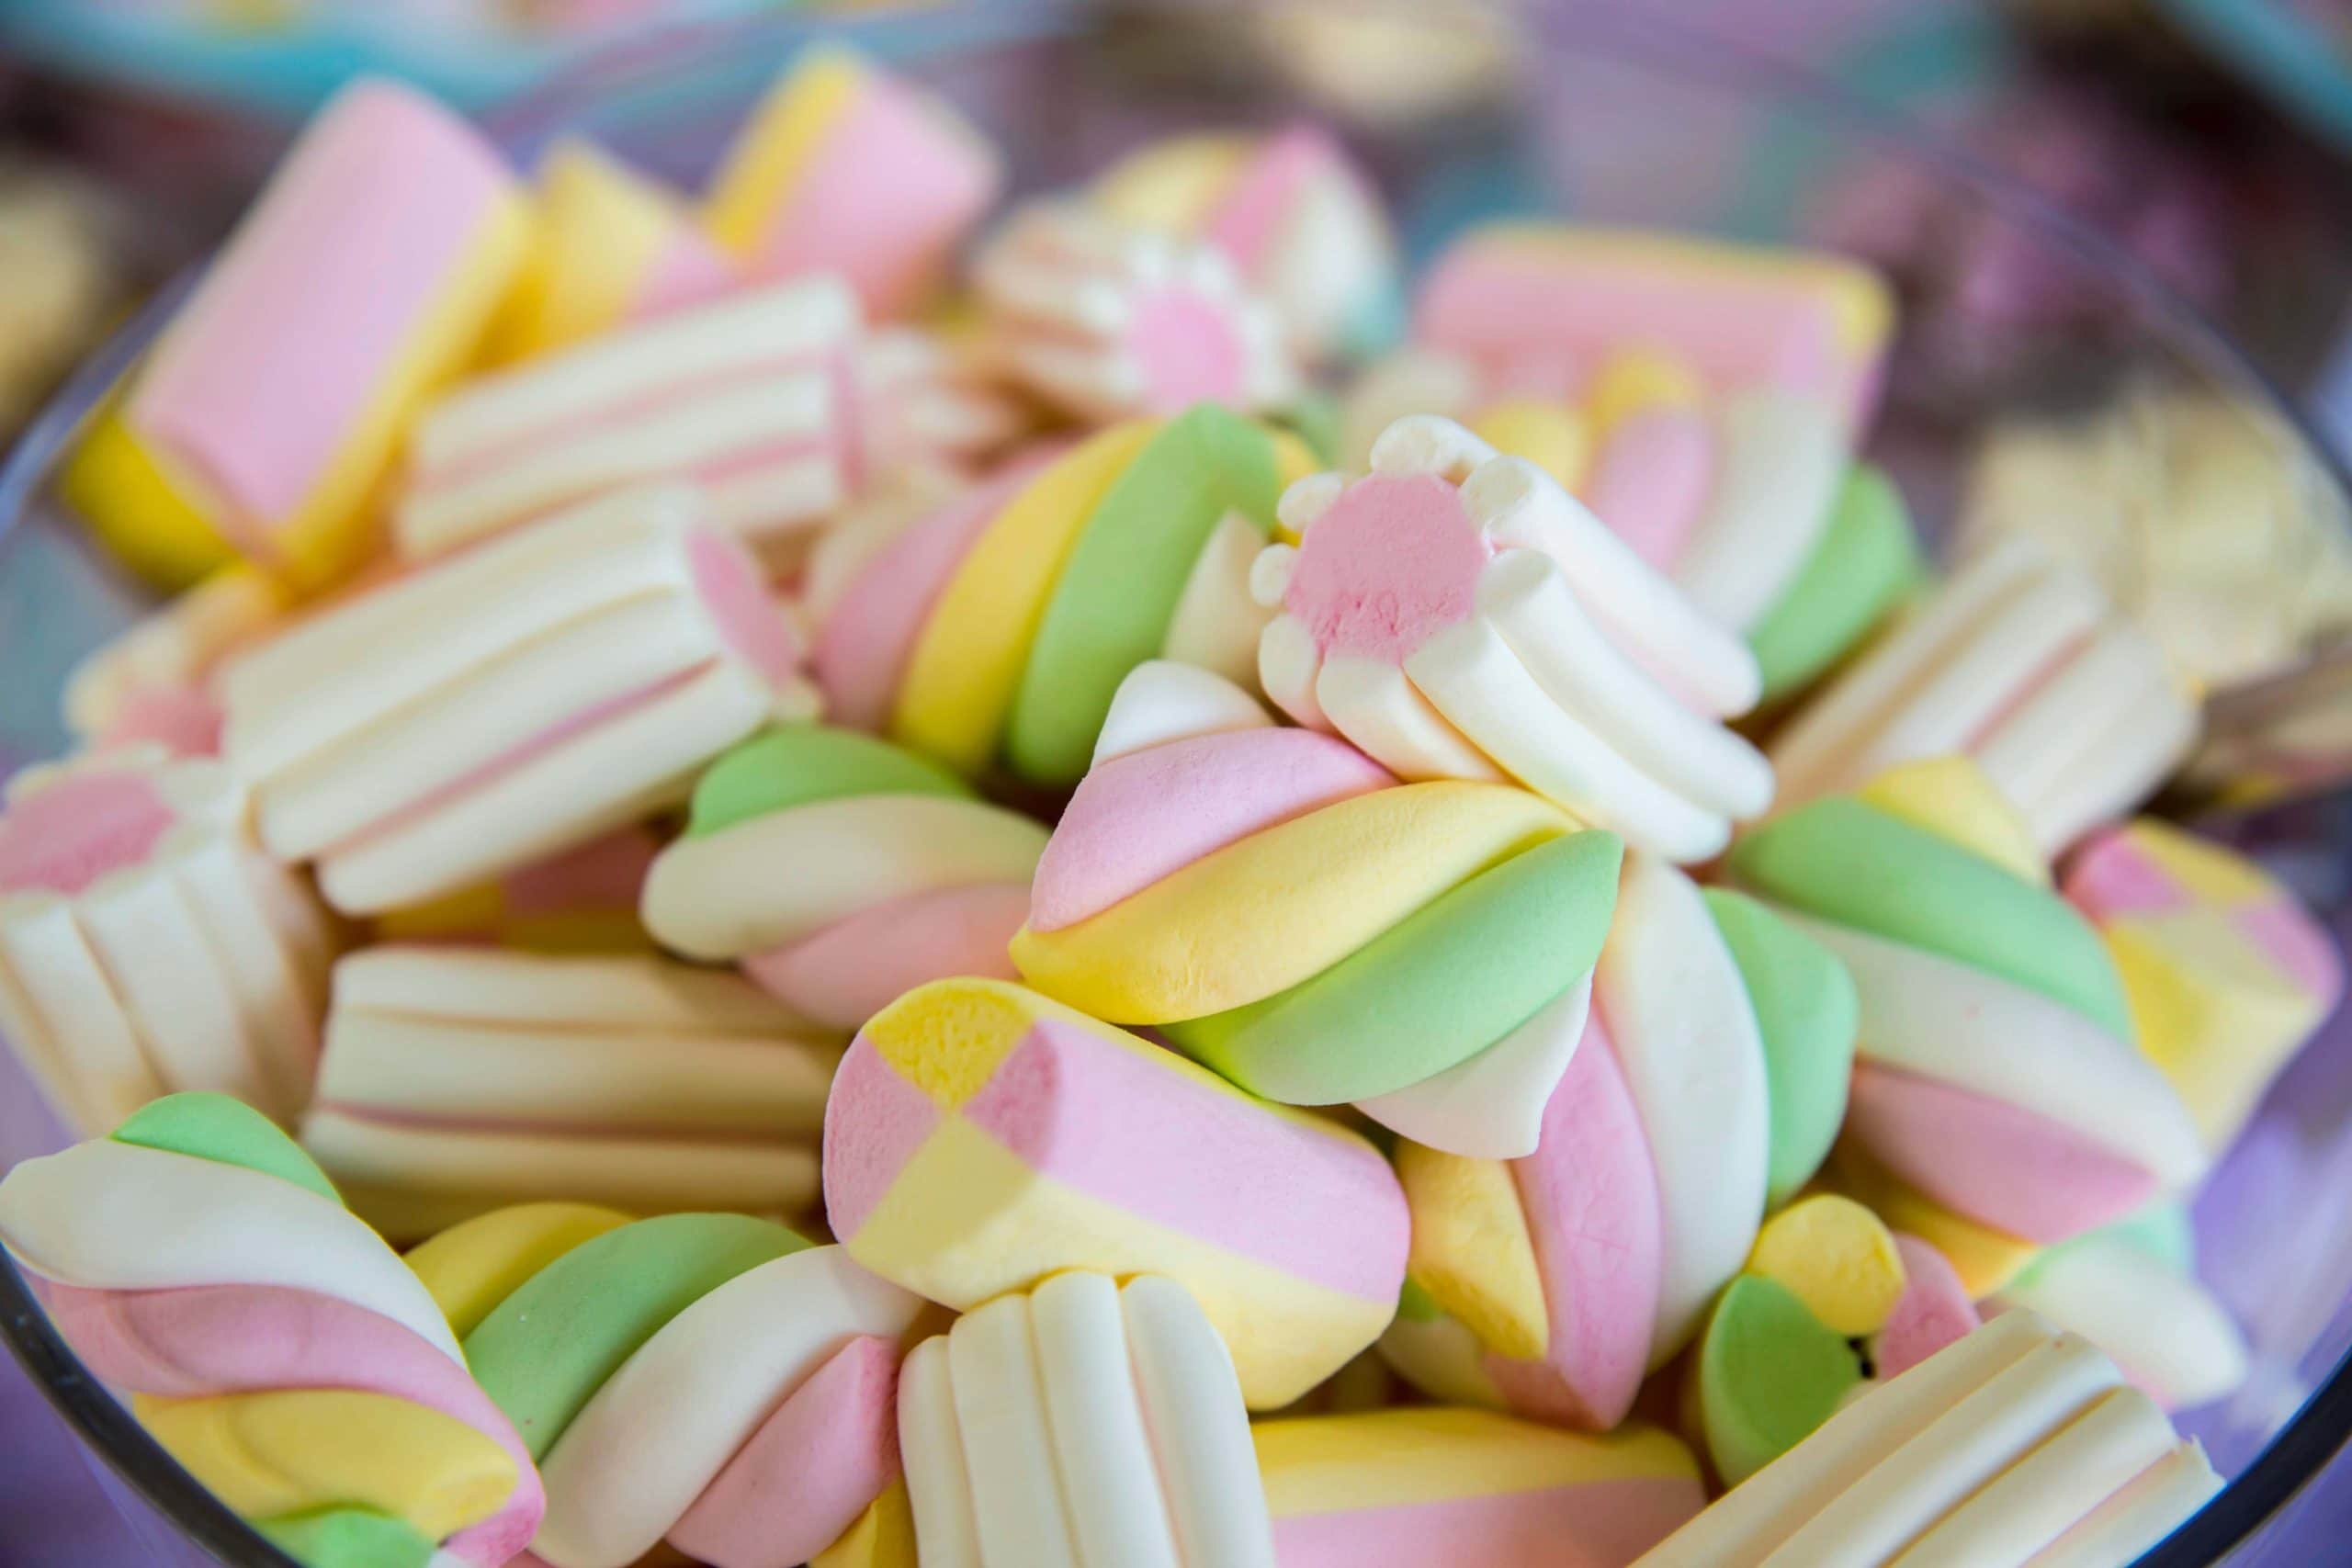
- Marshmallows: Choose regular-sized marshmallows or get creative with different shapes and flavors.
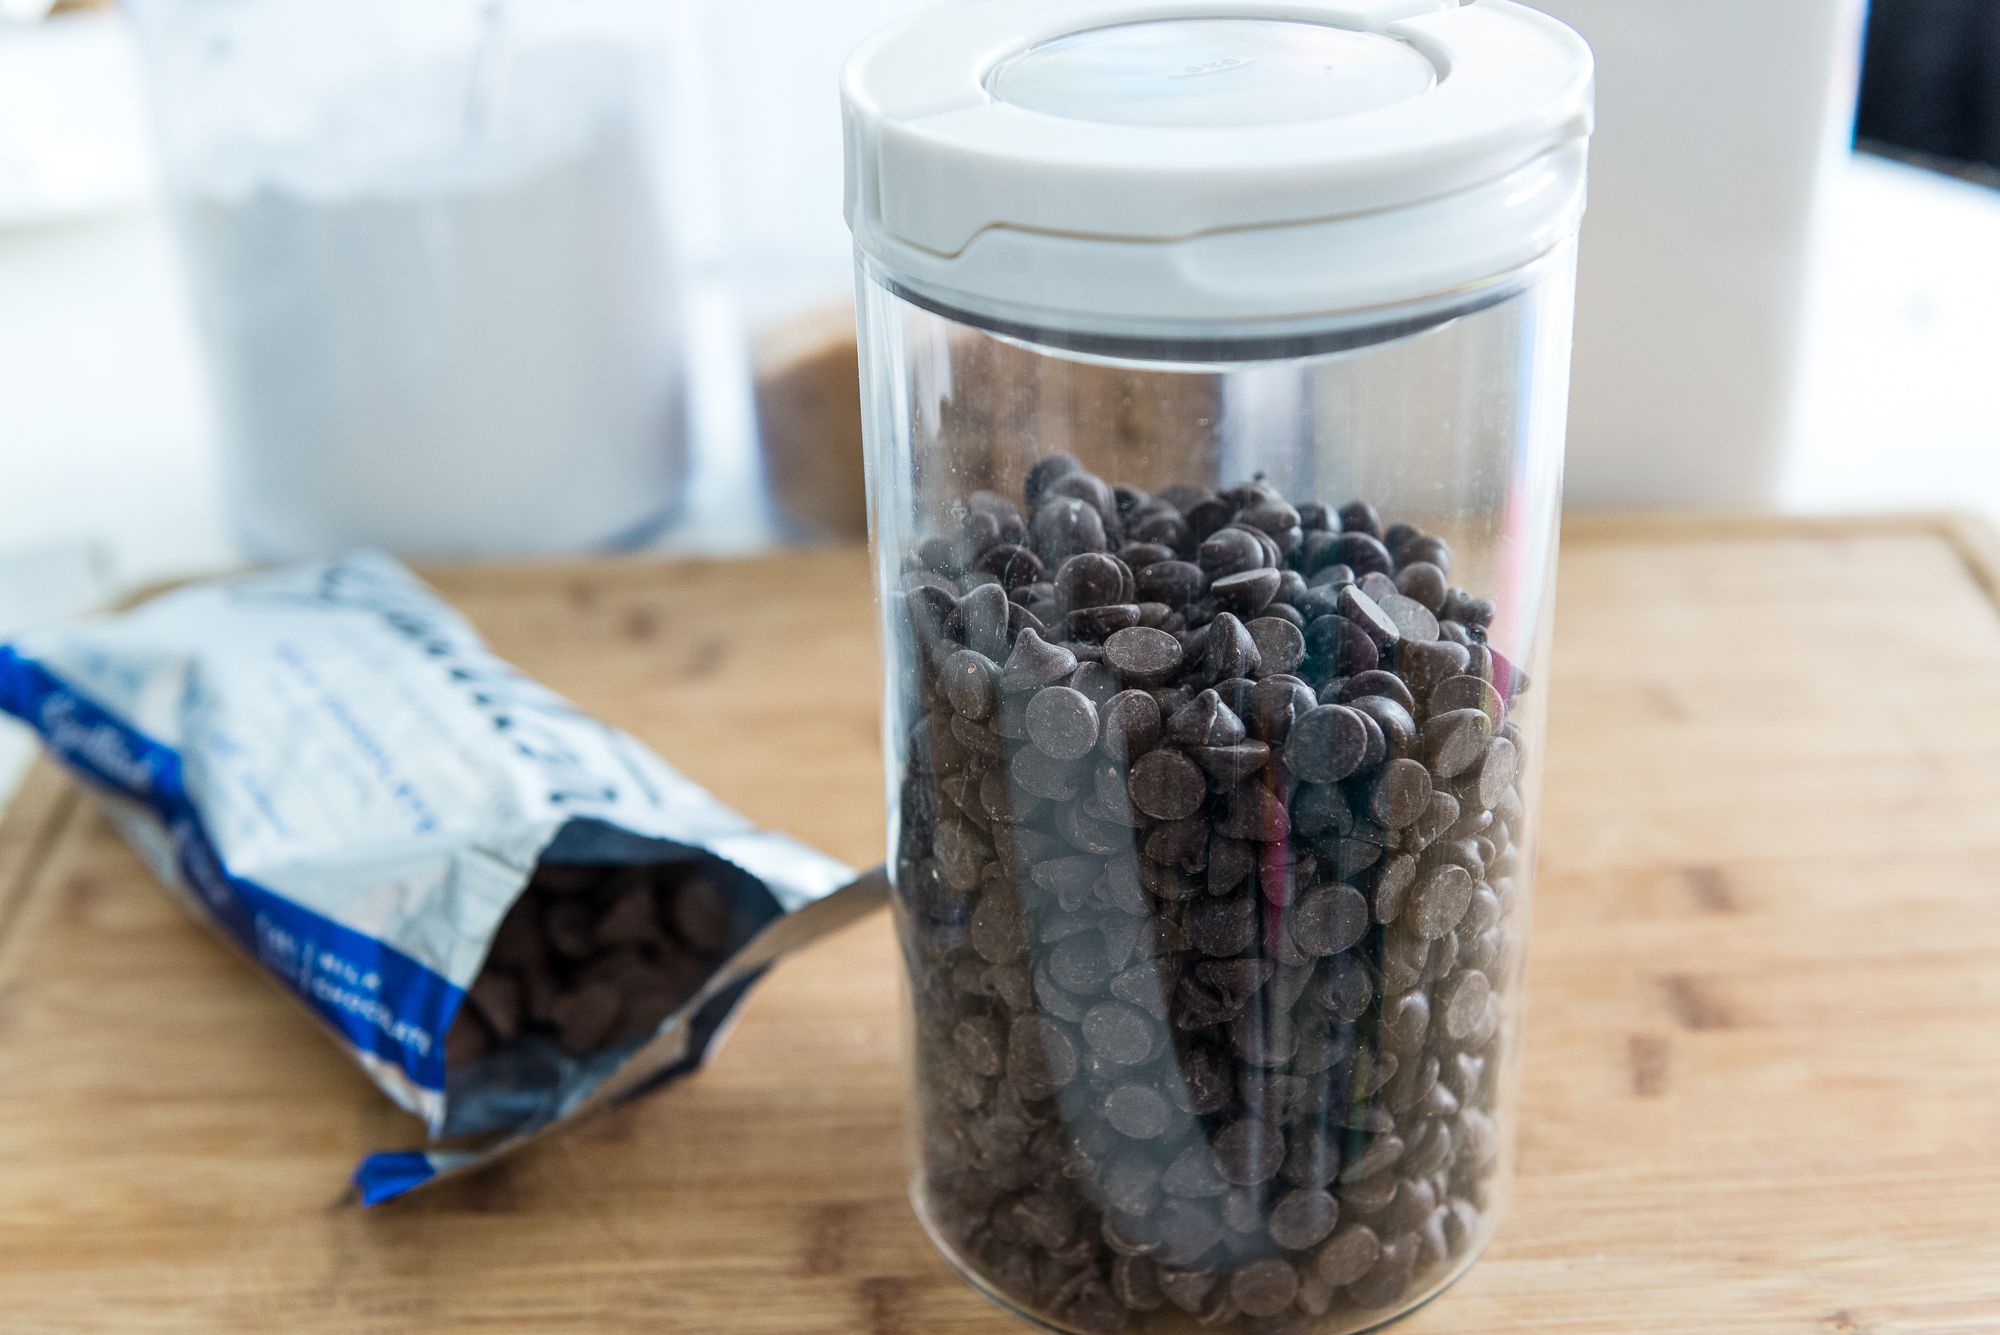
- Chocolate: Opt for high-quality chocolate bars or melting wafers. Dark, milk, or white chocolate all work well, depending on your preference.
- Decorative Toppings: Sprinkles, crushed nuts, shredded coconut, or colored sugar can add a fun and decorative touch.
- Skewers or Toothpicks: These will be used to dip the marshmallows into the chocolate.
- Parchment Paper: It helps prevent the marshmallows from sticking and makes clean-up easier.
- Microwave or Double Boiler: You’ll need one of these to melt the chocolate.
Once you have gathered all your ingredients and supplies, you’re ready to move on to the next step!
Step 2: Prepare the Marshmallows
Now that you have all your ingredients and supplies ready, it’s time to prepare the marshmallows for dipping. Here’s how:
- Remove the marshmallows from their packaging and place them on a plate or baking sheet lined with parchment paper.
- If using regular-sized marshmallows, you can leave them as they are. However, if you’re using marshmallow shapes or larger marshmallows, you may need to cut them into smaller pieces for easier dipping.
- Insert a skewer or toothpick into each marshmallow, making sure it goes in halfway. This will serve as a handle for dipping and decorating the marshmallows.
By preparing the marshmallows before dipping, you’ll ensure that they are ready to be coated with chocolate and won’t fall apart during the process.
Now that your marshmallows are prepared, let’s move on to the next step: melting the chocolate!
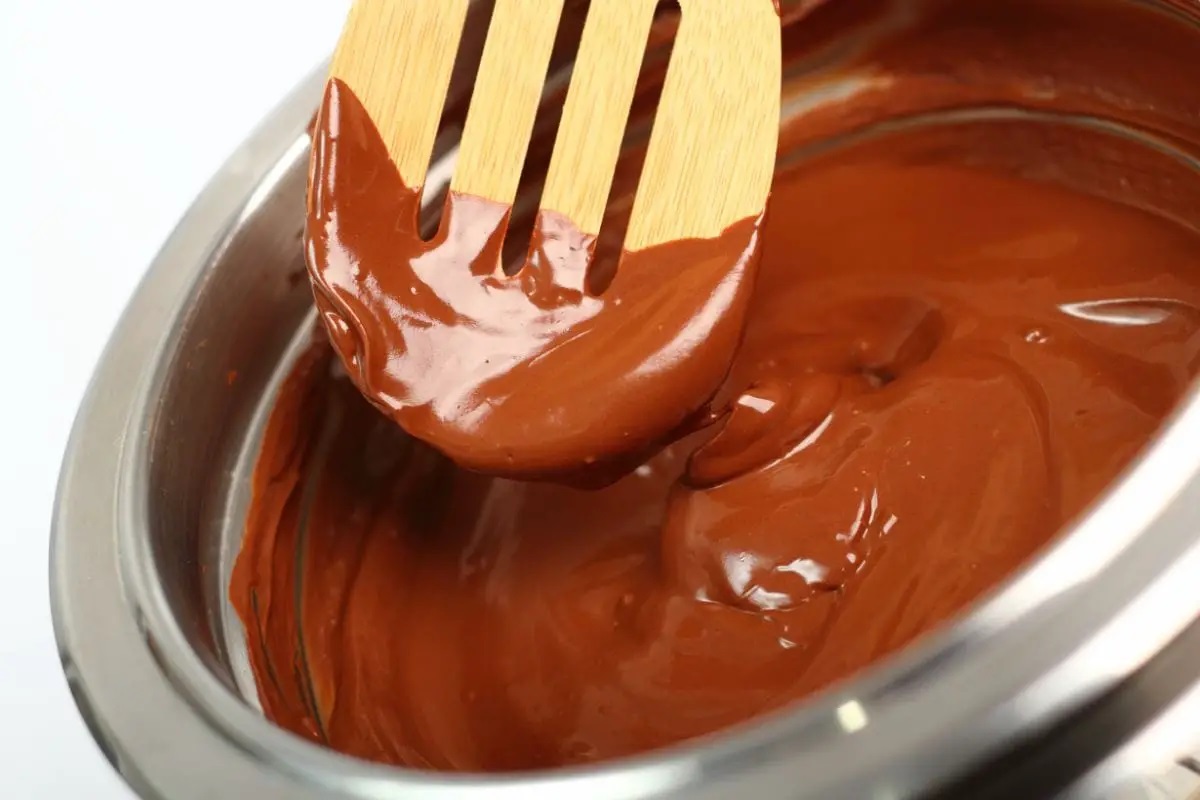
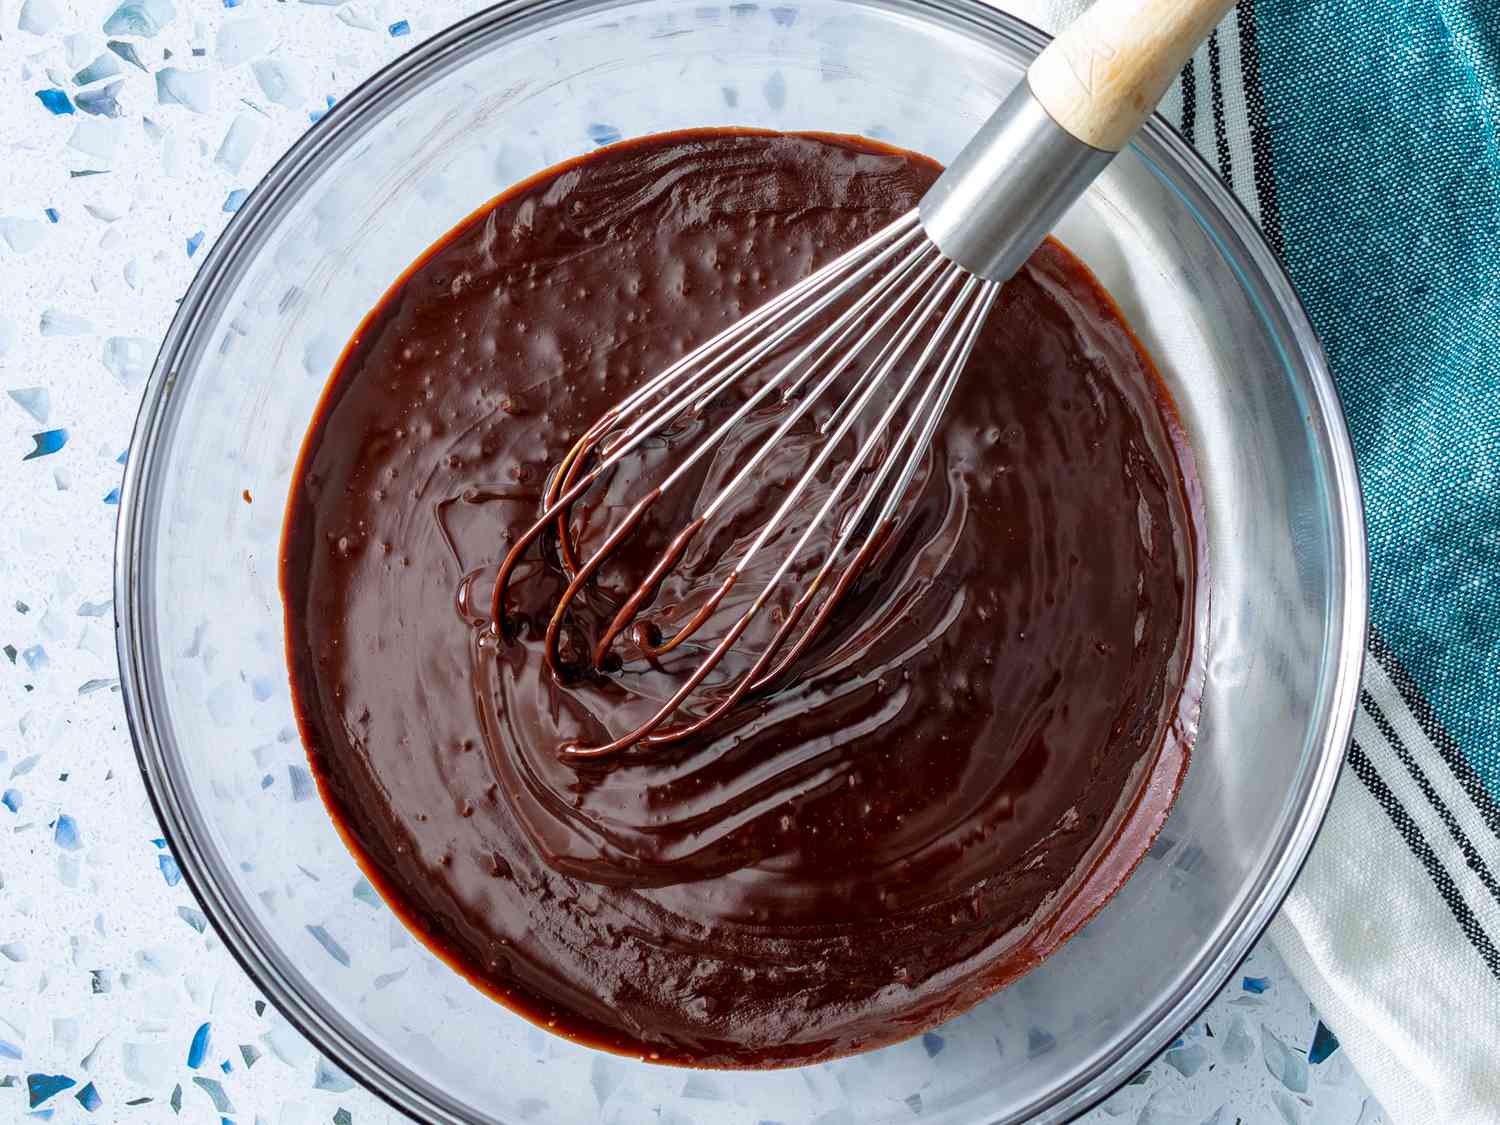
Step 3: Melt the Chocolate
The next step in creating your chocolate dipped marshmallows is to melt the chocolate. There are two common methods for melting chocolate: using a microwave or a double boiler. Here’s how to do it:
Microwave Method:
- Break the chocolate into smaller pieces and place them in a microwave-safe bowl.
- Heat the chocolate in the microwave in short intervals, stirring every 15-20 seconds, until it is smooth and completely melted.
- Be careful not to overheat the chocolate, as it can quickly burn and become lumpy. Take it out of the microwave as soon as it’s melted and stir until smooth.
Read more: How To Store Marshmallow Fondant
Double Boiler Method:
- Fill a saucepan halfway with water and place it over low heat.
- Place a heatproof bowl on top of the saucepan, making sure the bottom of the bowl does not touch the water.
- Add the chocolate to the bowl and stir occasionally until it is melted and smooth.
Regardless of the method you choose, ensure that the chocolate is fully melted and smooth before moving on to the next step.
Now that your chocolate is melted, it’s time to proceed to the fun part – dipping the marshmallows in chocolate!
Step 4: Dip the Marshmallows in Chocolate
Now that you have your melted chocolate ready, it’s time to dip the marshmallows and cover them in that rich, velvety goodness. Follow these steps to coat your marshmallows:
- Hold the skewer or toothpick with the marshmallow and submerge it into the melted chocolate.
- Rotate the marshmallow gently to ensure that it is fully coated with chocolate.
- Allow any excess chocolate to drip off the marshmallow back into the bowl.
- If desired, use a spoon or a clean finger to help spread the chocolate evenly over the marshmallow surface.
- Once the marshmallow is fully coated, hold it above the bowl and let any additional excess chocolate drip off.
- Transfer the dipped marshmallow onto a parchment paper-lined baking sheet to set.
- Repeat the process with the remaining marshmallows, dipping each one into the melted chocolate and placing them onto the baking sheet.
Remember to work quickly while dipping the marshmallows, as the chocolate may start to harden as it cools.
After you’ve finished dipping all the marshmallows, it’s time to add some extra flair with decorative toppings (if desired).
Let’s move on to the next step and explore the world of creative toppings for your chocolate dipped marshmallows!
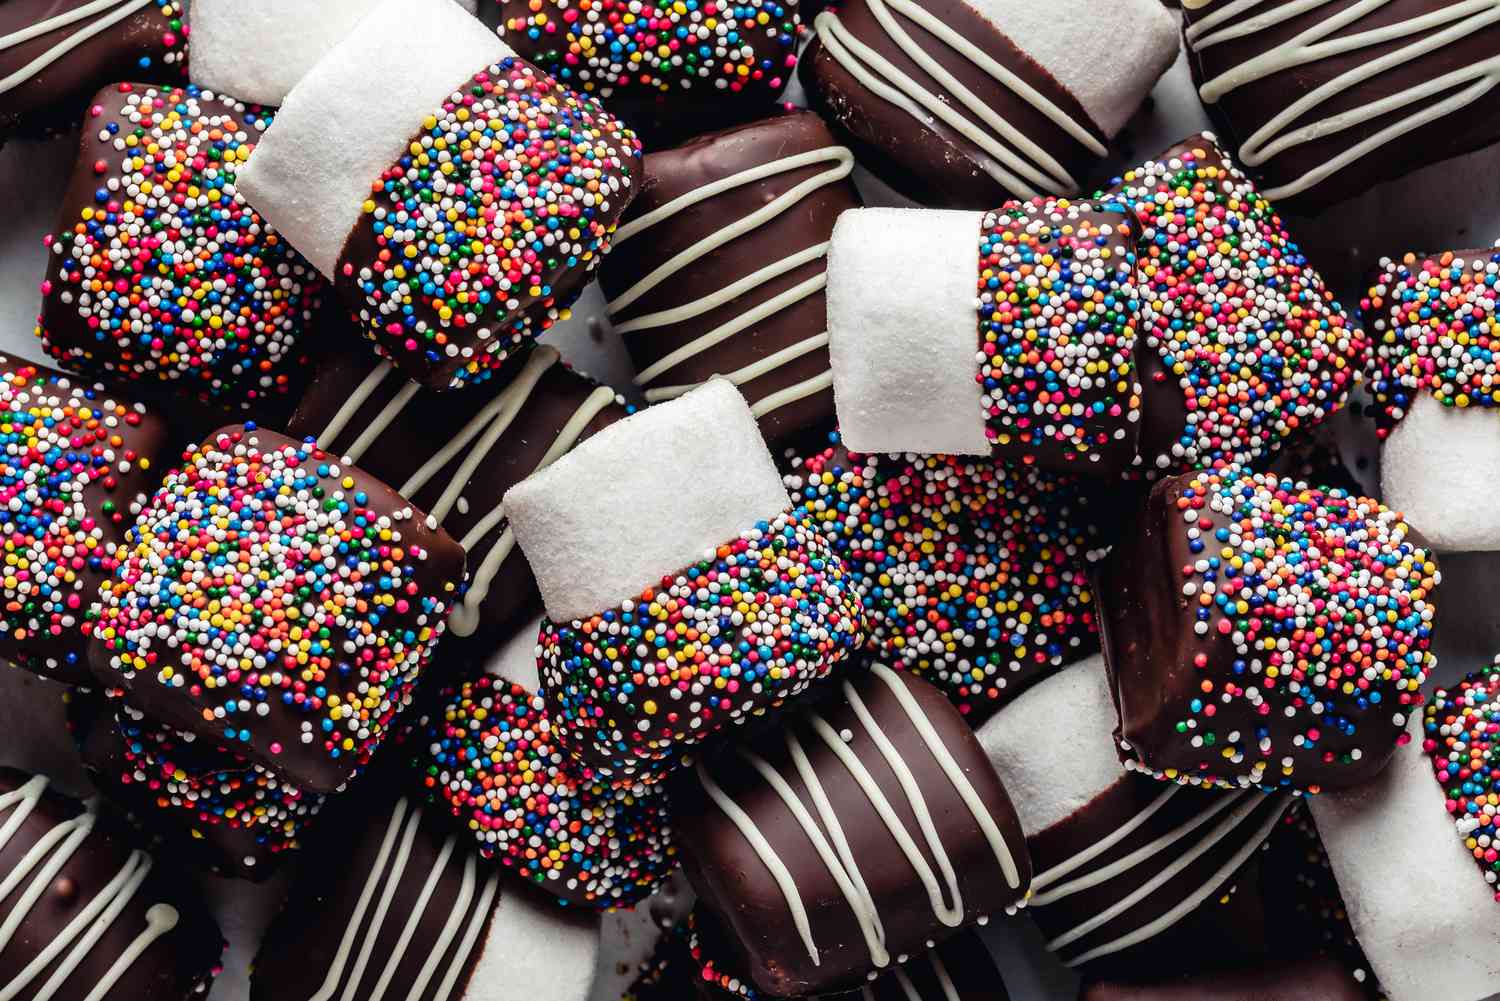
Step 5: Add Toppings (Optional)
Adding decorative toppings to your chocolate dipped marshmallows is a wonderful way to enhance their appearance and add extra flavor. Here’s how you can get creative with toppings:
- Sprinkles: Sprinkle colorful sprinkles over the freshly dipped marshmallows to add a festive touch.
- Crushed Nuts: Roll the chocolate-covered marshmallows in crushed nuts like almonds, peanuts, or pistachios for a crunchy and nutty flavor.
- Shredded Coconut: Dip the chocolate-coated marshmallows into shredded coconut to give them a tropical twist.
- Colored Sugar: Roll the dipped marshmallows in colored sugar to add a sparkly and sweet touch.
Feel free to mix and match different toppings to create unique combinations that suit your preference. The possibilities are endless!
Once you’ve added the desired toppings, move on to the next step to let the chocolate on your marshmallows harden.
Store chocolate dipped marshmallows in an airtight container at room temperature, away from direct sunlight and heat sources. If the weather is warm, consider refrigerating them to prevent the chocolate from melting.
Step 6: Let the Chocolate Harden
After dipping the marshmallows in chocolate and adding any desired toppings, it’s crucial to allow the chocolate to harden before moving or storing them. Follow these steps to ensure the chocolate sets properly:
- Place the baking sheet with the dipped marshmallows in a cool and dry area.
- Leave the marshmallows undisturbed for about 30 minutes to 1 hour, or until the chocolate has completely hardened.
- For faster hardening, you can place the baking sheet in the refrigerator for about 15-20 minutes.
It’s important to note that the time required for the chocolate to harden may vary depending on various factors like the temperature and humidity of your environment.
Once the chocolate has hardened, you can proceed to the final step: storing the chocolate dipped marshmallows.
Read more: How To Store Dipped Pretzel Rods
Step 7: Store the Chocolate Dipped Marshmallows
Now that your chocolate dipped marshmallows are ready, it’s important to store them properly to maintain their freshness and taste. Here are a few guidelines for storing your delicious treats:
- Allow the chocolate dipped marshmallows to cool completely before storing them.
- Once the chocolate has hardened, transfer the marshmallows to an airtight container or a sealed plastic bag.
- Place layers of parchment paper or wax paper between the layers of marshmallows to prevent them from sticking together.
- Store the container or bag in a cool and dry place, away from direct sunlight and moisture.
- Under proper storage conditions, chocolate dipped marshmallows can stay fresh for up to 1-2 weeks.
Remember, if you’re planning to serve the marshmallows at a later date, it’s best to store them in the refrigerator. Just make sure to bring them back to room temperature before serving to bring out their full flavor.
Now that you know how to store your chocolate dipped marshmallows, you can enjoy them whenever you crave a sweet and indulgent treat!
Conclusion
Congratulations! You have successfully learned how to create and store delectable chocolate-dipped marshmallows, ideal for incorporating bon bons in table settings. These delightful treats are perfect for any occasion, whether it’s a special event, a party, or simply a sweet indulgence for yourself.
By following the step-by-step guide outlined in this article, you have gained the knowledge and confidence to whip up these delicious treats in no time. From gathering the ingredients and melting the chocolate to dipping the marshmallows and adding creative toppings, you have learned the art of creating a delectable dessert that will impress your friends and loved ones.
Remember, be creative with your toppings, and let your imagination run wild. Experiment with different flavors and decorations to make each batch of chocolate dipped marshmallows unique and memorable.
Lastly, ensure that you store your chocolate dipped marshmallows properly in an airtight container to maintain their freshness and flavor. With proper storage, these tasty treats can last up to 1-2 weeks, allowing you to enjoy them at your leisure.
So, go ahead, indulge in the irresistible delight of chocolate dipped marshmallows and sweeten up your day with this delightful treat. Happy dipping and enjoy the scrumptious results!
Frequently Asked Questions about How To Store Chocolate Dipped Marshmallows
Was this page helpful?
At Storables.com, we guarantee accurate and reliable information. Our content, validated by Expert Board Contributors, is crafted following stringent Editorial Policies. We're committed to providing you with well-researched, expert-backed insights for all your informational needs.


0 thoughts on “How To Store Chocolate Dipped Marshmallows”