Articles
How To Store Cooked Brisket
Modified: February 28, 2024
Learn how to properly store cooked brisket with our informative articles. Keep your leftover brisket fresh and delicious for longer.
(Many of the links in this article redirect to a specific reviewed product. Your purchase of these products through affiliate links helps to generate commission for Storables.com, at no extra cost. Learn more)
Introduction
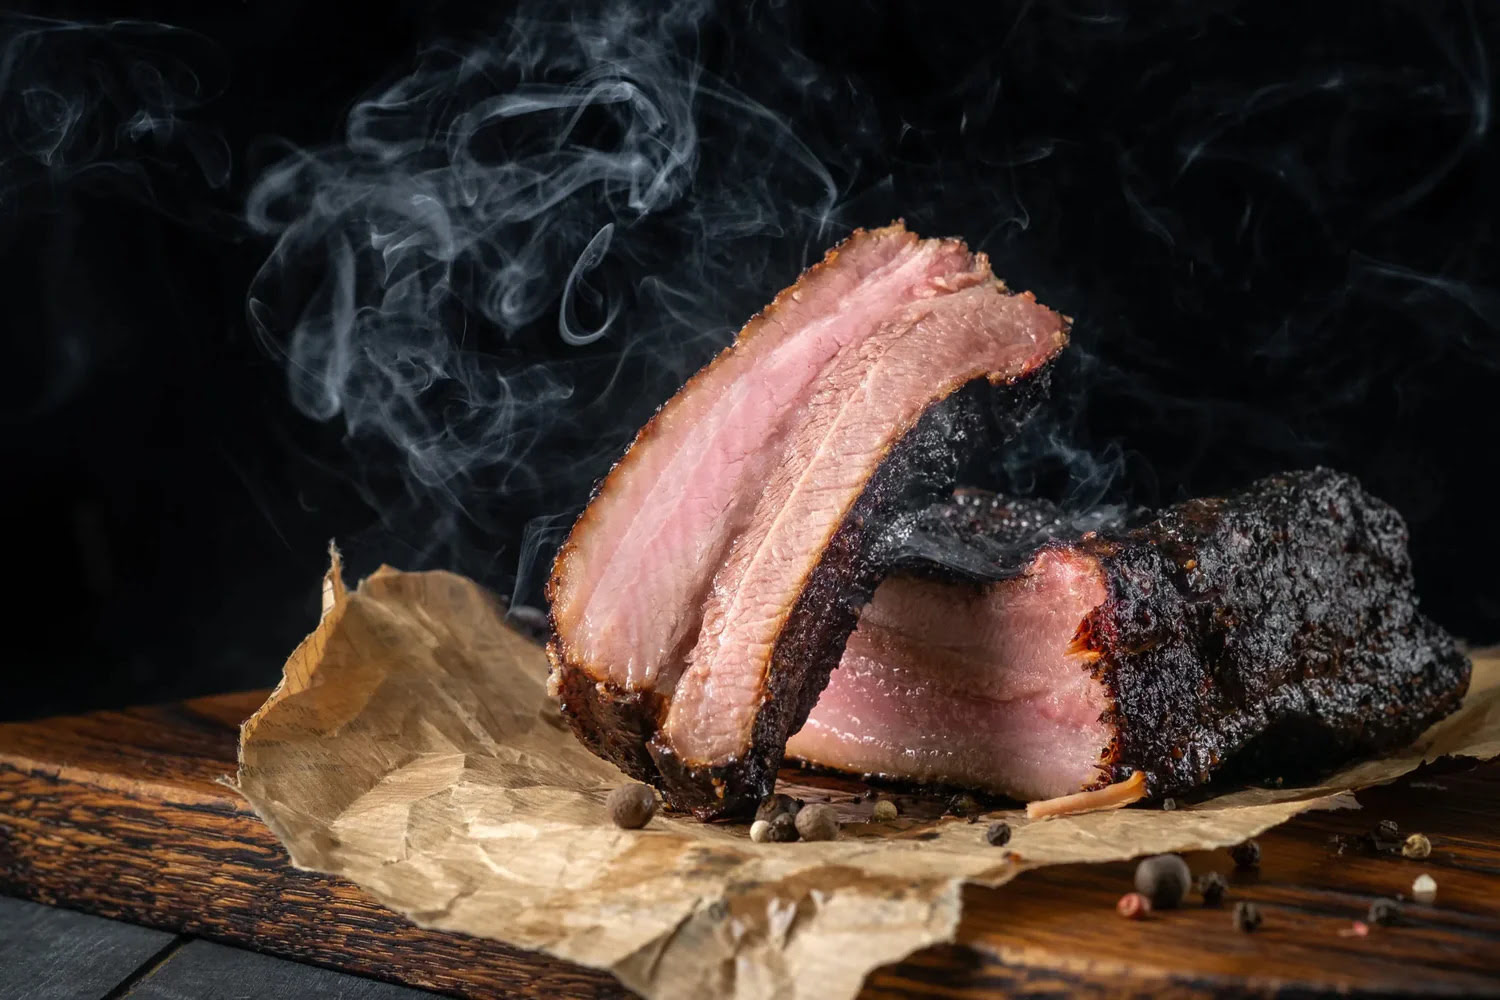
Cooking a brisket requires time, effort, and skill. Whether you’ve prepared it for a special occasion or just for a delicious family meal, there may be times when you find yourself with leftover cooked brisket. But how do you store it properly to maintain its flavor and tenderness? By following a few simple steps, you can ensure that your cooked brisket stays fresh and delicious for future meals.
In this article, we will guide you through the process of storing cooked brisket, whether you plan to keep it in the refrigerator for a few days or freeze it for longer-term storage. We’ll also provide tips on reheating the brisket to bring back its juicy and tender qualities.
So, let’s dive in and learn how to store cooked brisket like a pro!
Key Takeaways:
- Properly storing cooked brisket is crucial for maintaining its flavor and tenderness. Follow the steps outlined to ensure your leftover brisket remains delicious and enjoyable for future meals.
- From letting the brisket cool to choosing the right storage container, reheating instructions, and more, this article provides a comprehensive guide to storing cooked brisket like a pro.
Read more: How To Store A Brisket
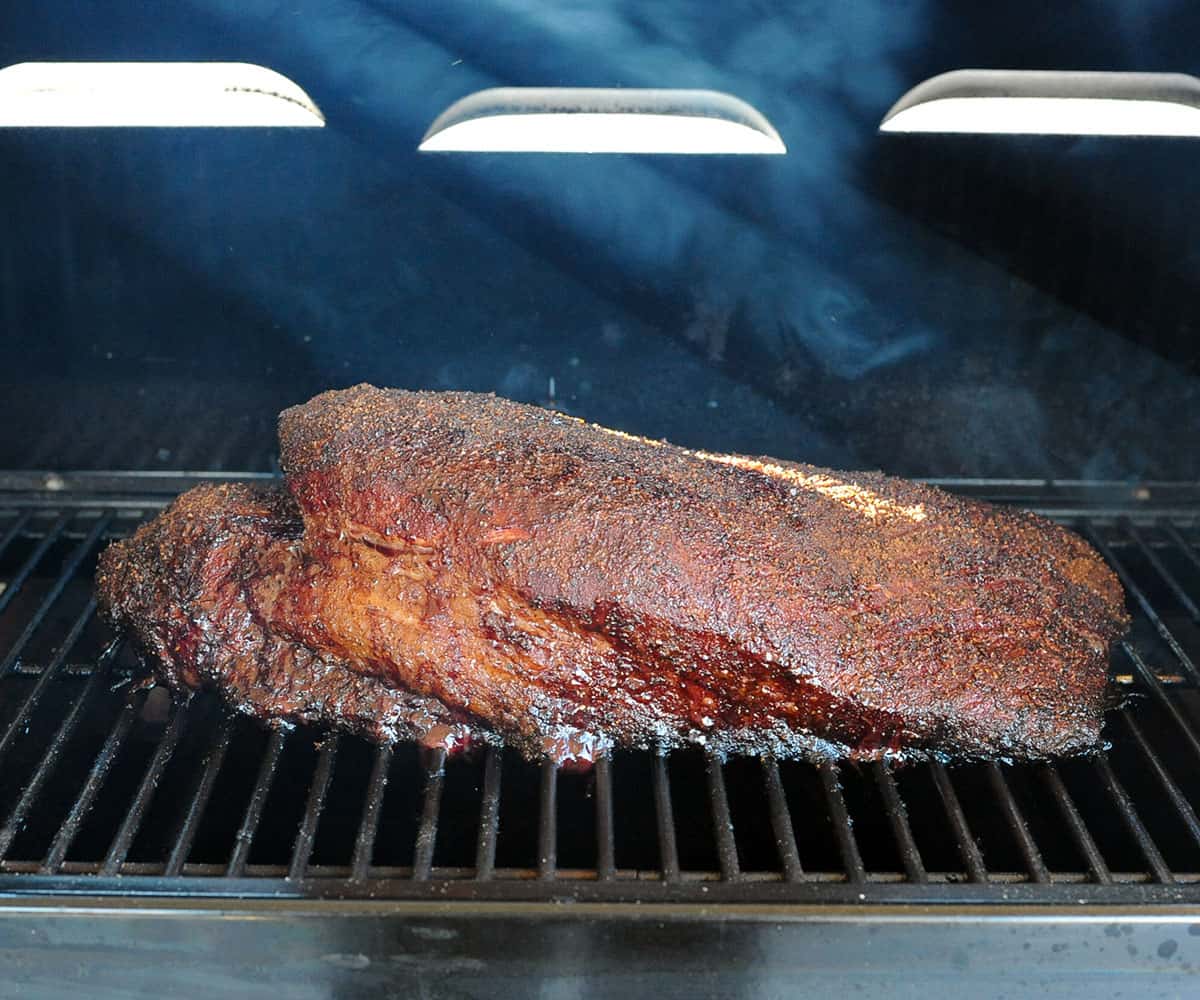
Step 1: Let the Brisket Cool
Once your brisket has finished cooking, it’s important to let it cool before storing. This step is crucial to prevent the buildup of condensation, which can lead to moisture and spoilage.
Allow the cooked brisket to sit at room temperature for about 30 minutes to an hour. This will help it cool down gradually, allowing the juices to redistribute and ensuring that it retains its tenderness.
During this cooling period, make sure to keep the brisket in a safe and hygienic environment, away from any potential sources of contamination. You can cover it loosely with aluminum foil to protect it from dust or insects.
Remember, it’s essential not to rush this step. It may be tempting to store the brisket immediately, especially if you’re eager to clean up or refrigerate it quickly. However, taking the time to let it cool properly will pay off in the long run, preserving the quality of the meat.
Once the brisket has cooled down, you’re ready to move on to the next step: slicing it for storage.
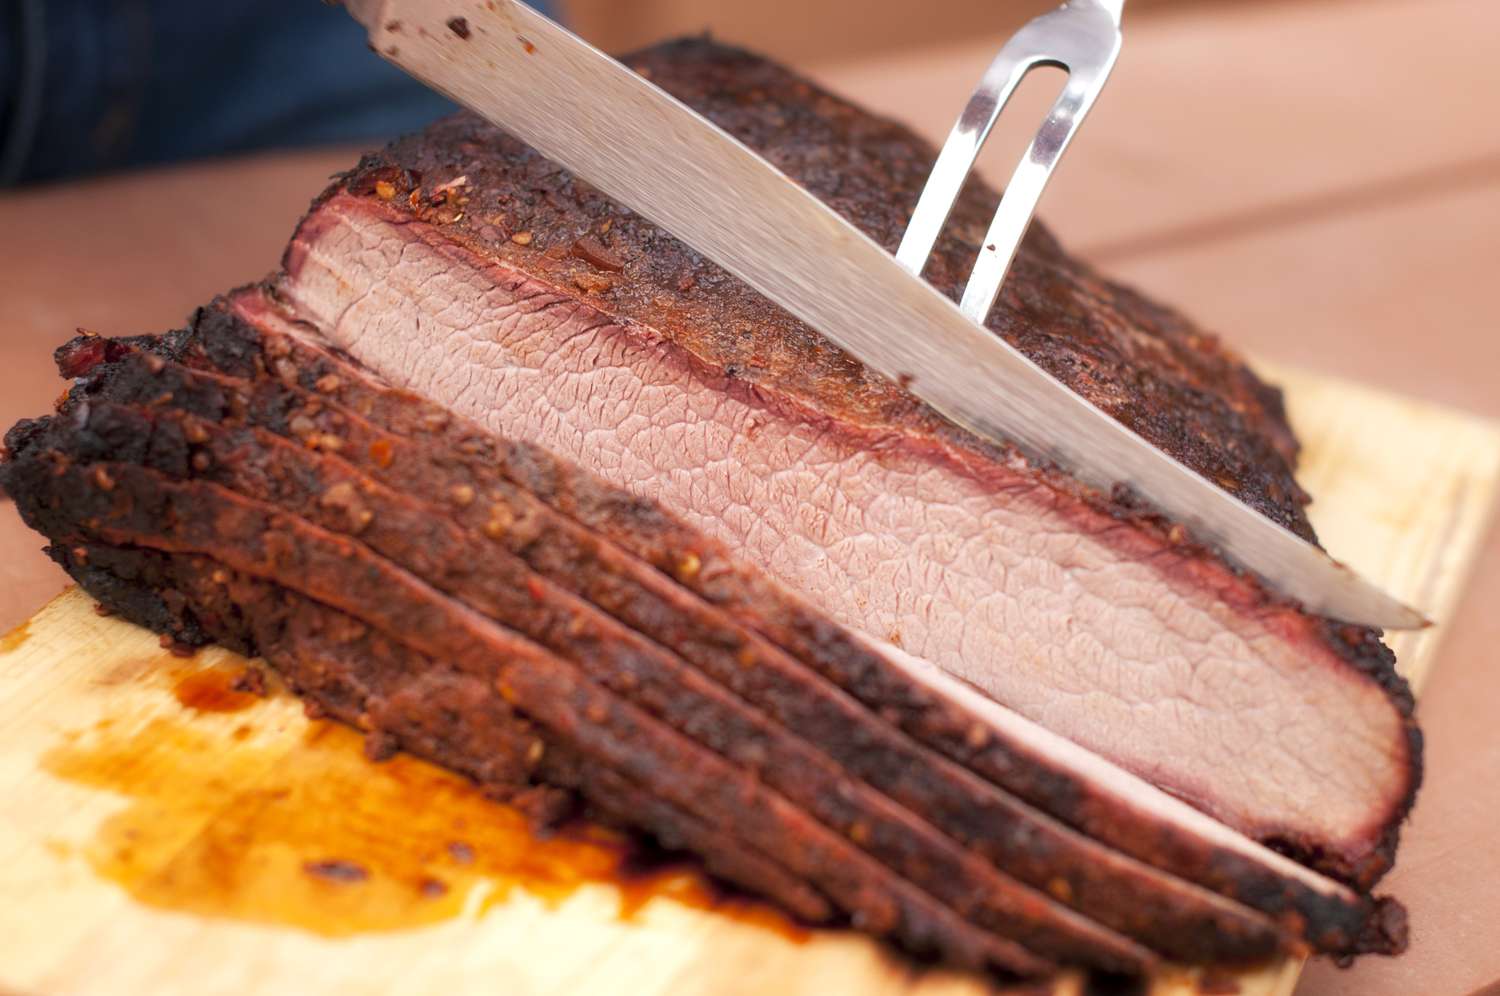
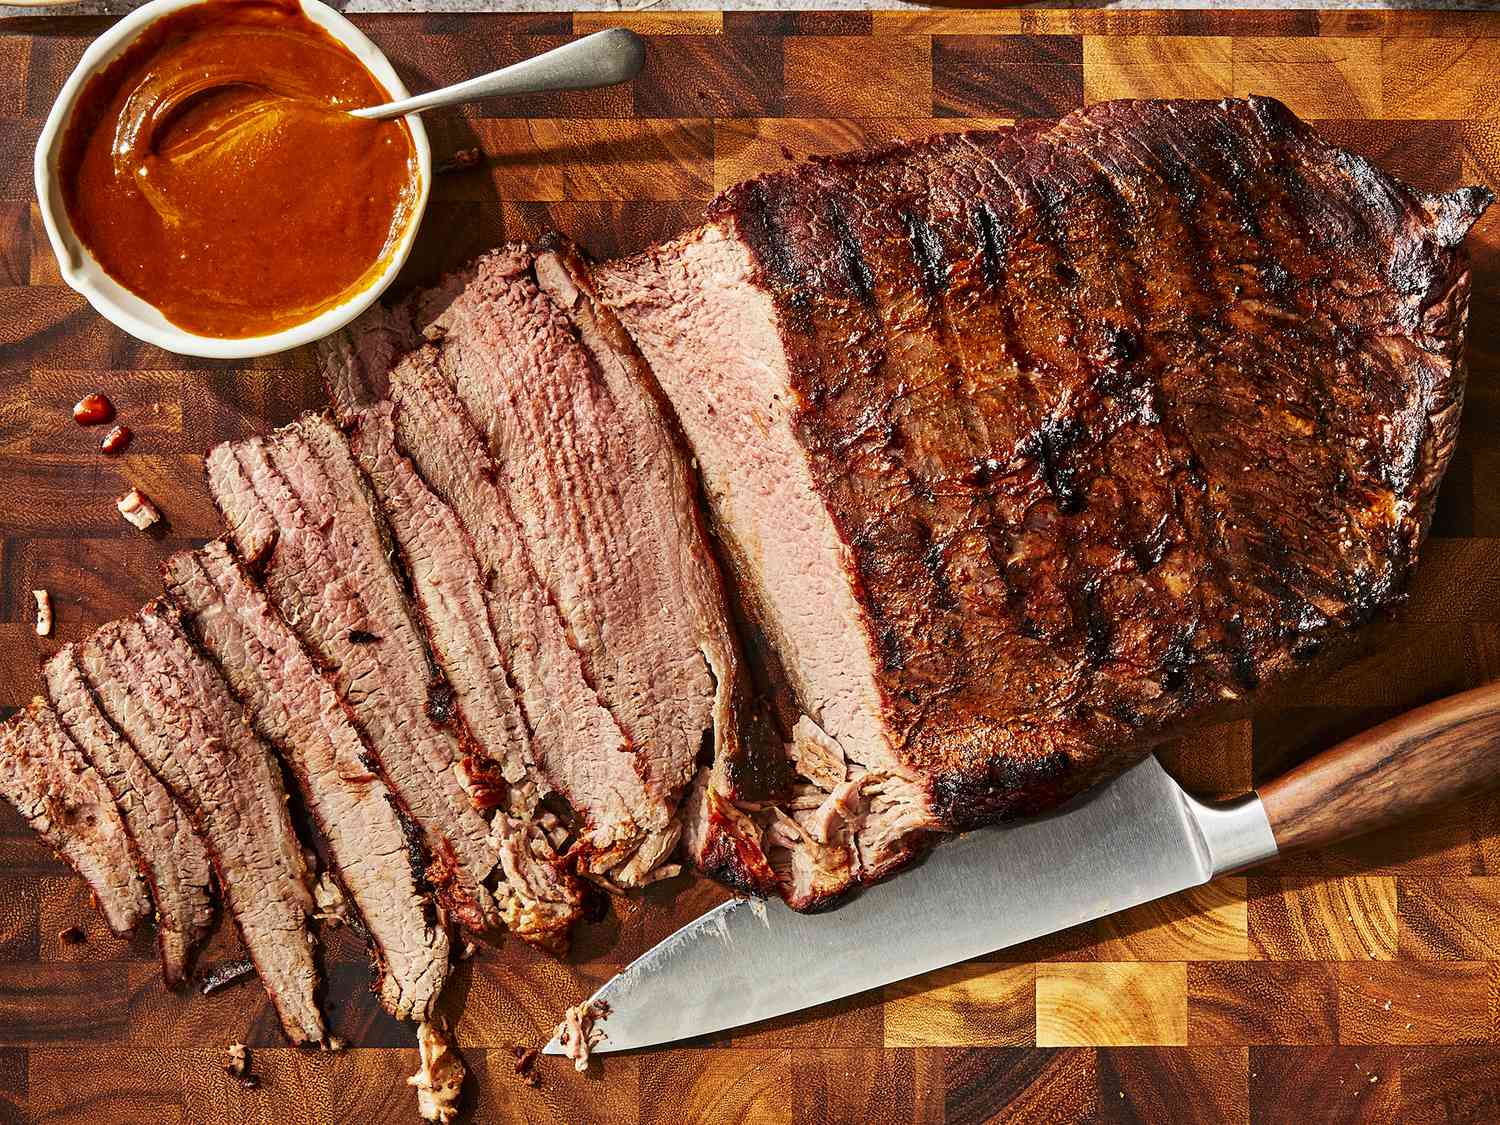
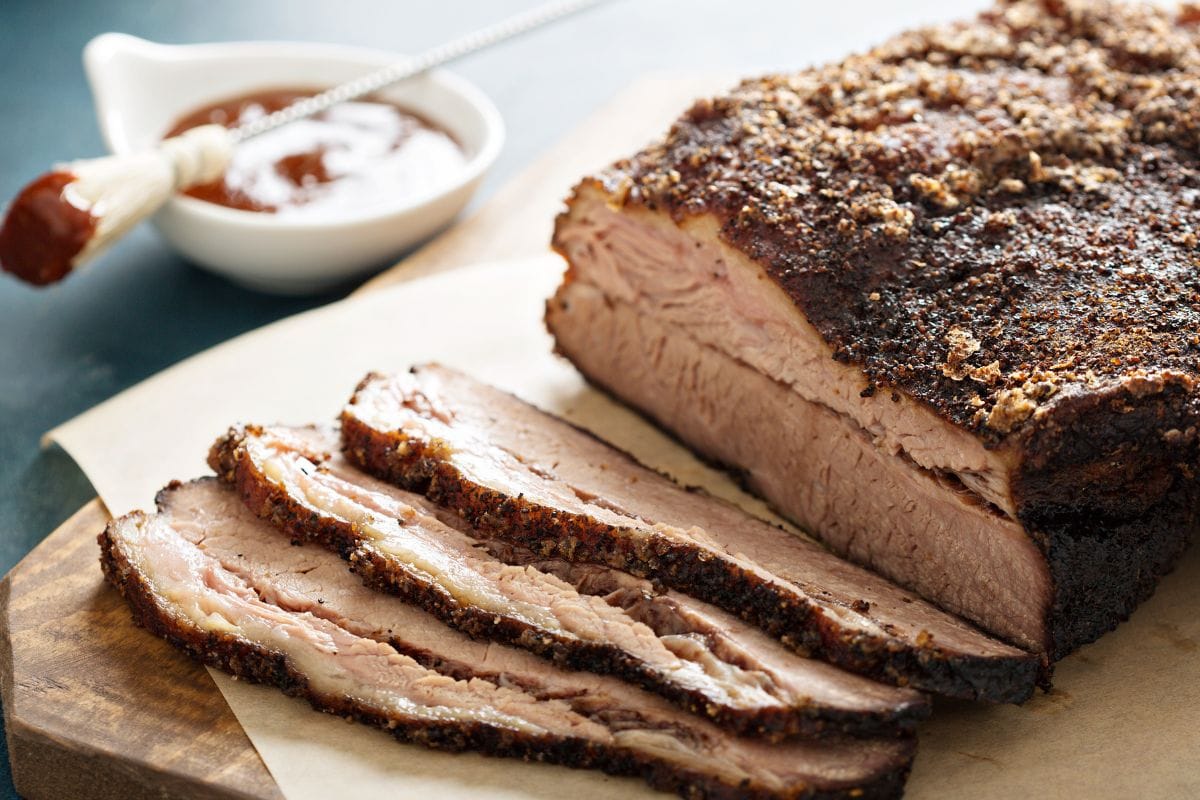
Step 2: Slice the Brisket
Before storing the cooked brisket, it’s important to slice it into portions that are convenient for future meals. This will not only make it easier to reheat but also help in portion control.
Start by placing the brisket on a clean cutting board. Use a sharp knife to slice the meat against the grain. This means cutting perpendicular to the natural lines or fibers of the brisket.
Slicing against the grain ensures that each piece of brisket is tender and easy to chew. If you’re unsure which direction to slice, look for the lines running through the meat and cut in the opposite direction.
Try to keep the slices of brisket evenly sized, as this will help with consistency when reheating. Aim for slices that are about 1/4 to 1/2 inch thick, depending on your preference.
If you’re storing a whole brisket, you can slice it into smaller portions or individual servings. Alternatively, if you’ve already sliced the brisket before cooking, you can simply store the pre-cut slices.
Once you’ve finished slicing the brisket, it’s time to move on to the next step: wrapping it properly for storage.
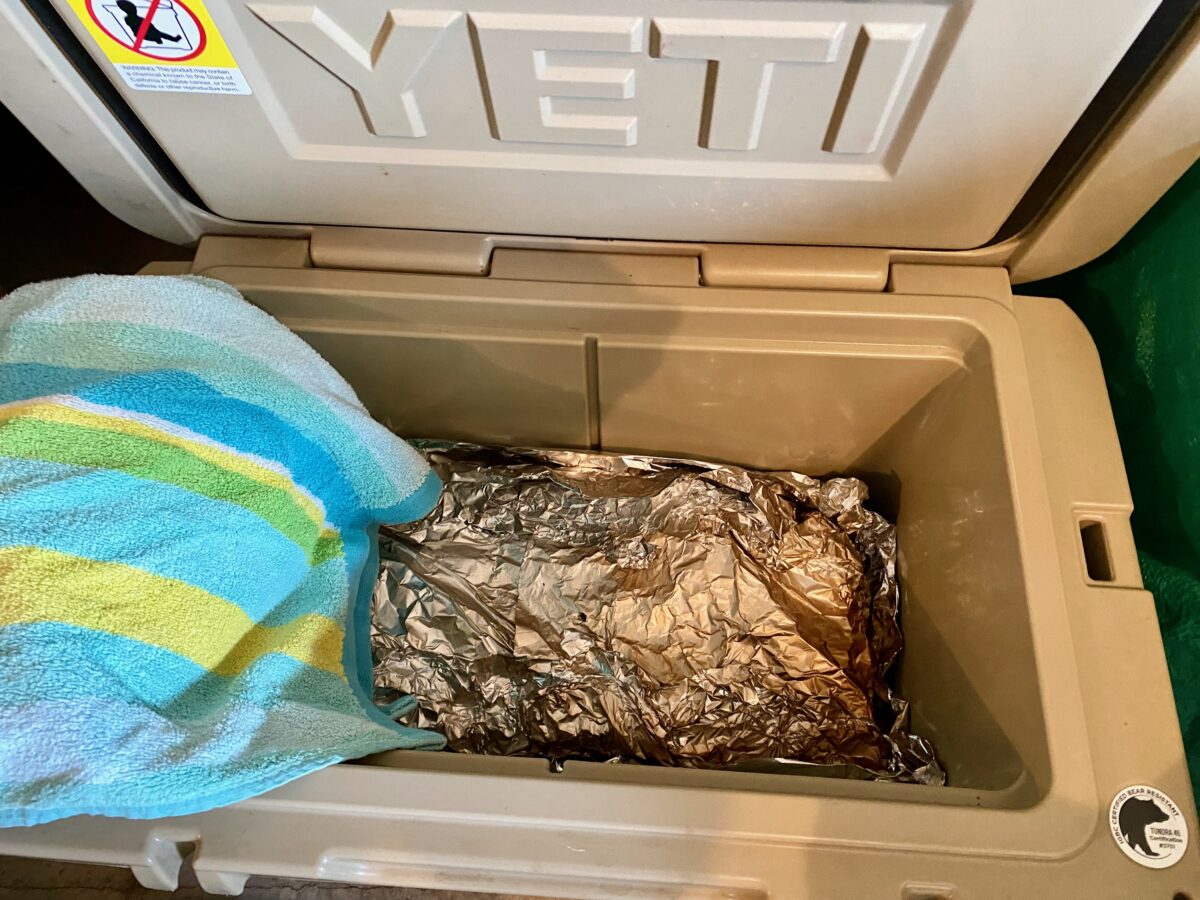
Step 3: Wrap the Brisket Properly
Proper wrapping is crucial to maintain the flavor, moisture, and texture of the cooked brisket during storage. It helps to prevent the meat from drying out and protects it from absorbing any unwanted odors in the refrigerator or freezer.
There are a few options for wrapping your brisket:
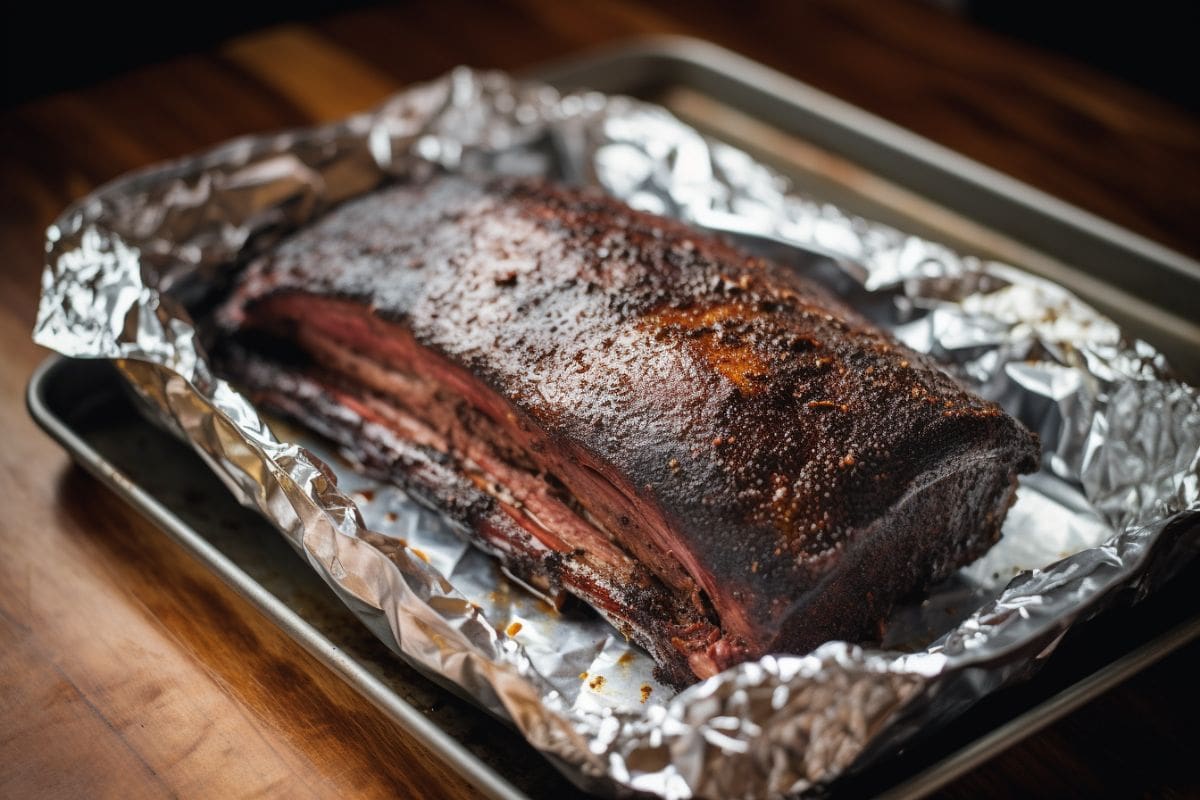
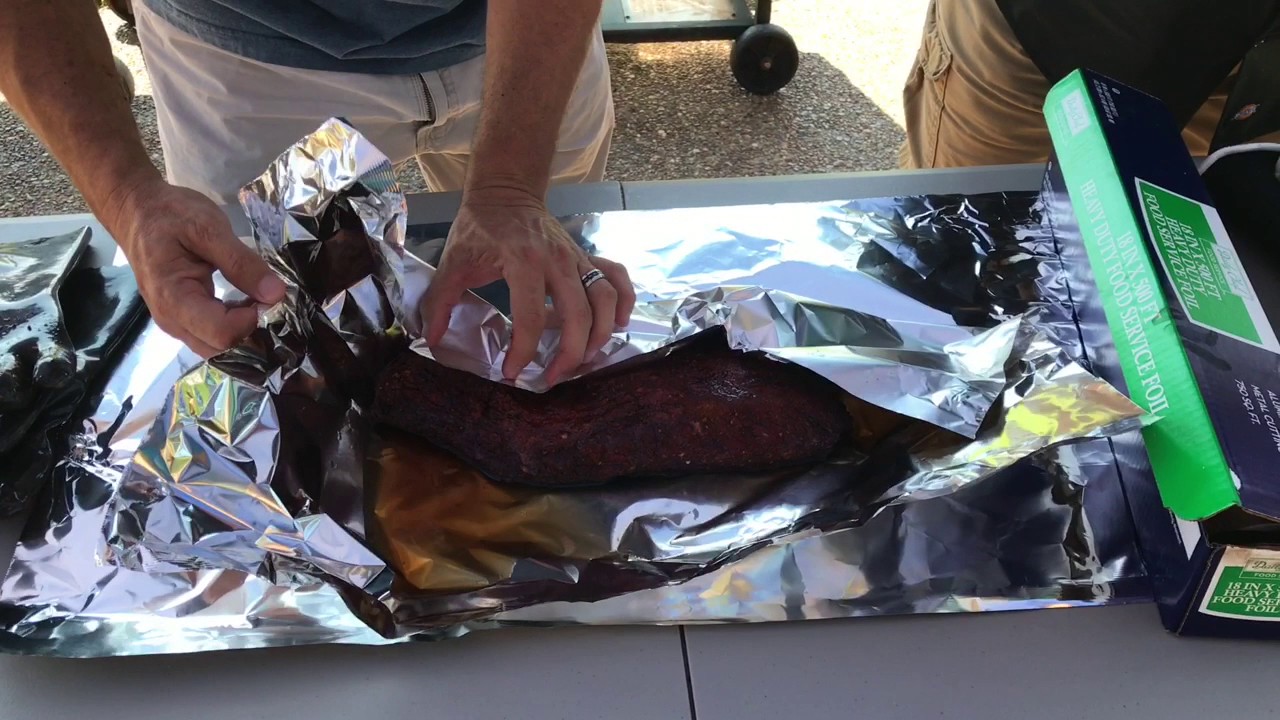
- Aluminum Foil: Wrap each portion of brisket tightly in aluminum foil. Make sure to cover it completely, leaving no exposed areas. This will help retain the moisture and prevent freezer burn.
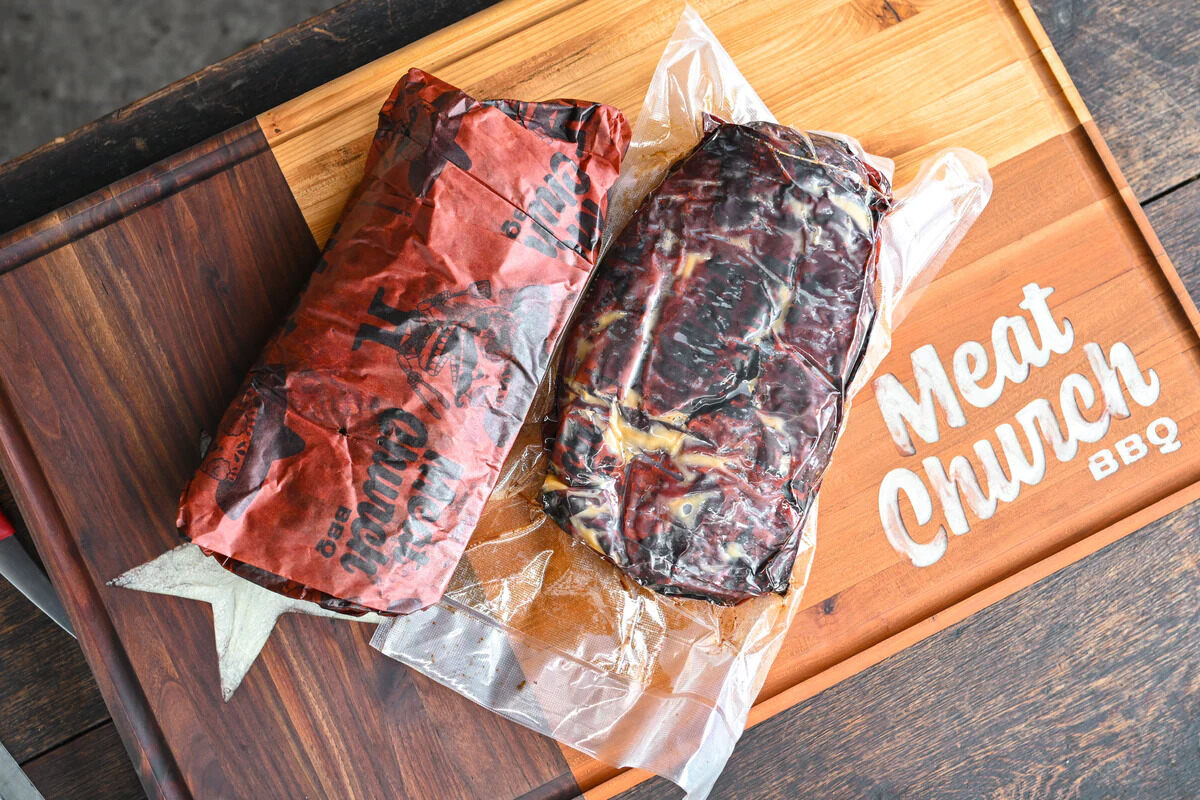
- Plastic Wrap: Alternatively, you can use plastic wrap to wrap the brisket. Start by placing the sliced brisket on a sheet of plastic wrap, then fold and tuck the wrap around it. Again, ensure that it’s well-sealed to prevent any air from getting in.
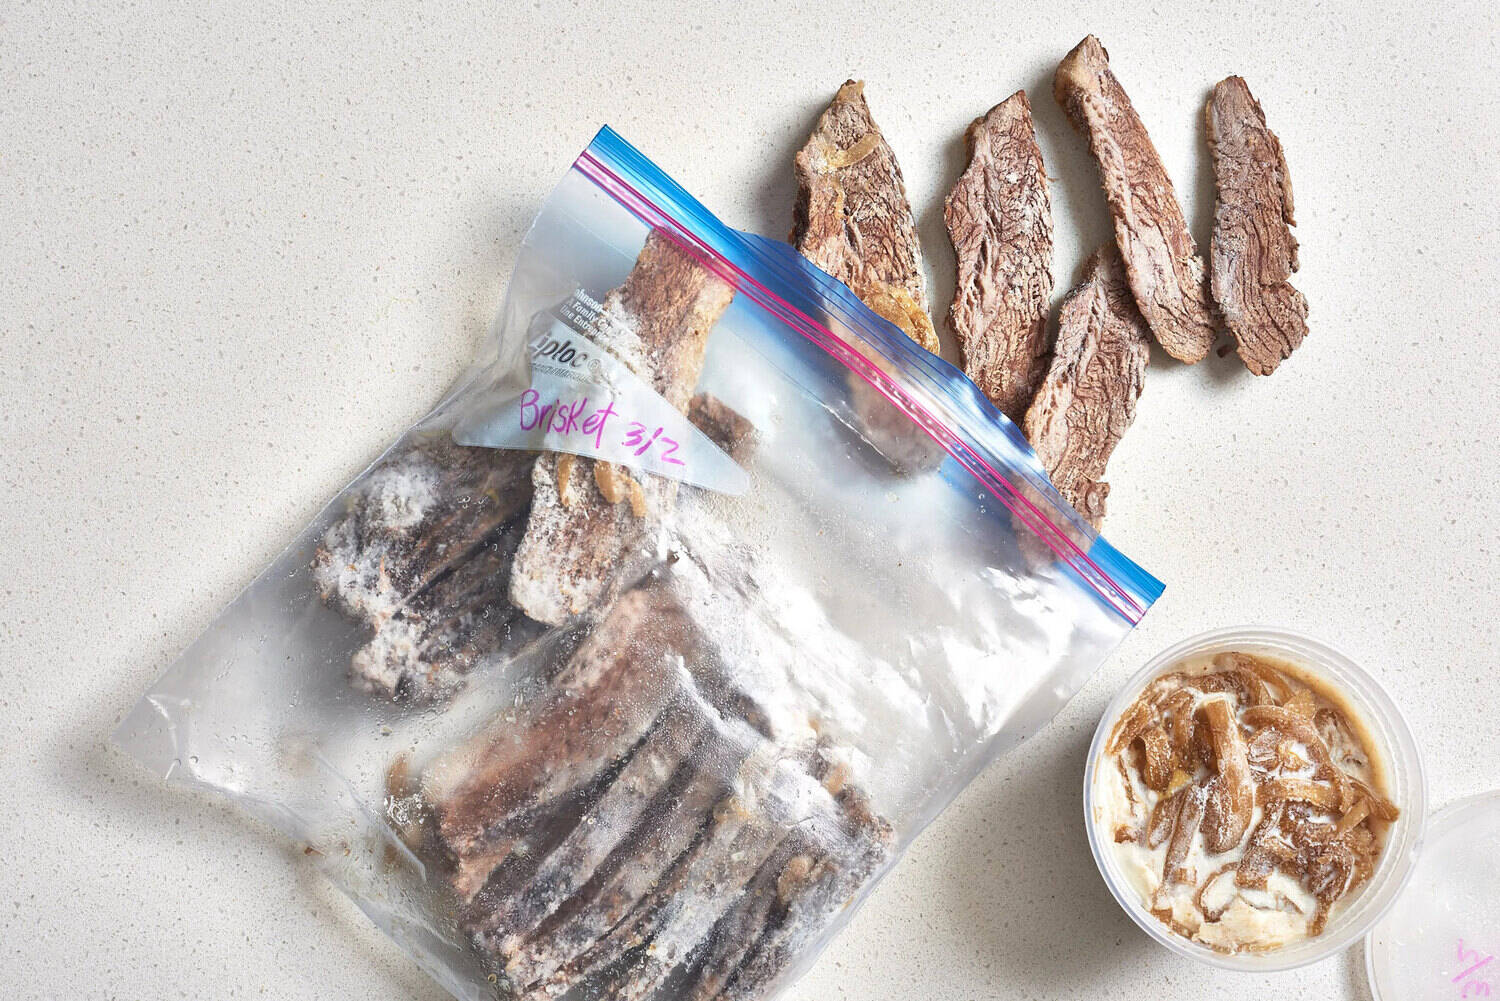
- Zip-Top Freezer Bags: For added protection, you can place the wrapped brisket portions inside zip-top freezer bags. Squeeze out any excess air before sealing the bags to further minimize the risk of freezer burn.
Regardless of the wrapping method you choose, make sure that the brisket is tightly sealed to prevent any air or moisture from getting in. Label each package with the date of storage to keep track of freshness.
Once the brisket is properly wrapped, you’re ready to move on to the next step: selecting a suitable storage container.
Step 4: Choose a Storage Container
When it comes to storing cooked brisket, choosing the right storage container is essential. It should be durable, airtight, and suitable for both refrigerator and freezer storage.
Here are some options for storing your wrapped brisket:
- Plastic Containers: Choose BPA-free, food-grade plastic containers with tight-fitting lids. These containers are convenient as they can be reused and are available in various sizes to accommodate different portions of brisket.
- Glass Containers: If you prefer to avoid plastic, glass containers with locking lids are a great alternative. They are sturdy, safe for food storage, and allow you to see the contents inside.
- Freezer Bags: If you opted for zip-top freezer bags during the wrapping process, you can simply store the wrapped brisket portions in them. Be sure to squeeze out all the air to prevent freezer burn.
Whichever container you choose, ensure that it is clean and dry before placing the brisket portions inside. This will help maintain the quality and flavor of the meat.
Remember to label each container or bag with the date of storage to easily identify the freshness of the brisket when you’re ready to enjoy it.
Now that you’ve selected the appropriate storage container, let’s move on to the next step: storing the brisket in the refrigerator.
After cooking brisket, let it cool to room temperature before storing it in an airtight container or wrapping it tightly in plastic wrap. Store it in the refrigerator for up to 3-4 days or in the freezer for up to 2-3 months.
Read more: How To Store Brisket
Step 5: Store in the Refrigerator
If you plan to consume the cooked brisket within a few days, storing it in the refrigerator is the best option. Follow these steps to ensure proper storage:
- Place the wrapped and sealed portions of brisket in the selected storage container. Make sure they fit comfortably without overcrowding.
- Position the container in the refrigerator, ideally on a shelf where it won’t get knocked or bumped around. This will help maintain the integrity of the wrapped brisket.
- Keep the temperature of your refrigerator set at or below 40°F (4°C) to ensure food safety and prevent spoilage. Avoid storing the brisket in the refrigerator door, as the temperature there tends to fluctuate more.
- Try to consume the refrigerated brisket within 3 to 4 days for the best quality. Longer storage may result in a decrease in flavor and tenderness.
- Before reheating and consuming the brisket, always ensure it smells fresh and shows no signs of spoilage, such as mold or off odors.
Storing the cooked brisket in the refrigerator allows for convenient access and quick reheating whenever you’re ready to enjoy it again. Now, let’s move on to the next step: storing the brisket in the freezer for long-term storage.
Step 6: Store in the Freezer
If you want to store the cooked brisket for longer-term storage, the freezer is your best bet. Freezing the brisket properly will help maintain its flavor and texture over an extended period. Here’s how to store it in the freezer:
- Ensure that the wrapped portions of brisket are tightly sealed and labeled with the date of storage.
- If you’re using a storage container, place the wrapped portions inside, leaving a little space at the top to allow for expansion during freezing. If you’re using freezer bags, make sure to squeeze out all the excess air.
- Position the containers or bags in the freezer in a way that they won’t get crushed or accidentally bumped. It’s best to place them flat on a stable surface until they freeze completely.
- Maintain the freezer temperature at or below 0°F (-18°C) to ensure optimal preservation of the brisket. Be cautious not to overload the freezer, as it can affect the temperature and freezing efficiency.
- The cooked brisket can be stored in the freezer for up to 3 months without significant loss of quality. However, it’s best to consume it within the first 1-2 months for the best taste and texture.
When you’re ready to enjoy the frozen brisket, allow it to thaw overnight in the refrigerator before reheating. This gradual thawing helps to preserve the juice and tenderness of the meat.
By following these steps, the cooked brisket will be safely stored in the freezer, ready to be enjoyed whenever you crave a delicious and satisfying meal. Now, let’s move on to the final step: reheating the brisket.
Step 7: Reheat the Brisket
When it’s time to enjoy the stored cooked brisket, reheating it properly will help bring back its delicious flavor and juicy tenderness. Here’s how to reheat the brisket:
- If you stored the brisket in the refrigerator, remove it from the fridge and let it come to room temperature for about 15-30 minutes. This will help ensure even reheating.
- If you stored the brisket in the freezer, thaw it in the refrigerator overnight before reheating. This gentle thawing method helps preserve the quality of the meat.
- Preheat your oven to 325°F (163°C) or use a microwave or stovetop method for reheating.
- If using the oven: Place the brisket portions on a baking dish or oven-safe tray. Cover the dish with aluminum foil to prevent drying out. Heat the brisket in the preheated oven for about 15-20 minutes or until heated through.
- If using a microwave: Place the brisket portions in a microwave-safe dish. Cover the dish with a microwave-safe lid or microwave-safe wrap. Heat the brisket in the microwave for 1-2 minutes per portion or until heated through, stirring or flipping halfway through for even heating.
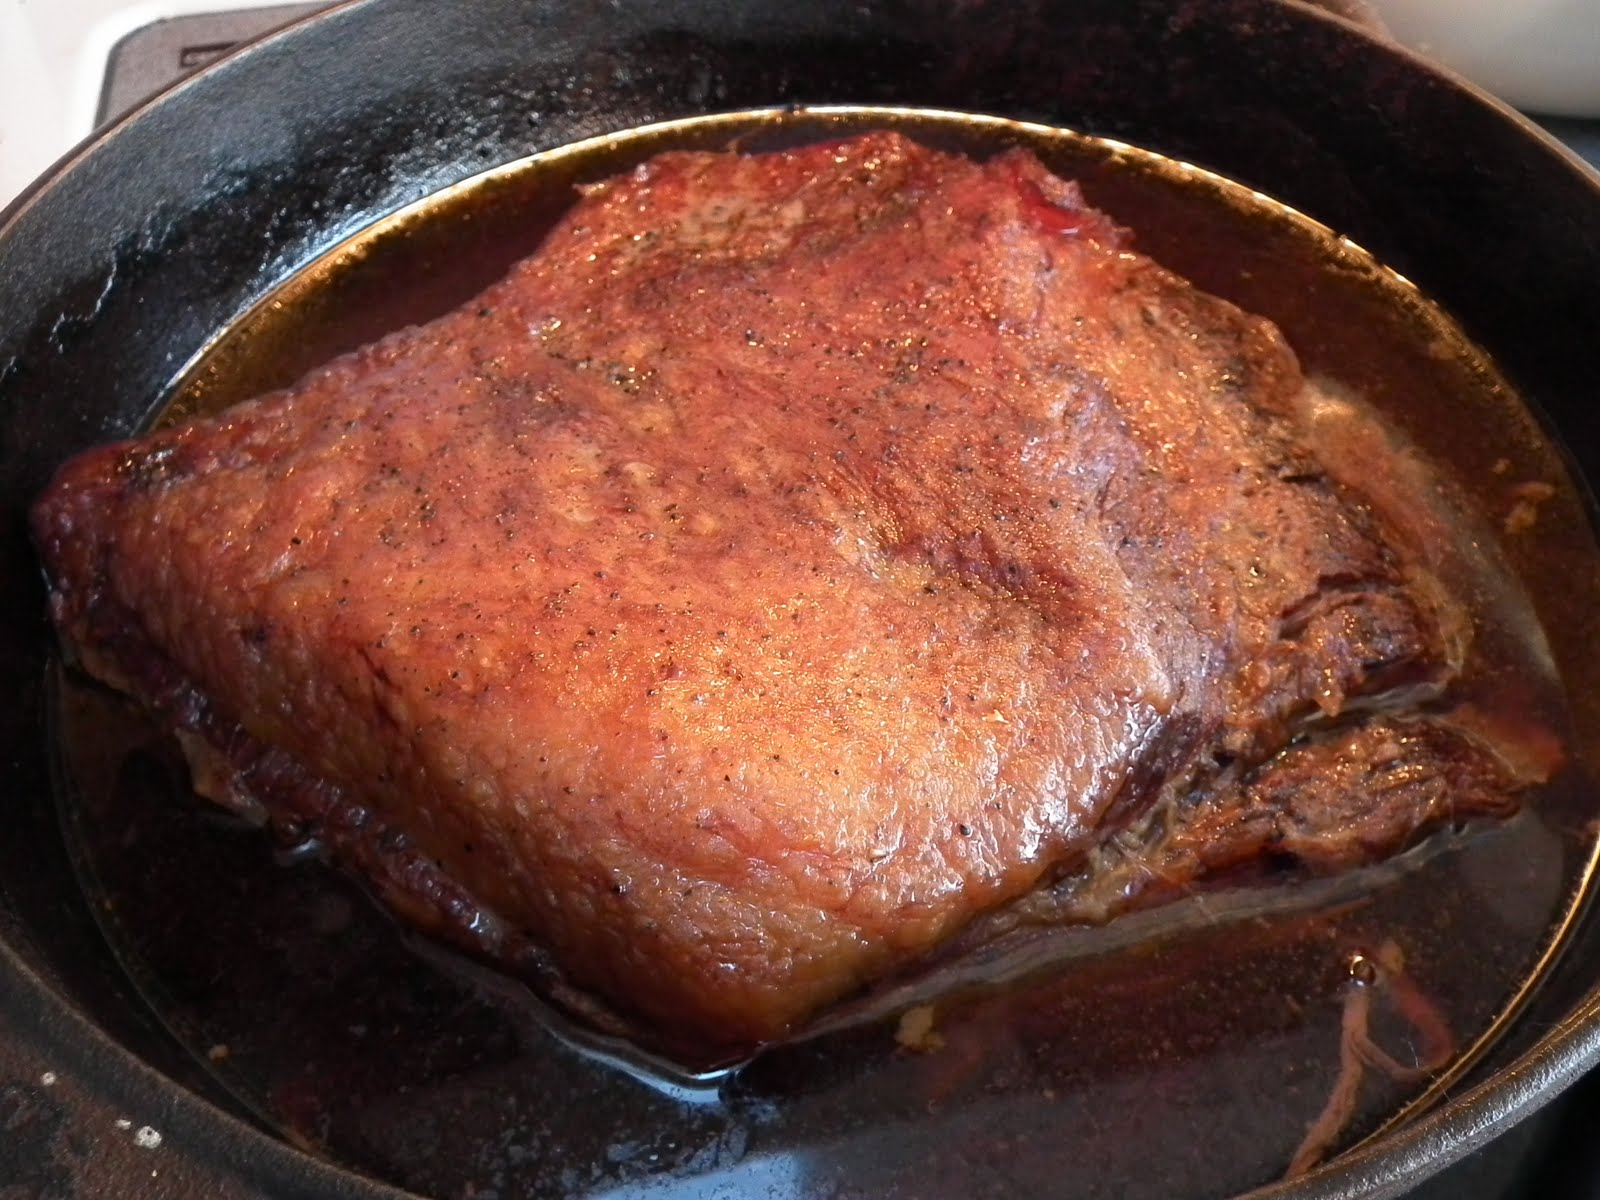
- If using a stovetop: Heat a skillet or non-stick pan over medium heat. Add a small amount of oil or butter to the pan. Place the brisket slices in the pan and cook for 2-3 minutes on each side until heated and lightly browned.
- Regardless of the reheating method, it’s essential to monitor the brisket closely to avoid overcooking or drying it out. Keep in mind that the reheating time may vary depending on the thickness of the slices and the efficiency of your chosen method.
Once the brisket is heated through, serve it immediately and enjoy its rich flavors and tender texture, just like it was freshly cooked. Remember to discard any leftovers that have been reheated once to ensure food safety.
With these reheating instructions, you can savor the deliciousness of the stored cooked brisket as if it were freshly prepared. Congratulations on successfully storing and preserving the brisket for future enjoyment!
Conclusion
Storing cooked brisket properly is essential to preserve its flavor, moisture, and tenderness. By following the steps we’ve outlined in this article, you can ensure that your leftover brisket remains delicious and enjoyable for future meals.
Remember to let the brisket cool before slicing and wrapping it properly for storage. Choose suitable storage containers based on your preferences, whether it’s plastic containers, glass containers, or freezer bags. Depending on your storage needs, you can store the brisket in the refrigerator for a few days or freeze it for longer-term storage.
When it’s time to enjoy the stored brisket, make sure to reheat it properly to retain its juicy and tender qualities. Whether you choose to reheat it in the oven, microwave, or on the stovetop, monitoring the heating process closely is crucial to avoid overcooking or drying out the meat.
With these guidelines, you can confidently store and enjoy your cooked brisket, maximizing its flavor and ensuring that none of its delicious qualities go to waste. So, the next time you find yourself with leftover cooked brisket, put these steps into practice and relish the amazing flavors all over again.
Happy cooking and storing!
Frequently Asked Questions about How To Store Cooked Brisket
Was this page helpful?
At Storables.com, we guarantee accurate and reliable information. Our content, validated by Expert Board Contributors, is crafted following stringent Editorial Policies. We're committed to providing you with well-researched, expert-backed insights for all your informational needs.


0 thoughts on “How To Store Cooked Brisket”