
Articles
How To Store Dish Brushes
Modified: August 27, 2024
Learn effective methods for storing dish brushes and keeping them clean in this collection of informative articles.
(Many of the links in this article redirect to a specific reviewed product. Your purchase of these products through affiliate links helps to generate commission for Storables.com, at no extra cost. Learn more)
Introduction
Having a clean and hygienic kitchen is essential for maintaining a healthy living environment. One of the tools that we use daily to keep our dishes sparkly clean is the dish brush. However, if not stored properly, dish brushes can become breeding grounds for bacteria, mold, and unpleasant odors.
In this article, we will explore the importance of finding the right storage solution for dish brushes and provide practical tips on how to store them properly. By following these guidelines, you can ensure that your dish brushes remain clean, dry, and free from harmful germs.
Key Takeaways:
- Properly storing dish brushes is crucial for maintaining cleanliness and hygiene in the kitchen. Choose a suitable storage method, keep the brush clean and dry, and select a hygienic location to prevent bacterial growth.
- Whether using a drying rack, hanging the brush, or storing it in a drawer, maintaining a clean and hygienic environment for dish brushes is essential. Regular cleaning, proper drying, and thoughtful storage locations are key to ensuring effective dishwashing tools.
Read more: How To Store Dishes In An Rv
Finding the Right Storage Solution
When it comes to storing dish brushes, there are various options to consider. The ideal storage solution should not only keep the brush in a convenient and accessible location but also promote proper drying to prevent the growth of bacteria and mold.
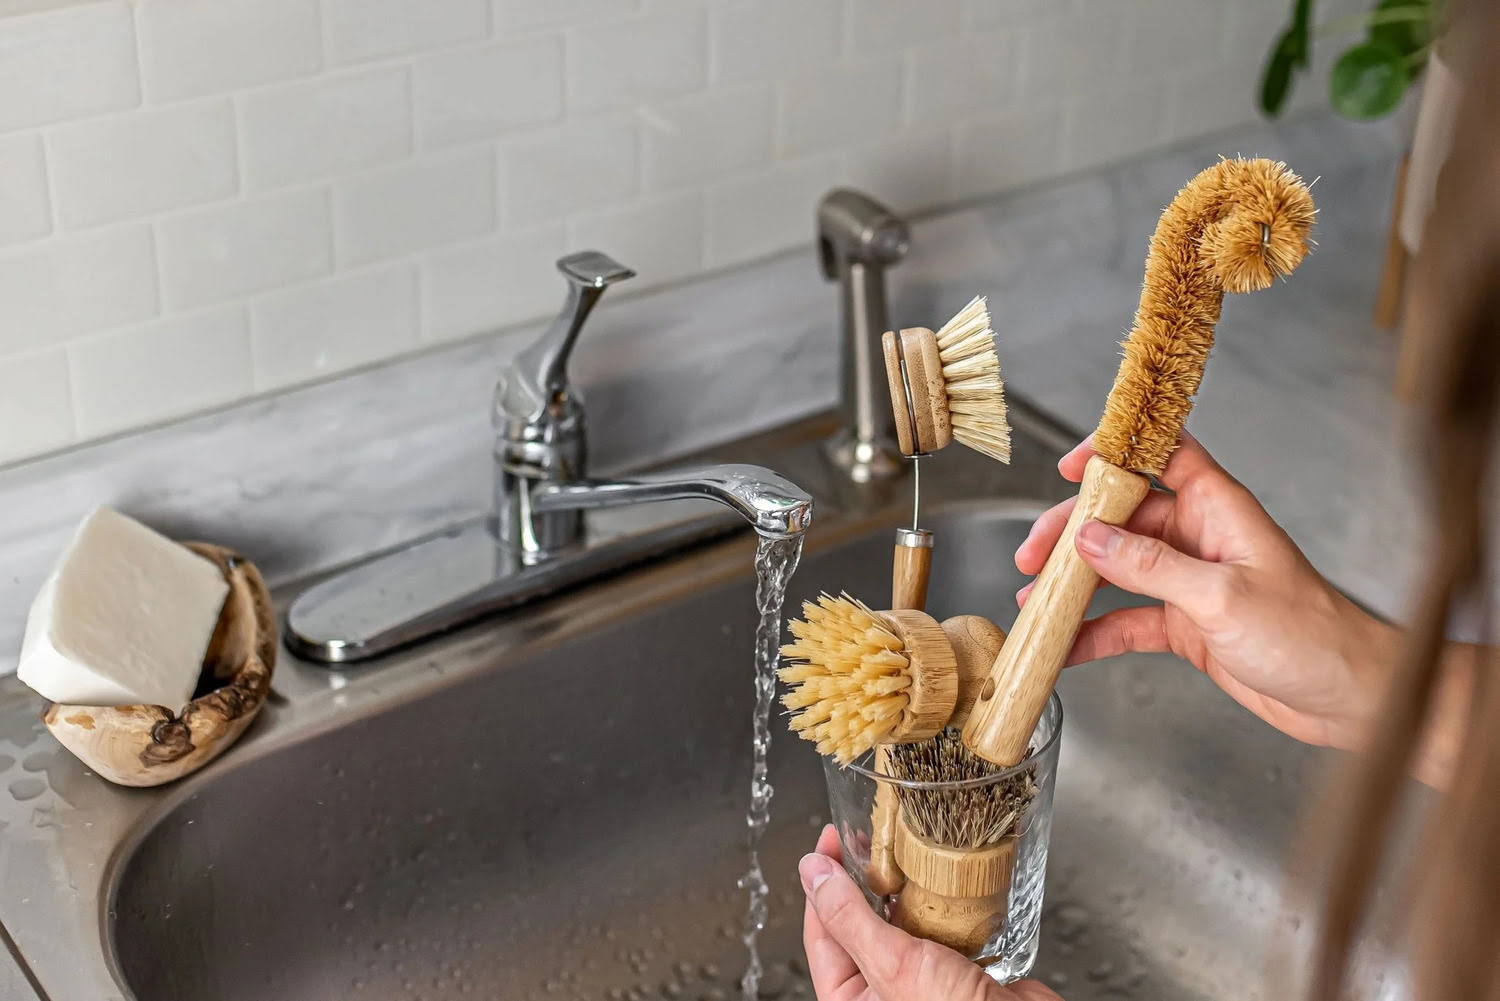
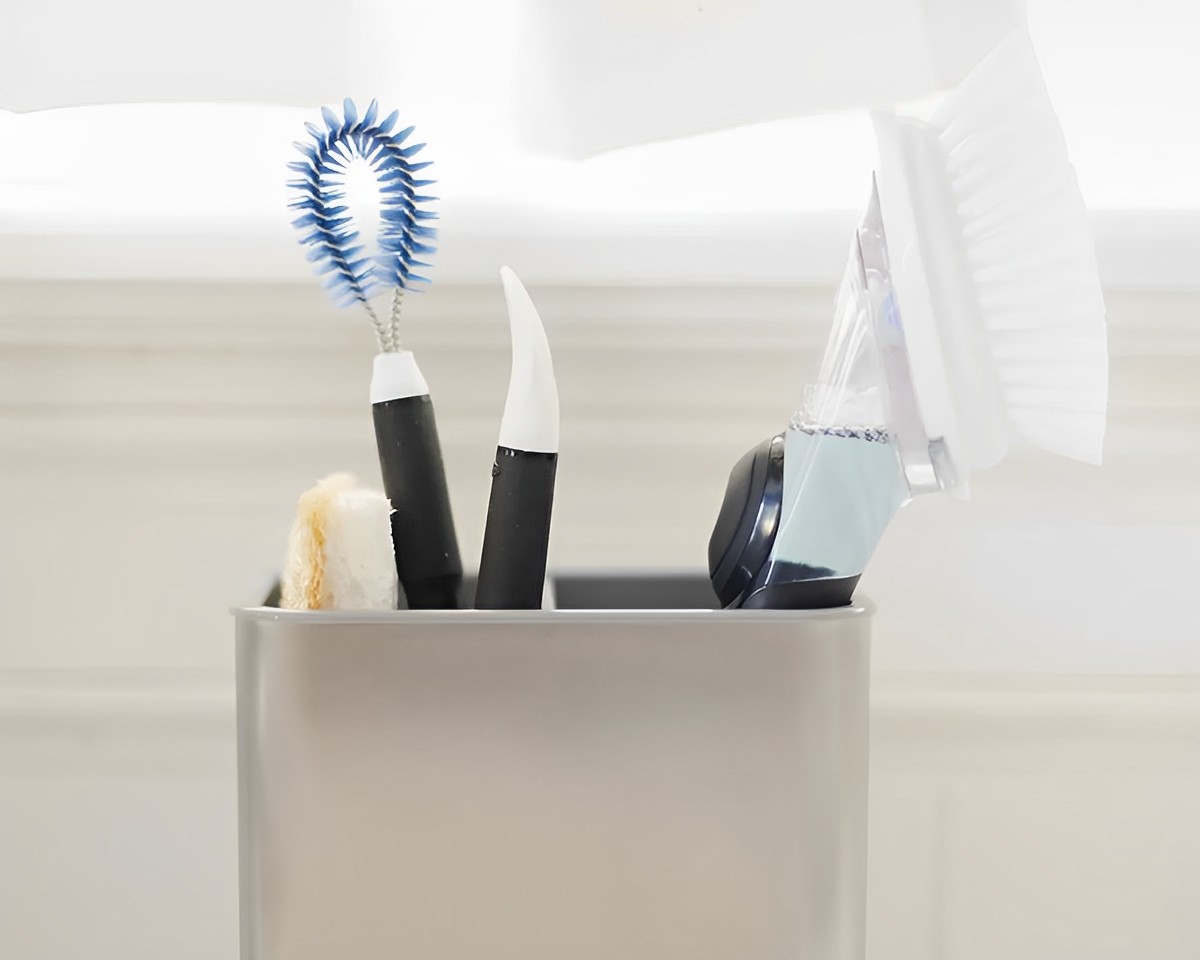
One popular option is to use a drying rack or caddy specifically designed for dish brushes. These racks or caddies typically have compartments or slots to hold the brush upright, allowing any excess water to drip off. This not only keeps the brush dry but also prevents water from pooling, which can lead to bacterial growth.
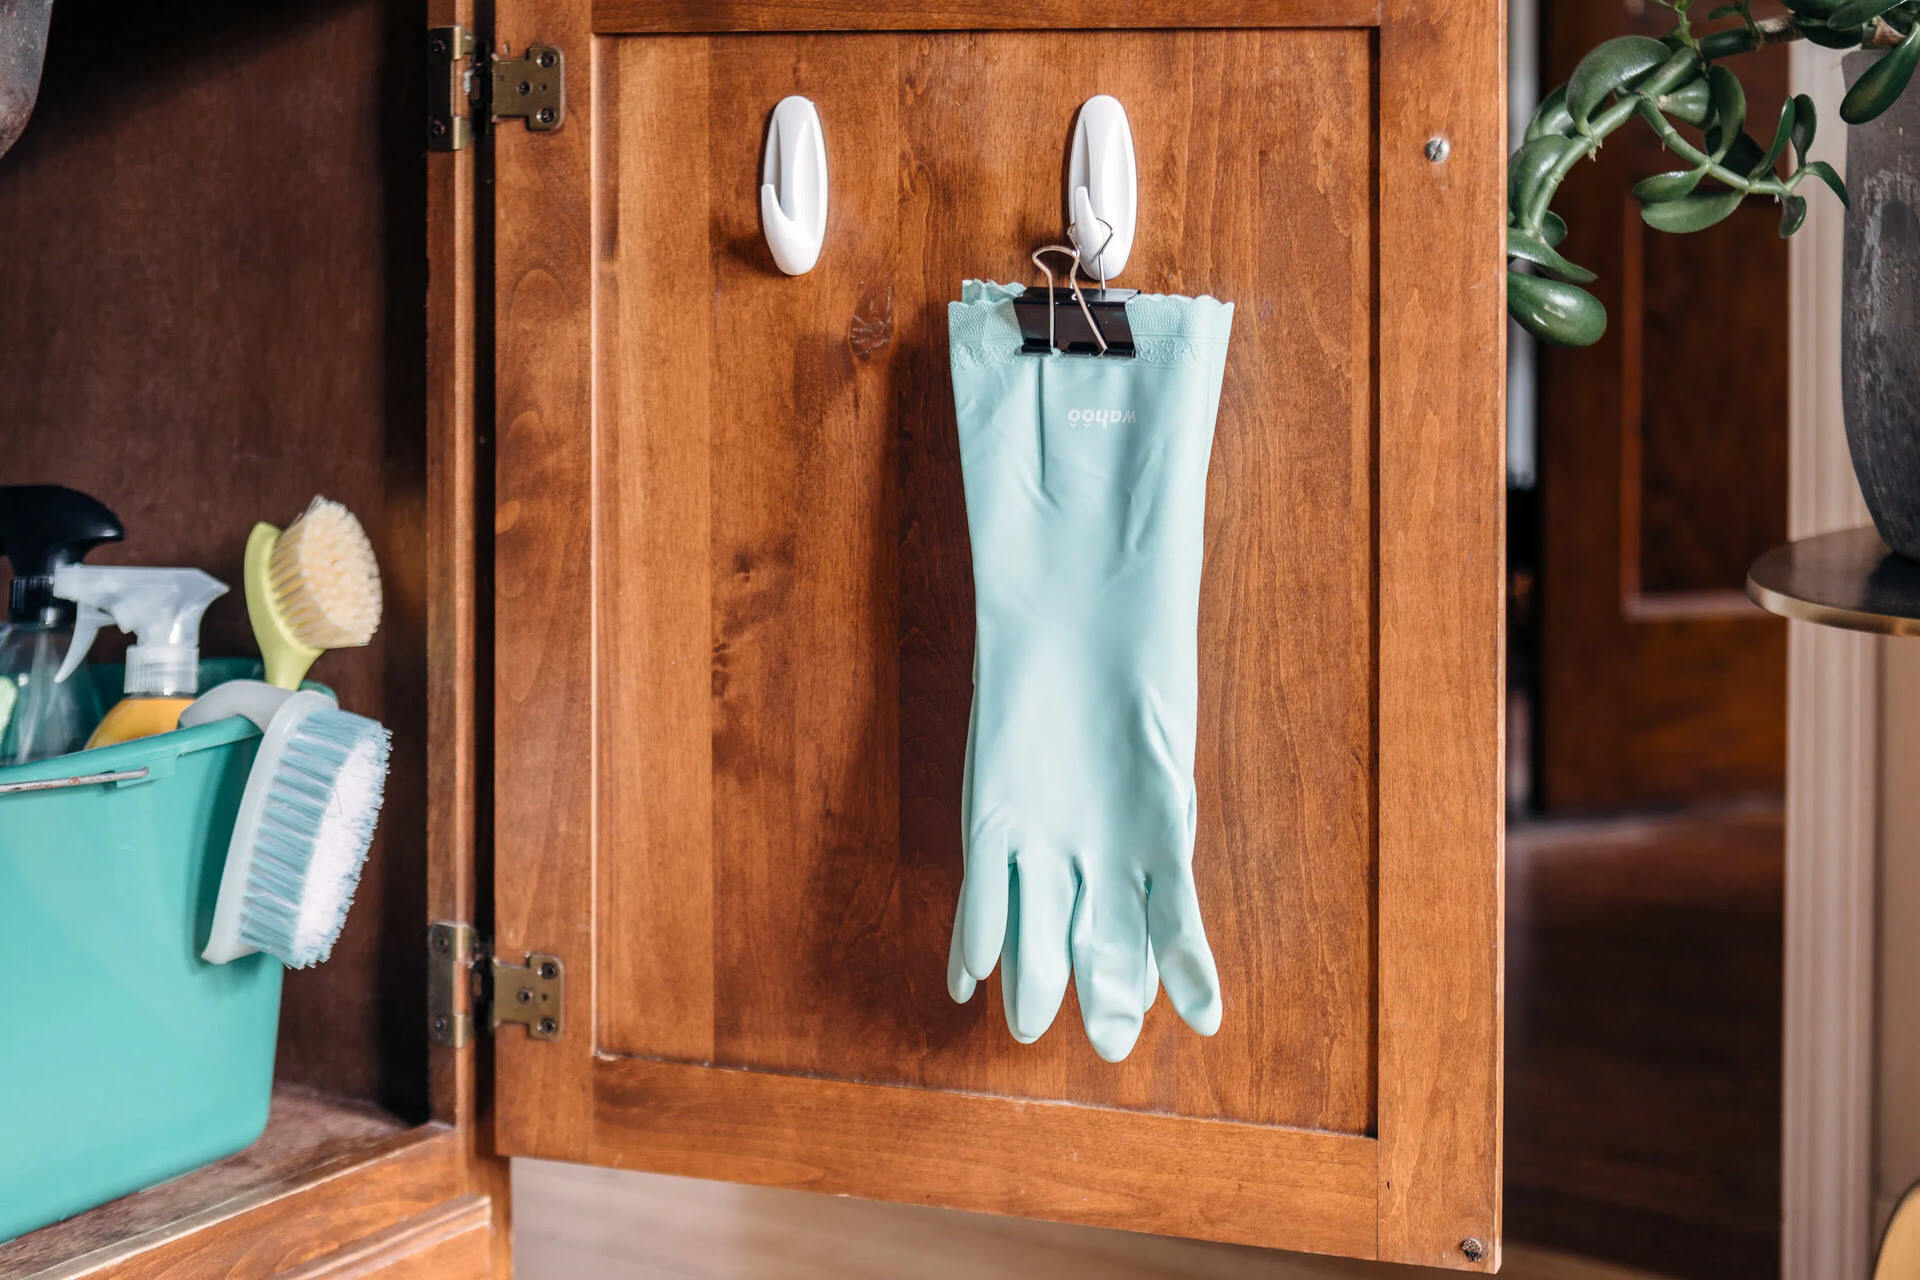
Another effective storage method is to hang the dish brush. You can install hooks or adhesive hangers inside your sink cabinet or on the wall near your sink. Hanging the brush allows it to air dry quickly and keeps it easily accessible for use. Just make sure to choose a location away from food or food preparation areas to maintain hygiene.
If you prefer to keep your dish brush out of sight, storing it in a drawer is an excellent option. To do this, find a small container or divider that fits inside your drawer. Place the brush inside and make sure it is standing upright. This method keeps the brush hidden but still allows for proper drying.
Clean and Dry the Dish Brush
Prior to storing your dish brush, it is essential to clean and dry it properly. This step ensures that any dirt, food particles, or soap residue are removed, preventing the growth of bacteria and maintaining the brush’s effectiveness.
To clean the dish brush, start by rinsing it thoroughly under running water. Use your fingers or a clean cloth to remove any debris from the bristles. For stubborn residue, you can apply a small amount of dish soap and gently scrub the brush bristles. Rinse again to remove any soap residue.
After cleaning, it is crucial to dry the dish brush thoroughly. Shake off any excess water from the bristles and handle. You can use a clean towel to pat dry the brush or gently squeeze it to remove any remaining moisture. Avoid leaving the brush in a damp state as this can lead to mold and bacteria growth.
If you have a dishwasher, you can place the dish brush in the utensil holder or on the top rack for a thorough cleaning and drying. Just make sure the brush is dishwasher-safe and does not contain any wooden or delicate parts that may get damaged in the dishwasher.
Remember, a clean and dry dish brush is essential for maintaining its hygiene and longevity. By taking a few extra minutes to clean and dry your brush properly, you can ensure that it remains free from bacteria and odors.
Choose a Hygienic Storage Location
When it comes to storing your dish brush, it is crucial to choose a storage location that promotes hygiene and prevents cross-contamination. Here are some factors to consider when selecting the ideal storage spot:
Away from Sink Contaminants: Avoid storing your dish brush near the sink where it can come into contact with contaminants such as dirty dishes, food scraps, or cleaning agents. These can transfer onto the brush and compromise its cleanliness.
Avoid Food Contact Areas: Ensure that the storage location is away from food preparation areas and any surfaces where food is directly handled. This will prevent any potential cross-contamination between the brush and your food.
Well-Ventilated Area: Choose a storage location that is well-ventilated to allow for proper air circulation. Adequate air circulation helps in drying the brush quickly and prevents the growth of mold and bacteria.
Avoid Humid Areas: Humidity can promote the growth of mold and bacteria. Avoid storing the dish brush in areas with high humidity, such as under the sink or near damp surfaces. Opt for a dry location to ensure the brush stays clean and hygienic.
Easy Accessibility: Select a storage spot that is easily accessible. This will make it convenient for you to retrieve the dish brush whenever you need to use it and encourage consistent cleaning habits.
By considering these factors and choosing a hygienic storage location for your dish brush, you can prevent contamination and ensure the cleanliness of your brush for effective dishwashing.
To store dish brushes, hang them upside down to allow water to drain and prevent mold growth. You can use a suction cup hook or a dish brush holder with drainage holes.
Use a Drying Rack or Caddy
Using a drying rack or caddy is a popular and effective way to store your dish brush. These specialized tools provide a designated spot for your brush to dry properly, preventing the growth of bacteria and mold. Here’s how to make the most of a drying rack or caddy:
- Select a suitable drying rack or caddy that accommodates your dish brush. Look for one with compartments or slots specifically designed to hold the brush upright.
- Place the dish brush in the designated slot or compartment of the drying rack or caddy. Make sure the brush is standing upright to allow any excess water to drip off.
- Position the drying rack or caddy in a well-ventilated area, preferably near your sink. This will ensure proper air circulation and facilitate faster drying.
- After each use, rinse the dish brush thoroughly to remove any food particles or soap residue. Shake off any excess water before placing it in the drying rack or caddy.
- Periodically clean the drying rack or caddy to remove any accumulation of dirt or grime. Use a mild detergent and warm water, then rinse and dry thoroughly before placing the brush back.
- Regularly inspect the dish brush for signs of wear and tear. Replace it as needed to maintain optimal cleaning performance.
Using a drying rack or caddy helps to keep your dish brush clean, dry, and readily accessible. It also promotes proper hygiene and prevents the growth of bacteria and mold, ensuring your brush stays in good condition for longer.
Read more: How To Store Dishes In Boxes
Hang the Dish Brush
Hanging your dish brush is another effective storage solution that promotes proper drying and accessibility. By hanging the brush, you not only keep it within reach for quick use but also allow it to air dry efficiently. Here’s how you can hang your dish brush:
- Find a suitable location near your sink to install hooks or adhesive hangers. These can be attached to the inside of your sink cabinet or on the wall.
- Select hooks or hangers that are strong enough to support the weight of the dish brush and ensure they are water-resistant to avoid rusting.
- Clean the area where you plan to install the hooks or hangers to ensure a secure and long-lasting grip.
- Attach the hooks or hangers following the manufacturer’s instructions. Make sure they are positioned at a suitable height for easy access while still being out of the way.
- After using your dish brush, rinse it thoroughly under running water to remove any food particles or soap residue.
- Shake off any excess water from the brush and hang it on the installed hooks or hangers. Ensure that it is hanging freely and not touching any other surfaces to allow for proper air circulation.
- Periodically clean the hooks or hangers to prevent the build-up of grime or mold. Wipe them down with a clean cloth or mild detergent solution.
Hanging your dish brush not only keeps it clean and dry but also ensures that it is easily accessible whenever you need to use it. This storage method is a simple and effective way to maintain the hygiene of your dish brush while saving valuable counter space in your kitchen.
Store the Dish Brush in a Drawer
If you prefer to keep your dish brush out of sight and neatly stored away, placing it in a drawer can be an excellent option. Storing your dish brush in a drawer helps protect it from dust and keeps it easily accessible when needed. Here’s how to store your dish brush in a drawer:
- Choose a small container or divider that fits inside your drawer. This will provide a designated spot for the dish brush and prevent it from rolling or sliding around.
- Clean and dry the dish brush thoroughly before placing it in the drawer. Ensure that it is free from any food particles or soap residue.
- Stand the dish brush upright in the container or divider, with the bristles facing upward. This allows any excess water to drain and promotes proper drying.
- Position the container or divider in the drawer, making sure it is secure and won’t move around during daily use.
- Close the drawer to keep the dish brush protected from dust and other contaminants.
When storing the dish brush in a drawer, it’s important to keep the drawer well-ventilated. This will help prevent moisture buildup, which can lead to the growth of mold or bacteria. If necessary, you can leave the drawer slightly open to ensure proper airflow.
Remember to periodically clean the drawer and the container or divider to maintain a hygienic storage environment. This will help keep your dish brush clean, dry, and ready for use whenever you need it.
Storing your dish brush in a drawer not only keeps your kitchen organized but also ensures that the brush remains clean, protected, and easily accessible. It’s a convenient storage option for those who prefer a clutter-free countertop.
Wrap Up
Properly storing your dish brush is essential for maintaining its cleanliness, hygiene, and effectiveness. By following the right storage methods, you can prevent the growth of bacteria, mold, and unpleasant odors, ensuring that your dish brush remains in optimal condition for longer.
Consider the following tips when storing your dish brush:
- Clean and dry the dish brush thoroughly after each use to remove any debris or residue.
- Choose a hygienic storage location away from sink contaminants and food contact areas.
- Opt for a storage method that allows for proper drying, such as using a drying rack or caddy.
- Hang the dish brush near your sink using hooks or adhesive hangers for easy access and efficient air drying.
- If you prefer a neat and hidden storage option, place the dish brush in a drawer with a suitable container or divider.
Remember to periodically clean the storage solutions to maintain a clean and hygienic environment for your dish brush. Inspect the brush regularly and replace it if signs of wear and tear are present.
By implementing these storage methods, you can ensure the longevity of your dish brush while keeping your kitchen clean and bacteria-free. Happy dishwashing!
Now that you've got the scoop on keeping your dish brushes tidy and ready for action, why not take that organization savvy to the next level? Dive into our guide on choosing fabric storage cubes that promise to declutter and streamline your living spaces. Perfect for anyone keen on enhancing home organization, these storage solutions will transform how you manage household items, making everything from finding necessities to cleaning up a breeze.
Frequently Asked Questions about How To Store Dish Brushes
Was this page helpful?
At Storables.com, we guarantee accurate and reliable information. Our content, validated by Expert Board Contributors, is crafted following stringent Editorial Policies. We're committed to providing you with well-researched, expert-backed insights for all your informational needs.





0 thoughts on “How To Store Dish Brushes”