Articles
How To Store Bottle Brushes
Modified: January 19, 2024
Learn the best methods for storing your bottle brushes and keeping them organized. Read our articles for expert tips and advice on how to store bottle brushes effectively.
(Many of the links in this article redirect to a specific reviewed product. Your purchase of these products through affiliate links helps to generate commission for Storables.com, at no extra cost. Learn more)
Introduction
Keeping your bottle brushes clean and properly stored is essential for maintaining their functionality and prolonging their lifespan. Whether you use bottle brushes for cleaning baby bottles, water bottles, or even narrow-necked vases, it’s important to store them correctly to prevent damage and ensure optimal hygiene.
In this article, we’ll walk you through the steps on how to store bottle brushes effectively. From cleaning the brush to choosing the right storage container, we’ve got you covered. So, let’s get started!
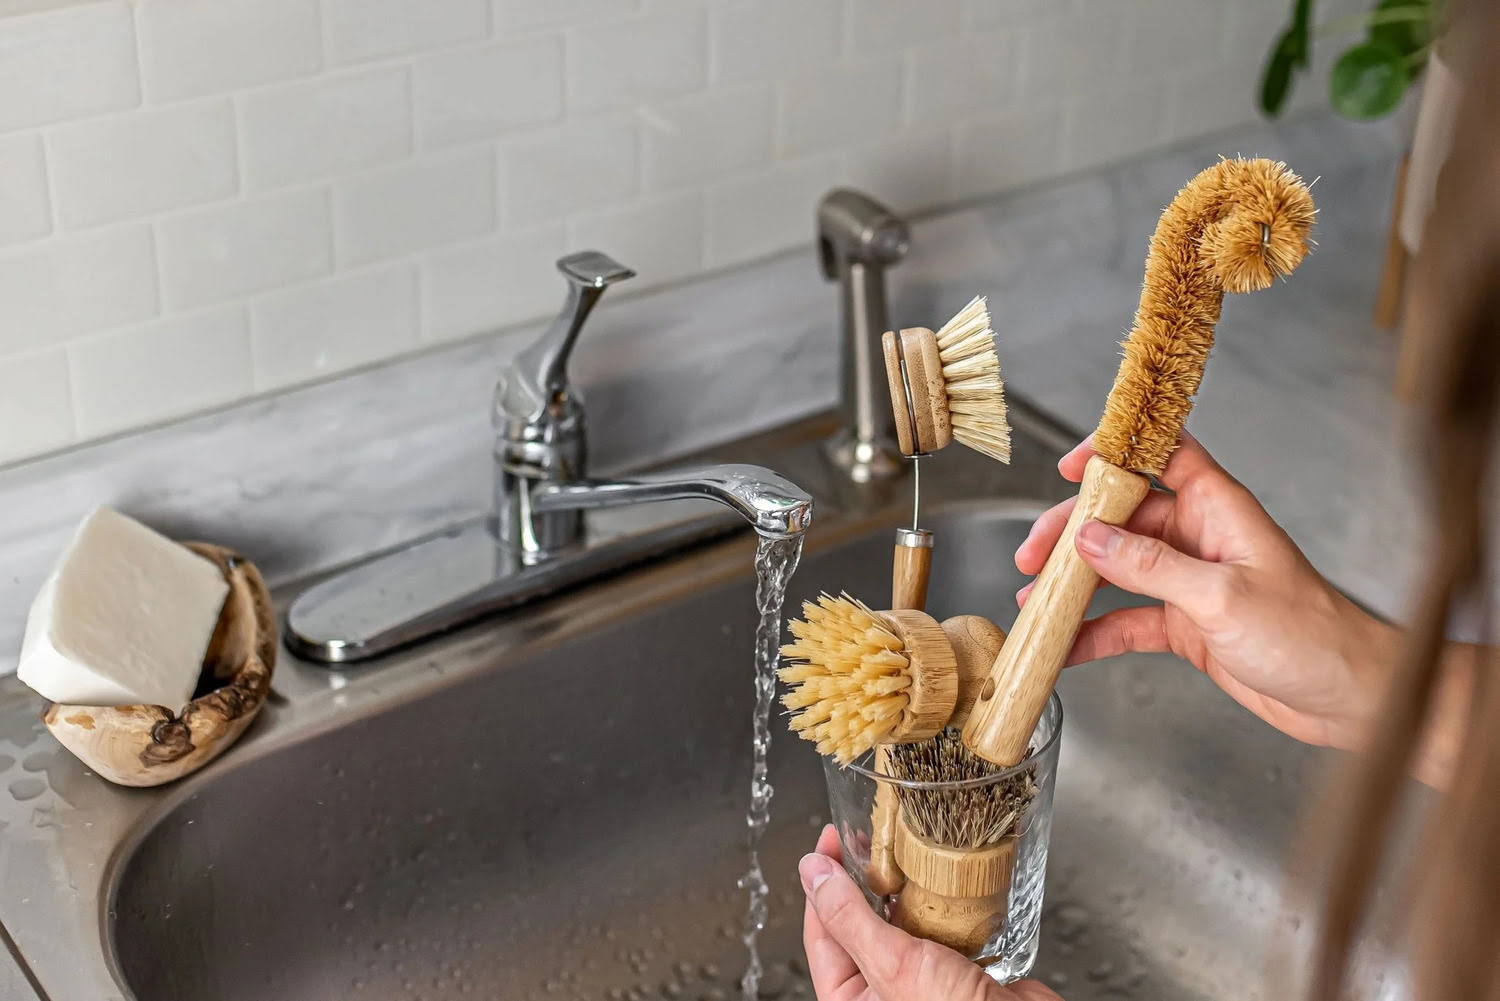
Step 1: Clean the Bottle Brush
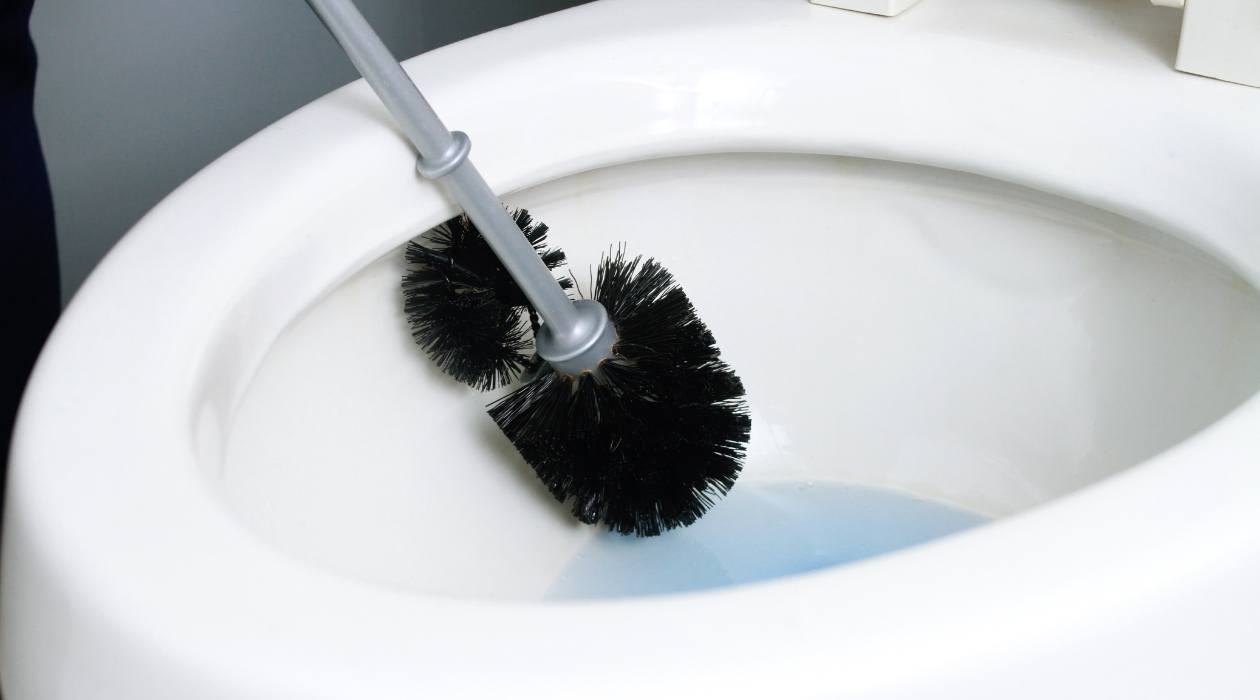
Before storing your bottle brush, it’s important to give it a proper cleaning. Depending on the type of bottles you use it for, your brush may have accumulated soap residue, food particles, or mildew. To clean it, start by rinsing it under warm water to remove any loose debris.
Next, apply a small amount of liquid dish soap or a mild detergent to the bristles. Using your fingers, gently scrub the bristles to remove any remaining residue. Make sure to pay extra attention to the base of the bristles, as this area is more prone to trapping dirt.
Once you’ve scrubbed the bristles thoroughly, rinse the brush under running water to remove the soap. Inspect the bristles to ensure they are free from any lingering debris. Give the brush a gentle flick to remove excess water.
Step 2: Rinse and Dry Thoroughly
After cleaning the brush, it’s crucial to rinse it thoroughly to remove any soap residue. Any leftover soap can lead to a slimy residue that is difficult to remove in the future.
Once the brush is rinsed, give it a good shake to remove excess water. This step is essential to prevent water accumulation and the growth of mold or bacteria. To accelerate the drying process, pat the bristles gently with a clean towel or use a hairdryer on a low, cool setting.
Ensure that the brush is completely dry before proceeding to the next step. Damp bristles can attract dust and foster bacterial growth, which can affect the hygiene of your bottles when you use the brush next.
Key Takeaways:
- Properly storing bottle brushes ensures cleanliness, longevity, and optimal functionality. Thoroughly clean, rinse, and dry the brush before choosing a suitable storage container to prevent damage and maintain hygiene.
- Regularly check and clean both the bottle brush and its storage container to remove dirt, dust, or debris, ensuring hygienic and effective use. Avoid moisture and contaminants to preserve the brush’s condition and longevity.
Read more: How To Store Bottle Brush Trees
Step 1: Clean the Bottle Brush
Before storing your bottle brush, it’s crucial to clean it thoroughly to remove any accumulated debris or contaminants. Follow these steps to ensure your brush is squeaky clean:
- Rinse under warm water: Start by rinsing the bottle brush under warm water. This initial rinse will help remove any loose particles, making the cleaning process easier.
- Apply dish soap or mild detergent: Once the brush is wet, apply a small amount of liquid dish soap or a mild detergent to the bristles. You can use your fingers or a scrub brush to work the soap into the bristles.
- Gently scrub the bristles: Using gentle circular motions, scrub the bristles to remove any residue or stains. Pay close attention to the base of the bristles, as this area often collects the most dirt and grime.
- Rinse thoroughly: After scrubbing, rinse the brush under running water to remove any soap or detergent residue. It’s essential to rinse the brush thoroughly to ensure there is no leftover soap that could contaminate your bottles during future use.
- Inspect for cleanliness: Take a close look at the bristles and make sure they are free from any remaining debris. If you notice any stubborn stains or residue, you may need to repeat the cleaning process or use a brush specifically designed for deep cleaning.
- Shake off excess water: Give the brush a gentle shake to remove any excess water. This step will help expedite the drying process and prevent water from pooling in the bristle area.
- Dry thoroughly: To ensure the brush is completely dry, place it in a well-ventilated area or use a clean towel to pat dry the bristles. It’s important to avoid storing a damp brush, as moisture can lead to the growth of mold or bacteria.
By following these steps, you can ensure that your bottle brush is cleaned thoroughly and ready for storage. Now that your brush is clean, let’s move on to the next step: choosing an appropriate storage container.
Step 2: Rinse and Dry Thoroughly
Once you have cleaned your bottle brush, it’s important to rinse and dry it thoroughly before storing. This step ensures that the brush is free from any soap residue and excess moisture, which can lead to bacterial growth or damage over time. Follow these steps to ensure your brush is rinsed and dried effectively:
- Rinse under running water: Start by rinsing the brush under warm running water. This will help remove any remaining soap or cleaning solution from the bristles.
- Inspect for soap residue: Take a close look at the bristles to ensure there is no visible soap residue. If you notice any lingering soap, continue rinsing the brush until the water runs clear.
- Shake off excess water: Once the brush is thoroughly rinsed, give it a shake to remove any excess water. This will prevent water from pooling in the bristle area and promote faster drying.
- Pat dry with a towel: Use a clean, dry towel to pat dry the bristles of the brush. Gently press the towel against the bristles to absorb any remaining moisture. Avoid rubbing the bristles vigorously, as this can cause damage or deformation.
- Air dry: To ensure complete drying, it is recommended to let the brush air dry in a well-ventilated area. Place the brush on a clean surface or hang it up, allowing air to circulate around the bristles. Avoid storing the brush while it is still damp, as this can lead to mold or unpleasant odors.
- Check for dryness: Before moving on to storage, make sure the brush is completely dry. Run your fingers through the bristles to ensure there is no dampness. If you feel any moisture, allow the brush to dry for a bit longer.
Following these steps will help ensure that your bottle brush is thoroughly rinsed and dried, reducing the risk of microbial growth and extending its lifespan. With your brush now clean and dry, it’s time to move on to the next step: choosing an appropriate storage container.
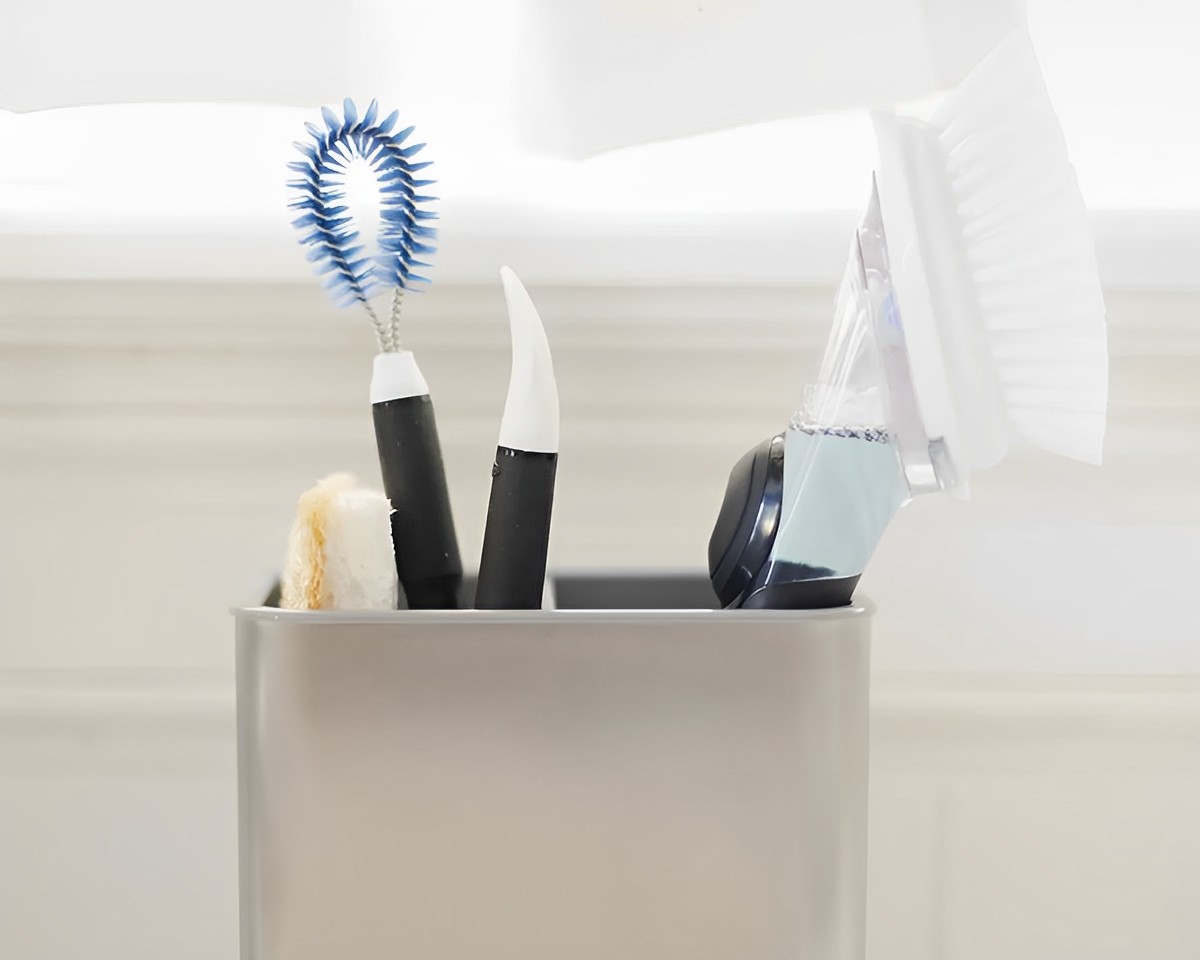
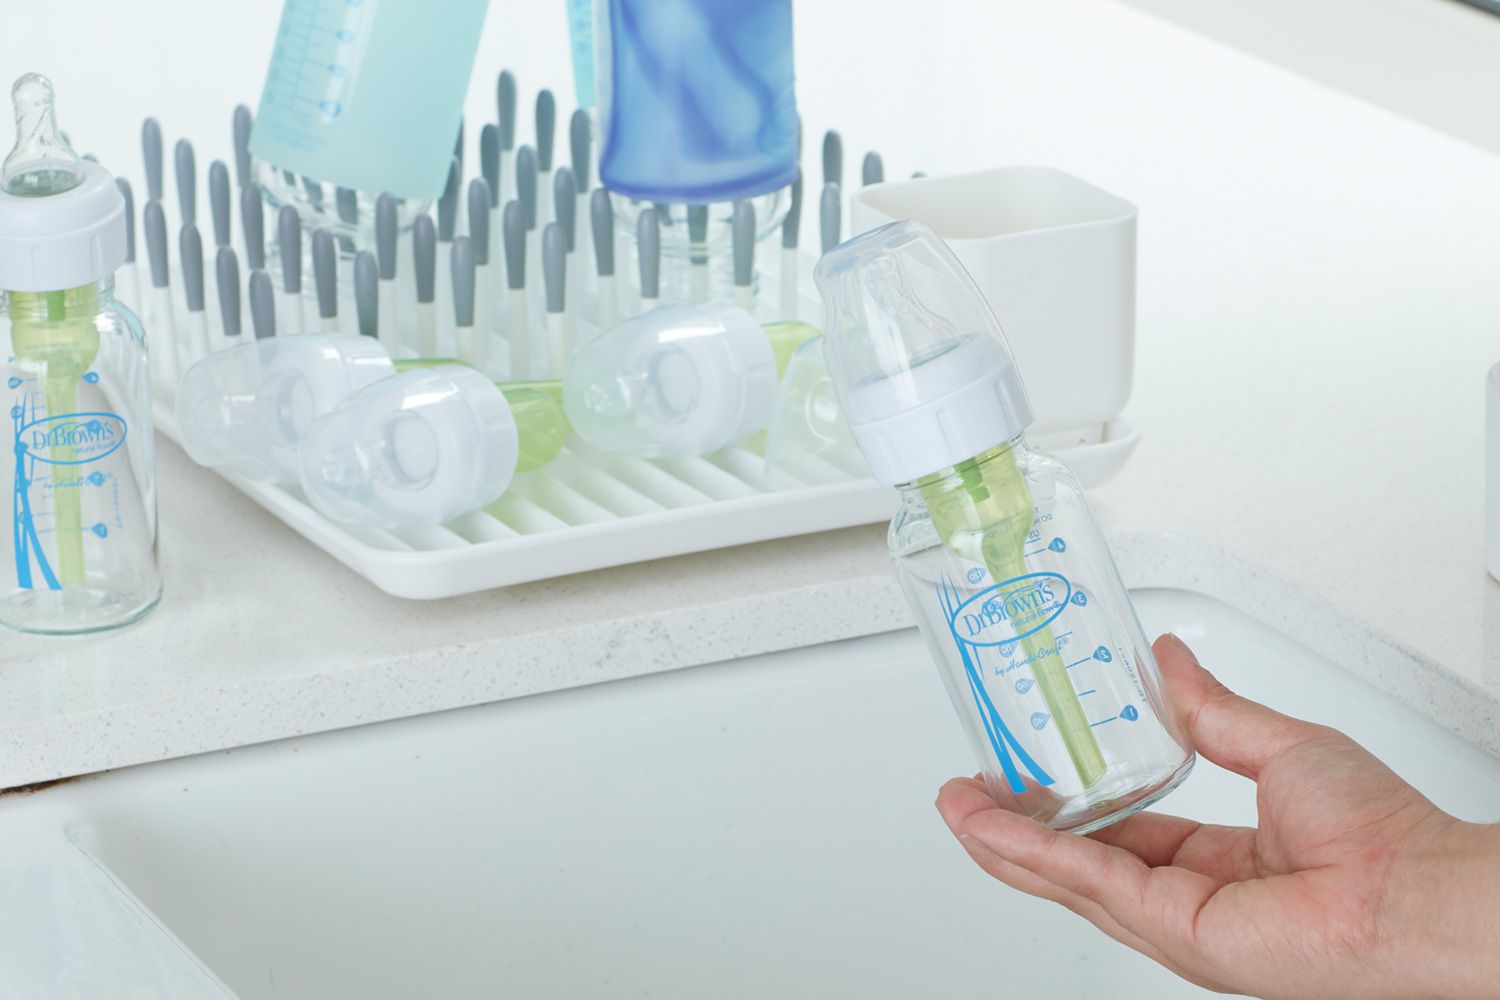
Step 3: Choose an Appropriate Storage Container
Once you have cleaned and dried your bottle brush, it’s essential to choose a suitable storage container to protect it from damage and keep it in good condition. Here are some factors to consider when selecting a storage container:
- Size and Shape: Choose a container that can comfortably accommodate the length and width of your bottle brush. It should be spacious enough to prevent bending or squeezing the bristles, which can cause them to lose their shape or become misaligned.
- Material: Opt for a storage container made of a durable material that can resist moisture and is easy to clean. Plastic containers or cylindrical holders made of stainless steel are popular choices as they are lightweight, sturdy, and resistant to rust.
- Design: Look for a container that has drainage holes or slots in the bottom to allow air circulation and prevent water accumulation. This helps to keep the bristles dry and avoid the growth of mold or mildew.
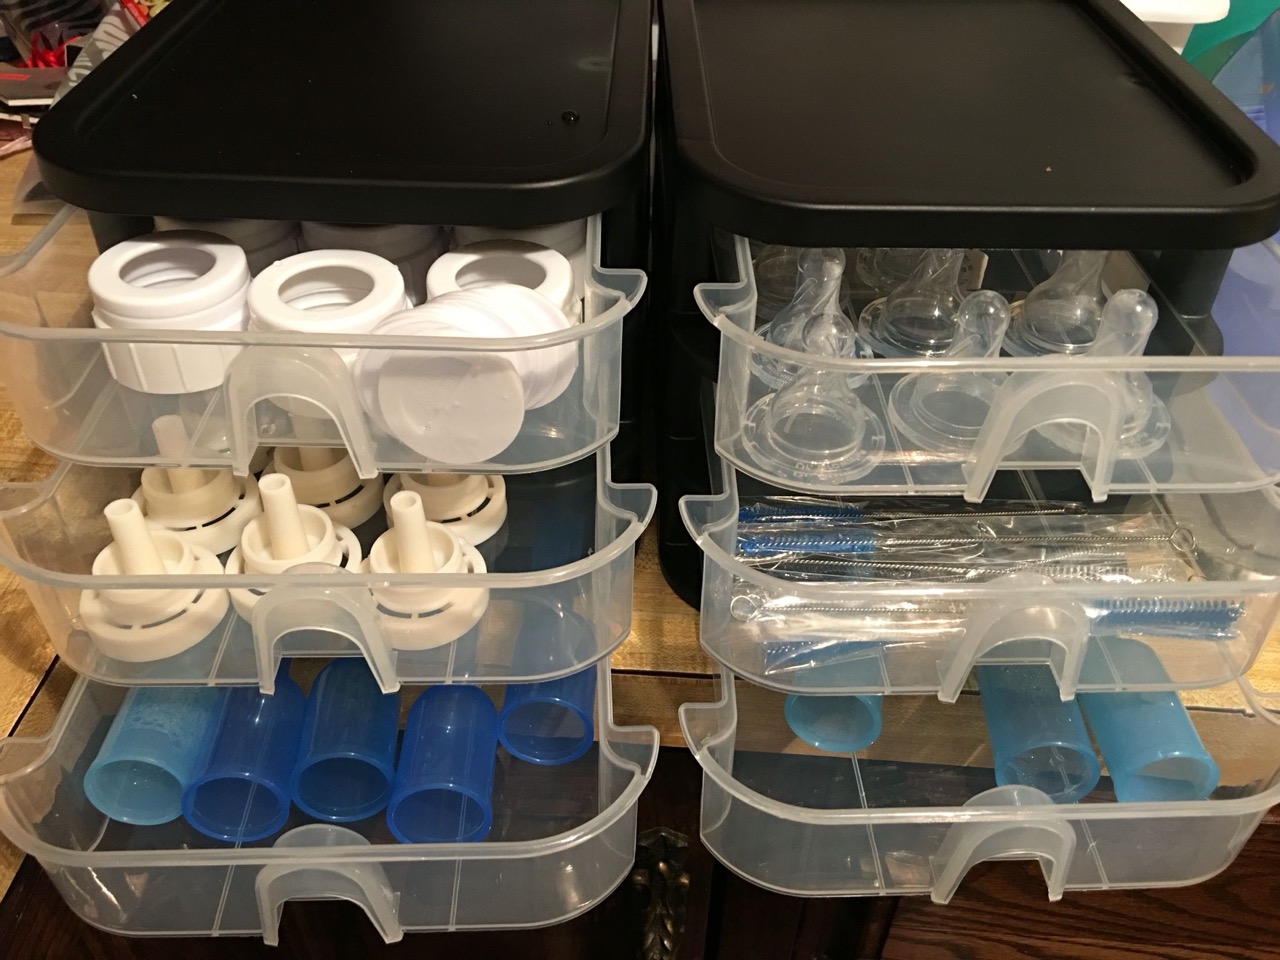
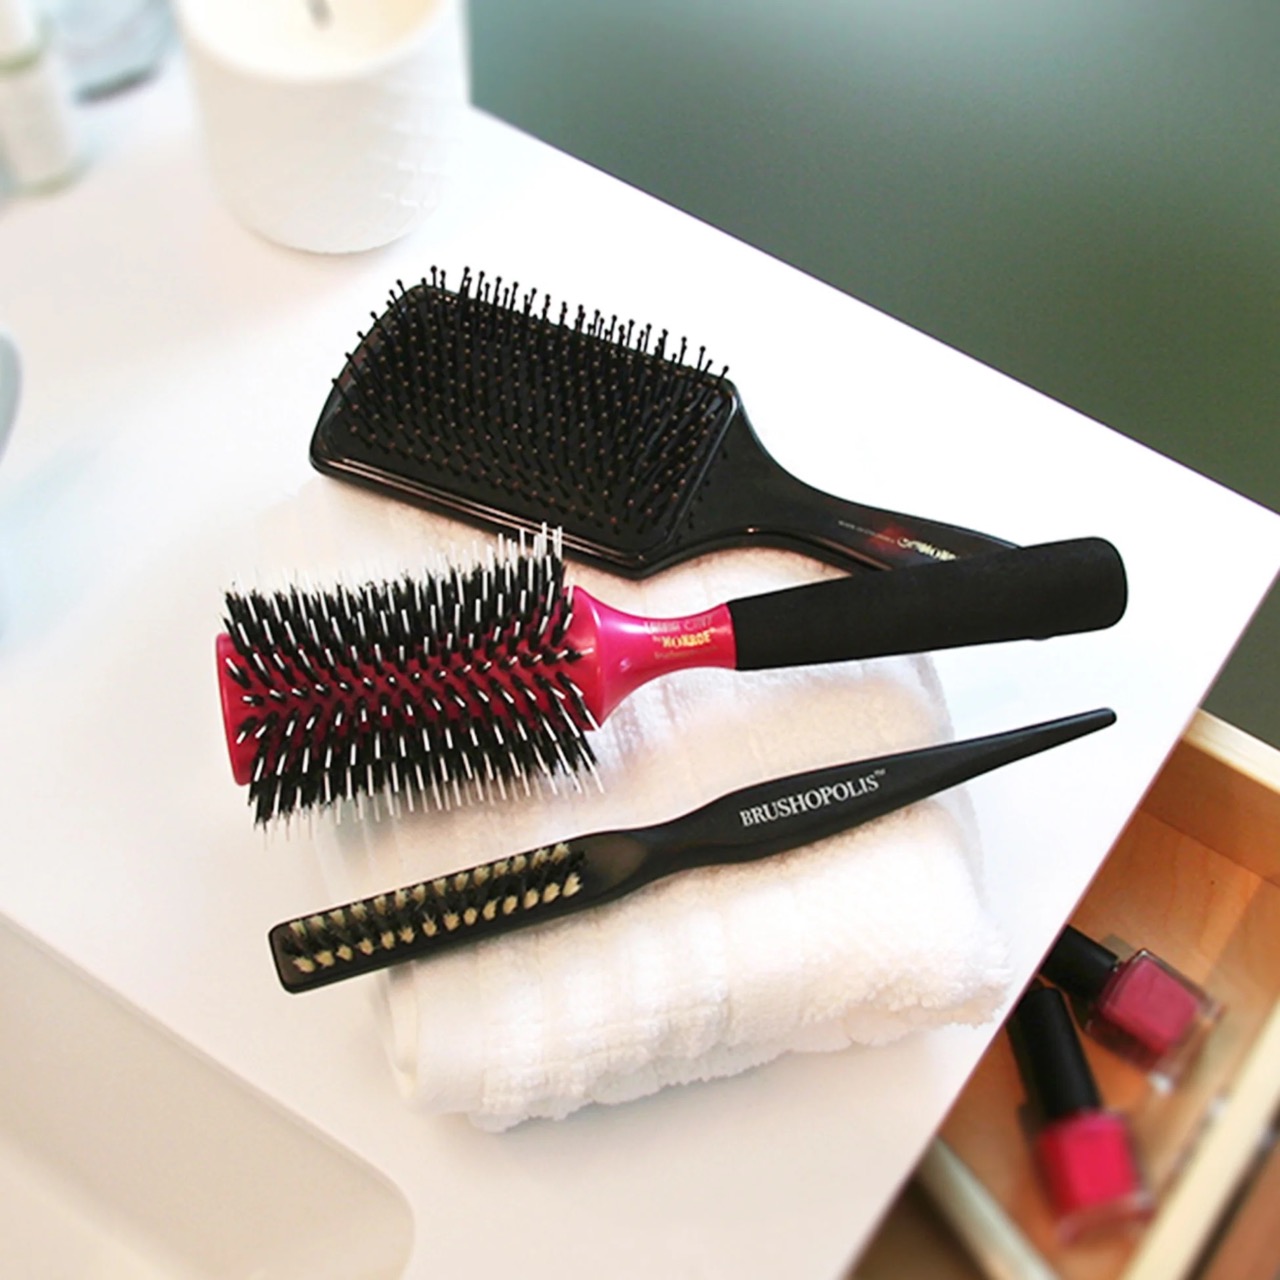
- Separate Compartment: If you use multiple bottle brushes for different purposes, consider a storage container that has separate compartments. This will help keep them organized and prevent the bristles from tangling or rubbing against each other.
- Lid or Cover: A storage container with a lid or cover can provide additional protection for your bottle brush. It helps keep dust, dirt, and other contaminants away, ensuring hygienic storage.
- Transparent or Labeled: Opt for a container that allows you to see the contents easily or has a label indicating its purpose. This saves you time and effort when searching for the right brush and ensures that you maintain proper hygiene by using the correct brush for specific tasks.
Consider these factors when choosing a storage container for your bottle brush. Once you’ve found the perfect container, you’re ready to move on to the next step: storing your brush in a dry and clean location.
After using a bottle brush, rinse it thoroughly with hot water and dish soap. Shake off excess water and store it in a well-ventilated area to prevent mold and mildew growth.
Step 4: Store in a Dry and Clean Location
After selecting an appropriate storage container for your bottle brush, it’s crucial to store it in a dry and clean location. This will help maintain the brush’s hygiene and prevent damage. Follow these steps to ensure proper storage:
- Avoid Moisture: Choose a storage location that is away from moisture sources such as sinks, humid areas, or bathroom cabinets. Exposure to moisture can lead to mold, mildew, or bacterial growth, which can compromise the cleanliness and functionality of your brush.
- Clean Environment: Store your bottle brush in an area that is clean and free from dust, dirt, or other contaminants. Keeping the storage location clean helps maintain the brush’s cleanliness and prevents any unwanted substances from being transferred to the brush.
- Avoid Contact with Other Cleaning Tools: Ideally, store your bottle brush separately from other cleaning tools or items. This prevents cross-contamination of bacteria or residue from other cleaning products and ensures that your brush remains dedicated to its specific cleaning tasks.
- Keep Away from Direct Sunlight: Exposing your bottle brush to direct sunlight for prolonged periods can cause the bristles to become brittle and degrade over time. Choose a storage spot away from direct sunlight or use a container with a lid or cover to protect the brush from UV rays.
- Elevate or Hang: To prevent the bristles from becoming misshapen or flattened, consider storing the bottle brush in an upright position or hanging it. This helps the bristles maintain their natural shape and structure, ensuring optimal cleaning performance.
- Regularly Clean the Storage Area: Periodically check and clean the storage area to remove any dust, dirt, or debris that may have accumulated. Wipe down the surface of the storage container and inspect for any signs of mold or mildew. Maintaining a clean storage area ensures that your bottle brush stays in a hygienic condition.
By following these steps, you can ensure that your bottle brush is stored in a dry and clean location, promoting its longevity and hygienic use. With your brush now properly stored, it will be ready for use whenever you need it.
Read more: How To Store Wine Bottles
Step 5: Avoid Contact with Moisture or Contaminants
When storing your bottle brush, it’s important to take precautions to prevent it from coming into contact with moisture or contaminants. These can lead to bacterial growth, degradation of the bristles, or compromised hygiene. Follow these steps to ensure your brush stays in optimal condition:
- Keep Away from Water Sources: Avoid storing your bottle brush near sinks, water sources, or areas prone to spills. This minimizes the risk of accidental exposure to water, which can lead to moisture buildup and mold growth.
- Store in a Sealed Container: If your storage container does not have a lid or cover, consider using a plastic bag or ziplock bag to seal the brush and protect it from dust, dirt, or other contaminants. Just make sure the brush is completely dry before sealing it to prevent trapping moisture inside.
- Separate from Chemicals or Cleaning Agents: Keep your bottle brush away from harsh chemicals or cleaning agents that might be stored nearby. Transparent storage containers or separate compartments can help prevent accidental contact, ensuring the longevity of your brush.
- Avoid Storage near Food Items: If you use a bottle brush for cleaning kitchen utensils or food containers, make sure to store it separately from food items to maintain hygiene. Storing it in a designated storage area away from the kitchen or food preparation areas is recommended.
- Inspect for Contamination: Regularly inspect your brush for any signs of contamination, such as discoloration, foul odors, or visible mold. If you notice any of these signs, it’s important to thoroughly clean and disinfect the brush before storing it again. If the contamination persists, it may be time to consider replacing the brush.
By taking these precautions, you can ensure that your bottle brush stays clean, hygienic, and free from moisture or contaminants. A well-maintained brush will continue to serve you well in keeping your bottles or other items clean and sanitized.
Step 6: Regularly Check and Clean the Storage Container
In addition to taking care of your bottle brush, it’s equally important to regularly check and clean the storage container. Dust, dirt, and other particles can accumulate over time, compromising the cleanliness and hygiene of your brush. Follow these steps to ensure the storage container remains in good condition:
- Inspect for Dirt or Debris: Periodically check the storage container for any visible dirt, dust, or debris. This can accumulate on the surface or in the corners of the container.
- Remove Loose Debris: Use a soft brush, cloth, or a vacuum cleaner with a brush attachment to remove any loose debris from the storage container. Make sure to reach all the corners and crevices where dirt may collect.
- Clean with Mild Detergent: If the storage container is washable, use a mild detergent or dish soap to clean it thoroughly. Fill a sink or basin with warm water and a small amount of detergent, then immerse the container in the soapy water.
- Scrub and Rinse: Use a sponge or soft brush to scrub the inside and outside surfaces of the storage container. Pay attention to any difficult-to-reach areas. Once clean, rinse the container thoroughly with water to remove any soap residue.
- Dry Completely: After rinsing, allow the storage container to air-dry completely. Make sure there is no moisture left inside or on the surface of the container before placing your bottle brush back into it.
- Periodically Disinfect: To maintain optimal hygiene, consider periodically disinfecting the storage container. You can use a mild bleach solution or a disinfectant spray specifically designed for cleaning storage containers. Follow the instructions provided on the product carefully.
By regularly checking and cleaning the storage container, you can ensure that it remains clean, free from contaminants, and ready to house your bottle brush. This step contributes to the overall hygiene and functionality of your cleaning tools.
Remember, a clean storage container promotes a cleaner bottle brush, ensuring that your cleaning tasks are performed efficiently and effectively.
Conclusion
Properly storing your bottle brushes is essential for maintaining their functionality, cleanliness, and longevity. By following the steps outlined in this article, you can ensure that your bottle brushes are clean, dry, and stored in an appropriate manner.
Start by thoroughly cleaning your brush, removing any residue or debris that may have accumulated. Rinse and dry the brush completely to prevent the growth of mold or bacteria, and ensure it is ready for future use.
Choose a storage container that is the right size and shape for your brush, made of a durable material, and has features such as drainage holes or compartments to keep the brush in optimal condition. Avoid storing the brush near moisture sources or contaminants to maintain its hygiene and prevent damage.
Regularly check and clean both the brush and its storage container to remove dirt, dust, or debris that may accumulate over time. This will help keep your brush hygienic and in good working condition.
By implementing these practices, you can extend the lifespan of your bottle brushes and ensure their effective use every time. So, take the time to properly store your bottle brushes and enjoy the benefits of clean and well-maintained cleaning tools.
Now that you've got tips on storing bottle brushes, why not spruce up your home's organization with fabric storage cubes? These handy organizers can transform cluttered spaces into models of efficiency. Perfect for any room, they make organizing a breeze and add a stylish touch to your décor. Curious about kicking your storage game up a notch? Dive into our comprehensive guide on selecting the best fabric storage cubes for seamless home organization.
Frequently Asked Questions about How To Store Bottle Brushes
Was this page helpful?
At Storables.com, we guarantee accurate and reliable information. Our content, validated by Expert Board Contributors, is crafted following stringent Editorial Policies. We're committed to providing you with well-researched, expert-backed insights for all your informational needs.


0 thoughts on “How To Store Bottle Brushes”