Articles
How To Store Fresh Collard Greens
Modified: February 24, 2024
Learn how to store fresh collard greens with these helpful articles. Keep your greens fresh and delicious with these storage tips.
(Many of the links in this article redirect to a specific reviewed product. Your purchase of these products through affiliate links helps to generate commission for Storables.com, at no extra cost. Learn more)
Introduction
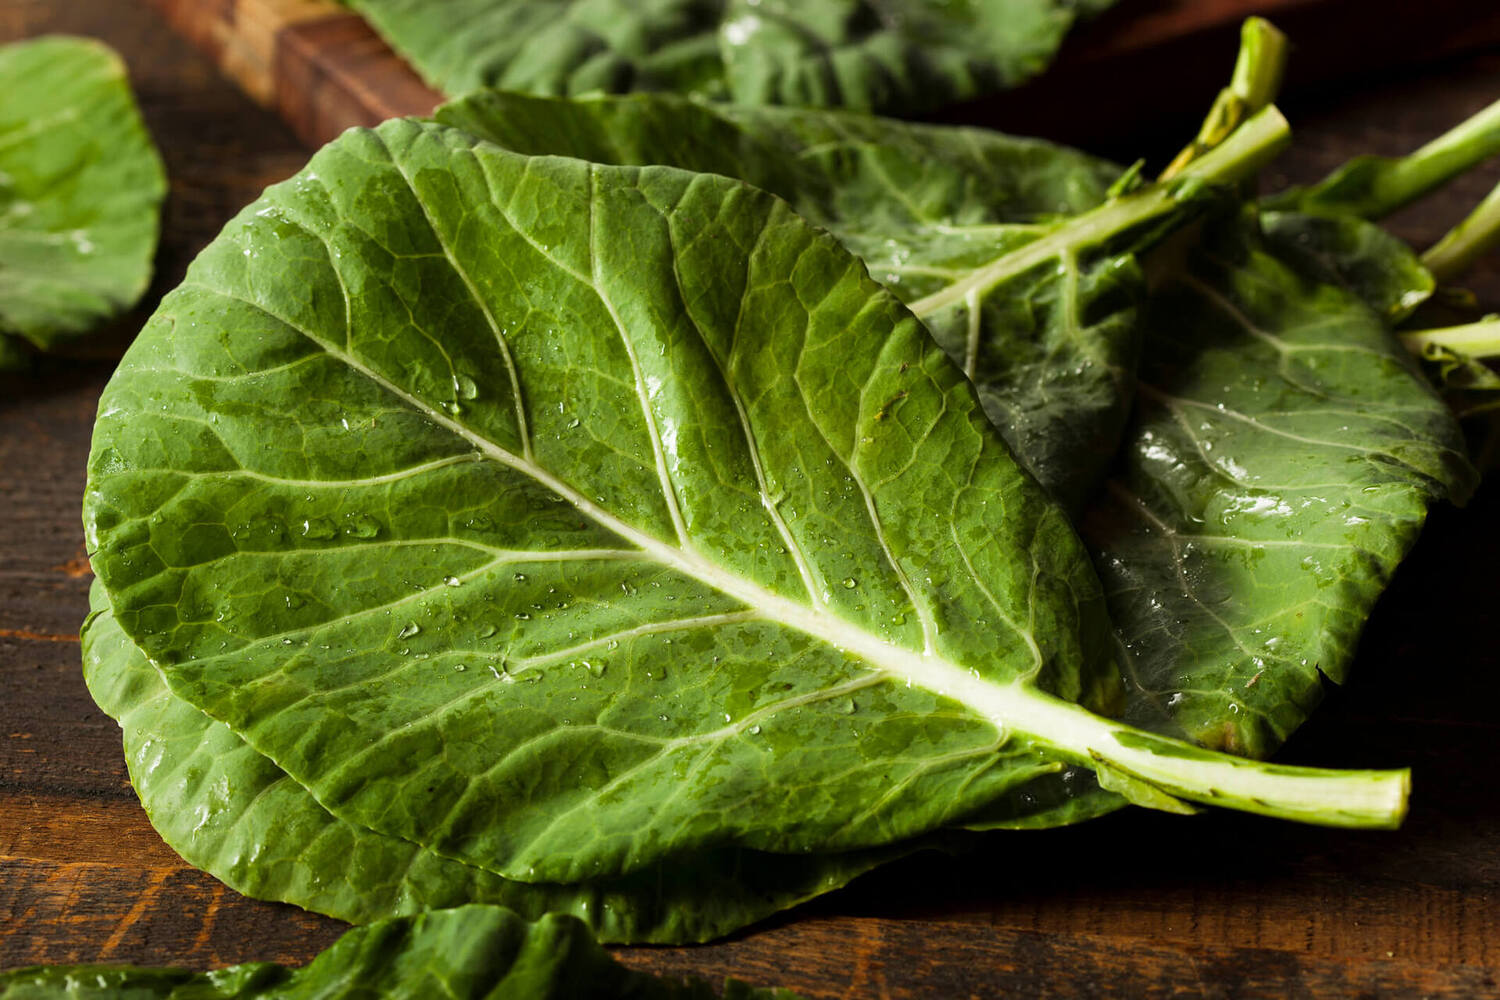
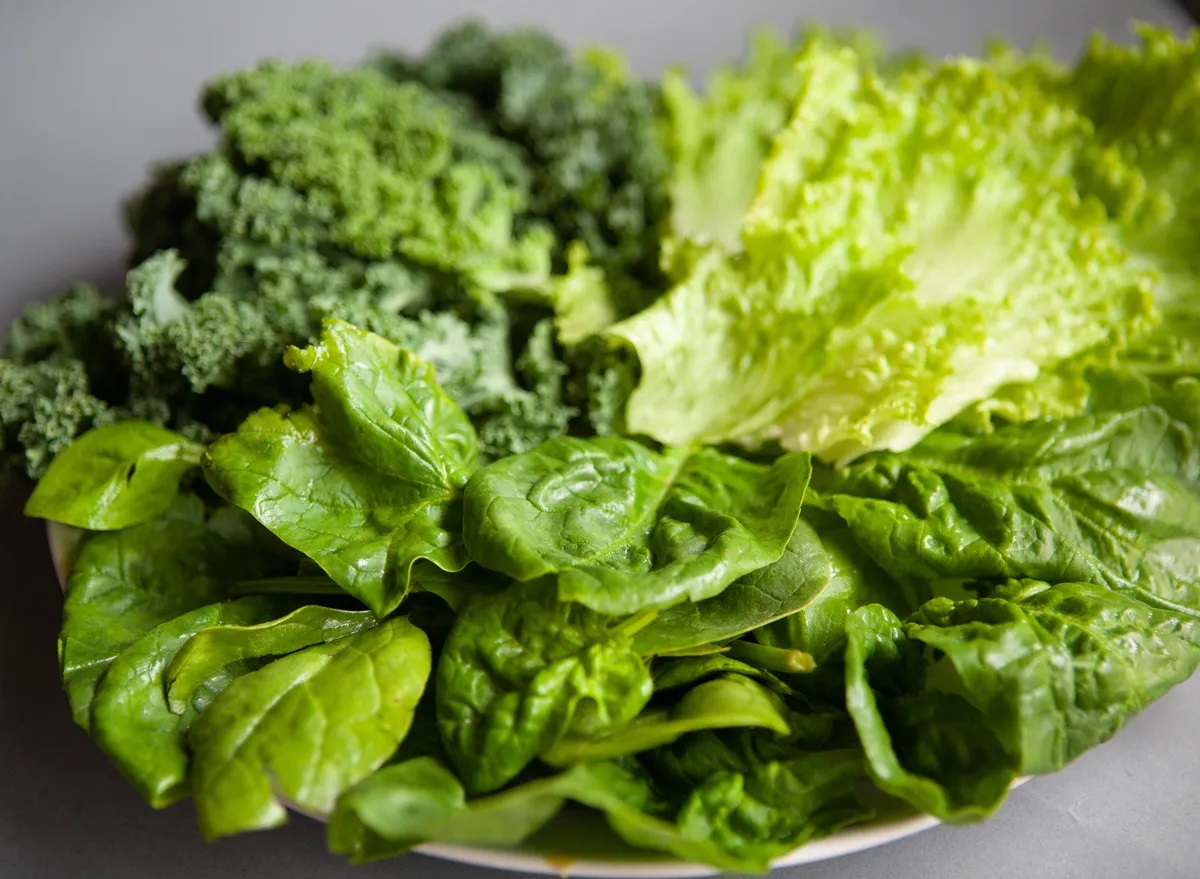
Welcome to the wonderful world of fresh collard greens! These leafy greens are not only a nutritious addition to your diet but also a versatile ingredient that can complement a variety of dishes. Whether you’ve grown your own collard greens or picked up a bunch from the local market, knowing how to properly store them is essential to preserve their freshness and flavor.
In this article, we will explore the step-by-step process of storing fresh collard greens. From harvesting to cleaning, and from refrigerating to freezing or canning, we will cover different methods so you can choose the one that suits your needs best. So, let’s get started on this green journey!
Key Takeaways:
- Preserve the freshness of collard greens by harvesting at the right time, cleaning thoroughly, and choosing the best storage method for your needs, whether it’s refrigeration, freezing, or canning.
- Explore a world of culinary possibilities with preserved collard greens, from soups and side dishes to dips and savory pies. Get creative and elevate your meals with these nutritious and versatile greens!
Read more: How To Store Collard Greens
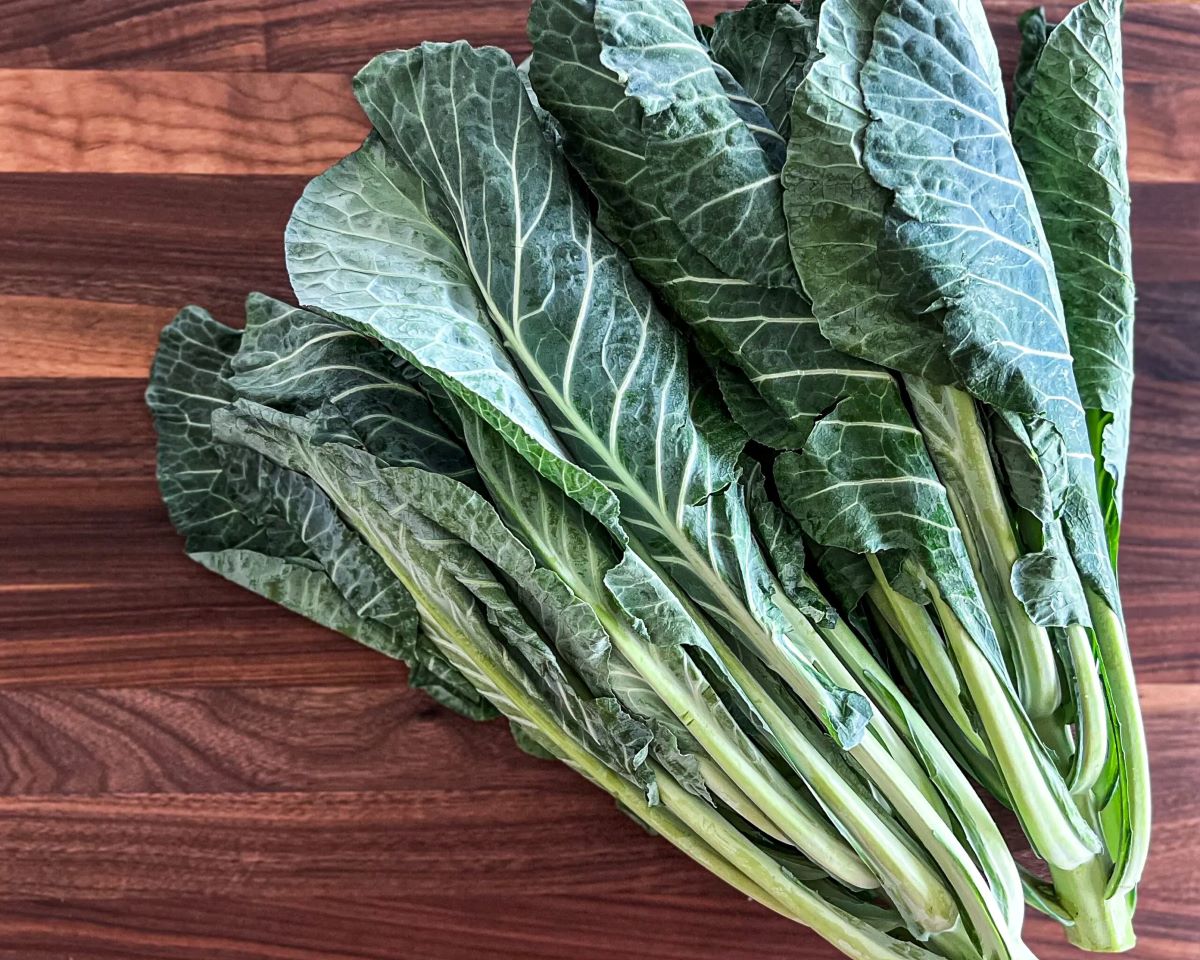
Step 1: Harvesting Collard Greens
Before you can enjoy the freshness of collard greens, you need to harvest them. Whether you’re harvesting from your own garden or purchasing them from a local farmer’s market, the following steps will ensure that you pick the best leaves and extend their shelf life:
- Choose the right time: Collard greens are typically ready for harvest when the leaves reach a length of 12 to 24 inches. The ideal time to harvest them is in the morning when the leaves are crisp and full of moisture.
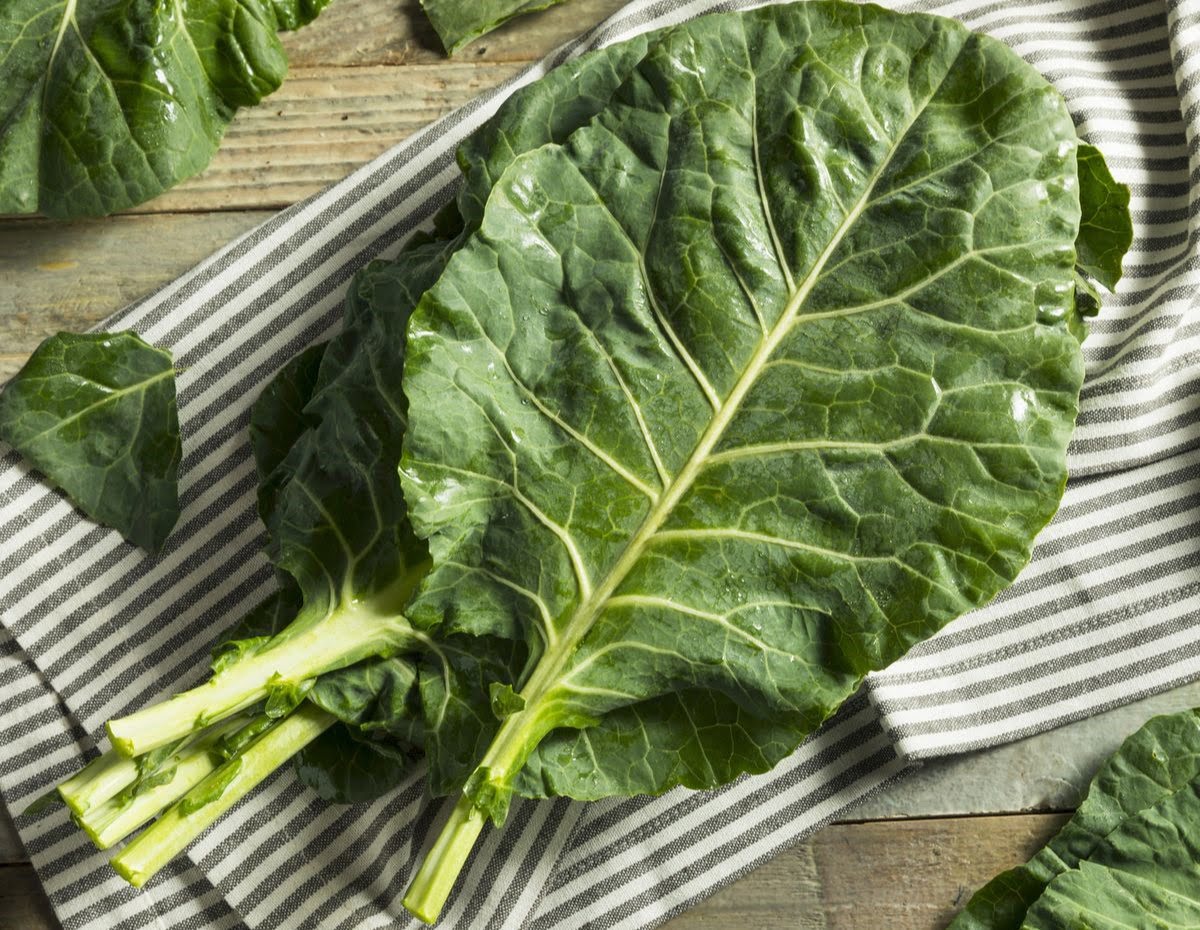
- Inspect the leaves: Look for healthy and vibrant leaves that are free from any signs of wilting, discoloration, or pest damage. Avoid harvesting leaves that have yellow spots or holes.
- Use a sharp knife or scissors: To harvest collard greens, use a sharp knife or scissors to cut the leaves off the plant. Start from the outer leaves and work your way towards the center, leaving the smaller inner leaves to continue growing.
- Leave the growing point intact: When harvesting collard greens, make sure to leave the growing point or the heart of the plant intact. This will allow the plant to continue producing new leaves for future harvests.
- Harvest regularly: Regular harvesting, especially by picking the outer leaves, will not only provide you with a constant supply of fresh collard greens but also encourage the plant to produce more leaves.
Once you have completed the harvesting process, it’s time to move on to the next step: cleaning and preparing the collard greens.
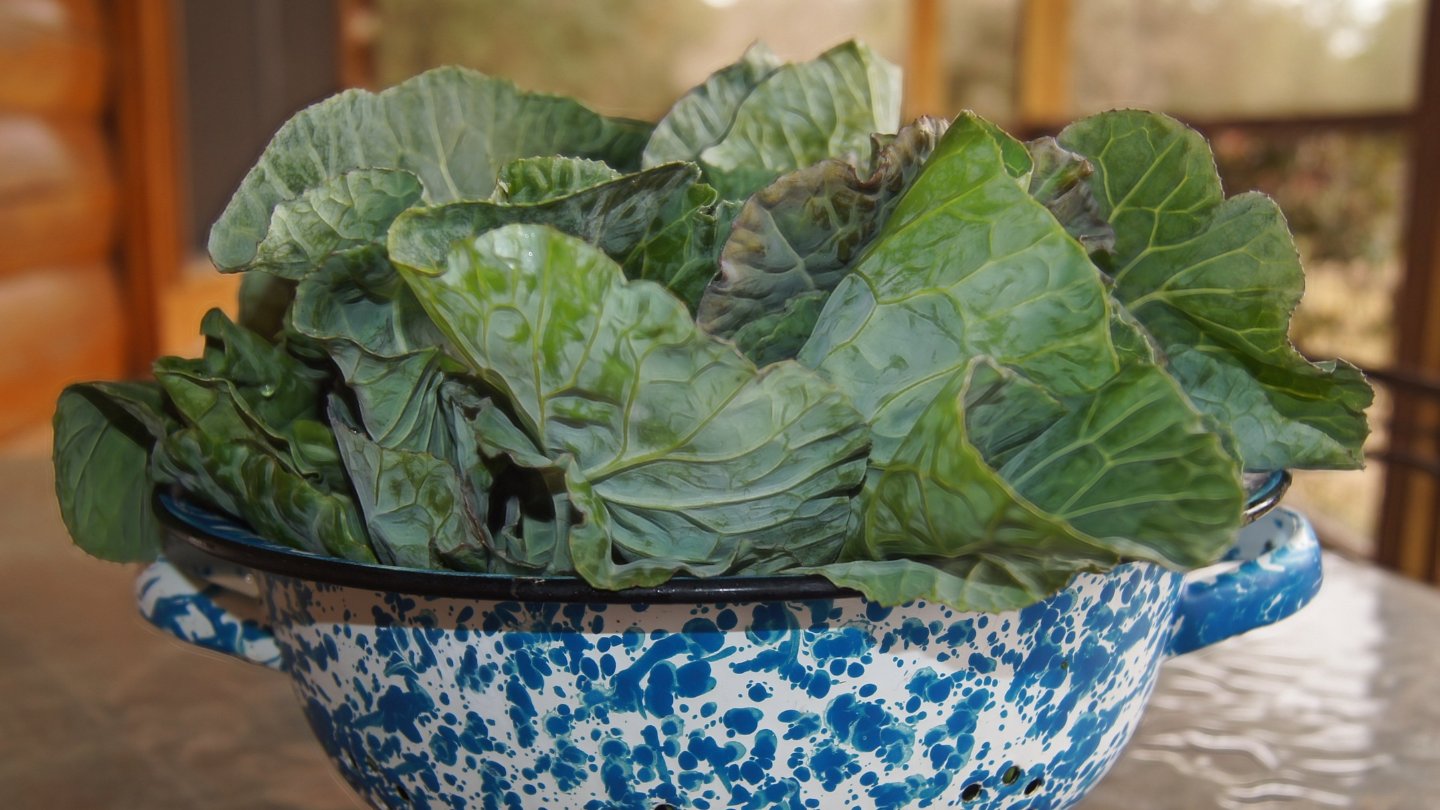
Step 2: Cleaning and Preparing Collard Greens
Now that you have harvested your fresh collard greens, it’s important to clean and prepare them properly to remove any dirt, debris, or potential contaminants. Follow these steps to ensure your collard greens are ready for storage:
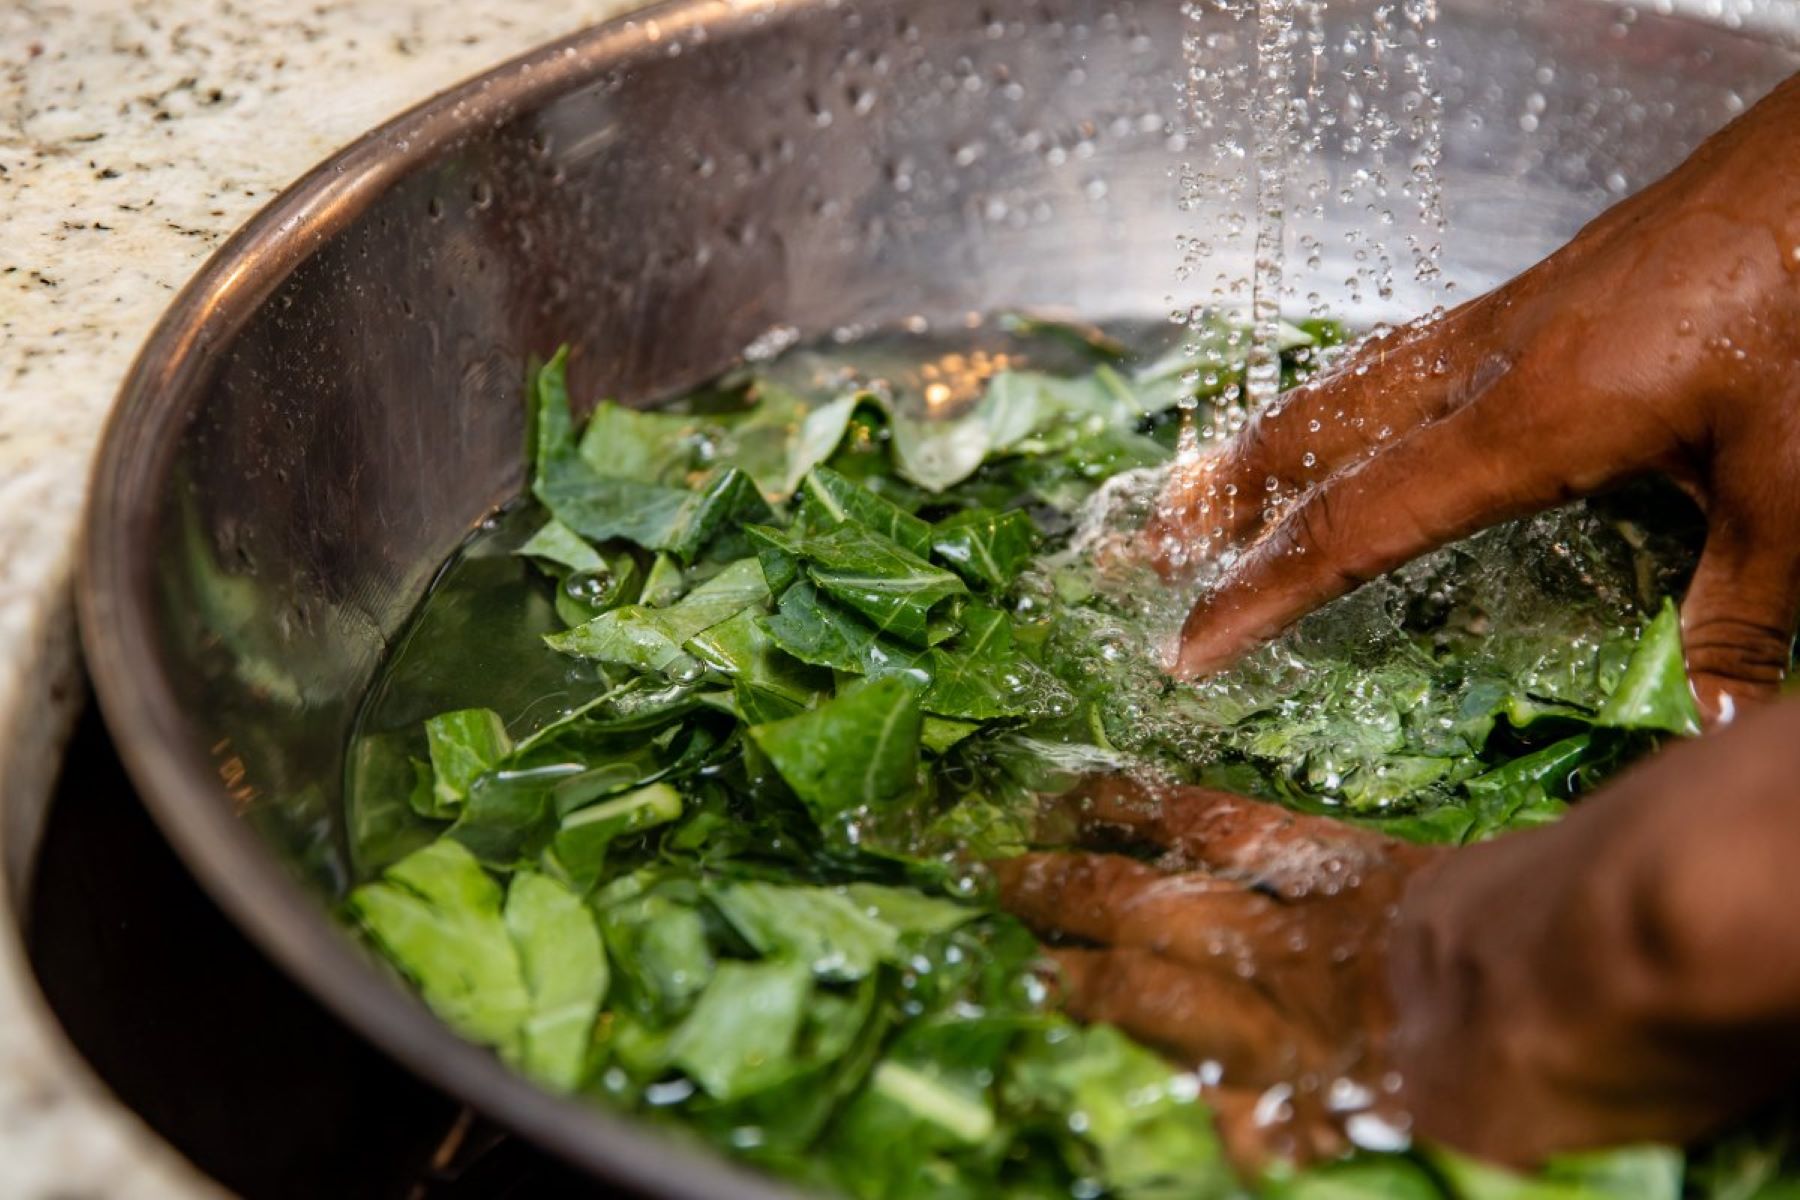
- Rinse the leaves: Start by rinsing the collard greens under cold running water. Gently rub the leaves to remove any dirt or residue. Make sure to separate the leaves and rinse them individually to ensure thorough cleaning.
- Inspect for pests: While rinsing, keep an eye out for any pests that might be hiding on the leaves. If you spot any insects or worms, remove them manually and discard the affected leaves.
- Soak in vinegar water: Fill a large bowl or sink with cold water and add a splash of vinegar. Submerge the collard greens in the vinegar water and let them soak for about 10 minutes. This will help eliminate any remaining dirt or contaminants.
- Rinse again: After soaking, remove the collard greens from the vinegar water and give them a final rinse under cold running water to wash away any vinegar residue.
- Pat dry: Gently pat the collard greens dry with a clean kitchen towel or paper towels. Make sure to remove excess moisture to prevent the leaves from becoming soggy.
- Trim and discard the stems: Depending on your preference, you can choose to trim off the tough stems from the collard greens. Discard the stems or save them for other recipes, such as stocks or broths.
- Chop or leave whole: Decide whether you want to chop the collard greens into smaller pieces or leave them whole. Chopping them can make it easier for storage and cooking, but leaving them whole can retain their freshness for a longer period.
Now that your collard greens are clean and prepared, it’s time to move on to storing them in the refrigerator or preserving them for future use.
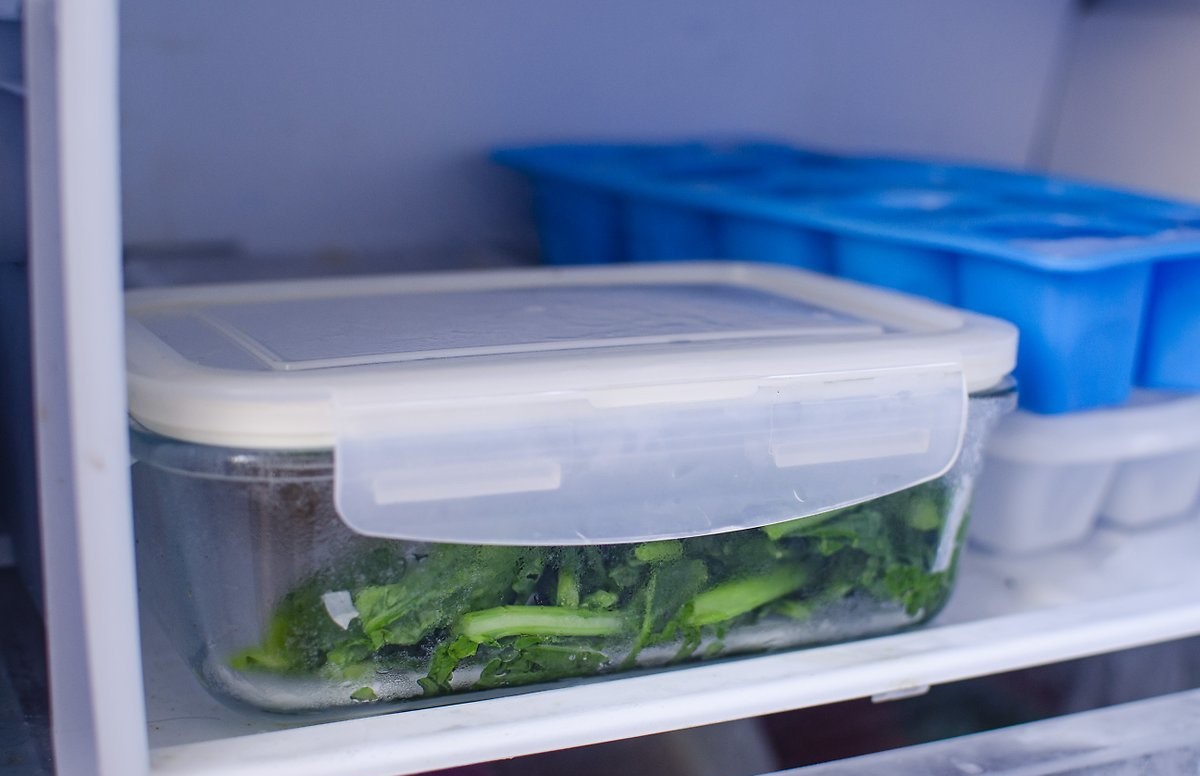
Step 3: Storing Collard Greens in the Refrigerator
If you plan to use your collard greens within a few days, storing them in the refrigerator is the way to go. Follow these steps to keep your collard greens fresh and crisp:
- Wrap in damp paper towels: Take a few damp paper towels and wrap them around the collard greens. This will help retain moisture and prevent the leaves from drying out.
- Place in a plastic bag: Put the wrapped collard greens inside a plastic bag, making sure there is enough room for them to breathe. Secure the bag tightly to prevent any air from entering.
- Store in the crisper drawer: Put the bagged collard greens in the crisper drawer of your refrigerator. The cool temperature and controlled humidity in the crisper drawer will help maintain their freshness.
- Check and replace: Periodically check the collard greens for any wilting or signs of spoilage. If you notice any damaged or wilted leaves, remove them to prevent them from affecting the rest of the bunch.
- Use within 4-5 days: Collard greens stored in the refrigerator can typically stay fresh for about 4-5 days. It’s best to use them as soon as possible for optimal flavor and texture.
Storing collard greens in the refrigerator allows you to have easy access to them for your everyday cooking needs. However, if you have a surplus of collard greens or want to preserve them for longer periods, freezing or canning them can be a great option. We will explore these methods in the next steps.
To store fresh collard greens, first remove any damaged leaves and wash them thoroughly. Then, wrap the leaves in a damp paper towel and place them in a plastic bag in the refrigerator. This will help keep them fresh for up to a week.
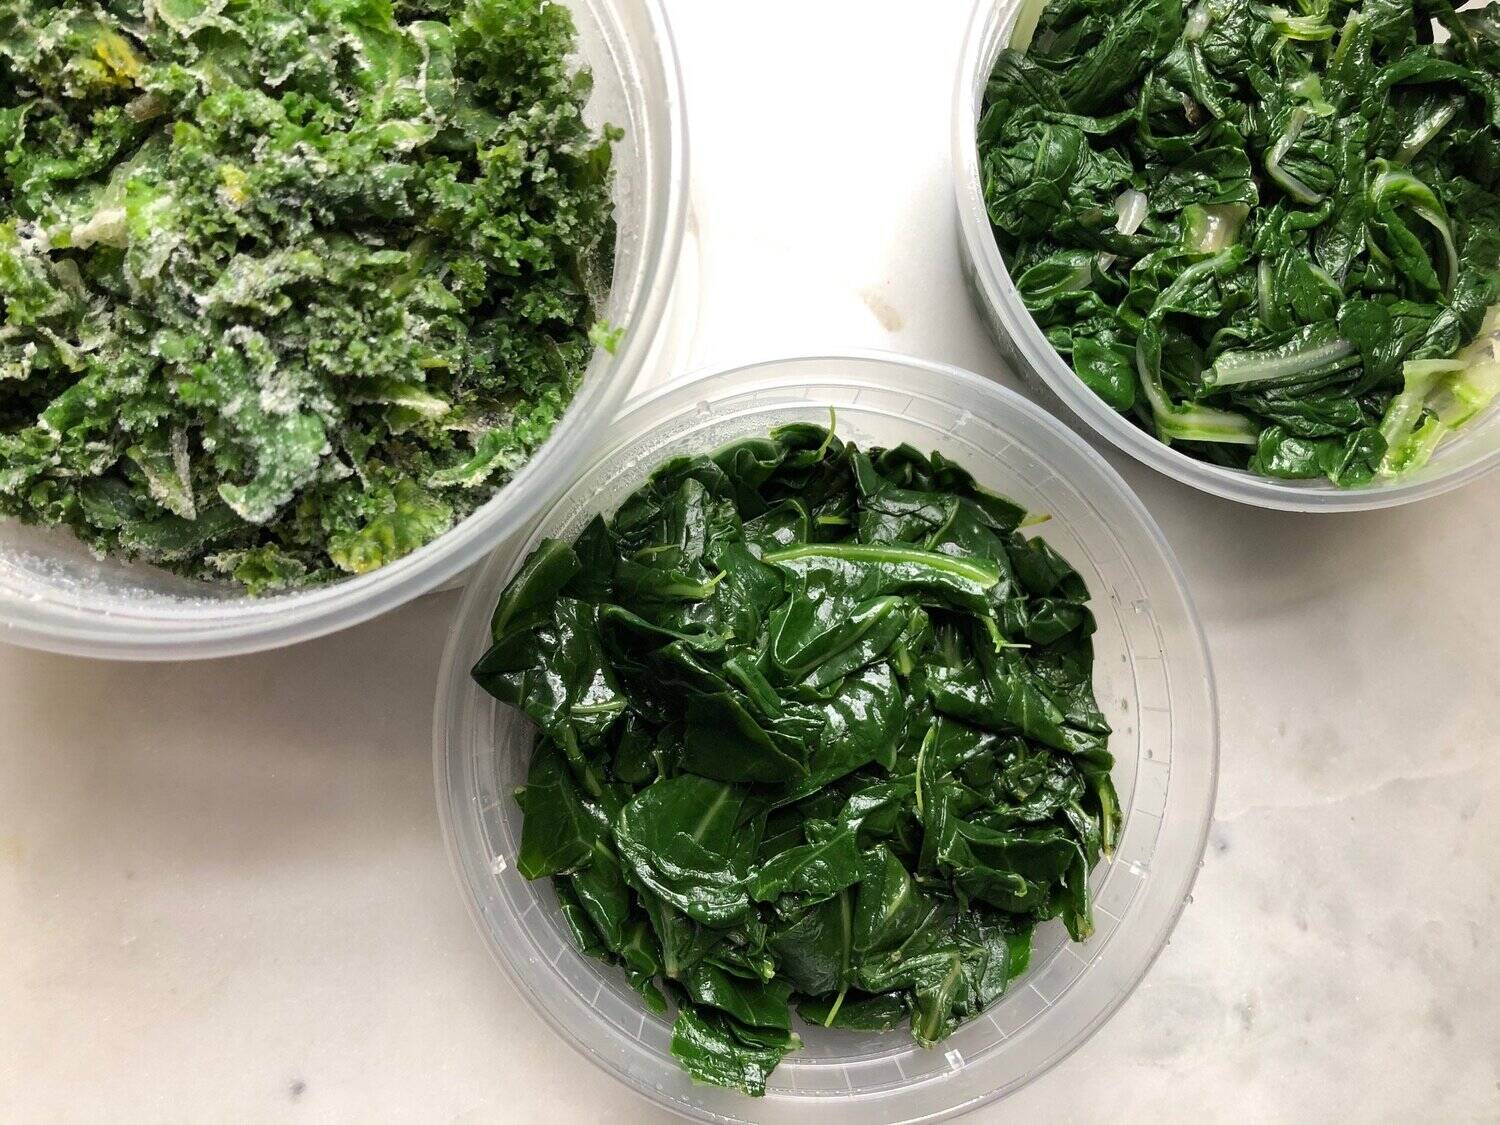
Step 4: Freezing Collard Greens
If you have an abundance of collard greens or want to extend their shelf life beyond a few days, freezing is a fantastic option. Follow these steps to freeze your collard greens:
- Blanch the collard greens: Bring a large pot of water to a boil and prepare a bowl of ice water. Submerge the collard greens in the boiling water for about 2-3 minutes, then quickly transfer them to the ice water to cool and stop the cooking process.
- Drain and squeeze out excess moisture: Once the collard greens have cooled, remove them from the ice water and drain them thoroughly. Squeeze out any excess moisture from the leaves to prevent them from becoming icy or waterlogged.
- Divide into portions: Decide on the portion sizes that you prefer for future use. You can separate the collard greens into smaller portions to make it easier to thaw and use only what you need at a time.
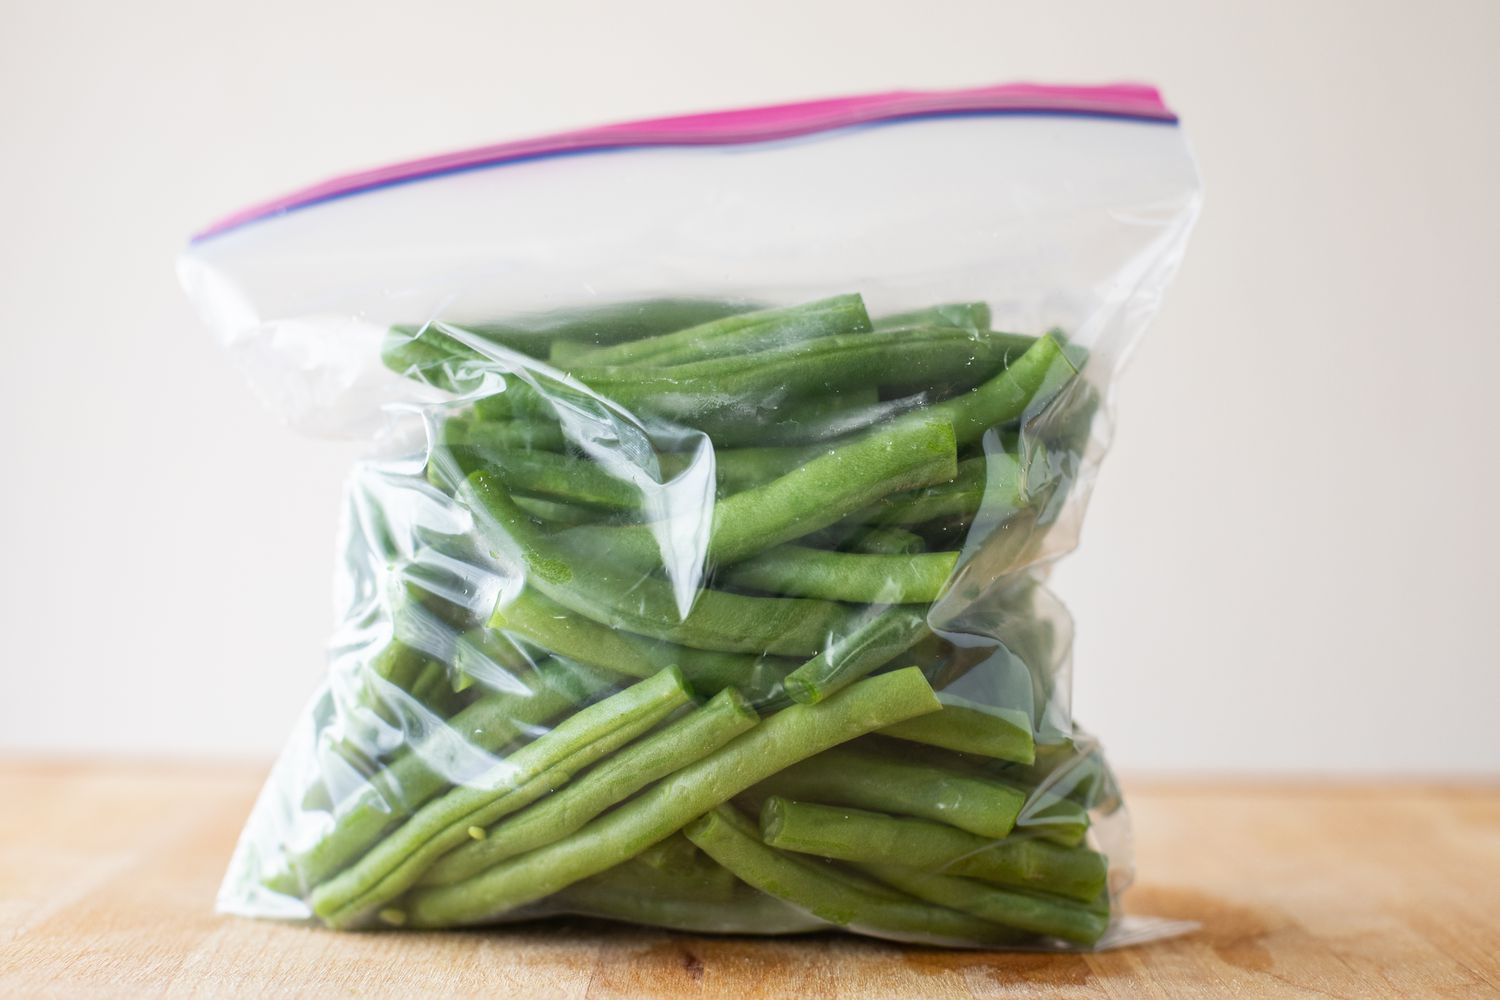
- Wrap in freezer-safe bags or containers: Place the portions of collard greens in freezer-safe plastic bags or airtight containers. Make sure to remove as much air as possible from the packaging to minimize freezer burn.
- Label and date: Don’t forget to label each bag or container with the contents and the date of freezing. This will help you keep track of their freshness and make it easier to locate them in the freezer.
- Freeze: Place the wrapped collard greens in the freezer and ensure they are stored in a flat position to save space and prevent them from getting crushed. Allow them to freeze for at least 12 hours or until completely solid.
- Use within 8-12 months: Frozen collard greens can retain their quality for up to 8-12 months. However, it’s best to use them within the first few months for the best flavor and texture.
When you’re ready to use your frozen collard greens, simply thaw them in the refrigerator overnight or use the defrost function on your microwave. They can be added to soups, stews, stir-fries, or any other recipe that calls for cooked collard greens.
Now that you know how to freeze collard greens, let’s explore the next step: canning, which is another great preservation method.
Read more: How To Store Collard Greens In Freezer
Step 5: Canning Collard Greens
Canning is a traditional method of preserving collard greens that allows you to enjoy their freshness and flavor even during the off-season. Follow these steps to can your collard greens:
- Prepare the collard greens: Clean and trim the collard greens, removing any tough stems or damaged leaves.
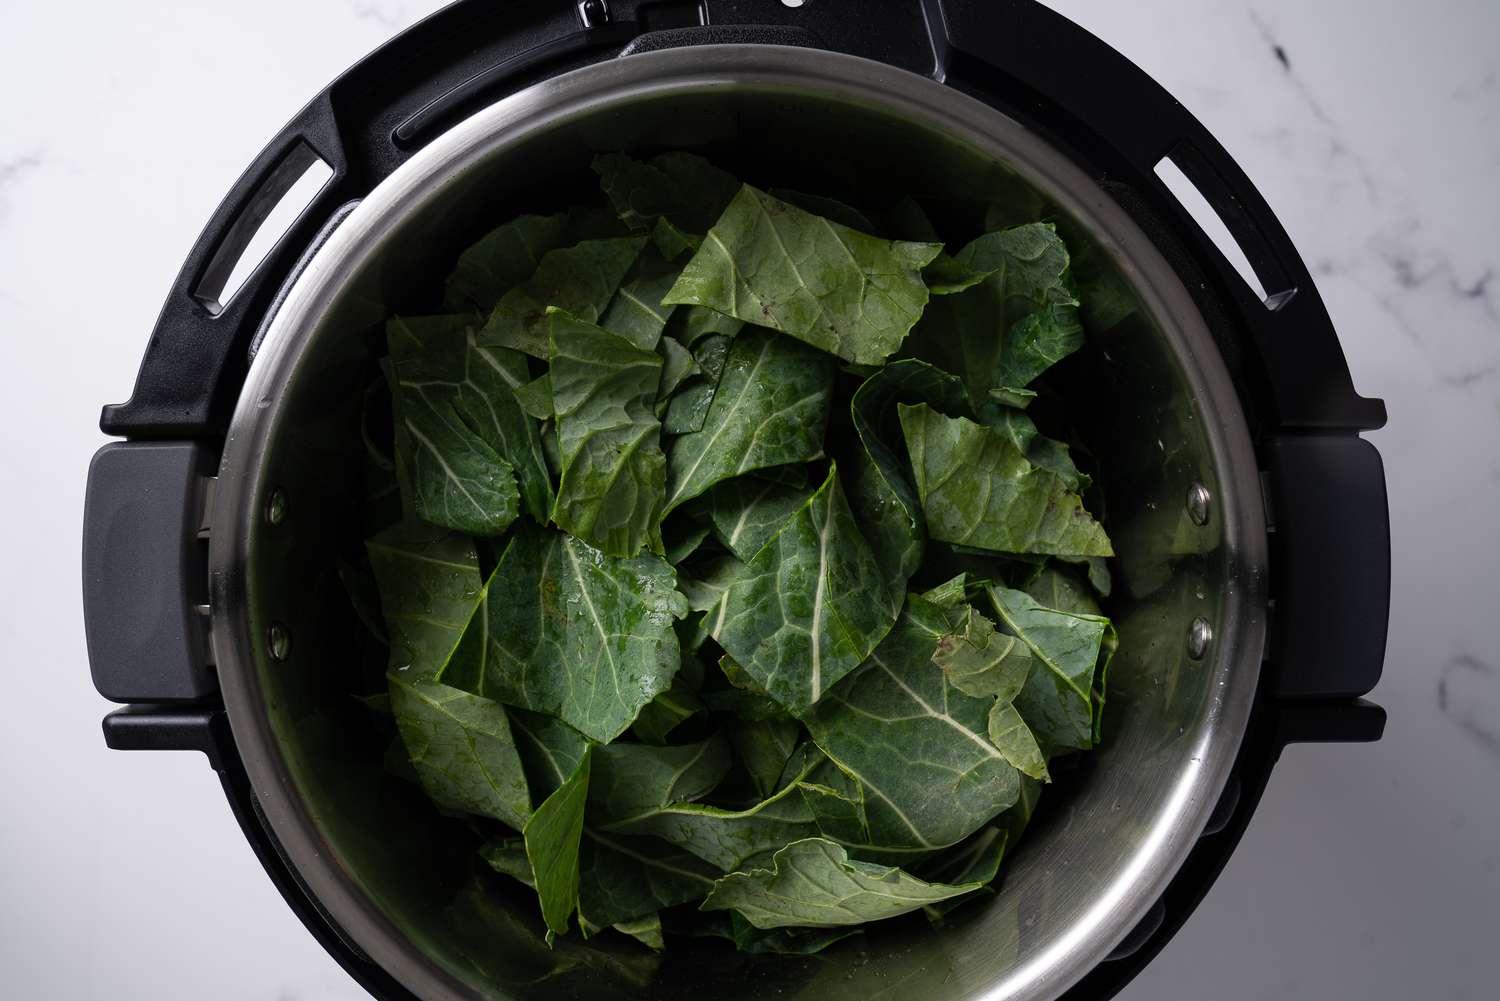
- Blanch the collard greens: Bring a large pot of water to a boil and blanch the collard greens for 2-3 minutes. This helps preserve their color and texture.
- Prepare the canning jars: Wash the canning jars and lids with warm soapy water. Sterilize them by submerging in boiling water for a few minutes or using a sterilizer.
- Fill the jars: Pack the blanched collard greens into the canning jars, leaving about an inch of headspace at the top.
- Add seasonings: To enhance the flavor, you can add seasonings like salt, pepper, garlic, or spices to each jar. Adjust the seasonings according to your taste.
- Fill with liquid: Cover the collard greens with boiling water or vegetable broth, leaving the same inch of headspace at the top.
- Remove air bubbles and seal: Use a butter knife or a spatula to remove any air bubbles from the jar. Wipe the rims of the jars clean, place the lids on top, and screw on the bands to seal the jars.
- Process in a canner: Place the sealed jars in a canner or a large pot filled with water. Ensure that the water covers the jars by at least 1-2 inches. Process the jars according to the recommended processing time based on your elevation and jar size.
- Cool and check the seal: Once processed, carefully remove the jars from the canner and let them cool on a towel or cooling rack. After cooling, check the jars for a proper seal. If a jar did not seal properly, refrigerate and consume within a few days.
- Store and enjoy: Label the canned collard greens with the date and store them in a cool, dark place. They can be enjoyed for up to 1 year.
When you’re ready to use the canned collard greens, simply open a jar, drain the liquid, and use them in your favorite recipes like soups, casseroles, or sautés.
Canning is a great way to preserve collard greens and ensure that you have a supply of fresh, nutritious greens throughout the year. Next, let’s move on to the final step: using preserved collard greens.
Step 6: Using Preserved Collard Greens
Now that you have successfully stored your collard greens through refrigeration, freezing, or canning, it’s time to explore various ways to use these preserved greens in your cooking. Here are some ideas to get you started:
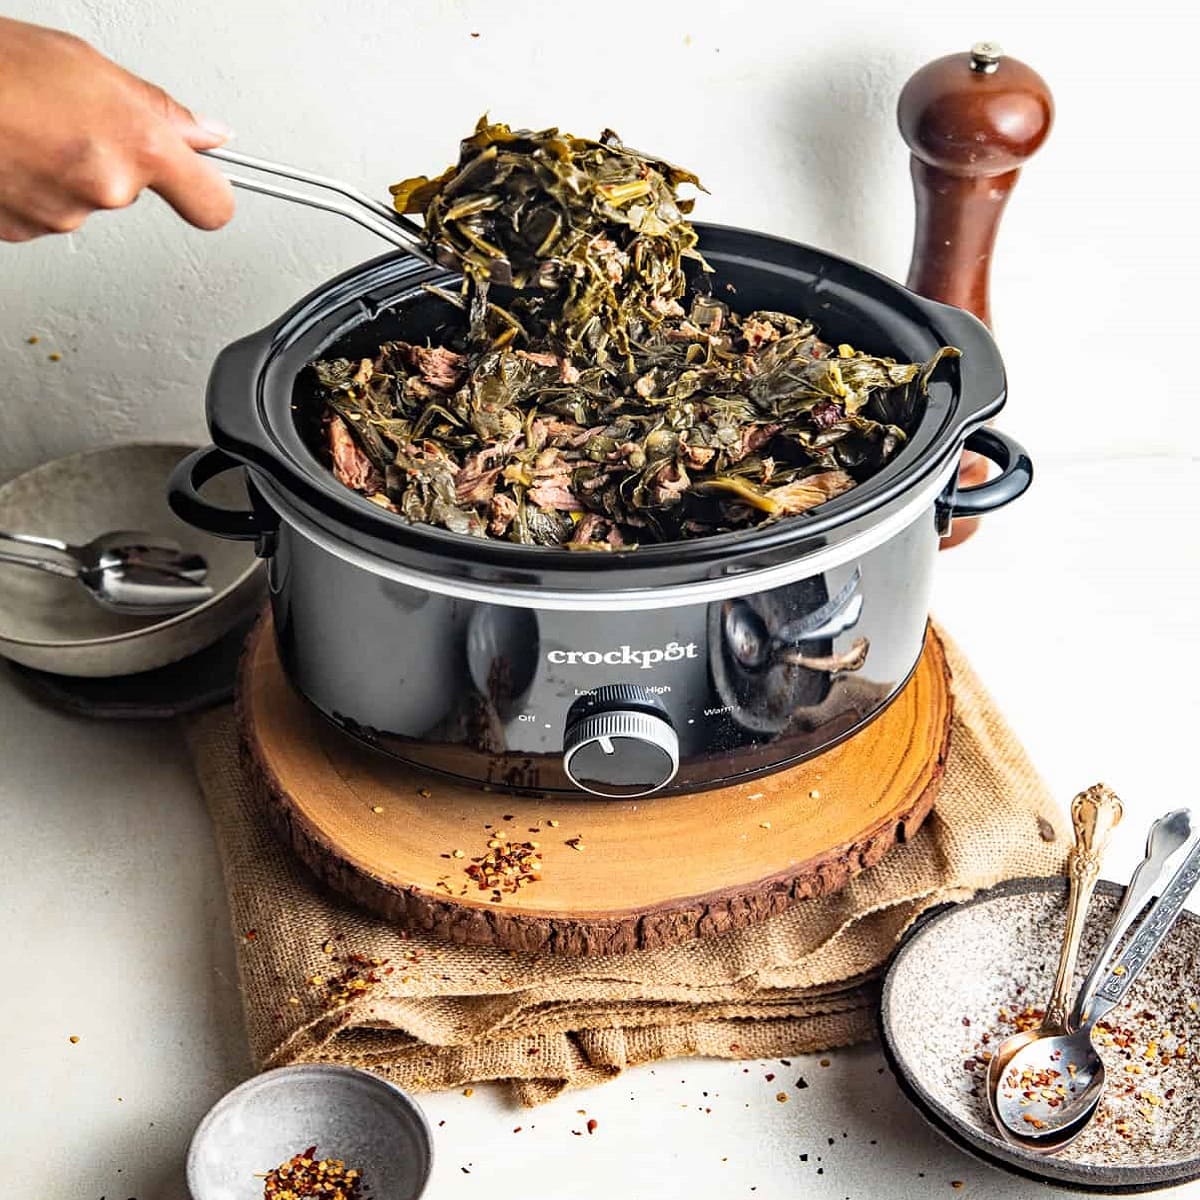
- Incorporate into soups and stews: Add thawed or canned collard greens to hearty soups and stews for an extra dose of flavor and nutrition. They pair well with beans, potatoes, and other vegetables.
- Create delicious side dishes: Sauté thawed collard greens with garlic and olive oil for a simple and nutritious side dish. You can also mix them with other cooked vegetables like onions, bell peppers, or mushrooms.
- Add to pasta and grain dishes: Toss thawed collard greens with cooked pasta, quinoa, or rice for a wholesome and vibrant dish. Top it with some grated Parmesan cheese or a sprinkle of red pepper flakes for an extra kick.
- Include in stir-fries: Add thawed or canned collard greens to stir-fries for a burst of green goodness. They pair well with various proteins like chicken, tofu, or shrimp.
- Create flavorful dips and spreads: Blend thawed collard greens with Greek yogurt, garlic, and lemon juice to create a healthy and vibrant dip. Serve it with pita chips or fresh vegetables.
- Bake in savory pies and quiches: Mix thawed collard greens with eggs, cheese, and other vegetables to create delicious and filling pies or quiches. This is a great way to use them as a main course or brunch dish.
- Add to omelets and frittatas: Incorporate thawed collard greens into your favorite egg-based dishes for a nutritious and satisfying breakfast or brunch option.
- Use in wraps and sandwiches: Layer thawed collard greens in wraps and sandwiches for added freshness and crunch. They work well with various fillings like roasted vegetables, grilled chicken, or tuna salad.
These are just a few ideas to inspire you, but feel free to get creative and explore different recipes and cuisines with your preserved collard greens. Remember to adjust cooking times and seasoning levels accordingly, as the preservation process may affect the flavor and texture of the greens.
By mastering the art of preserving collard greens and utilizing them in your cooking, you not only extend the shelf life of these nutritious greens but also add versatility to your meals throughout the year.
Wrap up this article by highlighting the importance of proper storage and the various methods available for preserving collard greens. Emphasize the countless possibilities for incorporating these preserved greens into your favorite dishes, ensuring you never waste a single leaf.
Conclusion
Congratulations! You have now learned the art of storing fresh collard greens. By following the steps outlined in this article, you can ensure that your collard greens remain fresh and delicious for extended periods. From harvesting to cleaning, and from refrigerating to freezing or canning, each step plays a crucial role in preserving the quality of these nutritious greens.
Remember, harvesting collard greens at the right time, cleaning them thoroughly, and storing them properly are key to maintaining their freshness and flavor. Whether you choose to store them in the refrigerator, freeze them for long-term storage, or can them for year-round use, each method has its benefits and allows you to enjoy collard greens whenever you desire.
With your preserved collard greens, you now have a wide range of culinary options. Incorporate them into soups, stews, pasta dishes, side dishes, dips, and more. Let your creativity shine as you experiment with different recipes and explore the versatility of collard greens in your cooking.
Remember to monitor the freshness of your collard greens stored in the refrigerator, use your frozen collard greens within the recommended timeframe, and ensure your canned collard greens are properly sealed and stored in a cool, dark place. By doing so, you can unlock the amazing flavors and nutritional benefits of collard greens all year round.
So, whether you’re growing collard greens in your garden or picking them up from the local market, you can now confidently store and preserve them to enjoy their goodness whenever you please. Start making the most of your collard greens today and elevate your meals with these nutritious and versatile greens!
Frequently Asked Questions about How To Store Fresh Collard Greens
Was this page helpful?
At Storables.com, we guarantee accurate and reliable information. Our content, validated by Expert Board Contributors, is crafted following stringent Editorial Policies. We're committed to providing you with well-researched, expert-backed insights for all your informational needs.

0 thoughts on “How To Store Fresh Collard Greens”