Home>Home Appliances>Kitchen Appliances>How To Dry Fresh Dill Without A Dehydrator
Kitchen Appliances
How To Dry Fresh Dill Without A Dehydrator
Modified: August 25, 2024
Learn how to dry fresh dill without a dehydrator using simple kitchen appliances. Preserve the flavor and aroma of dill for your culinary creations.
(Many of the links in this article redirect to a specific reviewed product. Your purchase of these products through affiliate links helps to generate commission for Storables.com, at no extra cost. Learn more)
Introduction
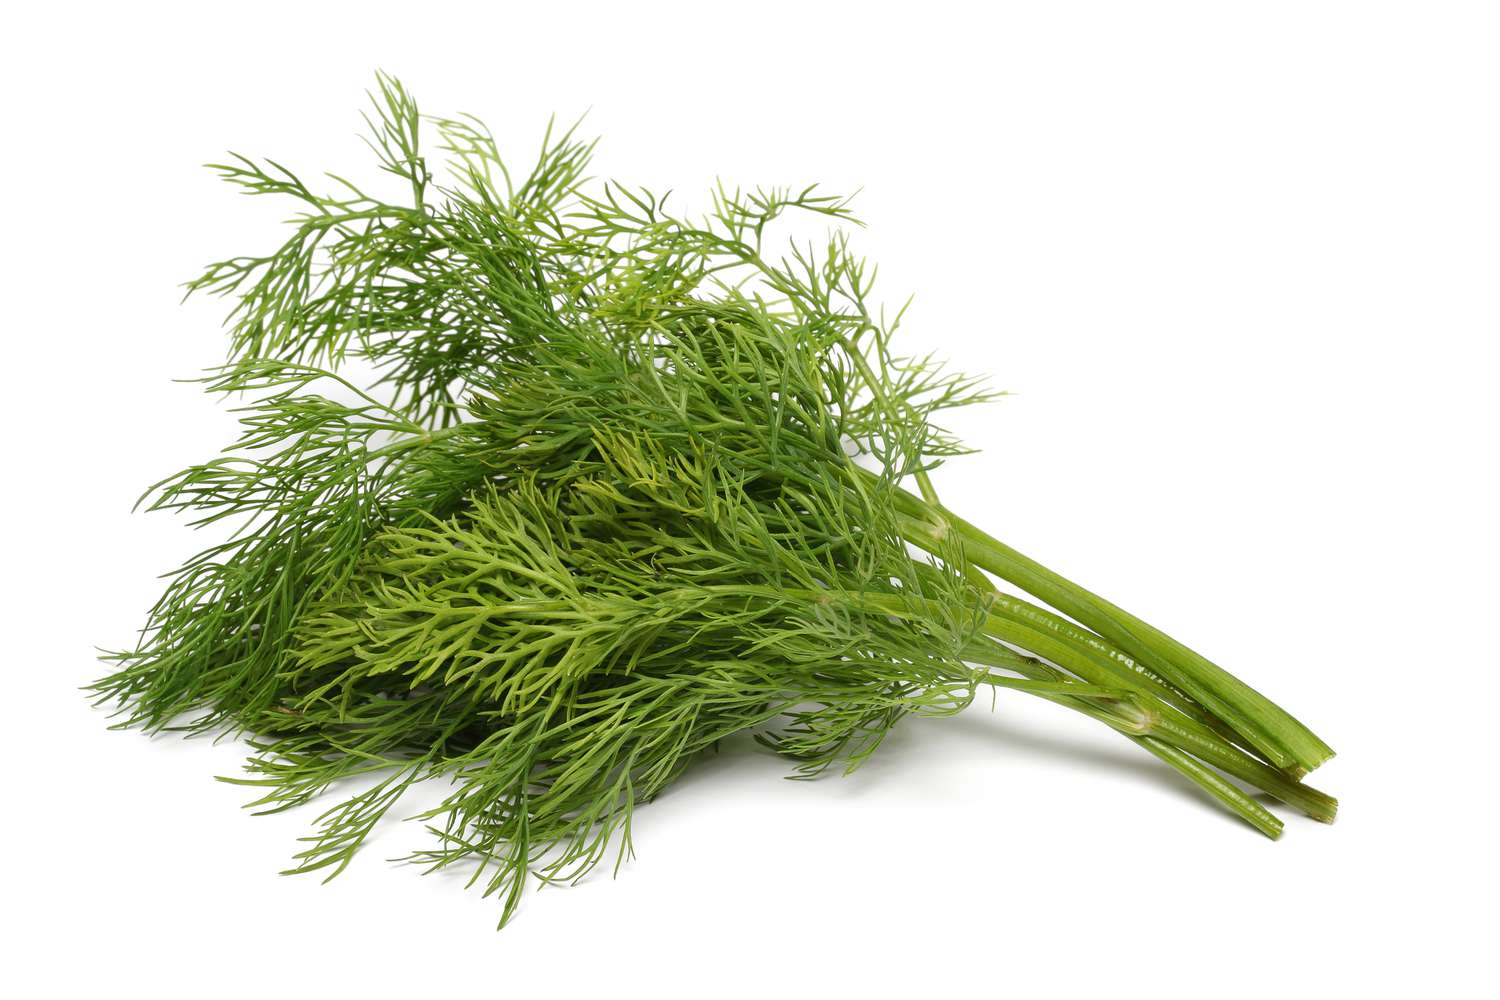
Fresh dill is a delightful herb that adds a burst of flavor to a wide range of dishes, from salads and soups to seafood and pickles. However, when you have an abundance of fresh dill on hand, you may find yourself wondering how to preserve it for future use. While a dehydrator is a popular tool for drying herbs, not everyone has one readily available. Fortunately, there are alternative methods for drying fresh dill without a dehydrator, allowing you to enjoy its vibrant flavor year-round.
In this article, we will explore three simple and effective methods for drying fresh dill at home without the need for a dehydrator. Whether you prefer air drying, oven drying, or microwave drying, each method offers its own unique advantages and can be easily tailored to suit your specific needs. Additionally, we will discuss the best practices for storing dried dill to maintain its flavor and aroma. By following these methods, you can extend the shelf life of your fresh dill and continue to elevate your culinary creations with its distinctive taste and fragrance.
Key Takeaways:
- Preserve fresh dill without a dehydrator using air drying, oven drying, or microwave drying. Store dried dill in airtight containers away from light and moisture to maintain its flavor and aroma.
- Enjoy the vibrant flavor of fresh dill year-round by air drying, oven drying, or microwave drying. Store dried dill in a cool, dark place and minimize exposure to air and moisture for long-lasting quality.
Read more: How To Dry Morels Without A Dehydrator
Method 1: Air Drying
Air drying is a traditional and effective method for preserving fresh dill without the need for specialized equipment. This approach allows the dill to slowly release its moisture while retaining its essential oils and flavors. To air dry fresh dill, follow these simple steps:
- Harvesting: Begin by harvesting the fresh dill from your garden or selecting high-quality dill from the market. Choose dill that is vibrant green in color and free from blemishes.
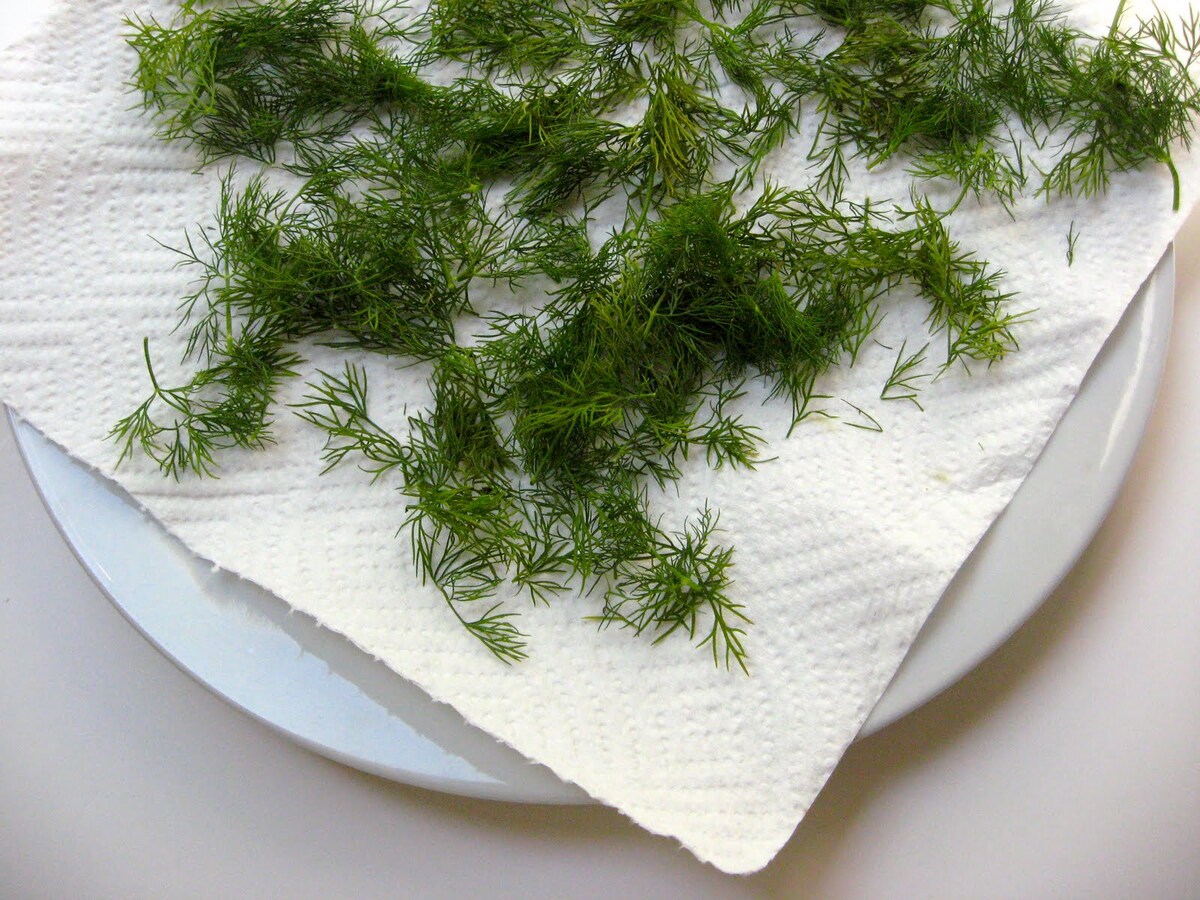
- Preparation: Thoroughly rinse the dill under cold water to remove any dirt or debris. Gently pat it dry with paper towels or a clean kitchen cloth.
- Bundling: Gather small bunches of dill stems, approximately 4-6 stems per bundle. Secure the stems together with a piece of twine or a rubber band, leaving a loop at the end for hanging.
- Hanging: Find a well-ventilated area with low humidity to hang the dill bundles. Ideally, choose a warm, dry location away from direct sunlight to prevent the dill from losing its vibrant green color.
- Drying Time: Allow the dill to air dry for approximately 1-2 weeks. Check the dill periodically to ensure that it is drying evenly and does not show any signs of mold or moisture buildup.
- Testing for Dryness: Once the dill feels dry to the touch and the stems are brittle, it is ready to be removed from the drying area.
- Storage: Carefully remove the dried dill leaves from the stems, discarding any tough or discolored portions. Store the dried dill in an airtight container, away from direct sunlight and heat, to preserve its flavor and aroma.
Air drying is a simple and time-honored method that allows you to savor the essence of fresh dill throughout the year. By following these steps, you can successfully air dry dill without a dehydrator, ensuring that you always have this versatile herb at your fingertips for culinary adventures.
Method 2: Oven Drying
Oven drying is a convenient and efficient method for quickly drying fresh dill without a dehydrator. This approach harnesses the gentle heat of the oven to remove moisture from the dill while preserving its vibrant color and essential oils. To oven dry fresh dill, follow these straightforward steps:
- Preparation: Begin by preheating your oven to the lowest temperature setting, typically around 140-150°F (60-65°C). Line a baking sheet with parchment paper or a silicone baking mat to prevent the dill from sticking.
- Harvesting and Cleaning: Harvest fresh dill from your garden or select high-quality dill from the market. Thoroughly rinse the dill under cold water to remove any dirt or impurities. Gently pat it dry with paper towels or a clean kitchen cloth.
- Arranging the Dill: Spread the dill sprigs evenly on the prepared baking sheet, ensuring that they are in a single layer and not overcrowded. This allows for proper air circulation and even drying.
- Oven Drying: Place the baking sheet in the preheated oven and allow the dill to dry for approximately 1-2 hours. Keep a close eye on the dill to prevent it from becoming overly dry or losing its color. The goal is to remove the moisture while retaining the herb’s natural green hue and aromatic oils.
- Testing for Dryness: After the initial drying period, carefully check the dill for dryness. The leaves should feel crisp and crumble easily when touched, indicating that they are thoroughly dried.
- Cooling and Storage: Once the dill is dried to perfection, remove the baking sheet from the oven and allow the dill to cool completely. Once cooled, gently remove the dried dill leaves from the stems and store them in an airtight container away from direct sunlight and heat.
Oven drying offers a convenient and rapid method for preserving the essence of fresh dill, allowing you to enjoy its distinctive flavor in your culinary creations year-round. By following these steps, you can successfully oven dry dill without a dehydrator, ensuring that this versatile herb remains a staple in your kitchen arsenal.
Spread fresh dill in a single layer on a baking sheet and place it in a warm, well-ventilated area. Turn the dill occasionally until it is completely dry, which usually takes 1-2 weeks.
Method 3: Microwave Drying
Microwave drying is a quick and efficient method for preserving fresh dill without a dehydrator, making it an ideal option for those seeking a rapid drying process. By harnessing the power of microwave energy, you can effectively remove moisture from the dill while retaining its vibrant color and aromatic oils. To microwave dry fresh dill, follow these simple steps:
- Harvesting and Cleaning: Begin by harvesting fresh dill from your garden or selecting high-quality dill from the market. Thoroughly rinse the dill under cold water to remove any dirt or impurities. Gently pat it dry with paper towels or a clean kitchen cloth.
- Preparation: Place a paper towel on a microwave-safe plate, arranging the dill sprigs in a single layer on top of the paper towel. This helps to absorb excess moisture during the drying process.
- Microwaving: Place the plate of dill in the microwave and set the power to the lowest setting. Microwave the dill in short intervals, such as 30 seconds to 1 minute, checking for dryness between each interval.
- Testing for Dryness: After each interval, carefully check the dill for dryness. The leaves should feel crisp and crumble easily when touched, indicating that they are thoroughly dried. Be cautious not to overheat the dill, as this can cause it to lose its vibrant color and flavor.
- Cooling and Storage: Once the dill is dried to perfection, remove the plate from the microwave and allow the dill to cool completely. Once cooled, gently remove the dried dill leaves from the stems and store them in an airtight container away from direct sunlight and heat.
Microwave drying provides a rapid and convenient method for preserving the essence of fresh dill, allowing you to enjoy its distinctive flavor in your culinary endeavors year-round. By following these steps, you can successfully microwave dry dill without a dehydrator, ensuring that this versatile herb remains a cherished ingredient in your kitchen repertoire.
Storing Dried Dill
Once you have successfully dried fresh dill using your preferred method, proper storage is essential to maintain its flavor, aroma, and quality over an extended period. By following these best practices for storing dried dill, you can ensure that it remains a valuable ingredient in your culinary creations:
- Airtight Containers: Transfer the dried dill leaves to a clean, airtight container, such as a glass jar or airtight plastic container with a secure lid. Airtight containers protect the dried dill from moisture, light, and air, helping to preserve its flavor and aroma.
- Storage Location: Store the airtight container of dried dill in a cool, dry, and dark place, such as a pantry or cupboard. Avoid exposure to direct sunlight, heat, or humidity, as these factors can compromise the quality of the dried herb.
- Labeling and Dating: Clearly label the container with the date of drying to track its freshness. Additionally, consider labeling the container with the type of herb and the drying method used for easy identification.
- Protection from Moisture: To further safeguard the dried dill from moisture, consider adding a small packet of food-safe desiccant or a clean, dry piece of paper towel to the container. This helps absorb any residual moisture and maintains the dill’s crispness.
- Minimal Exposure: Minimize the frequency of opening the container to prevent unnecessary exposure to air and moisture. When using the dried dill, remove only the amount needed and promptly reseal the container.
- Quality Check: Periodically check the dried dill for any signs of discoloration, off-odors, or moisture buildup. If any of these indicators are present, it may be time to refresh the supply or consider discarding the herb.
By adhering to these storage guidelines, you can prolong the shelf life of your dried dill and ensure that it retains its potency and aromatic qualities. Whether you dried the dill through air drying, oven drying, or microwave drying, proper storage is key to preserving its flavor and enhancing your culinary endeavors with the essence of this versatile herb.
Read more: How To Store Fresh Dill
Conclusion
Drying fresh dill without a dehydrator opens up a world of possibilities for preserving this versatile herb and incorporating its distinctive flavor into a wide array of dishes. Whether you opt for air drying, oven drying, or microwave drying, each method offers a simple and effective way to extend the shelf life of fresh dill while maintaining its vibrant color, aroma, and flavor.
By harnessing the traditional method of air drying, you can savor the slow release of moisture from the dill, resulting in a well-preserved herb that can be enjoyed throughout the year. Alternatively, oven drying provides a convenient and efficient approach, allowing you to quickly dry dill with the gentle heat of your oven. For those seeking a rapid drying process, microwave drying offers a swift solution to preserve the essence of fresh dill without compromising its quality.
Regardless of the chosen method, proper storage is paramount to safeguard the dried dill from environmental factors that can diminish its quality. By storing the dried dill in airtight containers, protecting it from moisture and light, and monitoring its condition, you can ensure that it remains a valuable ingredient in your culinary repertoire.
Whether you are a seasoned home cook or a culinary enthusiast, the ability to dry fresh dill without a dehydrator empowers you to elevate your dishes with the delightful essence of this herb year-round. From enhancing salads and sauces to flavoring seafood and pickles, dried dill adds a touch of brightness and depth to a myriad of recipes.
Embrace the art of drying fresh dill and discover the joy of preserving its flavor and aroma for your culinary adventures. With these methods and storage practices at your disposal, you can relish the essence of dill in your dishes and share its delightful impact with family and friends, bringing a touch of freshness and vibrancy to every meal.
Frequently Asked Questions about How To Dry Fresh Dill Without A Dehydrator
Was this page helpful?
At Storables.com, we guarantee accurate and reliable information. Our content, validated by Expert Board Contributors, is crafted following stringent Editorial Policies. We're committed to providing you with well-researched, expert-backed insights for all your informational needs.

0 thoughts on “How To Dry Fresh Dill Without A Dehydrator”