Articles
How To Store Fresh Made Bread
Modified: February 29, 2024
Learn the best ways to store fresh made bread and keep it fresh for longer. Read our informative articles for helpful tips and techniques.
(Many of the links in this article redirect to a specific reviewed product. Your purchase of these products through affiliate links helps to generate commission for Storables.com, at no extra cost. Learn more)
Introduction
Freshly made bread is a delightful treat that fills your kitchen with an irresistible aroma. But once the bread has cooled, you may find yourself wondering how to store it properly to maintain its freshness and taste. Proper storage is essential to prevent your bread from becoming stale or moldy.
In this article, we will explore various methods for storing fresh bread, from cooling techniques to different storage options. We will also share tips on maintaining freshness to ensure you can enjoy your homemade bread for as long as possible.
So, let’s dive in and discover the best ways to store your fresh-made bread!
Key Takeaways:
- Properly wrapping and storing freshly made bread is essential for maintaining its taste and texture. Choose the right storage method, cool the bread properly, and wrap it tightly to enjoy your homemade loaves for an extended period.
- Whether you opt for room temperature storage, refrigeration, or freezing, each method has its advantages. Thaw frozen bread properly, consider optimal storage conditions, and minimize excessive handling to savor the delightful flavors and textures of your homemade loaves.
Read more: How To Store Freshly Made Bread
Choosing the Right Storage Method
When it comes to storing fresh bread, choosing the right method is crucial in preserving its quality and taste. The storage method may vary depending on the type of bread and your personal preferences. Here are some options to consider:
- Room Temperature: If you plan on consuming the bread within a day or two, storing it at room temperature is a viable option. This method works best for bread with crusty exteriors, like baguettes or artisan loaves. Simply place the bread in a bread box or a paper bag to protect it from direct airflow.
- Refrigerator: Refrigeration slows down the staling process, but it may also dry out the bread. If you intend to consume the bread over a longer period, storing it in the refrigerator can help extend its shelf life. However, keep in mind that the texture and taste may be slightly compromised.
- Freezer: Freezing is an excellent option for long-term storage. It effectively pauses the staling process and preserves the bread’s freshness. This method is particularly useful when you have a surplus of bread or want to prepare ahead of time. The bread should be properly wrapped to prevent freezer burn.
Consider the time frame in which you plan to consume the bread and choose the storage method that best suits your needs.
Next, we will explore how to properly cool your bread before storing it.
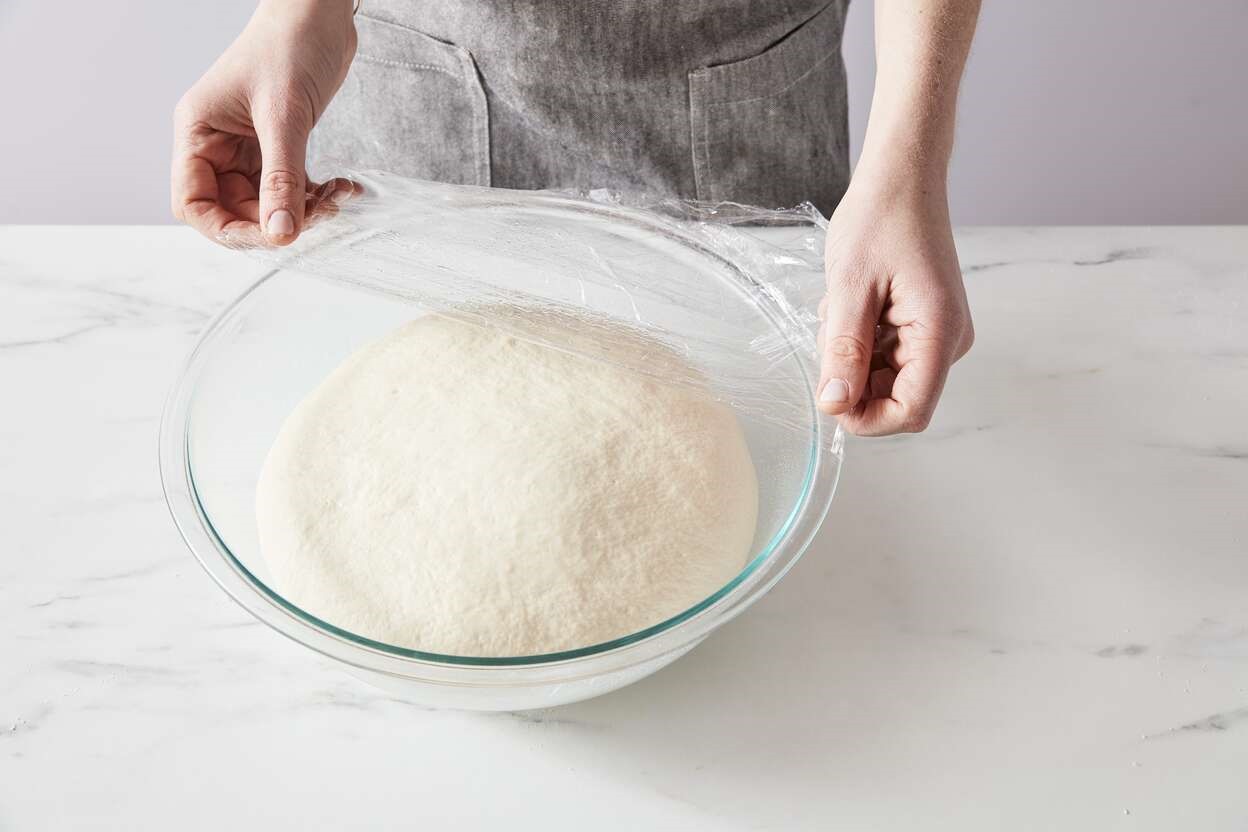
Cooling the Bread
Before you store your freshly baked bread, it’s essential to allow it to cool properly. Cooling the bread helps to set the structure and reduces the risk of moisture buildup that can lead to sogginess or mold. Here are some tips for cooling your bread:
- Remove from the oven: Once your bread is baked to a golden brown color and sounds hollow when tapped on the bottom, carefully remove it from the oven using oven mitts or heat-resistant gloves.
- Place on a cooling rack: Transfer the bread to a cooling rack, ensuring there is enough space for air circulation around the loaf. This allows for even cooling and prevents moisture accumulation.
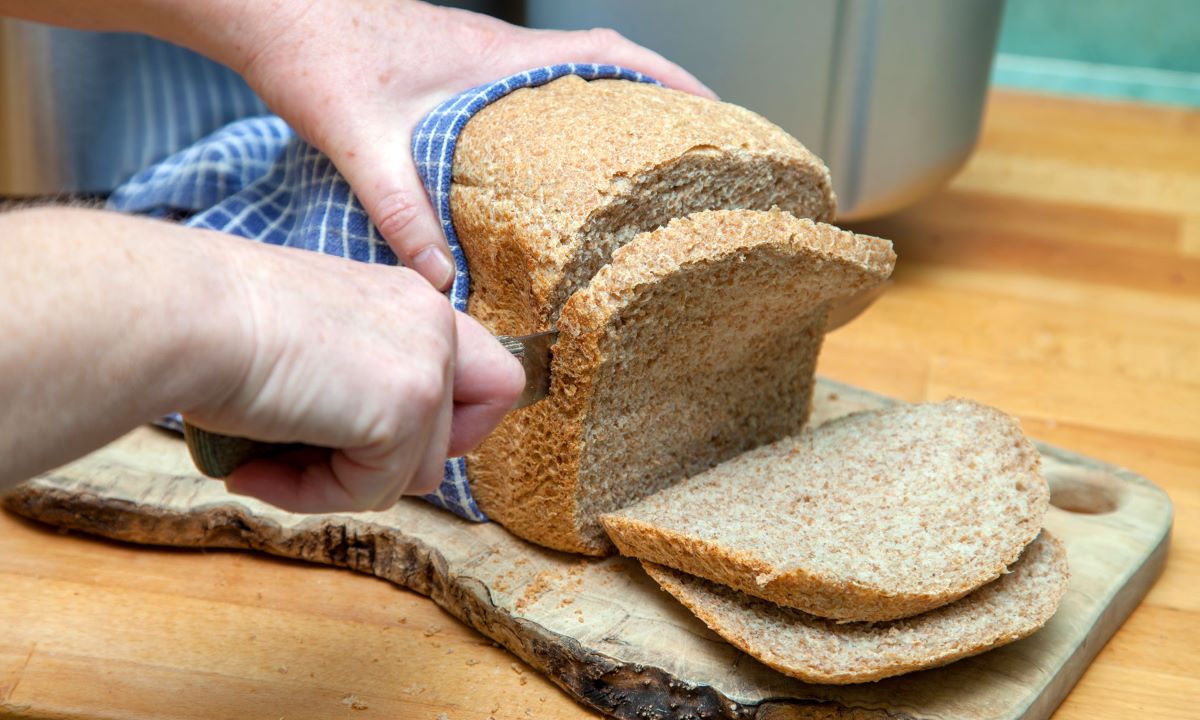
- Do not slice immediately: Avoid slicing into the bread while it’s still warm. Cutting into warm bread can cause the internal steam to escape, resulting in a dry interior. Allow the bread to cool completely before slicing.
It’s worth noting that some bread, particularly those with denser textures like artisan loaves or sourdough, may benefit from being left to cool overnight before being stored. This extra resting time can enhance the flavor and texture of the bread.
Now that you know how to cool your bread properly, let’s move on to the next step – wrapping it for storage.
Wrapping the Bread
Properly wrapping your bread is essential for maintaining its freshness and protecting it from drying out or absorbing unwanted odors. Here are some effective methods for wrapping your bread:
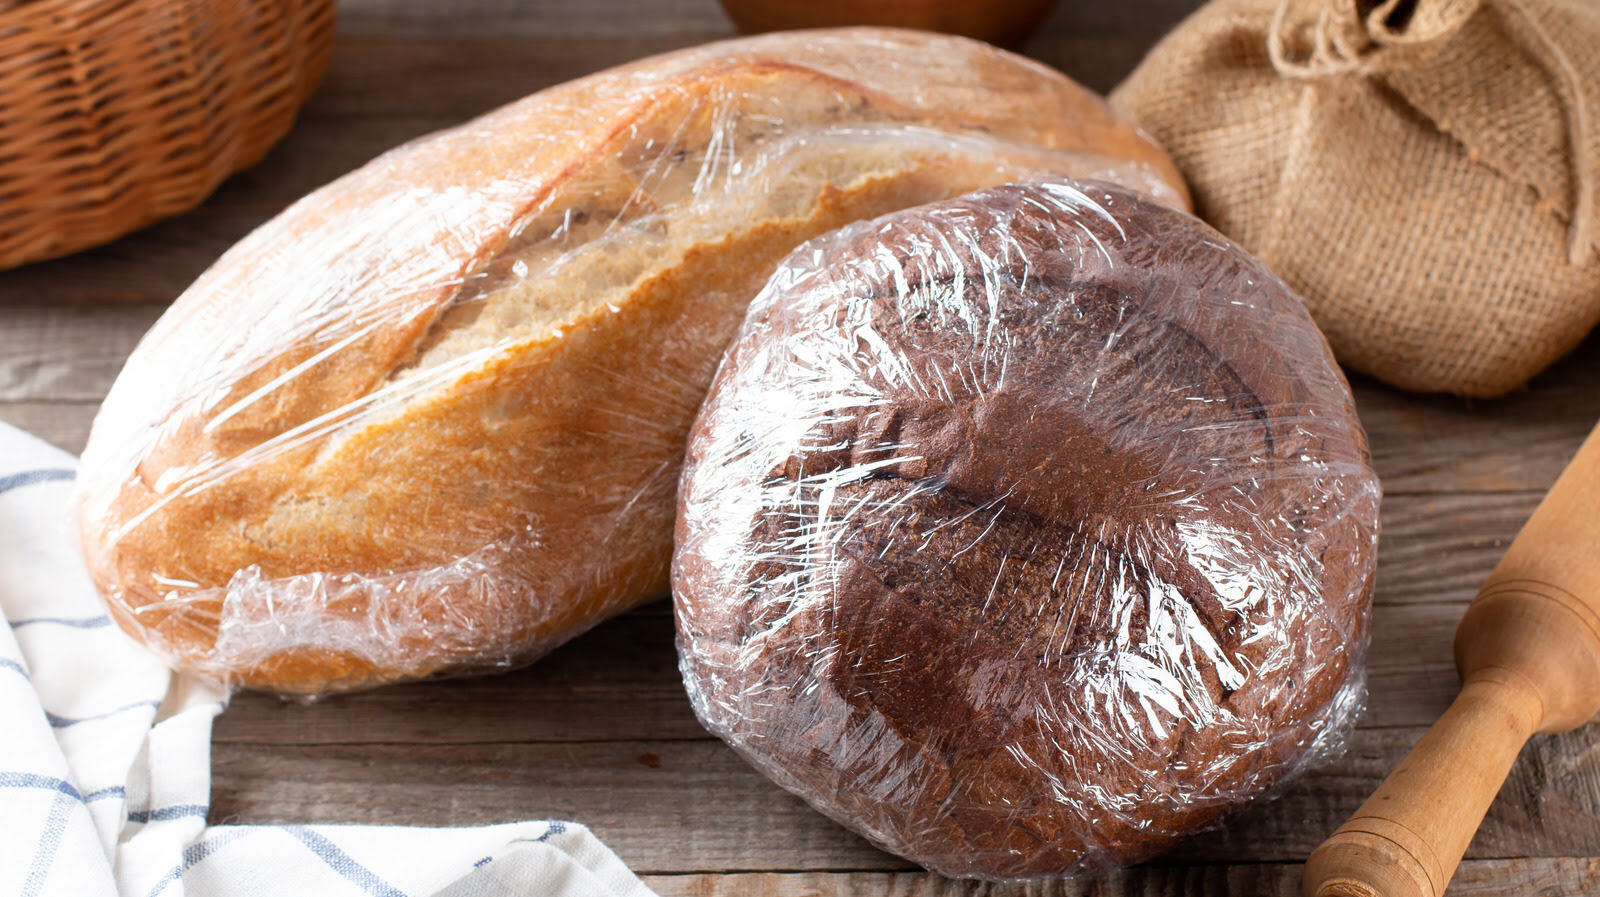
- Plastic Wrap: Wrap the loaf tightly with plastic wrap, ensuring there are no gaps or openings. This helps to retain the moisture within the bread and prevents it from becoming stale. Plastic wrap is a convenient option for short-term storage.
- Beeswax Wraps: Eco-friendly alternatives, such as beeswax wraps, are gaining popularity for storing bread. These reusable wraps provide a breathable yet protective layer for your loaf. Simply wrap the bread, tucking in the edges, and fold or twist to secure it.
- Paper Bags: If you prefer a more traditional approach, storing your bread in a paper bag can help maintain its crustiness while preventing excess moisture buildup. Place the loaf inside the bag and fold it over to close. Avoid using plastic bags as they can promote moisture retention.
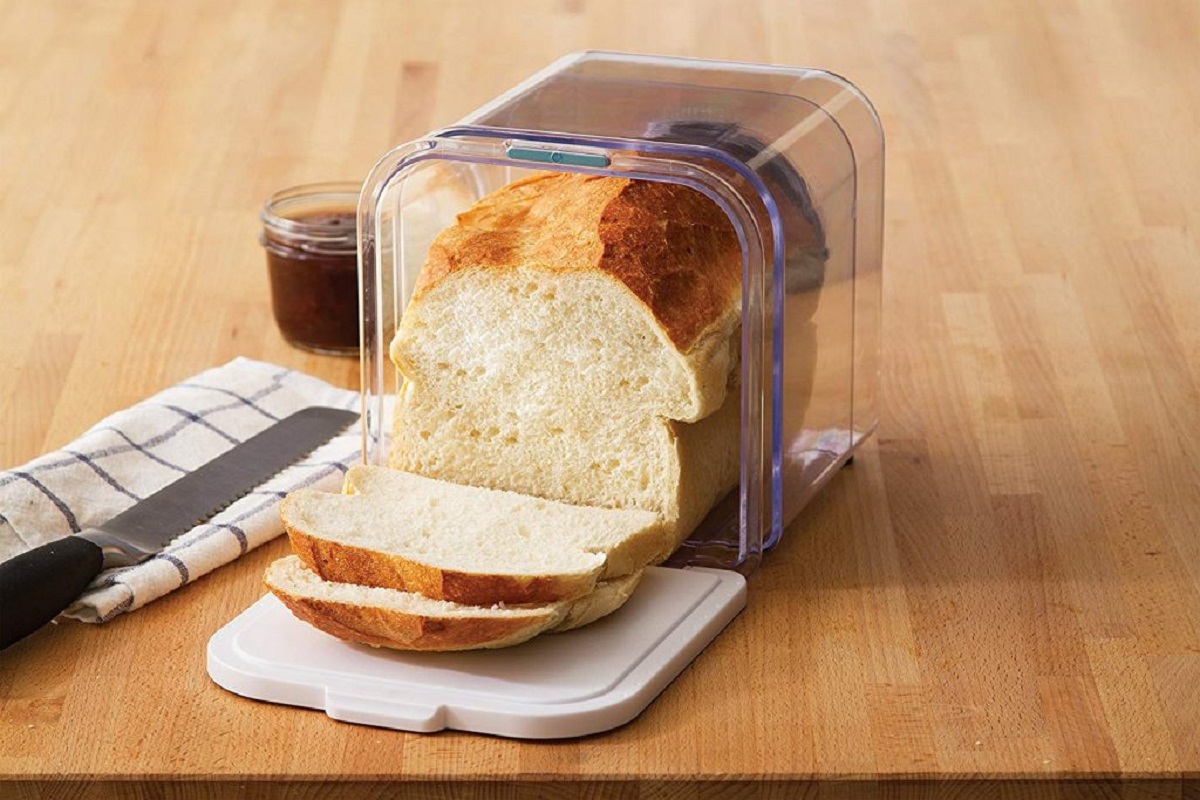
- Bread Boxes: Bread boxes are designed to provide the ideal balance of air circulation and moisture control. They are an excellent option for storing bread at room temperature. Place the bread inside the bread box and close the lid to keep it fresh.
When using any of these methods, ensure that the bread is tightly sealed to prevent air exposure and subsequent staling. Additionally, always store bread in a cool, dry place away from direct sunlight or heat sources.
Now that you know how to wrap your bread properly, let’s explore the different storage options available.
Storing Bread at Room Temperature
Storing bread at room temperature is a popular choice, especially if you plan to consume it within a day or two. Here are some tips for storing your bread at room temperature:
- Use a Bread Box: A bread box provides an enclosed space that helps regulate humidity and temperature, keeping your bread fresh and protected. Place your wrapped or unwrapped loaf inside the bread box and close the lid.
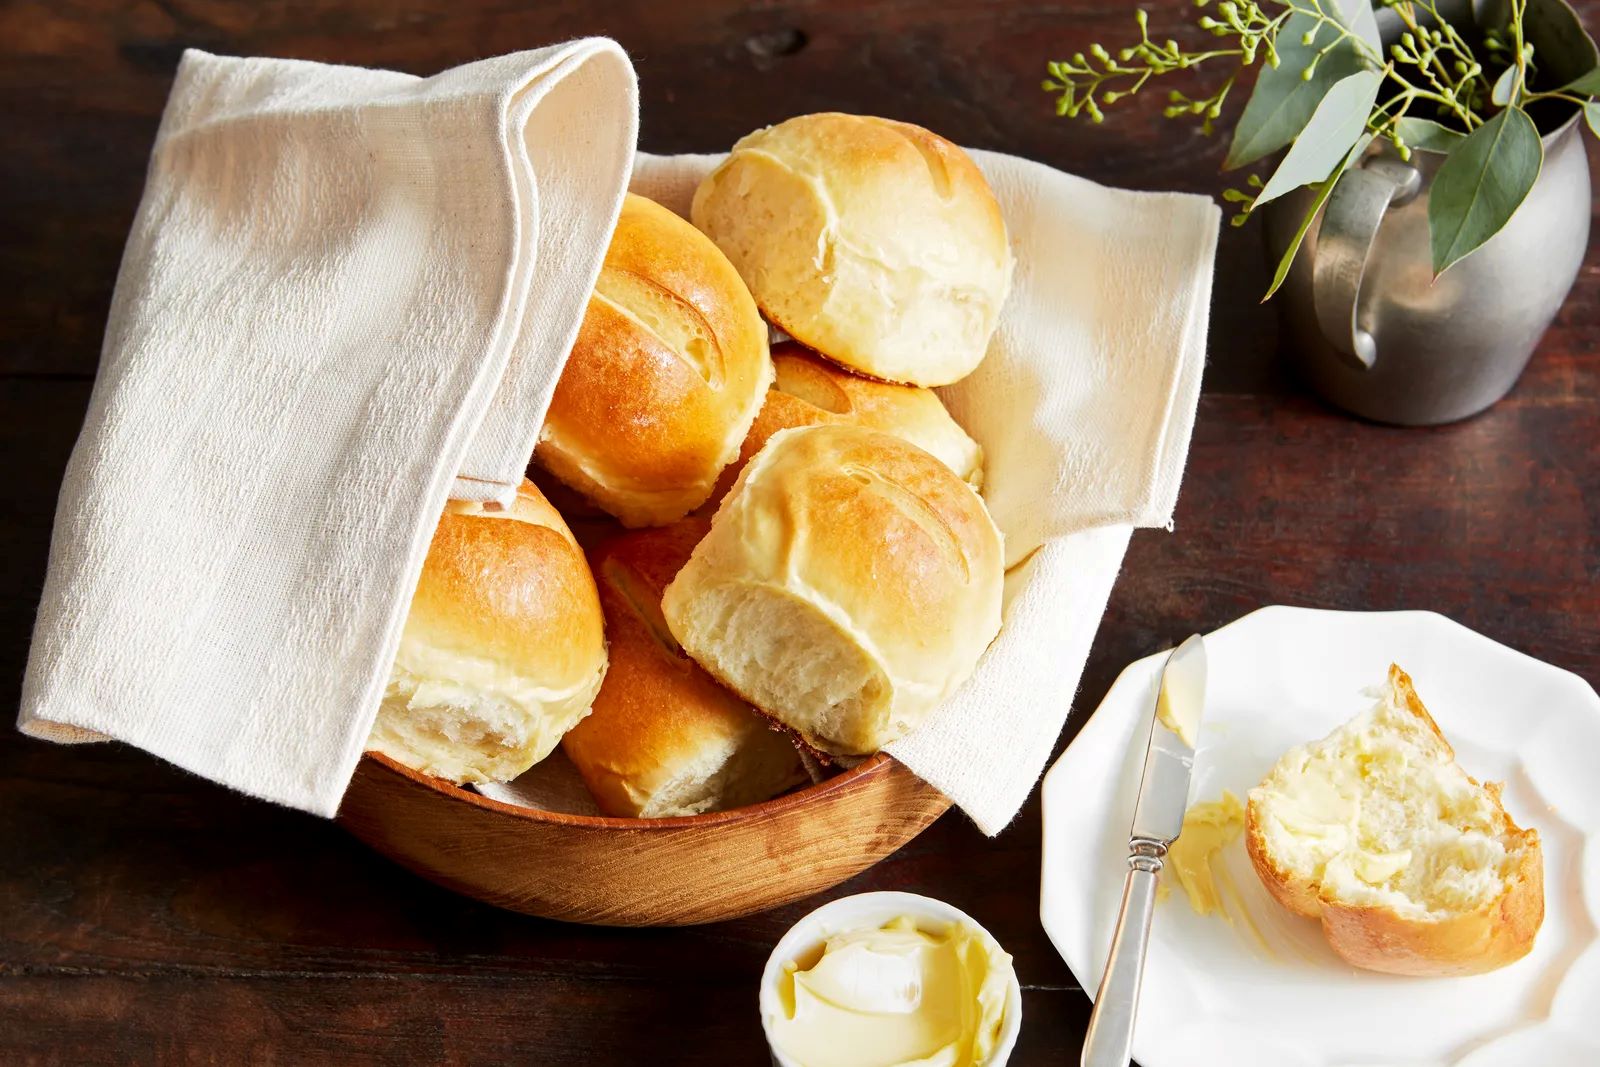
- Wrap with Paper: If you don’t have a bread box, wrapping your bread with paper can be an effective alternative. Use either parchment paper or a paper bag to cover the loaf, ensuring it is tightly sealed.
- Avoid Plastic Bags: While plastic bags may seem like a convenient option, they can create a moist environment that promotes mold growth and accelerates the staling process. It’s best to use breathable materials like paper or beeswax wraps instead.
- Keep Away from Moisture and Heat: Ensure that your bread is stored away from excessive moisture and heat sources, as these can cause the bread to spoil or become stale more quickly. Find a cool, dry spot in your kitchen to store your loaf.
When storing bread at room temperature, it’s important to note that the shelf life can vary depending on the type of bread. Softer bread, such as sandwich bread or buns, may have a shorter shelf life compared to crusty artisan loaves. Regularly inspect your bread for any signs of mold or staleness, and consume it before it loses its freshness.
Now that you know how to store bread at room temperature, let’s explore the option of refrigeration.
Store fresh made bread in a paper bag or bread box at room temperature for up to 2 days. For longer storage, wrap in plastic and freeze for up to 3 months.
Read more: How To Store Fresh Bread To Keep It Fresh
Storing Bread in the Refrigerator
Refrigeration can help prolong the shelf life of bread, but it’s important to note that it can also alter the texture and taste of the bread. Here are some guidelines for storing bread in the refrigerator:
- Wrap the Bread Properly: Before placing your bread in the refrigerator, ensure that it is tightly wrapped to retain moisture. Use plastic wrap, beeswax wraps, or airtight containers to prevent the bread from drying out.
- Consider the Bread Type: Some bread, like crusty artisan loaves, may not fare well in the refrigerator as the cool temperature can cause the crust to become rubbery. Softer bread like sliced sandwich bread or dinner rolls are better suited for refrigeration.
- Consume Within a Few Days: While refrigeration can extend the shelf life of bread, it’s still best to consume it within a few days to enjoy its optimal taste and texture. Storing bread in the refrigerator for too long can result in a loss of flavor and a denser consistency.
- Allow Time to Return to Room Temperature: If you prefer to serve refrigerated bread at room temperature, allow it to sit out for a while to regain its texture and moisture before consuming.
It’s important to note that not all types of bread are suitable for refrigeration. Bread with delicate textures or fillings may not hold up well in the cold environment. Use your judgment and consider the specific characteristics of your bread before deciding to refrigerate it.
Now that you understand the guidelines for refrigerating bread, let’s explore the option of freezing bread for long-term storage.
Freezing Bread
Freezing bread is a fantastic option for long-term storage, allowing you to enjoy your favorite homemade loaves even weeks or months later. Properly freezing bread can help retain its freshness and taste. Here’s how to freeze bread:
- Wait for the Bread to Cool: Allow your freshly baked bread to cool completely before freezing. This helps to maintain its texture and prevents excess moisture buildup.
- Wrap the Bread Well: Wrap your bread tightly in plastic wrap or aluminum foil to prevent freezer burn and air exposure. Alternatively, you can use freezer-safe bags or containers for added protection. Double wrapping can provide an extra layer of insulation.
- Label and Date: It’s important to label your frozen bread with the date of freezing. This ensures that you can keep track of its freshness and easily identify it in the freezer.
- Freeze as Whole Loaves or Slices: You can choose to freeze your bread as whole loaves or pre-slice it. Slicing the bread before freezing allows for easier portion control and convenience when thawing individual slices.
Proper packaging and labeling help maintain the quality of your frozen bread and make it easier to locate in the freezer. When done correctly, bread can be stored in the freezer for up to three months without significant loss in quality.
Now that you know how to freeze bread, let’s discuss how to properly thaw it before enjoying.
Thawing Frozen Bread
Thawing frozen bread properly is crucial to preserve its taste and texture. Here are some methods for thawing your frozen bread:
- Leave it at Room Temperature: The simplest method is to remove the frozen bread from the freezer and let it thaw naturally at room temperature. This method works well for both whole loaves and individual slices. It may take a couple of hours for smaller slices and up to several hours for larger loaves to thaw completely.
- Use the Oven: If you prefer a warm and freshly baked taste, you can revive your frozen bread in the oven. Preheat the oven to a low temperature (around 300°F/150°C), wrap the bread in aluminum foil, and place it in the oven for 10-15 minutes or until fully thawed. This method can help recapture some of the bread’s original crustiness.
- Toaster or Toaster Oven: For a quick and convenient option, you can toast your frozen bread directly from the freezer. Adjust the toaster or toaster oven settings to the desired level of doneness. Keep a close eye on the bread to avoid over-toasting.
- Microwave: While the microwave can quickly thaw frozen bread, it may result in a slightly softer texture. Wrap the bread in a damp paper towel and microwave it on low power in short increments, checking and rotating the bread frequently until it is thawed. Be cautious not to overheat and dry out the bread.
Regardless of the method you choose, make sure your bread is fully thawed before consuming. Partially thawed bread may still be cold or have a gummy texture in the center. Once thawed, consume the bread within a few days for the best quality.
Now that you know how to thaw frozen bread, let’s explore some tips for maintaining its freshness even after it has been stored.
Tips for Maintaining Freshness
Keeping your bread fresh and delicious requires attention to storage, handling, and maintenance. Here are some valuable tips to help you maintain the freshness of your bread:
- Optimal Storage: Choose the appropriate storage method based on the type of bread and the length of time you plan to store it. Use a bread box, paper bags, or proper wrapping materials to protect the bread from air exposure and moisture.
- Avoid Refrigerating Certain Breads: Not all breads fare well in the refrigerator. Crusty bread, such as baguettes or artisan loaves, may become chewy or lose their crispness. Reserve refrigeration for softer bread varieties.
- Slice as Needed: When freezing bread, consider slicing it before storing. This allows you to only thaw and consume the slices you need, reducing waste and ensuring the remaining loaf stays fresh.
- Don’t Slice Warm Bread: Slicing warm bread can cause moisture loss, resulting in a drier texture. Allow the bread to cool completely before cutting into it.
- Separate Sliced Bread with Parchment Paper: If you plan to freeze individual slices, place a small piece of parchment paper between each slice before wrapping. This prevents them from sticking together, making it easier to separate and thaw what you need.
- Reheat Day-Old Bread: If your bread has lost some of its freshness, you can revive it by reheating it. Place the bread in a preheated oven or toaster oven for a few minutes until warmed through. This can help restore its crustiness and make it more enjoyable.
- Store in Small Portions: If you frequently find yourself with leftover bread, consider slicing and storing it in smaller portions. This way, you can take out only what you need without exposing the entire loaf to air and risking staleness.
- Avoid Excessive Handling: Only handle the bread when necessary to minimize the transfer of moisture and oils from your hands. Excessive handling can lead to faster spoilage and affect the overall taste and texture.
By following these tips, you can extend the life of your bread and enjoy it at its best. Remember to adjust the storage and handling methods based on the specific characteristics of your bread and your personal preferences.
Now that you are equipped with these helpful tips, you can confidently store and maintain the freshness of your homemade bread.
Read more: How To Store Fresh Focaccia
Conclusion
Storing fresh-made bread properly is essential for preserving its taste, texture, and overall quality. By choosing the right storage method, cooling the bread properly, and wrapping it correctly, you can enjoy your homemade bread for an extended period.
Whether you opt for storing bread at room temperature, in the refrigerator, or freezing it, each method has its advantages and considerations. Room temperature storage is suitable for short-term consumption, while refrigeration and freezing offer longer shelf life.
Cooling your bread before storage helps set its structure and prevents moisture buildup. Wrapping bread tightly in plastic wrap, beeswax wraps, paper bags, or using a bread box helps maintain its freshness and protects it from air exposure.
If you choose to refrigerate or freeze your bread, make sure to thaw it properly before consuming. Thawing at room temperature, using the oven, toaster, or microwave are all effective methods.
To maintain the freshness of your bread, consider implementing some additional tips. These include optimal storage conditions, slicing bread as needed, reheating day-old bread, and minimizing excessive handling.
With these practical tips in mind, you can store and enjoy your fresh-made bread for an extended period, savoring its delightful flavors and textures. So go ahead and bake your favorite loaves, knowing that you have the knowledge to store them properly and enjoy them at their best.
Remember, the joy of homemade bread extends well beyond its initial baking. With proper storage and care, you can savor the taste of freshly made bread long after it has cooled from the oven.
Frequently Asked Questions about How To Store Fresh Made Bread
Was this page helpful?
At Storables.com, we guarantee accurate and reliable information. Our content, validated by Expert Board Contributors, is crafted following stringent Editorial Policies. We're committed to providing you with well-researched, expert-backed insights for all your informational needs.


0 thoughts on “How To Store Fresh Made Bread”