
Articles
How To Store Fresh Flour Tortillas
Modified: February 23, 2024
Learn the best methods for storing fresh flour tortillas to keep them soft and delicious. Read our helpful articles for expert tips and tricks!
(Many of the links in this article redirect to a specific reviewed product. Your purchase of these products through affiliate links helps to generate commission for Storables.com, at no extra cost. Learn more)
Introduction
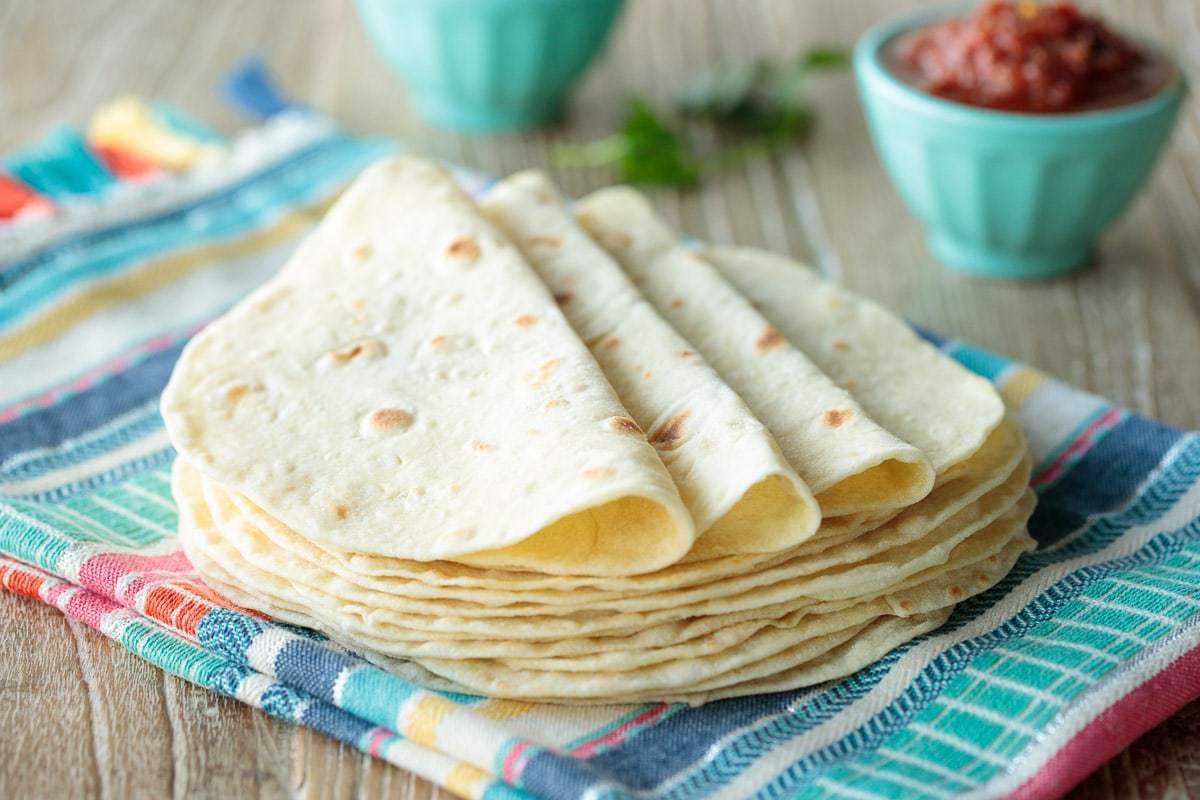
Flour tortillas are a delicious and versatile staple in many cuisines, including Mexican, Tex-Mex, and Southwestern dishes. Whether you prefer homemade or store-bought tortillas, ensuring their freshness is essential for maximum flavor and texture.
In this article, we will guide you on how to store fresh flour tortillas properly. By following these steps, you can prolong the shelf life of your tortillas, keeping them soft and pliable for future use. Whether you have leftover tortillas from a homemade batch or store-bought tortillas, these tips will help you maintain their quality and extend their usability.
So, let’s dive into the step-by-step process of storing fresh flour tortillas and enjoy their deliciousness whenever you desire!
Key Takeaways:
- Preserve the deliciousness of homemade or store-bought flour tortillas by following these steps to store and reheat them, ensuring they stay fresh and ready for your favorite Mexican-inspired dishes!
- From making the tortillas to storing them in the refrigerator, each step plays a crucial role in maintaining the quality of the tortillas, ensuring they remain soft, pliable, and delicious for future use.
Read more: How To Store Flour Tortillas
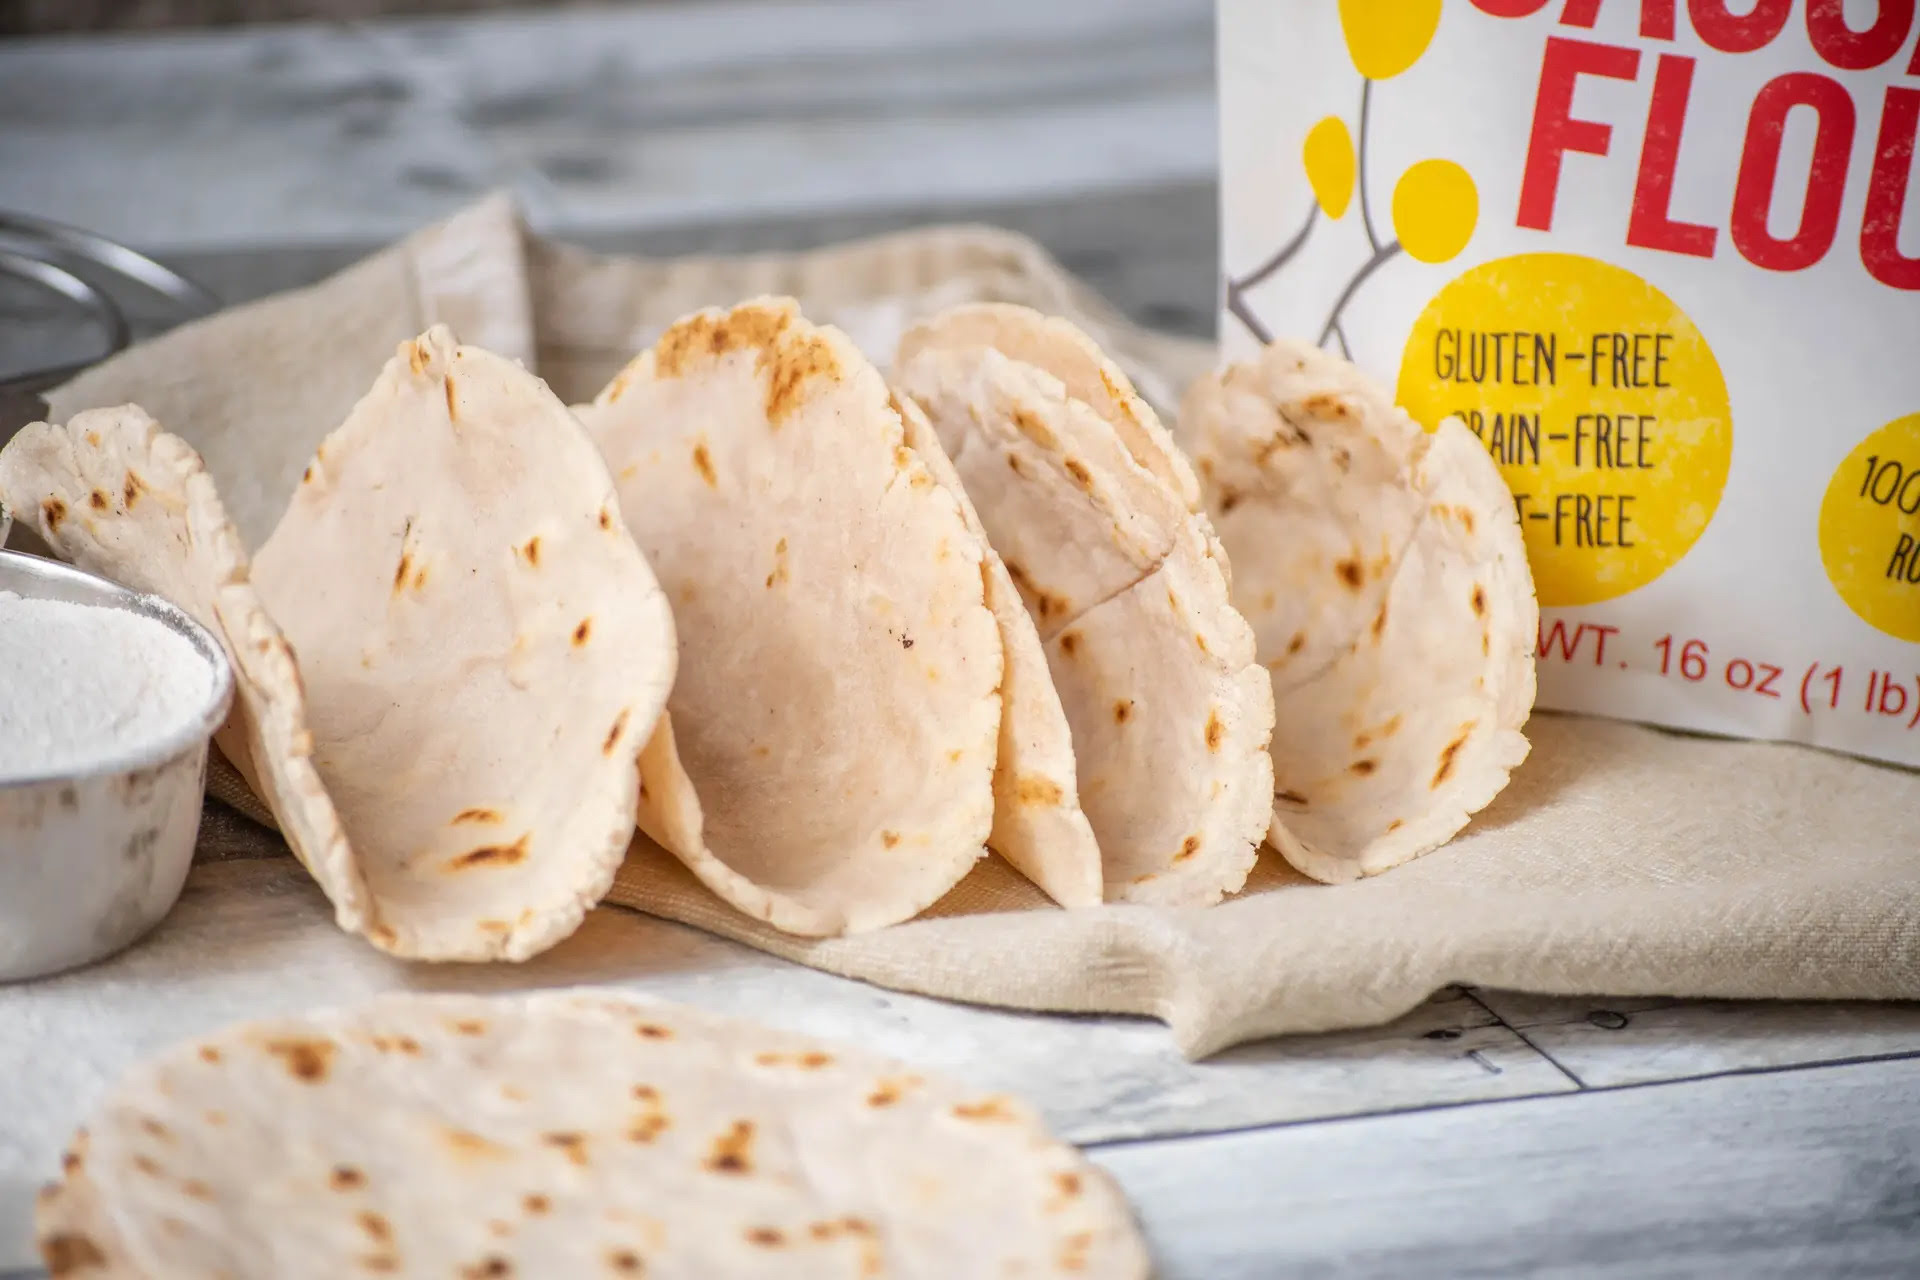
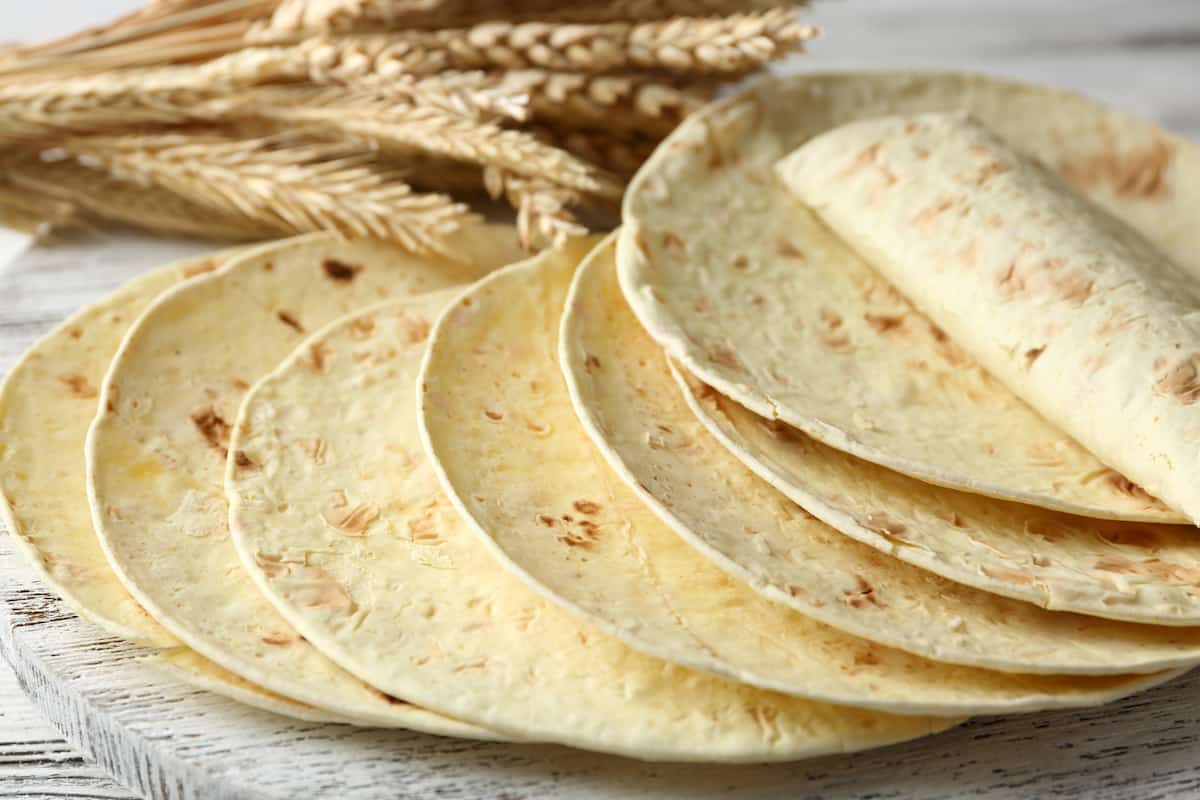
Step 1: Make the Fresh Flour Tortillas
Before we delve into the storage process, it’s important to have freshly made flour tortillas. While you can always purchase pre-made tortillas from the store, there’s something special about making them from scratch.
To make your own fresh flour tortillas, you’ll need the following ingredients:
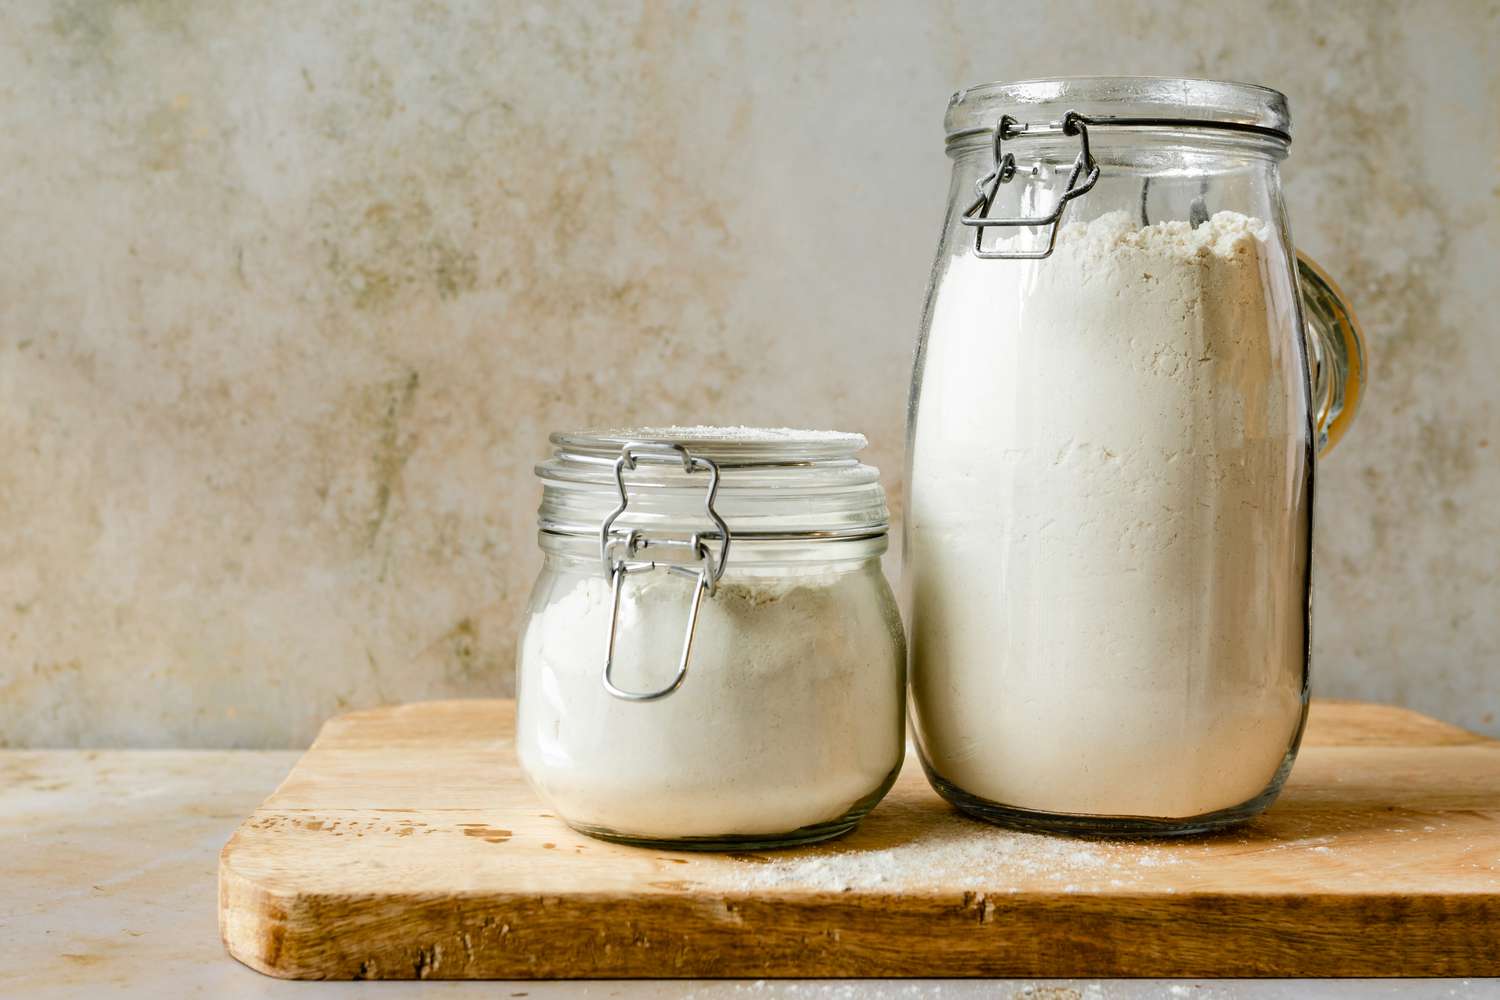
- 2 cups of all-purpose flour
- 1 teaspoon of salt
- 3 tablespoons of vegetable oil
- 3/4 cup of warm water
Here’s how you make the tortillas:
- In a large mixing bowl, combine the flour and salt.
- Add the vegetable oil and mix until the mixture becomes crumbly.
- Slowly pour in the warm water while stirring the mixture with a fork or your hands.
- Knead the dough for about 3-4 minutes until it becomes smooth and elastic.
- Divide the dough into small golf ball-sized portions.
- Using a rolling pin, roll out each portion into thin circles, about 6-8 inches in diameter.
- Heat a non-stick pan or griddle over medium-high heat.
- Cook each tortilla for about 1 minute on each side until it puffs up slightly and develops golden brown spots.
- Remove the cooked tortillas from the pan and place them on a plate to cool.
Now that you have freshly made flour tortillas, it’s time to move on to the next step: letting them cool before storing.
Step 2: Let the Tortillas Cool
After cooking the flour tortillas, it’s crucial to let them cool completely before storing them. This allows the tortillas to retain their moisture and prevent them from becoming soggy or sticky.
Here’s how you can cool the tortillas:
- Place the cooked tortillas on a clean kitchen towel or a wire rack.
- Make sure to spread them out in a single layer, avoiding any overlapping.
- Allow the tortillas to cool naturally for about 15-20 minutes.
- Avoid covering them during this cooling process, as it can trap moisture and make the tortillas damp.
- Once the tortillas have cooled down completely, they are ready for the next step of storage.
By ensuring the tortillas have cooled properly, you prevent them from becoming mushy or sticking together when stored. This step is essential in maintaining the quality and texture of the tortillas.
Now that your freshly cooked tortillas have cooled down, it’s time to move on to the next step: stacking them in preparation for storage.
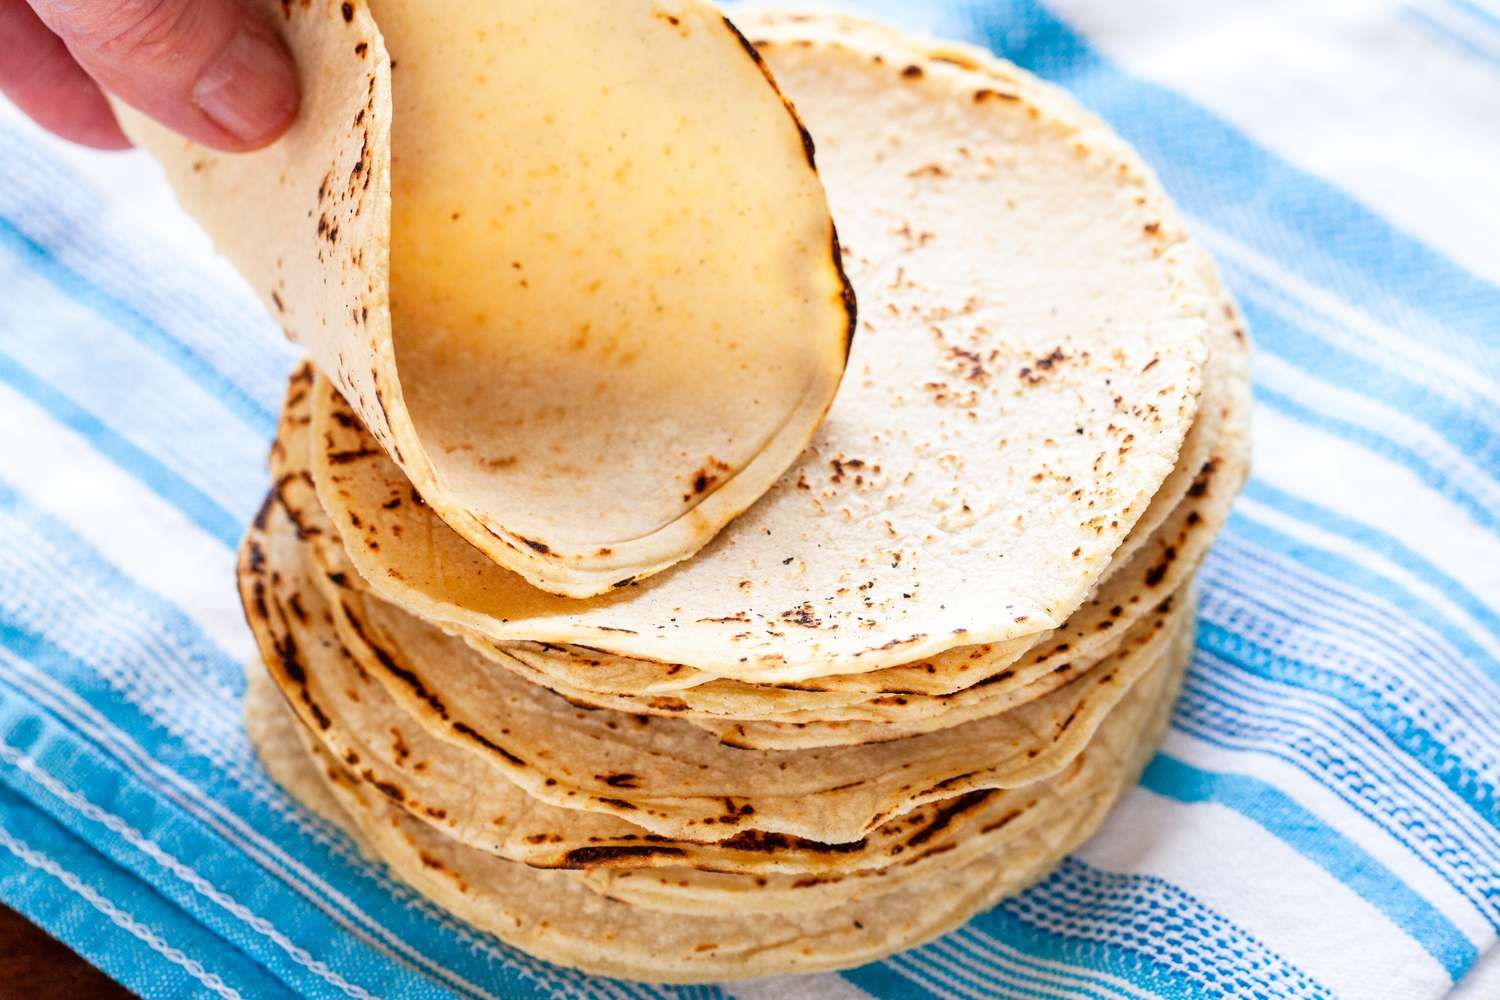
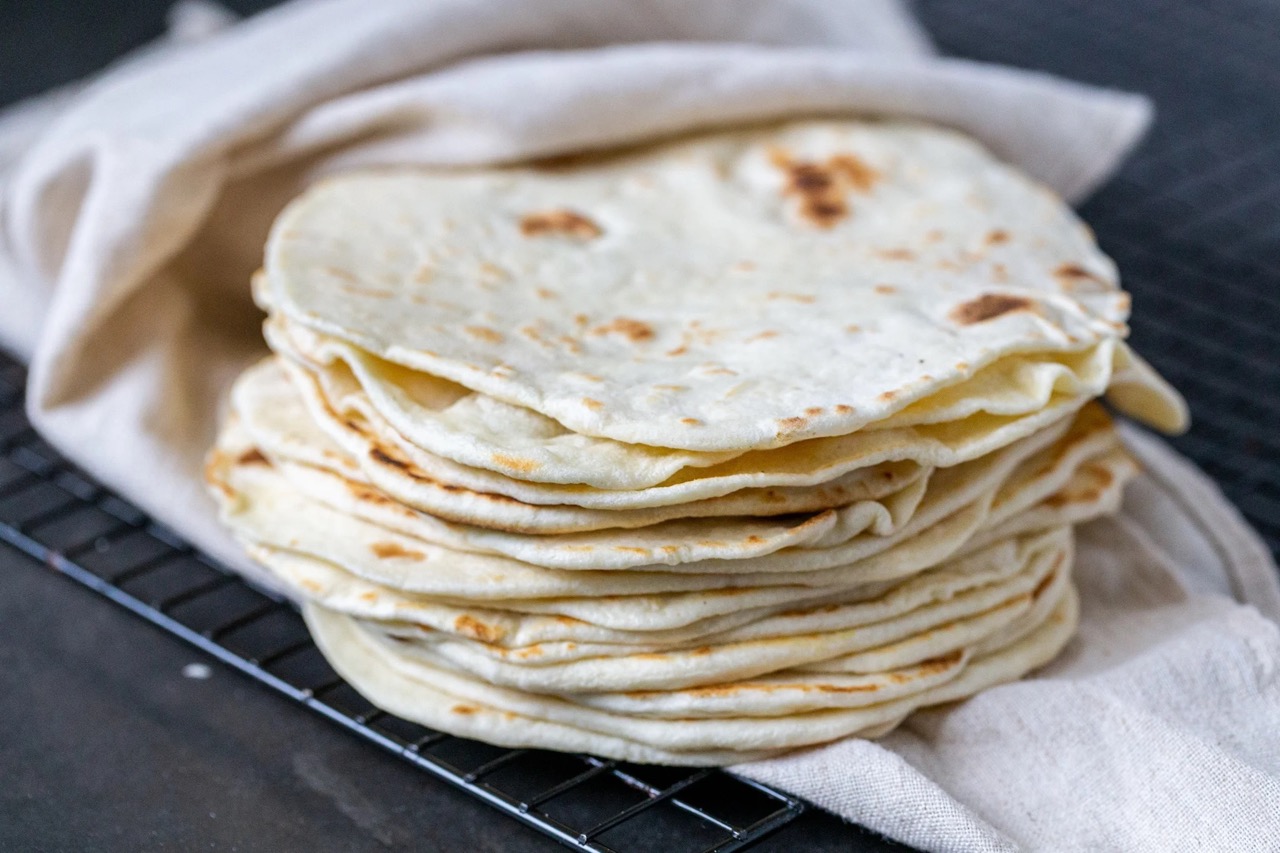
Step 3: Stack the Tortillas
Once your flour tortillas have cooled, it’s time to stack them in preparation for storage. Properly stacking the tortillas helps prevent them from drying out or sticking together, making it easier to store and retrieve individual tortillas when needed.
Here’s how you can stack the tortillas:
- Take one tortilla and place it on a clean surface.
- Take another tortilla and place it on top of the first tortilla.
- Repeat this process, alternating the orientation of each tortilla (i.e., one tortilla facing up, the next facing down).
- Continue stacking the tortillas until you have used up all of them.
This alternating stacking method helps create a slight separation between each tortilla, preventing them from sticking together. It also ensures that the tortillas are evenly distributed, making it easier to grab a single tortilla without disturbing the entire stack.
Once you have stacked all the tortillas, it’s time to move on to the next step: wrapping them to protect them during storage.
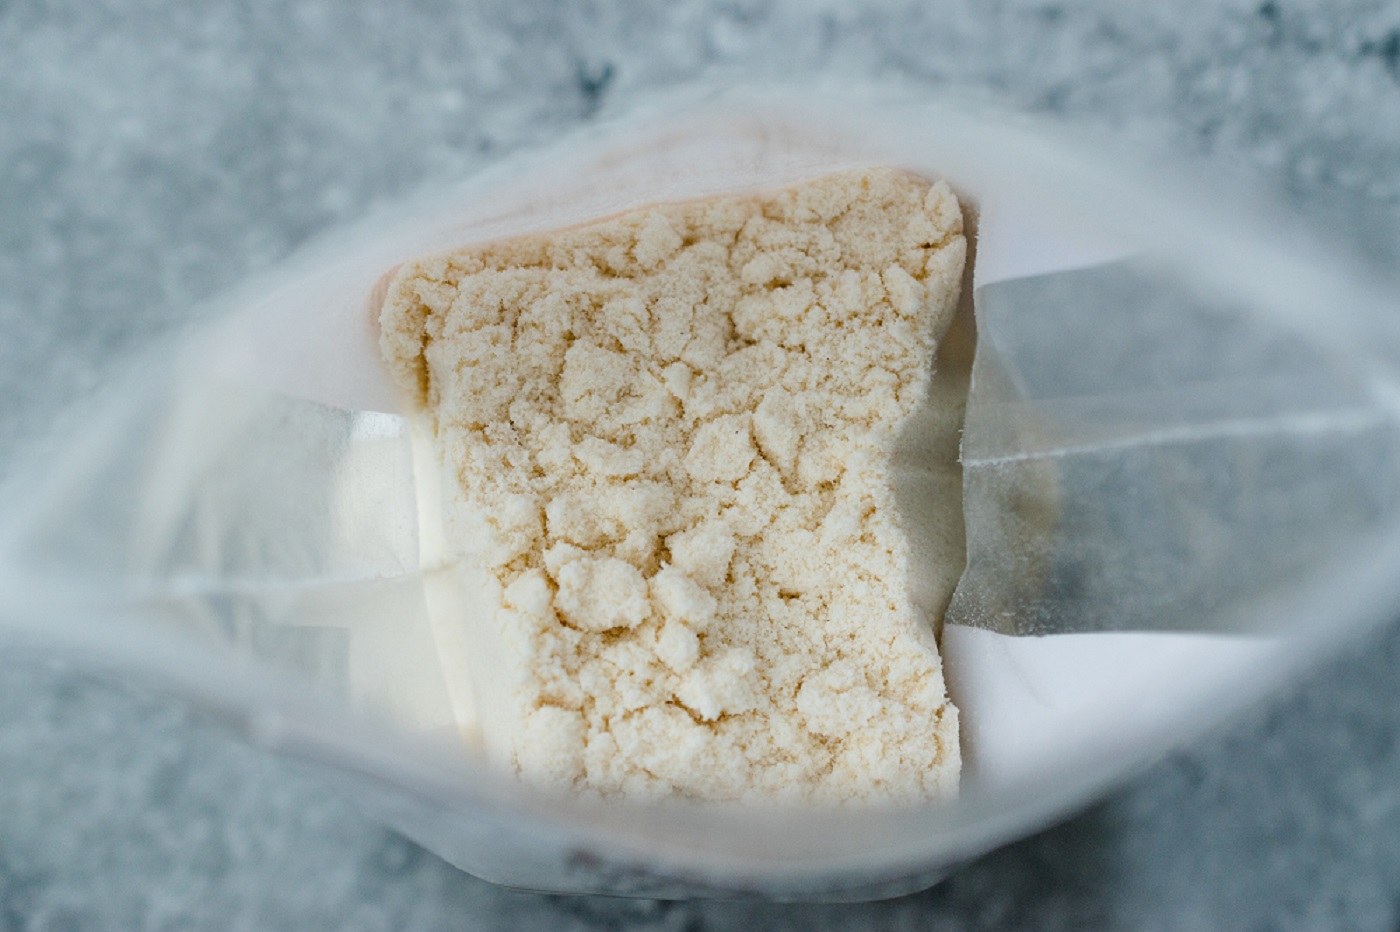
To store fresh flour tortillas, wrap them in a clean kitchen towel and place them in a resealable plastic bag. Store in the refrigerator for up to one week or in the freezer for up to three months.
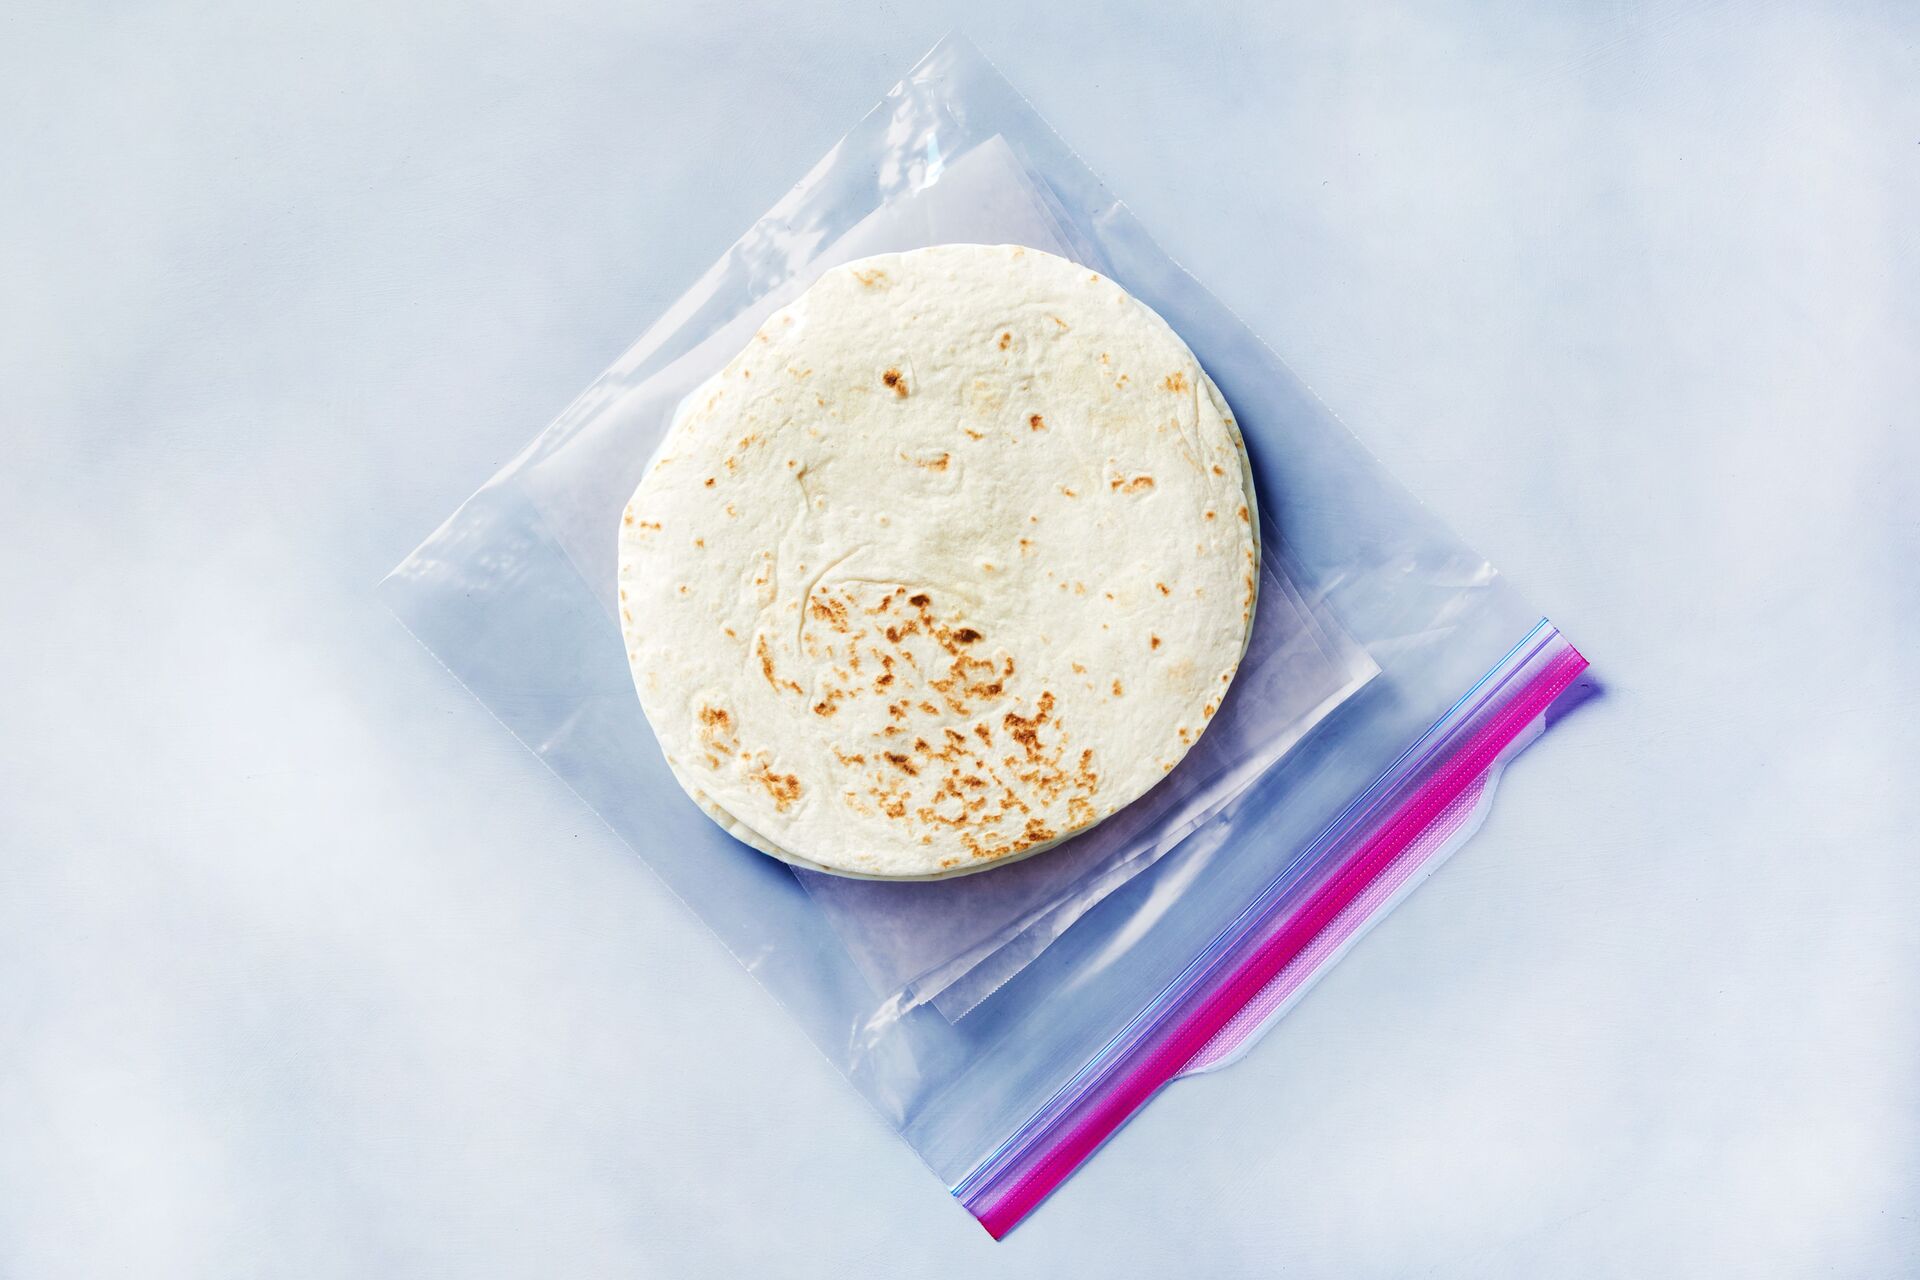
Step 4: Wrap the Tortillas
Now that you have your tortillas stacked, it’s important to wrap them properly to protect them from drying out and to maintain their freshness. There are different methods you can use to wrap the tortillas, depending on your preference and the available materials.
Here are a few options for wrapping the tortillas:
- Plastic Wrap: Take a large piece of plastic wrap and tightly wrap it around the stack of tortillas. Make sure to cover the entire stack, leaving no gaps or exposed areas.
- Aluminum Foil: Similar to plastic wrap, you can use aluminum foil to tightly wrap the tortillas. This provides an additional layer of protection against air and moisture.
- Zip-Top Bags: If you prefer individual packaging for each tortilla, you can place them in zip-top bags. Place the stacked tortillas in a bag, press out any excess air, and zip it closed.
- Reusable Containers: If you have reusable food containers, you can stack the tortillas inside and securely seal the lid. This ensures protection and convenience for storing and retrieving the tortillas.
Choose the wrapping method that suits your needs and the available materials, ensuring that the tortillas are well-sealed and protected from environmental elements.
Now that your tortillas are properly wrapped, it’s time to store them in the refrigerator to maintain their freshness.
Read more: How To Store Homemade Flour Tortillas
Step 5: Store in the Refrigerator
To keep your freshly made flour tortillas fresh and delicious for an extended period, it’s best to store them in the refrigerator. The cool temperature helps slow down the aging process and prevents the growth of bacteria, ensuring that your tortillas remain in optimal condition.
Here’s how you can store the tortillas in the refrigerator:
- Find a designated spot in your refrigerator where the tortillas can be stored flat and undisturbed.
- Place the wrapped tortillas in the chosen area, making sure they are not crushed or squeezed by any other items.
- Avoid placing heavy or sharp objects on top of the tortillas that could potentially damage them.
- Close the refrigerator door and make a mental note of the date to keep track of the tortilla’s freshness.
Stored properly in the refrigerator, your tortillas can remain fresh for up to 1 week. However, it’s important to check for any signs of spoilage or discoloration before using them. If you notice any mold, off smells, or changes in texture, it’s best to discard the tortillas to avoid any foodborne illnesses.
Now that your tortillas are safely stored in the refrigerator, you can enjoy them whenever you crave a delicious homemade tortilla wrap, taco, or quesadilla!
Step 6: Reheating Tortillas
When it’s time to enjoy your stored flour tortillas, you’ll likely want to warm them up to restore their soft and pliable texture. Reheating tortillas is a simple process that can be done using various methods, depending on your preferred technique.
Here are a few ways to reheat tortillas:
- Stovetop: Heat a dry skillet or griddle over medium-high heat. Place a tortilla on the hot surface and let it heat for about 15-30 seconds on each side. You can stack the heated tortillas on a plate, covering them with a clean kitchen towel to keep them warm and pliable.
- Microwave: Wrap a stack of tortillas in a damp paper towel or place them in a microwave-safe container with a damp paper towel covering them. Microwave on high for 20-30 seconds or until the desired warmth is achieved.
- Oven: Preheat your oven to 350°F (175°C). Wrap a stack of tortillas in aluminum foil and place them on a baking sheet. Warm in the oven for about 10 minutes or until heated through.
Whichever method you choose, keep an eye on the tortillas to prevent them from becoming too dry or overheated. It’s best to warm only the number of tortillas you need for immediate consumption and save the rest for later.
Once your tortillas are warmed, they are ready to be used in your favorite recipes or enjoyed on their own as a delicious snack. The reheating process adds that extra touch to bring back the freshly made quality of the tortillas.
Congratulations! You have successfully learned how to store and reheat your fresh flour tortillas. By following these steps, you can enjoy the taste and texture of homemade tortillas even days after making them.
So, go ahead and store your tortillas properly, knowing that they will remain fresh and ready to use whenever you crave that delectable Mexican-inspired dish!
Conclusion
Storing fresh flour tortillas properly is essential for preserving their taste, texture, and freshness. By following the step-by-step guide outlined in this article, you can ensure that your homemade or store-bought tortillas stay delicious and ready for use.
From making the tortillas to storing them in the refrigerator, each step plays a crucial role in maintaining the quality of the tortillas. Cooling the tortillas after cooking, stacking them carefully, and wrapping them appropriately are all vital to prevent them from drying out or sticking together.
Remember to store the tortillas in the refrigerator, where the cool temperature helps prolong their shelf life. When it’s time to enjoy your tortillas, you can easily reheat them using the stovetop, microwave, or oven, depending on your preference and convenience.
By following these storage and reheating techniques, you can have fresh flour tortillas on hand whenever you want to savor the flavors of Mexican, Tex-Mex, or Southwestern cuisine.
Now that you are equipped with the knowledge of how to store and reheat fresh flour tortillas, don’t hesitate to make a large batch and store them for future use. Whether it’s for a quick and satisfying weeknight meal or for entertaining guests, having perfectly stored tortillas at your disposal will make mealtime even more enjoyable.
So, go ahead and put these tips into practice. Your taste buds will thank you as you bite into a warm, soft, and delicious tortilla that has been preserved with care!
Frequently Asked Questions about How To Store Fresh Flour Tortillas
Was this page helpful?
At Storables.com, we guarantee accurate and reliable information. Our content, validated by Expert Board Contributors, is crafted following stringent Editorial Policies. We're committed to providing you with well-researched, expert-backed insights for all your informational needs.

0 thoughts on “How To Store Fresh Flour Tortillas”