Home>Furniture>Kitchen Furniture>How To Slice Bread Using A Bread Machine
Kitchen Furniture
How To Slice Bread Using A Bread Machine
Modified: May 6, 2024
Learn how to slice bread machine bread with our informative articles. Discover helpful tips and techniques for achieving perfect slices every time.
(Many of the links in this article redirect to a specific reviewed product. Your purchase of these products through affiliate links helps to generate commission for Storables.com, at no extra cost. Learn more)
Introduction
Welcome to the world of homemade bread! There’s nothing quite like the aroma and taste of freshly baked bread straight out of a bread machine. As a bread lover, you’ve made a great choice by investing in a bread machine. It allows you to enjoy a wide variety of bread types without the hassle of kneading and shaping the dough by hand.
But now that you have a delicious loaf of bread ready, you may be wondering, “How do I slice it perfectly?” In this article, we will guide you through the process of slicing bread machine bread to achieve those thin, even slices that are perfect for sandwiches, toast, or even just enjoying on their own.
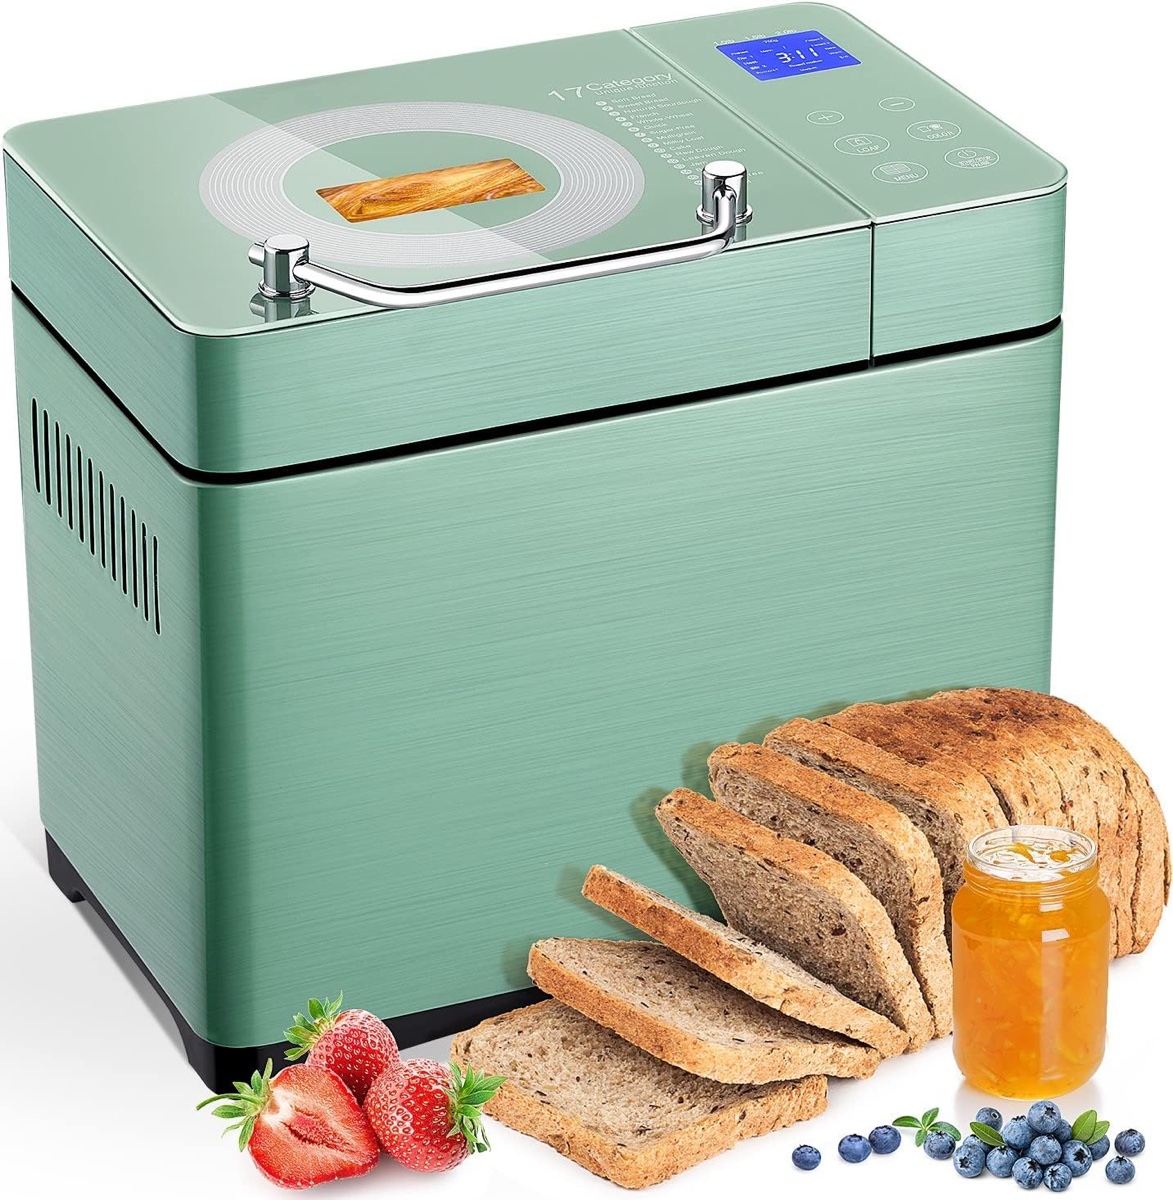
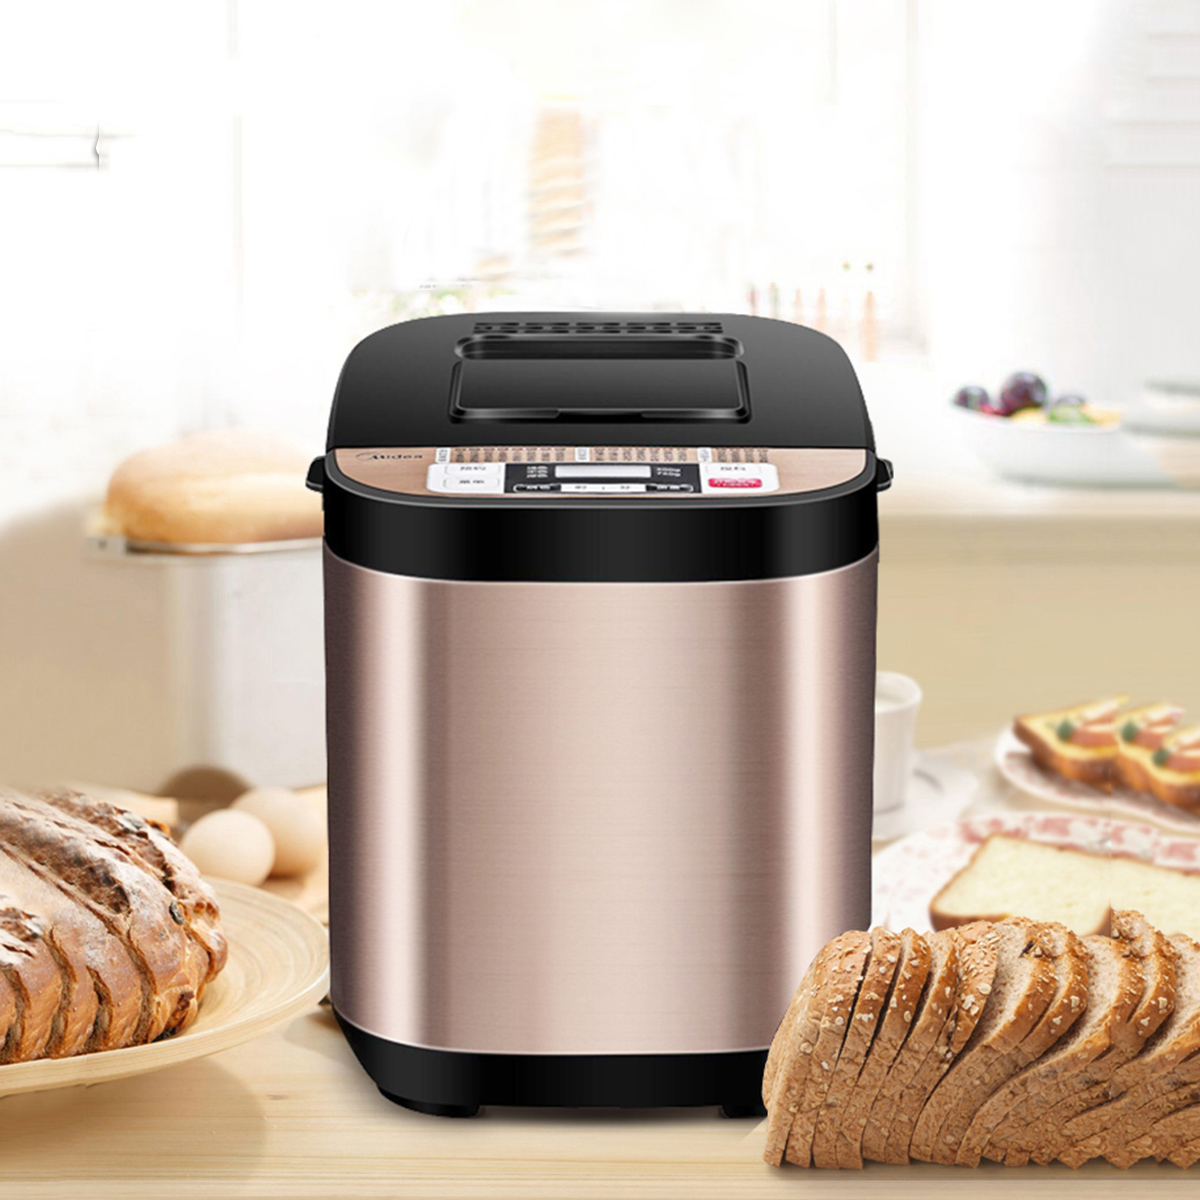
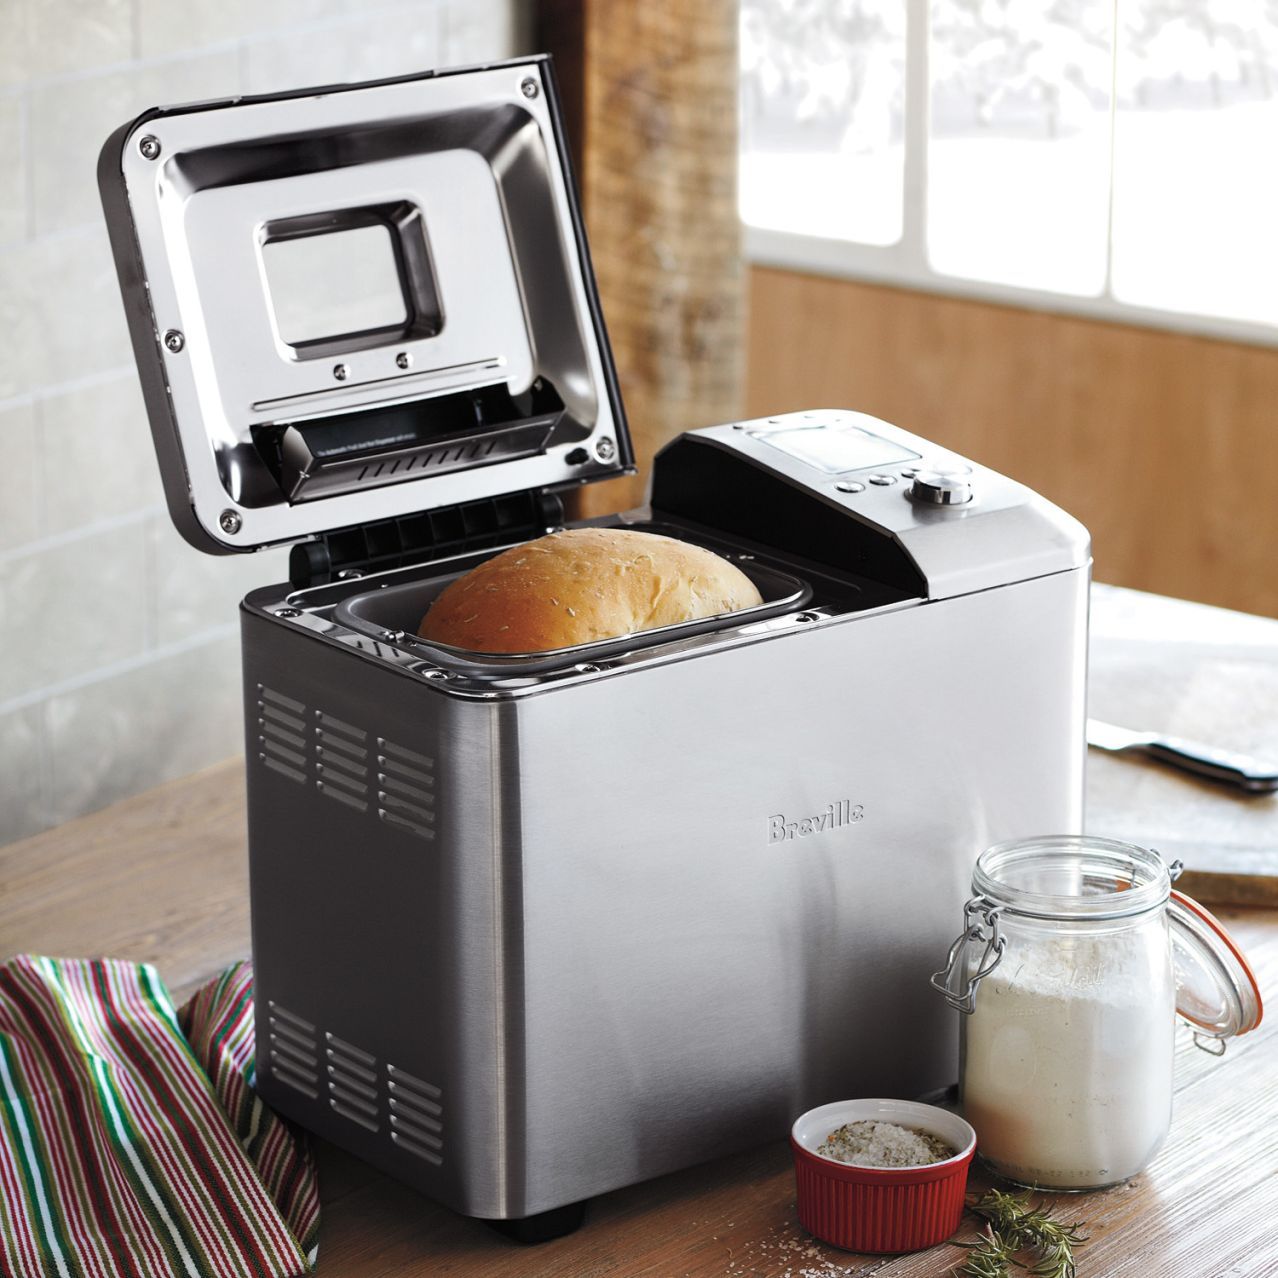
Before we dive into the slicing technique, it’s important to ensure that you have the right bread machine for your needs. Different machines have different features, capacities, and settings that can affect the texture and outcome of your bread. Take a moment to verify that your machine is suitable for slicing bread. If you haven’t purchased one yet, consider researching and selecting a bread machine that specifically mentions its suitability for slicing.
Now that we have the basics covered, let’s move on to the step-by-step process of slicing your bread machine bread.
Key Takeaways:
- Enjoy the process of slicing bread machine bread by choosing the right machine, preparing ingredients, and experimenting with crust settings and additional flavors. Perfectly sliced bread enhances the satisfaction of homemade baking.
- Achieve perfectly sliced bread machine bread by using a sharp knife, letting the bread cool, and applying even pressure. Experiment with different textures and flavors to create personalized loaves for sharing and savoring.
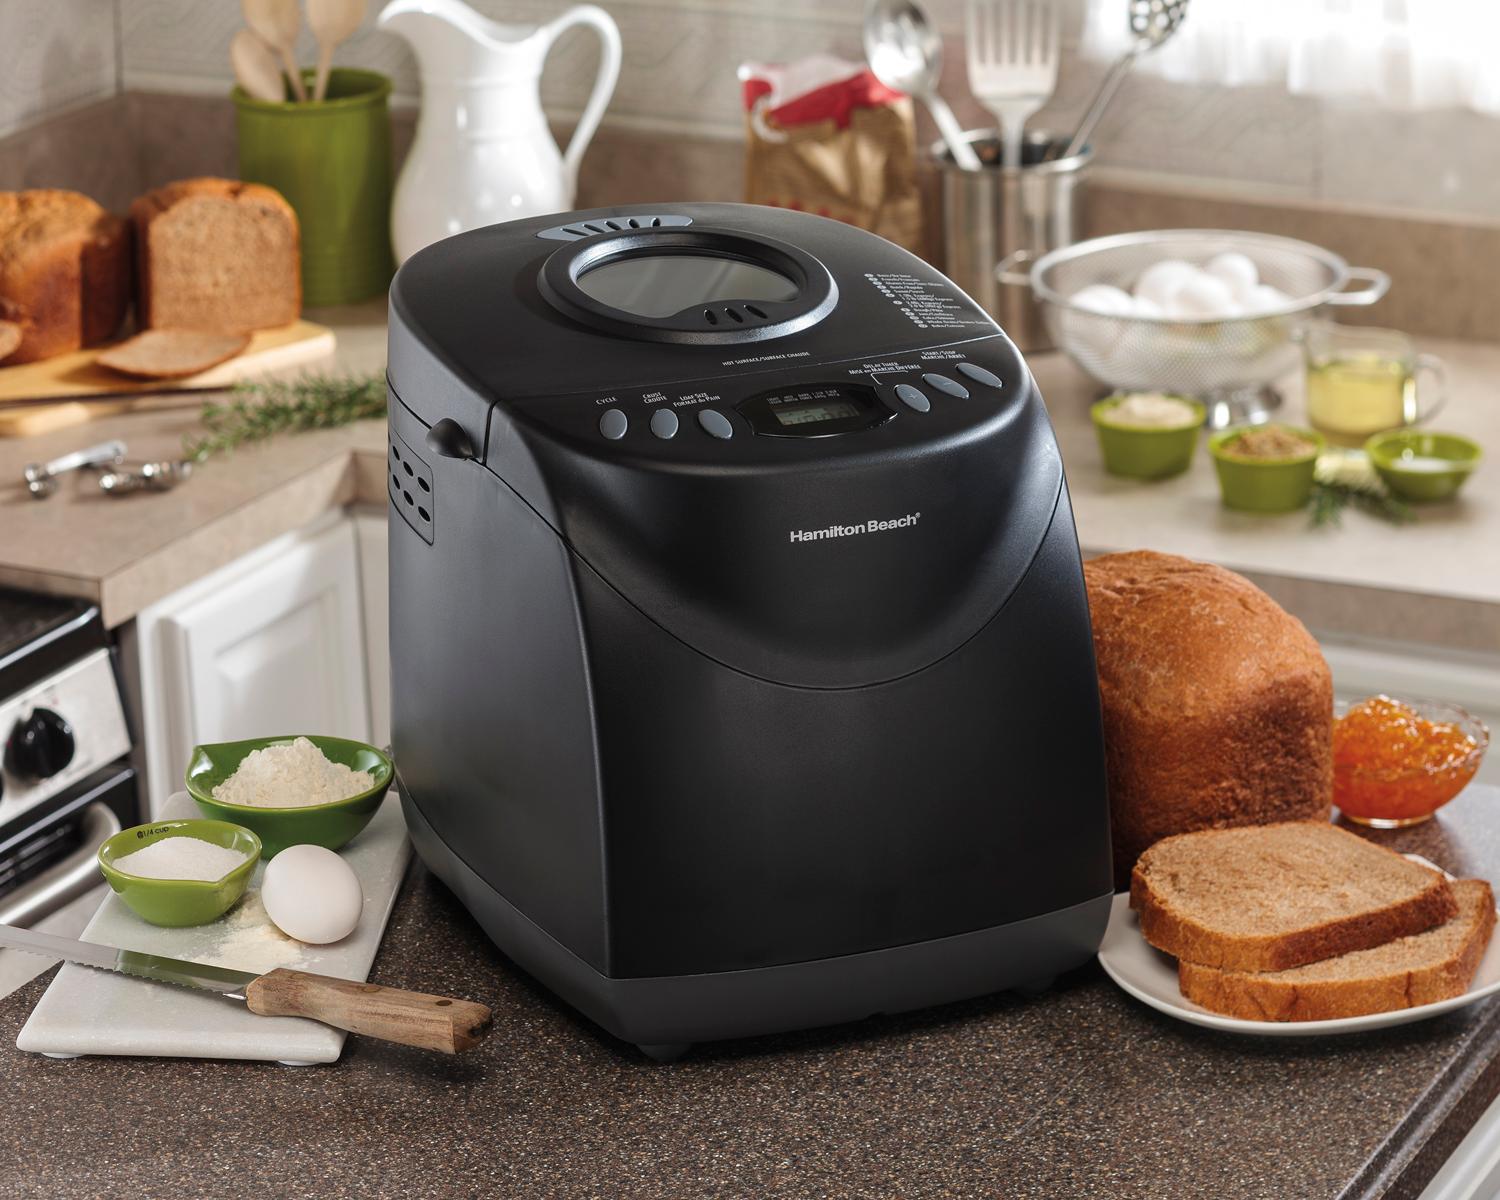
Choosing the Right Bread Machine
When it comes to selecting a bread machine, there are a few key factors to consider to ensure you choose the right one for your needs.
Firstly, think about the size of the loaves you typically prefer. Bread machines come in different sizes, ranging from 1-pound to 2-pound capacity. If you have a small household and prefer smaller loaves, a 1-pound capacity machine would be sufficient. However, if you have a larger family or enjoy baking larger loaves for gatherings, a 2-pound capacity machine would be more suitable.
Secondly, consider the available settings and features. Look for a bread machine with a variety of bread types, such as white bread, whole wheat, gluten-free, or even artisanal bread. Having a range of options allows you to experiment with different recipes and cater to varying dietary preferences. Additionally, look for features like a delay timer, crust settings, and a keep-warm function, as these can enhance your baking experience.
Furthermore, it’s important to read reviews and consider the reputation of the brand before making a purchase. Look for a bread machine that is known for its durability and reliability. Reading customer reviews can provide valuable insights into the performance and longevity of the machine.
Lastly, take your budget into consideration. Bread machines come in a range of price points, so decide how much you are willing to invest. While it’s important to find a machine within your budget, keep in mind that a higher-quality machine may be more durable and offer better functionality in the long run.
By carefully considering these factors, you can choose a bread machine that will meet your needs and provide you with delicious homemade bread for years to come.
Preparing the Ingredients
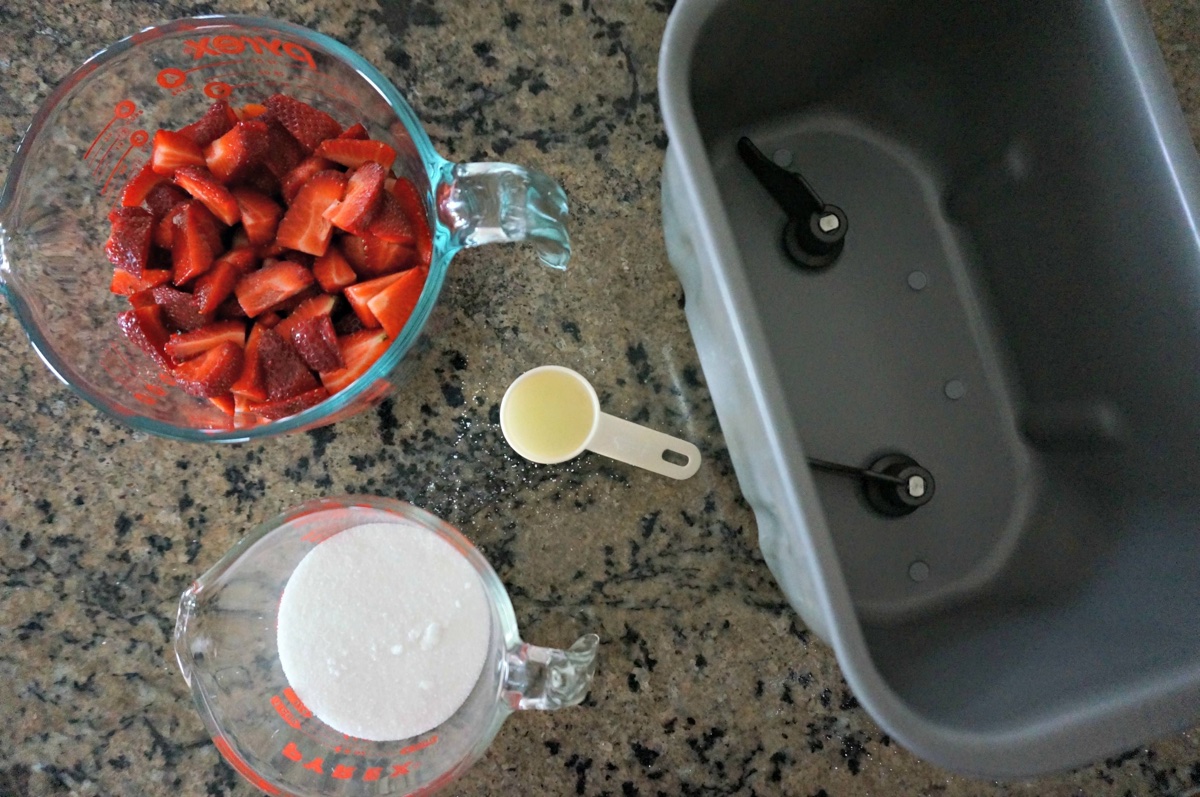
Before you start baking your bread in the machine, it’s essential to gather and prepare the right ingredients. Here’s a step-by-step guide to help you get started:
1. Flour: Choose the appropriate type of flour for your bread recipe. Whether it’s all-purpose flour, bread flour, whole wheat flour, or a combination, make sure it matches the recipe instructions.
2. Yeast: Check the expiration date on your yeast package to ensure freshness. Active dry yeast or instant yeast are commonly used for bread machine recipes. Measure the required amount according to your specific recipe.
3. Liquid: Most bread machine recipes call for water or milk as the liquid component. Make sure the liquid is at the appropriate temperature indicated in the recipe instructions. Too hot or too cold liquid can affect the yeast activation and the rise of the bread.
4. Sweeteners and Fats: Depending on your recipe, you might need to add sugar, honey, molasses, or other sweeteners. Additionally, consider including fats such as butter, oil, or margarine for moistness and flavor.
5. Salt: Don’t forget to measure and add the required amount of salt. Salt not only enhances the flavor of the bread, but it also helps control yeast growth and dough texture.
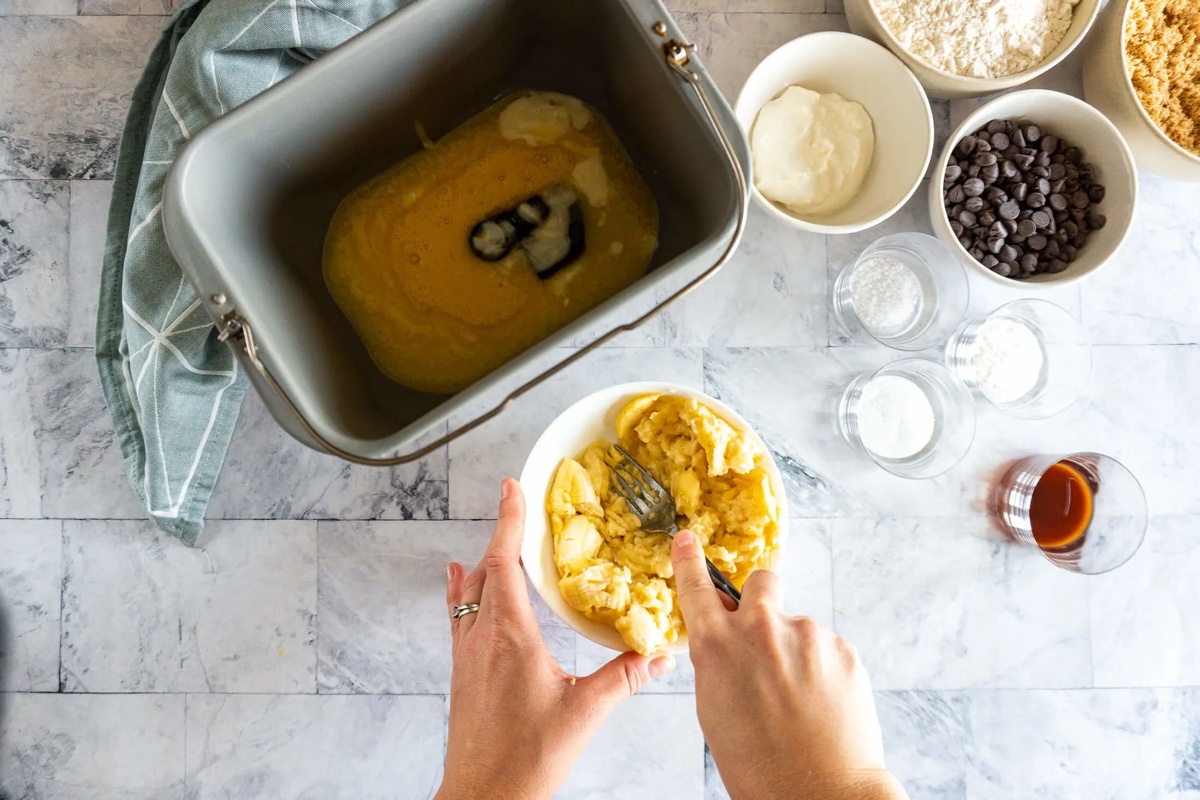
6. Additional Ingredients: Some recipes may call for additional ingredients like nuts, seeds, dried fruits, herbs, or spices. Measure these ingredients and have them ready to add to your bread mixture.
It’s important to follow the recipe instructions carefully and measure the ingredients accurately. Consistency and accuracy in ingredient measurements are key to achieving the desired texture and flavor in your bread.
Now that you have all your ingredients prepared, it’s time to set up your bread machine and get ready to bake!
Setting up the Bread Machine
Setting up your bread machine properly is crucial for achieving optimal results. Follow these steps to ensure that your machine is ready to bake your delicious homemade bread:
1. Clean the machine: Before using your bread machine, make sure it is clean and free from any residue or crumbs. Refer to the manufacturer’s instructions on how to clean your specific model.
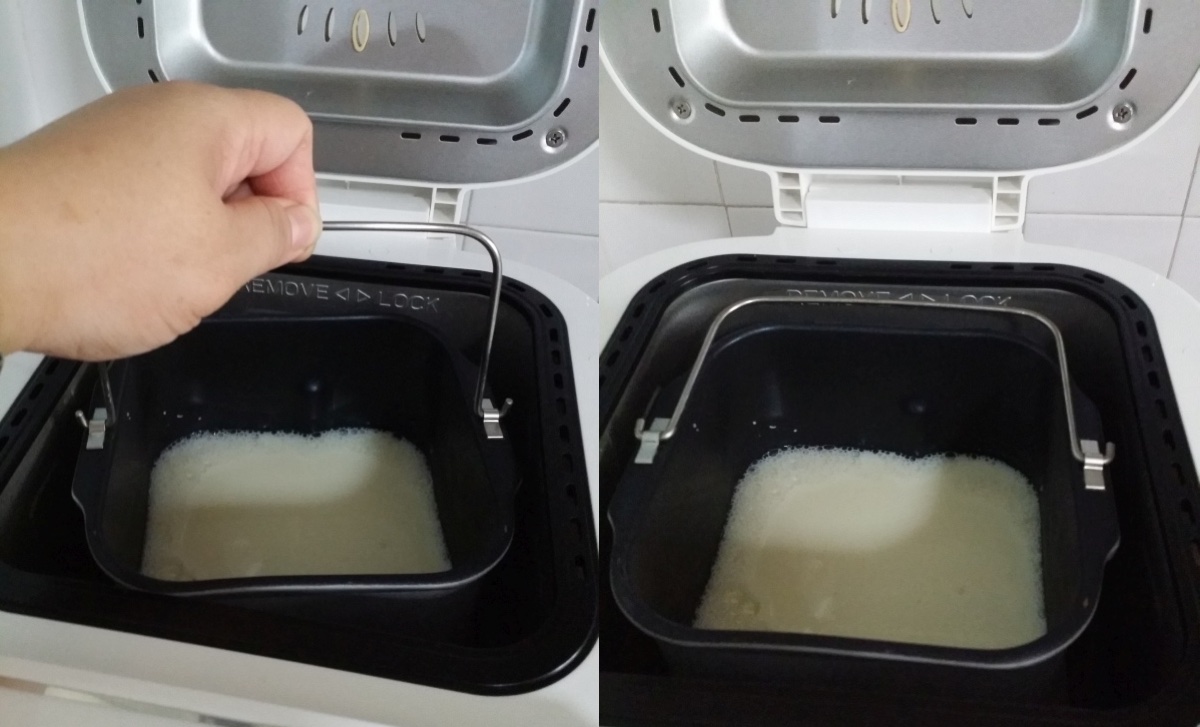
2. Assemble the bread pan: Insert the bread pan into the machine, ensuring that it is securely in place. Check for any signs of damage or wear on the pan, and replace it if necessary.
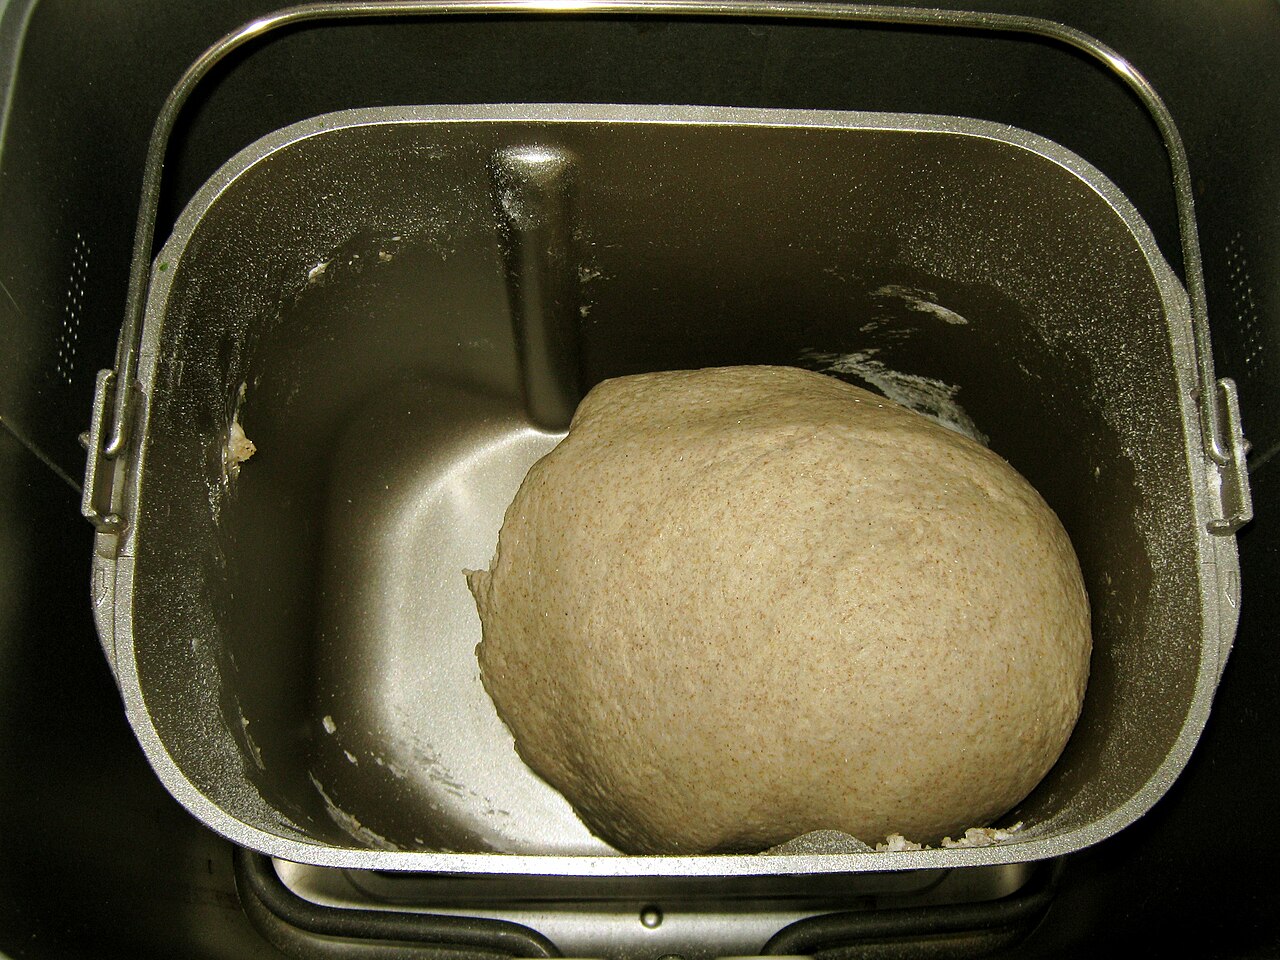
3. Attach the kneading paddle: Most bread machines come with a kneading paddle that is used to mix and knead the dough. Attach the paddle to the spindle at the bottom of the bread pan, making sure it is properly aligned.
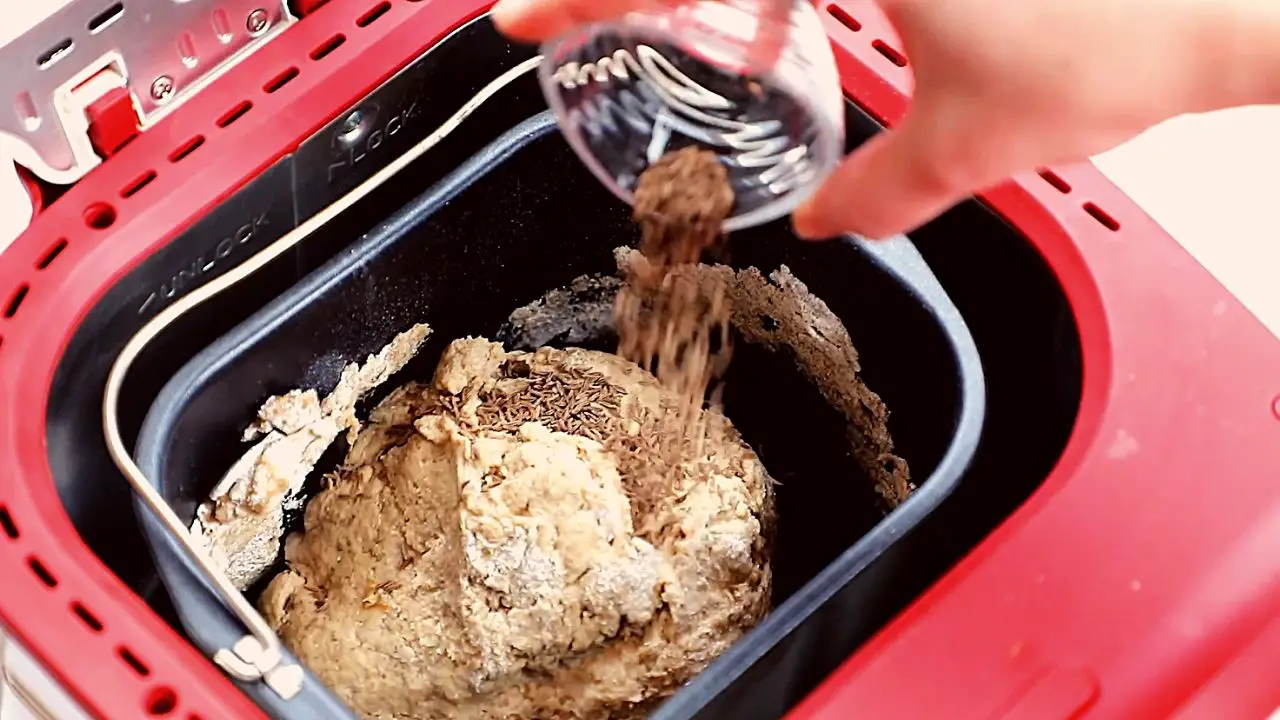
4. Add the ingredients: Start by pouring the liquid into the bread pan, followed by the dry ingredients. It’s a good practice to add the dry ingredients first, followed by the wet ingredients, to prevent the yeast from coming into contact with the liquid prematurely.
5. Close the lid: Close the lid of the bread machine, ensuring that it is securely locked in place. This is important to create the proper environment for the dough to rise and bake.
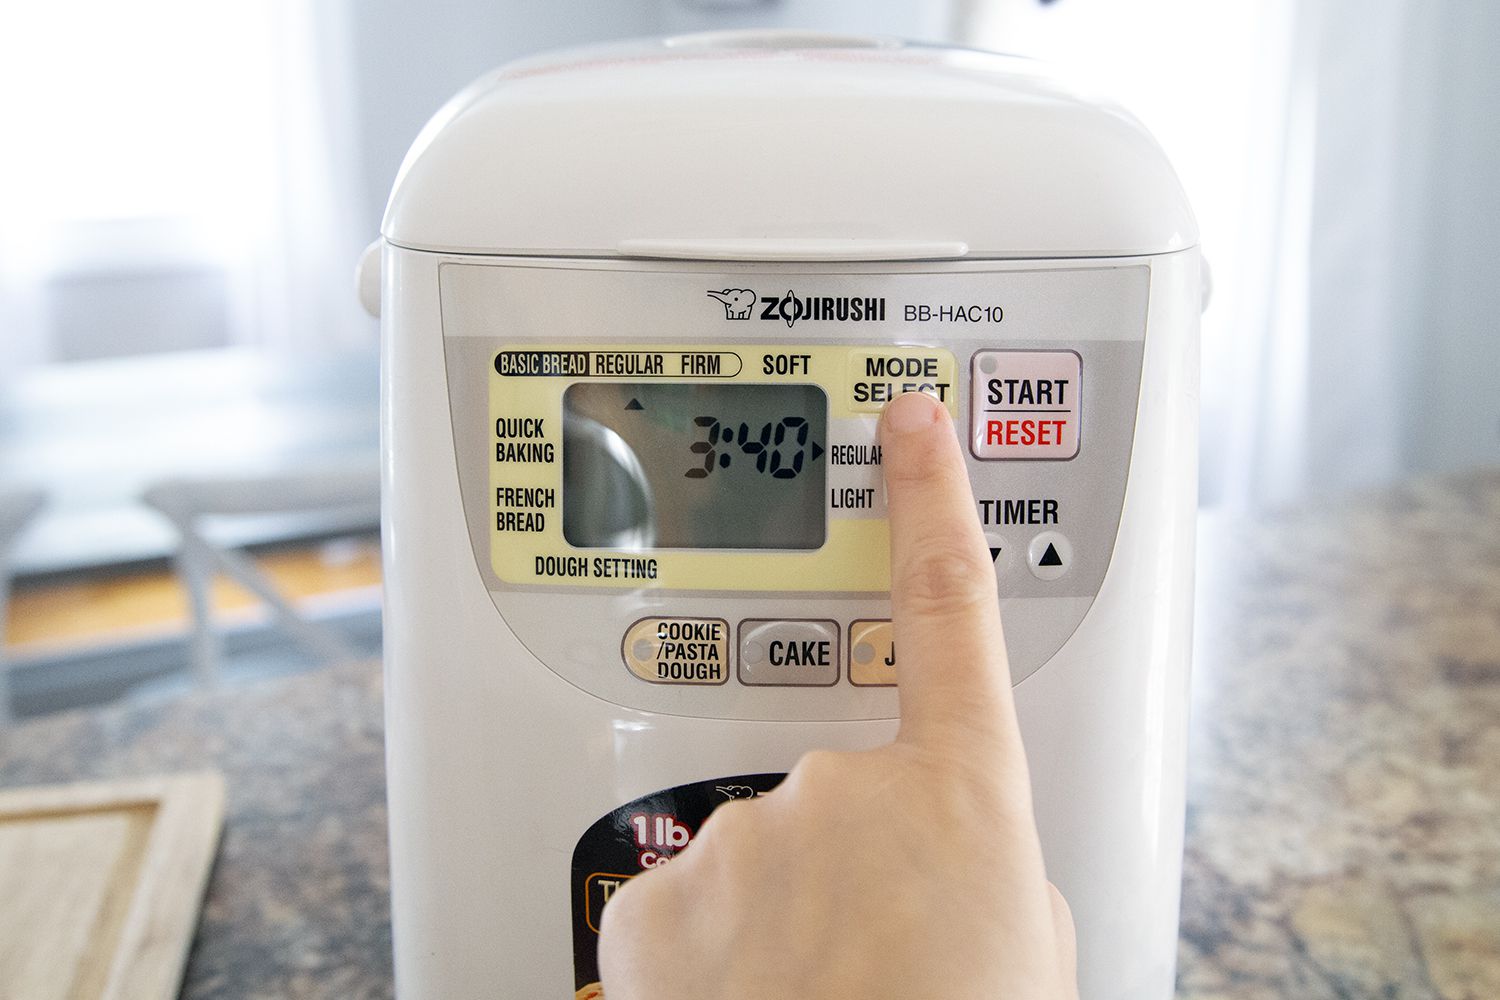
6. Plug in the machine: Connect the bread machine to a power outlet and turn it on. Most machines have a control panel with various settings and options. Familiarize yourself with the controls and buttons on your specific machine.
7. Select the basic settings: For your first loaf, it’s recommended to start with the basic settings, such as the “Basic” or “White” bread setting. You will have the opportunity to explore other settings and variations in future baking adventures.
Once you have completed these setup steps, you are ready to choose the bread type and size, adjust the crust settings, and add any additional ingredients if desired. We will explore these steps in the upcoming sections, so keep reading to learn more about making the perfect bread machine bread!
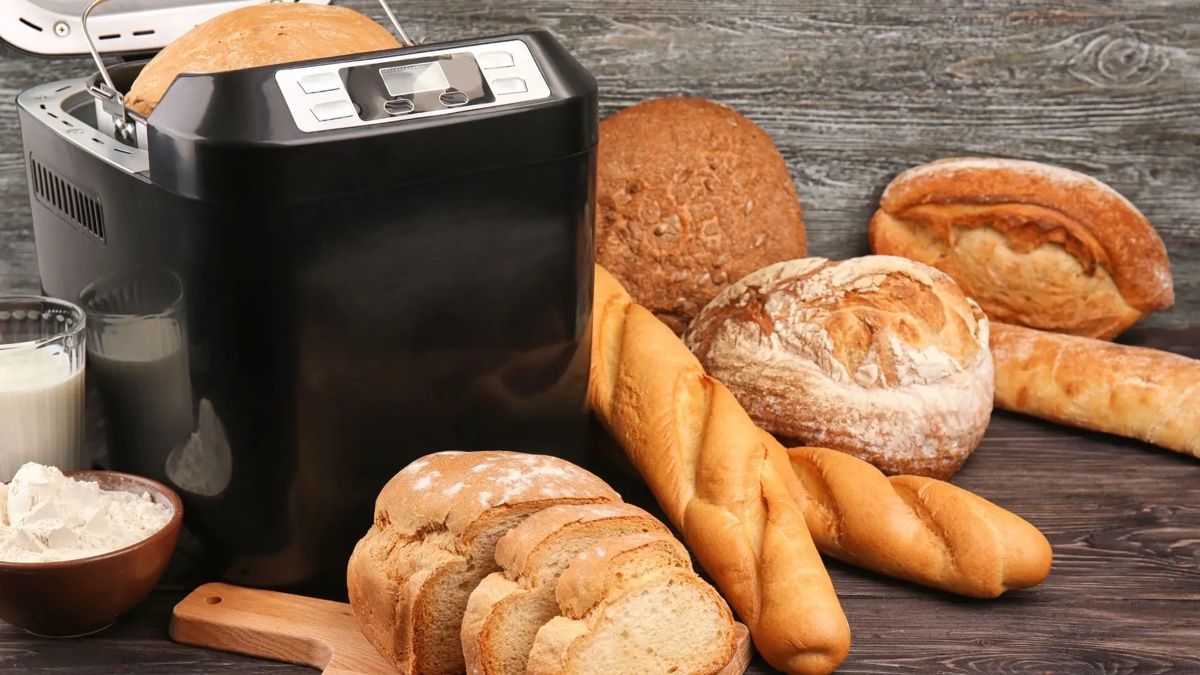
Selecting the Bread Type and Size
One of the great advantages of baking bread in a bread machine is the variety of bread types and sizes you can choose from. Here’s how to select the bread type and size for your baking adventure:
1. Refer to the recipe: If you are following a specific recipe, it will usually indicate the bread type and size. The recipe may specify options like white bread, whole wheat bread, multigrain bread, or even specialty breads such as cinnamon raisin or gluten-free. Choose the bread type that appeals to you and matches your taste preferences.
2. Consider personal preferences: If you don’t have a specific recipe in mind, think about the bread type that you and your family enjoy. Do you prefer a soft, fluffy white bread? Or perhaps a hearty whole wheat bread with a nutty flavor is more to your liking. The bread type should cater to your personal preferences and dietary needs.
3. Size of the loaf: Bread machines offer various loaf sizes, typically ranging from 1-pound to 2-pound capacities. The size you choose depends on your household’s bread consumption and preferences. If you have a small family or prefer smaller portions, a 1-pound loaf might be sufficient. If you have a larger household or enjoy having extra bread for freezing or sharing, opt for a larger loaf size.
4. Machine settings: Most bread machines have different options for bread type and size. Check the control panel on your specific machine to select the appropriate setting. This might involve pressing buttons or navigating through a menu to find the desired options. Follow the instructions provided by the manufacturer to ensure you choose the correct settings for your bread type and size.
By selecting the right bread type and size, you can customize your bread machine experience to perfectly suit your preferences. Whether you crave a classic white loaf or a unique specialty bread, there is a wide range of options to explore and enjoy. And with the size options available, you can always bake the perfect amount of bread to satisfy your hunger and sharing needs.
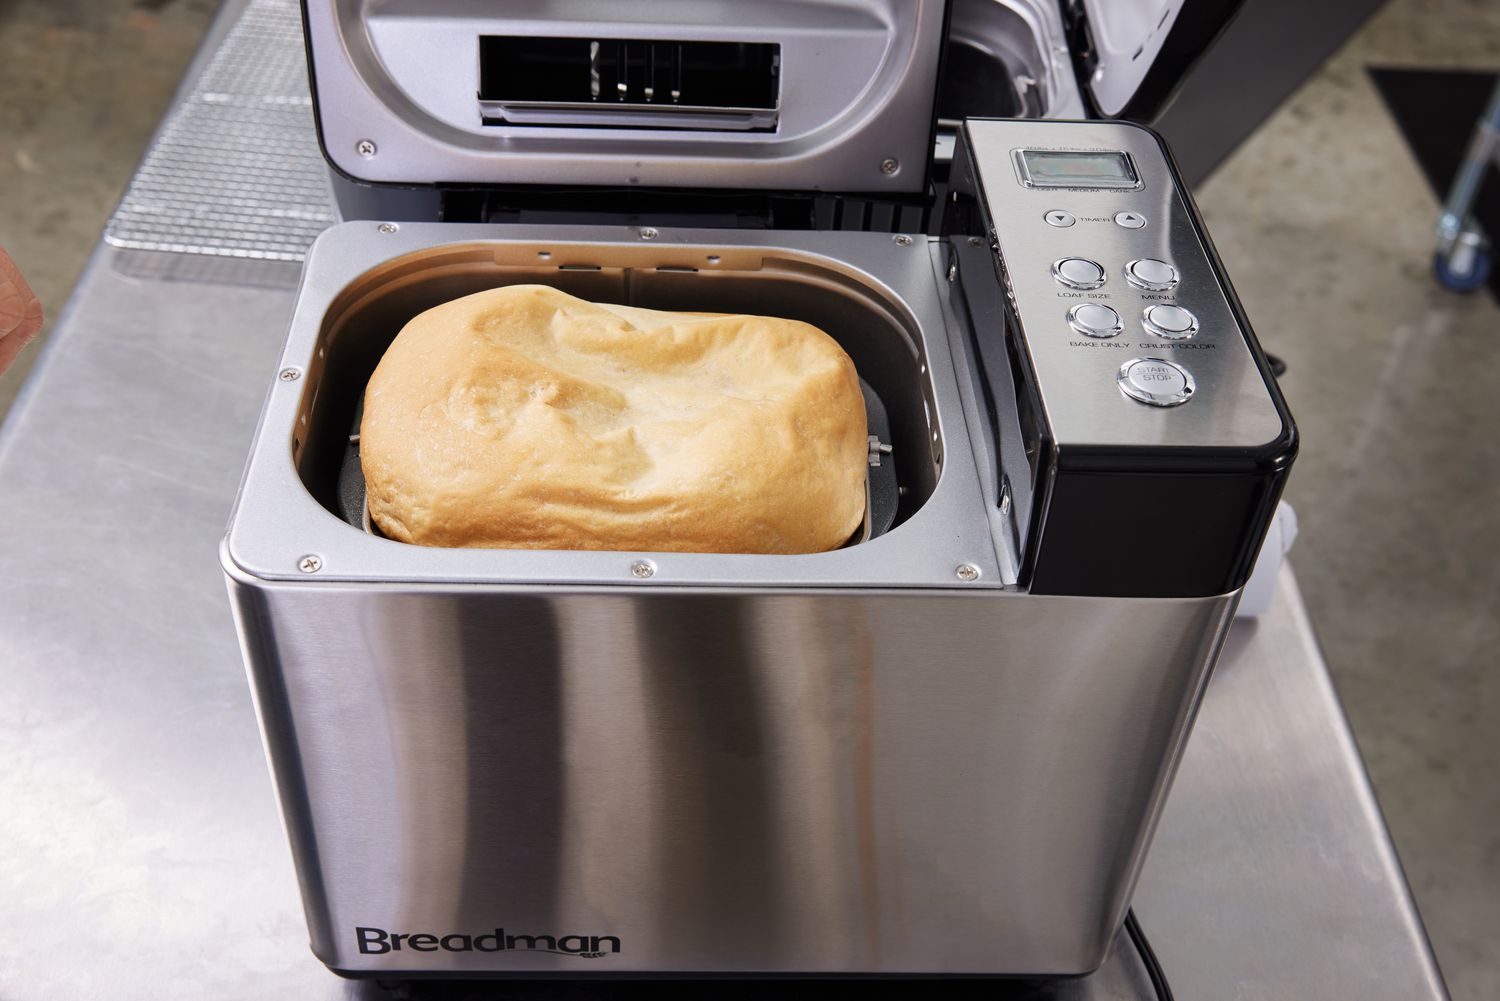
To slice bread machine bread, use a serrated knife and a gentle sawing motion to prevent squishing the loaf. Let the bread cool completely before slicing for best results.
Read more: How To Store Sliced Bread
Adjusting the Crust Settings
One of the advantages of using a bread machine is the ability to adjust the crust settings to achieve your desired crust color and texture. Whether you prefer a crusty and golden exterior or a softer, lighter crust, here’s how you can adjust the crust settings on your bread machine:
1. Crust options: Most bread machines offer different crust options, such as light, medium, and dark. These settings control the length and intensity of the baking process, affecting the color and texture of the crust. Take a moment to familiarize yourself with the available crust settings on your specific machine.
2. Light crust: If you prefer a lighter crust with a softer texture, select the “Light” crust option. The bread will have a lighter color and a more tender crust. This setting is ideal for those who enjoy a softer bite and want to avoid a deeply browned crust.
3. Medium crust: The “Medium” crust option is a versatile choice that offers a balance between a light and dark crust. It provides a golden-brown color and a slightly crisper texture compared to the light crust. This setting is often a favorite among bread enthusiasts who enjoy a well-rounded crust.
4. Dark crust: For those who crave a rich, deep brown crust with a satisfying crunch, the “Dark” crust option is the way to go. This setting will give your bread a robust flavor and a darker color. It’s perfect for those who appreciate a hearty, traditional bread with a substantial crust.
5. Customization: Some advanced bread machines even allow you to customize the crust settings further. For example, you may have the option to increase or decrease the baking time to create a crust that perfectly complements your taste preferences. Check the user manual or control panel of your machine to explore any additional customization options available.
Once you have selected the desired crust setting, your bread machine will take care of the rest. It will automatically adjust the baking time and temperature to achieve the crust color and texture you desire. Experiment with different settings to find your perfect crust and enjoy the delightful variations in your homemade bread.
Remember, the crust settings can significantly impact the overall experience and enjoyment of your bread. So, don’t hesitate to explore and adjust the crust settings to create the ideal loaf that suits your cravings and preferences.
Adding Additional Ingredients
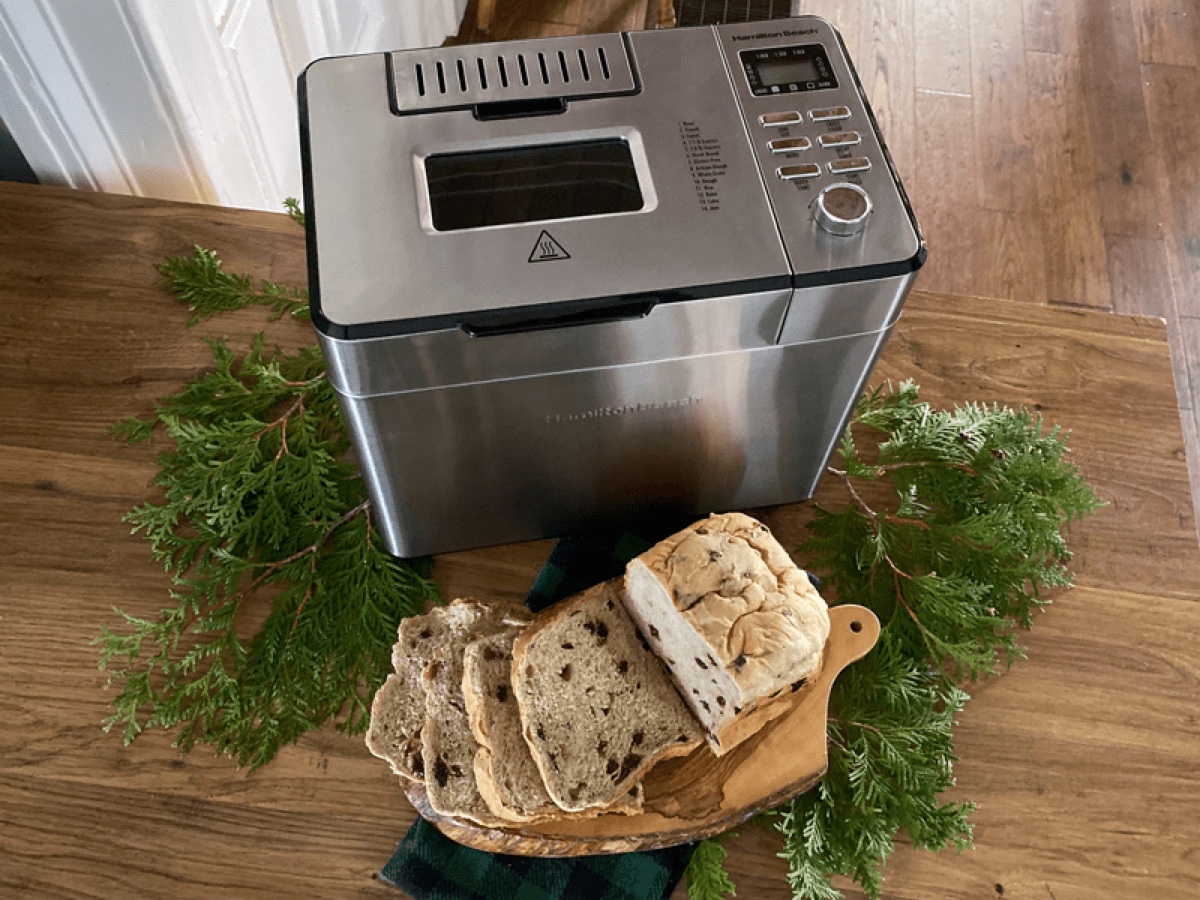
While bread machine bread can be delicious on its own, you can take it to the next level by adding additional ingredients to create unique flavors and textures. Here are some ideas for incorporating extra ingredients into your bread machine bread:
1. Nuts and Seeds: Enhance the nutritional value and add a delightful crunch by including nuts and seeds in your bread. Popular choices include chopped almonds, walnuts, sunflower seeds, or sesame seeds. Simply sprinkle them into the bread pan before starting the baking process.
2. Dried Fruits: For a touch of sweetness and bursts of flavor, consider adding dried fruits to your bread. Raisins, cranberries, chopped apricots, or dates work well in various bread recipes. Make sure to chop larger dried fruits into smaller pieces to distribute them evenly throughout the loaf.
3. Herbs and Spices: Experiment with different herbs and spices to infuse your bread with aromatic flavors. Rosemary, thyme, basil, oregano, or even garlic and onion powder can add a savory twist to your bread. Start with smaller quantities to avoid overpowering the bread’s flavor.
4. Cheese: Who can resist the combination of bread and cheese? Grated cheese such as cheddar, mozzarella, or parmesan can be a delightful addition to your loaf. Add it to the bread pan with other ingredients, and the cheese will melt and incorporate into the dough as it bakes.
5. Flavored Oils: Replace some or all of the oil in your recipe with flavored oils such as garlic-infused oil, chili oil, or even truffle oil. These oils will infuse your bread with distinct flavors and aromas that are sure to impress.
6. Sweet Additions: If you have a sweet tooth, you can add a touch of indulgence to your bread by incorporating chocolate chips, cinnamon, or even a swirl of Nutella. These additions can transform your bread into a delectable treat or an irresistible breakfast option.
It’s important to note that when adding additional ingredients, it’s crucial to follow your bread machine’s guidelines to ensure proper mixing and baking. Some machines may have specific instructions on when to add ingredients like nuts and fruits during the baking cycle.
By experimenting with these additional ingredients, you can create unique and personalized bread machine bread that will impress your family and friends. Don’t be afraid to get creative and try new combinations to find your favorite flavor profiles.
Initiating the Bread Slicing Process
Once your delicious bread is baked and ready to be enjoyed, it’s time to slice it into perfect, even pieces. Follow these steps to initiate the bread slicing process:
1. Allow the bread to cool: Before slicing your bread, it’s important to let it cool down completely. This allows the loaf to firm up a bit and makes it easier to achieve clean, neat slices. A good rule of thumb is to let the bread cool for at least 30 minutes to an hour.
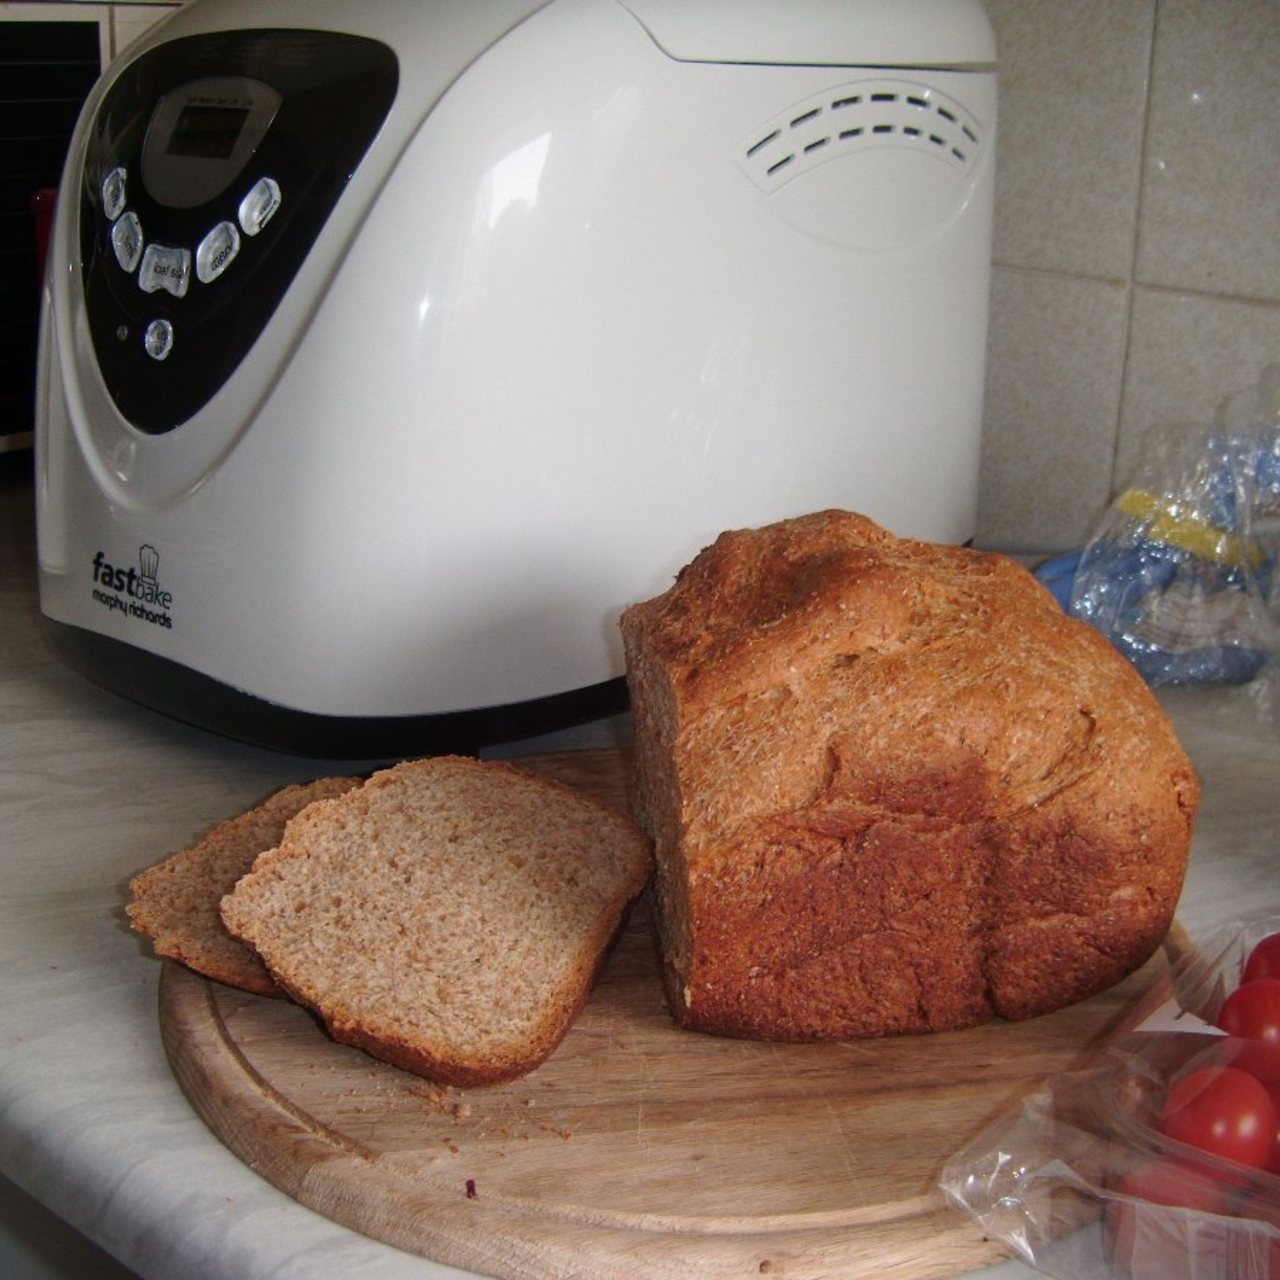
2. Choose the right knife: Selecting the right knife is essential for achieving clean and even slices. A sharp, serrated knife works best for slicing bread, as the teeth of the blade grip the crust while cutting through the soft interior. Make sure your knife is long enough to encompass the entire width of the loaf.
3. Position the bread: Place the cooled loaf on a stable cutting surface, such as a cutting board or a wooden bread slicing guide. Align the loaf so that it is perpendicular to the edge of the counter or slicing guide, ensuring stability during the slicing process.
4. Start slicing: With one hand on the top of the loaf gently pressing it down, use the other hand to steadily guide the knife through the bread. Begin at one end of the loaf and slowly saw back and forth, applying even pressure. Let the serrated knife do the work, allowing the teeth to penetrate the crust and smoothly cut through the bread.
5. Maintain consistent thickness: To achieve uniform slices, try to maintain a consistent thickness throughout the loaf. Aim for slices that are about ½ inch to 1 inch thick, depending on your preference. Remember to adjust the angle of the knife slightly as you progress through the loaf to maintain uniformity.
6. Repeat the process: Continue slicing until you’ve reached the other end of the loaf. Take your time and focus on maintaining a steady rhythm to ensure each slice is evenly cut.
7. Storing the sliced bread: Once you have finished slicing, you can store the remaining bread in a resealable bag or airtight container to maintain freshness. If you know you won’t consume all the bread within a few days, consider freezing the slices and defrosting them as needed.
Slicing your bread machine bread with care and precision will not only enhance the presentation but also make it easier to enjoy consistently sized slices. With practice, you’ll become proficient at slicing beautiful loaves of bread that are ready to be savored.
Tips for Perfectly Sliced Bread Machine Bread
To achieve perfectly sliced bread machine bread, here are some valuable tips to keep in mind:
1. Use a sharp, serrated knife: A sharp knife with serrated edges will make slicing bread easier and ensure cleaner cuts. The serrated blade grips the crust while cutting through the soft interior, resulting in neater slices.
2. Let the bread cool completely: Allow the bread to cool down completely before slicing. This allows the loaf to firm up, making it easier to achieve clean and even slices without squishing or tearing the bread.
3. Use a bread slicing guide: Consider using a bread slicing guide or a dedicated cutting board with guides. These tools help maintain consistent thickness and provide support for steady slicing.
4. Slice against the grain: When cutting your bread, slice against the grain to create slices that hold their shape better. Slicing against the grain means cutting perpendicular to the long axis of the loaf.
5. Apply even pressure: Apply gentle and even pressure as you slice through the bread. Avoid pressing too hard, as it can deform the loaf or result in uneven slices. Let the serrated knife do the work, allowing it to smoothly cut through the bread with minimal effort.
6. Clean the knife between slices: To ensure clean, tear-free slices, wipe the knife clean between each slice. This helps remove any accumulated crumbs or sticky residue that may affect subsequent slices.
7. Adjust your slicing technique for different bread textures: Bread machine bread can have a variety of textures, from soft and tender to denser and heartier. Adjust your slicing technique accordingly, using a sawing motion for softer bread and a slightly firmer sawing motion for denser bread.
8. Freeze the bread for easier slicing: If you find it challenging to slice your bread machine bread, try freezing it for a short period. Partially freezing the loaf can make it firmer, allowing for cleaner and more even slices.
9. Practice makes perfect: Slicing bread takes practice, so don’t be discouraged if your first attempts are not perfect. With time, you’ll develop your technique and improve your slicing skills.
Remember, perfectly sliced bread not only enhances the presentation of your homemade loaves but also ensures even portions and a delightful eating experience. So, follow these tips, be patient, and enjoy the satisfaction of slicing perfectly uniform bread machine bread.
Read more: How To Store Sliced Bread In A Bread Box
Conclusion
Congratulations! You have now learned the essential steps to slice your bread machine bread perfectly. From choosing the right bread machine and preparing the ingredients to setting up the machine and adjusting the crust settings, each aspect plays a vital role in creating delicious homemade bread for you to enjoy.
By following the tips and techniques outlined in this article, you can confidently slice your bread machine bread into evenly sized pieces. Whether you prefer thin slices for sandwiches or thicker slices for toast, the right knife, proper cooling, and steady cutting motion will ensure professional-looking results.
Remember to experiment with additional ingredients like nuts, seeds, dried fruits, or herbs to add extra flavor and texture to your bread. Be creative and tailor your bread machine experience to suit your taste preferences and dietary requirements. The possibilities are endless, and you can continually refine your recipes to create personalized loaves of bread.
Lastly, don’t forget to enjoy the process and savor the aroma and taste of freshly baked bread. Nothing beats the satisfaction of slicing into a warm loaf and savoring that first bite. With your newfound knowledge and skills, you can confidently create and slice beautiful loaves of bread machine bread to share with family and friends.
So, go ahead, fire up your bread machine, and embark on your next baking adventure. Whether it’s a classic white loaf, a hearty whole wheat bread, or an artisanal creation, your perfectly sliced bread machine bread is sure to delight and impress all who taste it. Happy baking!
Now that you've mastered slicing bread with a machine, why not try your hand at making bread from scratch? Our next guide walks you through creating delicious bread without needing any fancy equipment. Perfect for beginners and seasoned bakers alike, this article ensures you'll enjoy homemade bread with just a few simple ingredients and techniques. So, roll up your sleeves and get ready to impress with your baking skills!
Frequently Asked Questions about How To Slice Bread Using A Bread Machine
Was this page helpful?
At Storables.com, we guarantee accurate and reliable information. Our content, validated by Expert Board Contributors, is crafted following stringent Editorial Policies. We're committed to providing you with well-researched, expert-backed insights for all your informational needs.
0 thoughts on “How To Slice Bread Using A Bread Machine”