
Articles
How To Store Fresh Sage From The Garden
Modified: August 20, 2024
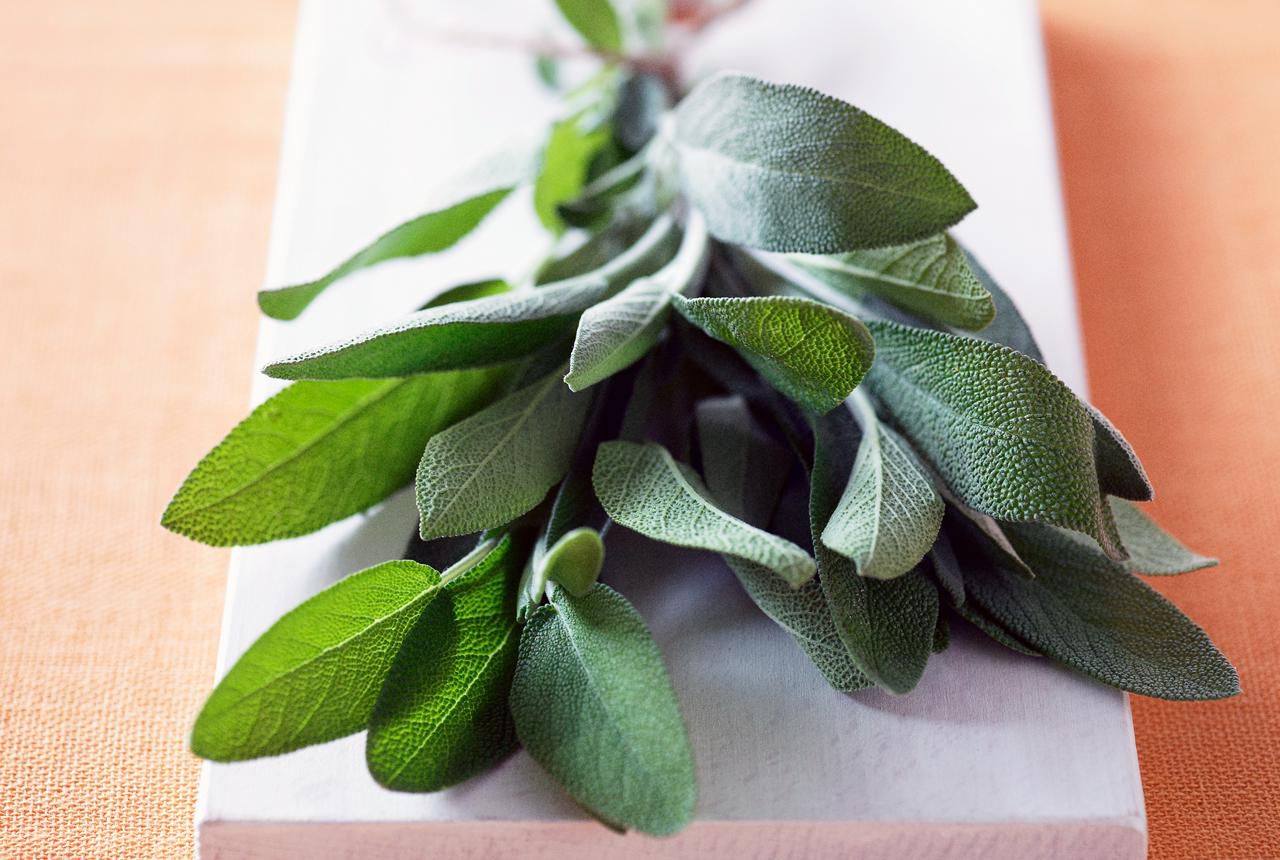
Learn how to store fresh sage from your garden in this informative article. Discover the best methods to preserve the flavor and aroma of this culinary herb.
(Many of the links in this article redirect to a specific reviewed product. Your purchase of these products through affiliate links helps to generate commission for Storables.com, at no extra cost. Learn more)
Introduction
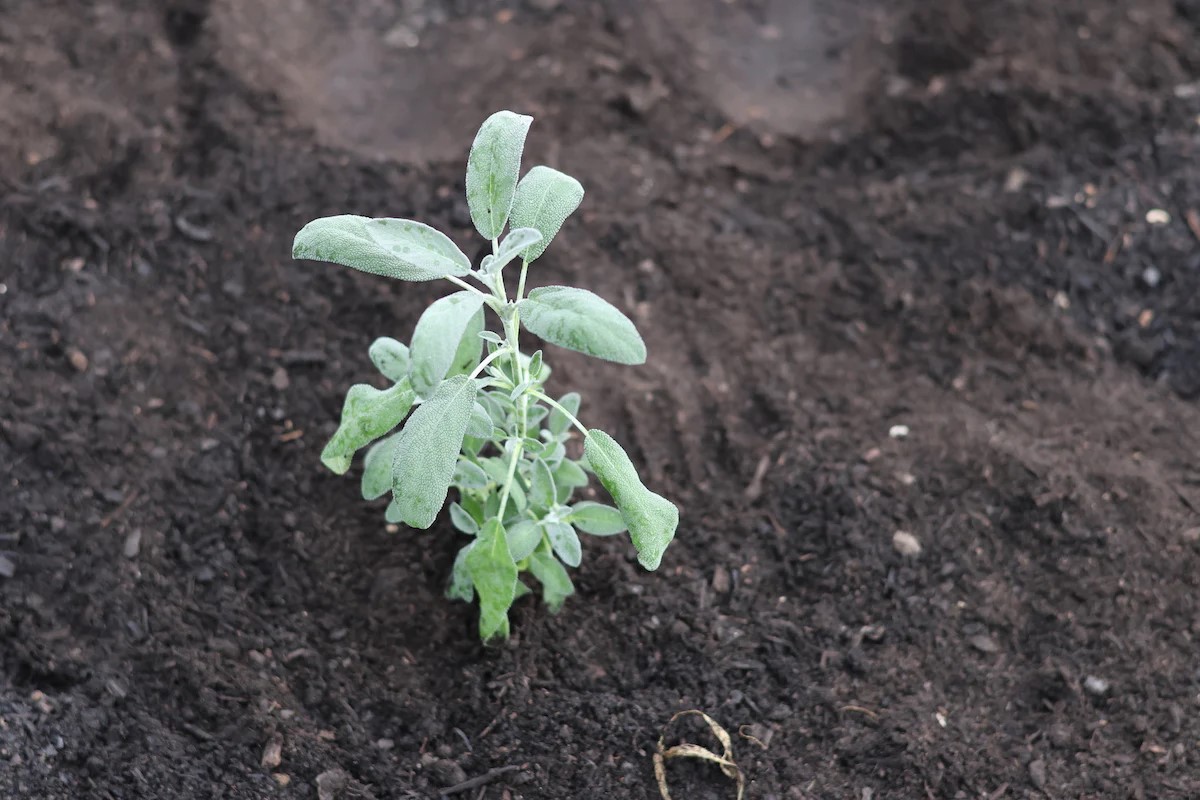
When it comes to cooking with fresh herbs, there’s nothing quite like the vibrant flavors and aromas that they bring to a dish. One herb that stands out with its distinct scent and earthy taste is sage. Known for its versatile culinary uses and medicinal properties, growing sage in your garden can be immensely rewarding. However, with a bountiful harvest of fresh sage comes the challenge of preserving it for future use.
In this article, we will explore the best practices for storing fresh sage from your garden. Whether you have an abundance of sage or want to ensure its longevity after the growing season, we’ll guide you through the process of harvesting, cleaning, drying, and storing fresh sage. Plus, we’ll provide some tips on freezing sage so you can enjoy its flavor year-round. So, let’s dive in and learn how to properly store fresh sage!
Key Takeaways:
- Preserve the vibrant flavor of fresh sage by harvesting, cleaning, drying, and storing it properly. Enjoy the versatility of sage in culinary creations, herbal teas, and infused oils for a delightful culinary experience.
- Extend the shelf life of fresh sage by freezing it for year-round use. Experiment with sage in various recipes to elevate the taste of dishes, from roasted meats to herbal teas and infused oils.
Read more: How To Store Fresh Sage Leaves
Harvesting Sage
Harvesting sage is an exciting moment for herb enthusiasts. Sage plants typically reach their peak flavor and aroma just before flowering, so it’s important to time your harvest accordingly. Here are steps to follow when harvesting sage:
- Choose the right time: Wait until the morning dew has evaporated, and the leaves are dry. It’s best to harvest sage in the morning after the dew has dried but before the heat of the day.
- Locate the stems: Identify the stems that have the healthiest and fullest-looking leaves. These will typically be the most flavorsome.
- Use sharp pruning shears or scissors: Cut the stems about 2-3 inches above the base of the plant. Make sure to leave enough foliage for the plant to continue growing.
- Harvest sparingly: Avoid over-harvesting from a single plant to ensure it continues to produce fresh leaves throughout the growing season. Harvest no more than a third of the plant at a time.
By following these steps, you can ensure a successful and sustainable harvest of fresh sage. Now that you have your sage leaves, it’s time to move on to the next step: cleaning.
Cleaning Sage
Once you’ve harvested your sage, it’s essential to clean it thoroughly to remove any dirt, insects, or debris that may be present. Follow these steps to clean your sage:
- Inspect the leaves: Take a close look at the leaves and discard any that show signs of damage, discoloration, or pests.
- Rinse with water: Gently rinse the sage leaves under cool running water. Be sure to remove any dirt or residue that may be clinging to the leaves.
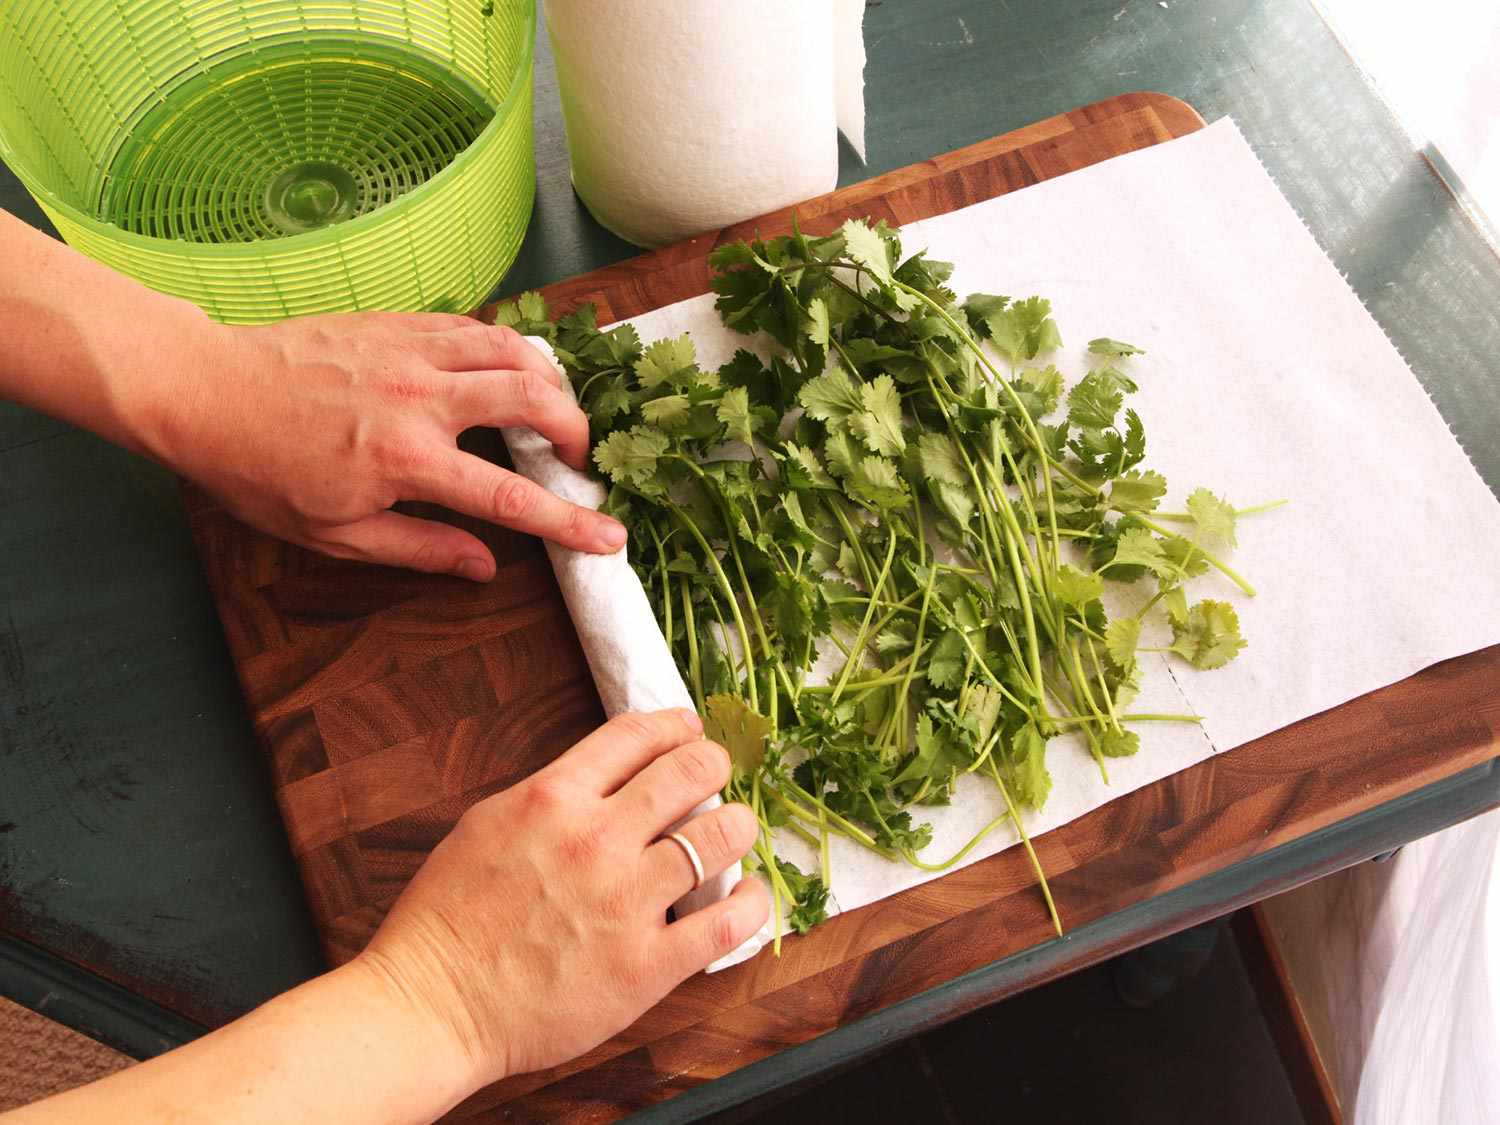
- Pat dry: Carefully pat dry the sage leaves using a clean kitchen towel or paper towels. Make sure they are fully dry before proceeding to the next step to prevent mold or mildew formation.
Cleaning your sage leaves ensures that you have a fresh and debris-free herb to work with. Now it’s time to move on to the next step: drying.
Drying Sage
Drying sage is a popular method for preserving its flavor and aroma for an extended period. Here are a few techniques you can choose from:
- Air drying: This traditional method involves hanging the sage stems upside down in a dry, well-ventilated area. Bundle a few stems together and tie them with string or a rubber band. Hang them upside down in a dark and warm spot, ensuring good air circulation. Leave them to dry for about 1-2 weeks or until the leaves become brittle.
- Oven drying: If you want to expedite the drying process, you can use your oven. Preheat your oven to the lowest temperature setting (around 100°F or 40°C). Spread the sage leaves in a single layer on a baking sheet lined with parchment paper. Place the baking sheet in the oven and leave the oven door slightly ajar to allow airflow. Check the sage every 15 minutes or so until it becomes dry and crisp.
- Dehydrator: If you have a dehydrator, you can use it to dry sage. Follow the manufacturer’s instructions to set the dehydrator at a low temperature (around 95°F or 35°C). Arrange the sage leaves in a single layer on the dehydrator trays, ensuring proper airflow. Allow the sage to dry for approximately 2-4 hours or until it is fully dry.
Regardless of the method you choose, it’s important to store the dried sage properly to maintain its quality and flavor. Let’s move on to the next section to learn how to store your freshly dried sage.
To store fresh sage from the garden, wrap the stems in a damp paper towel and place them in a plastic bag in the refrigerator. This will help keep the sage fresh for up to a week.
Storing Fresh Sage
Once you have dried your sage leaves, it’s time to store them properly to preserve their freshness and potency. Follow these steps to store your freshly dried sage:
- Crush or keep whole: Decide whether you want to keep your sage leaves whole or crush them. Keeping them whole will help retain the flavor for a longer period, while crushing them releases the flavor more quickly.
- Choose airtight containers: Use airtight glass jars, plastic containers, or resealable bags to store your dried sage. Make sure the containers are clean and completely dry to prevent moisture from affecting the sage’s quality.
- Label and date: It’s important to label your containers with the herb’s name and the date of storage. This way, you can easily identify and use your sage before its flavor diminishes over time.
- Store in a cool, dark place: Keep your dried sage in a cool, dark pantry or cupboard away from direct sunlight and heat. Exposure to light and heat can degrade the flavor and aroma of the herb.
By following these storage tips, you can enjoy the taste and aroma of your dried sage for several months to a year. However, if you want to extend its shelf life even further, freezing your fresh sage is an excellent option.
Read more: How To Store Sage
Freezing Fresh Sage
If you have an abundance of fresh sage or want to prolong its shelf life, freezing is a great option. Follow these steps to freeze fresh sage:
- Wash and dry: Start by washing the fresh sage leaves under cool running water. Pat them dry thoroughly to remove any excess moisture.
- Prepare for freezing: Tear the sage leaves into small pieces or leave them whole, depending on your preference. You can also chop the sage finely if you plan to use it in recipes directly from the freezer.
- Flash freeze: Arrange the sage leaves in a single layer on a baking sheet or tray lined with parchment paper. Place the tray in the freezer and let the sage freeze for about 1 to 2 hours. This process, known as flash freezing, helps prevent the leaves from sticking together when stored in a container.
- Transfer to a container: Once the sage leaves are partially frozen, transfer them to airtight containers or freezer bags. Label the containers with the herb’s name and the date of freezing.
- Return to the freezer: Place the containers in the freezer and ensure they are tightly sealed to prevent freezer burn and maintain the freshness of the sage.
When you need to use frozen sage, simply take out the desired amount and return the rest to the freezer immediately. Frozen sage can be used in cooking recipes directly, as the freezing process preserves its flavor and aroma well.
By freezing your fresh sage, you can enjoy the taste and aroma of this versatile herb throughout the year, even long after the growing season has ended.
Using Fresh Sage
Fresh sage adds a delightful and aromatic flavor to a variety of dishes. Here are some popular ways to use fresh sage:
- Culinary uses: Sage pairs well with meats like chicken, pork, and sausage. It can be used to flavor soups, stews, sauces, and marinades. It also adds a unique twist to vegetable dishes, roasted potatoes, and pasta sauces.
- Infused oils and vinegars: Fresh sage leaves can be infused into oils or vinegar to create flavorful dressings, marinades, or dipping sauces. Simply combine sage leaves with your preferred oil or vinegar and let it infuse for a few weeks in a cool, dark place.
- Herbal tea: Sage leaves can be steeped in hot water to make a soothing and aromatic herbal tea. Add a few fresh leaves to a cup of boiling water and allow it to steep for a few minutes. You can sweeten the tea with honey or enjoy it as is.
- Herb butter: Incorporate fresh sage into homemade herb butter by finely chopping the leaves and mixing them with softened butter. This herb-infused butter can be used to enhance the flavors of grilled meats, roasted vegetables, or spread on bread.
- Seasoning for roasted meats: Fresh sage leaves can be tucked under the skin of poultry or stuffed inside a roast for added flavor during the cooking process.
Experiment with fresh sage in your recipes to discover your favorite flavor combinations. Whether you’re adding a sprinkle of sage as a garnish or using it as a primary ingredient, it’s sure to elevate the taste of your dishes.
Conclusion
Sage is a versatile and aromatic herb that brings a unique depth of flavor to numerous dishes. With proper harvesting, cleaning, drying, and storage techniques, you can confidently preserve the freshness and potency of your homegrown sage.
By following the steps outlined in this article, you can ensure that your sage remains flavorful and fragrant for an extended period. Whether you choose to dry and store your sage or freeze it for year-round use, you’ll have a convenient and accessible supply of this beloved herb.
Remember to take care when harvesting and cleaning your sage to maintain its quality. Properly drying and storing your sage will help maximize its shelf life, ensuring that you can enjoy the taste and aroma of this remarkable herb long after the growing season has ended.
So, go ahead and make the most of your fresh sage from the garden. Whether you’re using it in culinary creations, infusing oils and vinegars, or savoring it in a cup of herbal tea, the distinct flavor and aroma of sage are sure to enhance your culinary experiences.
Explore the versatility of sage and experiment with different recipes to fully appreciate its culinary magic. Enjoy the flavor and fragrance of this remarkable herb as you infuse your dishes with its unique character and aromatic charm.
Now that you have the knowledge and techniques for storing fresh sage, it’s time to put it into practice and savor the delights of this wonderful herb all year round.
Frequently Asked Questions about How To Store Fresh Sage From The Garden
Was this page helpful?
At Storables.com, we guarantee accurate and reliable information. Our content, validated by Expert Board Contributors, is crafted following stringent Editorial Policies. We're committed to providing you with well-researched, expert-backed insights for all your informational needs.



0 thoughts on “How To Store Fresh Sage From The Garden”