Home>Garden Essentials>How To Grow Sage Indoors From Seed
Garden Essentials
How To Grow Sage Indoors From Seed
Modified: October 20, 2024
Learn how to grow sage indoors from seed and create a thriving garden in your own home. Discover tips and techniques for successful cultivation and enjoy fresh, aromatic herbs at your fingertips.
(Many of the links in this article redirect to a specific reviewed product. Your purchase of these products through affiliate links helps to generate commission for Storables.com, at no extra cost. Learn more)
Introduction
Growing sage indoors from seed is a rewarding and fulfilling experience for any gardener. Sage, with its aromatic scent and distinct flavor, is a versatile herb that can be used in a variety of culinary dishes, herbal teas, and even homemade beauty products. Whether you live in an apartment with limited outdoor space or simply want to enjoy the convenience of having fresh sage readily available in your kitchen, growing sage indoors is a great solution.
In this article, we will guide you through the step-by-step process of growing sage indoors from seed. We will cover everything from selecting the right container and preparing the soil mixture, to providing the appropriate light and temperature conditions for optimal growth. You will also learn about watering and fertilizing sage plants, transplanting seedlings (if desired), and how to effectively maintain your sage plants indoors.
By the end of this article, you will have all the knowledge and confidence you need to successfully grow sage indoors and enjoy its abundant benefits throughout the year.
Key Takeaways:
- Growing sage indoors from seed is a fun and rewarding way to have fresh herbs at your fingertips. Just follow the steps to plant, care for, and harvest your sage plants, and enjoy the flavorful benefits in your cooking!
- By providing the right container, soil, light, and care, you can successfully grow sage indoors. Harvest the leaves for culinary use and experience the joy of nurturing your own herb garden.
Read more: How To Grow Sage From Seed
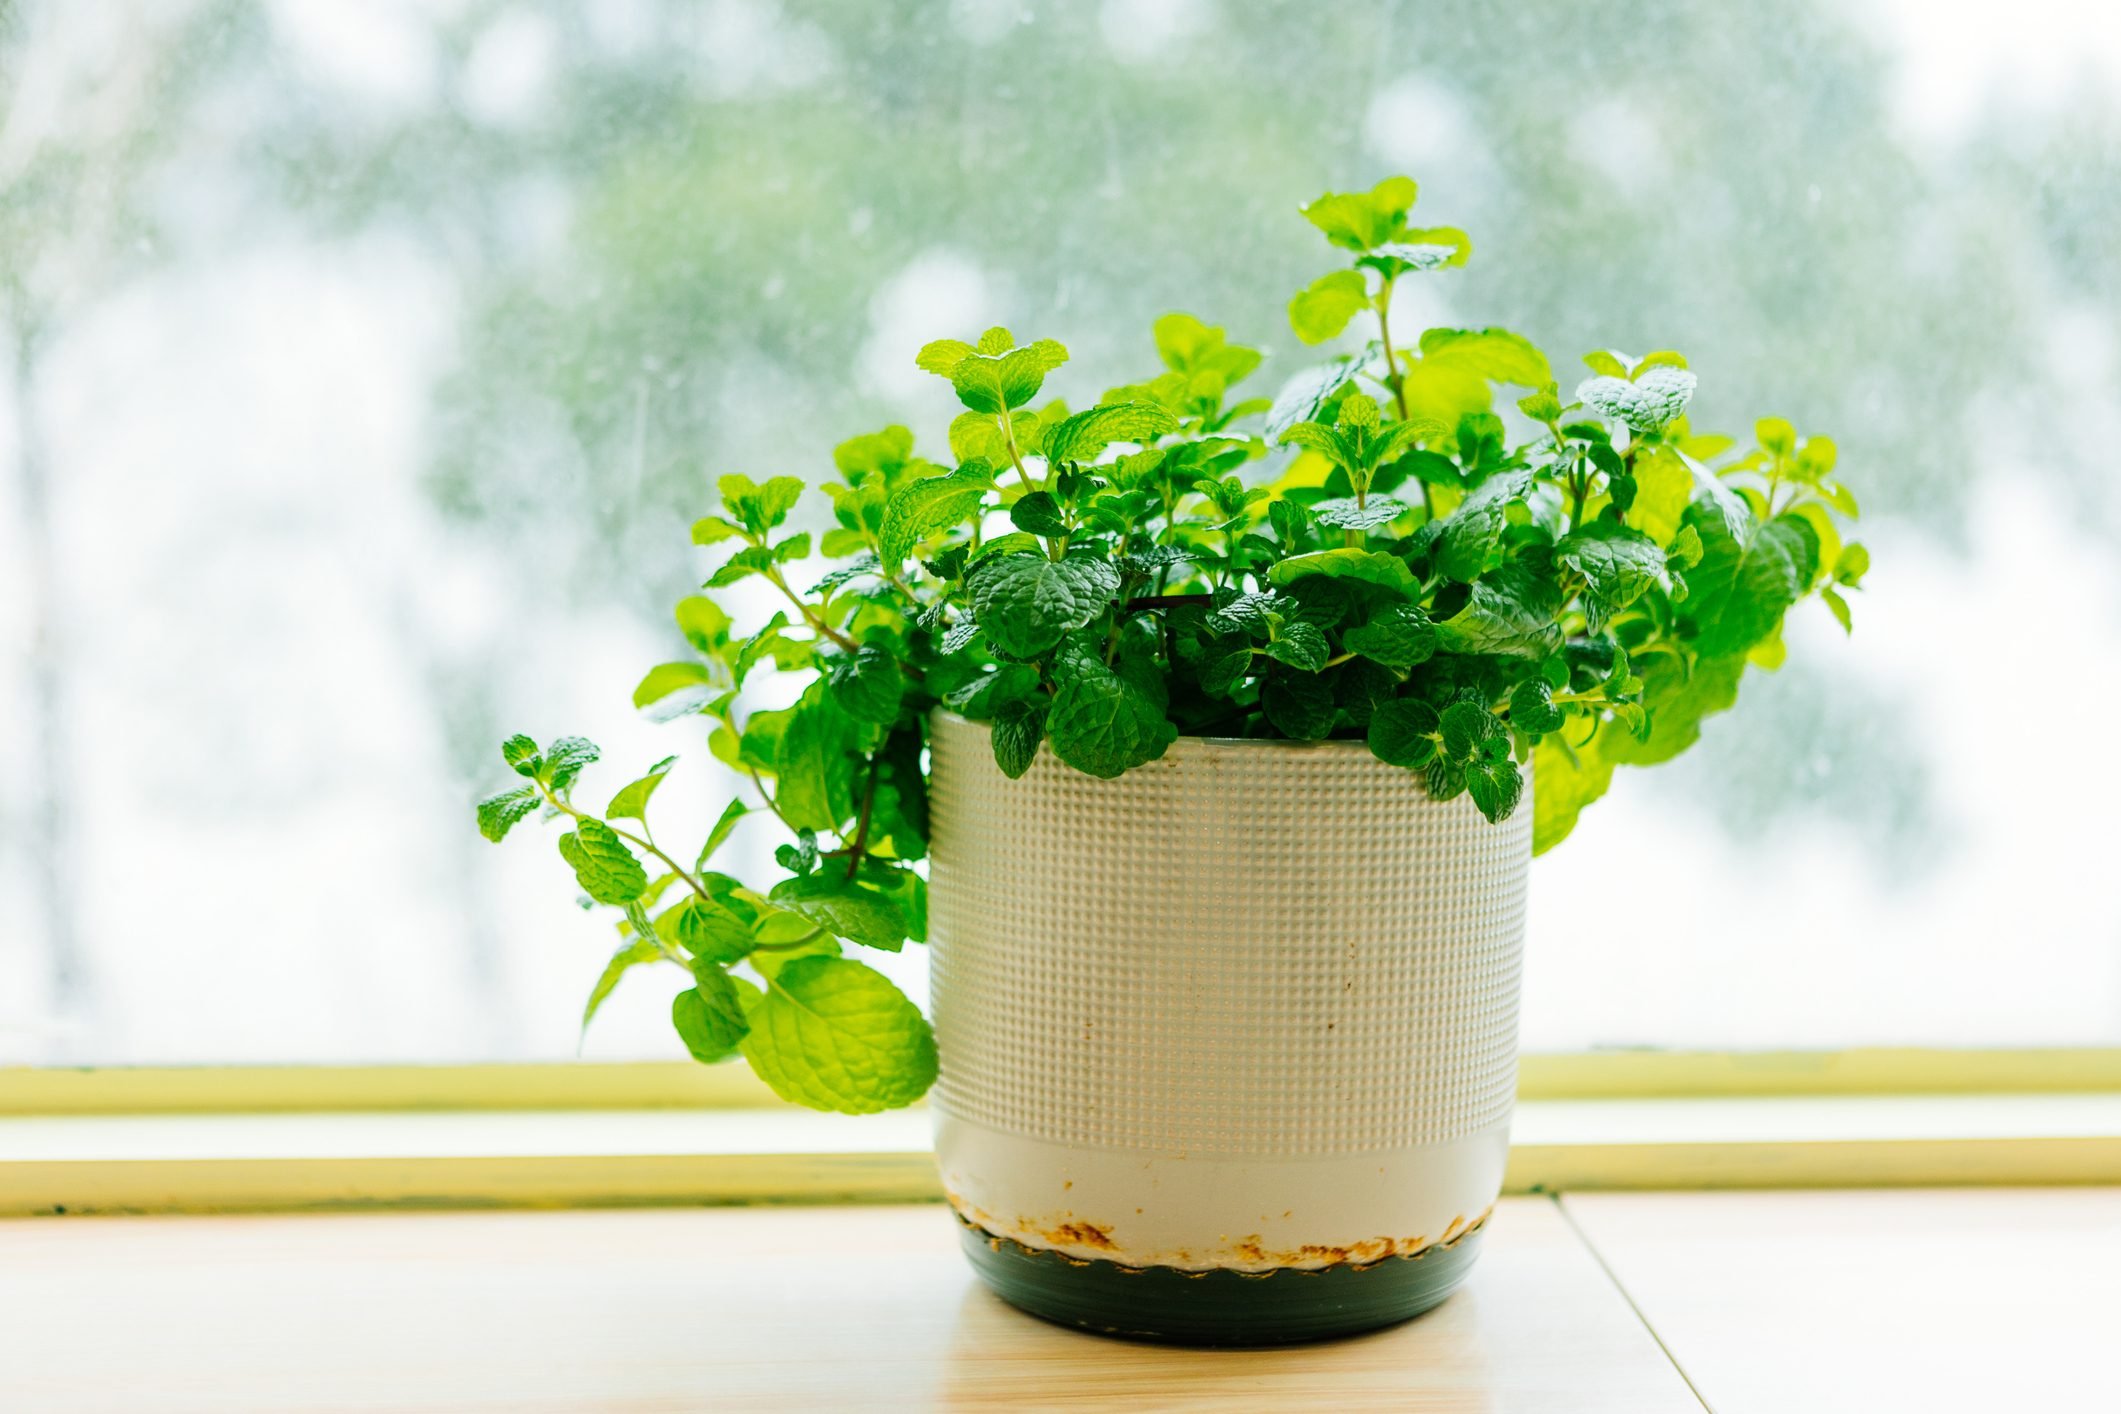
Step 1: Selecting the Right Container
When growing sage indoors, selecting the right container is crucial for the health and growth of your plants. Sage plants have deep roots, so it is important to choose a container that is at least 8-10 inches deep to allow for proper root development.
Opt for a container made of plastic, ceramic, or clay, with drainage holes at the bottom to prevent waterlogged soil. A container with a diameter of 12-14 inches will provide enough space for multiple sage plants to thrive.
If you prefer a more aesthetic look, you can also use decorative pots or hanging baskets as long as they fulfill the size requirements.
Additionally, consider the overall weight of the container. Sage plants can become top-heavy and may require sturdier containers to prevent tipping over. If you opt for a heavier material like clay, make sure to place it on a stable surface to avoid any accidents.
Remember, the chosen container should not only accommodate the current size of the sage seedlings but also provide ample room for growth as they mature. This will help prevent the need for frequent transplanting.
Once you have selected the perfect container, move on to the next step: preparing the soil mixture.
Step 2: Preparing the Soil Mixture
Preparing the right soil mixture is essential for the successful growth of your indoor sage plants. Sage prefers well-draining soil with a slightly alkaline pH level between 6.0 and 7.0. Here’s how you can prepare the ideal soil mixture:
- Start by selecting a high-quality potting mix specifically formulated for herbs or vegetables. These mixes are typically lightweight and well-draining, providing the necessary aeration and moisture retention.
- In order to improve drainage, you can also mix perlite or coarse sand into the potting mix. These additives will help prevent the roots from becoming waterlogged.
- Consider adding organic matter, such as compost or well-rotted manure, to enrich the soil and provide essential nutrients for the sage plants.
- Thoroughly mix all the ingredients together, ensuring they are well incorporated.
Once the soil mixture is ready, fill the selected container(s) with the prepared soil, leaving around an inch of space at the top for easy watering. Gently pat down the soil to eliminate any air pockets.
Now that the soil is prepared, it’s time to move on to the next step: sowing sage seeds.
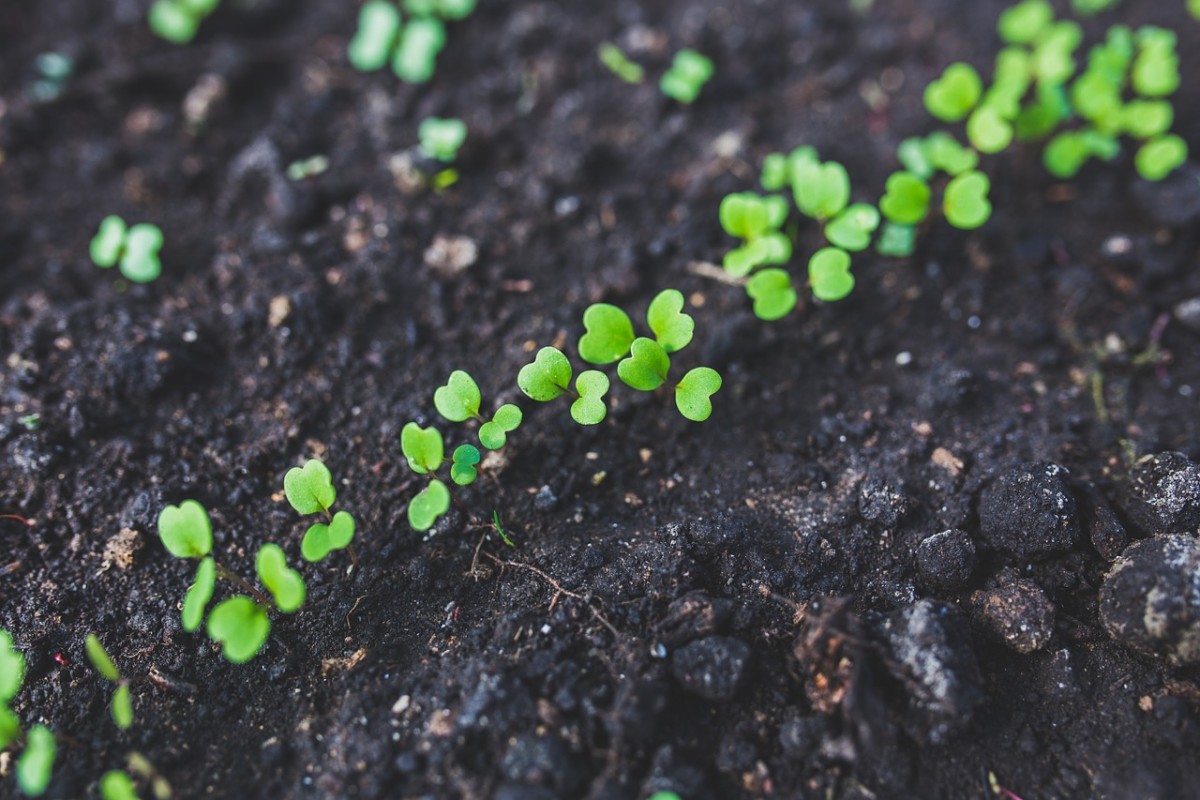
Step 3: Sowing Sage Seeds
Sowing sage seeds is an exciting step in the process of growing sage indoors. With proper care and attention, these tiny seeds will develop into beautiful sage plants. Follow these steps to ensure successful germination:
- Before sowing the seeds, moisten the soil lightly. This will provide a favorable environment for the seeds to germinate.
- Using your finger or a small tool, create shallow furrows in the soil, about ¼ inch deep.
- Place the sage seeds in the furrows, spacing them about 2 inches apart. Avoid overcrowding, as this can lead to poor airflow and hinder plant growth.
- Gently cover the seeds with a thin layer of soil. Press down lightly to ensure good seed-to-soil contact.
- Mist the soil with water to maintain moisture levels. Avoid overwatering, as excessive moisture can lead to seed rot.
- Place a plastic dome or cover over the container to create a mini greenhouse effect. This helps retain moisture and warmth, promoting faster germination.
- Position the container in a warm location, receiving indirect sunlight. Ideal temperatures for sage seed germination range between 65°F and 75°F (18°C and 24°C).
- Check the soil moisture regularly and mist if necessary to keep it consistently damp. Avoid letting the soil dry out completely.
- Within 10 to 21 days, the sage seeds should start to sprout. Once the seedlings have grown a few inches tall, remove the plastic dome or cover.
Now that you have sown your sage seeds, it’s time to move on to the next step: providing appropriate light and temperature conditions
Step 4: Providing Appropriate Light and Temperature Conditions
In order for your indoor sage plants to thrive, it is crucial to provide them with the right amount of light and maintain suitable temperature conditions. Here’s what you need to know:
Light:
Sage plants require at least 6-8 hours of direct sunlight each day to grow vigorously. Place your container in a south-facing window or provide supplemental lighting with fluorescent grow lights if natural light is limited. Ensure that the sage plants receive consistent and even light, as uneven lighting can cause leggy or weak growth.
Temperature:
Sage plants prefer warm temperatures between 60°F and 70°F (15°C and 21°C). Avoid exposing them to fluctuating temperatures or drafts, as this can stress the plants. Maintain a stable temperature in the growing area, away from air conditioning vents or heating sources.
If the room temperature tends to be cooler, you can use a heating mat placed under the container to provide gentle bottom heat and promote faster growth.
It is important to monitor the temperature and adjust as necessary to create optimal growing conditions for your sage plants.
With the right light and temperature conditions in place, your sage plants will thrive and be ready to move on to the next step: watering and fertilizing.
To grow sage indoors from seed, start the seeds in a well-draining potting mix, keep the soil consistently moist but not waterlogged, and provide plenty of sunlight or grow lights to help the seeds germinate and grow into healthy plants.
Read more: How To Grow Cilantro From Seed Indoors
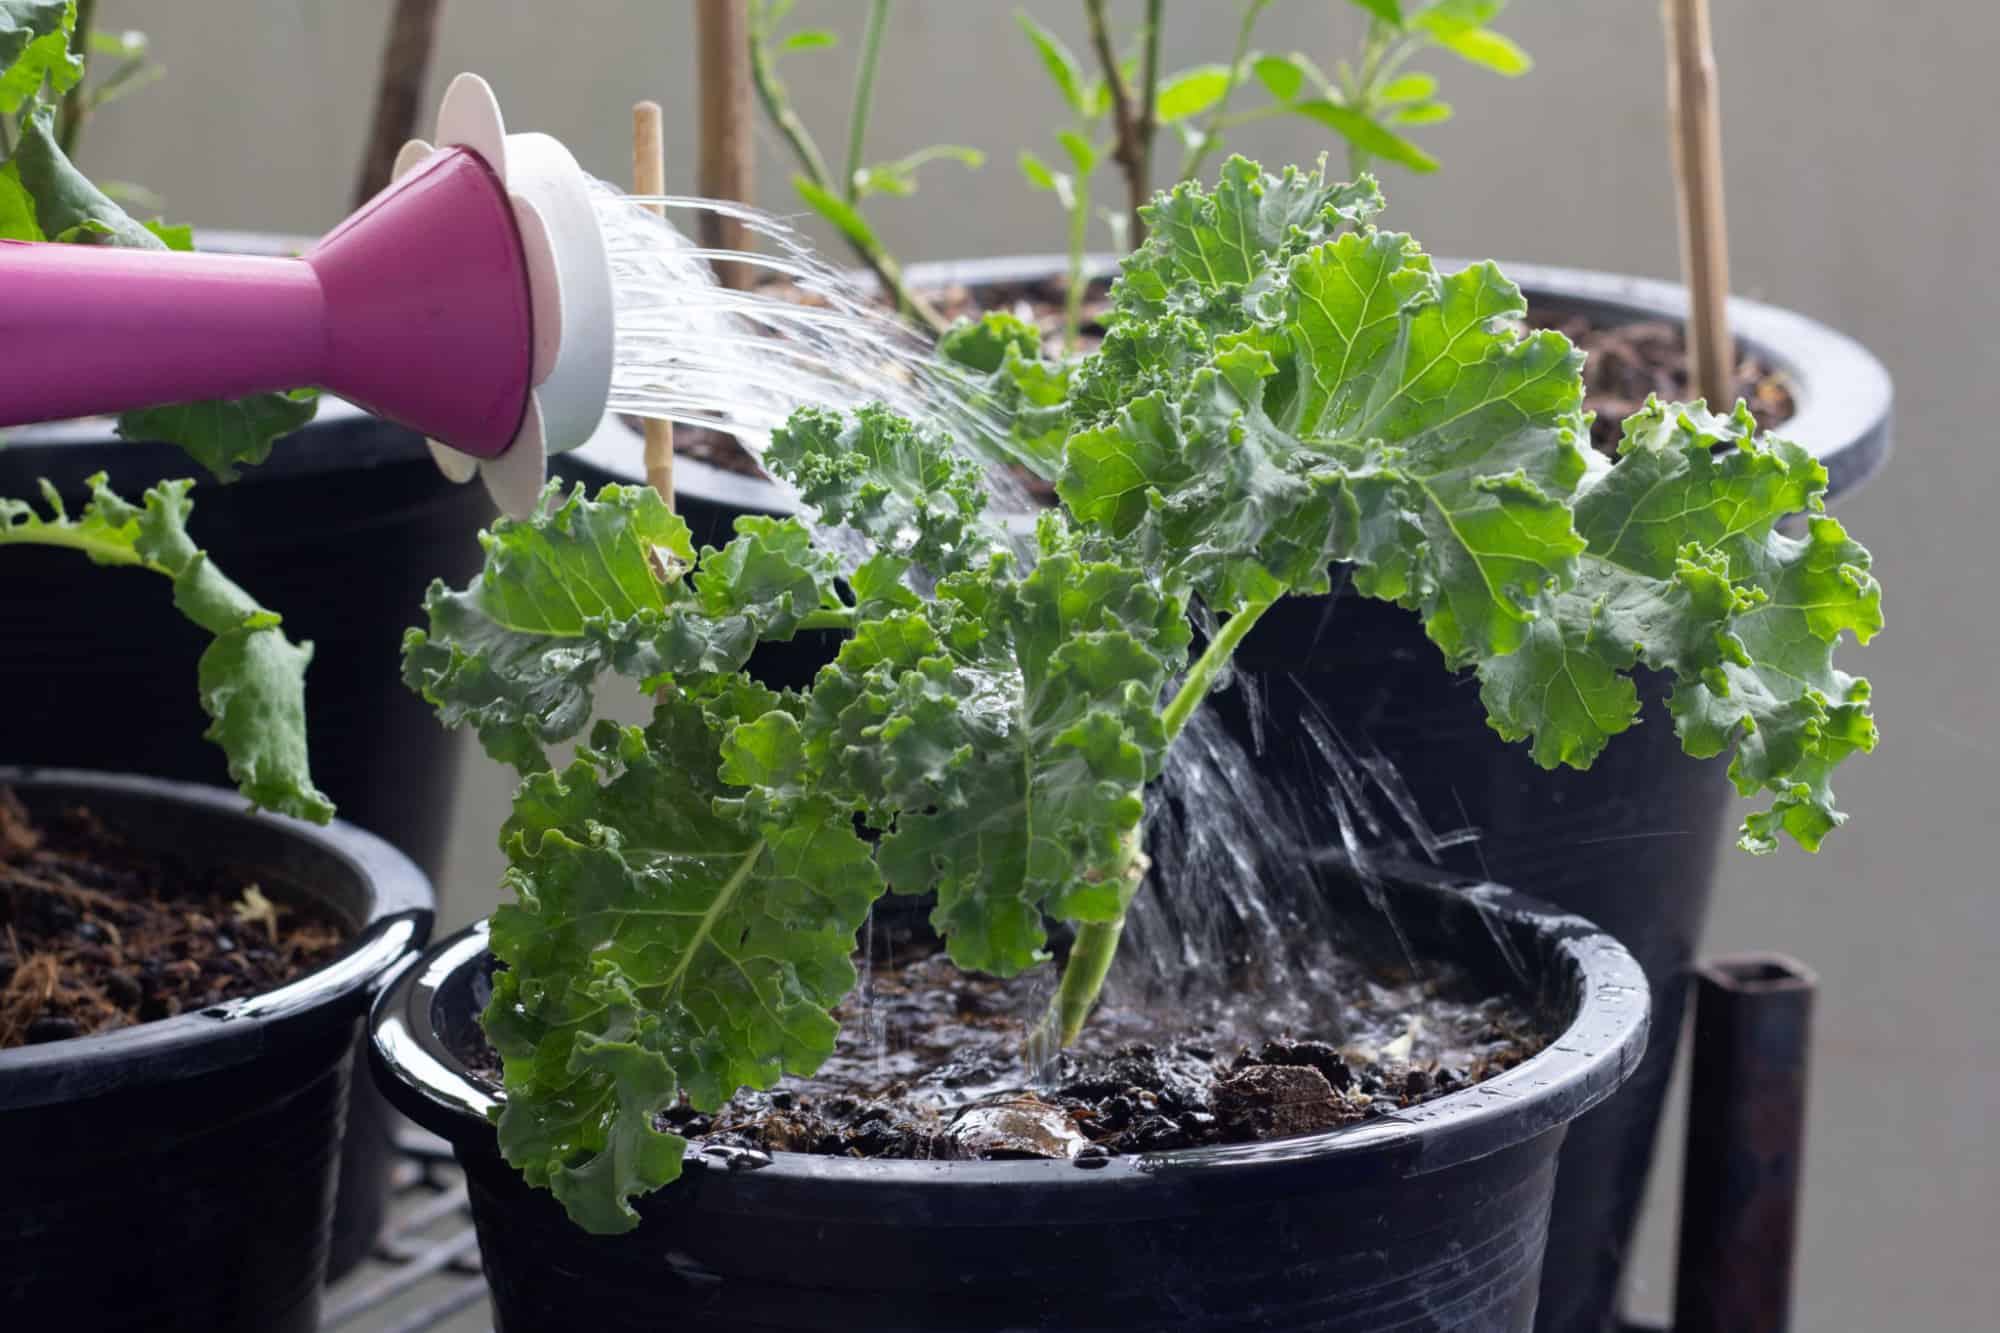
Step 5: Watering and Fertilizing Sage Plants
Proper watering and fertilizing are crucial for the healthy growth of your indoor sage plants. Here are some guidelines to ensure their nutritional needs are met:
Watering:
Sage plants prefer soil that is slightly moist, but not waterlogged. Overwatering can lead to root rot, while underwatering can cause the plants to wither. Follow these tips to water your sage plants effectively:
- Water the plants thoroughly when the top inch of the soil feels dry to the touch. Pour water slowly and evenly around the base of the plants until it starts to drain out from the bottom of the container.
- Avoid getting water on the foliage, as this can increase the risk of fungal diseases.
- Allow the soil to dry out slightly between waterings to prevent waterlogged conditions.
- Remember, the watering frequency may change depending on the environmental conditions such as temperature and humidity, so monitor the moisture levels regularly.
Fertilizing:
Sage plants benefit from regular feeding to maintain their growth and overall health. Use a balanced, water-soluble fertilizer with equal proportions of nitrogen, phosphorus, and potassium. Follow the instructions on the fertilizer package for dilution ratios and frequency of application.
Start fertilizing your sage plants once they have established a good root system, usually around 4-6 weeks after germination. Apply the fertilizer every 4-6 weeks during the growing season, reducing the frequency to every 8-10 weeks during winter months when growth slows down.
Be careful not to over-fertilize sage plants, as excessive nitrogen can promote lush foliage growth at the expense of flavor. Monitor the plants for any signs of nutrient deficiencies or excesses and adjust your fertilization routine accordingly.
With proper watering and fertilizing, you’ll nourish your sage plants for healthy growth and prepare them for the next step: transplanting seedlings (if desired).
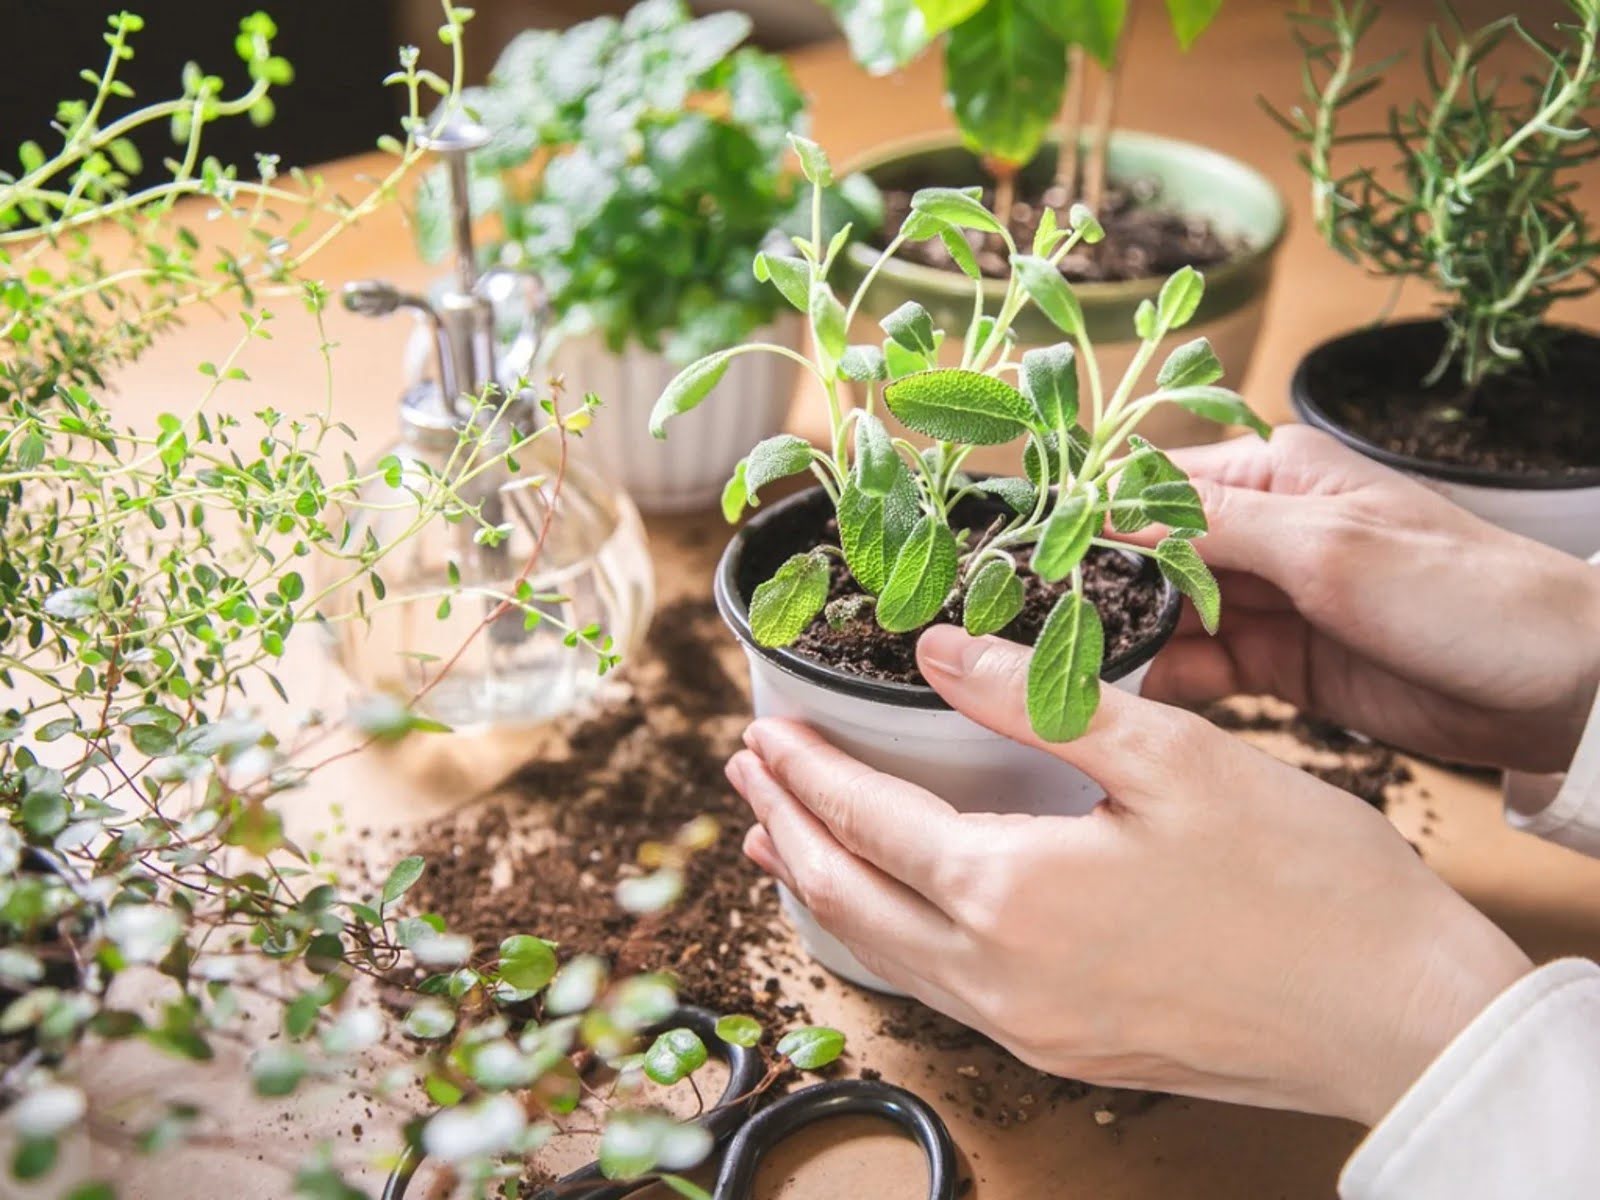
Step 6: Transplanting Sage Seedlings (Optional)
Transplanting sage seedlings is an optional step that you can take to give your plants more space to grow and thrive. Transplanting is typically done when the seedlings have developed their second set of true leaves and are strong enough to handle the transplant process. Here’s how you can transplant your sage seedlings:
- Choose a larger container or individual pots that provide ample room for the roots to spread out. Make sure the containers have drainage holes.
- Fill the new containers with the same well-draining soil mixture used for sowing the seeds.
- Gently loosen the soil around the base of the seedlings to avoid damaging the roots. Carefully lift the seedlings out of the original container, keeping the soil intact around the roots.
- Place the seedlings into the new containers and fill in the gaps with additional potting soil. Gently press down the soil around the seedlings to secure them in place.
- Water the newly transplanted seedlings thoroughly, ensuring that the soil is evenly moist.
- Place the containers in a well-lit area away from direct sunlight for a few days to allow the seedlings to recover from the transplant shock.
- Continue to care for the transplanted seedlings by providing appropriate watering, light, and temperature conditions as mentioned in the previous steps.
Transplanting sage seedlings can help prevent overcrowding, promote better airflow, and provide more space for root development. However, if you have chosen a large enough container from the beginning, transplanting may not be necessary.
With the seedlings successfully transplanted, your sage plants are now ready for the next step: maintaining them indoors.
Step 7: Maintaining Sage Plants Indoors
Maintaining your sage plants indoors is crucial for their continued health and productivity. By following these guidelines, you can ensure that your plants thrive and provide you with an abundant supply of fresh sage:
1. Light:
Continue to provide your sage plants with 6-8 hours of direct sunlight each day. If natural light is insufficient, supplement with fluorescent grow lights placed a few inches above the plants. Rotate the containers regularly to ensure even exposure to light and prevent the plants from leaning towards the light source.
2. Temperature and Humidity:
Maintain a consistent temperature between 60°F and 70°F (15°C and 21°C) during the day and slightly cooler at night. Sage plants prefer moderate humidity levels, so avoid placing them near drafts or heaters that can dry out the air. If the air in your home is excessively dry, use a humidifier or place a tray filled with water near the plants to increase humidity.
3. Watering:
Continue to monitor the moisture levels in the soil and water your sage plants when the top inch feels dry. Avoid overwatering and let the soil dry out slightly between waterings. Remember to water slowly and evenly around the base of the plants to ensure thorough hydration.
4. Pruning:
Regular pruning will keep your sage plants compact and encourage bushier growth. Pinch off the tips of the stems regularly, especially after flowering, to promote branching. Harvesting leaves regularly also acts as a form of pruning and helps stimulate new growth. Remove any yellow or diseased leaves to maintain plant health.
5. Pest Control:
Keep an eye out for common pests that may affect sage plants, such as aphids, mealybugs, or spider mites. Regularly inspect the leaves and stems for any signs of infestation. If pests are present, treat them using organic insecticidal soap or neem oil, following the instructions on the product label.
6. Fertilizing:
Continue to fertilize your sage plants every 4-6 weeks during the growing season, using a balanced water-soluble fertilizer. Adjust the frequency of fertilization during the winter months when growth slows down. Always follow the manufacturer’s instructions for proper dilution and application.
By maintaining your sage plants with consistent care and attention, you’ll enjoy a bountiful harvest and the flavorful rewards of your indoor herb garden.
With your sage plants thriving, it’s time to move on to the final step: harvesting and using the sage leaves.
Step 8: Harvesting and Using Sage Leaves
Harvesting sage leaves from your indoor plants allows you to enjoy the flavorful and aromatic qualities of this versatile herb. Follow these steps to harvest and use your sage leaves effectively:
1. Timing:
Wait until your sage plants have reached a height of 8-10 inches before harvesting. At this stage, the leaves will have developed their full flavor. It is best to harvest sage leaves in the morning when the aromatic oils are at their peak.
2. Selective Harvesting:
When harvesting, select individual leaves or cut small sprigs from various parts of the plant to promote bushier growth. Avoid stripping all the leaves from a single stem, as this can inhibit growth and reduce the overall health of the plant.
3. Pruning Technique:
To harvest individual leaves, use a pair of clean, sharp scissors or pruning shears. Gently snip the leaf stem just above a healthy set of leaves or a branching point. This encourages new growth from the pruned stem.
4. Harvesting for Drying:
If you wish to dry your sage leaves for later use, cut bigger sprigs or branches as close to the base of the plant as possible. Bundle the sprigs together and hang them upside down in a cool, dry place with good air circulation. After about one to two weeks, the leaves should be fully dried and ready to be stored.
5. Utilizing the Leaves:
Sage leaves can be used both fresh and dried in a variety of culinary creations. Add them to soups, stews, roasted vegetables, stuffings, and sauces to enhance flavors. They can also be infused into oils, vinegars, or used to make sage tea. Dried sage leaves can be crushed and used as a seasoning for meats, poultry, or vegetables.
6. Proper Storage:
Store fresh sage leaves in a plastic bag or airtight container in the refrigerator. They should stay fresh for up to a week. Dried sage leaves can be stored in a sealed container in a cool, dark place for several months.
By harvesting and utilizing your sage leaves properly, you’ll be able to add a touch of extraordinary flavor and aroma to your culinary creations.
Congratulations! You have successfully completed all the steps to grow and care for your sage plants indoors. Enjoy the abundance of this versatile herb and the satisfaction of growing your own culinary treasures.
Happy gardening!
Read more: How To Grow Catnip From Seed Indoors
Conclusion
Growing sage indoors from seed is a rewarding and accessible way to enjoy the flavors and benefits of this versatile herb. By following the step-by-step process outlined in this article, you can successfully cultivate sage plants in the comfort of your own home.
From selecting the right container and preparing the soil mixture to sowing the seeds, providing appropriate light and temperature conditions, watering and fertilizing, and optionally transplanting the seedlings, each step plays an integral role in the growth and health of your sage plants.
By maintaining proper care, including adequate light, optimal temperature, and consistent watering and fertilizing, you can ensure the healthy development and productivity of your sage plants. Regular pruning and pest control help maintain robust growth.
When it comes time to harvest your sage leaves, remember to do so selectively, allowing the plants to continue growing and producing fresh leaves. Enjoy the flavors of sage in a variety of culinary delights, whether using the leaves fresh or dried.
Growing sage indoors not only provides you with a steady supply of this aromatic herb but also adds a touch of green to your living space and allows you to connect with nature. The sense of accomplishment that comes from successfully tending to your plants is truly worthwhile.
So why wait? Begin your journey of growing sage indoors and experience the joys of cultivating your own herb garden. Enjoy the fresh aroma, flavorful addition to your favorite dishes, and the satisfaction of nurturing and harvesting your own herbs.
Start enjoying the many benefits of sage today and happy gardening!
Frequently Asked Questions about How To Grow Sage Indoors From Seed
Was this page helpful?
At Storables.com, we guarantee accurate and reliable information. Our content, validated by Expert Board Contributors, is crafted following stringent Editorial Policies. We're committed to providing you with well-researched, expert-backed insights for all your informational needs.


0 thoughts on “How To Grow Sage Indoors From Seed”