Articles
How To Apply Polyurethane To Wood Floors
Modified: November 1, 2024
Learn how to polyurethane your wood floor with our step-by-step articles. Achieve a beautiful, long-lasting finish for your hardwood floor.
(Many of the links in this article redirect to a specific reviewed product. Your purchase of these products through affiliate links helps to generate commission for Storables.com, at no extra cost. Learn more)
Introduction
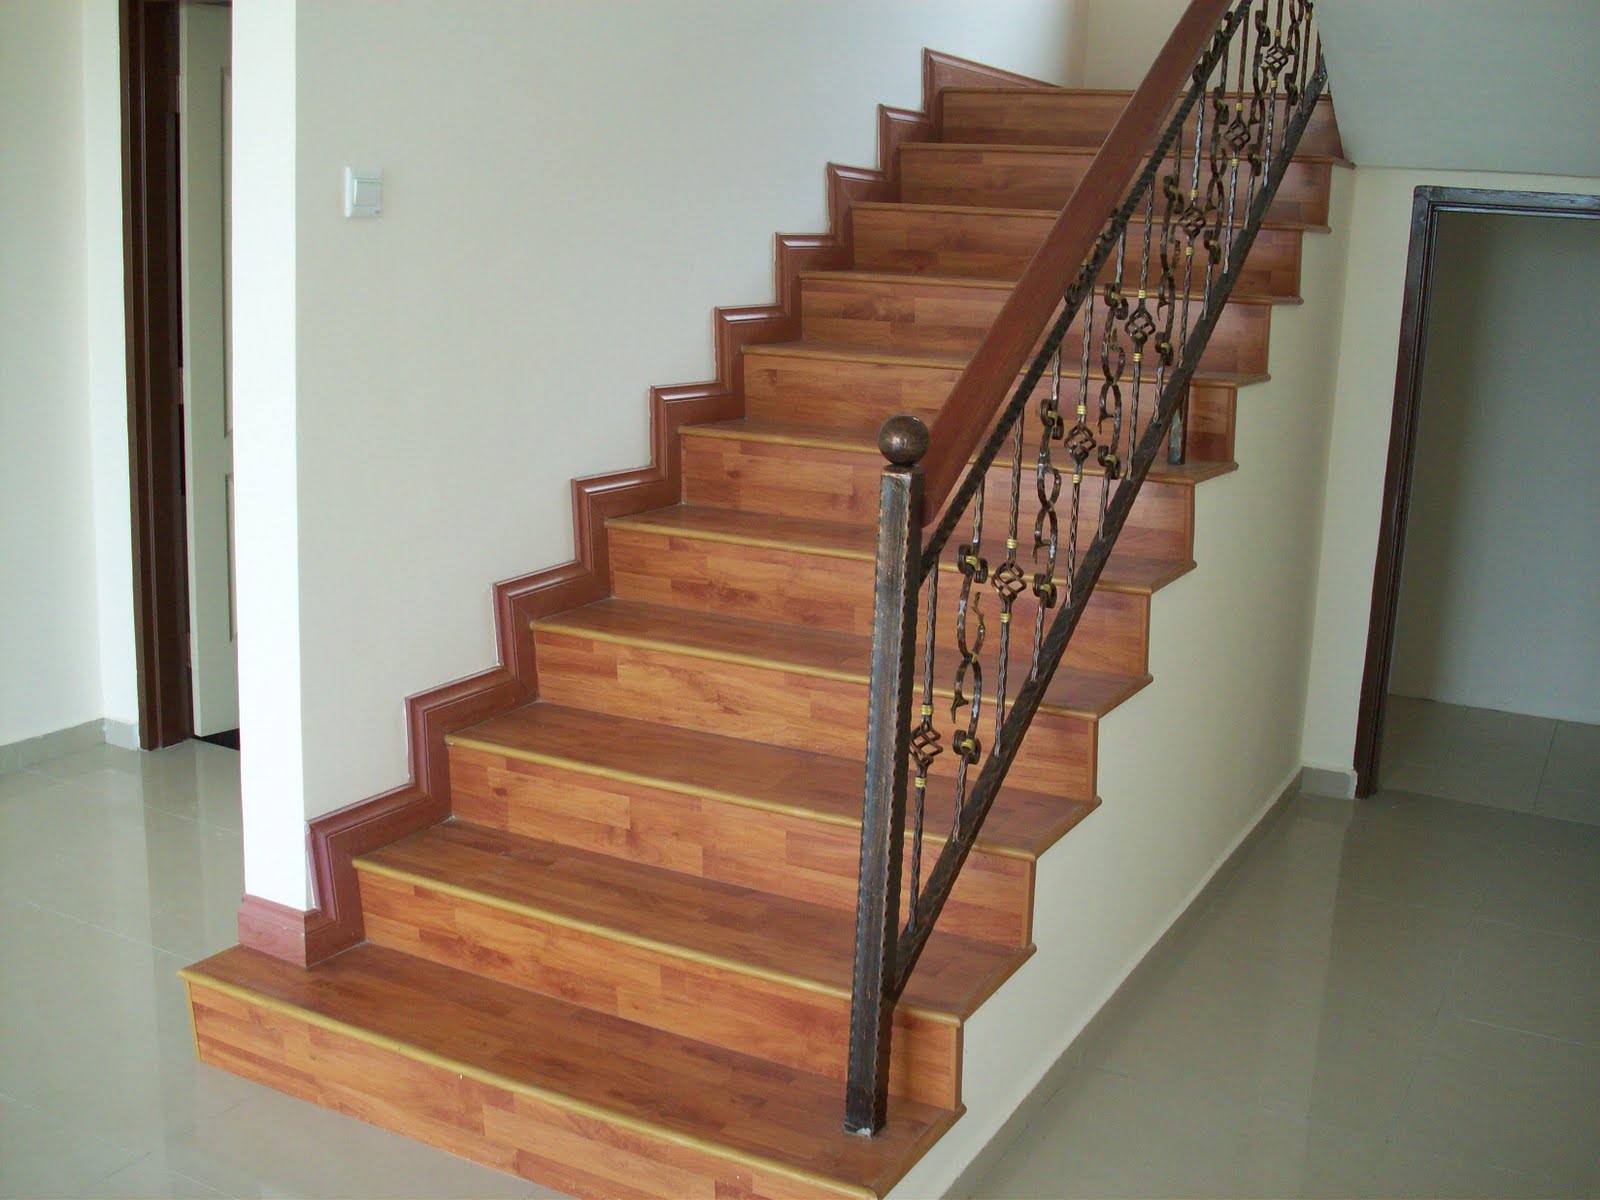
When it comes to adding a touch of elegance and longevity to your wood floors, polyurethane is the go-to solution. Polyurethane acts as a protective barrier, shielding your hardwood floors from daily wear and tear while providing a beautiful, glossy finish.
However, applying polyurethane to your wood floors requires careful preparation, the right materials, and a step-by-step process. In this article, we will guide you through the process of how to polyurethane a wood floor to achieve a durable and stunning finish.
Whether you’re refinishing an old wood floor or applying polyurethane to a newly installed one, following these steps will ensure a professional-looking result that will enhance the beauty of your home for years to come.
Key Takeaways:
- Achieve a professional-looking, durable wood floor finish by meticulously preparing the surface, choosing the right polyurethane, and applying multiple even coats. Patience during curing ensures long-lasting beauty and protection.
- Transform your space with a stunning, long-lasting polyurethaned wood floor. Follow step-by-step preparation, application, and curing guidelines to achieve a professional finish that enhances the beauty of your home.
Read more: How To Apply Stain To Wood Floor
Step 1: Prepare the Wood Floor
Before you start applying polyurethane to your wood floor, it’s essential to prepare the surface properly. Here’s what you need to do:
- Clean the floor: Start by removing any furniture, rugs, or debris from the floor. Sweep the area thoroughly to remove dust and dirt. Use a vacuum cleaner or a mop to ensure the floor is free of any loose particles.
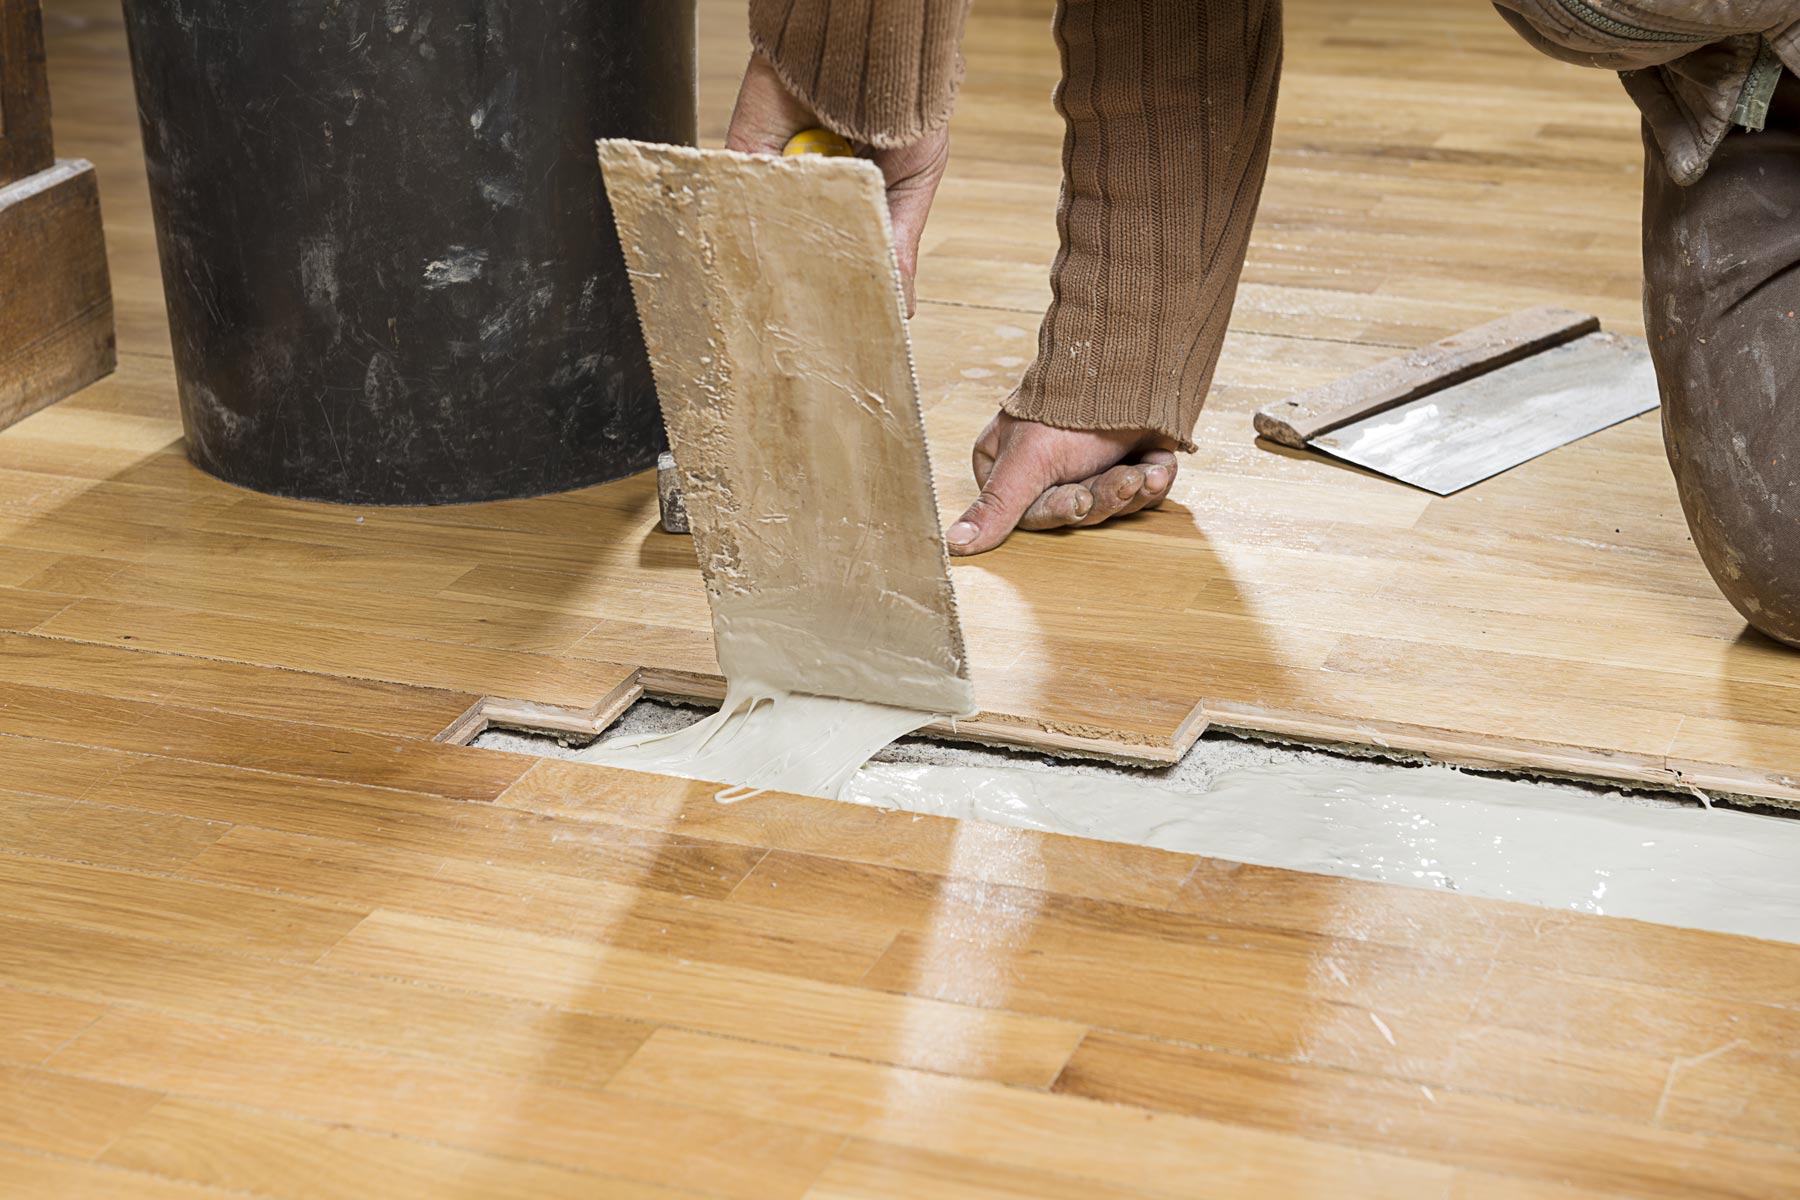
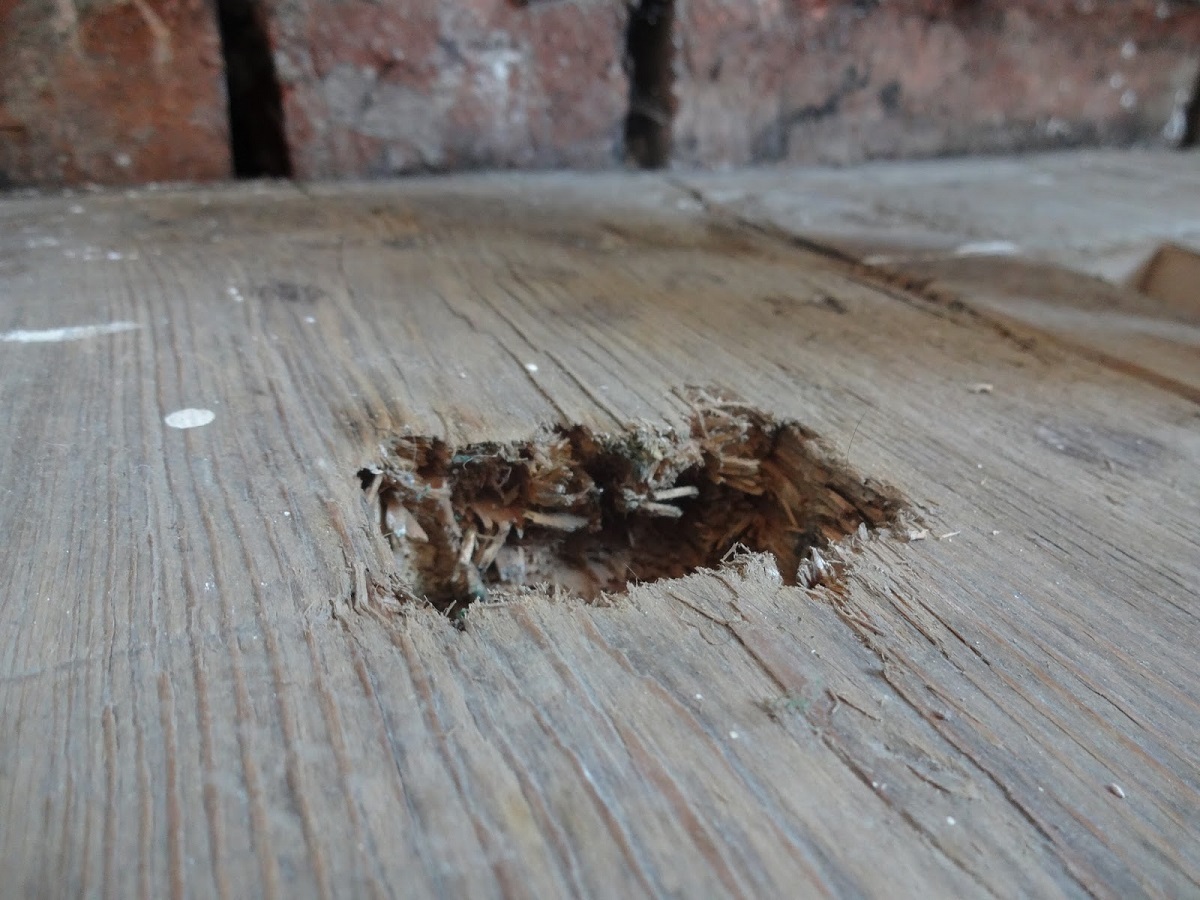
- Repair any damage: Inspect the floor for any scratches, gouges, or dents. Fill in these imperfections with wood filler and let it dry completely. Sand the area gently to level it with the surrounding floor.
- Sand the floor: Sanding the wood floor helps to remove any existing finish or rough patches, creating a smooth surface for the polyurethane. Start with a coarse-grit sandpaper and gradually move to finer grits until the entire floor is smooth. Be sure to sand along the wood grain to avoid damaging the floor’s appearance.
- Remove dust: After sanding, remove any dust or debris from the floor using a vacuum cleaner or a tack cloth. Make sure the surface is entirely clean to prevent any particles from getting trapped under the polyurethane.
By taking the time to properly prepare the wood floor, you’ll ensure that the polyurethane adheres well and results in a flawless finish.
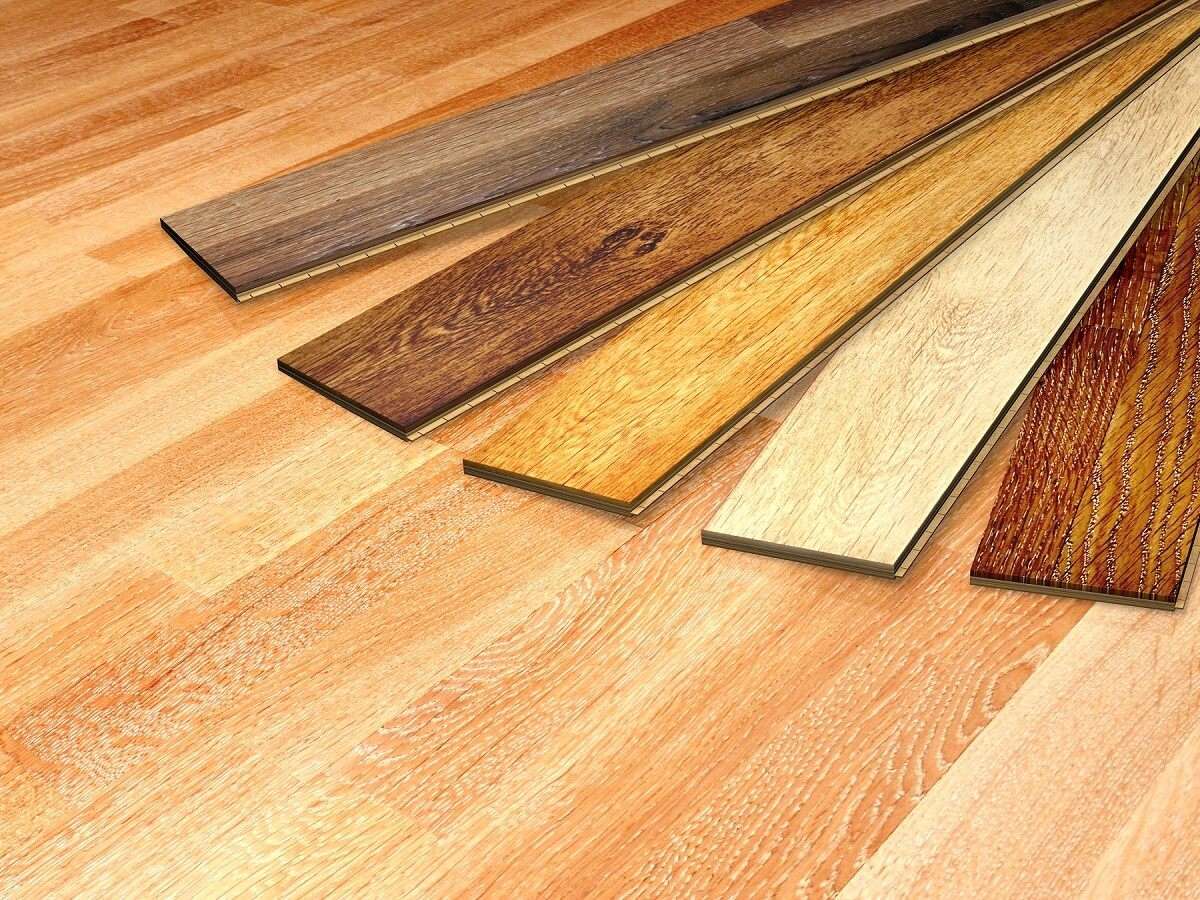
Step 2: Choose the Right Polyurethane
Selecting the right type of polyurethane is crucial for achieving the desired finish and durability for your wood floor. Here are some factors to consider when choosing the right polyurethane:
- Water-based or oil-based: Polyurethane is available in both water-based and oil-based formulations. Water-based polyurethane dries quickly, has a low odor, and provides a clear finish. Oil-based polyurethane takes longer to dry but offers a more durable and amber-toned finish. Consider your preferences and the specific needs of your wood floor when deciding between the two.
- Sheen level: Polyurethane comes in different sheen levels, including high gloss, semi-gloss, satin, and matte. The sheen level determines the level of shine and reflection on the wood surface. Choose a sheen that complements your aesthetic preference and the overall style of the room.
- Durability: Look for a polyurethane that provides excellent durability and long-lasting protection for your wood floor. Read consumer reviews, talk to experts, and consider the manufacturer’s recommendations to ensure you select a product that will stand up to the demands of your specific flooring.
- Application method: Consider the application method that suits your skills and preferences. Polyurethane can be applied using a brush, roller, or sprayer. Each method has its advantages and requires different techniques. Choose an application method that you are comfortable with and that will result in the best outcome.
Take the time to research and compare different brands and products before making your final decision. The right choice of polyurethane will contribute to the longevity, appearance, and overall satisfaction with your newly polyurethaned wood floor.
Step 3: Gather the Necessary Materials
Before you begin the process of polyurethaning your wood floor, it’s important to have all the necessary materials on hand. Here’s a list of items you’ll need:
- Polyurethane: Purchase the appropriate amount and type of polyurethane for your specific project. Make sure you have enough to cover the entire floor, taking into account multiple coats if necessary.
- Applicator: Depending on your preference, you can use a brush, roller, or sprayer to apply the polyurethane. Choose a high-quality applicator that is appropriate for the type and sheen level of polyurethane you have selected.
- Sandpaper: You’ll need different grits of sandpaper for sanding the wood floor in between coats of polyurethane. Start with a coarse grit, around 80-120, and gradually move to finer grits like 180-220 for a smooth finish.
- Paint tray: If you’re using a brush or roller, a paint tray or pan will come in handy for pouring the polyurethane and evenly coating the applicator.
- Protective gear: It’s important to protect yourself during the polyurethaning process. Wear safety goggles, gloves, and a dust mask to minimize exposure to fumes and protect yourself from any mishaps.
- Dust mop or tack cloth: After sanding, you’ll need a dust mop or tack cloth to remove any dust particles from the floor before applying each coat of polyurethane.
- Drop cloths or plastic sheeting: To protect the surrounding area from drips or spills, lay down drop cloths or plastic sheeting around the working area.
- Stir stick: To ensure an even consistency of the polyurethane, have a stir stick or stirrer on hand to mix the product well before application.
Gathering all the necessary materials beforehand will save you time and ensure a smooth and uninterrupted polyurethaning process.
Step 4: Clean and Sand the Wood Floor
Once you have gathered all the necessary materials, it’s time to prepare the wood floor for the application of polyurethane. Follow these steps to clean and sand the floor:
- Clean the floor: Start by sweeping the floor to remove any dust or debris. Next, use a damp mop or cloth to thoroughly clean the surface. You can use a mild detergent mixed with water to remove any stubborn dirt or stains. Allow the floor to dry completely before proceeding to sanding.
- Sand the floor: Attach a coarse-grit sandpaper, around 80-120, to a floor sander or use a sanding block if sanding by hand. Work systematically, starting from one corner of the room and moving across the entire floor. Sand in the direction of the wood grain, using long and even strokes. Avoid applying excessive pressure, as it can cause damage to the floor.
- Progress to finer grits: After sanding with the coarse-grit sandpaper, switch to a medium-grit sandpaper, around 150-180, and then a fine-grit sandpaper, around 220. Sand the floor with each grit in the same manner as before, ensuring a smooth and even surface.
- Clean the floor again: Use a vacuum cleaner or a dust mop to remove any sanding dust from the floor. For a more thorough cleaning, you can also use a tack cloth, which is slightly sticky and helps to pick up any remaining dust particles.
Sanding the wood floor not only removes any existing finish but also creates a rough surface for the polyurethane to adhere to. It’s important to take your time and ensure that the floor is clean and properly sanded before proceeding to the next steps.
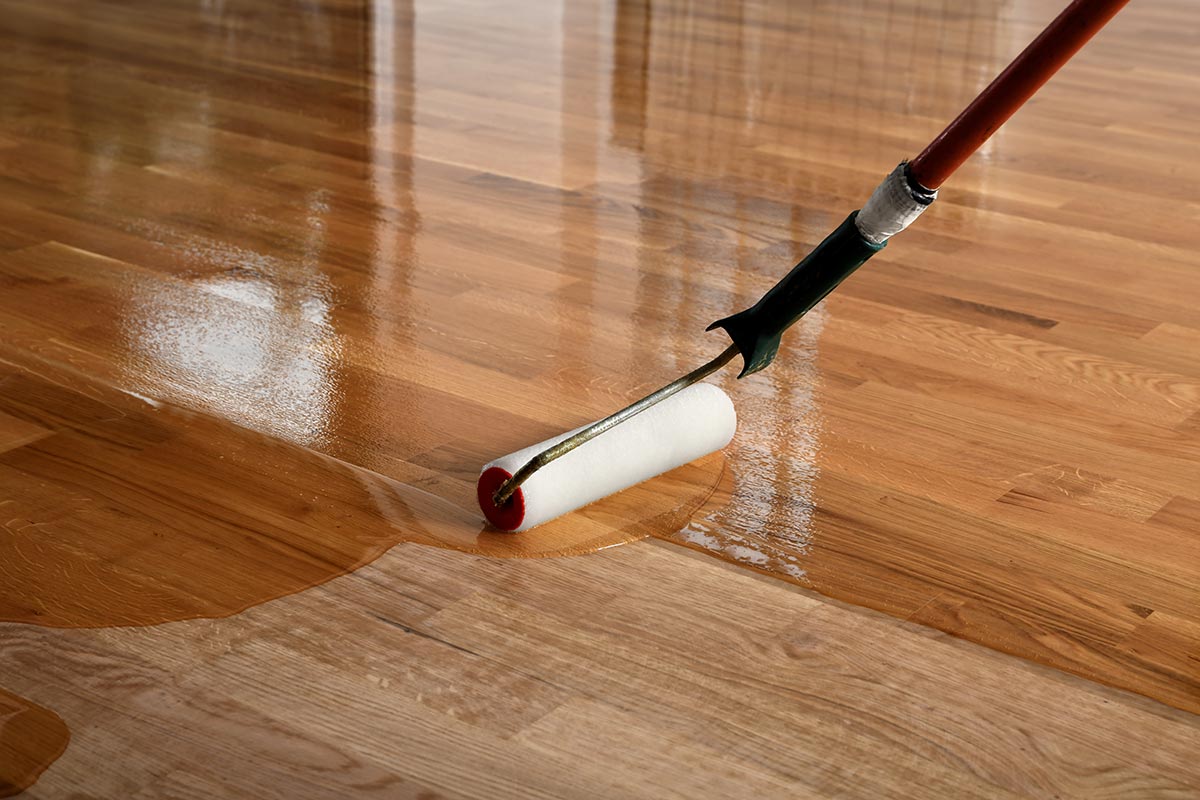
Step 5: Apply the First Coat of Polyurethane
Now that the wood floor is prepared and clean, it’s time to start applying the polyurethane. Follow these steps to apply the first coat:
- Stir the polyurethane: Open the can of polyurethane and use a stir stick to thoroughly mix the product. Stirring ensures that the polyurethane is well-blended and ready for application.
- Pour the polyurethane: Transfer a small amount of polyurethane into a paint tray or pan. This will make it easier to dip your brush or roller into the polyurethane.
- Start at the farthest corner: Begin applying the polyurethane at the farthest corner of the room, working towards the exit. This prevents you from stepping on the freshly coated floor.
- Apply in thin and even coats: Dip your brush or roller into the polyurethane, making sure to remove any excess by lightly tapping it against the edge of the paint tray. Apply the polyurethane in thin and even coats, working with the grain of the wood. Start at one end of the room and work towards the other, overlapping each stroke slightly.
- Work in small sections: It’s best to work in small sections to ensure that the polyurethane is applied evenly. Avoid going back over areas that have already started to dry, as this can cause streaks or unevenness in the finish.
- Allow to dry: After applying the first coat of polyurethane, allow it to dry according to the manufacturer’s instructions. This usually takes around 24 hours, but it’s important to check the label for specific drying times.
Keep in mind that the first coat may not provide full coverage or a smooth finish. This is normal, as subsequent coats will help to build up the desired appearance. Focus on achieving an even application of the polyurethane during this step.
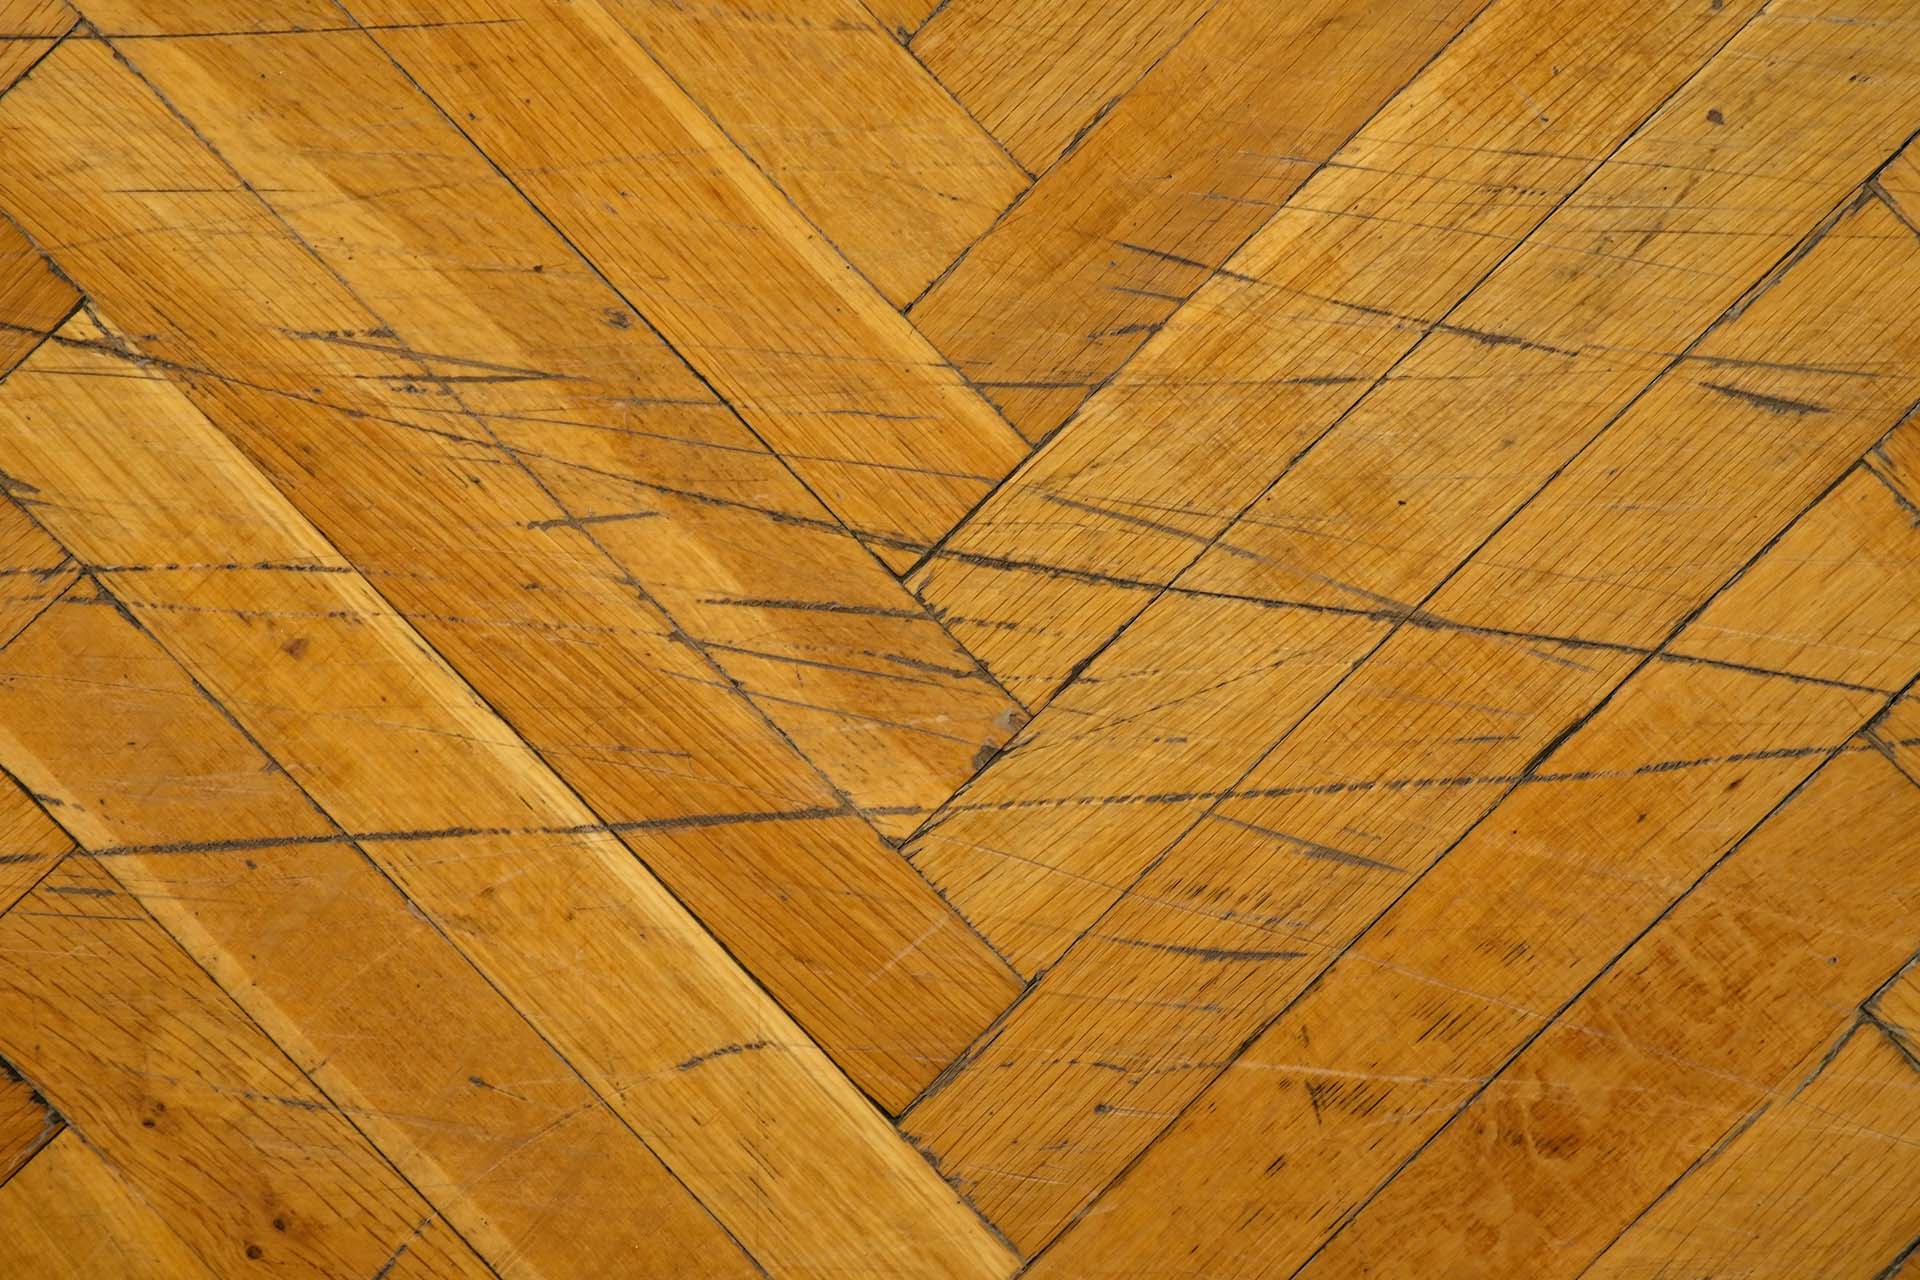
Before applying polyurethane to a wood floor, make sure the surface is clean and free of dust and debris. Sand the floor lightly to ensure the polyurethane adheres properly.
Step 6: Sand the First Coat
After the first coat of polyurethane has dried, it’s important to sand the surface to create a smooth and even base for the subsequent coats. Here’s how to sand the first coat:
- Prepare the sandpaper: Start by attaching a fine-grit sandpaper, around 220, to a sanding block or floor sander. This finer grit will help to smooth out any imperfections created during the application of the first coat.
- Sand gently: Begin sanding the floor using long and even strokes, following the direction of the wood grain. Be gentle and apply light pressure to avoid removing too much of the polyurethane or damaging the wood surface.
- Focus on problem areas: Pay extra attention to areas where there are visible brush strokes, drips, or unevenness. Sand these areas carefully to create a more uniform appearance across the floor.
- Remove sanding dust: Once you’ve finished sanding, use a vacuum cleaner or a dust mop to remove any sanding dust from the floor. It’s crucial to create a clean surface for the subsequent coats of polyurethane.
Sanding the first coat of polyurethane helps to smooth out imperfections and provide a better surface for the next layers to adhere to. Take your time during this step to achieve the desired results and ensure a professional finish.
Step 7: Apply the Second Coat of Polyurethane
Now that you have sanded the first coat of polyurethane, it’s time to apply the second coat. The second coat will help to further enhance the durability and appearance of your wood floor. Here’s how to apply the second coat of polyurethane:
- Stir the polyurethane: Just like with the first coat, give the polyurethane a good stir using a stir stick. This ensures that the product is evenly mixed and ready for application.
- Apply in the same manner: Dip your brush or roller into the polyurethane, removing any excess product. Apply the polyurethane in the same manner as the first coat, working with the grain of the wood. Ensure that you apply the second coat evenly and avoid overlapping strokes that may cause streaks or uneven drying.
- Work in small sections: Similar to the first coat, it’s best to work in small sections to ensure even coverage. Continue working your way across the room, overlapping each stroke slightly to maintain a consistent finish.
- Allow to dry: After applying the second coat of polyurethane, allow it to dry according to the manufacturer’s instructions. Typically, this will take around 24 hours, but it’s essential to check the label for specific drying times.
The second coat of polyurethane will enhance the protective layer and give your wood floor a more robust and attractive finish. Take your time during this step to ensure a smooth application and avoid any imperfections or inconsistencies.
Step 8: Sand the Second Coat
After the second coat of polyurethane has dried, it’s time to sand the surface again to achieve an ultra-smooth finish. Sanding between coats helps to remove any imperfections, smoothen the surface, and ensure proper adhesion of the subsequent coats. Follow these steps to sand the second coat:
- Prepare the sandpaper: Use a fine-grit sandpaper, around 220 or higher, and attach it to a sanding block or floor sander. This finer grit will help to create a smooth and even surface on the polyurethane.
- Sand gently: Begin sanding the floor in long, even strokes, following the direction of the wood grain. Apply light pressure to avoid removing too much of the polyurethane or damaging the wood surface. The goal is to create a smooth texture and remove any minor imperfections.
- Focus on problem areas: Pay special attention to areas where there may be visible brush marks, bubbles, or drips. Sand these areas carefully to achieve a flawless finish.
- Remove sanding dust: Once you’ve finished sanding, use a vacuum cleaner or a dust mop to thoroughly remove any sanding dust from the floor. It’s crucial to have a clean surface before applying the final coat of polyurethane.
Sanding the second coat of polyurethane smoothens the surface and prepares it for the final coat. Take your time during this step to achieve the desired results and ensure a high-quality finish for your wood floor.
Read more: How Many Coats Of Polyurethane On Floor
Step 9: Apply the Final Coat of Polyurethane
After sanding the second coat, it’s time to apply the final coat of polyurethane. This coat will provide the ultimate protection and a beautiful finish to your wood floor. Follow these steps to apply the final coat:
- Stir the polyurethane: Give the polyurethane a thorough stir using a stir stick. This ensures that the product is well-mixed and ready for application.
- Apply in the same manner: Dip your brush or roller into the polyurethane, removing any excess product. Apply the final coat in the same manner as the previous coats, working with the grain of the wood and using even strokes. Aim for an even and glossy application.
- Work in small sections: Similar to the previous coats, it’s best to work in small sections to ensure even coverage. Continue working your way across the room, overlapping each stroke slightly to maintain a consistent finish.
- Inspect for bubbles or imperfections: After applying the final coat, carefully inspect the surface of the polyurethane for any bubbles, drips, or other imperfections. If you notice any, gently smooth them out with a brush or roller before the polyurethane starts to dry.
- Allow to dry: After applying the final coat of polyurethane, allow it to dry according to the manufacturer’s instructions. This typically takes around 24 hours, but it’s essential to check the label for specific drying times.
The final coat of polyurethane will provide a protective layer and enhance the beauty of your wood floor. Take your time and ensure a smooth, even application to achieve a stunning and long-lasting finish.
Step 10: Allow the Polyurethane to Cure
Once you have applied the final coat of polyurethane, it’s crucial to allow it to cure properly to achieve optimal results. Curing is the process where the polyurethane hardens and fully settles on the surface of the wood floor. Follow these guidelines to ensure a successful curing period:
- Read the manufacturer’s instructions: Different polyurethane products may have different curing times, so it’s essential to refer to the instructions provided by the manufacturer. They will provide specific guidance on how long the polyurethane needs to cure.
- Minimize foot traffic: Avoid walking on the newly polyurethaned floor until it has fully cured. Even though the surface may feel dry to the touch, it may not have completely hardened underneath. This can cause premature wear or damage to the finish.
- Avoid placing furniture or heavy objects: Do not place furniture or any heavy objects on the floor until the polyurethane has fully cured. The weight can leave imprints or create indentations on the surface.
- Avoid excessive moisture or cleaning: During the curing period, avoid exposing the floor to excessive moisture or cleaning agents. Water or cleaning products can interfere with the curing process and affect the final finish.
- Be patient: Curing times can vary depending on different factors such as humidity, temperature, and ventilation. It is important to be patient and give the polyurethane ample time to cure and harden properly. Typically, it can take anywhere from a few days to a few weeks for the polyurethane to fully cure.
By allowing the polyurethane to cure uninterrupted, you ensure that it develops its maximum durability and produces the desired glossy finish. It is worth the wait to ensure the long-term beauty and protection of your wood floor.
Conclusion
Polyurethaning a wood floor is a rewarding and worthwhile project that can enhance the durability and beauty of your home. With the right preparation, materials, and methodical approach, you can achieve a professional-looking finish that will last for years to come.
Throughout the process, it’s crucial to pay attention to the details, from properly preparing the wood floor to choosing the right type of polyurethane and applying it in even coats. Taking the time to clean, sand, and apply multiple coats of polyurethane will ensure a smooth surface and optimal protection.
Remember to follow the manufacturer’s instructions for curing times and avoid putting excessive stress on the freshly polyurethaned floor during this period. Patience is key to allow the polyurethane to fully cure and harden, resulting in a durable and long-lasting finish.
By following these steps and having the right materials and tools on hand, you can confidently polyurethane your wood floor and transform the appearance of your space. With proper maintenance and care, your polyurethaned wood floor will continue to shine, providing a beautiful and resilient foundation for your home.
Frequently Asked Questions about How To Apply Polyurethane To Wood Floors
Was this page helpful?
At Storables.com, we guarantee accurate and reliable information. Our content, validated by Expert Board Contributors, is crafted following stringent Editorial Policies. We're committed to providing you with well-researched, expert-backed insights for all your informational needs.


0 thoughts on “How To Apply Polyurethane To Wood Floors”