Articles
How To Store Grape Leaves
Modified: August 25, 2024
Learn the best ways to store grape leaves in this informative article. Find tips and techniques to preserve their freshness for future use.
(Many of the links in this article redirect to a specific reviewed product. Your purchase of these products through affiliate links helps to generate commission for Storables.com, at no extra cost. Learn more)
Introduction
Grape leaves are not only beautiful and ornamental in vineyards, but they also have culinary uses that can be enjoyed throughout the year. Whether you have an abundance of grape leaves from your own vineyard or have purchased them from a farmer’s market, it’s important to know how to store them correctly to preserve their flavor and texture.
In this article, we’ll guide you through the process of properly storing grape leaves so you can enjoy their deliciousness in a variety of recipes, such as dolmas, stuffed grape leaves, or even as a wrap for grilled vegetables or rice dishes. Let’s get started!
Key Takeaways:
- Preserve grape leaves in brine for a tangy twist and extended shelf life. Use them in dolmas, wraps, salads, and even as a unique tea infusion for a flavorful culinary experience.
- Store grape leaves in the freezer for long-term use. Flash-freeze them, label and date, then enjoy their vibrant flavor and texture in various recipes throughout the year.
Read more: How To Store Grapes In Freezer
Step 1: Harvesting Grape Leaves
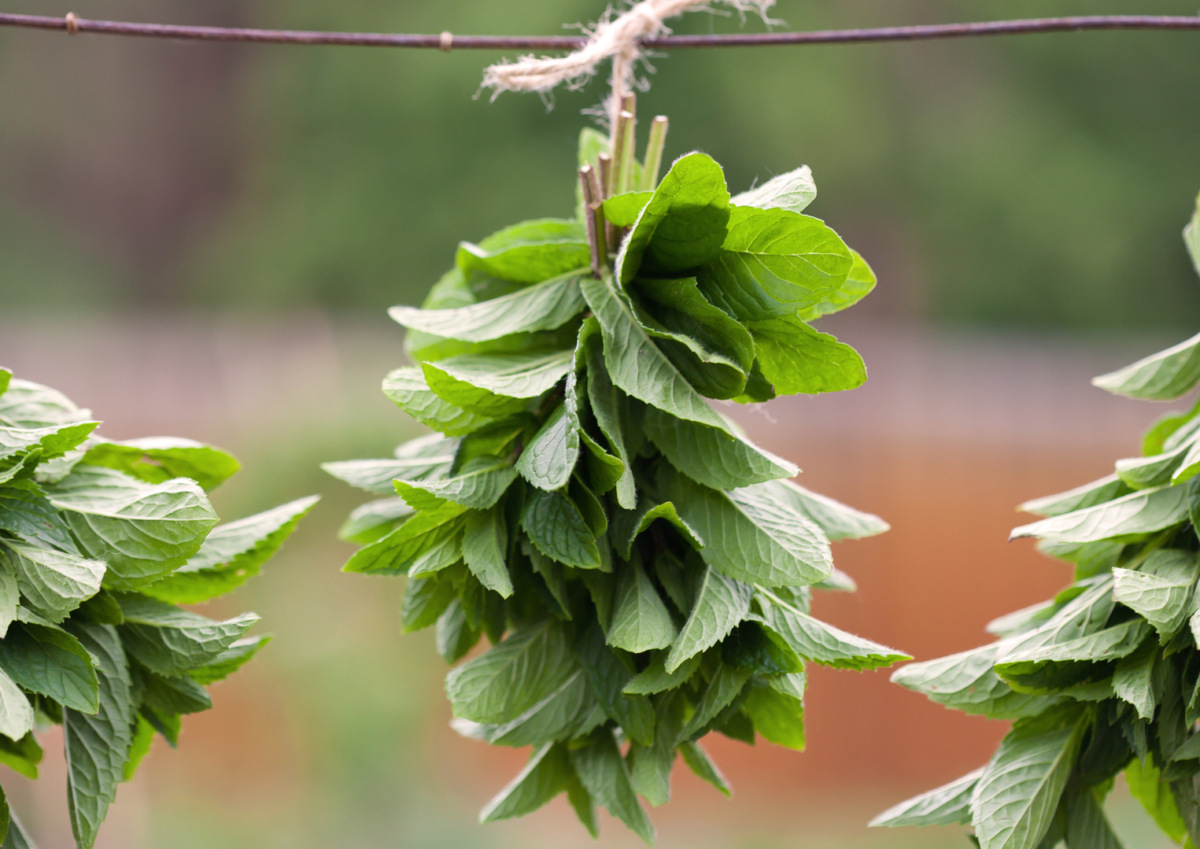
The first step in storing grape leaves is to harvest them from the vine. It’s best to pick the leaves when they are young and tender, before they become too mature and tough. Here’s how you can do it:
- Choose healthy grapevines: Look for grapevines that are healthy and free from diseases or pests. Make sure the leaves are vibrant green and free from any blemishes.
- Pick the right time: The ideal time to harvest grape leaves is in the morning when the leaves are fresh and moist. Avoid harvesting the leaves during wet or rainy weather as they tend to be more prone to mold and spoilage.
- Use clean hands or scissors: Gently pluck the grape leaves from the vine using clean hands or a pair of sanitized scissors. Be careful not to damage the leaves or the vine in the process.
- Harvest a sufficient amount: Depending on your needs, harvest as many grape leaves as you require. It’s always a good idea to have a few extra leaves on hand in case some of them get damaged or torn.
Remember, when harvesting grape leaves, it’s essential to be gentle and take care not to harm the vine or other parts of the plant. Once you’ve gathered the leaves, it’s time to move on to the next step: preparing the grape leaves for storage.
Step 2: Preparing the Grape Leaves for Storage
Before you can store grape leaves, it’s important to prepare them properly to maintain their freshness and flavor. Follow these steps to prepare the grape leaves for storage:
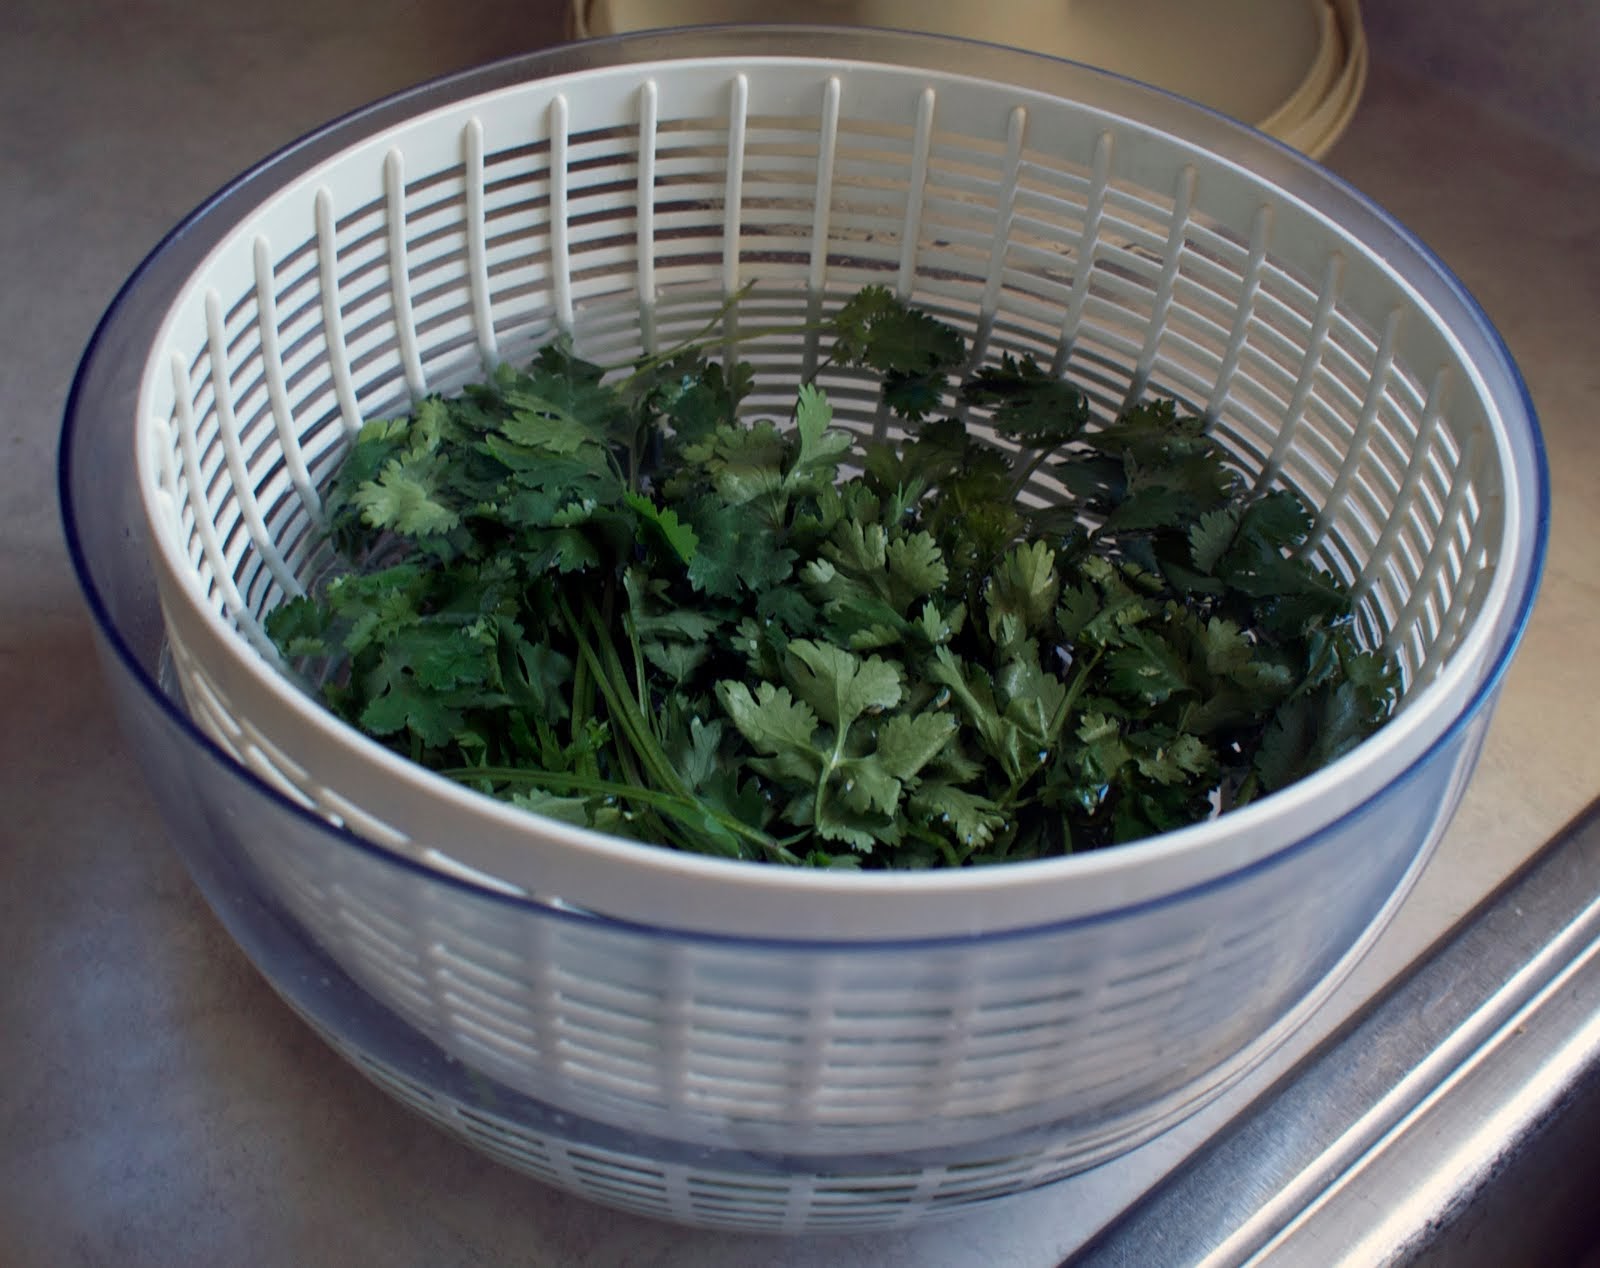
- Wash the grape leaves: Rinse the grape leaves thoroughly under cool running water to remove any dirt, debris, or insects that may be present. Gently pat them dry with a clean towel or paper towels.
- Trim the stems: Trim off the tough stem portion of each grape leaf using a pair of sharp kitchen scissors. This step ensures that the leaves are more manageable and easier to work with when using them in recipes later.
- Sort and inspect: Sort through the grape leaves and discard any leaves that are damaged, discolored, or have holes. Inspect each leaf carefully to ensure only the best quality leaves are selected for storage.
- Optional blanching: If you prefer to blanch the grape leaves to soften them further, bring a pot of water to a boil and blanch the leaves for about 30 seconds. Then, transfer them to an ice bath to cool quickly. This step is optional but can help to enhance the texture of the leaves.
By following these preparation steps, you are ready to move on to the next step: choosing the storage method for your grape leaves.
Step 3: Storing Grape Leaves in the Refrigerator
One of the simplest and most common ways to store grape leaves is in the refrigerator. This method allows you to keep the leaves fresh for a relatively short period of time. Follow these steps to store grape leaves in the refrigerator:
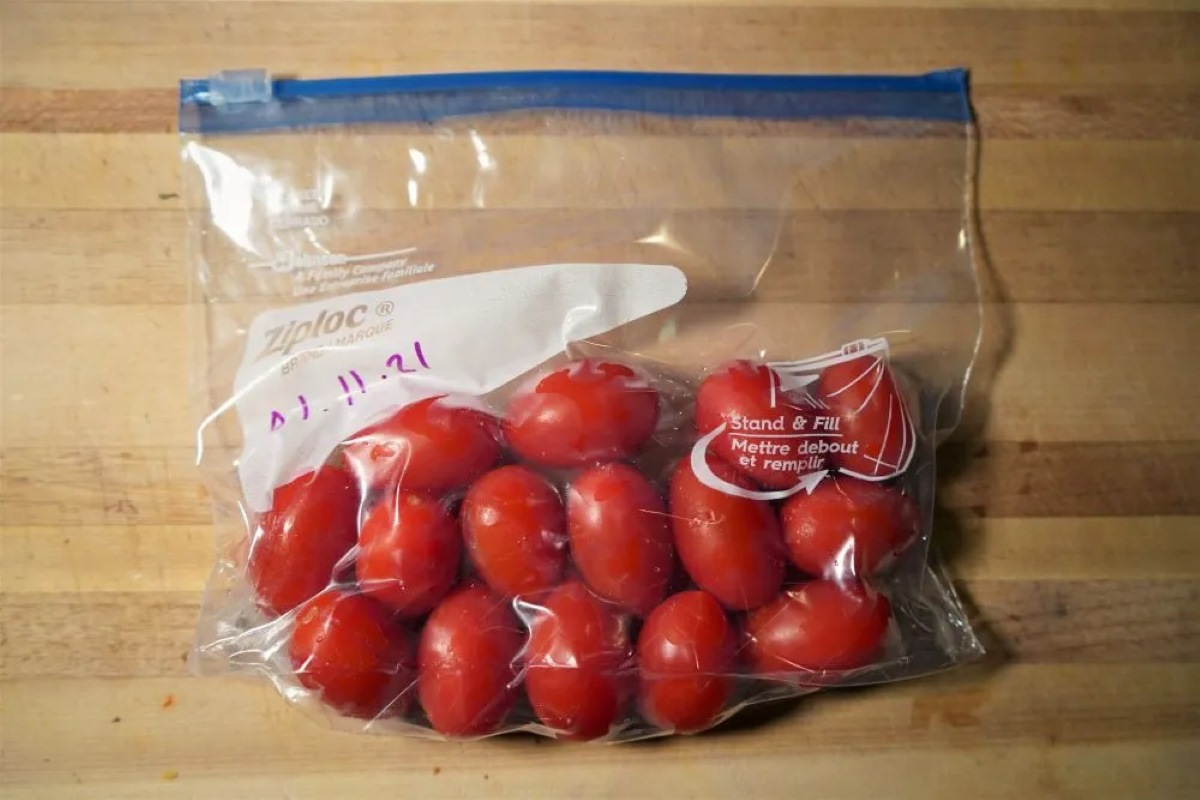
- Select an airtight container: Choose a clean, airtight container that is large enough to hold the grape leaves without causing them to crumple or fold excessively. You can use plastic containers, resealable bags, or even glass jars with tight-fitting lids.
- Layer the grape leaves: Place a layer of grape leaves in the container, making sure they are spread out evenly and not overlapping too much. If needed, you can separate the layers with parchment paper or plastic wrap to prevent them from sticking together.
- Seal the container tightly: Once you have arranged the grape leaves in the container, seal it tightly to prevent air and moisture from entering. This will help to maintain the freshness of the leaves for a longer period.
- Store in the refrigerator: Finally, place the container of grape leaves in the refrigerator, preferably in the crisper drawer, where the temperature is slightly cooler and more stable. Make sure to keep them away from strong-smelling foods to avoid any absorption of unwanted flavors.
Stored this way, grape leaves can last for up to a week in the refrigerator before they start to deteriorate in quality. Remember to check the leaves periodically and discard any that show signs of spoilage or discoloration.
Now, let’s move on to the next step: storing grape leaves in the freezer for long-term storage.
After harvesting grape leaves, blanch them in boiling water for 30 seconds, then shock in ice water to preserve their color and texture. Store in an airtight container in the freezer for up to 6 months.
Step 4: Storing Grape Leaves in the Freezer
To extend the shelf life of grape leaves and store them for a longer period, freezing is an excellent option. Follow these steps to store grape leaves in the freezer:
- Prepare the grape leaves: Start by preparing the grape leaves as mentioned in Step 2, including washing, trimming the stems, and sorting through them to remove any damaged leaves.
- Blanch the grape leaves (optional): If you prefer softer grape leaves, you can blanch them briefly in boiling water for about 30 seconds, followed by an ice bath to cool them quickly. This step helps to preserve their texture during the freezing process.
- Arrange the grape leaves: Lay the grape leaves in a single layer on a baking sheet or tray lined with parchment paper. Make sure they are not overlapping each other, as this will make it easier to separate them later when needed.
- Flash-freeze the leaves: Place the tray of grape leaves into the freezer and allow them to freeze for about 1-2 hours, or until they are firm to the touch. This process, known as flash-freezing, prevents the leaves from sticking together, making it easier to remove individual leaves when needed.
- Transfer to freezer bags or containers: Once the grape leaves are firm, transfer them to freezer-safe bags or containers. Remove any excess air from the bags or seal the containers tightly to prevent freezer burn.
- Label and date: Don’t forget to label the bags or containers with the contents and date of freezing. This will help you keep track of their freshness and use them in the correct order.
- Store in the freezer: Finally, place the sealed bags or containers in the freezer, ideally in a section where the temperature remains constant. Frozen grape leaves can last for up to 12 months when stored properly.
When you’re ready to use the frozen grape leaves, simply remove the desired quantity from the freezer and thaw them in the refrigerator overnight. They are then ready to be used in your favorite recipes.
Now that you know how to store grape leaves in the freezer, let’s explore another preservation method: preserving grape leaves in brine.
Read more: How To Store Green Grapes
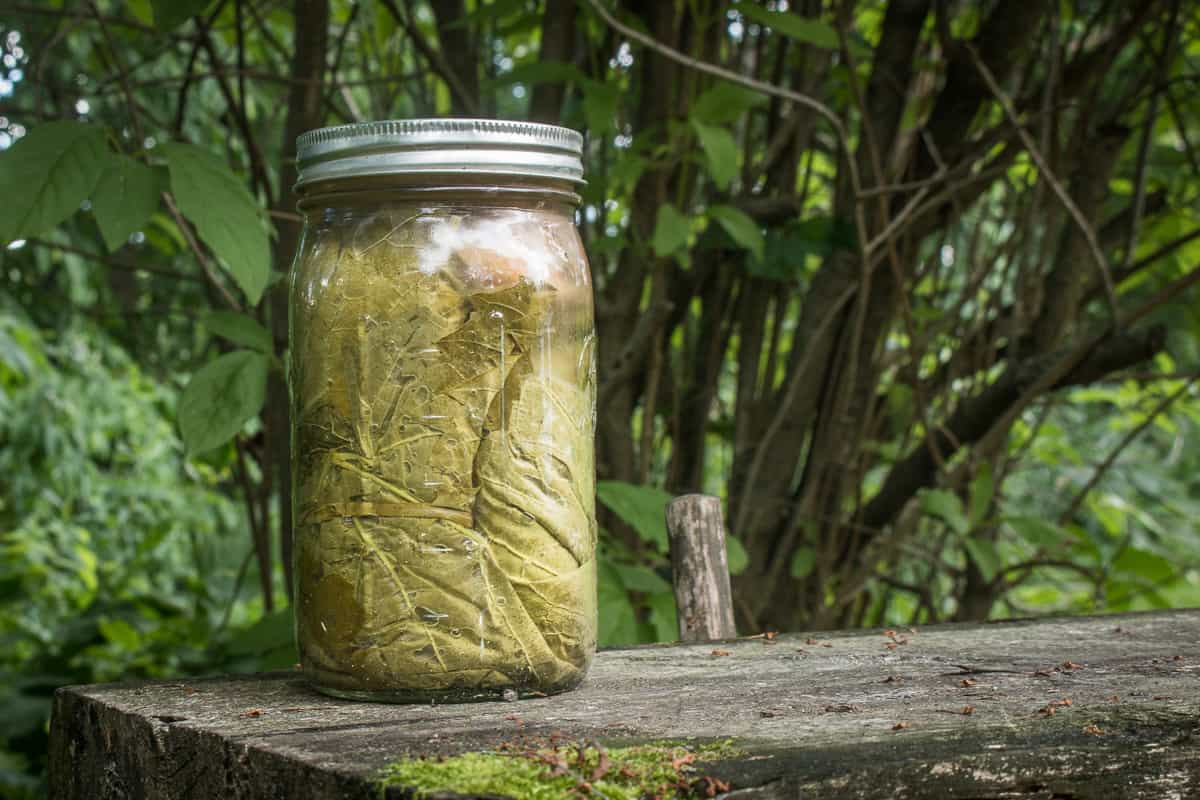
Step 5: Preserving Grape Leaves in Brine
Preserving grape leaves in brine is a traditional method of storing grape leaves that not only extends their shelf life but also adds a unique flavor to the leaves. Follow these steps to preserve grape leaves in brine:
- Prepare the grape leaves: Start by preparing the grape leaves as mentioned in Step 2, including washing, trimming the stems, and sorting through them to remove any damaged leaves.
- Create a brine solution: In a large pot, bring water to a boil and add salt. The salt concentration should be approximately 1 cup of salt per 1 gallon of water. Stir the water until the salt is completely dissolved.
- Blanch the grape leaves: Drop the grape leaves into the boiling brine solution and blanch them for about 30 seconds. This blanching process helps to ensure the preservation and flavor infusion of the leaves.
- Cool the grape leaves: After blanching, quickly transfer the grape leaves to an ice bath to cool them and stop the cooking process. This step helps the leaves retain their vibrant green color.
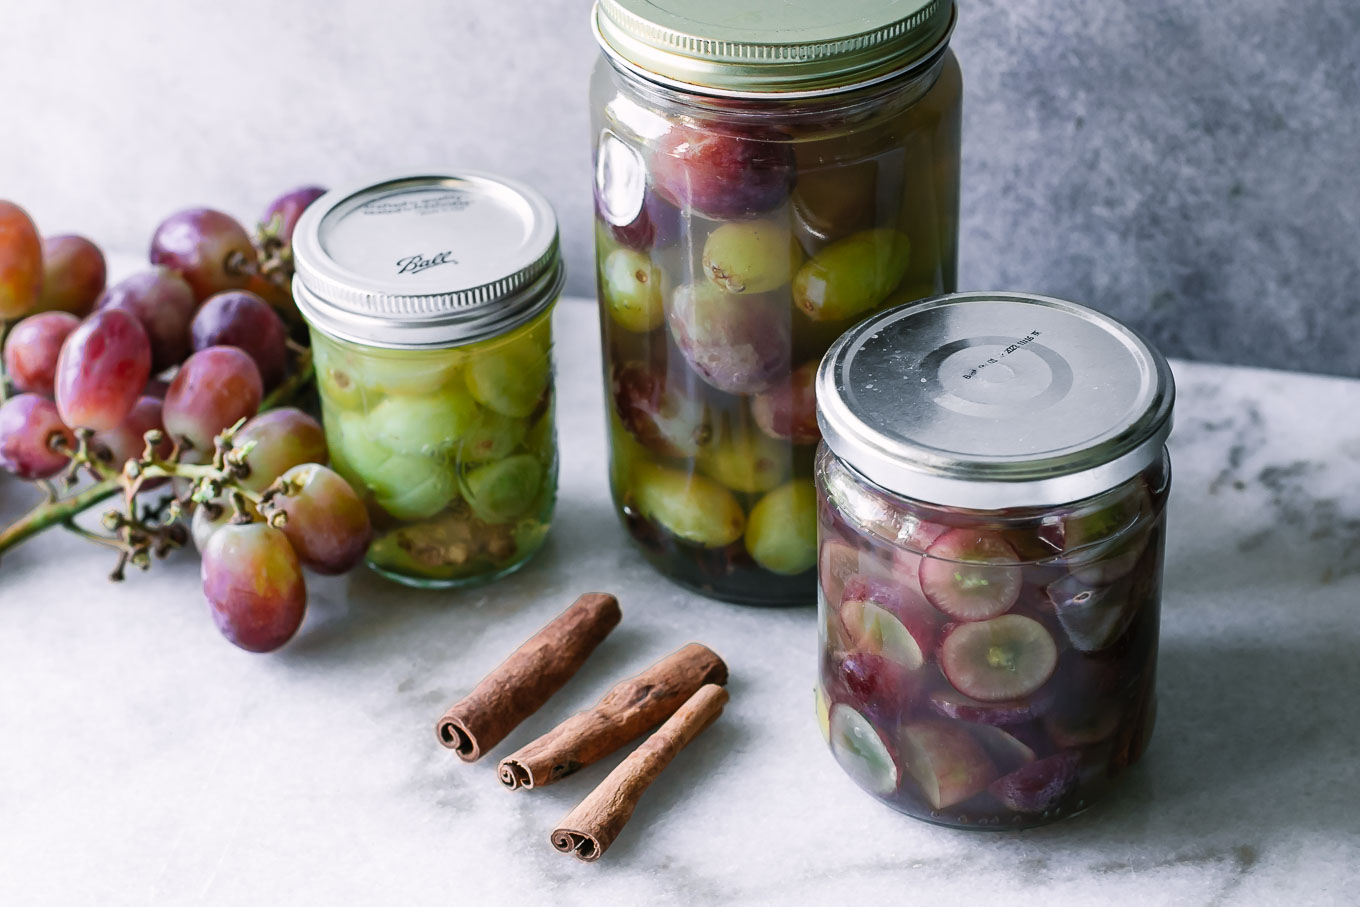
- Pack the grape leaves: Once the grape leaves are cooled, remove them from the ice bath and shake off any excess water. Pack them tightly into sterilized jars, ensuring there are no air pockets.
- Fill the jars with brine: Pour the cooled brine solution over the grape leaves in the jars, making sure all of the leaves are fully submerged. Leave some headspace at the top of the jars to allow for expansion during the freezing process.
- Seal and store: Seal the jars tightly with sterilized lids. Place the jars in the refrigerator or a cool, dark pantry for at least two weeks to allow the flavors to develop. These preserved grape leaves can last for several months when stored properly.
Preserved grape leaves in brine have a slightly tangy and salty flavor, which adds a unique twist to recipes. When using these leaves, rinse them under cold water to remove excess salt before using them in your favorite dishes.
With the preservation methods covered, let’s move on to the final step: using the stored grape leaves in culinary creations.
Step 6: Using Stored Grape Leaves
Now that you have successfully stored your grape leaves using various methods, it’s time to start using them in your culinary creations. Here are some ideas for using the stored grape leaves:
- Stuffed grape leaves (dolmas): Perhaps the most well-known way to use grape leaves is to make stuffed grape leaves, also known as dolmas. Stuff the grape leaves with a flavorful mixture of rice, herbs, and spices, and then roll them tightly into little parcels. Steam or bake the stuffed grape leaves until they are tender and delicious.
- Grape leaf wraps: Use the grape leaves as a wrap for your favorite fillings. You can fill them with seasoned ground meat, vegetables, or even cooked grains like quinoa or couscous. Grill or bake the wrapped fillings for a delicious and unique dish.
- Grape leaf salads: Chop up the preserved grape leaves and add them to your salads for a tangy and flavorful twist. They pair well with fresh herbs, tomatoes, cucumbers, and feta cheese.
- Grape leaf-infused dishes: Use the preserved grape leaves as a lining or wrapper for cooking dishes such as baked fish, chicken, or even roasted vegetables. This will infuse the flavors of the grape leaves into the dish while keeping it moist and flavorful.
- Grape leaf tea: Steep a few dried grape leaves in hot water to create a fragrant and soothing tea. You can add honey or lemon to enhance the flavor and enjoy the calming properties of grape leaves.
There are endless possibilities when it comes to using grape leaves in your cooking. Get creative and experiment with different recipes to discover new flavors and combinations.
Remember to thaw frozen grape leaves before using them, and rinse preserved grape leaves in brine to remove excess salt. Enjoy the unique taste and texture that grape leaves bring to your dishes!
By following these steps, you can harness the flavors of grape leaves throughout the year and elevate your culinary repertoire. Whether you choose to store them in the refrigerator, freezer, or preserve them in brine, they will be there for you to enjoy anytime you’re craving their delightful presence in your recipes.
Frequently Asked Questions about How To Store Grape Leaves
Was this page helpful?
At Storables.com, we guarantee accurate and reliable information. Our content, validated by Expert Board Contributors, is crafted following stringent Editorial Policies. We're committed to providing you with well-researched, expert-backed insights for all your informational needs.


0 thoughts on “How To Store Grape Leaves”