Articles
How To Store Clean Grapes
Modified: October 20, 2024
Learn effective methods for storing clean grapes with these informative articles. Keep your grapes fresh and delicious for longer periods of time with our expert tips and tricks.
(Many of the links in this article redirect to a specific reviewed product. Your purchase of these products through affiliate links helps to generate commission for Storables.com, at no extra cost. Learn more)
Introduction
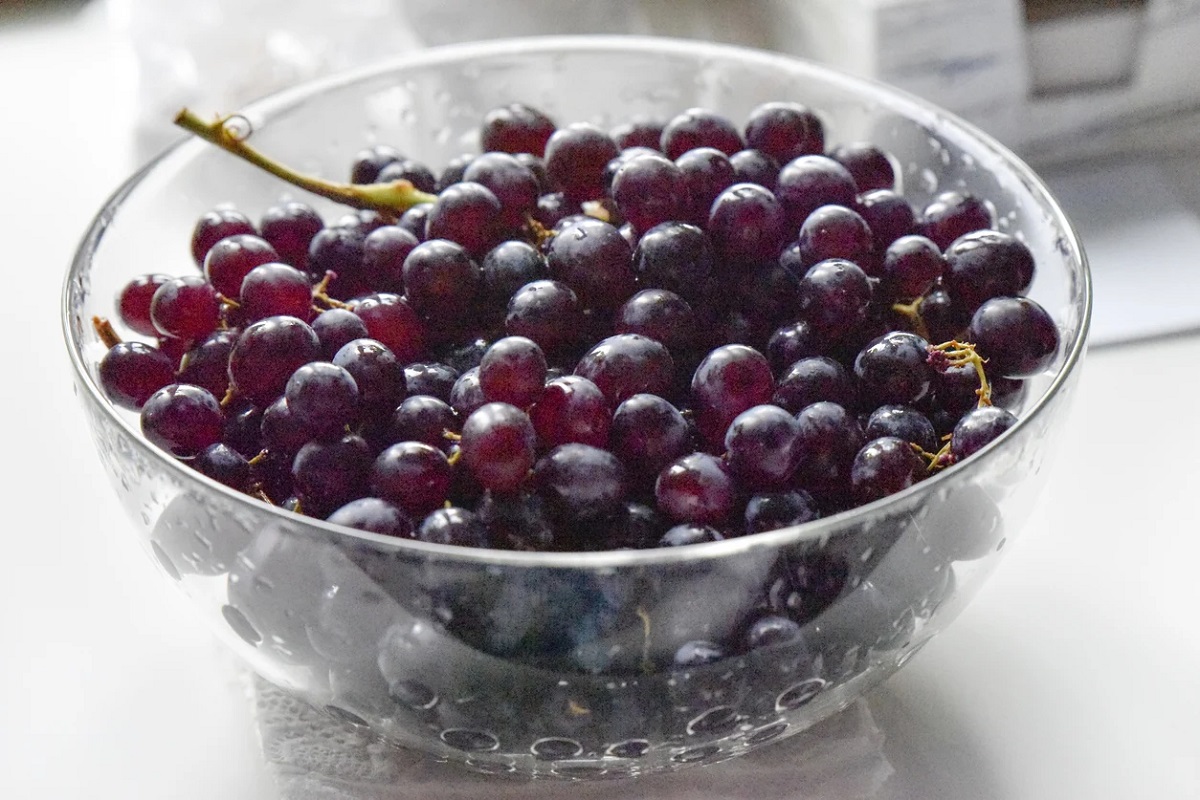
When it comes to enjoying the sweetness and juiciness of grapes, it’s important to know how to store them properly. Whether you’ve just picked up a bunch of fresh grapes from the supermarket or harvested them from your own vineyard, proper storage will help maintain their flavor and texture for a longer period of time.
In this article, we will guide you through the steps of storing clean grapes to ensure they stay fresh and delicious. From selecting the freshest grapes to choosing the right storage container, we’ll cover everything you need to know for optimal grape storage.
So, if you’re ready to keep your grapes in top-notch condition and enjoy them at their best, let’s dive into the details of how to store clean grapes.
Key Takeaways:
- Keep your grapes fresh by selecting vibrant, firm, and sweet-smelling ones. Properly clean and dry them before storing in a breathable container. Enjoy within 1-2 weeks when refrigerated or 2-5 days at room temperature.
- To ensure your grapes stay delicious, check for mold, firmness, aroma, and taste before consuming. Proper storage and regular freshness checks will maximize their shelf life and keep your snacking experience delightful.
Read more: How To Store Grapes In Freezer
Step 1: Selecting fresh grapes
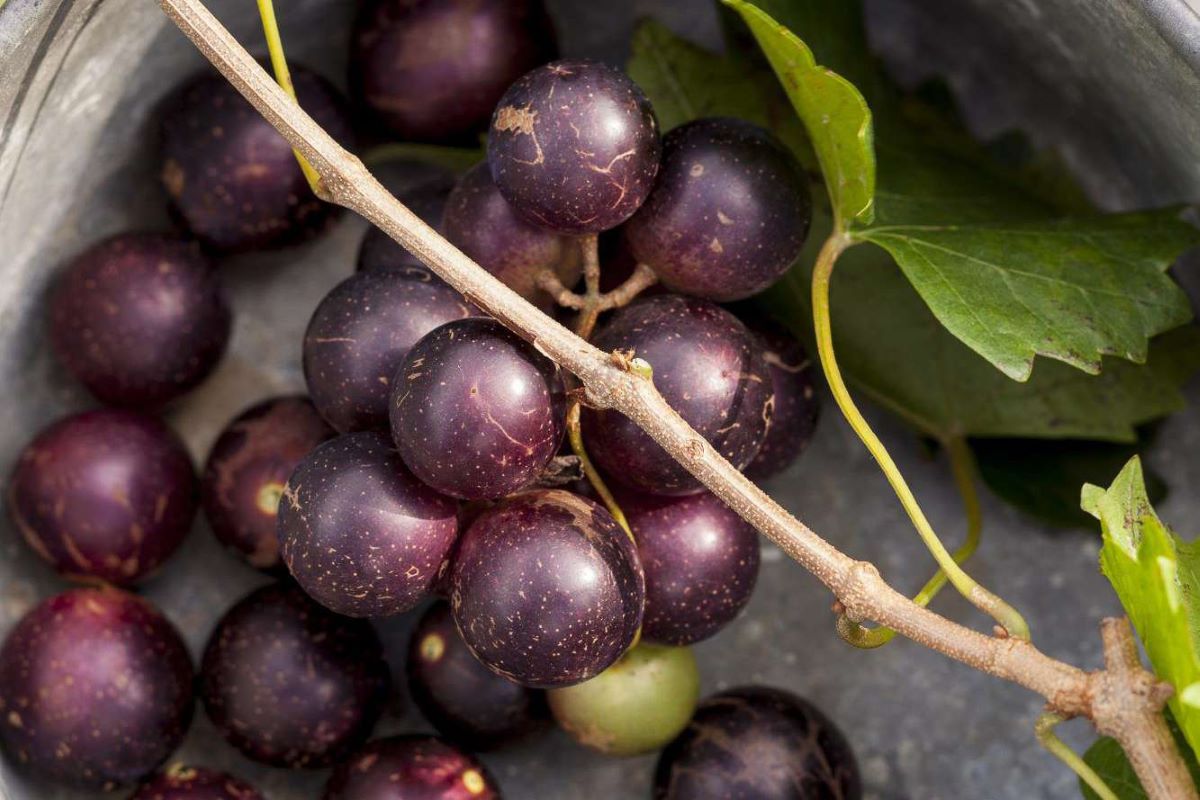
The key to storing clean grapes starts with selecting the freshest ones. Here are some tips to help you choose the best grapes:
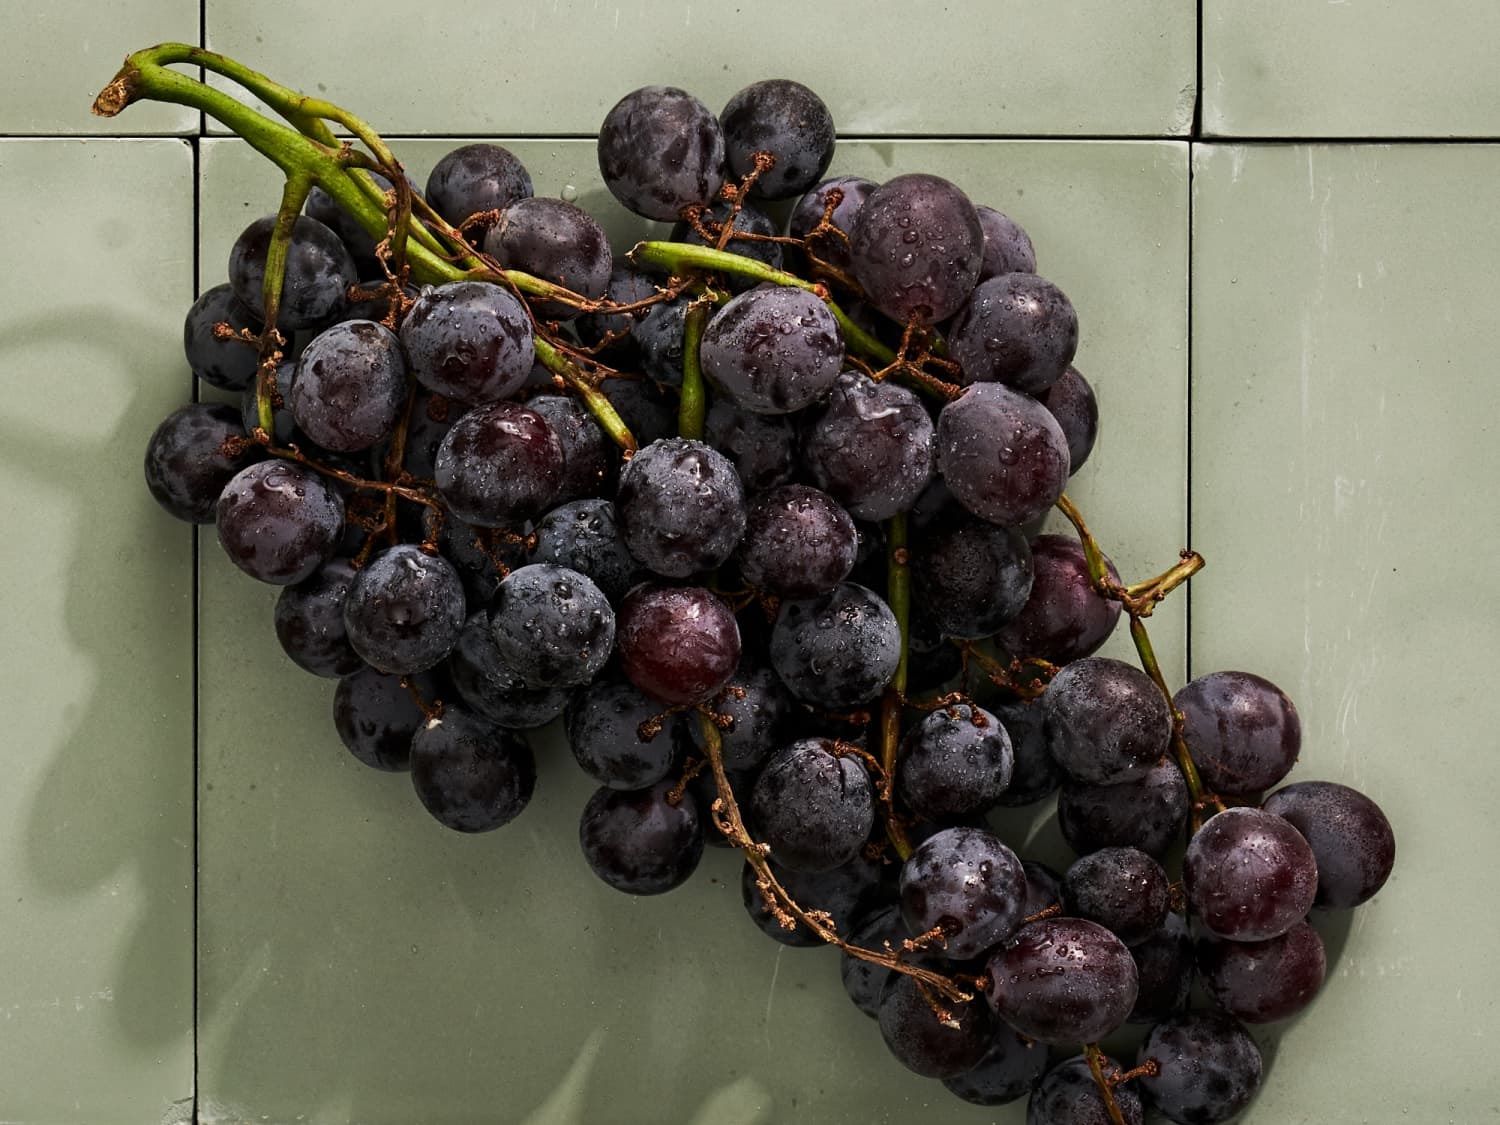
- Color: Look for grapes that have a vibrant color. Red grapes should have a deep, rich hue, while green grapes should be bright and slightly translucent. Avoid grapes that appear dull or have browning or wrinkling on the skin.
- Firmness: Gently squeeze a few grapes to check their firmness. They should feel plump and firm, without any mushy or soft spots. Avoid grapes that are too hard or too soft.
- Stem: Check the stem of the grape bunch. It should be green, flexible, and firmly attached. Avoid grapes with dried or brittle stems, as this may indicate that they are old or have started to deteriorate.
- Aroma: Take a whiff of the grapes. They should have a sweet and fruity aroma. If there is no smell or if they have an off-putting odor, it may be a sign that the grapes are not fresh.
- Size: While size doesn’t necessarily indicate freshness, it’s worth noting that larger grapes tend to have a higher water content and may be juicier. However, smaller grapes can be equally delicious and may have a more concentrated flavor.
By following these guidelines, you can ensure that you are selecting the freshest and highest-quality grapes for storage. Remember that the freshness of the grapes at the time of purchase will directly impact their shelf life and overall quality.
Step 2: Cleaning the grapes
Before storing grapes, it’s essential to clean them properly to remove any dirt, debris, or pesticide residues. Here’s a simple and effective method for cleaning your grapes:
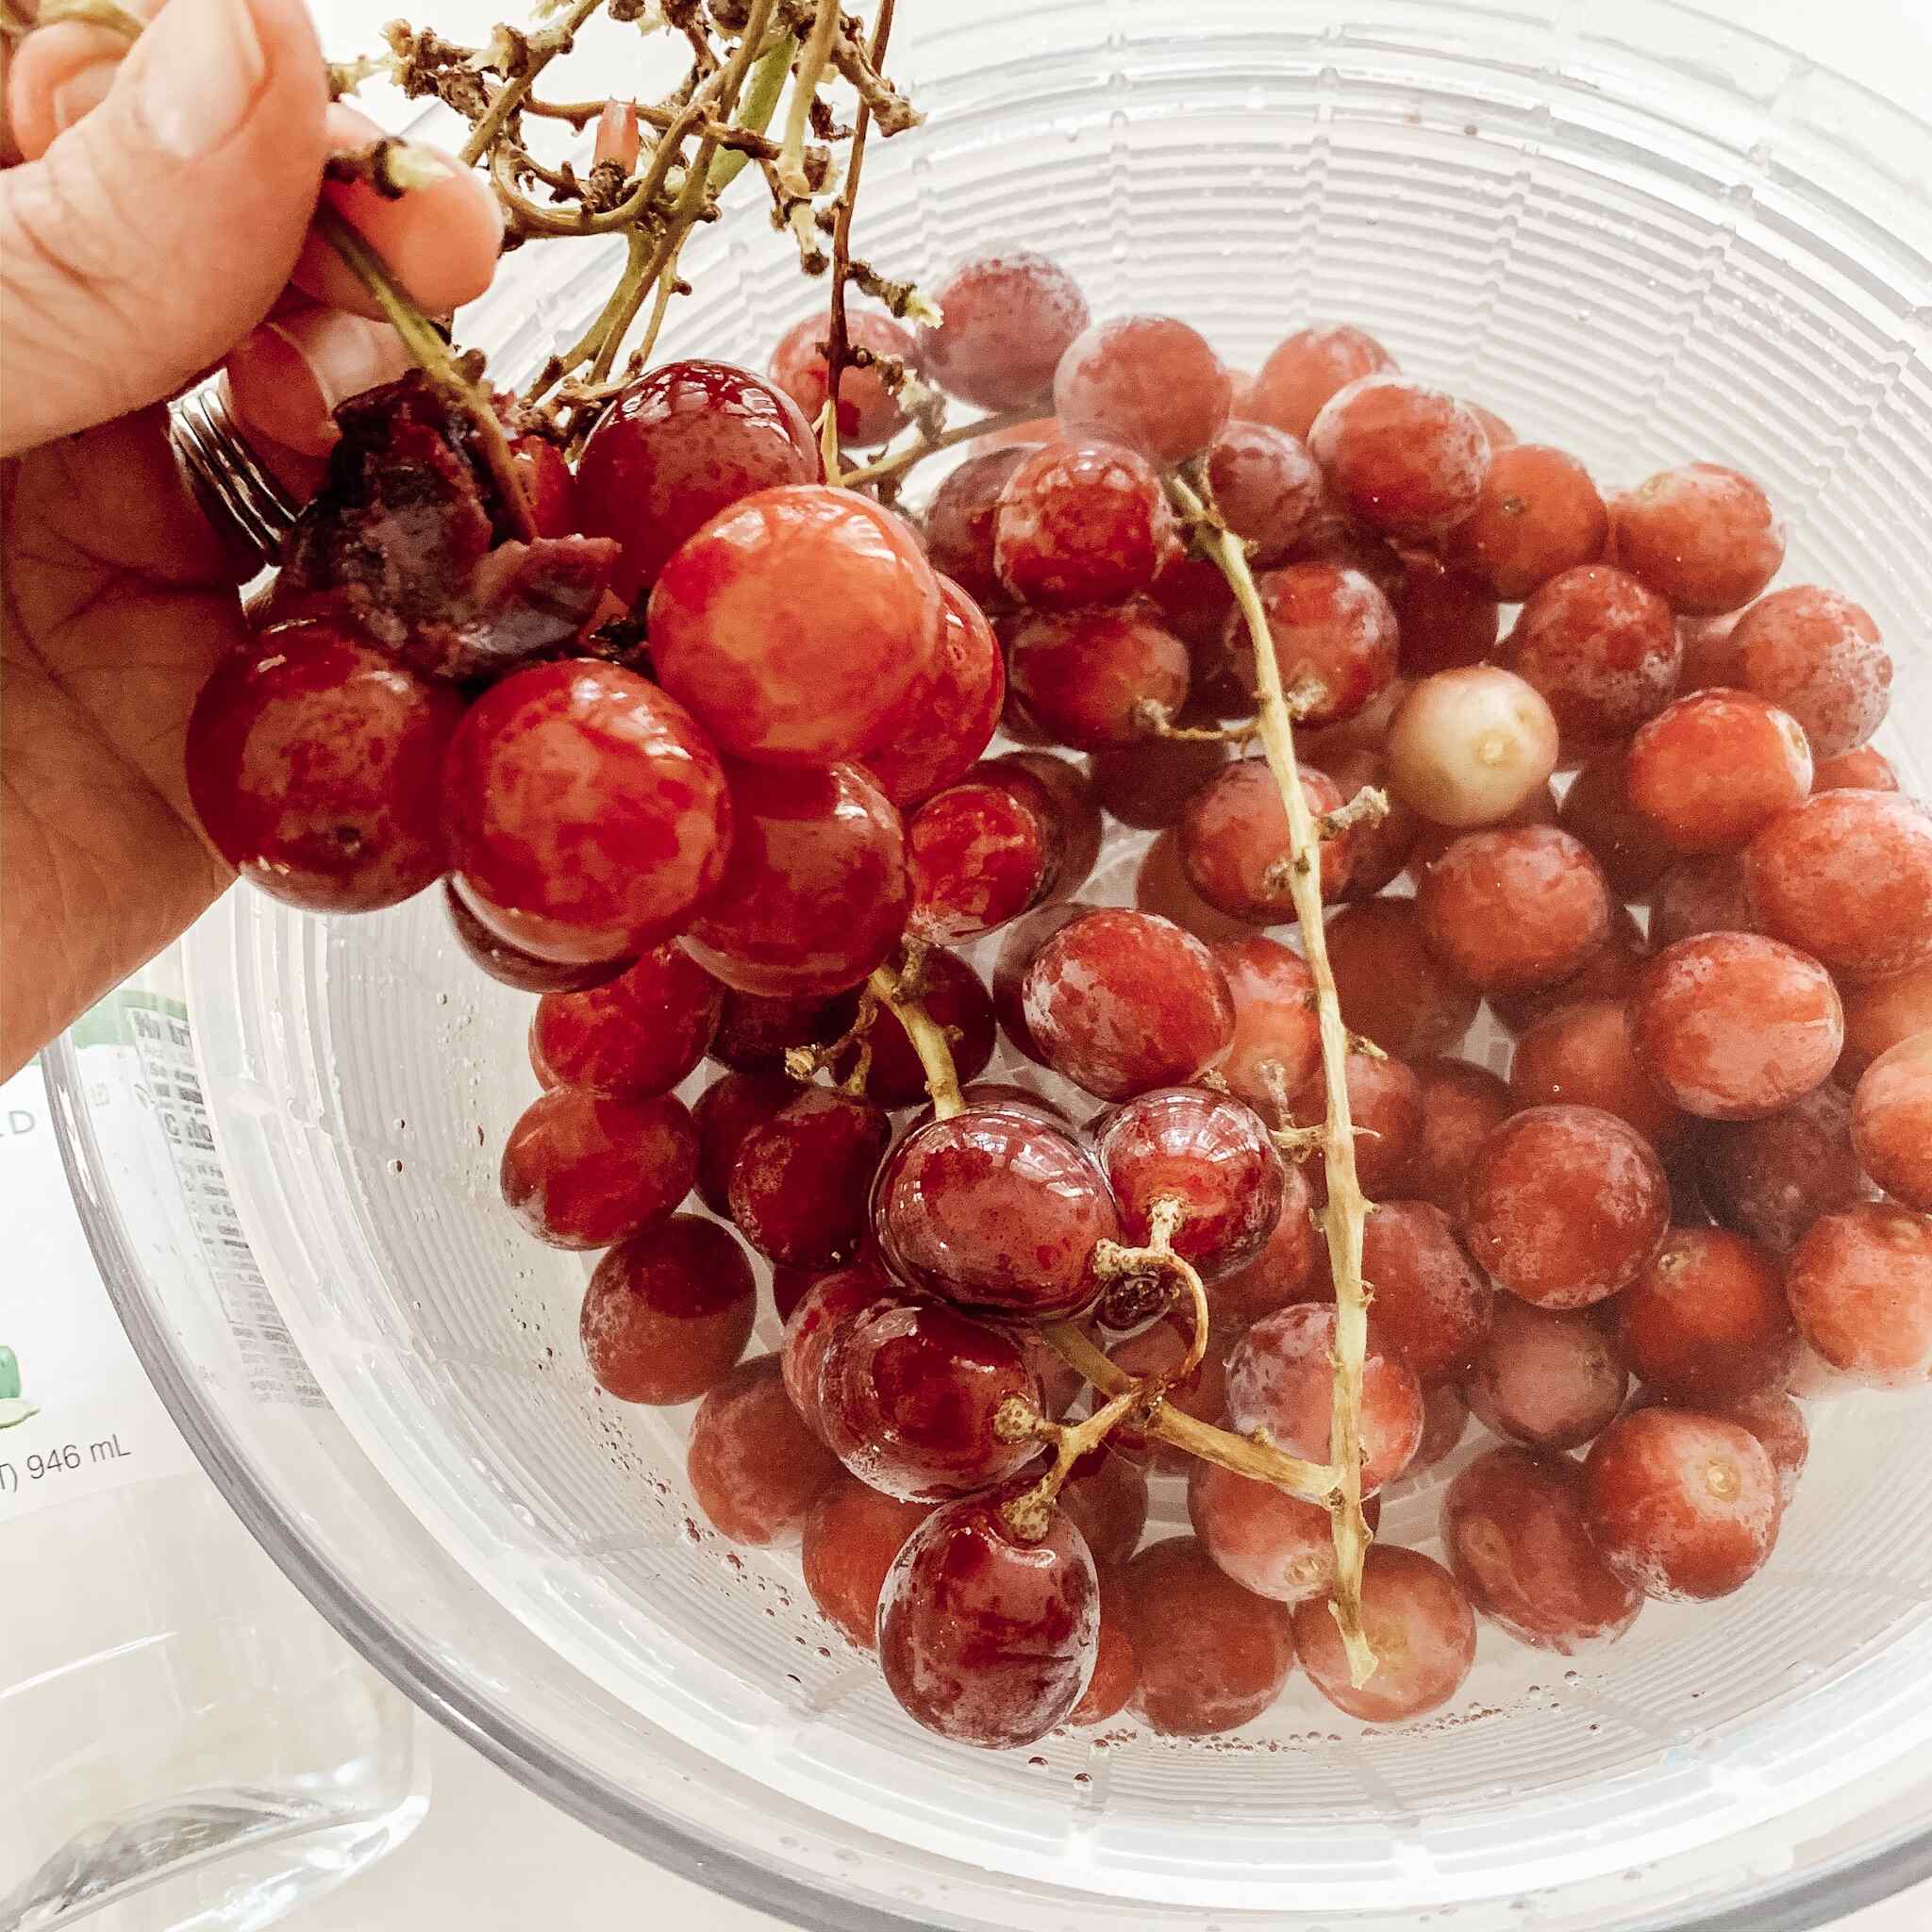
- Remove the grapes from their stems: Hold the bunch of grapes in one hand and use your other hand to gently twist and pull the grapes away from the stem. Discard any stems or leaves that may have fallen off.
- Rinse the grapes: Place the grapes in a colander or strainer and rinse them under cool running water. Make sure to thoroughly rinse each grape, gently rubbing them with your fingers to remove any visible dirt or dust.
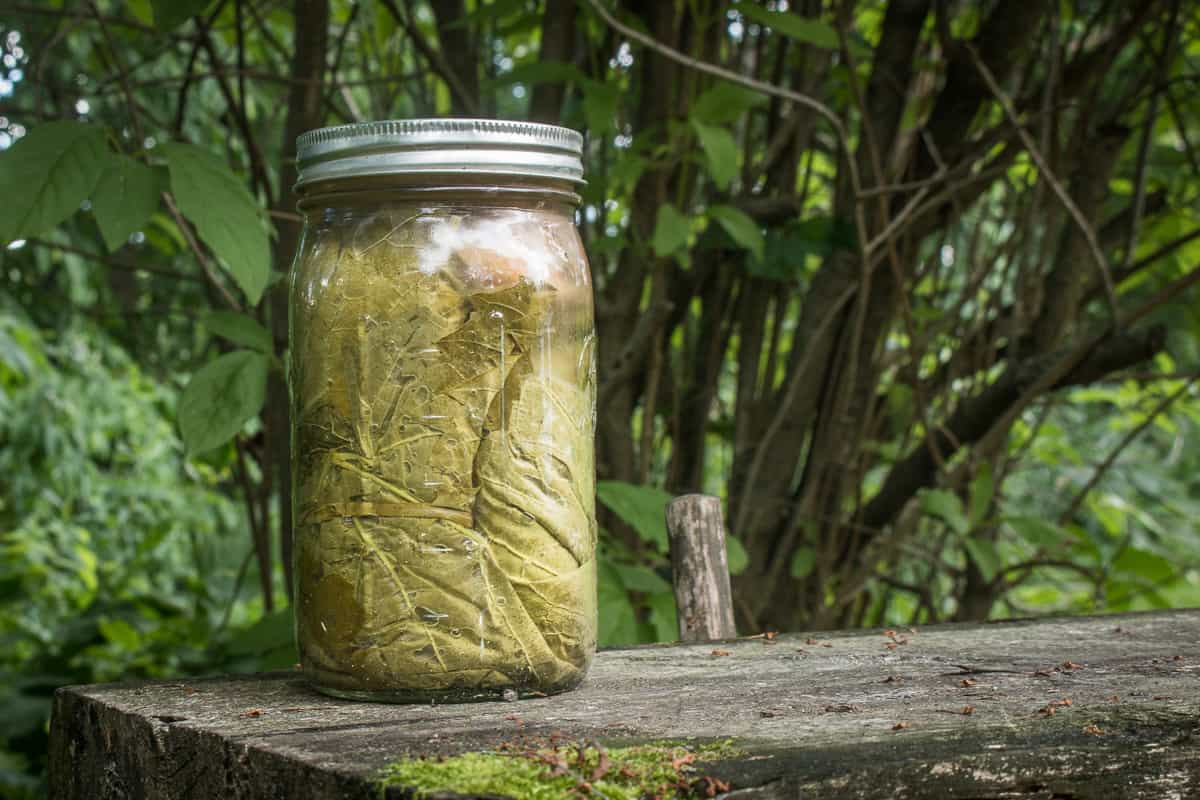
- Optional: Soak in water and vinegar solution: To further sanitize the grapes, you can soak them in a mixture of water and white vinegar. Fill a bowl with a 3:1 ratio of water to vinegar and immerse the grapes for a few minutes. Then, rinse them again under running water.
It’s important to note that washing the grapes just before consuming them is generally recommended. However, if you prefer to pre-clean them for convenience, make sure to dry them thoroughly before storing to prevent any moisture that could promote mold growth.
By following these steps, you can ensure that your grapes are properly cleaned and ready for storage. Clean grapes will not only taste better but will also have an extended shelf life when stored correctly.
Step 3: Drying the grapes
After cleaning the grapes, it’s crucial to ensure they are thoroughly dried before storage. Excess moisture can promote mold growth and spoil the grapes more quickly. Here’s how you can dry the grapes effectively:
- Shake off excess water: Gently shake the colander or strainer holding the grapes to remove any excess water. Avoid vigorous shaking, as it may cause damage to the delicate fruit.
- Pat dry with a clean towel: Lay a clean kitchen towel or paper towels on a flat surface. Transfer the grapes onto the towel and gently pat them dry. Take care not to crush or bruise the grapes while drying them.
- Allow air drying: For optimal drying, you can also leave the grapes in a single layer on the towel and let them air dry naturally. Make sure they are placed in a well-ventilated area away from direct sunlight.
It’s important to ensure that the grapes are completely dry before storage. Any residual moisture can create a breeding ground for bacteria and accelerate spoilage. Taking the time to properly dry the grapes will help maintain their freshness and extend their shelf life.
Once the grapes are dry, they are ready to be placed in the appropriate storage container. Remember to handle the grapes with care to avoid any damage or bruising.
Step 4: Choosing the right storage container
When it comes to storing grapes, selecting the right container is essential. The ideal storage container will help maintain the grapes’ freshness, protect them from damage, and allow for proper air circulation. Here are some factors to consider when choosing a storage container for your grapes:
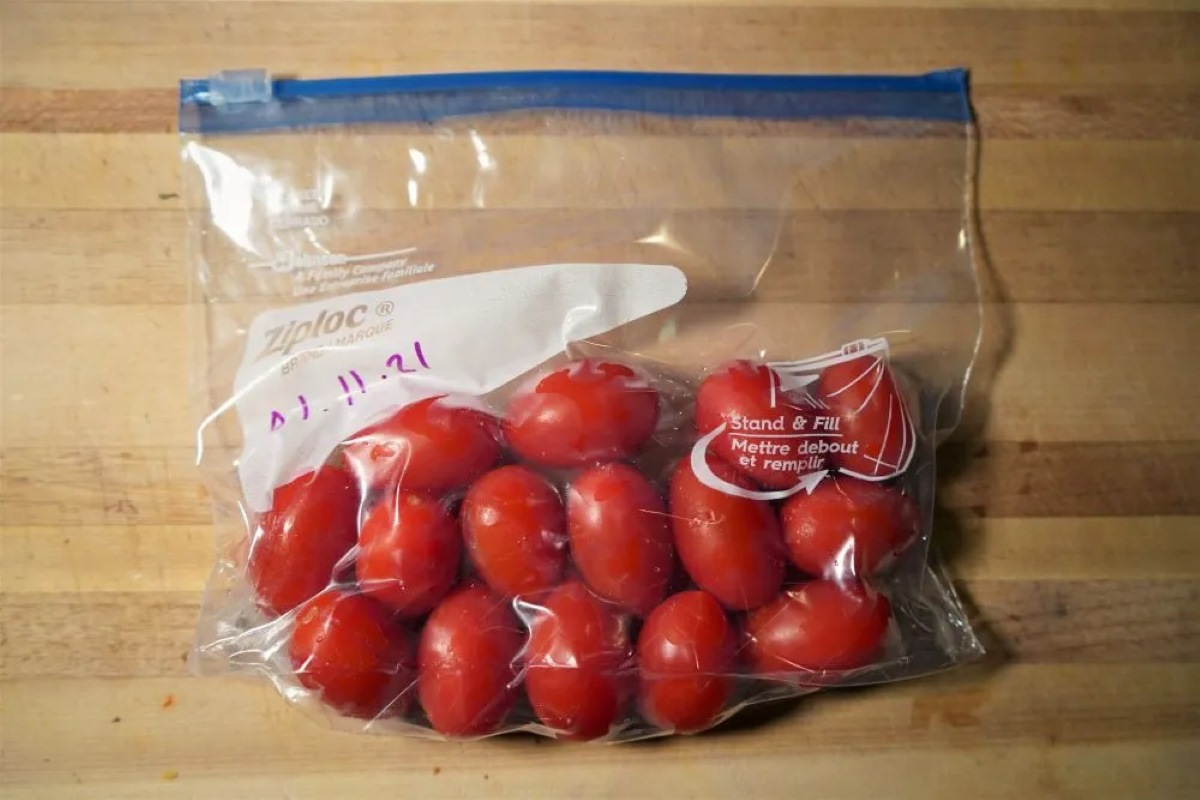
- Breathability: Grapes require airflow to prevent moisture buildup, which can lead to mold growth. Avoid using airtight containers or plastic bags that can trap moisture. Instead, opt for containers that offer some level of breathability, such as perforated plastic bags or containers with small holes.
- Size: The storage container should have enough room to accommodate the quantity of grapes you have without overcrowding them. Overcrowding can cause grapes to become squished, which can lead to spoilage. It’s better to use multiple containers if needed.
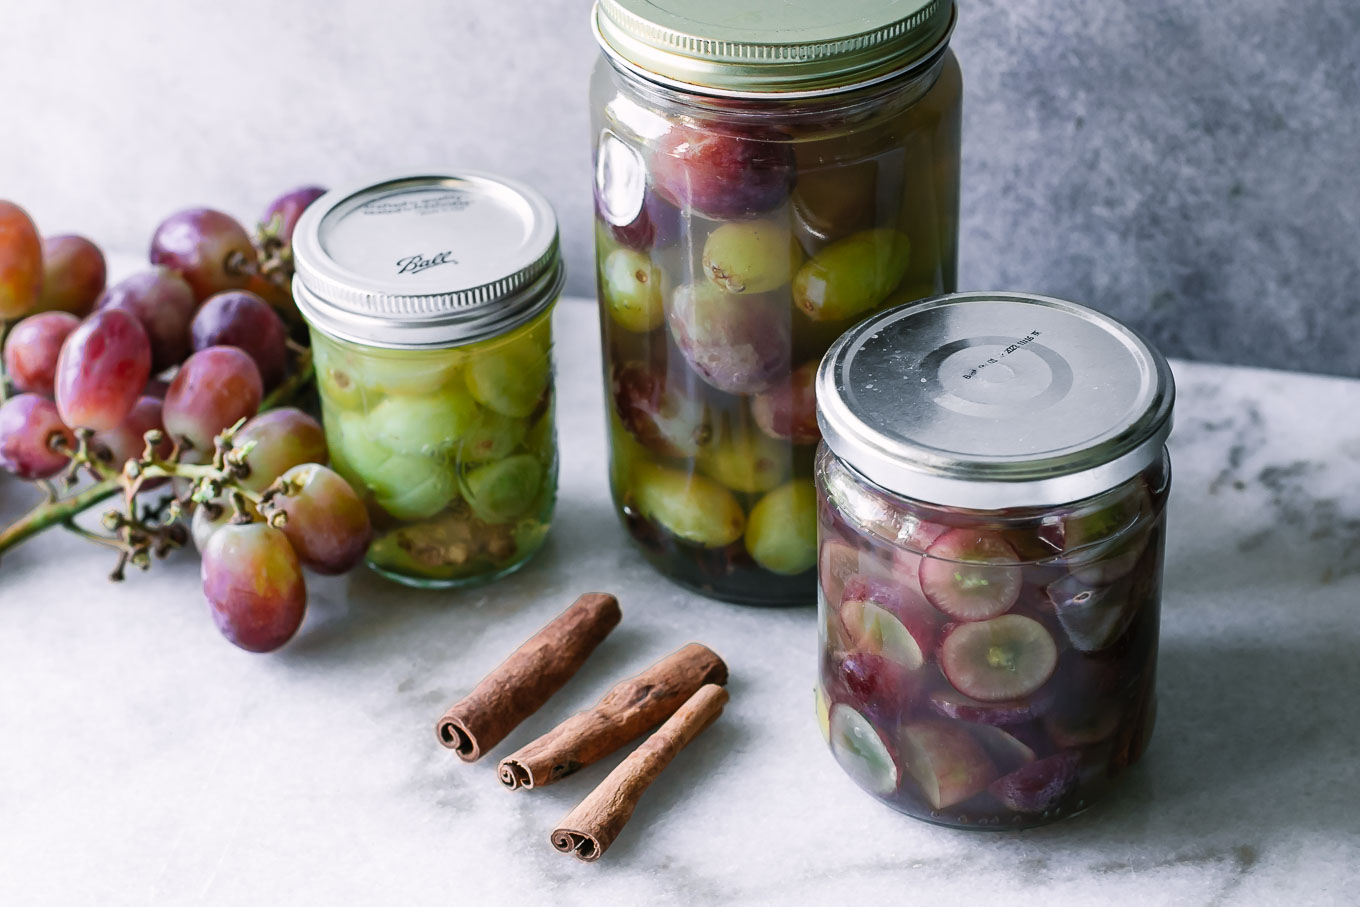
- Material: Choose containers made from food-grade materials that are clean and odor-free. Plastic containers or glass bowls with lids are commonly used for storing grapes. Avoid using containers with strong odors, as grapes can absorb odors easily.
- Visibility: Opt for containers that allow you to see the grapes easily. This will enable you to check their condition without having to open the container frequently, which can lead to loss of freshness.
By selecting the right storage container, you can create an optimal environment for your grapes, ensuring maximum freshness and longevity. Once you have chosen the container, it’s time to decide whether to store the grapes in the refrigerator or at room temperature, depending on your preference and the type of grapes you have.
Store clean grapes in a perforated plastic bag in the refrigerator to maintain freshness. Avoid washing them until ready to eat to prevent spoilage.
Read more: How To Store Green Grapes
Step 5: Storing grapes in the refrigerator
If you prefer to enjoy chilled grapes or want to extend their shelf life, storing them in the refrigerator is the way to go. Here’s how to store grapes in the refrigerator:
- Prepare the grapes: Ensure that the grapes are clean, dry, and free from any damaged or spoiled berries. Remove any stems or leaves that may still be attached.
- Choose a storage container: Place the grapes in a clean, breathable container such as a perforated plastic bag or a lidded glass bowl. Make sure the container is large enough to hold the grapes without overcrowding them.
- Refrigerator placement: Put the container of grapes in the refrigerator. Ideally, they should be stored in the crisper drawer or in a designated area where the temperature remains consistent.
- Temperature settings: Set your refrigerator to a temperature of around 32-40°F (0-4°C) to maintain the freshness of the grapes. Keep in mind that grapes stored at lower temperatures might develop a slightly firmer texture, while those stored at higher temperatures might ripen more quickly.
- Avoid moisture: Ensure that the storage container is not exposed to any excess moisture, as it can lead to the growth of mold. If condensation forms inside the container, use a paper towel to absorb the moisture.
Stored properly in the refrigerator, grapes can stay fresh for up to 1-2 weeks. However, it’s always a good idea to check the grapes for freshness before consumption, as individual grapes can vary in quality and may spoil sooner.
Now that you know how to properly store grapes in the refrigerator, let’s explore the option of storing them at room temperature.
Step 6: Storing grapes at room temperature
If you prefer to enjoy grapes at their natural temperature or if you plan to consume them within a shorter period of time, storing them at room temperature can be a viable option. Here’s how to store grapes at room temperature:
- Prepare the grapes: Make sure the grapes are clean, dry, and free from any damaged or spoiled berries. Remove any stems or leaves that may still be attached.
- Choose a storage container: Place the grapes in a clean, breathable container such as a fruit bowl, a shallow dish, or a mesh bag. Avoid using airtight containers, as they can trap moisture and lead to mold growth.
- Room placement: Find a cool and well-ventilated area in your home to store the grapes. Avoid placing them near direct sunlight, heat sources, or areas with fluctuating temperatures.
- Avoid moisture and exposure: Ensure that the storage container is not exposed to excessive moisture or humidity. Keep the grapes away from other fruits and vegetables that release ethylene gas, which can cause the grapes to ripen and spoil faster.
- Check for freshness: Periodically check the grapes for freshness by inspecting their appearance, texture, and aroma. Remove any grapes that show signs of spoilage to prevent it from spreading to the rest of the bunch.
When stored at room temperature, grapes can maintain their freshness for about 2-5 days, depending on their initial quality and ripeness. Keep in mind that grapes stored at room temperature may start to shrivel and lose moisture over time.
Whether you choose to store your grapes in the refrigerator or at room temperature, it’s important to consume them before they start to deteriorate. If you have any remaining grapes that are reaching the end of their freshness, consider freezing them for later use or incorporating them into recipes.
Now that you know how to properly store grapes, let’s move on to the final step of checking their freshness before consumption.
Step 7: Checking for freshness before consumption
Before enjoying your stored grapes, it’s important to check their freshness to ensure they are still safe and delicious. Here are some signs to look for when checking the freshness of your grapes:
- Appearance: Inspect the grapes for any signs of mold, discoloration, shriveling, or wrinkling. Fresh grapes should have a plump and firm appearance, with no visible signs of decay.
- Texture: Gently squeeze a few grapes to check their texture. They should feel firm and resilient, not mushy or overly soft. A slight crispness is desirable, indicating that the grapes are still fresh.
- Aroma: Take a whiff of the grapes to check for any off-putting or sour odors. Fresh grapes should have a pleasant, sweet aroma. If they smell fermented or have a vinegar-like scent, it’s a sign that they have started to spoil.
- Taste: Finally, taste a grape to assess its flavor. Fresh grapes should be juicy, sweet, and flavorful. If the grapes taste sour or have an unpleasant aftertaste, it’s an indication that they are no longer fresh.
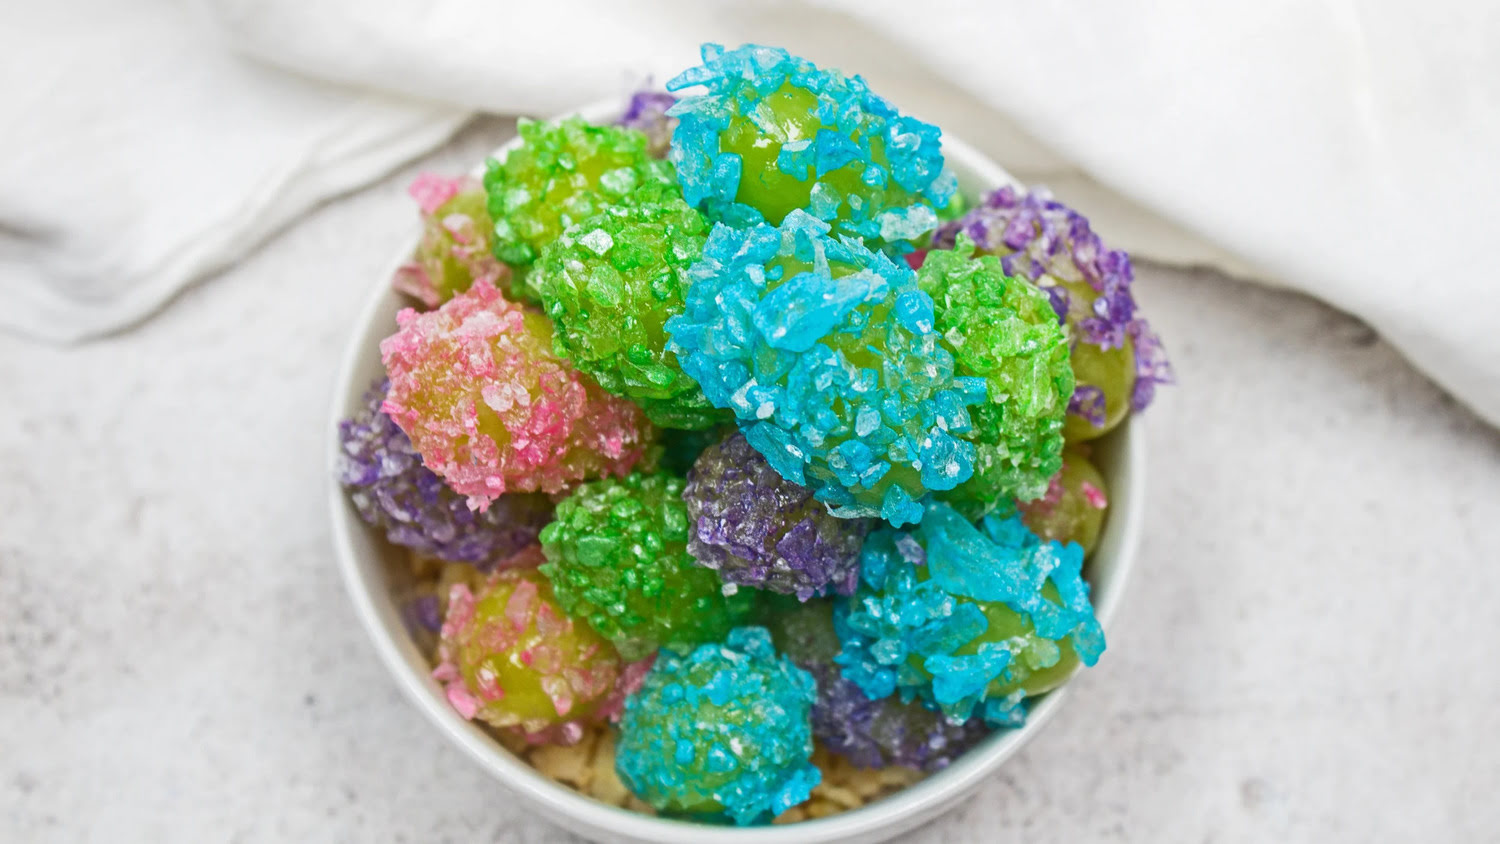
If your grapes pass the freshness test, congratulations! You can enjoy them as they are or use them in various recipes, such as fruit salads, smoothies, or even as a topping for desserts.
If you notice any signs of spoilage, it’s best to discard those grapes to avoid any potential health risks. Moldy or spoiled grapes can contain harmful bacteria or fungi that can cause illness.
Remember that the storage conditions and the initial quality of the grapes play a crucial role in determining their freshness. By following the proper storage techniques outlined in the previous steps, you can maximize the shelf life and quality of your grapes.
Now that you know how to store and check the freshness of grapes, you can enjoy these delicious fruits whenever you crave a sweet and refreshing snack!
Conclusion
Properly storing clean grapes is essential to maintain their flavor, texture, and overall quality. By following the steps outlined in this article, you can ensure that your grapes stay fresh and delicious for as long as possible.
From selecting the freshest grapes to cleaning and drying them, each step is crucial in maintaining the grapes’ freshness. Choosing the right storage container, whether it’s in the refrigerator or at room temperature, further extends their shelf life.
Remember to periodically check the grapes for freshness, looking for signs of mold, discoloration, and undesirable odors. By discarding any spoiled grapes, you can prevent the spoilage from spreading to the rest of the bunch.
Whether enjoyed on their own, in a refreshing fruit salad, or as a topping for desserts, properly stored grapes offer a burst of natural sweetness and a delightful snacking experience.
So the next time you bring home a bunch of grapes, take the time to store them correctly. By following these steps and being mindful of the grapes’ freshness, you can enjoy the best of what these delicious fruits have to offer.
Happy grape storing and indulging!
Frequently Asked Questions about How To Store Clean Grapes
Was this page helpful?
At Storables.com, we guarantee accurate and reliable information. Our content, validated by Expert Board Contributors, is crafted following stringent Editorial Policies. We're committed to providing you with well-researched, expert-backed insights for all your informational needs.


0 thoughts on “How To Store Clean Grapes”