Articles
How To Store Halloween Decorations
Modified: October 28, 2024
Discover helpful articles on how to store your Halloween decorations safely and effectively. Simplify your post-Halloween cleanup with our expert tips and tricks.
(Many of the links in this article redirect to a specific reviewed product. Your purchase of these products through affiliate links helps to generate commission for Storables.com, at no extra cost. Learn more)
Introduction
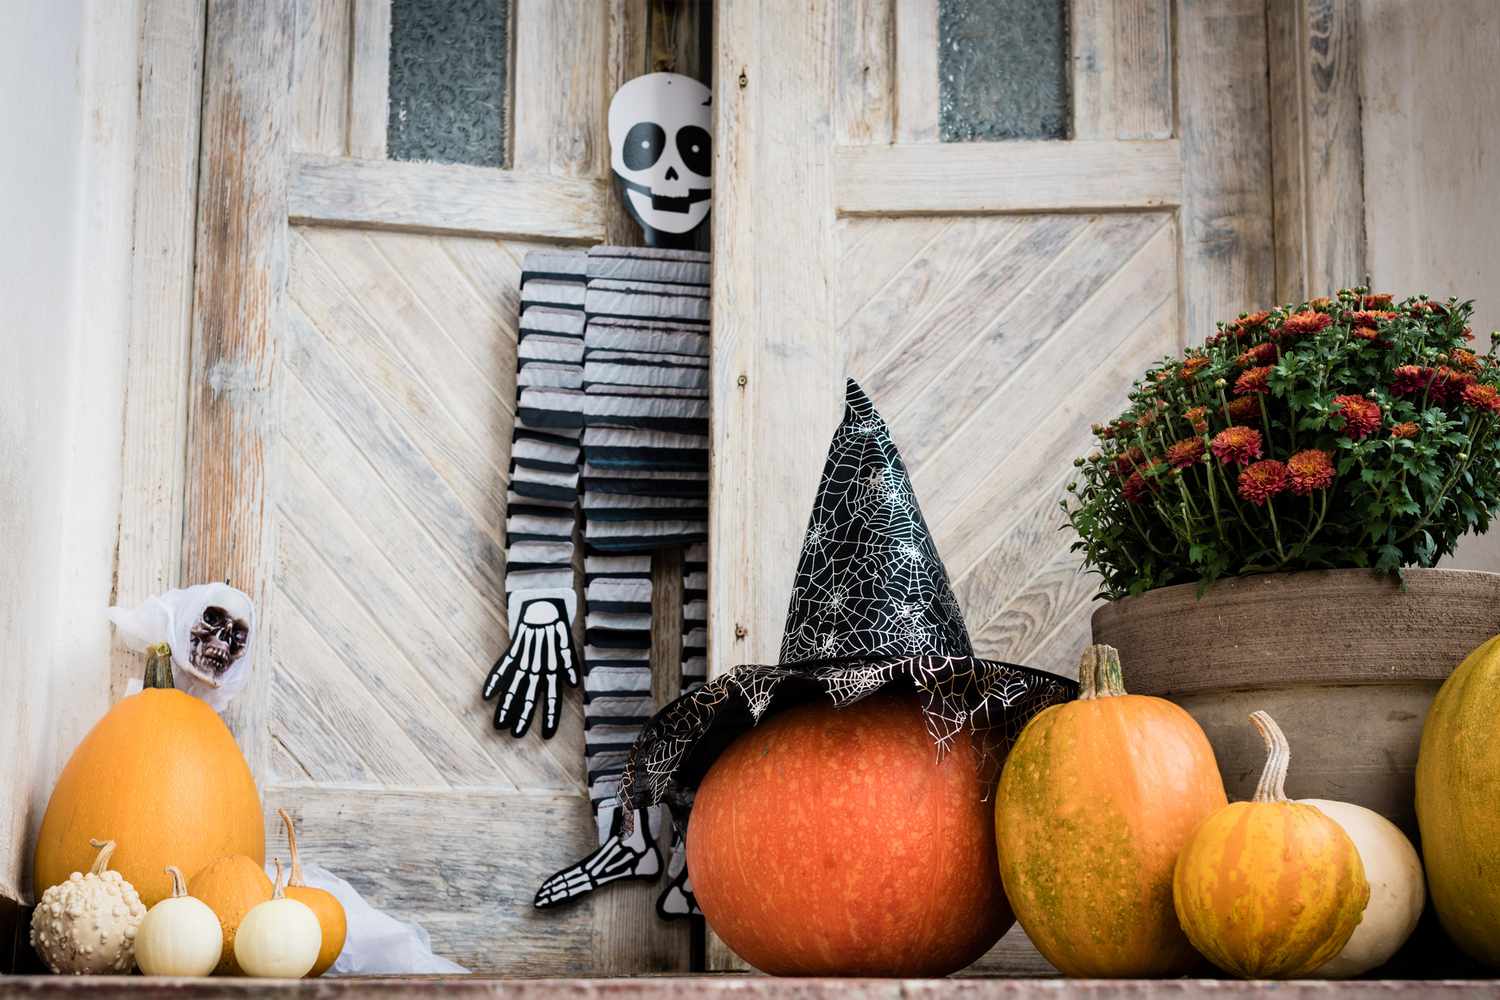
Halloween is a favorite holiday for many people, filled with spooky costumes, haunted houses, and of course, delightful decorations. Whether you enjoy turning your home into a haunted wonderland or just like adding a touch of Halloween spirit, storing these decorations properly is essential to ensure they stay in good condition and are ready for use next year.
In this article, we will take you through a step-by-step guide on how to store Halloween decorations effectively. From organizing and cleaning to choosing the right storage containers and ensuring their longevity, we’ll cover everything you need to know to keep your Halloween decorations looking their best. So let’s dive in!
Key Takeaways:
- Organizing Halloween decorations into categories and labeling containers will make storage more efficient and retrieval easier for next year’s spooky season. Don’t forget to take inventory to track your decorations!
- Properly cleaning, repairing, and packing Halloween decorations in suitable containers will ensure their longevity and protection. Store them in a safe, dry location and maintain regular inspections for future use.
Read more: How To Decorate A Porch For Halloween
Step 1: Organizing Halloween Decorations
Before you begin the process of storing your Halloween decorations, it’s crucial to start by organizing them properly. This will not only make the storage process more efficient but also make it easier to find and retrieve specific items next year. Here are some tips for organizing your Halloween decorations:
- Categorize: Start by categorizing your decorations into different groups. For example, you can separate them into indoor and outdoor decorations, or differentiate between props, lights, and smaller accessories.
- Sort by Similarity: Within each category, sort the decorations by similarity. This will allow you to locate items more easily when it’s time to decorate next Halloween.
- Use Containers: Consider using different containers for each category or group of decorations. Clear plastic bins with lids are an excellent choice as they allow you to see the contents inside without opening them.
- Label Everything: To save time and avoid confusion when you’re ready to decorate again, label each container or box with its contents. You can use sticky notes, adhesive labels, or even marker pens directly on the containers.
- Take Inventory: While organizing, take inventory of your decorations. This will help you track what you have and what you may need to replace or add for next year’s Halloween celebration.
By following these organization tips, you’ll have a clear idea of what decorations you have and be able to access them easily when it’s time to decorate again.
Step 2: Cleaning and Preparing Decorations for Storage
Before you pack away your Halloween decorations, it’s essential to clean and prepare them properly. This will not only ensure that they remain in good condition but also prevent any damage or deterioration during storage. Here are some steps to follow:
- Dust and Wipe Down: Begin by dusting off your decorations using a soft cloth. For items with intricate details or hard-to-reach places, use a small brush or cotton swabs to remove any dirt or cobwebs.
- Spot Cleaning: If any decorations have stains, smudges, or sticky residue, perform spot cleaning. Use a mild detergent and warm water to gently clean the affected areas, ensuring you don’t saturate the decoration with excessive moisture.
- Dry Thoroughly: After cleaning, make sure each decoration is completely dry before packing it away. Excess moisture can lead to mold or mildew growth and damage the decorations.
- Repair Damaged Items: Check your decorations for any signs of damage such as loose wires, torn fabric, or broken parts. Repair them as needed before storage to prevent further deterioration.
- Protect Fragile Decorations: If you have delicate or fragile decorations, consider wrapping them individually in tissue paper or bubble wrap. This extra layer of protection will keep them safe from any bumps or impacts during storage.
By taking the time to clean and prepare your decorations, you’ll ensure that they are ready to be packed and stored without the risk of damage or deterioration.
Step 3: Choosing the Right Storage Containers
Selecting the appropriate storage containers for your Halloween decorations is crucial to ensure their safety and longevity. The right containers will protect your decorations from dust, moisture, pests, and other potential sources of damage. Consider the following factors when choosing storage containers:
- Size and Capacity: Evaluate the size and capacity of your decorations to determine the appropriate container dimensions. Avoid overcrowding the containers, as this can lead to damage. Opt for containers that provide enough space to store your decorations comfortably.
- Material: Look for storage containers made of sturdy and durable materials, such as plastic, to protect your decorations from impacts and environmental factors. Clear plastic containers are preferable, as they allow you to see the contents without opening them.
- Lids and Closures: Ensure the containers have secure lids or closures to keep out dust, pests, and moisture. This will help maintain the integrity of your decorations and prevent any potential damage during storage.
- Stackability: Consider containers that are stackable to optimize storage space. This will allow you to make the most of your available area, whether it’s a closet, garage, attic, or basement.
- Protection against Environmental Factors: If you plan to store your decorations in an area prone to extreme temperatures or humidity, consider investing in containers with insulation or moisture-resistant features to safeguard your decorations.
By carefully selecting the right storage containers, you can ensure that your Halloween decorations are protected from potential damage and readily accessible for the next spooky season.
When storing Halloween decorations, use clear plastic bins to easily see what’s inside. Label each bin with its contents for quick identification next year.
Step 4: Packing and Labeling Decorations
Once you have the appropriate containers, it’s time to pack your Halloween decorations efficiently and label them for easy retrieval in the future. Proper packing and labeling will make it much simpler to find specific items and ensure their safety during storage. Follow these steps:
- Separate Fragile Items: If you have fragile decorations, set them aside and pack them separately to prevent breakage. Use bubble wrap or tissue paper to cushion and protect these delicate items.
- Layering and Nesting: When placing decorations in the containers, start with larger items at the bottom and layer smaller ones on top. Nest or stack suitable items together to maximize space and avoid any shifting during storage.
- Add Padding: For additional protection, consider using soft materials like newspaper, old towels, or foam packing peanuts to fill any empty spaces within the containers. This will prevent decorations from moving around and minimize the risk of breakage.
- Label Clearly: Label each container or box with a clear and descriptive name of its contents. You can use adhesive labels, sticky notes, or write directly on the containers with a marker. Make sure the labels are visible and easily readable.
- Create an Inventory List: Keep a separate inventory list of all the decorations you are storing. This list will serve as a quick reference when you want to find specific items or track what you have for future Halloween festivities.
Packing and labeling your decorations in an organized manner will save you time and effort when it’s time to decorate next Halloween. You’ll be able to locate exactly what you need without rummaging through numerous boxes or risking damage to your precious decorations.
Read more: How To Store Halloween Costumes
Step 5: Storing Decorations in a Safe Location
Now that your Halloween decorations are packed and labeled, it’s important to store them in a safe location. A proper storage space will help protect your decorations from potential damage and ensure they are readily accessible for future use. Follow these guidelines to store your decorations effectively:
- Choose a Clean and Dry Area: Select a storage area that is clean, dry, and free from moisture, pests, and direct sunlight. Avoid basements or areas prone to leaks or fluctuations in temperature. A climate-controlled environment is ideal for preserving the quality of your decorations.
- Elevate from the Floor: If possible, elevate your storage containers off the floor using shelves, pallets, or storage racks. This will provide an additional layer of protection against moisture and pests.
- Organize by Accessibility: Consider placing decorations that you are more likely to use or need first towards the front of the storage area. This will make it easier to retrieve them without having to dig through other boxes or containers.
- Protect from Extreme Temperatures: If you live in an area with extreme temperature changes, it’s advisable to insulate your storage containers to protect your decorations from potential damage caused by heat or cold.
- Maintain Proper Ventilation: Ensure that the storage area has adequate ventilation to prevent any musty odors or the buildup of humidity which can lead to mold or mildew growth. Consider using moisture-absorbing products like silica gel packets to further mitigate excess moisture.
- Monitor the Storage Area: Regularly check on the storage area to ensure that there are no signs of pests, water leaks, or other potential issues that could damage your decorations. Address any problems immediately to prevent further damage or infestations.
By storing your Halloween decorations in a safe and well-maintained location, you’ll prolong their lifespan and keep them in excellent condition for many Halloweens to come.
Step 6: Maintaining Halloween Decorations for Future Use
Proper maintenance of your Halloween decorations throughout the year is vital to ensure their longevity and keep them looking their best for future use. Follow these tips to maintain your decorations:
- Regular Inspection: Periodically inspect your stored decorations to check for any signs of damage, such as broken parts or fading colors. Address any issues promptly to prevent further deterioration.
- Repair and Replace: If you discover any damaged decorations during inspection, repair them as needed. Replace any items that are beyond repair or no longer safe to use.
- Keep Away from Moisture: Moisture can cause mold, mildew, and other damage to your decorations. Ensure that the storage area remains dry and free from humidity. Consider using dehumidifiers or moisture-absorbing products to maintain optimal conditions.
- Protect from Sunlight: Direct sunlight can fade colors and disintegrate materials over time. Store decorations away from windows or use UV-blocking curtains or blinds to shield them from the sun’s harmful rays.
- Check Electrical Components: If you have decorations with electrical components, inspect the cords for any signs of wear or fraying. Replace damaged cords immediately to prevent electrical hazards.
- Re-evaluate Storage Solutions: Periodically reassess your storage containers and system. Make any necessary adjustments to accommodate new decorations or improve organization and accessibility. Consider upgrading to sturdier containers or investing in specialized storage solutions designed for holiday decorations.
By taking the time to maintain your stored Halloween decorations, you’ll ensure their longevity and be ready to bring out the spooky spirit when the next Halloween season arrives.
Conclusion
Storing Halloween decorations properly is essential to preserve their quality, protect them from damage, and ensure they are ready for use in the next spooky season. By following the steps outlined in this guide, you can organize, clean, pack, label, and store your decorations effectively.
Start by organizing your decorations into categories and sorting them by similarity to make the storage process more efficient. Clean and prepare each item for storage, repairing any damages and ensuring they are fully dry. Choose the right storage containers based on size, material, closures, stackability, and protection against environmental factors.
Pack your decorations thoughtfully, prioritizing fragile items and adding padding to prevent shifting during storage. Label each container clearly, creating an inventory list to easily locate specific decorations. Store your decorations in a safe location, away from extreme temperatures and moisture, and monitor the area regularly to address any issues promptly.
Finally, maintain your decorations throughout the year by conducting regular inspections, repairing or replacing damaged items, and protecting them from sunlight and moisture. Consider re-evaluating your storage solutions to accommodate new decorations or improve organization.
By following these steps and maintaining your Halloween decorations, you can ensure they will be in great shape and ready to bring spooky joy to your home for many Halloweens to come. So, have fun decorating, and don’t forget to store them with care!
Frequently Asked Questions about How To Store Halloween Decorations
Was this page helpful?
At Storables.com, we guarantee accurate and reliable information. Our content, validated by Expert Board Contributors, is crafted following stringent Editorial Policies. We're committed to providing you with well-researched, expert-backed insights for all your informational needs.
0 thoughts on “How To Store Halloween Decorations”