

Articles
How To Store Hats On Wall
Modified: January 21, 2024
Discover the best way to store your hats on the wall with our informative articles. Find tips, tricks, and creative ideas to keep your hats organized and easily accessible.
(Many of the links in this article redirect to a specific reviewed product. Your purchase of these products through affiliate links helps to generate commission for Storables.com, at no extra cost. Learn more)
Introduction
When it comes to storing hats, finding the right solution that keeps them organized, easily accessible, and visually appealing can be a challenge. Simply tossing them in a closet or drawer can lead to damage or misplacement, leaving you frustrated and your hats in disarray. However, there is a creative and stylish solution: storing hats on the wall. By utilizing hooks, racks, pegboards, shelves, or creating a Hat Grid, you can showcase your hat collection while keeping them in top condition.
In this article, we will explore different methods for storing hats on the wall, so you can find the one that best suits your needs and style. Whether you’re a fashion lover with an extensive hat collection or someone looking for a space-saving storage solution, these methods will ensure your hats are organized and within reach, while adding a unique touch to your home decor.
Without further ado, let’s dive into the various methods for storing hats on the wall!
Key Takeaways:
- Transform your wall into a stylish hat display with hooks, racks, pegboards, shelves, or a hat grid. Showcase your collection while keeping hats organized and easily accessible, adding a unique touch to your home decor.
- Whether you’re a fashion enthusiast or seeking space-saving solutions, storing hats on the wall offers practicality and aesthetic appeal. Choose from versatile methods like hooks, racks, pegboards, shelves, or a hat grid to elevate your hat storage game.
Read more: How To Store Hats
Method 1: Hanging Hats with Hooks
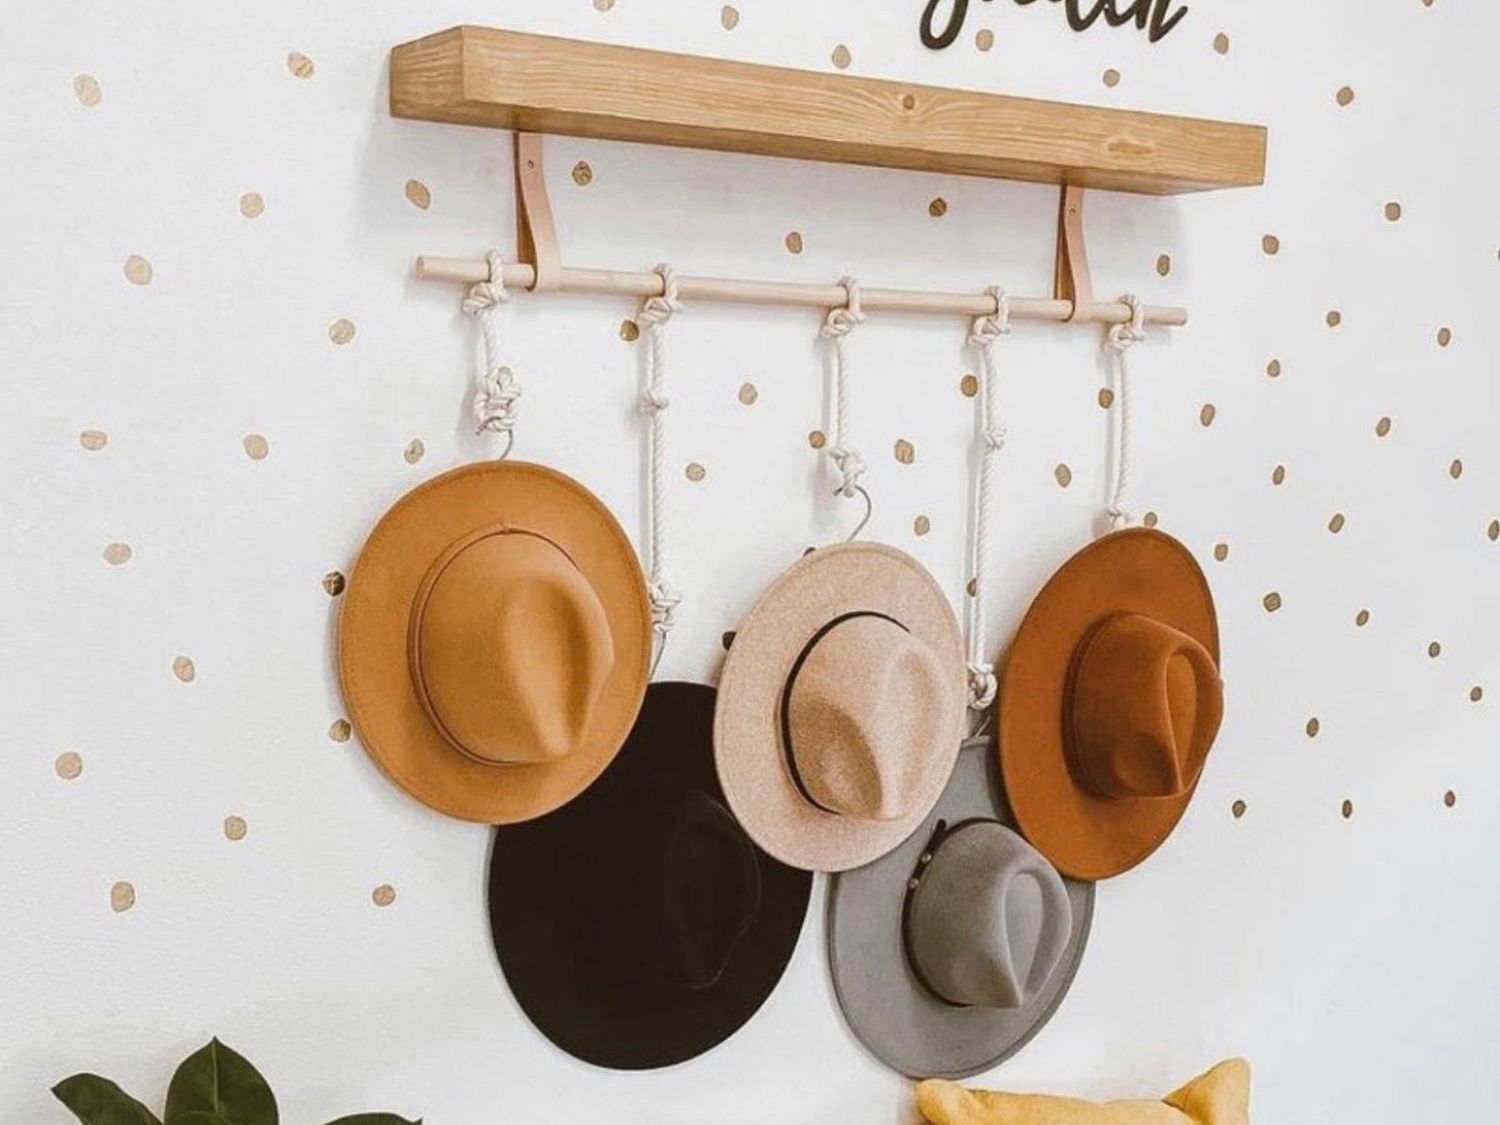
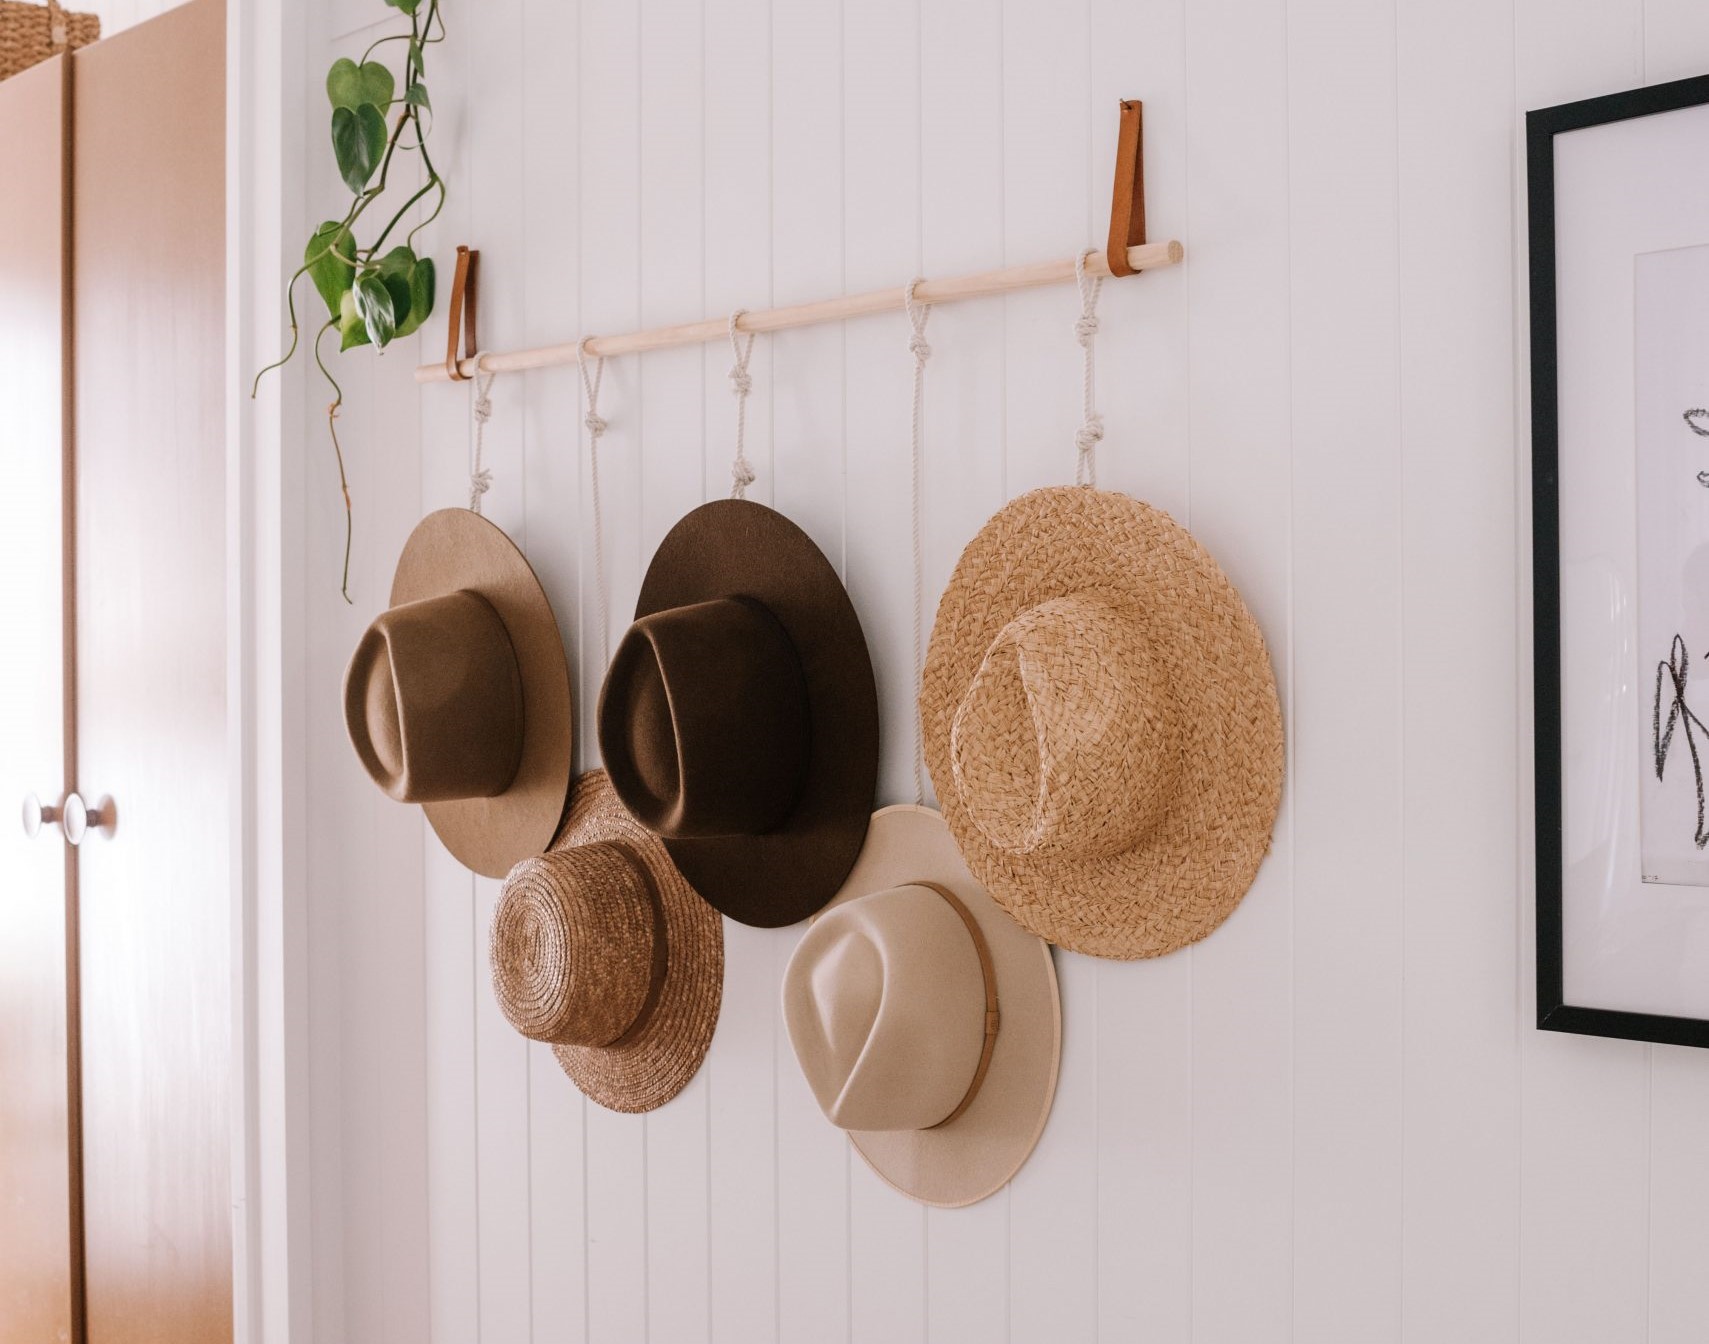
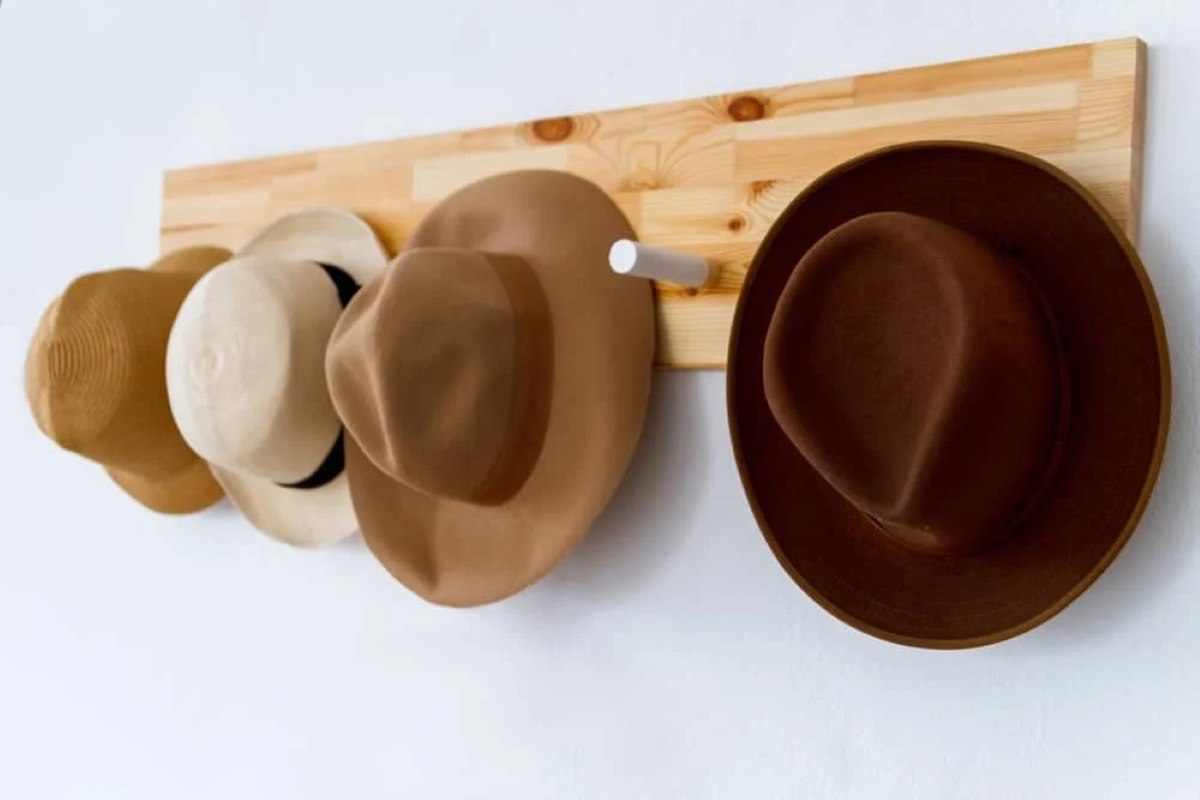
One of the simplest and most versatile methods for storing hats on the wall is by using hooks. Hat hooks come in various shapes, sizes, and materials, allowing you to choose the option that complements your aesthetic preferences. Here’s how you can effectively hang your hats with hooks:
- Select a suitable wall space: Choose an area on your wall where you want to display your hats. It could be in your bedroom, hallway, or even a dedicated hat room.
- Measure and mark the spacing: Depending on the number of hats you want to hang, measure and mark the spacing between the hooks. Ensure that the distance between them is sufficient to allow each hat to hang without touching one another.
- Install the hooks: Using a drill or adhesive hooks, install the hooks according to your measurements. Make sure they are securely attached to the wall to bear the weight of your hats.
- Hang your hats: Once the hooks are in place, gently hang your hats by their brim or crown on the hooks. Ensure they are balanced and properly positioned to prevent them from falling.
- Arrange and style: Get creative with arranging your hats. You can organize them by color, style, or even create patterns on the wall. Experiment with different arrangements until you achieve a visually pleasing display.
Not only does this method provide easy access to your hats, but it also adds visual interest to your walls, transforming them into a unique and stylish focal point. Additionally, it allows for quick and hassle-free hat changes, making it a popular choice for those who like to switch up their headwear frequently.
For additional flair, you can hang other accessories, such as scarves or sunglasses, alongside your hats. This creates a cohesive and curated look while maximizing the use of your wall space.
Now that you have learned the basics of hanging hats with hooks, let’s move on to the next method: using hat racks.
Method 2: Using Hat Racks
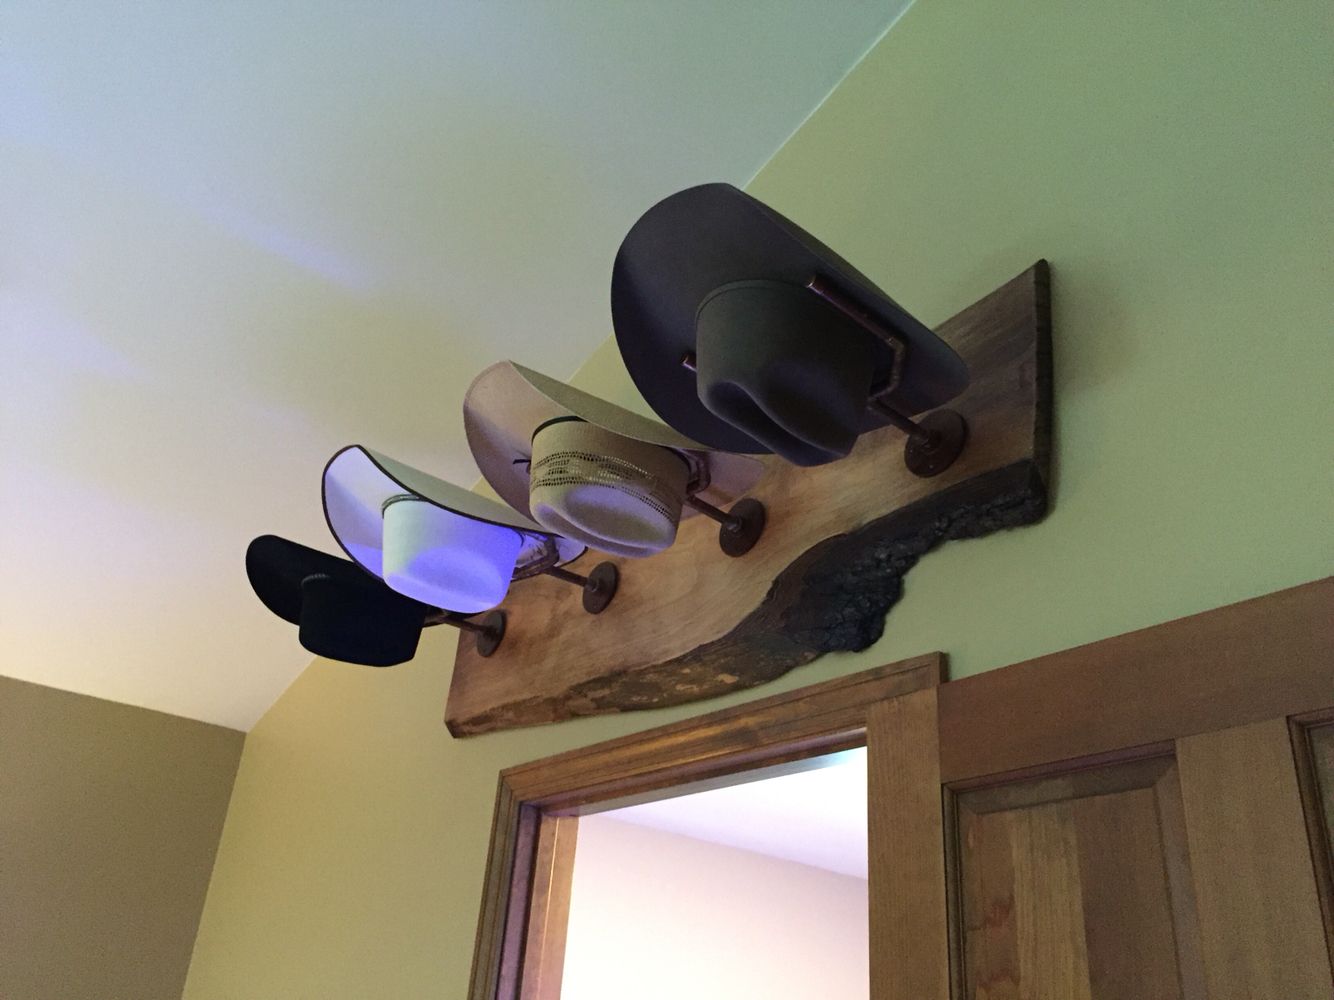
If you want a more structured and organized way to display your hats on the wall, using hat racks is a perfect solution. Hat racks not only provide a designated space for each hat but also add a decorative element to your room. Here’s how you can effectively utilize hat racks for storing and showcasing your hat collection:
- Select a suitable hat rack: Choose a hat rack that suits your style and complements your room decor. There are various types of hat racks available, including wall-mounted racks, standing racks, or even adjustable racks that can expand to accommodate multiple hats.
- Install the hat rack: Once you have chosen the hat rack, follow the manufacturer’s instructions to install it securely on your wall. Make sure it is level and firmly attached to avoid any accidents.
- Organize your hats: Depending on the design of the hat rack, you can hang your hats on hooks, pegs, or even specialized clips. Arrange your hats in a visually pleasing manner, ensuring each hat is easily accessible.
- Accessorize your display: To enhance the overall look, consider adding decorative elements such as fairy lights, plants, or small trinkets that complement your hats. This will create an inviting and personalized display.
Using hat racks not only keeps your hats organized but also protects them from damage, such as misshaping or dust accumulation. Additionally, it gives you the flexibility to showcase your hats as a cohesive collection or individually highlight certain hats as statement pieces.
Remember to regularly check and clean your hat racks to keep them in optimal condition. Dust can accumulate over time, so a quick wipe-down with a clean cloth or a gentle vacuuming will help maintain the cleanliness and longevity of your hat rack.
Now that you have learned how to use hat racks to store your hats on the wall, let’s explore another method: utilizing pegboards.
Method 3: Utilizing Pegboards
If you’re looking for a customizable and versatile method for storing hats on the wall, utilizing pegboards is an excellent choice. Pegboards provide a practical and visually appealing solution, allowing you to arrange and rearrange your hats with ease. Here’s how you can effectively utilize pegboards for storing and displaying your hat collection:
- Select a suitable pegboard: Choose a pegboard that fits the size of your hats and the available wall space. Pegboards come in various sizes and colors, allowing you to find one that suits your style preferences.
- Install the pegboard: Using a drill, secure the pegboard onto your wall. Make sure it is mounted securely, as hats can add weight to the pegboard.
- Choose your pegboard accessories: Purchase various hooks, clips, and holders designed for use with pegboards. These accessories will allow you to hang your hats securely and creatively.
- Position your hats: Decide how you want to arrange your hats on the pegboard. You can hang them by the brim, crown, or even use clips to attach them securely.
- Create a visually pleasing display: Experiment with different arrangements and configurations. You can organize your hats by color, style, or even create a hat wall art by arranging them in specific patterns or shapes.
Utilizing pegboards not only provides a functional storage solution but also adds an element of visual interest to your space. The versatility of pegboards allows you to easily change the arrangement of your hats whenever you feel like refreshing the display.
In addition to hats, you can also use pegboards to store other accessories such as scarves, belts, or even sunglasses. This makes the pegboard a versatile and space-saving option for organizing multiple items on your wall.
Remember to periodically check the stability of the pegboard and ensure the hooks and accessories are securely attached. This will prevent any accidents or damage to your hats.
Now that you’ve learned how to utilize pegboards for storing your hats on the wall, let’s move on to the next method: displaying hats with shelves.
Use adhesive hooks or pegs to hang hats on the wall, ensuring they are evenly spaced and not too crowded. This will keep hats organized and easily accessible.
Method 4: Displaying Hats with Shelves
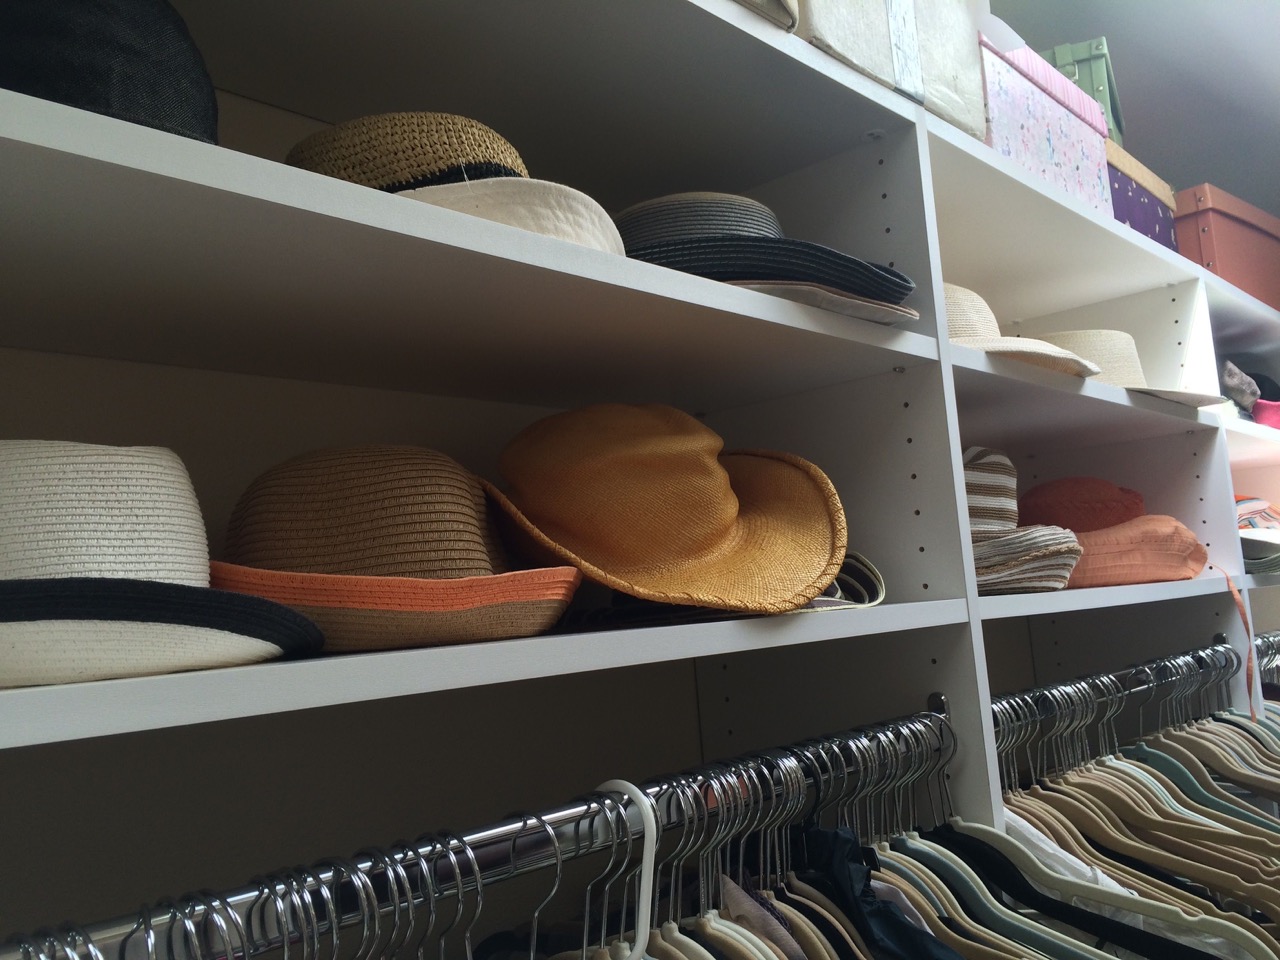
If you prefer a more curated and sophisticated look for storing your hats on the wall, displaying them with shelves is an elegant option. The addition of shelves not only provides functional storage but also adds a decorative element to your space. Here’s how you can effectively display your hats with shelves:
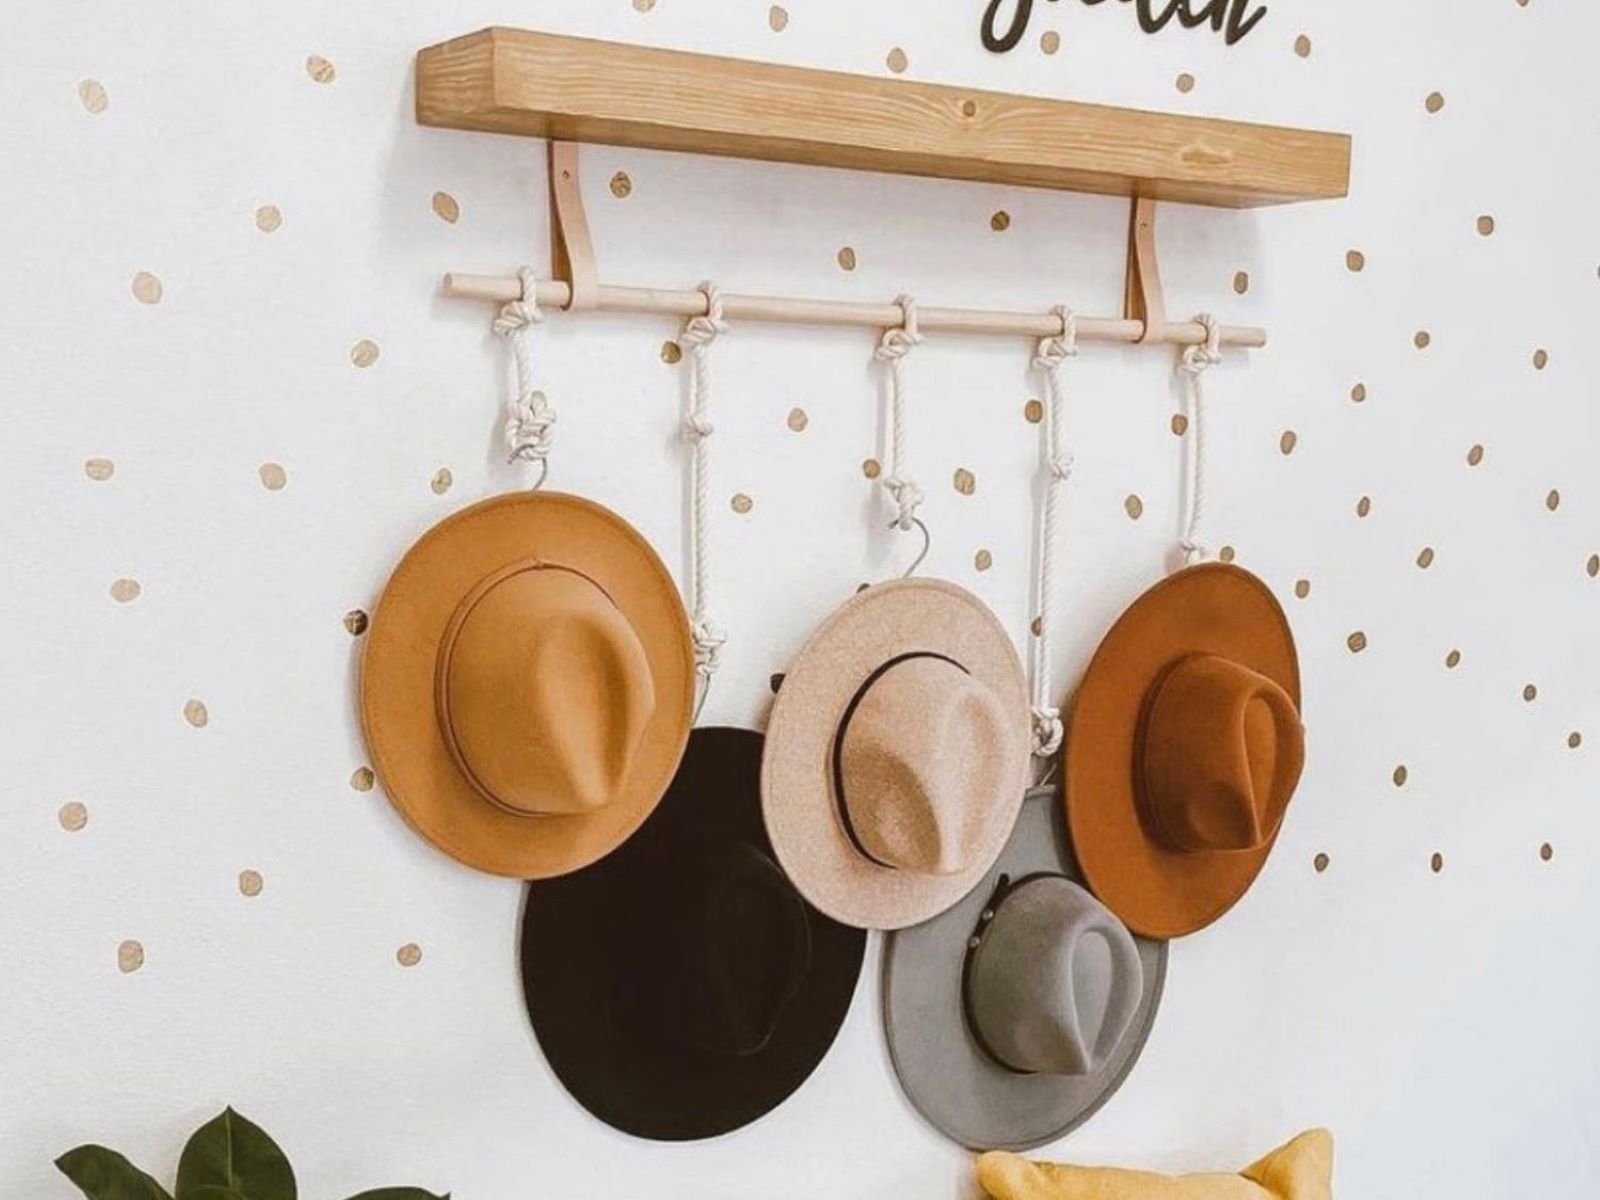
- Select suitable shelves: Choose shelves that match your room decor and complement the style of your hats. Floating shelves or wall-mounted shelves are popular choices for displaying hats as they create a clean and minimalist look.
- Install the shelves: Follow the manufacturer’s instructions to securely install the shelves on your wall. Ensure they are level and sturdy to hold the weight of your hats.
- Arrange your hats: Place your hats on the shelves, arranging them in an aesthetically pleasing manner. You can stack them, create different heights, or use stands to add dimension to your display.
- Add decorative elements: Enhance the visual appeal of your hat display by incorporating decorative elements such as framed photos, small plants, or other trinkets. This will create a personalized and visually appealing arrangement.
Displaying hats with shelves not only showcases your hat collection but also creates an elegant and sophisticated focal point in your room. It allows you to highlight your favorite hats as statement pieces and adds a touch of luxury to your overall decor.
Make sure to regularly dust and clean your hats and shelves to keep them in optimal condition. This will prevent dust accumulation and keep your hats looking fresh and stylish.
Now that you’ve learned how to display hats with shelves, let’s move on to our final method: creating a Hat Grid.
Read more: How To Store A Hat
Method 5: Creating a Hat Grid
For a unique and creative way to store and display your hats on the wall, creating a hat grid is a fantastic option. This method allows you to arrange your hats in a grid-like pattern, creating a visually appealing and organized display. Here’s how you can create a hat grid:
- Measure and plan: Start by measuring the available wall space and determine the size and shape of your hat grid. It’s helpful to sketch out the grid pattern on paper to visualize the arrangement.
- Install a grid system: Using a grid wall panel or wire grid, install the grid system onto your wall. Make sure it is securely mounted and level.
- Attach hooks or clips: Depending on the design of your grid system, attach hooks or clips to the intersections of the grid. These will hold your hats in place.
- Hang your hats: Place your hats on the hooks or clips, arranging them in the desired pattern. You can opt for a symmetrical grid or create a more artistic and abstract arrangement.
- Experiment with accessories: To enhance the overall look, consider adding additional elements such as decorative lights, artwork, or mirrors to the space around the hat grid. This will create a captivating and visually dynamic display.
Creating a hat grid allows you to transform your walls into a statement art piece while keeping your hats organized and within easy reach. It’s a perfect option for those who have a large hat collection or want to make a bold style statement.
Remember to periodically check the hooks or clips to ensure they are securely holding your hats. Also, dust off the hats and clean the grid system to maintain a pristine and visually appealing display.
Whether you choose to hang your hats with hooks, use hat racks, utilize pegboards, display them with shelves, or create a hat grid, storing your hats on the wall is a winning solution that combines functionality and aesthetics. Not only will your hats stay organized and in great condition, but they will also become a stylish and eye-catching addition to your home decor.
Now that you’ve learned five different methods for storing hats on the wall, it’s time to roll up your sleeves and start transforming your wall space into a hat lover’s dream!
Conclusion
Storing hats on the wall is not only a practical solution but also a creative way to showcase your hat collection while adding visual interest to your space. Whether you choose to hang your hats with hooks, use hat racks, utilize pegboards, display them with shelves, or create a hat grid, each method offers its own unique benefits in terms of organization, accessibility, and aesthetics.
By following the methods outlined in this article, you can find the perfect storage solution that suits your needs, style, and available wall space. Hanging hats with hooks is a simple and versatile option that allows for easy access and endless arrangement possibilities. Using hat racks provides a more structured and organized display, ensuring your hats stay in top condition. Utilizing pegboards offers customization and flexibility, allowing you to rearrange your hats with ease. Displaying hats with shelves adds a touch of elegance to your room, giving your hats a curated and sophisticated look. Creating a hat grid provides a visually captivating and artistic way to showcase your hats as a statement piece.
Remember to choose the method that aligns with your personal style and consider incorporating additional decorative elements to further enhance the visual appeal of your hat display. Regular maintenance and cleaning will ensure your hats stay in great condition and your wall storage remains tidy and appealing.
Now that you have a variety of options to store your hats on the wall, it’s time to explore your creativity and transform your space into a hat lover’s paradise. Enjoy the convenience, organization, and aesthetic beauty that storing hats on the wall can bring!
Frequently Asked Questions about How To Store Hats On Wall
Was this page helpful?
At Storables.com, we guarantee accurate and reliable information. Our content, validated by Expert Board Contributors, is crafted following stringent Editorial Policies. We're committed to providing you with well-researched, expert-backed insights for all your informational needs.







0 thoughts on “How To Store Hats On Wall”