Articles
How To Store Freesia Bulbs
Modified: December 7, 2023
Learn the best methods for storing freesia bulbs in this informative article. Keep your bulbs fresh and ready for planting with these expert tips.
(Many of the links in this article redirect to a specific reviewed product. Your purchase of these products through affiliate links helps to generate commission for Storables.com, at no extra cost. Learn more)
Introduction
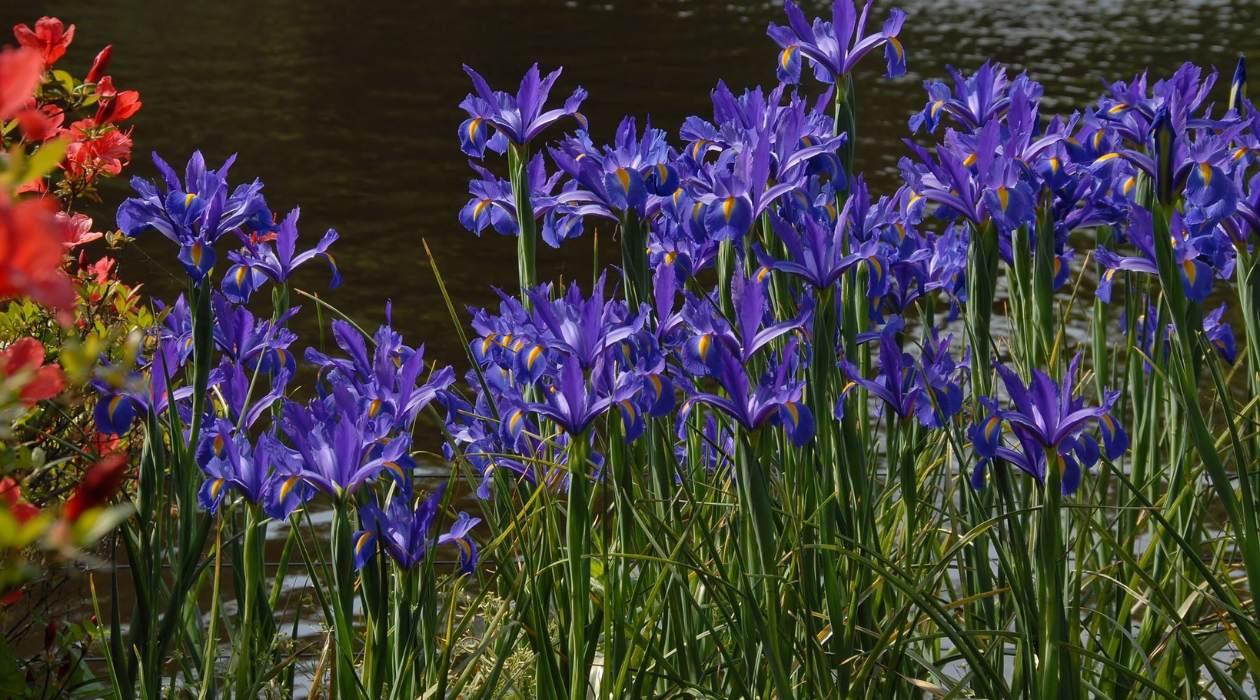
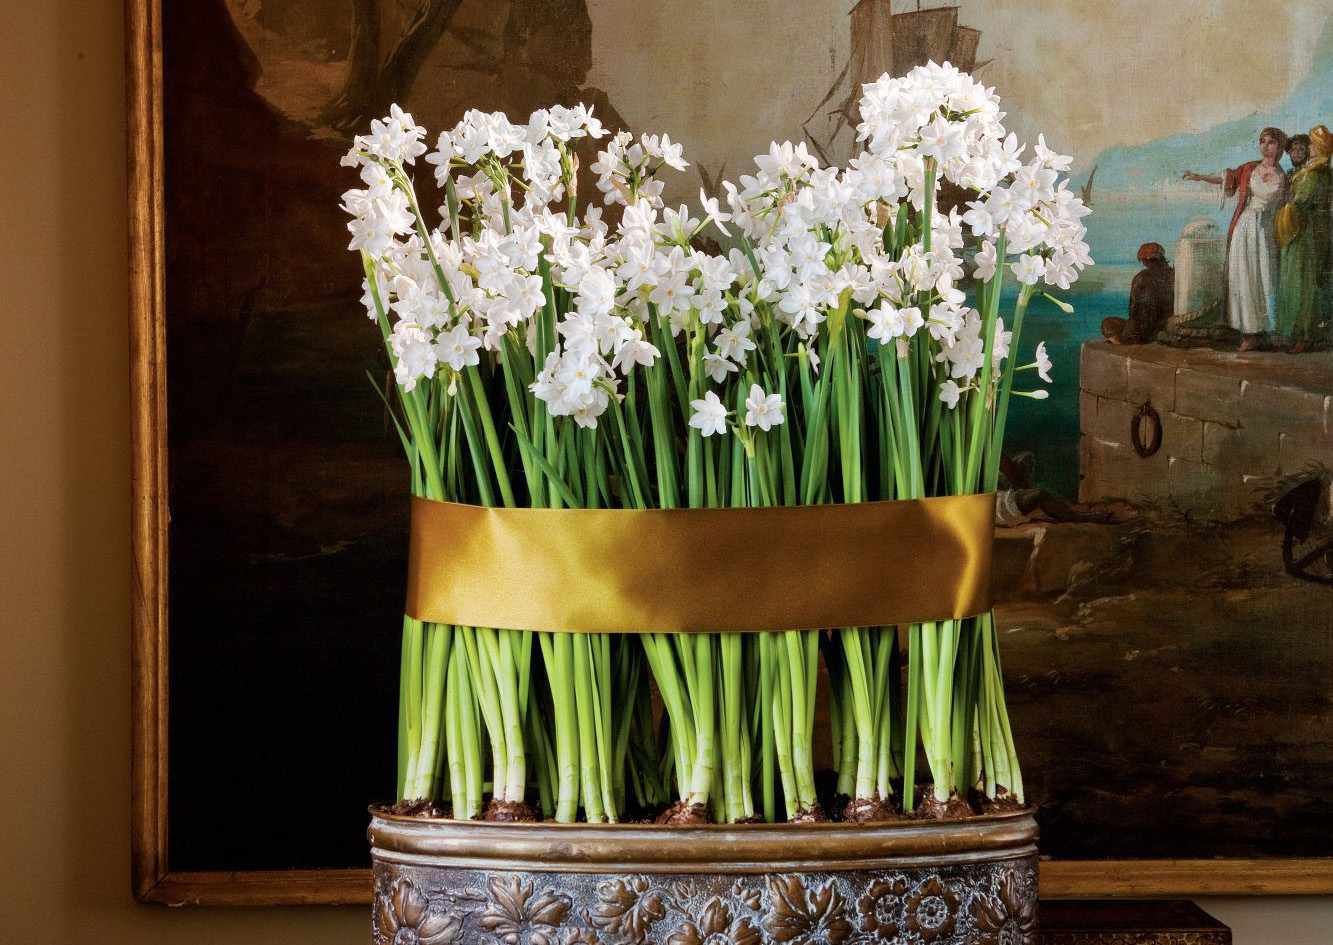
Are you a fan of beautiful and fragrant freesia flowers? If so, you may be interested in learning how to store freesia bulbs. Freesia bulbs are not cold-hardy and require proper storage to ensure their survival through the winter months. By following a few simple steps, you can ensure that your freesia bulbs stay healthy and ready to bloom when the next growing season arrives.
In this article, we will guide you through the process of storing freesia bulbs step by step. We’ll cover everything from harvesting the bulbs to preparing them for storage and finally, monitoring and maintaining their condition until it’s time to plant them again.
Storing freesia bulbs properly is crucial to their survival, especially in regions with cold winters. When stored correctly, freesia bulbs can maintain their viability for several months, allowing you to enjoy their beautiful blooms year after year. Let’s dive in and learn how to store freesia bulbs:
Key Takeaways:
- Preserve the Beauty: Storing freesia bulbs correctly ensures vibrant blooms in the future. From harvesting to monitoring, follow the steps to maintain their vitality and enjoy a beautiful floral display.
- Careful Maintenance: Regular inspections, moisture control, and temperature regulation are essential for stored freesia bulbs. By providing optimal conditions, you increase their chances of successful growth in the next season.
Read more: How To Store Light Bulbs
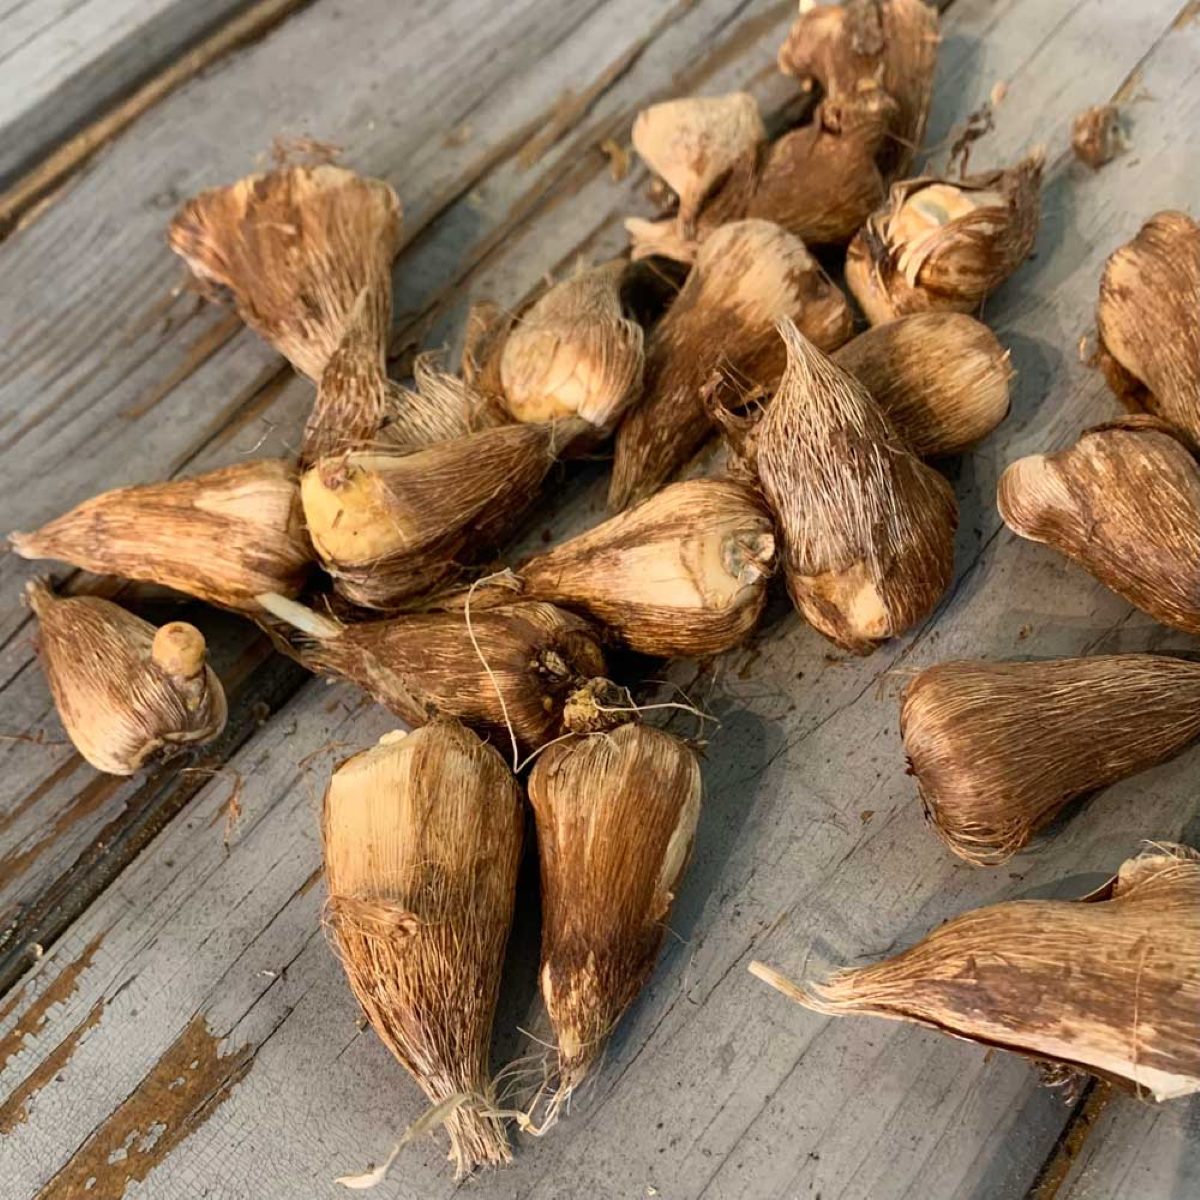
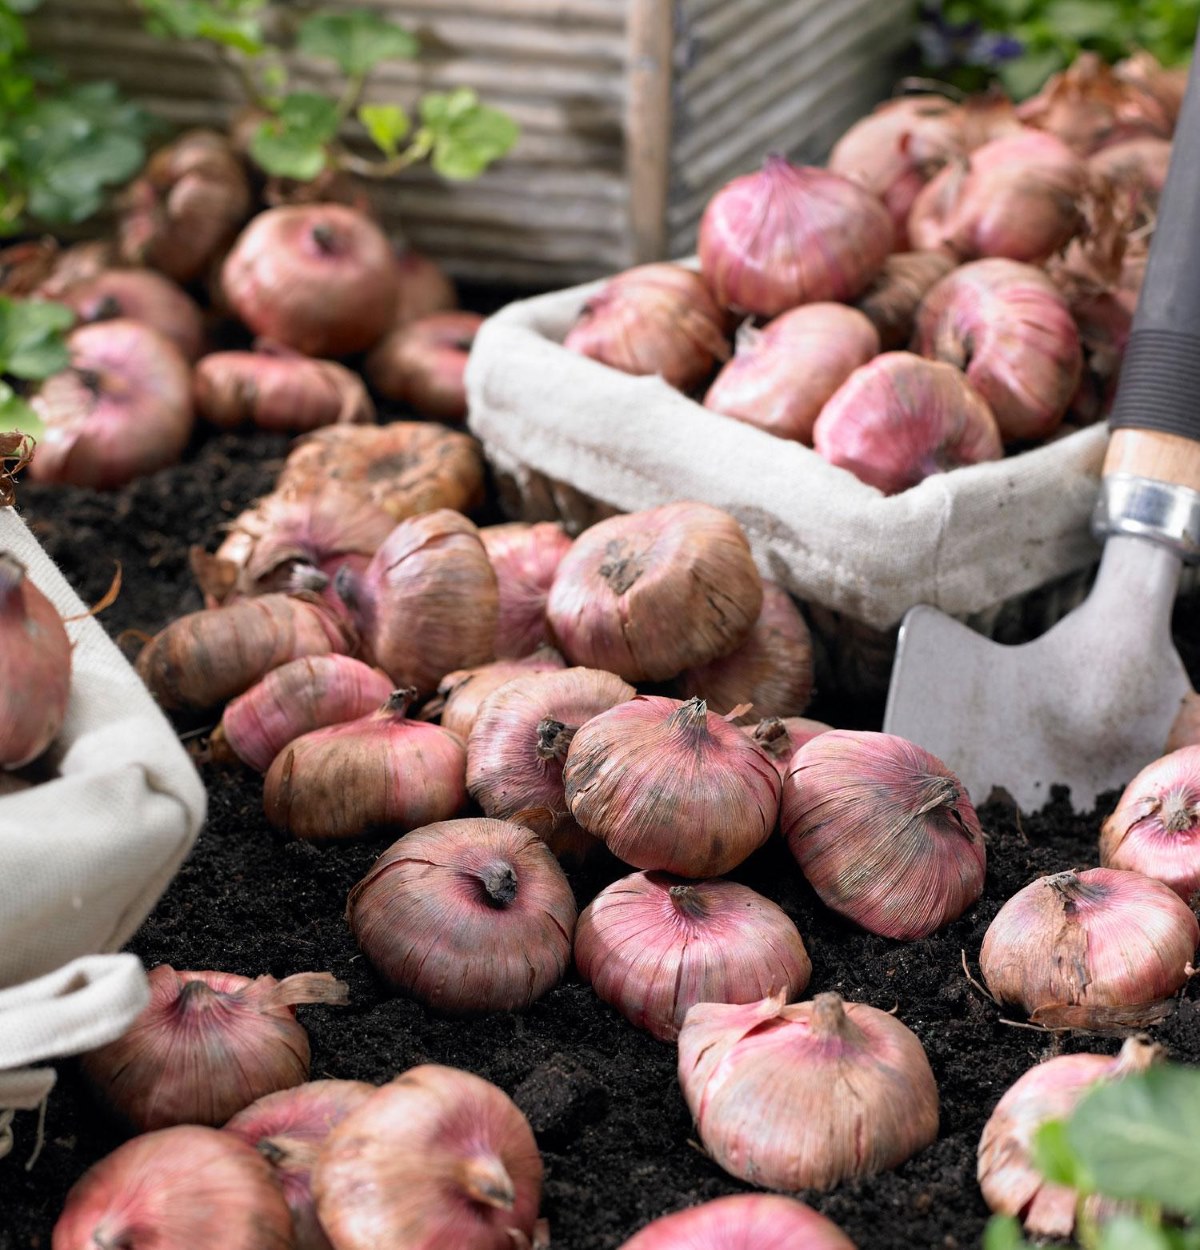
Step 1: Harvesting Freesia Bulbs
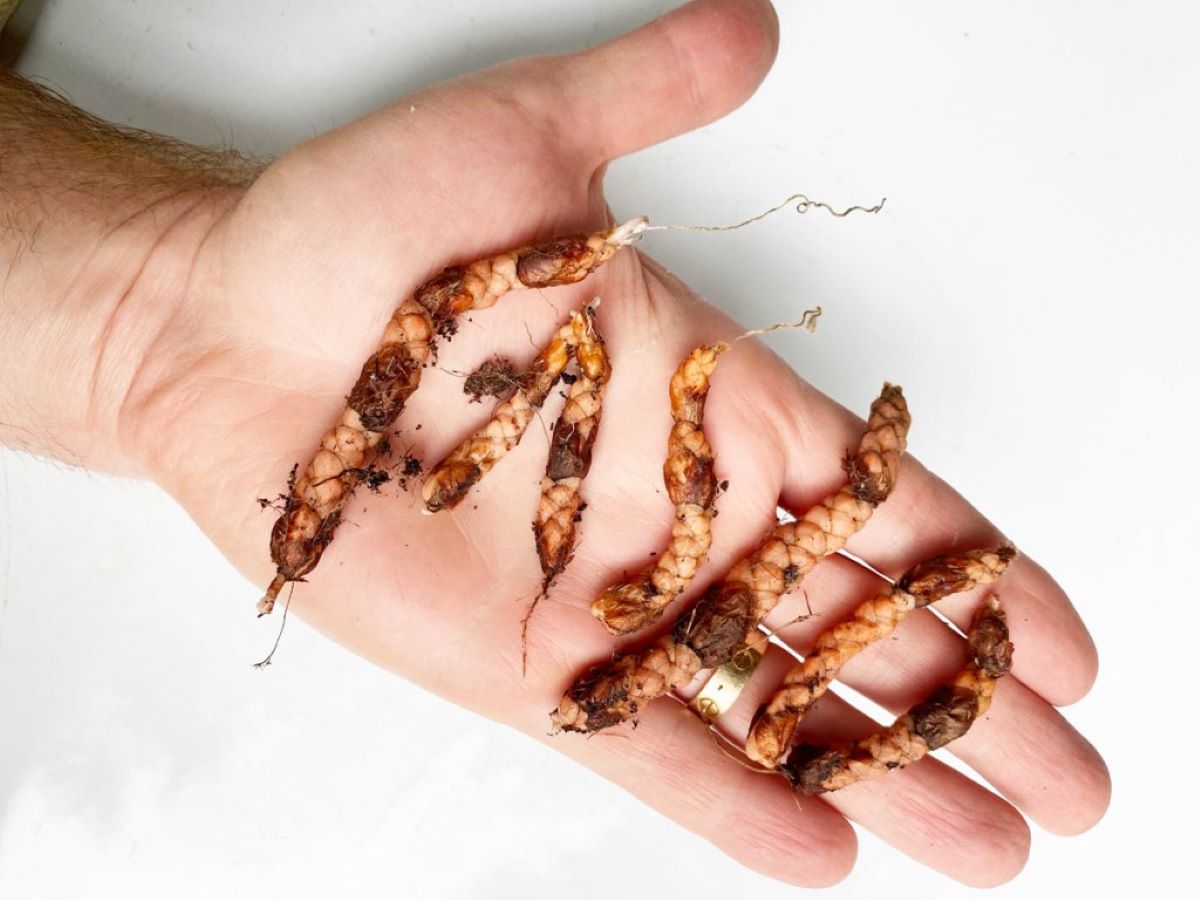
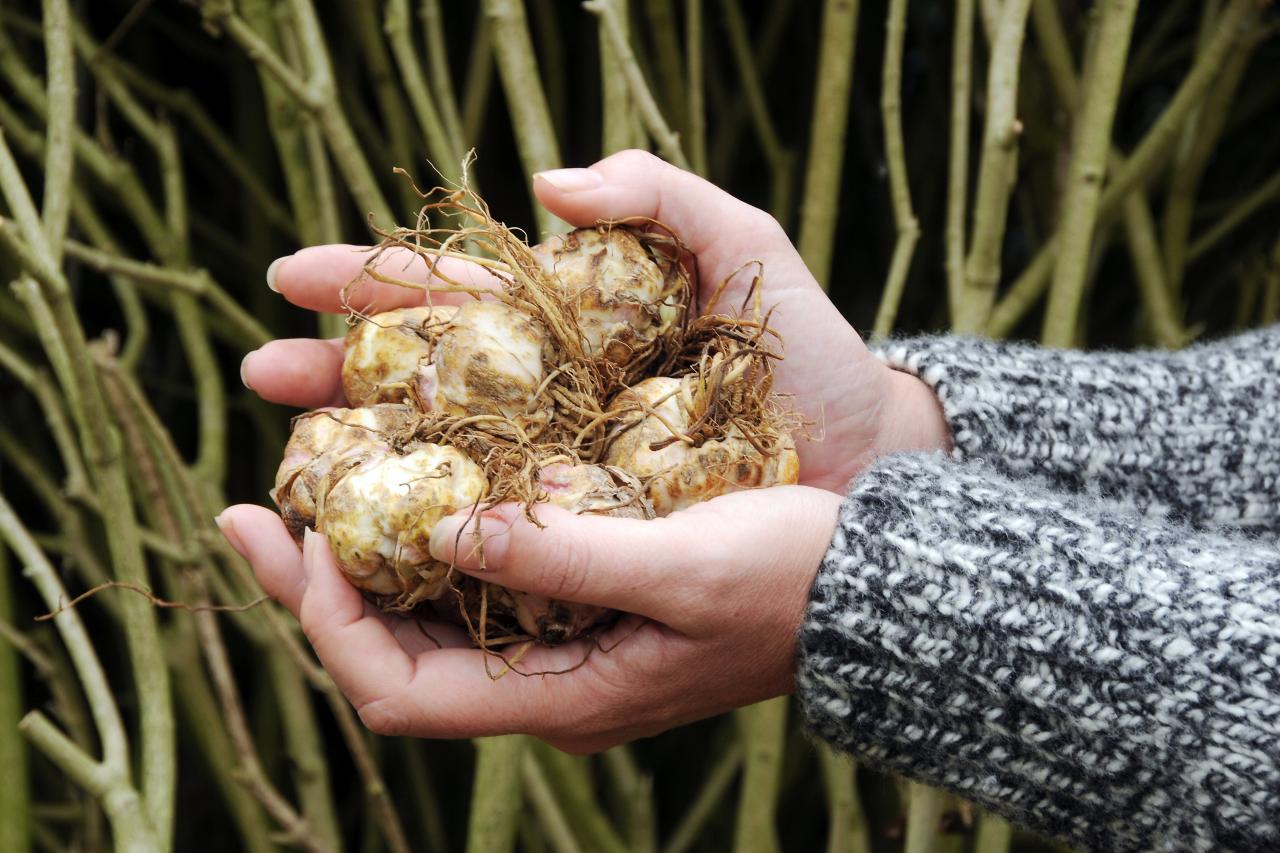
The first step in storing freesia bulbs is to properly harvest them from the ground. Ideally, you should wait until the freesia plants have finished flowering and the foliage has started to turn yellow or brown. This indicates that the bulbs have completed their growth cycle and are ready to be harvested.
To harvest the freesia bulbs, you will need a small gardening trowel or fork. Gently dig around the base of the plant, being careful not to damage the bulbs. Lift the bulbs out of the ground, along with any surrounding soil or root mass.
Once you have harvested the bulbs, it’s important to handle them with care. Avoid dropping or rough handling that may cause damage. Inspect the bulbs for any signs of disease or damage. Remove any bulbs that are excessively soft or rotting, as they may affect the health of the other bulbs during storage.
After harvesting, it’s a good idea to label the bulbs if you have different varieties. This will help you keep track of the different types of freesia bulbs and ensure you plant them in their proper locations next season.
Now that you have successfully harvested your freesia bulbs, it’s time to move on to the next step: cleaning and drying the bulbs.
Step 2: Cleaning and Drying the Bulbs
Once you have harvested the freesia bulbs, it’s important to clean and dry them before storing. Cleaning the bulbs helps remove any remaining soil or debris that may harbor pests or diseases. Drying the bulbs properly prevents them from rotting during storage.
To clean the bulbs, gently brush off any excess soil using a small brush or your fingers. Avoid using water to clean the bulbs, as excess moisture can promote fungal growth and rotting. Be sure to remove any dead foliage or roots attached to the bulbs. Inspect the bulbs closely for any signs of damage or disease, and discard any affected bulbs.
After cleaning, it’s time to dry the bulbs. Freesia bulbs need to be thoroughly dried before storage to prevent moisture-related issues. Place the cleaned bulbs in a single layer on a clean and dry surface, such as a tray or a mesh drying rack. Ensure that the bulbs are not touching each other to allow for proper airflow.
Choose a well-ventilated area with low humidity for drying the bulbs. Avoid areas with direct sunlight or extreme temperature fluctuations, as these can damage the bulbs. Allow the bulbs to dry for about a week or until they feel firm to the touch. During this time, periodically check the bulbs for any signs of moisture or rot, and remove any affected bulbs immediately.
Once the freesia bulbs are completely dry, it’s time to move on to the next step: selecting an appropriate storage location.
Step 3: Selecting an Appropriate Storage Location
Choosing the right storage location for your freesia bulbs is crucial for their long-term survival. The ideal storage conditions will help maintain the bulbs’ dormant state and prevent them from sprouting prematurely. Here are a few factors to consider when selecting a storage location:
Temperature: Freesia bulbs should be stored in a cool location with a consistent temperature between 35°F (2°C) and 50°F (10°C). This temperature range will prevent the bulbs from freezing or becoming too warm, which could trigger early sprouting.
Humidity: It’s important to store freesia bulbs in a location with low humidity. High humidity can cause the bulbs to rot, and excess moisture can lead to fungal growth. Aim for a humidity level of around 50% or lower.
Light: Freesia bulbs require darkness during storage. Exposure to light can stimulate premature growth and weaken the bulbs. Therefore, choose a storage location that is dark or minimally lit. Avoid areas with direct sunlight or bright artificial light.
Airflow: Adequate airflow is crucial to prevent the bulbs from becoming stagnant. Ensure that the storage location has good ventilation to maintain a fresh supply of air. This will help prevent the buildup of excess moisture and minimize the risk of fungal disease.
Based on these factors, some suitable storage locations include a basement, cellar, garage, or an unheated room in your home. Just make sure the chosen location meets the temperature, humidity, light, and airflow requirements mentioned above.
Once you have selected the best storage location for your freesia bulbs, it’s time to prepare them for storage. This will be covered in the next step.
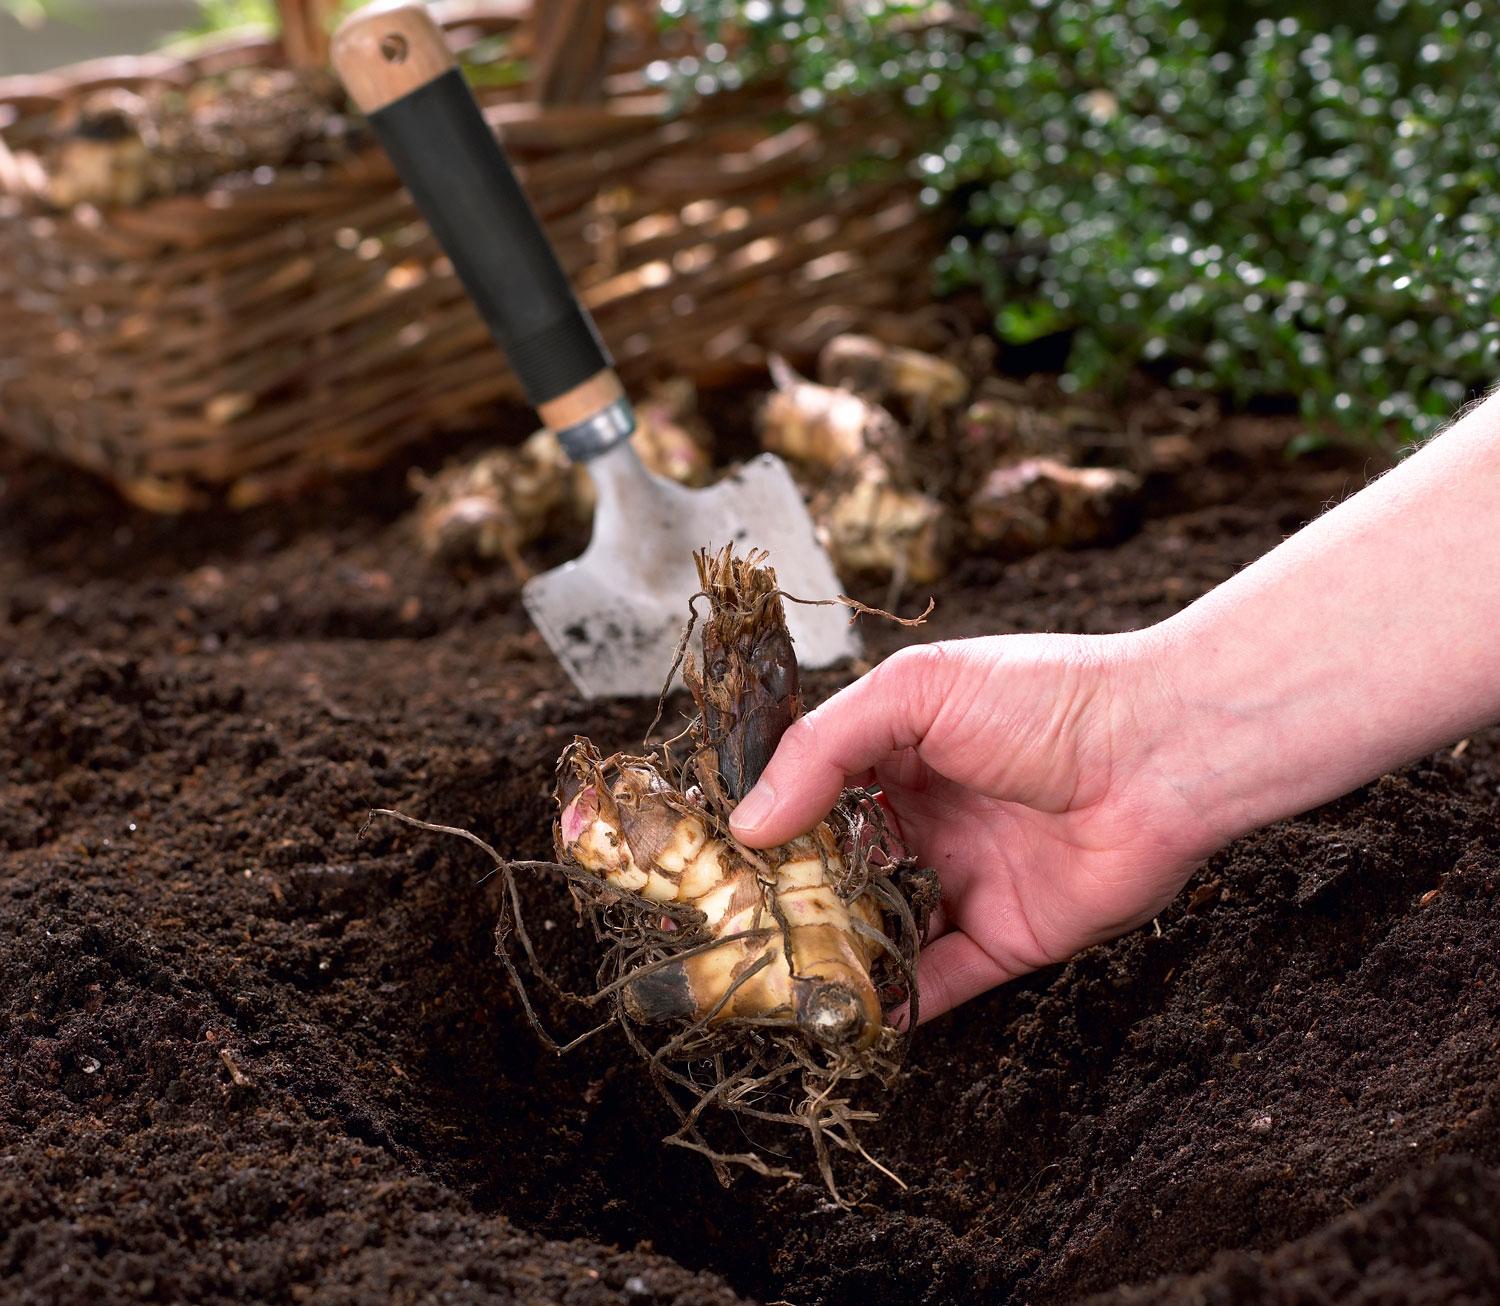
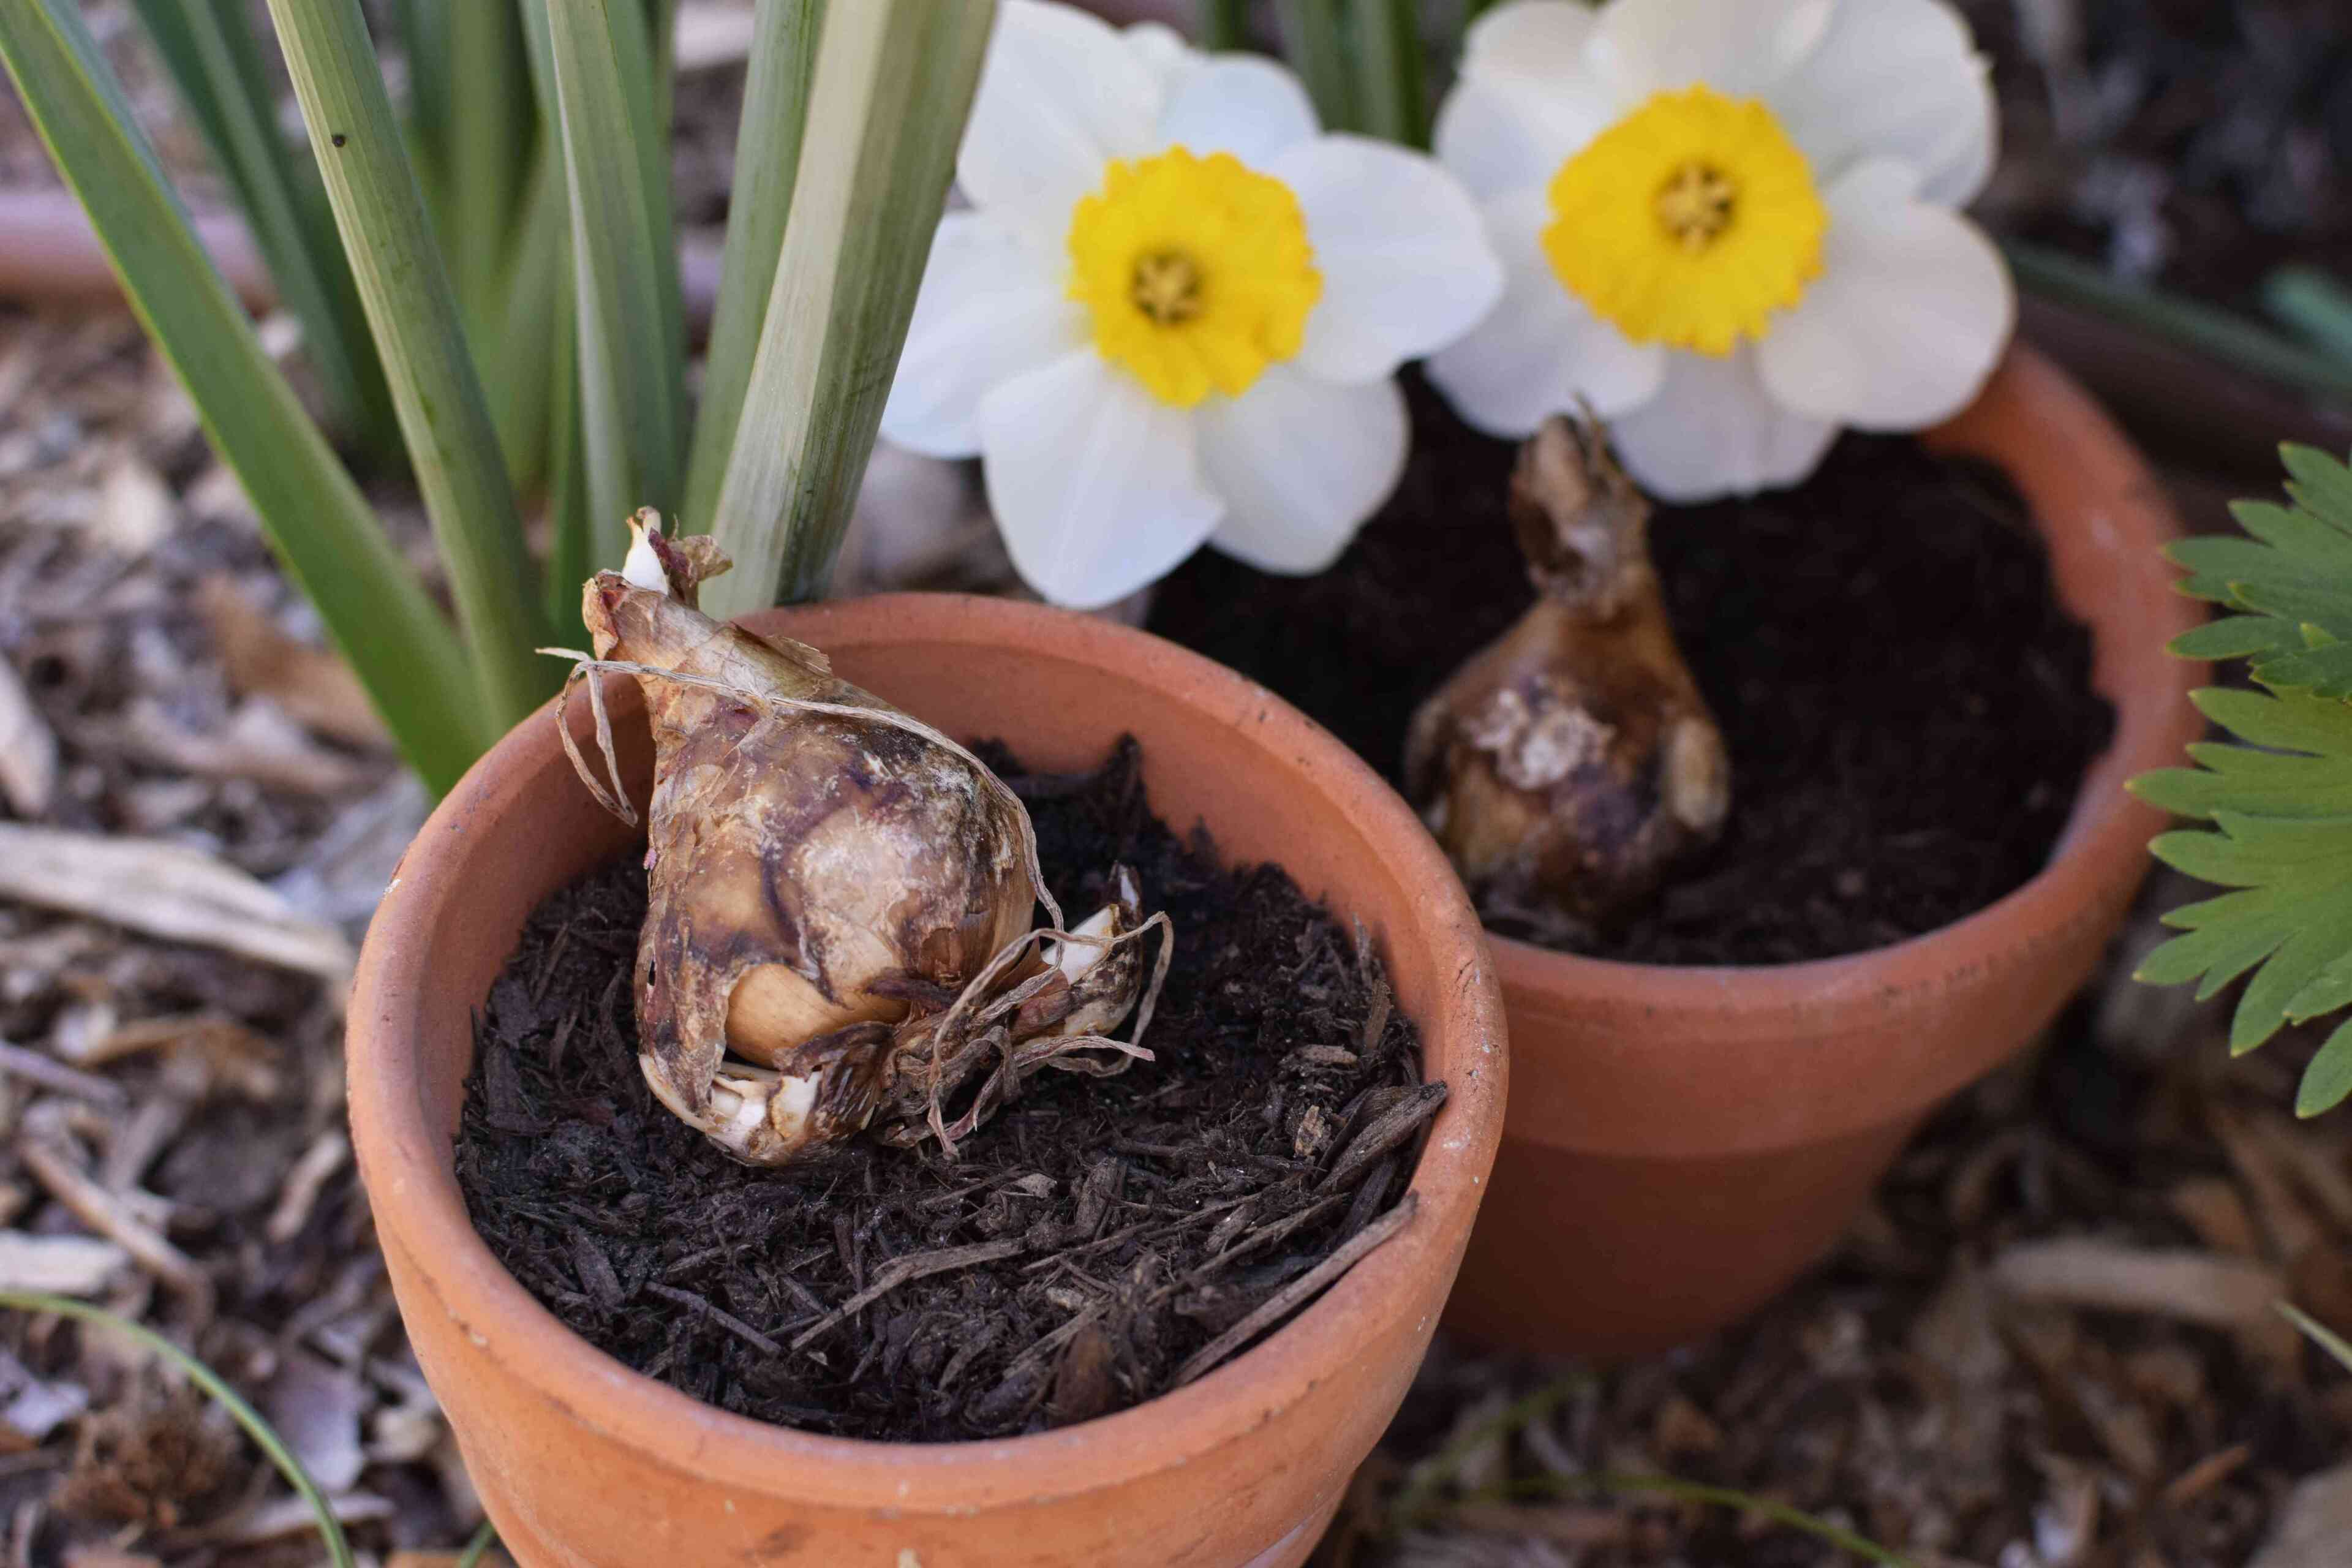
After the freesia bulbs have finished flowering, allow the foliage to die back naturally. Once the foliage has turned yellow and dried out, carefully dig up the bulbs and store them in a cool, dry place until the next planting season.
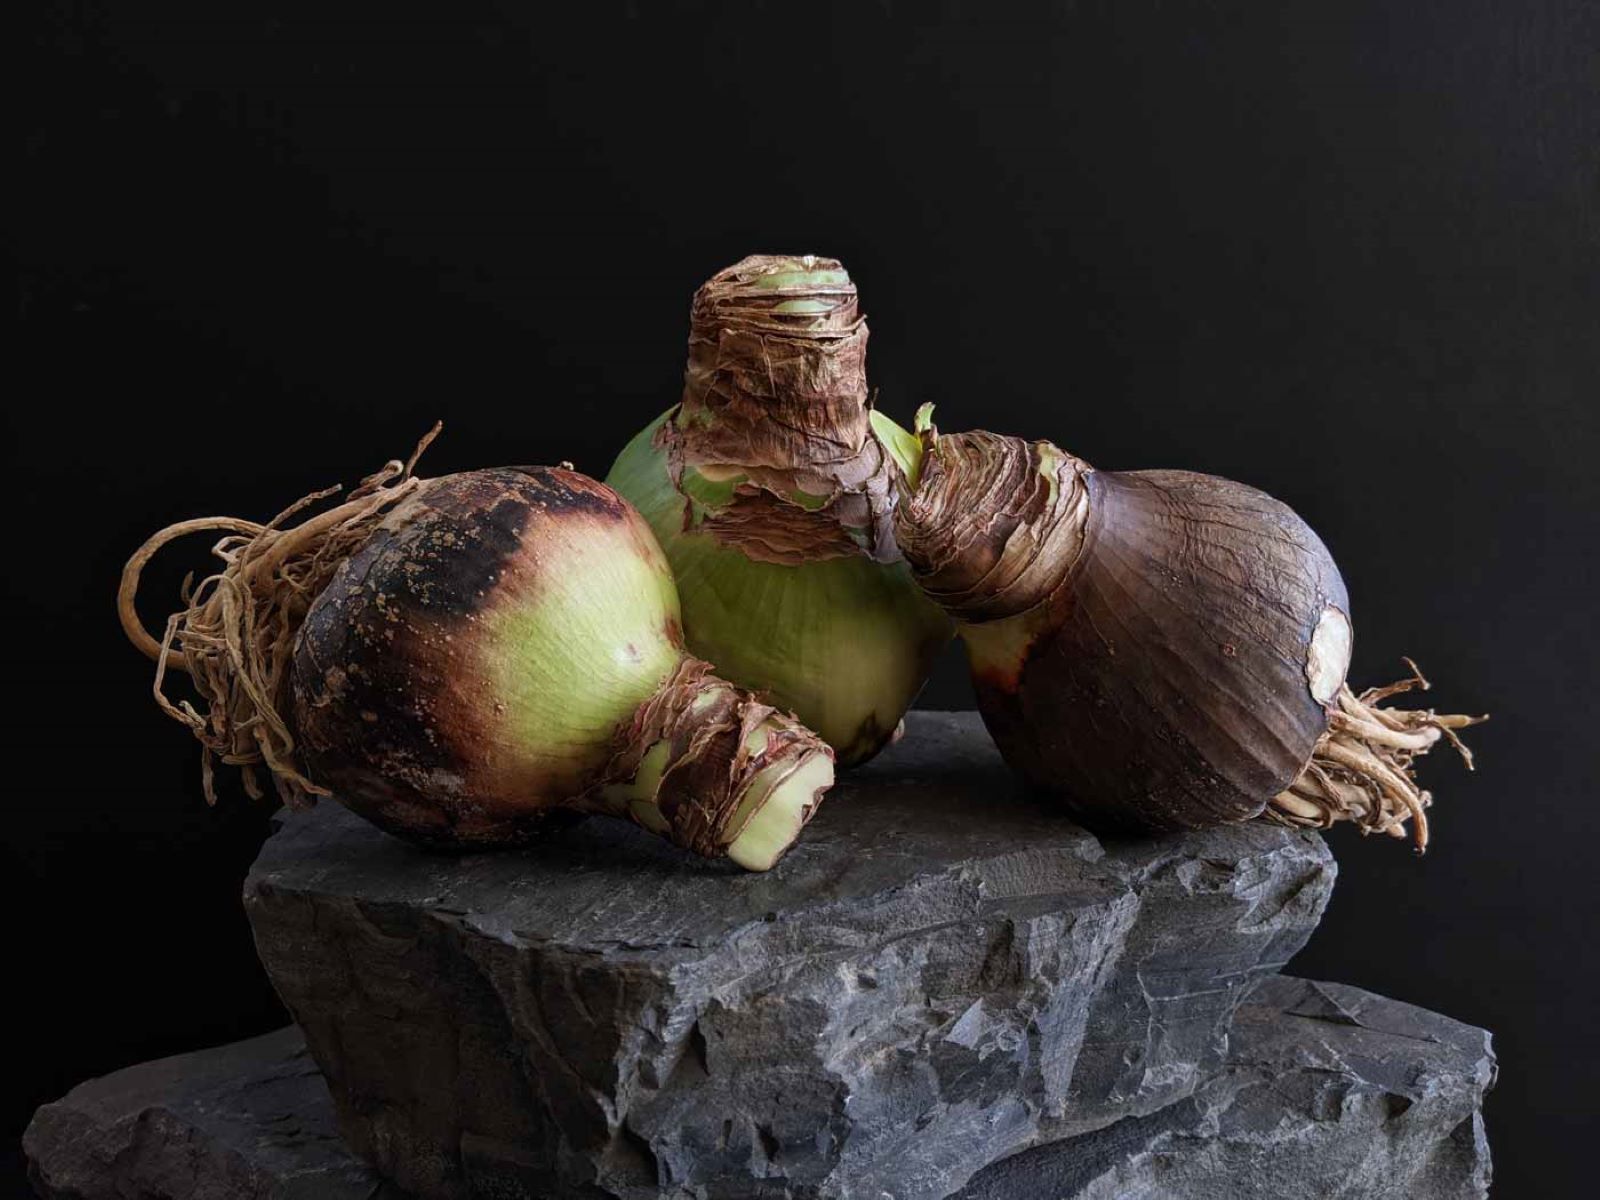
Step 4: Preparing Bulbs for Storage
Before storing your freesia bulbs, it’s important to prepare them properly to ensure their long-term viability. Follow these steps to prepare your bulbs for storage:
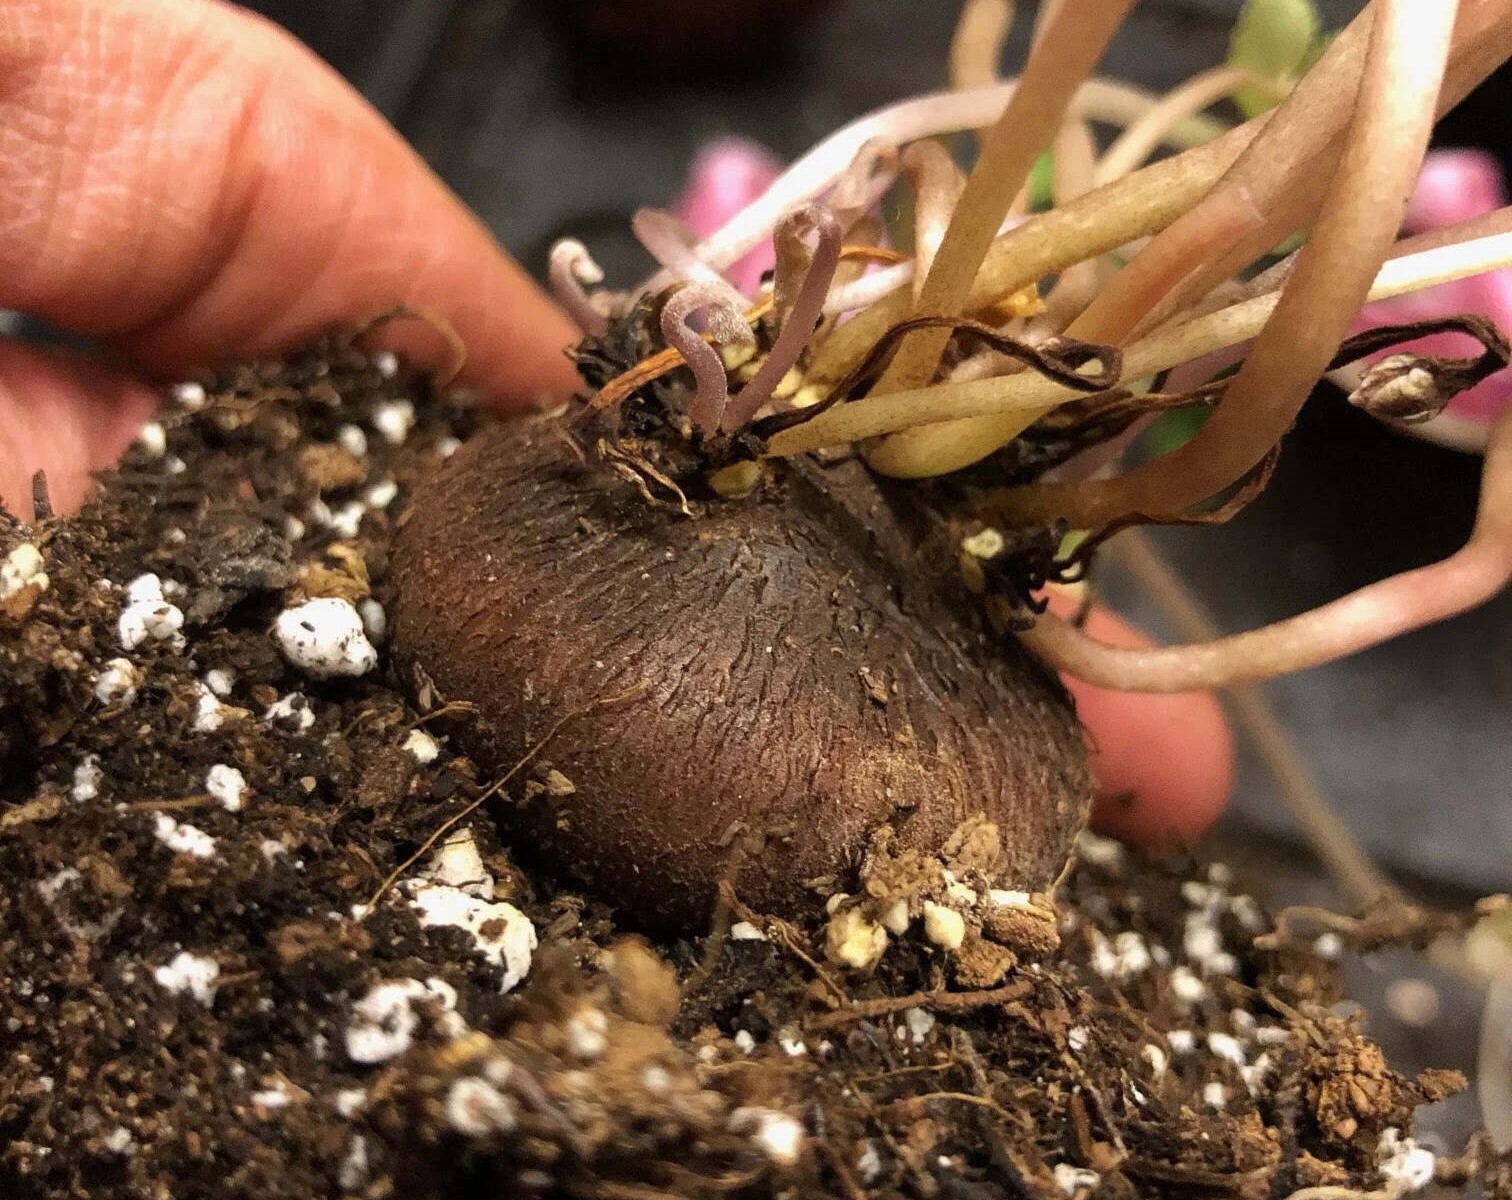
Trimming: Inspect the bulbs closely and trim any excessively long or damaged roots using sharp and clean pruning shears. Removing the excess roots will help the bulbs fit into storage containers more easily.
Curing: After trimming the roots, allow the bulbs to undergo a short curing period. Place them in a shaded and dry area for a few days, allowing any minor cuts or wounds to heal. This will reduce the risk of infections or rot during storage.
Labeling: It’s essential to label your bulbs before storing them, especially if you have different varieties. Use waterproof markers or labels to mark the variety and color of each bulb. This will help you keep track of your bulbs and make it easier to plan your planting in the next growing season.
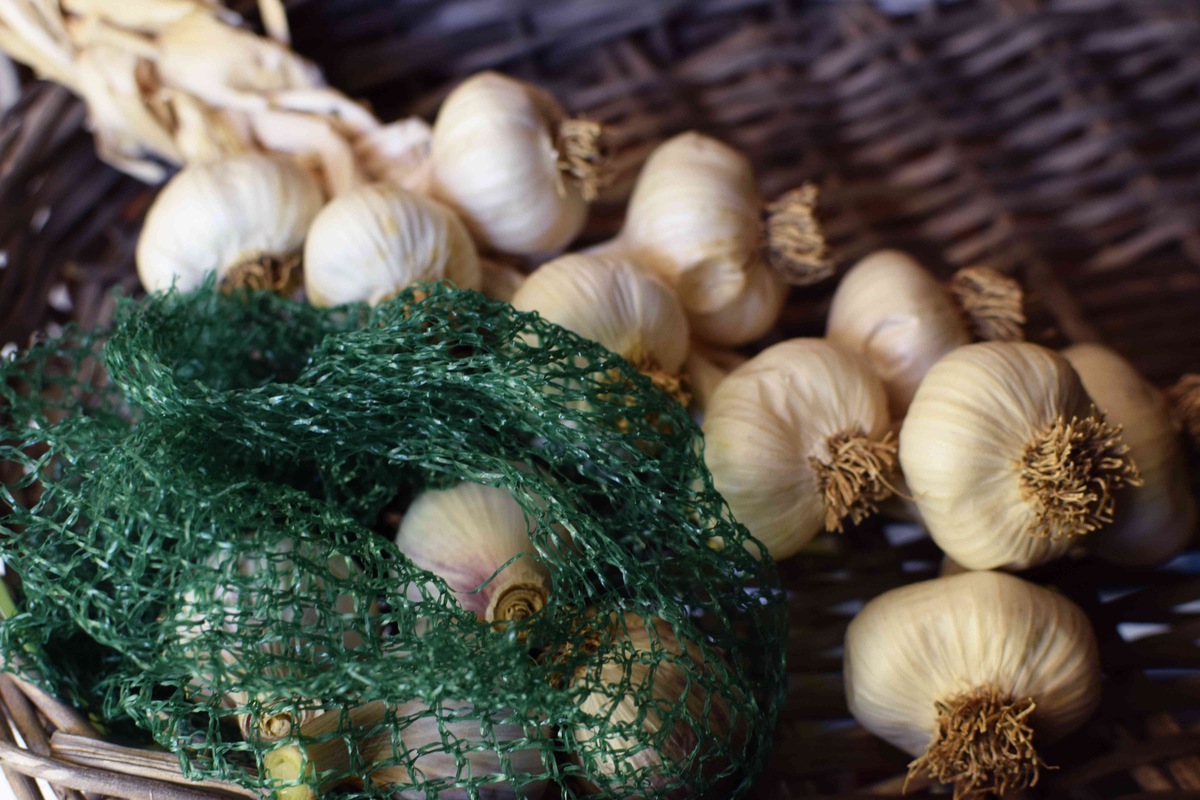
Packaging: For storage, choose suitable containers that provide good airflow and are moisture-resistant. Options include mesh bags, paper bags, or breathable containers. Avoid using plastic bags or airtight containers, as they can trap moisture and lead to rotting.
Layering: Place a layer of dry, clean material such as sawdust, vermiculite, or dry peat moss at the bottom of the storage container. This will help absorb any excess moisture and provide a cushioning layer for the bulbs.
Arrangement: Arrange the bulbs in a single layer on top of the layer of dry material. Make sure they are not touching each other to allow for proper airflow. If you have a large number of bulbs, consider using multiple containers or adding additional layers of dry material in between.
Sealing: Once the bulbs are arranged in the container, loosely close the packaging to allow for some airflow while still protecting the bulbs from excessive moisture. Avoid sealing the containers tightly, as this can lead to condensation and rot.
By following these preparation steps, you are ensuring that your freesia bulbs are in the best condition for storage. Now, let’s move on to the next step: storing the freesia bulbs.
Read more: How To Store Crocus Bulbs
Step 5: Storing Freesia Bulbs
Now that you have prepared your freesia bulbs, it’s time to store them in their designated location. Follow these steps to ensure proper storage:
Placement: Place the containers with the prepared bulbs in the selected storage location. Ensure that they are kept in a cool and dark area away from direct sunlight or extreme temperature fluctuations. Remember to maintain the recommended temperature range of 35°F (2°C) to 50°F (10°C).
Monitoring: Regularly check the bulbs throughout the storage period. Inspect them for any signs of moisture, rot, or disease. Remove any bulbs that show signs of damage or deterioration to prevent spreading to the rest of the bulbs.
Temperature Control: If necessary, monitor and adjust the temperature of the storage location to ensure it stays within the recommended range. Consider using a thermometer to accurately track the temperature and make any necessary adjustments to maintain optimal conditions for the bulbs.
Airflow: It’s important to maintain good airflow around the stored bulbs. This will help prevent the buildup of moisture and discourage the growth of mold and fungi. Periodically check the storage area to ensure there is adequate ventilation.
Handling: Avoid moving or disturbing the stored bulbs unnecessarily. Freesia bulbs are delicate, and excessive handling can cause damage or disrupt their dormancy. If you need to access the bulbs for inspection or maintenance, do so with care.
Storage Duration: Freesia bulbs typically require a storage period of two to three months. During this time, they will remain in their dormant state and prepare for the next growing season. Ensure that the storage conditions are consistently maintained throughout this period.
By following these steps, you are providing the optimal storage environment for your freesia bulbs, increasing their chances of successful growth when planted in the future. Now, let’s move on to the final step: monitoring and maintenance during storage.
Step 6: Monitoring and Maintenance
Monitoring and maintaining your stored freesia bulbs is essential to ensure their health and viability. Follow these steps to effectively monitor and care for your bulbs during the storage period:
Regular Inspections: Check the stored bulbs every few weeks to inspect their condition. Look for any signs of moisture, rot, or mold. Remove any bulbs that show signs of damage or disease immediately to prevent further spread.
Moisture Control: Ensure that the storage containers are not becoming overly moist or damp. If you notice any condensation or excessive moisture, take corrective action by improving ventilation or adjusting the storage environment as needed.
Temperature Regulation: Continuously monitor the temperature in the storage area. The ideal range of 35°F (2°C) to 50°F (10°C) should be maintained throughout the storage period. Adjust the temperature if necessary to prevent extremes that could harm the bulbs.
Prevent Pests: Keep an eye out for any pests that may be attracted to the stored bulbs. Check for signs of insect infestation, such as webbing or small holes in the bulbs. If necessary, use appropriate pest control methods to eliminate any pests that may compromise the bulbs’ health.
Remove Decaying Bulbs: As the storage period progresses, some bulbs may begin to decay or deteriorate. Regularly check for any bulbs that show signs of decay, such as softness, mold, or foul odor. Promptly remove these bulbs to prevent them from affecting the surrounding healthy bulbs.
Airflow Maintenance: Ensure that the stored bulbs continue to have sufficient airflow. Periodically check the storage containers and the surrounding area to make sure there are no obstructions that could impede proper ventilation. This helps prevent the buildup of excess moisture and maintains a healthy environment for the bulbs.
By consistently monitoring and maintaining your stored freesia bulbs, you’re taking proactive steps to ensure their well-being and increase the chances of successful growth when it’s time to plant them again. Now, let’s wrap up the process of storing freesia bulbs.
Conclusion
Congratulations! You have successfully learned how to store freesia bulbs, ensuring their survival and healthy growth for seasons to come. By following the step-by-step process outlined in this article, you can confidently store your freesia bulbs and look forward to their beautiful blooms in the future.
Remember, harvesting the bulbs at the right time, cleaning and drying them properly, and selecting an appropriate storage location are crucial steps in the process. Preparing the bulbs by trimming, curing, and labeling ensures their readiness for storage. Storing the bulbs in a cool, dark, and well-ventilated environment maintains their dormancy and prevents early sprouting.
Regular monitoring and maintenance, such as inspecting for moisture, pests, and decay, as well as maintaining proper airflow and temperature, will help ensure the bulbs remain healthy and viable during the storage period.
By storing freesia bulbs correctly, you are preserving their vitality and giving them the best chance to thrive when planted in the next growing season. The careful storage and maintenance you provide will be rewarded with vibrant blooms and exquisite fragrance.
Enjoy the anticipation of seeing your stored freesia bulbs transform into a beautiful floral display in the future. Happy gardening!
Frequently Asked Questions about How To Store Freesia Bulbs
Was this page helpful?
At Storables.com, we guarantee accurate and reliable information. Our content, validated by Expert Board Contributors, is crafted following stringent Editorial Policies. We're committed to providing you with well-researched, expert-backed insights for all your informational needs.

0 thoughts on “How To Store Freesia Bulbs”