
Articles
How To Store Homemade Fruit Leather
Modified: December 7, 2023
Learn how to store homemade fruit leather with these helpful articles. Preserve your delicious snacks for later enjoyment and maintain their taste and quality.
(Many of the links in this article redirect to a specific reviewed product. Your purchase of these products through affiliate links helps to generate commission for Storables.com, at no extra cost. Learn more)
Introduction
Welcome to the world of homemade fruit leather! If you’re a fan of this delectable and healthy snack, you may be wondering how to store it properly for long-term enjoyment. In this article, we’ll guide you through the process of storing your homemade fruit leather to ensure it stays fresh and delicious.
Fruit leather, also known as fruit roll-ups or fruit jerky, is a popular snack made from pureed fruit that has been dried and rolled into thin sheets. It’s a fantastic way to preserve excess fruit or to create a tasty treat with your favorite fruits. The great thing about homemade fruit leather is that you have complete control over the ingredients, allowing you to customize the flavors and avoid any unwanted additives or preservatives.
To successfully store your homemade fruit leather, there are a few key steps to keep in mind. First, you need to choose the right fruits to work with. Certain fruits are better suited for making fruit leather due to their high pectin content, which helps the mixture set and create a smooth texture. We’ll delve deeper into this topic in the next section.
Next, we’ll guide you through the process of preparing the fruit leather mixture. This involves pureeing the fruit, adding any desired sweeteners or flavorings, and ensuring the mixture is spread evenly onto the dehydrator trays. Proper preparation is crucial for achieving a consistent and tasty fruit leather.
Once the mixture is ready, we’ll discuss the process of dehydrating the fruit leather. This involves placing the trays into a dehydrator or an oven set to a low temperature, allowing the moisture to slowly evaporate from the fruit mixture. We’ll provide tips on how to check for doneness and ensure your fruit leather is perfectly dried.
After the fruit leather is dried, it’s time to store it properly to maintain its freshness. We’ll cover different methods of storing the homemade fruit leather, including wrapping it individually or using airtight containers. Additionally, we’ll share tips for long-term storage, such as freezing or vacuum sealing for extended shelf life.
So, if you’re ready to dive into the world of homemade fruit leather and learn how to store it like a pro, let’s get started with choosing the right fruits for your delicious creations.
Key Takeaways:
- Create delicious homemade fruit leather by choosing high-pectin fruits, preparing the mixture carefully, and dehydrating it to perfection. Store it in airtight containers or freeze for long-term enjoyment.
- Experiment with various fruits and flavors to customize your homemade fruit leather. Properly store it in a cool, dark place or freeze it for extended shelf life and enjoy the fruits of your labor!
Read more: How To Make Fruit Leather In A Dehydrator
Choosing the Right Fruits
When it comes to making homemade fruit leather, not all fruits are created equal. Some fruits work better than others due to their natural pectin content, which helps the mixture set and create a smooth texture. Here are some fruits that are ideal for making fruit leather:
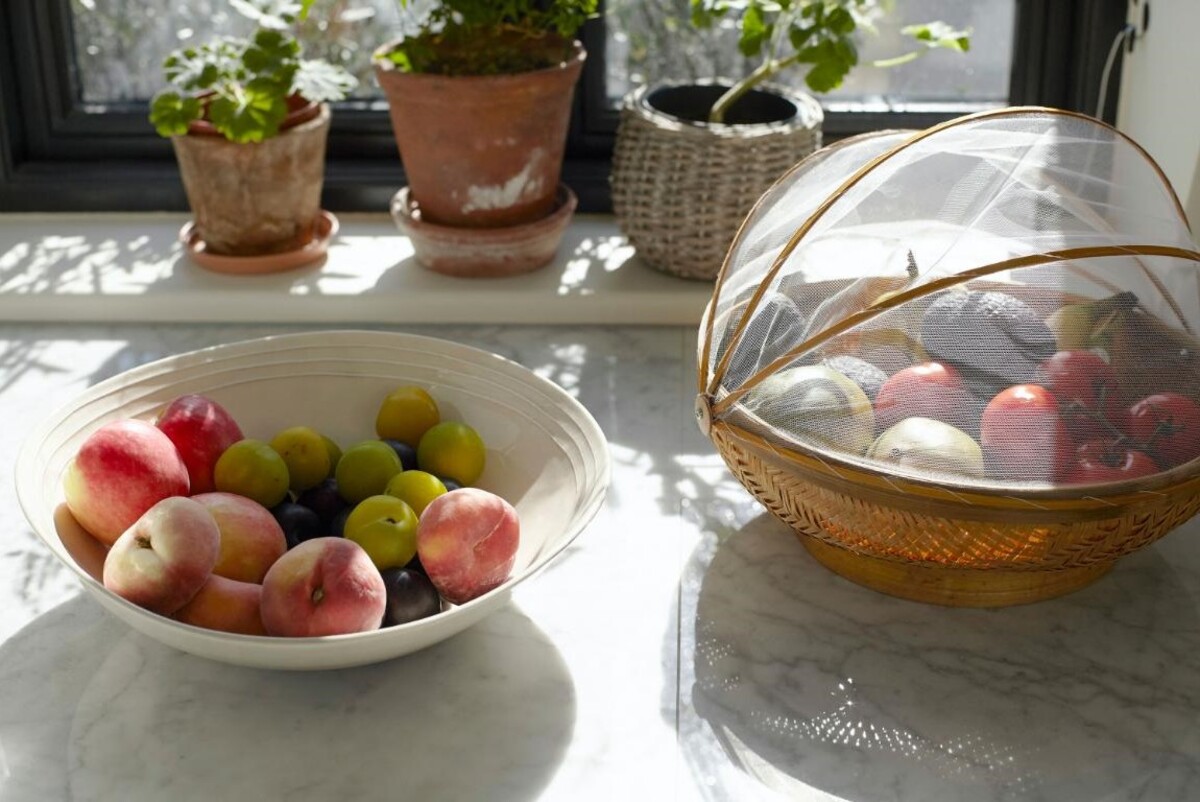
- Apples: Apples are a popular choice for making fruit leather due to their high pectin content. They also add a natural sweetness to the mixture. Granny Smith, Fuji, or Gala apples are all great options.
- Berries: Berries like strawberries, blueberries, raspberries, and blackberries are packed with flavor and make excellent fruit leather. They have a good amount of natural pectin, which helps the mixture set well.
- Mangoes: Mangoes are known for their delicious tropical flavor and smooth texture. They are naturally sweet and provide a vibrant color to your fruit leather.
- Peaches: Peaches offer a juicy and fragrant taste, making them a delightful choice for fruit leather. They are slightly lower in pectin, but their flavor makes up for it.
- Pears: Pears are another fruit that adds a lovely sweetness to fruit leather. They have a good pectin content and pair well with other fruits.
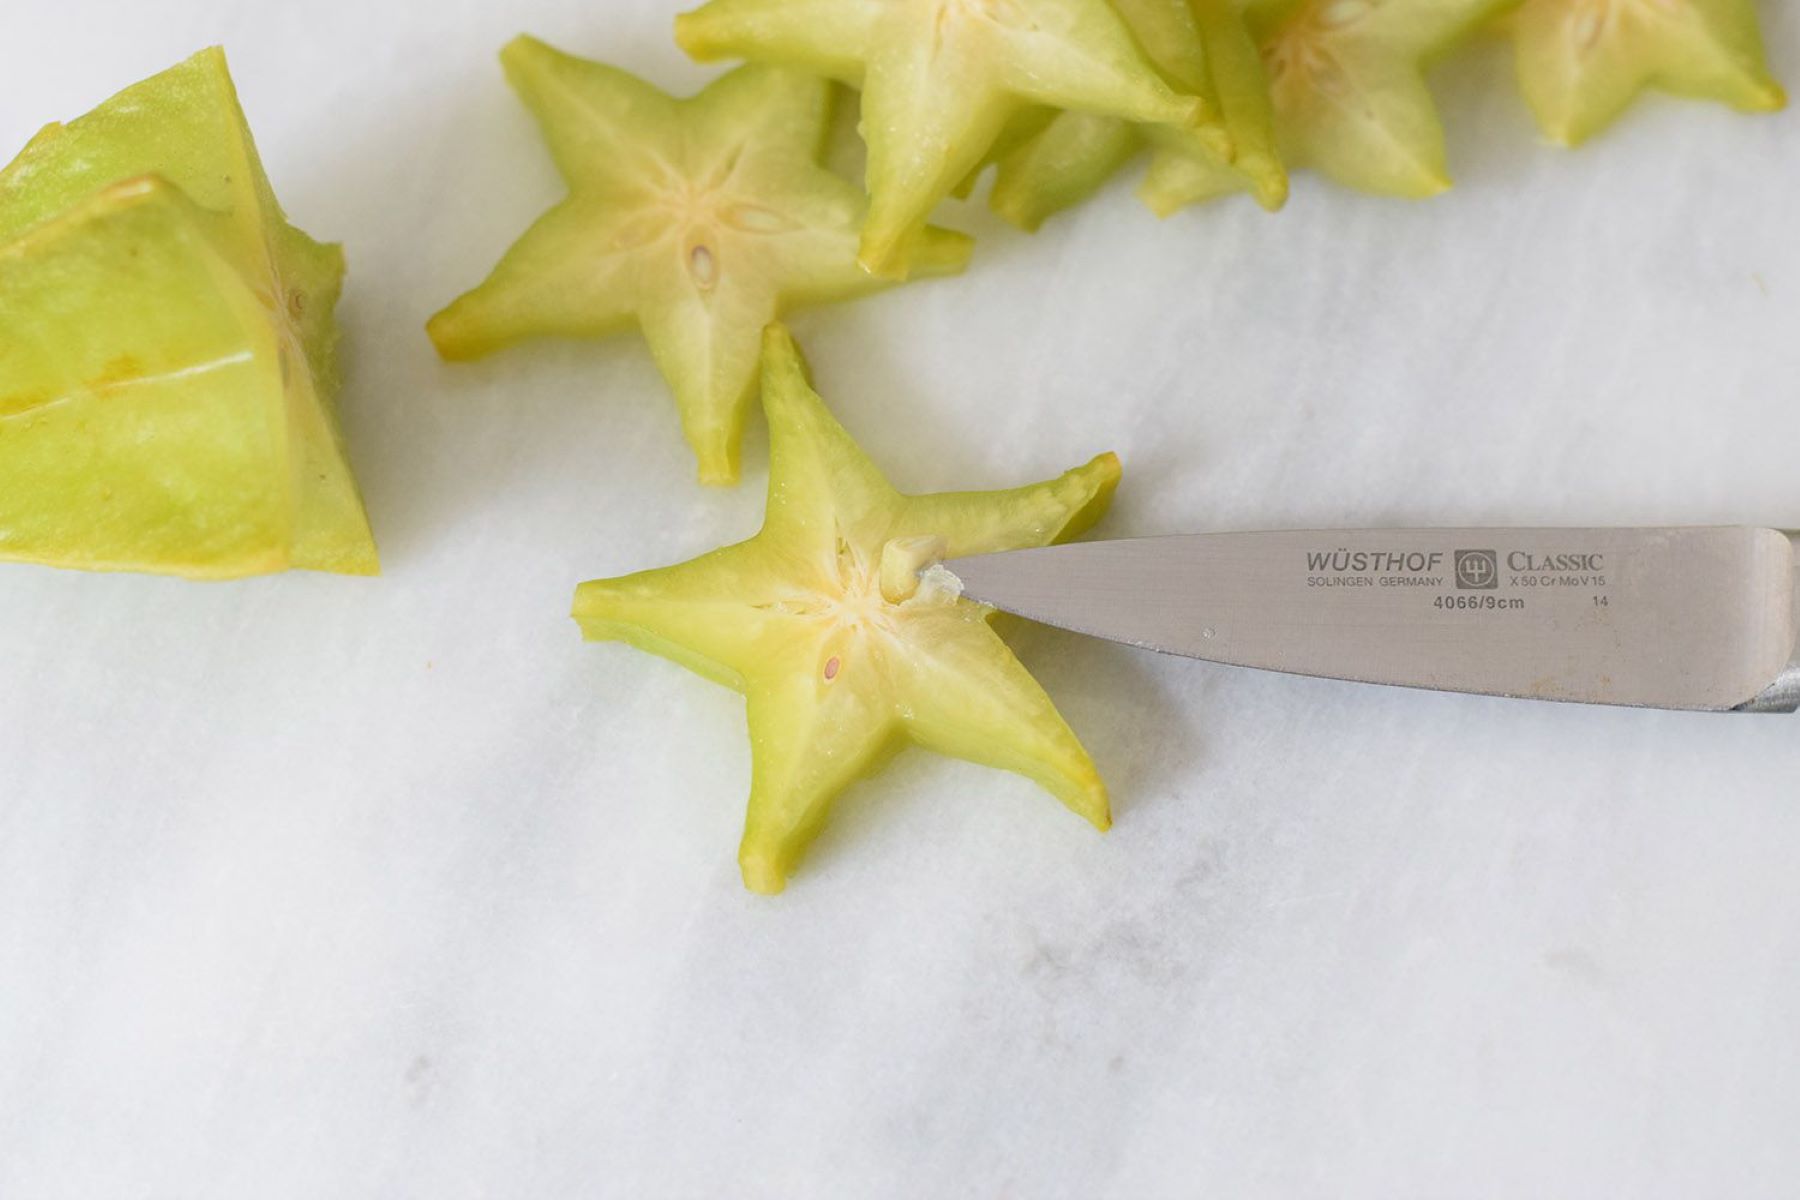
It’s important to note that while these fruits work well for fruit leather, you can get creative and experiment with other fruits too. Pineapple, kiwi, apricot, and even bananas can be used in combination with the aforementioned fruits to create unique and delicious flavors.
When choosing fruits for your homemade fruit leather, opt for ripe ones that are at their peak sweetness. Avoid using overripe or underripe fruits, as they may affect the texture and taste of the final product. It’s also a good idea to wash and remove any seeds or pits before pureeing the fruits.
If you’re feeling adventurous, you can also incorporate a variety of spices and flavorings into your fruit leather mixture. Cinnamon, vanilla extract, lemon juice, or even a pinch of salt can enhance the taste profile and add depth to your creation.
Now that you have an idea of the fruits that work well for fruit leather, let’s move on to preparing the fruit leather mixture and getting it ready for dehydration.
Preparing the Fruit Leather Mixture
Now that you have chosen the perfect fruits for your homemade fruit leather, it’s time to prepare the fruit leather mixture. This step involves pureeing the fruit, adding any desired sweeteners or flavorings, and ensuring the mixture is spread evenly onto the dehydrator trays. Here’s how to prepare the fruit leather mixture:
- Wash and prepare the fruits: Start by washing your chosen fruits under cold water to remove any dirt or impurities. Peel or remove the skins, if necessary, and remove any pits or seeds. Cut the fruits into small pieces to make them easier to blend.
- Puree the fruits: Place the fruit pieces into a blender or food processor and blend until smooth. You can adjust the consistency by adding a small amount of water if needed. If you prefer a chunkier texture, pulse the blender a few times to leave some fruit bits.
- Add sweeteners or flavorings (optional): Depending on your taste preferences and the sweetness of the fruits, you may choose to add sweeteners such as honey, maple syrup, or agave nectar. Flavorings such as cinnamon, vanilla extract, or lemon juice can also be added to enhance the taste. Start with small amounts and adjust accordingly.
- Blend the mixture once more: Once you have added any desired sweeteners or flavorings, blend the mixture again for a few seconds to incorporate everything evenly.
- Spread the mixture onto dehydrator trays: Now it’s time to transfer the fruit mixture onto the dehydrator trays. Line the trays with non-stick sheets or parchment paper to prevent sticking. Use a spatula or the back of a spoon to spread the mixture evenly, aiming for a thickness of about ¼ to ⅛ of an inch.
It’s important to spread the mixture evenly on the trays to ensure consistent drying. Avoid leaving any gaps or thick spots, as they may affect the drying process. If you prefer a smoother texture, use a spatula to create an even surface before placing the trays into the dehydrator.
Once the fruit leather mixture is spread onto the trays, it’s time for the dehydration process. We’ll delve into the details of dehydrating the fruit leather in the next section, so keep reading to ensure you achieve perfectly dried and delicious fruit leather.
Spreading the Mixture onto Dehydrator Trays
After preparing the fruit leather mixture, the next step is to spread it onto dehydrator trays. This is a crucial step in ensuring that the fruit leather dries evenly and achieves the desired texture. Here’s how to spread the mixture onto the trays:
- Prepare the dehydrator trays: Before spreading the fruit leather mixture, make sure that the dehydrator trays are clean and dry. Remove any previous residue or debris, and if needed, line the trays with non-stick sheets or parchment paper to prevent sticking.
- Evenly spread the mixture: Using a spatula or the back of a spoon, carefully spread the fruit mixture onto the prepared dehydrator trays. Aim for a consistent thickness of about ¼ to ⅛ of an inch. The goal is to achieve a uniform thickness throughout the trays to ensure even drying.
- Smooth out the mixture: Once the fruit mixture is spread onto the trays, use the spatula or the back of a spoon to smooth out the surface. This helps to create an even texture and thickness, ensuring that the fruit leather dries uniformly without any thin or thick spots.
- Leave space between sheets: While spreading the mixture, ensure that there is some space between the sheets. This allows for proper air circulation and prevents the fruit leather from sticking together during drying. Depending on the size of your dehydrator and trays, you may be able to fit multiple trays at once.
- Stack the trays in the dehydrator: Once each tray is filled with the fruit mixture, carefully stack the trays in the dehydrator. Ensure that there is enough space between the trays so that air can circulate freely. Follow the manufacturer’s instructions regarding the stacking and positioning of the trays within the dehydrator.
It’s important to note that the drying time may vary depending on the thickness of the fruit leather and the type of dehydrator you’re using. Thicker fruit leather may require more drying time, while thinner leather will dry more quickly.
Now that the fruit mixture is spread evenly onto the dehydrator trays, it’s time to start the dehydration process. We’ll explore the details of dehydrating the fruit leather in the next section, so keep reading to learn how to achieve perfectly dried and delicious fruit leather.
Dehydrating the Fruit Leather
With the fruit mixture spread evenly onto the dehydrator trays, it’s time to begin the process of dehydrating the fruit leather. Dehydration is the key step that removes the moisture from the fruit mixture, resulting in a chewy and shelf-stable snack. Here’s how to dehydrate the fruit leather:
- Preheat the dehydrator: Before placing the trays into the dehydrator, preheat it to a low temperature, typically around 135°F (57°C). This temperature allows for gentle and even drying without cooking the fruit leather.
- Place the trays in the dehydrator: Once the dehydrator is preheated, carefully place the trays filled with the fruit mixture into the dehydrator. Ensure that there is enough space between the trays for proper air circulation.
- Set the timer: Depending on the thickness of the fruit leather and the moisture content of the mixture, the drying time can vary. On average, it can take anywhere from 4 to 12 hours for the fruit leather to fully dehydrate. Set the timer according to the manufacturer’s instructions or your previous experience with fruit leather.
- Rotate the trays (optional): If your dehydrator has multiple trays and you notice uneven drying, you can rotate the trays occasionally during the drying process. This helps to ensure that all parts of the fruit leather dry uniformly.
- Monitor the drying progress: Regularly check the fruit leather to monitor the drying progress. The leather should gradually become firm and leathery to the touch. It should no longer be sticky or tacky, indicating that most of the moisture has been removed.
It’s important to note that the drying time can vary based on various factors, including the thickness of the fruit mixture, the humidity in your environment, and the specific dehydrator model you’re using. Some dehydrators have adjustable temperature settings, allowing you to fine-tune the drying process based on your preferences.
During the drying process, you may notice that the fruit leather develops a slightly darker color. This is normal and occurs as the moisture evaporates. The final color of the fruit leather will depend on the type of fruit used and any added sweeteners or flavorings.
Once the fruit leather is sufficiently dried, it’s time to check if it is done. We’ll explore how to check for doneness in the next section, so keep reading to ensure that your fruit leather is perfectly dried and ready to be stored.
Store homemade fruit leather in an airtight container or resealable plastic bag at room temperature for up to 1 month. For longer storage, keep it in the refrigerator for up to 6 months or in the freezer for up to 1 year.
Read more: How To Store Leather Boots
Checking for Doneness
After dehydrating the fruit leather for the recommended amount of time, it’s crucial to check if it is done before removing it from the dehydrator. Checking for doneness ensures that the fruit leather is properly dried and will have the desired texture. Here are a few methods to check if your fruit leather is done:
- Touch test: Gently touch the surface of the fruit leather. It should feel firm and leathery to the touch, with no sticky or tacky areas. If the fruit leather feels sticky or leaves residue on your fingers, it needs more drying time.
- Visual check: Examine the fruit leather closely. It should have a uniform texture and color, without any areas that appear wet or under-dried. The leather should be pliable but not overly flexible.
- Taste test: If you’re unsure if the fruit leather is completely dry, you can do a taste test. Tear a small piece from the edge of the fruit leather and give it a chew. It should be chewy and not have any moisture in the center.
It’s essential to ensure that the fruit leather is fully dried to prevent spoilage and extend its shelf life. If you find that the fruit leather is not yet fully dried, return the trays to the dehydrator for additional drying time. Check it periodically until it reaches the desired consistency.
Keep in mind that different fruits and thicknesses of fruit leather require varying drying times. Thicker fruit leather or mixtures with higher moisture content may take longer to dry completely. It’s important to exercise patience and allow the fruit leather to dry adequately to avoid any potential issues with storage or spoilage.
Now that you have confirmed the doneness of your fruit leather, it’s time to move on to the next crucial step: storing it properly. We’ll discuss different methods and tips for storing homemade fruit leather in the following sections.
Storing the Homemade Fruit Leather
After successfully dehydrating your fruit leather to the desired consistency, it’s time to store it properly to maintain its freshness and flavor. Here are some methods and tips for storing your homemade fruit leather:
- Individually wrap: One common way to store fruit leather is by individually wrapping each piece. Cut the fruit leather into desired shapes, such as squares or rectangles, and wrap them tightly in plastic wrap or wax paper. This helps to protect the fruit leather from moisture, air, and potential sticking.
- Stack and store: If you prefer a simpler method, you can stack the fruit leather sheets on top of each other and store them in an airtight container. Place parchment paper or non-stick sheets between the layers to prevent sticking.
- Airtight containers or bags: Another option is to store the fruit leather in airtight containers or resealable bags. Make sure to squeeze out any excess air before sealing the container or bag to minimize exposure to moisture and air, both of which can cause the fruit leather to become less crispy or chewy.
- Refrigeration: If you live in a particularly humid or warm climate, or if you live in an area with high humidity, you may choose to store your fruit leather in the refrigerator. This helps to extend its shelf life and maintain its texture and flavor for a longer period.
Regardless of the storage method you choose, it’s important to keep your homemade fruit leather in a cool, dry, and dark place. Avoid exposing it to direct sunlight or high temperatures, as this can cause the fruit leather to become sticky or lose its texture and flavor.
When stored properly, homemade fruit leather can last for several weeks to a few months. However, for the best quality and flavor, it’s recommended to consume the fruit leather within a few weeks of making it. The sooner you enjoy it, the fresher it will taste.
Now that you know how to store your homemade fruit leather, let’s explore some additional tips for long-term storage in the next section.
Tips for Long-Term Storage
If you want to extend the shelf life of your homemade fruit leather even further, here are some additional tips for long-term storage:
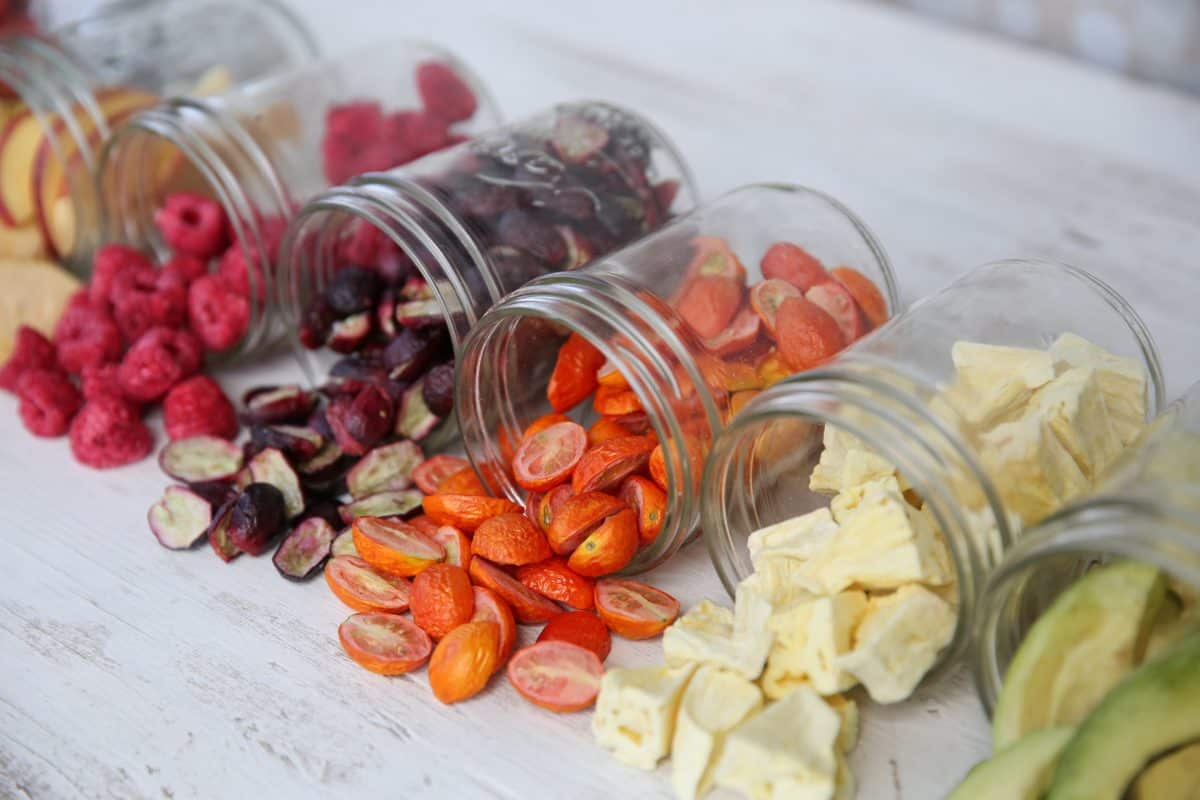
- Freezing: Freezing is an excellent method for long-term storage. Cut the fruit leather into individual portions or leave it in large sheets, and place them in freezer-safe bags or airtight containers. Make sure to remove as much air as possible before sealing to prevent freezer burn. Fruit leather can typically be kept in the freezer for up to six months.
- Vacuum sealing: If you have a vacuum sealer, you can use it to package the fruit leather. This method removes any excess air, which helps to maintain the fruit leather’s freshness and texture. Vacuum-sealed fruit leather can last longer in storage compared to other methods.
- Mylar bags: Mylar bags, known for their ability to provide an extra layer of protection, can be used for long-term storage of fruit leather. Place the fruit leather in the bags, ensure they are tightly sealed, and store them in a cool and dark place.
- Desiccant packets: To further prevent moisture buildup and extend the shelf life, you can add desiccant packets to the storage containers or bags. Desiccant packets absorb any excess moisture, helping to maintain the crispiness of the fruit leather.
Remember to label your stored fruit leather with the date to keep track of freshness and rotation. This way, you’ll know which ones to consume first and ensure you’re always enjoying the freshest batch.
It’s worth noting that while stored fruit leather may remain safe to eat beyond the recommended storage duration, the quality may deteriorate over time. It may become less flavorful, lose its texture, or develop off flavors. Therefore, it’s always best to consume the fruit leather within the recommended storage time for the best taste and quality.
With these tips in mind, you can confidently store your homemade fruit leather for long-term enjoyment. Now, let’s wrap up with a recap of what we’ve covered in this article.
Conclusion
Homemade fruit leather is a delightful and nutritious snack that can be easily made and enjoyed year-round. By following the steps outlined in this article, you can not only create delicious fruit leather but also ensure its long-term storage to maintain its freshness and flavor.
From choosing the right fruits with high pectin content to preparing the fruit leather mixture and spreading it onto dehydrator trays, each step is essential for creating a delicious end product. Properly dehydrating the fruit leather and checking for doneness ensures that it is dried to perfection.
When it comes to storing your homemade fruit leather, you have several options. Individually wrapping the pieces, stacking and storing them in airtight containers, refrigerating, freezing, vacuum sealing, or using mylar bags are all effective methods to keep your fruit leather fresh for an extended period.
Remember to store your fruit leather in a cool, dry, and dark place, and avoid exposure to sunlight or high temperatures to maintain its quality. Additionally, labeling and proper rotation will help you consume your fruit leather within the recommended storage time for the best flavor and texture.
With these tips and techniques, you can create homemade fruit leather that withstands the test of time and enjoy it as a healthy, on-the-go snack whenever you desire. So go ahead and savor the fruits of your labor by making and storing your own delicious fruit leather!
Frequently Asked Questions about How To Store Homemade Fruit Leather
Was this page helpful?
At Storables.com, we guarantee accurate and reliable information. Our content, validated by Expert Board Contributors, is crafted following stringent Editorial Policies. We're committed to providing you with well-researched, expert-backed insights for all your informational needs.


0 thoughts on “How To Store Homemade Fruit Leather”