Home>Home Appliances>Kitchen Appliances>How To Make Fruit Leather In A Dehydrator
Kitchen Appliances
How To Make Fruit Leather In A Dehydrator
Published: January 6, 2024
Learn how to make delicious fruit leather using a dehydrator in your kitchen. Discover the best techniques and recipes for homemade fruit leather. Perfect for kitchen appliances enthusiasts!
(Many of the links in this article redirect to a specific reviewed product. Your purchase of these products through affiliate links helps to generate commission for Storables.com, at no extra cost. Learn more)
Introduction
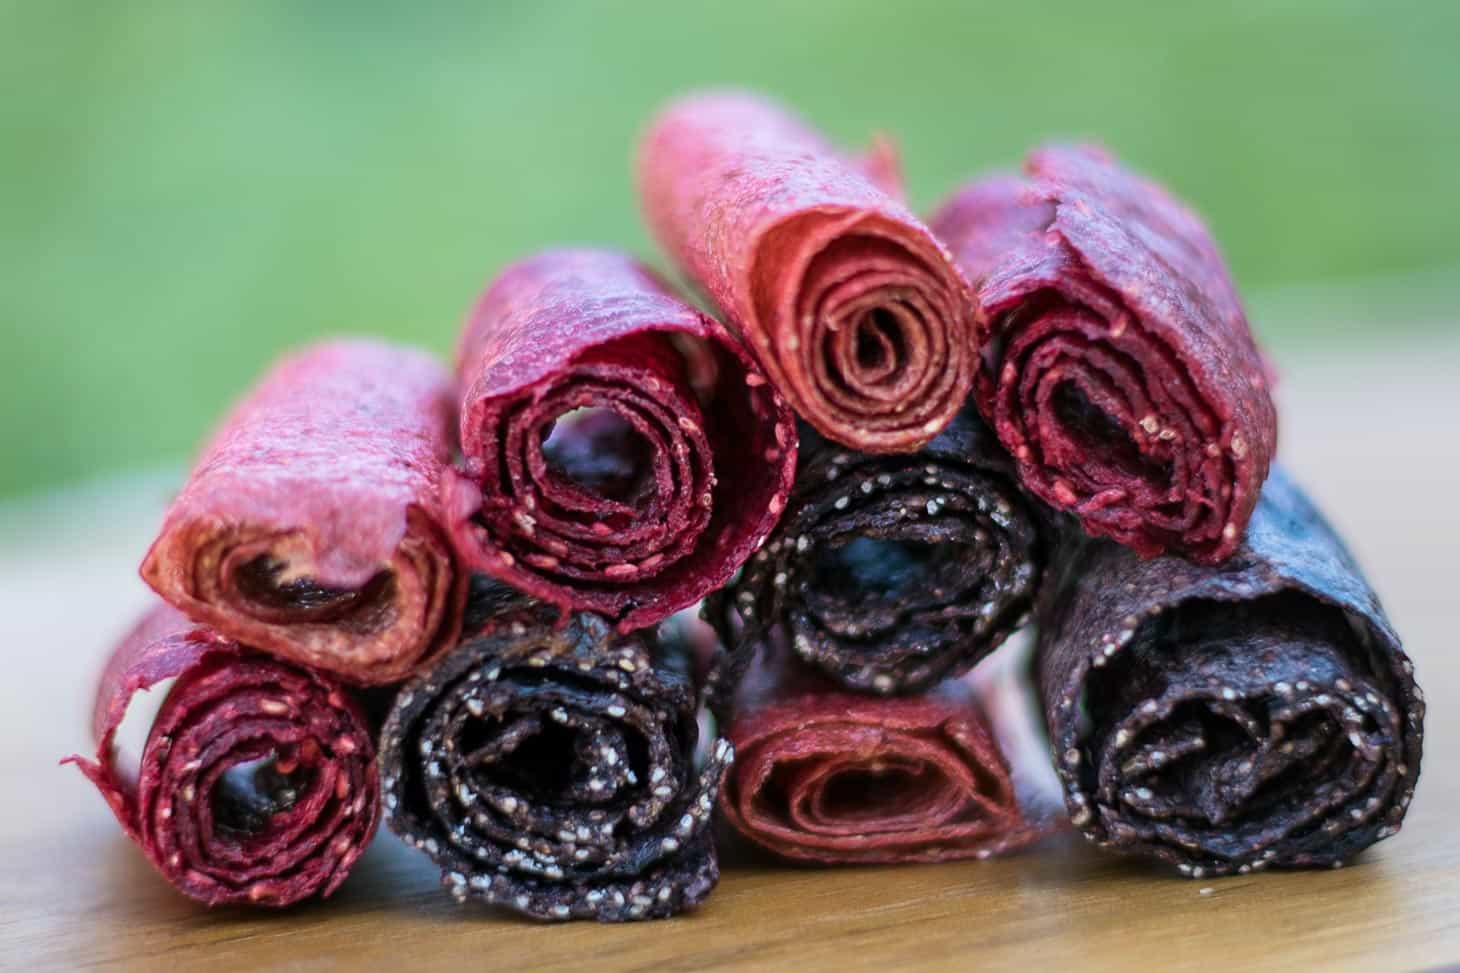
Welcome to the delightful world of homemade fruit leather! If you're a fan of healthy snacks and enjoy the natural sweetness of fruits, then learning how to make fruit leather in a dehydrator is a rewarding culinary adventure. Fruit leather, also known as fruit jerky or fruit roll-ups, is a delicious and nutritious treat that can be enjoyed by both kids and adults. It's a fantastic way to preserve the flavors of your favorite fruits and indulge in a wholesome snack that's free from artificial additives and preservatives.
Making fruit leather in a dehydrator is a straightforward process that allows you to experiment with different fruits, flavors, and textures. Whether you prefer the tangy zing of strawberries, the tropical sweetness of mangoes, or the earthy richness of apples, you can easily customize your fruit leather to suit your taste preferences. Not only is it a fantastic way to reduce food waste by using up ripe or excess fruits, but it also provides a convenient, on-the-go snack option that's bursting with natural goodness.
In this guide, we'll explore the step-by-step process of creating delectable fruit leather using a dehydrator. From selecting the perfect fruits to achieving the ideal texture, you'll discover valuable tips and techniques to elevate your fruit leather-making skills. Get ready to embark on a flavorful journey as we delve into the art of crafting wholesome and irresistible fruit leather right in your own kitchen. Let's dive in and unlock the secrets to crafting homemade fruit leather that will tantalize your taste buds and nourish your body.
Key Takeaways:
- Embrace the versatility of fruit leather by choosing ripe, fresh fruits with complementary flavors and textures. Experiment with seasonal varieties to create unique and delightful combinations for a wholesome and natural snack.
- Transform an assortment of fresh fruits into a velvety and tantalizing puree, then spread it evenly on dehydrator trays for a transformative process that results in a chewy and flavorful fruit leather.
Read more: How To Dehydrate Fruit In A Dehydrator
Choosing the Right Fruit
When it comes to making fruit leather, the first step is selecting the perfect fruits to create a vibrant and flavorful puree. The beauty of fruit leather lies in its versatility, allowing you to experiment with a wide array of fruits to achieve unique and delightful combinations. Here are some essential considerations for choosing the right fruit:
- Freshness: Opt for ripe, fresh fruits that are at the peak of their flavor. Ripe fruits not only contribute to a more luscious and naturally sweet puree but also ensure that the fruit leather will have a rich and intense flavor profile.
- Texture: Consider the texture of the fruits. While smooth-textured fruits like berries, mangoes, and peaches are popular choices for fruit leather due to their ease of pureeing, you can also incorporate fruits with a firmer texture, such as apples and pears, for added complexity.
- Flavor Profile: Think about the flavor profile you want to achieve. Whether you prefer the tartness of raspberries, the sweetness of bananas, or the tangy notes of pineapple, selecting fruits with complementary or contrasting flavors can result in a well-balanced and intriguing fruit leather.
- Combining Fruits: Don’t hesitate to experiment with combinations of fruits to create unique flavor blends. Mixing fruits like strawberries and kiwi or apples and cinnamon can yield delightful results that elevate the complexity of your fruit leather.
- Seasonal Variations: Embrace seasonal fruits to take advantage of their peak freshness and abundance. Seasonal fruits not only offer superior flavor but also allow you to support local agriculture and savor the best of each season.
By carefully considering these factors, you can handpick a selection of fruits that will serve as the foundation for your delectable fruit leather. Whether you opt for a single fruit variety or a medley of flavors, the key is to choose fruits that inspire your creativity and promise a delightful taste experience.
Preparing the Fruit
Before diving into the process of creating fruit leather, it’s essential to prepare the chosen fruits to ensure a smooth and flavorsome puree. Properly preparing the fruit sets the stage for a successful outcome and allows you to harness the full potential of the fruits’ natural sweetness and flavor. Here’s a step-by-step guide to preparing the fruit for making fruit leather:
- Washing and Drying: Start by thoroughly washing the fruits under running water to remove any dirt, debris, or pesticide residues. Pat the fruits dry with a clean kitchen towel or paper towels to ensure they are free from excess moisture.
- Peeling and Pitting: For fruits with inedible peels or pits, such as mangoes, peaches, and apricots, carefully peel the skin and remove the pits. This step is crucial to achieve a smooth and uniform texture in the fruit puree.
- Trimming and Chopping: Trim away any stems, cores, or tough portions of the fruits. Then, chop the fruits into evenly sized pieces to promote even drying and facilitate the pureeing process.
- Pre-Treating: Some fruits, particularly those prone to oxidation, such as apples and bananas, benefit from pre-treatment to prevent browning. Options for pre-treating fruits include dipping them in a solution of lemon juice and water or using commercial fruit preservatives specifically designed for maintaining color and freshness.
By meticulously preparing the fruits, you set the groundwork for a successful fruit leather-making endeavor. The careful attention to detail at this stage ensures that the fruits are primed for pureeing, ultimately leading to a velvety and flavorful fruit puree that forms the heart of your delectable fruit leather.
Making the Fruit Puree
Creating a smooth and luscious fruit puree is a pivotal step in the process of making fruit leather. The fruit puree serves as the foundation of the final product, imparting its natural sweetness and vibrant flavors to the finished fruit leather. Here’s a comprehensive guide to crafting the perfect fruit puree for your homemade fruit leather:
- Blending the Fruits: Transfer the prepared fruits to a high-speed blender or food processor. Blend the fruits until they form a smooth and homogeneous puree. Depending on the fruits’ texture and moisture content, you may need to add a small amount of liquid, such as water or fruit juice, to facilitate the blending process.
- Straining (Optional): For fruits with seeds or fibrous pulp, you have the option to strain the puree through a fine-mesh sieve or cheesecloth to remove any undesirable textures. This step is particularly beneficial for achieving a silky and refined fruit leather.
- Sweetening (Optional): Taste the fruit puree and, if necessary, add a natural sweetener, such as honey, agave nectar, or maple syrup, to enhance the sweetness. Keep in mind that some fruits may require no additional sweetening, especially if they are naturally ripe and sweet.
- Flavor Enhancements (Optional): To elevate the flavor profile, consider incorporating complementary flavor enhancers, such as a splash of vanilla extract, a sprinkle of cinnamon, or a dash of citrus zest. These additions can add depth and complexity to the fruit puree.
Through the meticulous process of blending, straining, and flavor adjustments, you can transform an assortment of fresh fruits into a velvety and tantalizing puree that forms the essence of your fruit leather. The fruit puree encapsulates the natural essence of the fruits, setting the stage for a delightful snacking experience that celebrates the bountiful flavors of nature.
To prevent sticking, line the dehydrator trays with parchment paper before spreading the fruit puree. This will make it easier to remove the fruit leather once it’s dried.
Spreading the Puree on the Dehydrator Trays
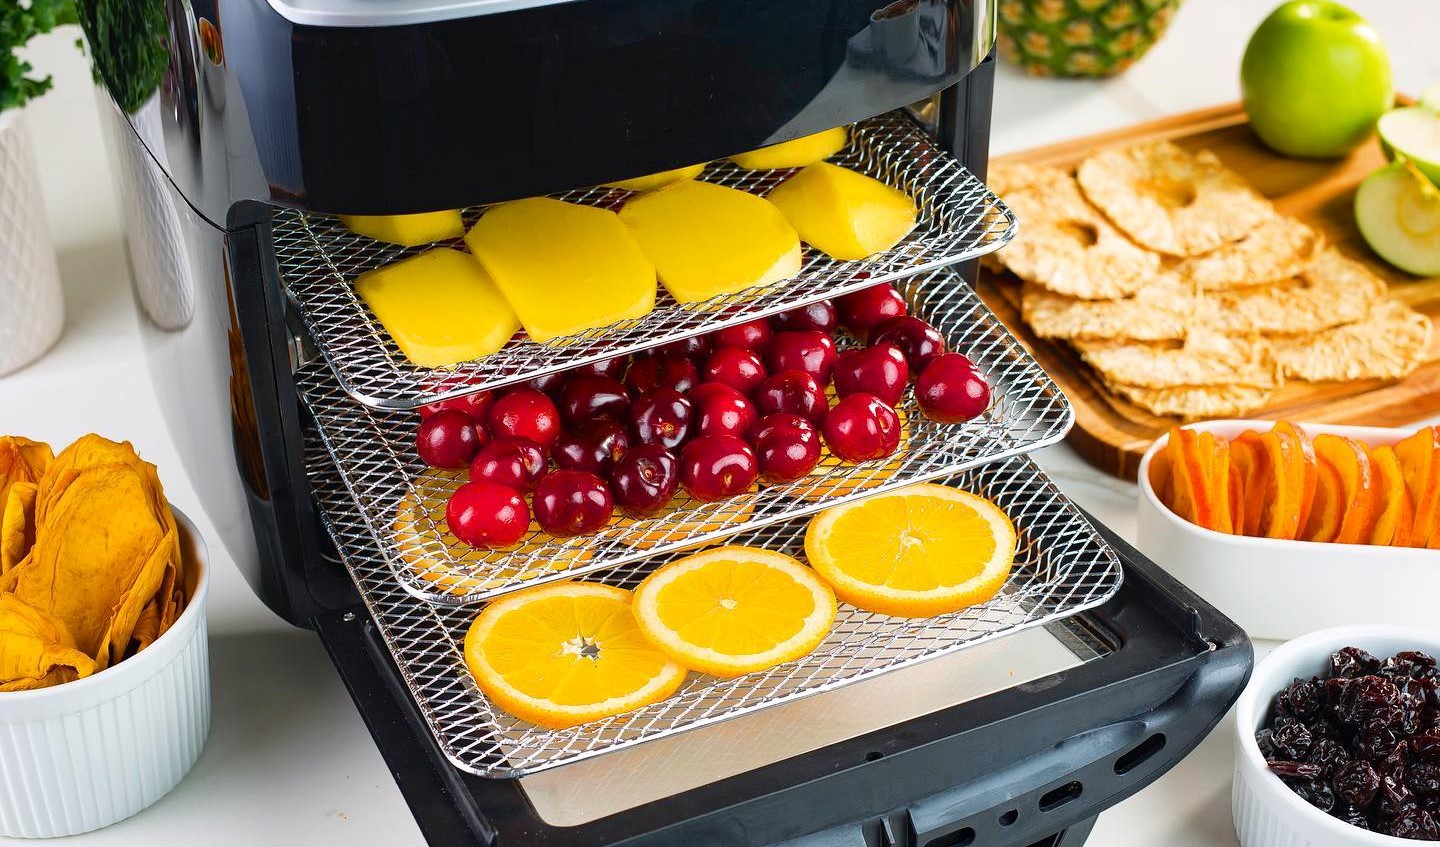
Once you have prepared the sumptuous fruit puree, the next step in creating delectable fruit leather is to spread the puree evenly onto the dehydrator trays. This process sets the stage for the gentle dehydration that transforms the puree into a delectable, chewy fruit leather. Here’s a detailed guide to spreading the puree on the dehydrator trays:
- Prepare the Dehydrator Trays: Ensure that the dehydrator trays are clean and dry. If your dehydrator requires it, line the trays with non-stick dehydrator sheets or parchment paper to prevent the puree from sticking to the trays during the drying process.
- Even Distribution: Using a spatula or offset spatula, carefully spread the fruit puree onto the prepared dehydrator trays. Aim for an even and consistent thickness of the puree, typically around 1/8 to 1/4 inch thick. This uniform layer ensures that the fruit leather dries evenly and results in a cohesive texture.
- Leave Space at the Edges: Leave a small margin around the edges of the puree to prevent it from overflowing during the drying process. This margin facilitates easy handling and ensures that the puree retains its shape as it transforms into fruit leather.
- Avoid Overlapping: If you are using multiple trays in the dehydrator, take care to avoid overlapping the puree between trays. Each tray should accommodate a single, uninterrupted layer of puree to facilitate consistent drying.
By skillfully spreading the fruit puree onto the dehydrator trays, you set the stage for the transformative process that awaits in the dehydrator. The smooth and uniform application of the puree ensures that each bite of the resulting fruit leather delivers a harmonious blend of flavors and textures, inviting you to savor the natural essence of the fruits in every delectable bite.
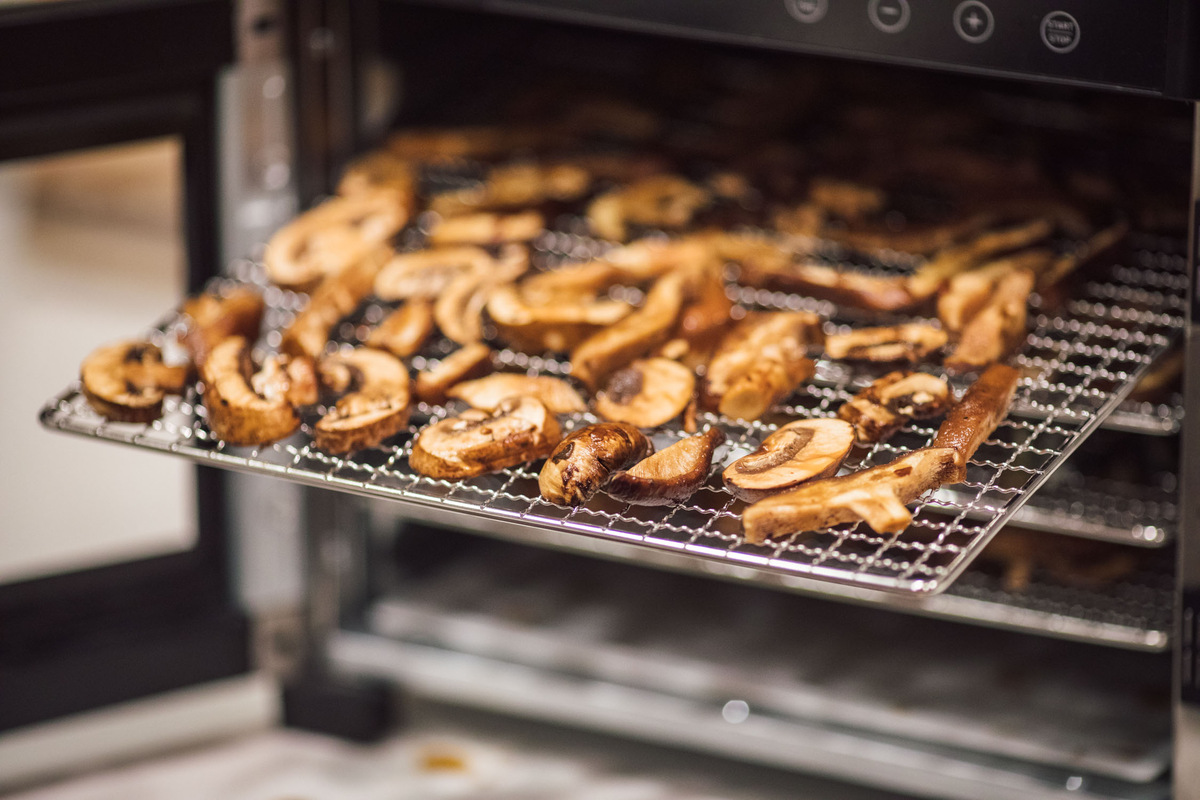
Dehydrating the Fruit Puree
With the fruit puree evenly spread on the dehydrator trays, it’s time to embark on the gentle and gradual process of dehydration, where the magic of transforming the puree into delightful fruit leather takes place. Dehydrating the fruit puree is a patient endeavor that requires careful monitoring to achieve the ideal texture and consistency. Here’s a comprehensive guide to the dehydrating process:
- Set the Temperature: Consult the specific guidelines for your dehydrator model and set the temperature to approximately 135°F (57°C) for fruit leather. The low and consistent heat gently removes moisture from the puree, allowing it to slowly dry and solidify into a chewy and pliable texture.
- Patience is Key: Dehydrating fruit puree typically takes 6 to 8 hours, but the duration may vary based on factors such as the thickness of the puree, humidity levels, and the moisture content of the fruits. Exercise patience and avoid the temptation to increase the temperature, as a slow and steady drying process yields the best results.
- Rotate the Trays (Optional): If your dehydrator model requires it, periodically rotate the trays to ensure uniform drying. This practice promotes consistent airflow and prevents any potential unevenness in the drying process.
- Monitor for Dryness: As the hours pass, periodically check the fruit puree for dryness. Gently touch the surface of the puree to assess its tackiness and consistency. The fruit leather is ready when it is no longer sticky to the touch and peels away easily from the trays.
Throughout the gentle dehydration process, the dehydrator works its magic, gradually transforming the vibrant fruit puree into a chewy and flavorful fruit leather. The slow removal of moisture concentrates the natural sugars and flavors, resulting in a wholesome and satisfying snack that encapsulates the essence of the fruits in every delectable bite.
Checking for Doneness
As the fruit puree undergoes the transformative process of dehydration, it’s essential to periodically assess its readiness to ensure that the fruit leather achieves the ideal texture and consistency. Checking for doneness is a crucial step that allows you to gauge the progress of the dehydration process and determine when the fruit leather is ready for the next phase. Here’s a comprehensive guide to checking for doneness when making fruit leather:
- Visual Inspection: Begin by visually inspecting the fruit leather. Look for a uniform texture and color across the entire surface. The fruit leather should appear smooth, with no visible areas of excessive moisture or uneven drying.
- Tactile Assessment: Gently touch the surface of the fruit leather. It should feel dry to the touch and slightly tacky, with no residual stickiness. When you press your finger onto the fruit leather, it should peel away cleanly and leave no residue on your fingertips.
- Bend Test: Carefully lift a corner of the fruit leather and gently bend it. The fruit leather should be pliable and supple, yet firm enough to hold its shape without cracking or breaking. It should exhibit a slight elasticity without feeling brittle.
- Time and Temperature Considerations: Keep in mind that the exact duration for achieving doneness may vary based on factors such as the thickness of the puree, the dehydrator model, and ambient humidity. Additionally, the dehydrating temperature and duration play a significant role in determining the readiness of the fruit leather.
By meticulously assessing the visual, tactile, and structural characteristics of the fruit leather, you can confidently determine its readiness for the final phase of the process. The thorough evaluation ensures that the fruit leather achieves the perfect balance of chewiness and flavor, inviting you to savor its natural sweetness and wholesome goodness with every delightful bite.
Storing and Enjoying Fruit Leather
Once the fruit leather has reached the desired level of doneness, it’s time to savor the fruits of your labor and ensure that the delectable treat remains fresh for future enjoyment. Proper storage and thoughtful handling are essential to preserve the quality and flavor of the fruit leather. Here’s a comprehensive guide to storing and savoring your homemade fruit leather:
- Cooling and Resting: After removing the fruit leather from the dehydrator, allow it to cool completely at room temperature. This resting period helps the fruit leather set and develop its characteristic chewy texture.
- Cutting the Fruit Leather: Once cooled, carefully peel the fruit leather from the dehydrator trays. Place it on a clean cutting board and use a sharp knife or kitchen shears to cut the fruit leather into desired shapes and sizes, such as strips, squares, or fun shapes that appeal to your preferences.
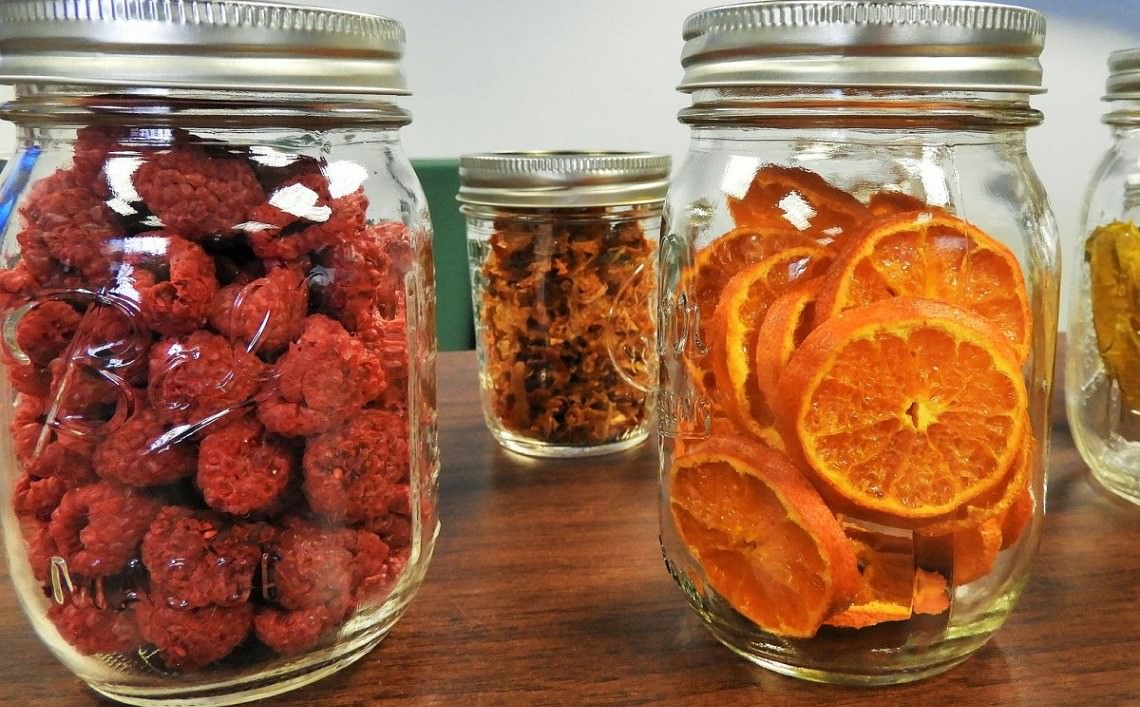
- Storage Containers: Store the cut fruit leather pieces in airtight containers or resealable bags to protect them from moisture and air exposure. Properly sealed containers help maintain the fruit leather’s freshness and prevent it from becoming overly dry or sticky.
- Room Temperature Storage: When stored in a cool, dry place away from direct sunlight, fruit leather can remain fresh for up to a month. Be mindful of temperature fluctuations and humidity levels, as these factors can affect the fruit leather’s shelf life and texture.
- Refrigeration (Optional): If you prefer to extend the shelf life of the fruit leather, consider refrigerating it. Stored in the refrigerator, fruit leather can retain its quality for several months, offering a convenient and wholesome snack option for the entire family.
- Savoring the Fruit Leather: When the craving for a nutritious and satisfying snack strikes, reach for a piece of your homemade fruit leather. Whether enjoyed on its own, paired with cheese and nuts, or incorporated into creative recipes, fruit leather offers a delightful burst of natural flavors and energy-boosting goodness.
By meticulously storing the fruit leather and savoring it with appreciation, you can relish the fruits of your labor and indulge in a wholesome, homemade treat that celebrates the vibrant flavors of fresh fruits. Whether enjoyed as a quick snack, a lunchbox surprise, or a delightful accompaniment to your culinary creations, fruit leather offers a delicious and nutritious way to elevate your snacking experience.
Frequently Asked Questions about How To Make Fruit Leather In A Dehydrator
Was this page helpful?
At Storables.com, we guarantee accurate and reliable information. Our content, validated by Expert Board Contributors, is crafted following stringent Editorial Policies. We're committed to providing you with well-researched, expert-backed insights for all your informational needs.


0 thoughts on “How To Make Fruit Leather In A Dehydrator”