Articles
How To Store Honey Dipper
Modified: December 7, 2023
Learn how to properly store your honey dipper and ensure its longevity. Discover tips and tricks to keep your honey articles in perfect condition.
(Many of the links in this article redirect to a specific reviewed product. Your purchase of these products through affiliate links helps to generate commission for Storables.com, at no extra cost. Learn more)
Introduction
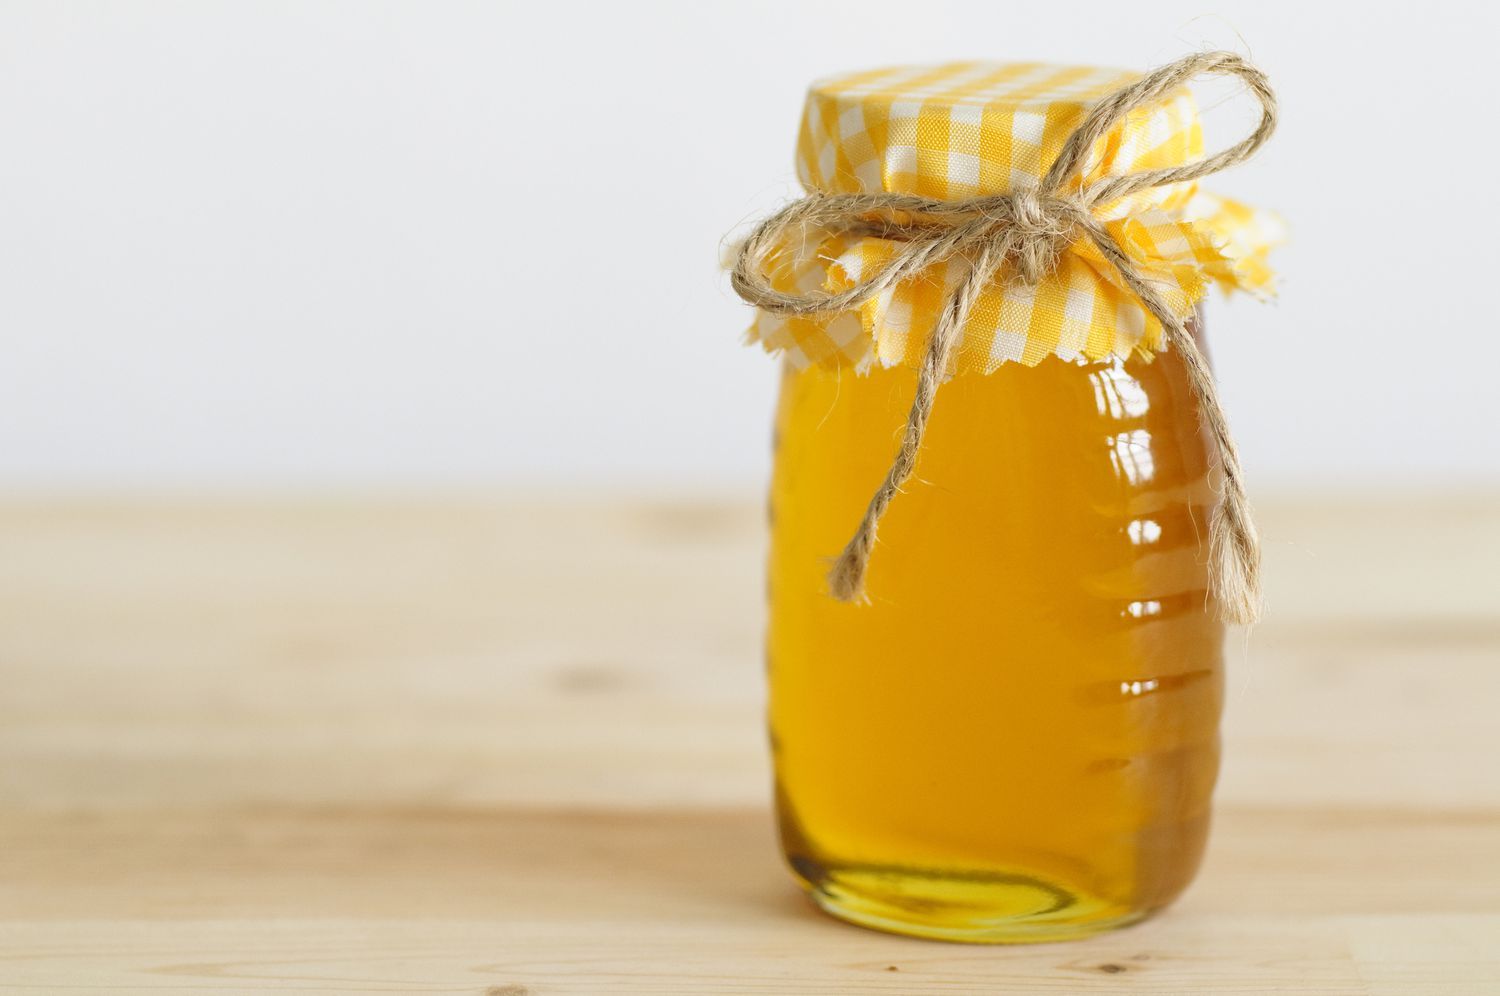
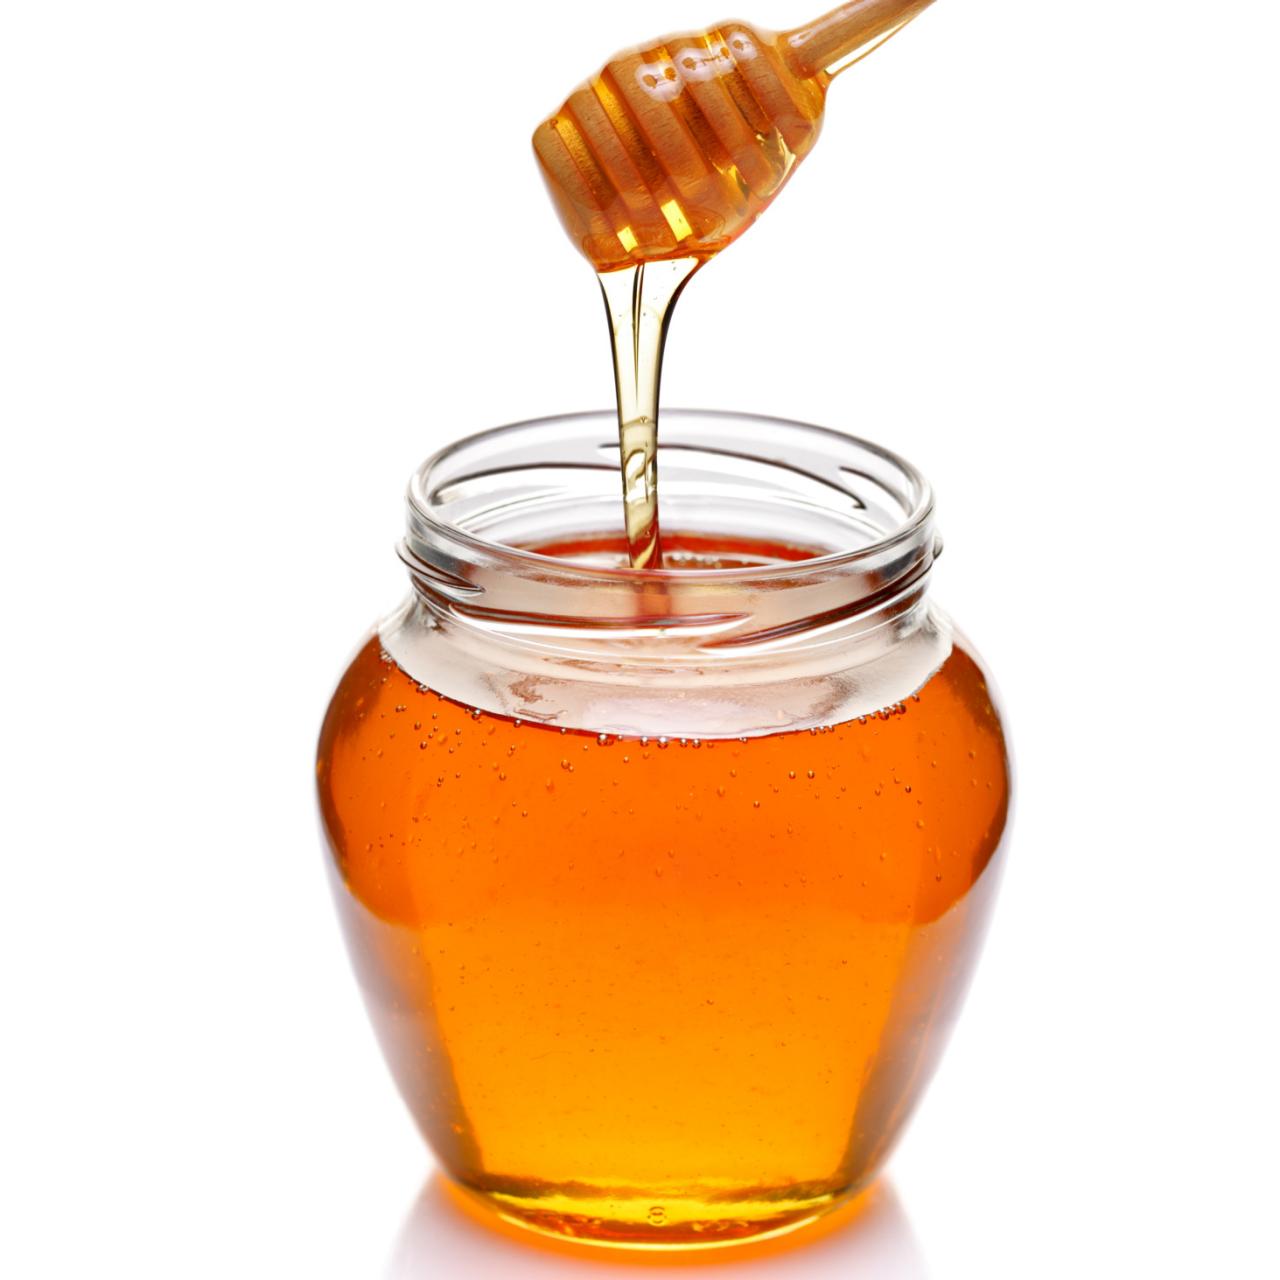
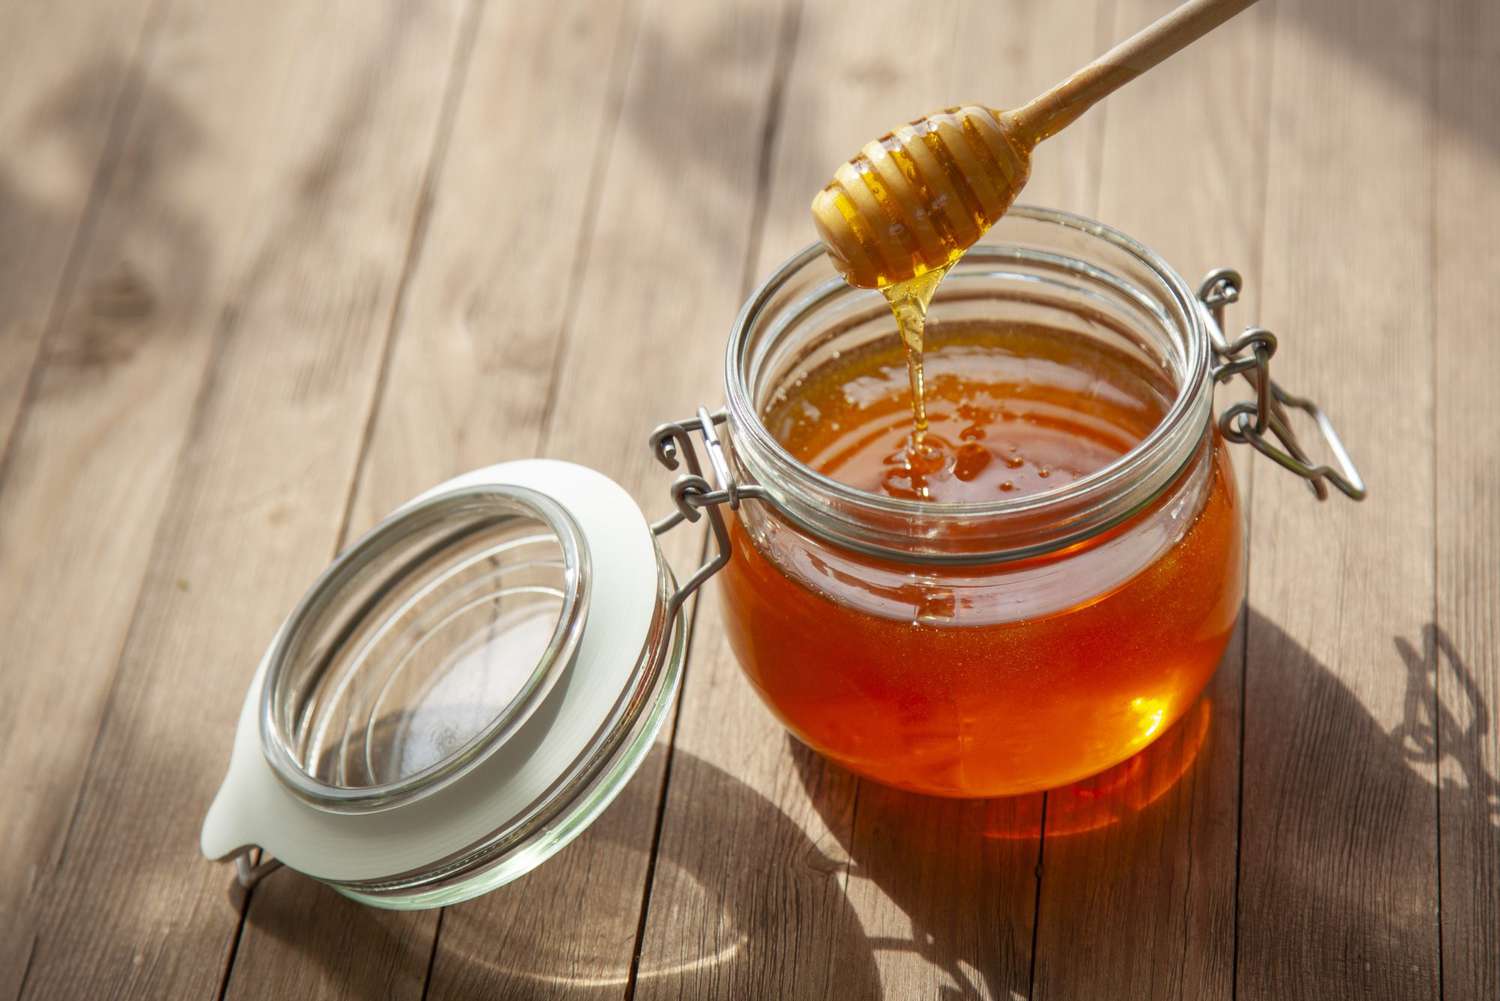
When it comes to enjoying a drizzle of sweet, golden honey, using a honey dipper adds a touch of elegance and convenience to the experience. This simple yet essential tool allows you to effortlessly scoop up and release the perfect amount of honey onto your favorite foods or beverages.
However, to ensure the longevity and effectiveness of your honey dipper, it is crucial to store it properly. This article will guide you through the steps of storing a honey dipper to maintain its quality and functionality.
Whether you’re a honey enthusiast or simply enjoy adding a touch of sweetness to your day, adhering to the right storage practices will extend the lifespan of your honey dipper and enhance your honey-dipping experience.
So, let’s dive in and discover the benefits of using a honey dipper, how to choose the right one, and the proper techniques for storing it.
Key Takeaways:
- Properly storing your honey dipper is crucial for maintaining its quality and functionality, ensuring a delightful honey-drizzling experience every time.
- Avoid common mistakes such as leaving honey residue, storing in damp environments, and using improper cleaning techniques to prolong the lifespan of your honey dipper and preserve the natural sweetness of honey.
Read more: How To Store A Honey Dipper
Benefits of Using a Honey Dipper
Using a honey dipper offers several advantages over other methods of dispensing honey. Here are some of the key benefits:
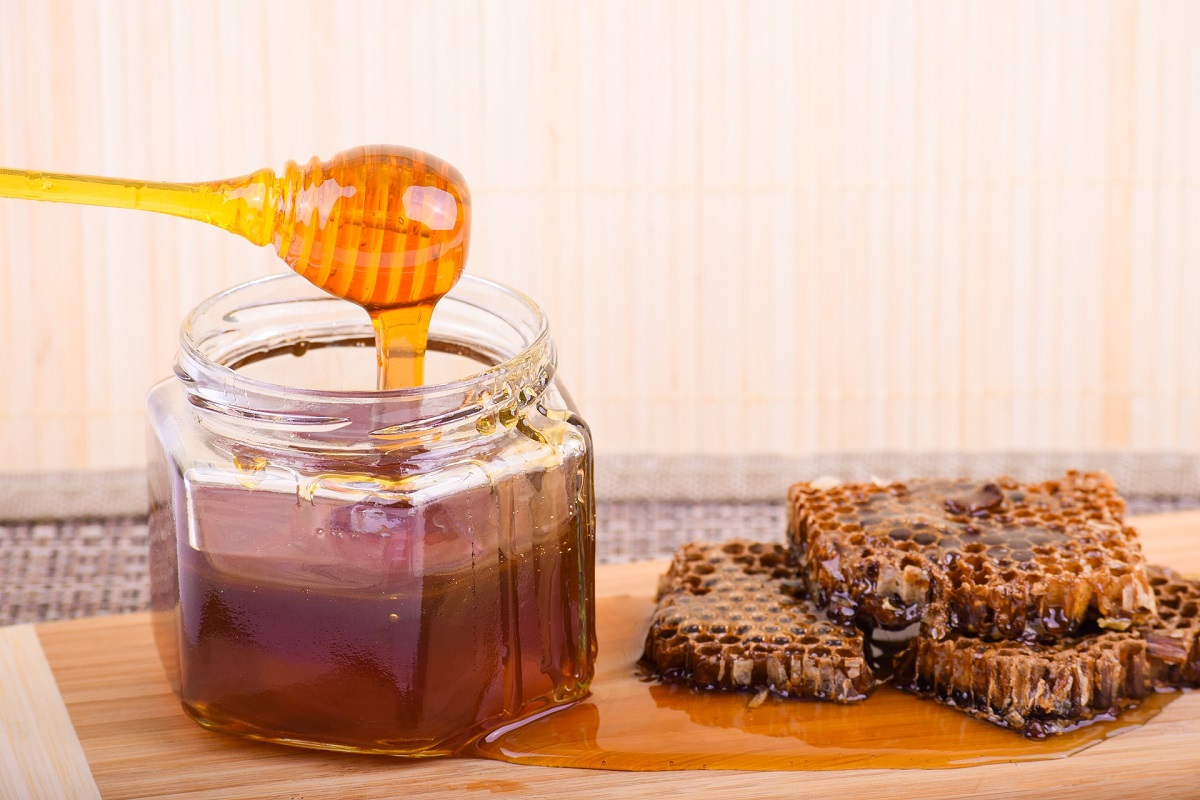
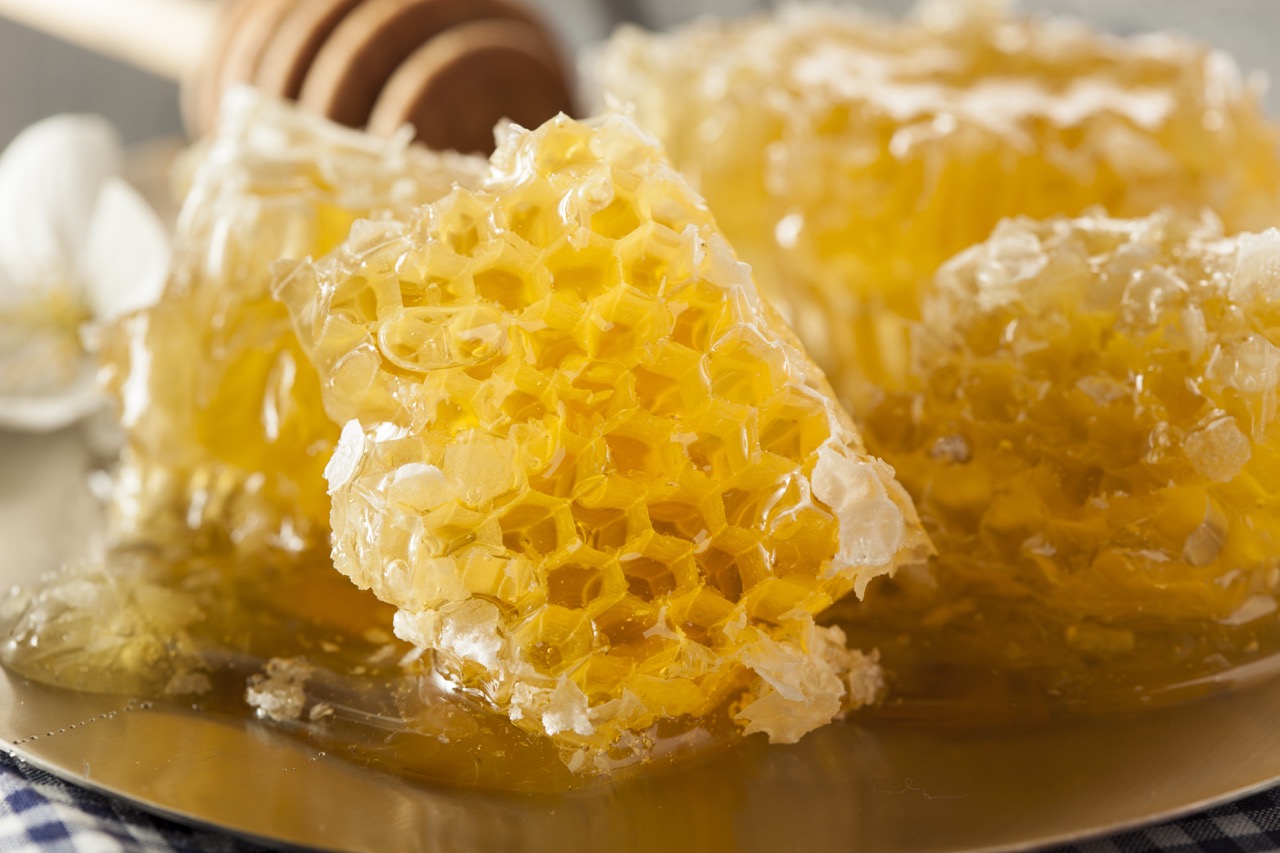
- Precise portion control: The design of a honey dipper allows you to easily control the amount of honey you want to drizzle or dollop. With its long handle and grooved or spiral-shaped head, the dipper collects a sufficient amount of honey and releases it in a controlled manner, preventing excessive dripping and wastage.
- No mess or sticky fingers: Unlike spoons or other utensils, a honey dipper’s spiral, ridged, or grooved head ensures that honey is neatly contained within its surface. This means you can enjoy your honey without sticky fingers or messy spills on your countertops.
- Enhanced flavor distribution: The design of a honey dipper allows for a consistent and even distribution of honey. As you drizzle honey over your food or beverages, the dipper ensures that every bite or sip is infused with the natural sweetness of honey.
- Artistic presentation: Using a honey dipper adds a touch of elegance and style to your honey-serving routine. The beautiful and intricate designs of honey dippers make them a visually appealing accessory to display alongside your honey jar or pot.
- Avoiding contamination: The long handle of a honey dipper allows you to scoop honey without directly touching it, minimizing the risk of introducing contaminants or foreign particles into the honey jar. This helps maintain the quality and freshness of the honey for a longer period.
These benefits make using a honey dipper a preferred method for serving honey. It not only enhances the overall experience but also ensures that you can enjoy the natural sweetness of honey in a controlled and mess-free manner.
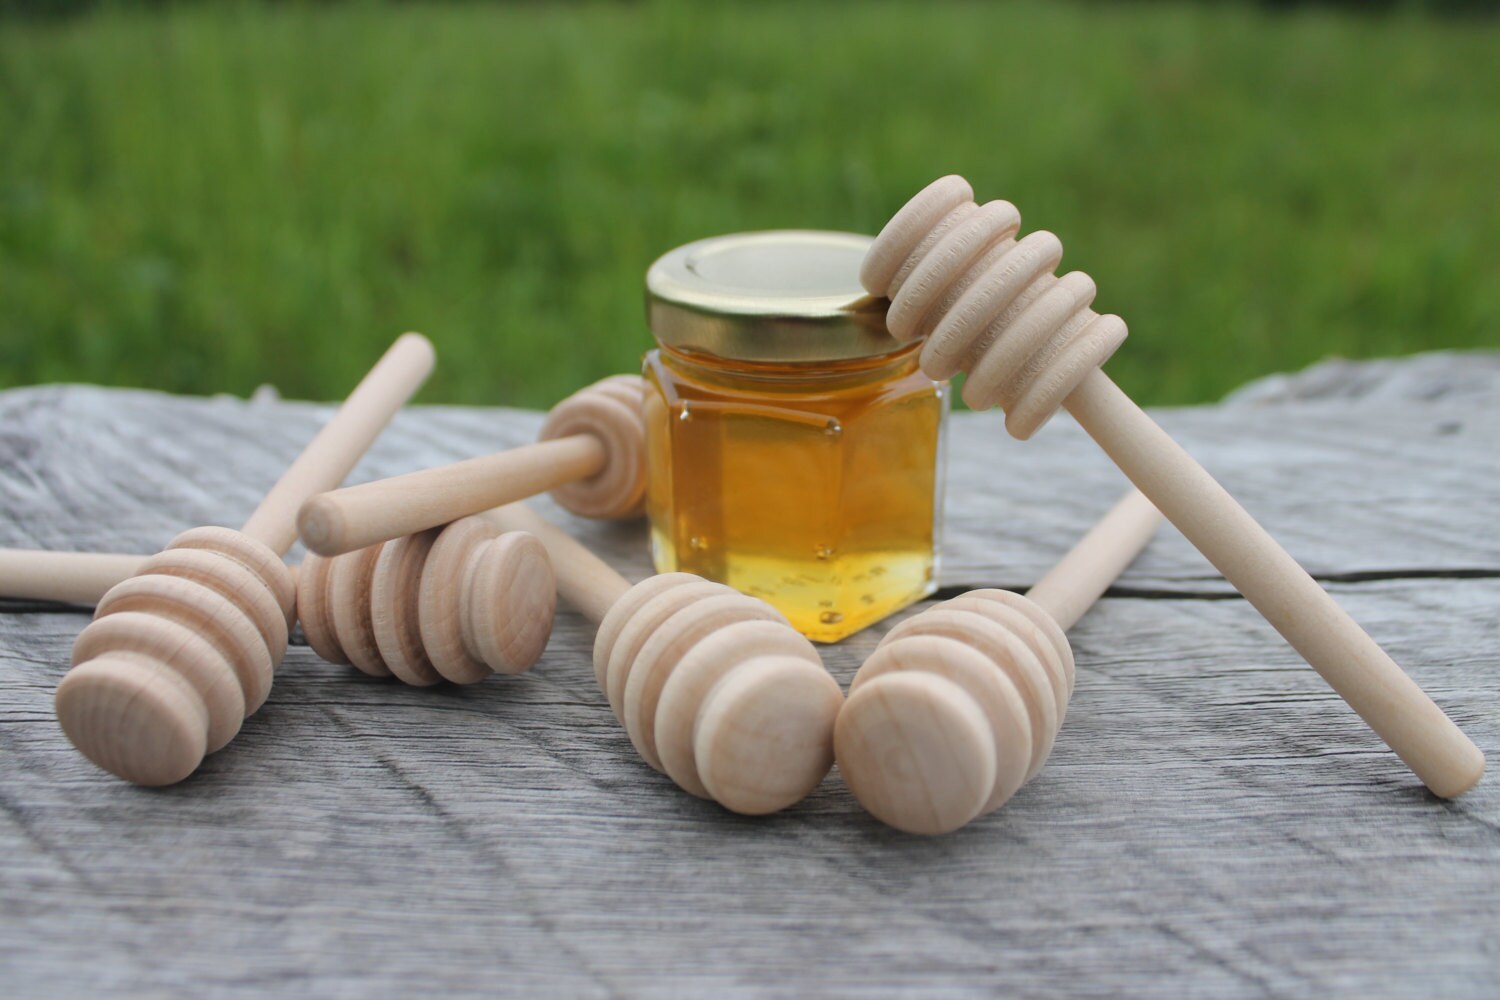
Choosing the Right Honey Dipper
When it comes to selecting a honey dipper, there are a few factors to consider to ensure you choose the right one for your needs. Here are some key points to keep in mind:
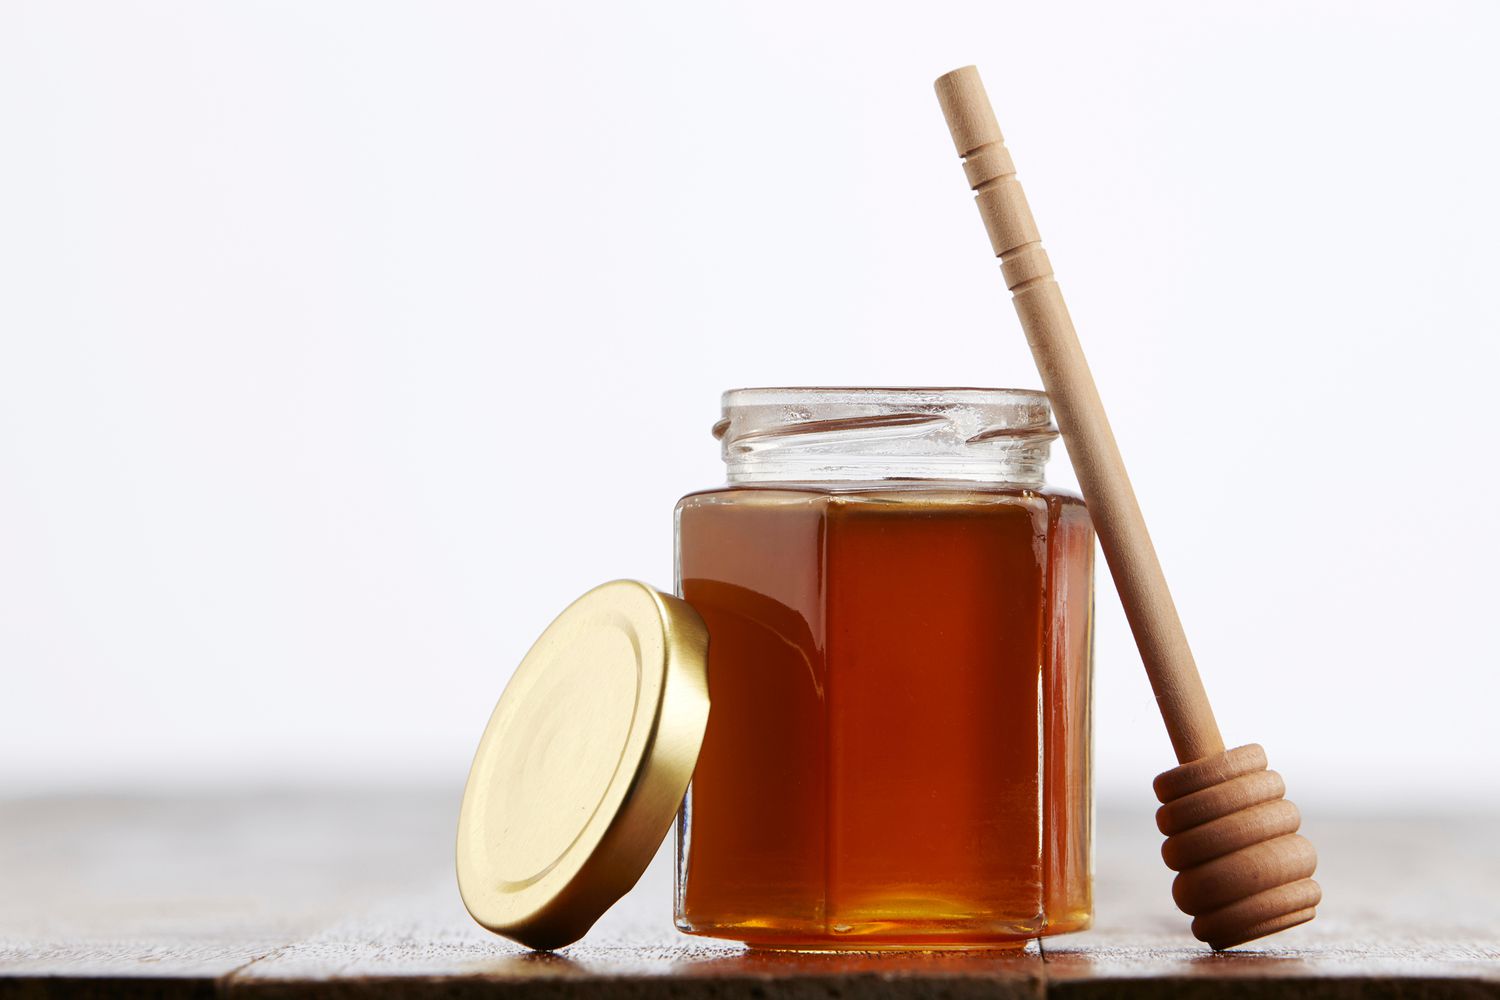
- Material: Honey dippers are available in various materials, including wood, silicone, and stainless steel. Each material has its own advantages. Wooden dippers are traditional and aesthetically pleasing, while silicone dippers are easy to clean and resistant to heat. Stainless steel dippers are durable and long-lasting.
- Size: Consider the size of the honey dipper head and handle. The size of the head will determine the amount of honey it can hold and release. A larger head is suitable for drizzling honey over desserts or pancakes, while a smaller head is ideal for adding honey to beverages or stirring it into tea.
- Grooves or Spirals: Look for honey dippers with grooves or spirals on the head. These features help the dipper collect and distribute the honey evenly, ensuring a controlled and mess-free pouring experience.
- Design: Honey dippers come in various designs, ranging from simple and functional to intricately carved and decorative. Choose a design that suits your personal style and complements your honey-serving setup.
- Quality: Ensure that the honey dipper is well-made and of good quality. Look for dippers that are sturdy and durable to withstand regular use without breaking or bending.
Ultimately, the choice of a honey dipper comes down to personal preference. Consider your unique needs, aesthetic preferences, and the functionality you desire.
Now that you have an idea of what to look for when choosing a honey dipper, let’s move on to the next step: storing it properly for long-lasting use and enjoyment.
Preparing the Honey Dipper for Storage
Before storing your honey dipper, it is essential to prepare it properly to ensure its longevity and cleanliness. Here are a few steps to follow:
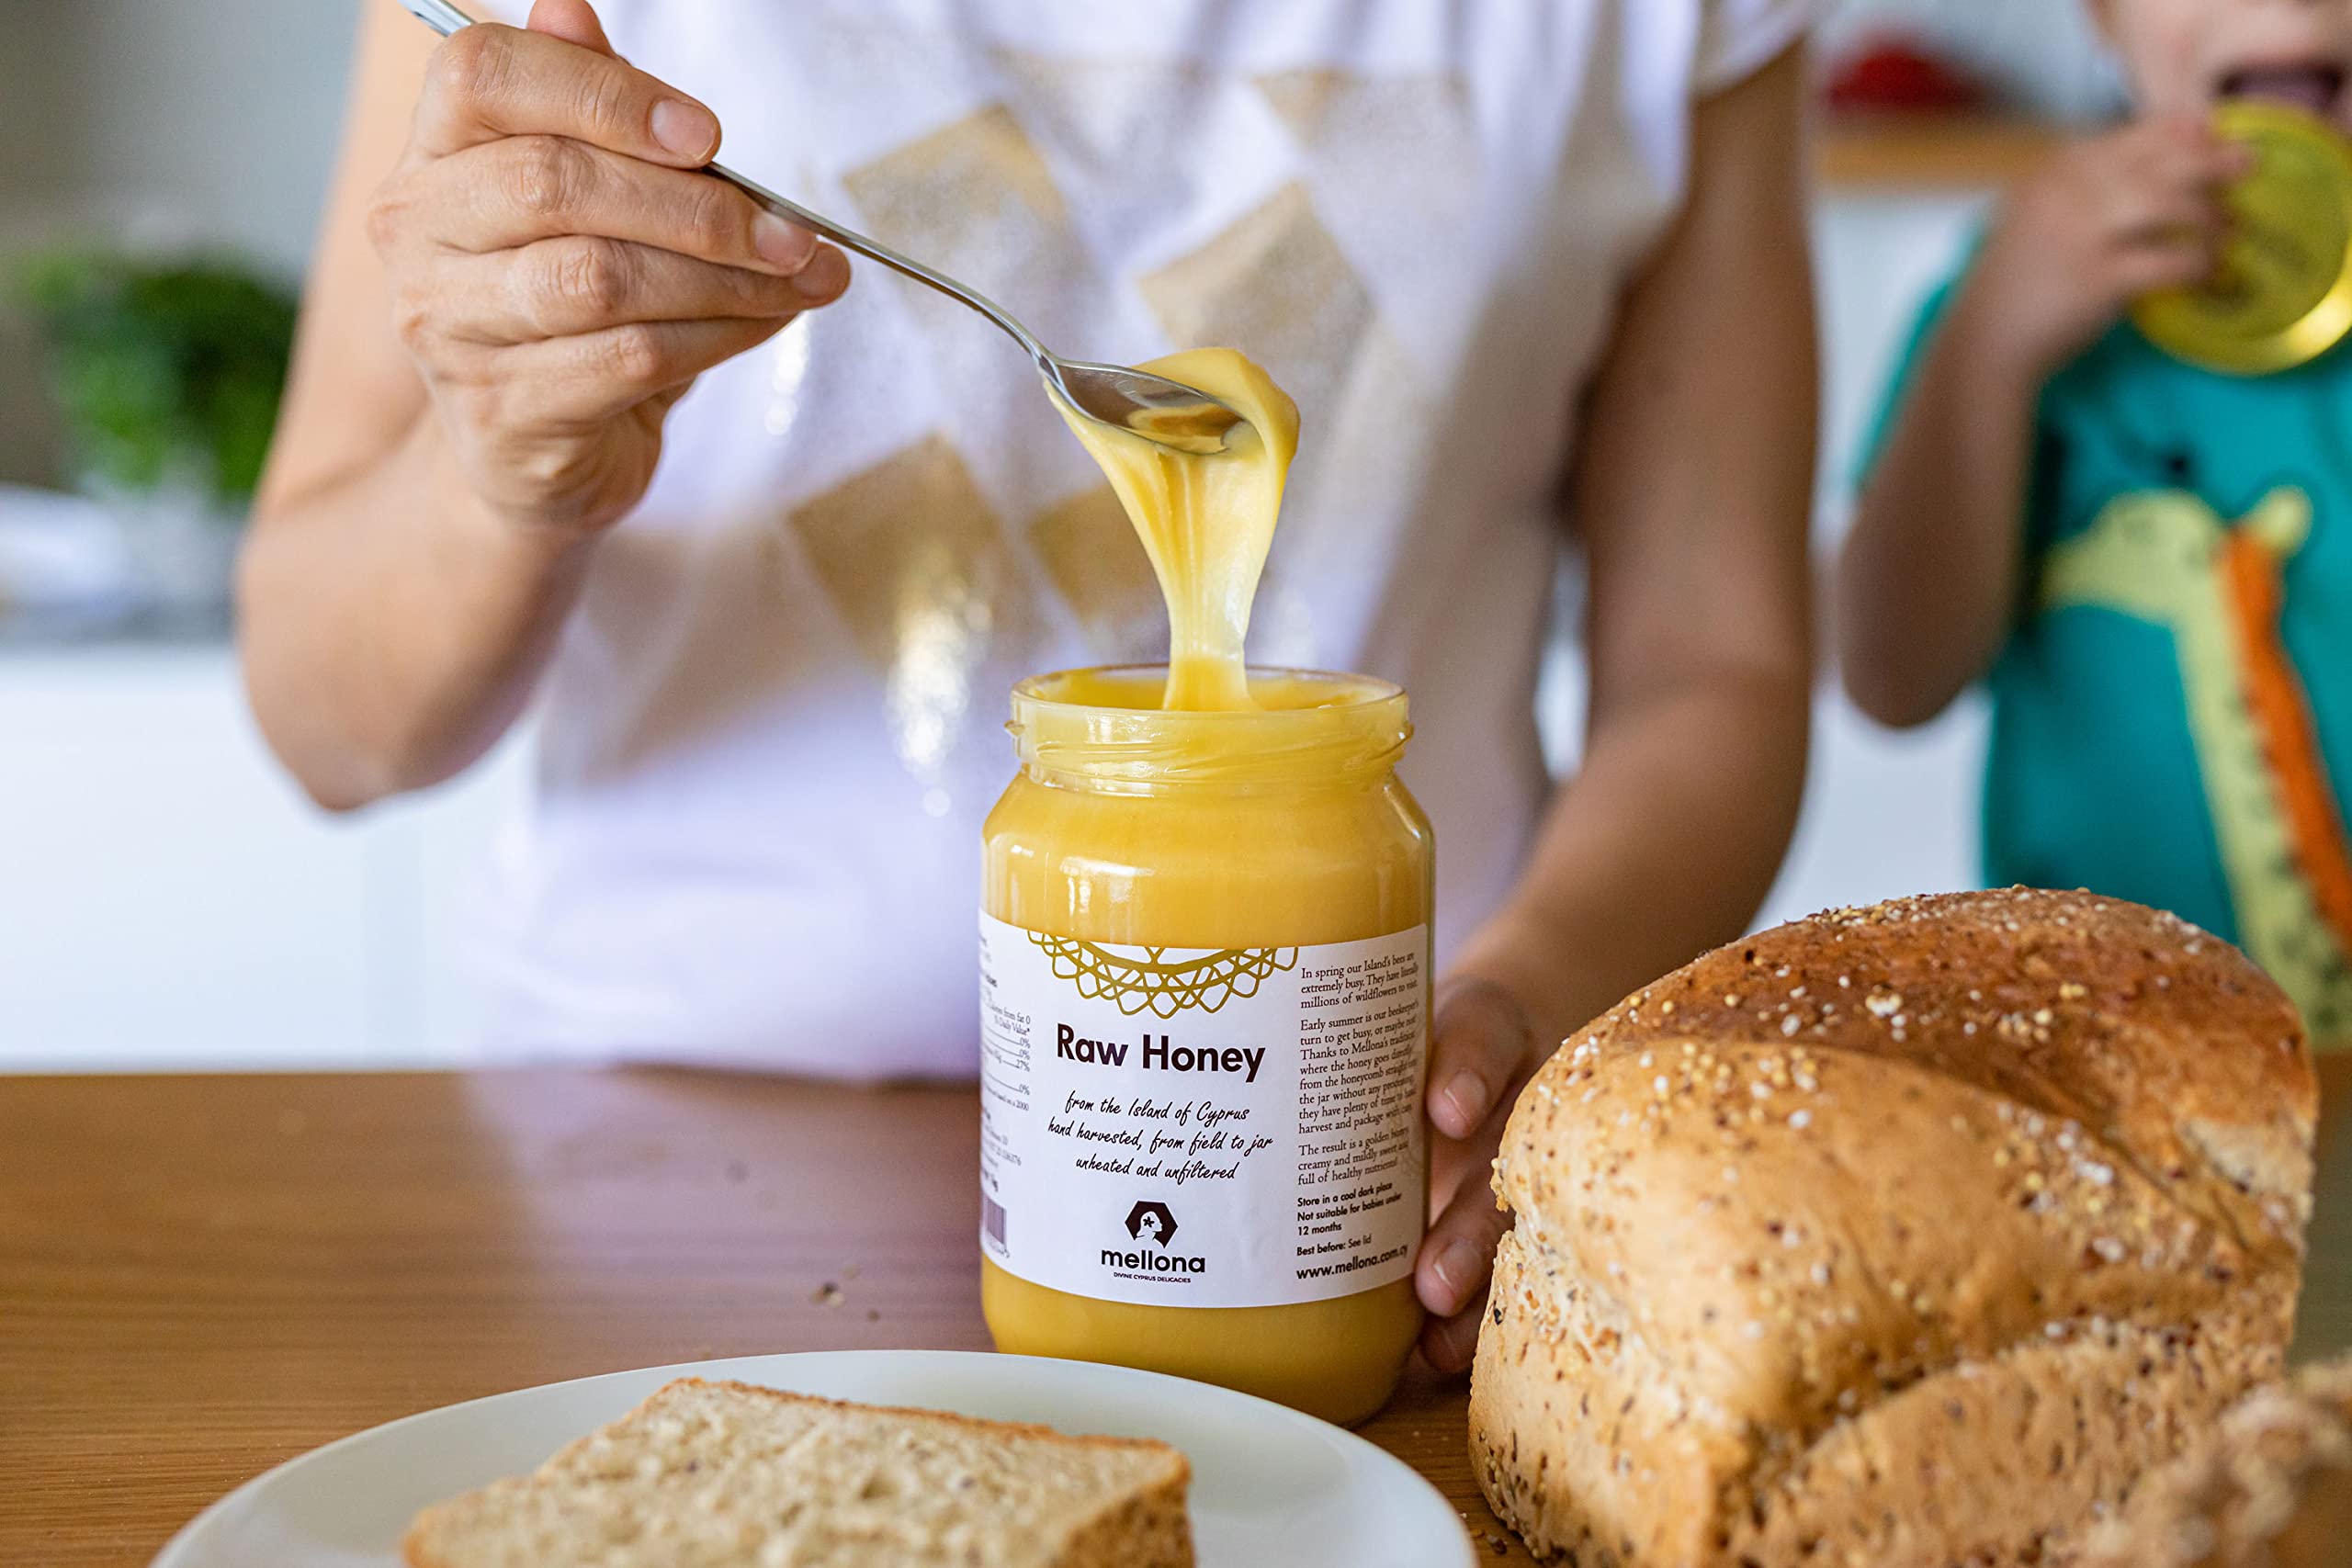
- Clean the honey dipper: Start by cleaning the honey dipper thoroughly. Depending on the material, you can wash it with warm soapy water or simply rinse it off. Make sure to remove any residual honey or debris from the grooves or spiral head.
- Dry it completely: After cleaning, ensure that the honey dipper is completely dry. Moisture can lead to the growth of mold or mildew, which can affect the quality of the honey and the lifespan of the dipper.
- Inspect for damage: Take a moment to inspect the honey dipper for any signs of damage, such as cracks, splintering, or loose pieces. If you notice any issues, consider replacing the dipper to avoid any problems during storage or future use.
- Consider optional sealing: If you want to provide extra protection for your honey dipper, you can consider applying a food-safe sealant or coating to the wooden handle. This will help prevent moisture absorption and prolong the life of the dipper.
By following these simple steps, you can ensure that your honey dipper is clean, dry, and in good condition, ready for storage. Proper preparation sets the foundation for maintaining the integrity and functionality of your honey dipper over time.
Next, we will explore suitable storage options for your honey dipper to keep it safe and readily accessible whenever you’re in the mood for some sweet honey indulgence.
To store a honey dipper, simply rinse it with warm water and mild soap, then allow it to air dry completely. Store it in a dry place away from direct sunlight to prevent warping or cracking.
Suitable Storage Options for a Honey Dipper
When it comes to storing your honey dipper, it’s important to choose a storage option that keeps it protected and easily accessible. Here are a few suitable storage options to consider:
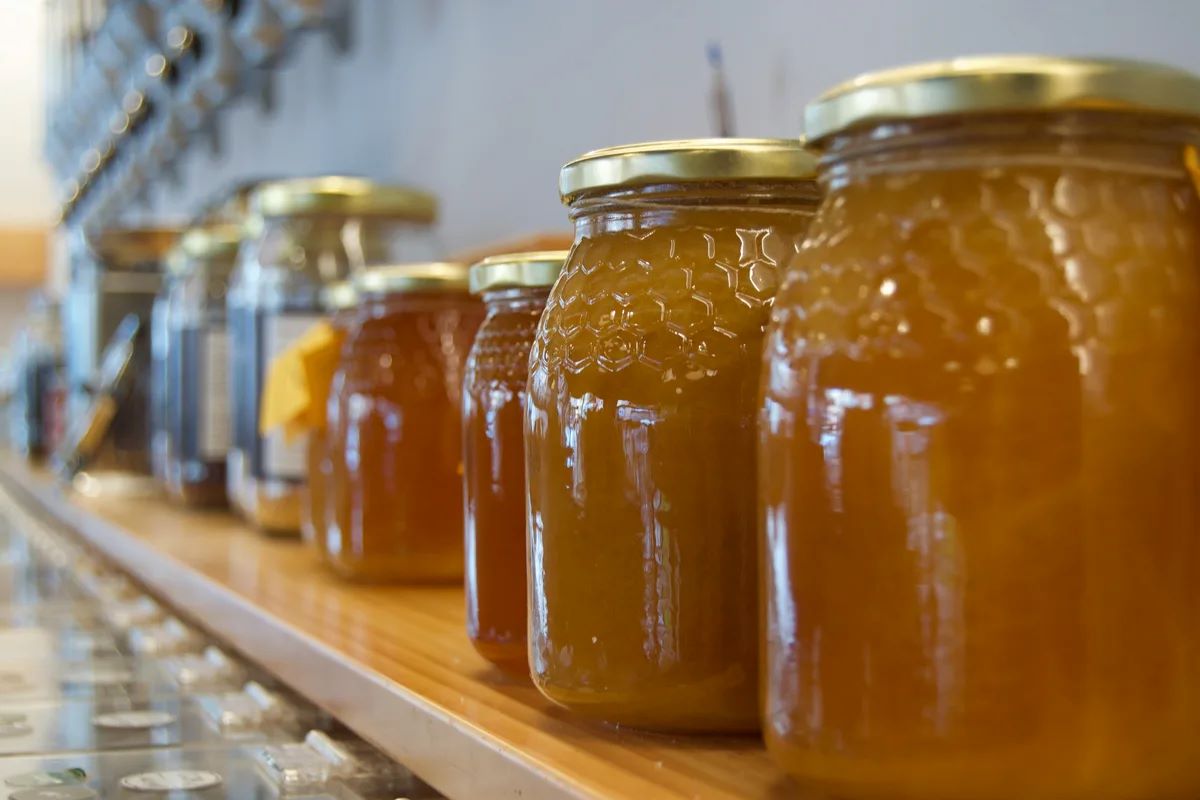
- Honey jar with built-in dipper holder: Some honey jars come with a built-in holder specifically designed to store the honey dipper. This option is convenient as it keeps the dipper within reach, ensuring it stays clean and doesn’t get misplaced.
- Utensil crock or jar: If your honey jar doesn’t have a designated dipper holder, you can store the honey dipper in a utensil crock or a small jar on your kitchen countertop. This keeps the dipper easily accessible while adding a decorative touch to your kitchen.
- Airtight container: If you prefer to store your honey dipper separately, you can place it in an airtight container to protect it from dust and moisture. Choose a container that is the appropriate size for the dipper to avoid unnecessary movement and potential damage.
- Drawer divider or organizer: If you want to keep your kitchen drawers clutter-free, consider using a drawer divider or organizer to create a designated space for your honey dipper. This ensures it remains protected while being easily accessible when you need it.
- Hanging storage: Another option is to hang your honey dipper on a wall hook or pegboard, especially if you have limited counter or drawer space. This not only keeps the dipper tidy but also adds a unique visual element to your kitchen decor.
Choose a storage option that aligns with your personal preference and the available space in your kitchen. The key is to keep your honey dipper protected, clean, and easily accessible for whenever you crave a spoonful of honey.
Now that you have identified suitable storage options for your honey dipper, let’s move on to the next step: properly cleaning and storing the honey dipper to maintain its quality.
Read more: How To Store Wooden Honey Dipper
Properly Cleaning and Storing a Honey Dipper
To ensure the longevity and cleanliness of your honey dipper, it is crucial to follow the proper cleaning and storing procedures. Here’s how:
- After each use: Rinse the honey dipper under warm water to remove any residual honey. You can use a soft-bristled brush or your fingers to gently scrub away any stubborn residue.
- Soak if necessary: If the honey dipper has hardened or sticky honey on it, soak it in warm water for a few minutes. This will help loosen the honey, making it easier to clean. Avoid using hot water, as it can damage certain materials.
- Use mild soap if needed: If the honey dipper requires additional cleaning, use a mild detergent or dish soap. Apply a small amount to a soft cloth or sponge and gently scrub the dipper, paying attention to the grooves or spiral head.
- Rinse thoroughly: Once cleaned, rinse the honey dipper under warm water to remove any soap residue. Ensure that all soap is thoroughly rinsed off, as any remaining residue can affect the taste and quality of the honey.
- Dry completely: After rinsing, pat the honey dipper dry with a clean towel or place it in a well-ventilated area to air dry. Ensure that it is completely dry before storing to prevent the growth of mold or mildew.
- Select an appropriate storage option: Choose one of the suitable storage options mentioned earlier, such as a honey jar with a dipper holder or an airtight container. Ensure that the storage option is clean and free from moisture.
- Store in a cool, dry place: Find a location in your kitchen where the honey dipper can be stored away from direct sunlight, moisture, and heat sources. This will help maintain its quality and prolong its lifespan.
By following these cleaning and storing procedures, you can keep your honey dipper in optimal condition for long-lasting use. Regular cleaning and proper storage practices will ensure that your honey dipper remains clean, functional, and ready to add a touch of sweetness to your culinary adventures.
Now that you know how to clean and store your honey dipper, let’s explore some common mistakes to avoid to ensure the best care for your dipper.
Common Mistakes to Avoid When Storing a Honey Dipper
While storing a honey dipper may seem simple, there are a few common mistakes that many people make. By avoiding these mistakes, you can ensure the longevity and functionality of your honey dipper. Here are some key ones to keep in mind:
- Leaving honey residue: One common mistake is leaving honey residue on the dipper after use. Honey can attract ants and other pests, and the stickiness can be difficult to clean if left for an extended period. Always make sure to rinse your honey dipper thoroughly after each use.
- Storing in a damp environment: Storing your honey dipper in a damp environment, such as a humid cupboard or near a sink, can lead to the growth of mold or mildew. It’s important to choose a dry storage location to prevent damage to the honey dipper.
- Using improper cleaning techniques: Using harsh cleaning agents or abrasive tools can damage the honey dipper and affect its functionality. Stick to mild soap and soft brushes or cloths for cleaning to avoid any scratches or deterioration of the dipper.
- Not allowing it to dry completely: Failing to dry the honey dipper completely before storing it can lead to moisture buildup and potential mold growth. Make sure the dipper is dry to the touch before placing it in storage.
- Storing near strong odors: Honey can easily absorb strong odors from its surroundings. Avoid storing your honey dipper near strong-smelling substances like spices, cleaning agents, or onions to preserve the purity and natural aroma of the honey.
- Not protecting the handle: If your honey dipper has a wooden handle, it’s important to protect it from moisture absorption. Applying a food-safe sealant or coating to the handle can help prolong its lifespan and prevent damage.
- Forgetting to check for damage: Regularly inspect your honey dipper for any signs of damage, such as cracks or splintering. Using a damaged dipper can compromise the quality of the honey and even pose a safety risk. Replace any damaged honey dippers promptly.
By avoiding these common mistakes, you can ensure that your honey dipper remains in optimal condition, ready to enhance your honey drizzling experience.
Now that you are aware of the common mistakes to avoid, let’s wrap up and summarize the key points we’ve covered in this article.
Conclusion
Storing your honey dipper properly is essential for maintaining its quality, functionality, and longevity. By following the right practices, you can ensure that your honey dipper remains clean, protected, and ready to serve up the perfect drizzle of honey whenever you need it.
Throughout this article, we discussed the benefits of using a honey dipper, including precise portion control, avoiding mess and sticky fingers, enhanced flavor distribution, artistic presentation, and contamination prevention. We also explored important considerations when choosing a honey dipper, such as the material, size, grooves or spirals, design, and quality.
We then delved into the proper preparation of a honey dipper for storage, including cleaning it thoroughly, drying it completely, inspecting for damage, and optional sealing for wooden handles. We also discussed suitable storage options such as honey jars with dipper holders, utensil crocks or jars, airtight containers, drawer dividers or organizers, and hanging storage.
To ensure the cleanliness and longevity of your honey dipper, we outlined the steps for properly cleaning it after each use, including rinsing, soaking if necessary, using mild soap when needed, thorough rinsing, and complete drying. Additionally, we emphasized the importance of storing the honey dipper in a cool, dry place, away from moisture, heat, and strong odors.
Lastly, we highlighted common mistakes to avoid when storing a honey dipper, such as leaving honey residue, storing in a damp environment, using improper cleaning techniques, not allowing it to dry completely, storing near strong odors, neglecting to protect the handle of wooden dippers, and not checking for damage regularly.
By implementing these recommendations and avoiding common mistakes, you can prolong the lifespan of your honey dipper and continue to enjoy the sweetness and convenience it brings to your culinary experiences.
So, take the time to properly clean, prepare, and store your honey dipper, and you’ll be rewarded with a reliable and delightful tool for savoring the golden goodness of honey for years to come.
Frequently Asked Questions about How To Store Honey Dipper
Was this page helpful?
At Storables.com, we guarantee accurate and reliable information. Our content, validated by Expert Board Contributors, is crafted following stringent Editorial Policies. We're committed to providing you with well-researched, expert-backed insights for all your informational needs.


0 thoughts on “How To Store Honey Dipper”