Articles
How To Store Kefir Grains In Fridge
Modified: December 7, 2023
Learn how to properly store your kefir grains in the fridge to keep them fresh and active. Discover the best methods and tips to ensure your kefir grains stay healthy and viable for future use.
(Many of the links in this article redirect to a specific reviewed product. Your purchase of these products through affiliate links helps to generate commission for Storables.com, at no extra cost. Learn more)
Introduction
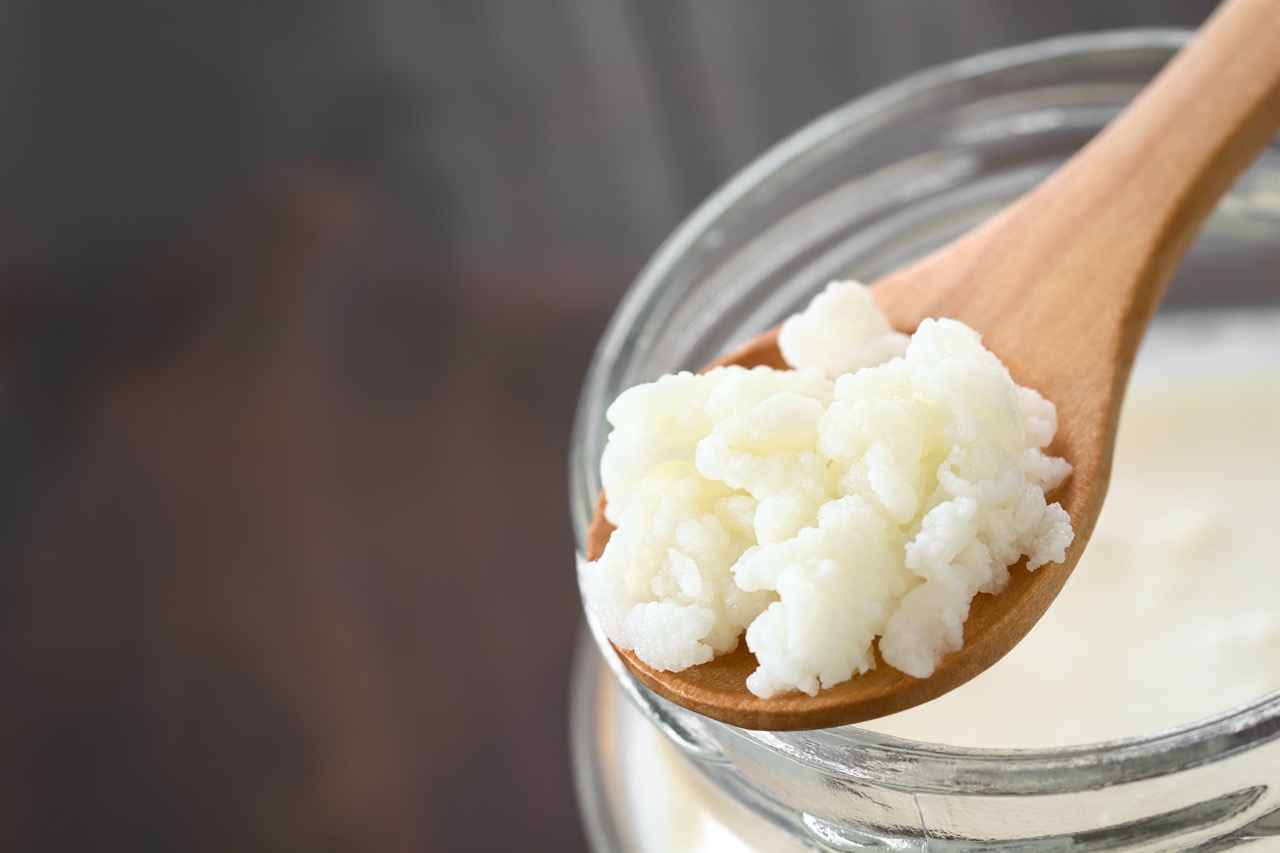
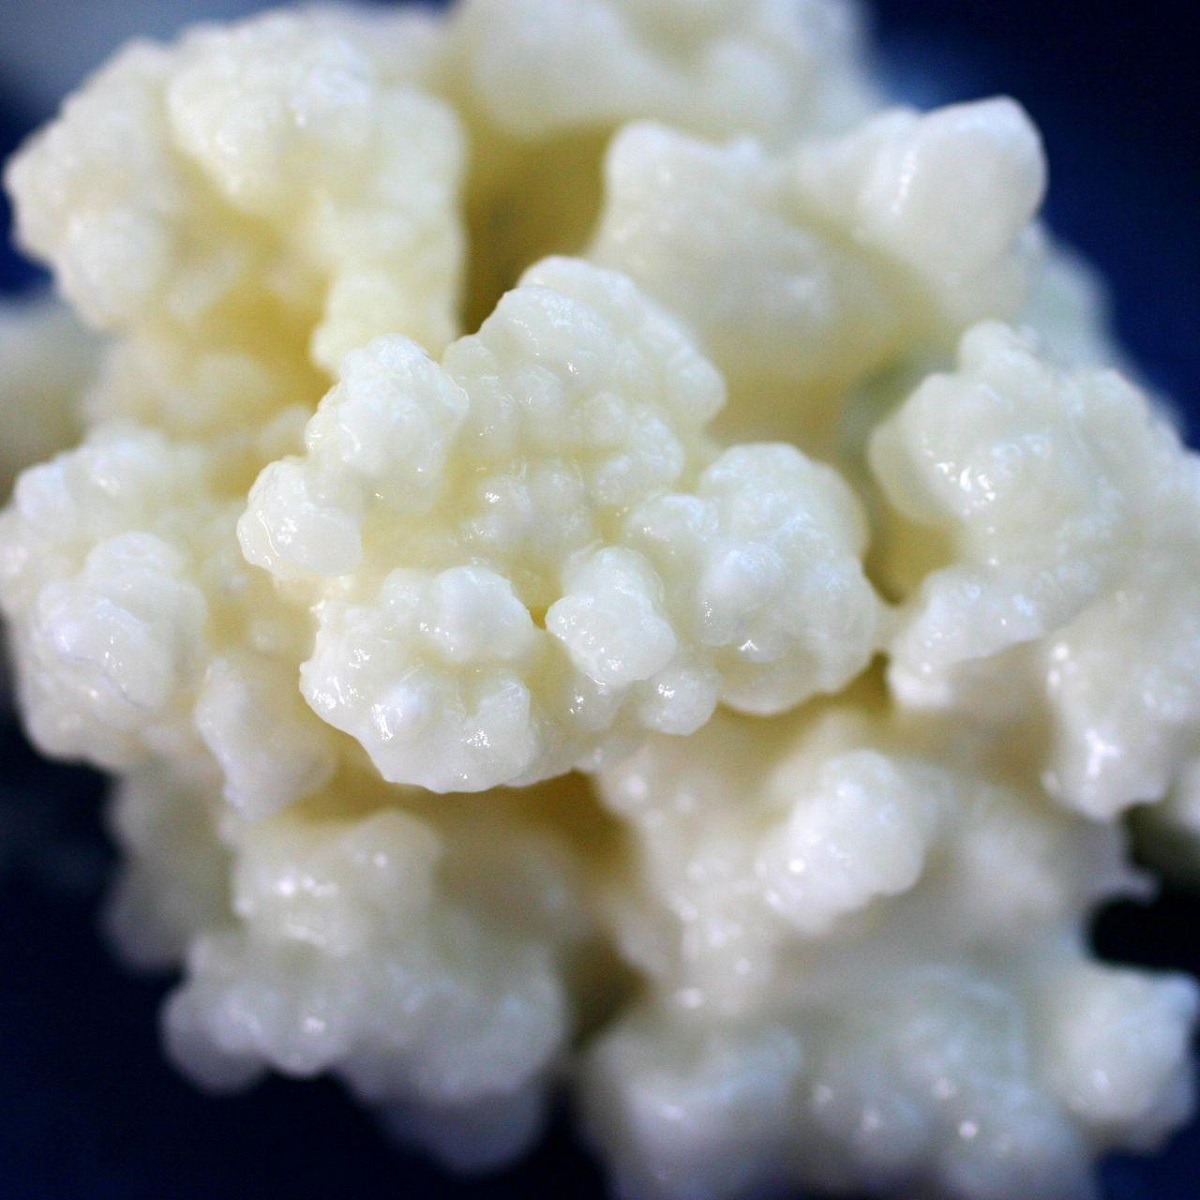
Welcome to the world of kefir, a tangy and probiotic-rich drink that has gained popularity for its health benefits. Kefir is made by fermenting milk with the help of kefir grains, which are live cultures comprised of bacteria and yeast. These grains contribute to the unique flavor and texture of kefir, making it a delightful and gut-friendly beverage.
But what happens when you have more kefir grains than you can use immediately? That’s where storing kefir grains in the fridge comes in handy. By properly storing your kefir grains, you can prolong their life and have a ready supply of grains for future batches of kefir.
In this article, we will explore why it is beneficial to store kefir grains in the fridge, how to prepare them for storage, tips for choosing the right storage container, steps for storing kefir grains in the fridge, how to check and maintain them during storage, and finally, how to revive them when you’re ready to make kefir again.
Get ready to dive into the world of kefir storage and ensure that your precious grains stay healthy and viable!
Key Takeaways:
- Storing kefir grains in the fridge extends their lifespan, preserves their unique flavor, and offers convenience for making kefir at your own pace. Proper preparation, container selection, and maintenance ensure healthy and viable grains for months to come.
- Reviving kefir grains from storage is a gradual process that involves rinsing, fermenting small batches, and monitoring the fermentation process. With patience and care, the grains will regain their activity and produce delicious, probiotic-rich kefir for your enjoyment.
Read more: How To Store Kefir
Why Store Kefir Grains in the Fridge
Storing kefir grains in the fridge offers several benefits that help maintain the health and vitality of the grains. Here are some key reasons why you should consider refrigerating your kefir grains:
- Slow down fermentation: Kefir grains are active cultures that thrive in room temperature environments. Storing them in the fridge slows down the fermentation process, allowing the grains to rest and conserve their energy. This can be particularly useful when you have an excess of kefir grains or need to take a break from making kefir for a while.
- Extend the lifespan: Refrigeration slows down the metabolic activity of the kefir grains, extending their lifespan. While kefir grains can survive for a short time at room temperature, storing them in the fridge can prolong their viability for several weeks or even months.
- Preserve their characteristics: By storing kefir grains in the fridge, you can better maintain the unique flavor and texture of your kefir. The cooler temperature helps preserve the balance of bacteria and yeast in the grains, resulting in a consistently delicious and probiotic-rich beverage.
- Convenience and flexibility: Storing kefir grains in the fridge provides you with the flexibility to make kefir whenever it’s convenient for you. Whether you want to take a break for a few days or only make kefir occasionally, keeping your grains in the fridge ensures they are always available and ready to use.
Overall, refrigerating kefir grains is an effective way to keep them healthy, extend their lifespan, and enjoy the convenience of making kefir at your own pace. Now that we understand the benefits, let’s dive into how to prepare your kefir grains for storage!
Preparing Kefir Grains for Storage
Before storing your kefir grains in the fridge, it’s important to prepare them properly to ensure their viability and health during the storage period. Here are the steps to follow:
- Strain and separate: Start by straining the kefir grains from the finished kefir. Gently pour the kefir through a fine-mesh sieve, collecting the grains in a clean bowl or jar. Be sure to handle the grains with care to avoid damaging them.
- Rinse with filtered water: After straining, rinse the kefir grains with filtered water. This helps remove any residual milk and keeps the grains clean. Use room temperature or slightly cool water, as extreme temperatures can shock the grains.
- Dry excess moisture: Pat the kefir grains dry with a clean cloth or paper towel to remove excess moisture. Avoid using heat or direct sunlight to dry the grains, as it can damage them. The grains should be slightly damp but not wet.
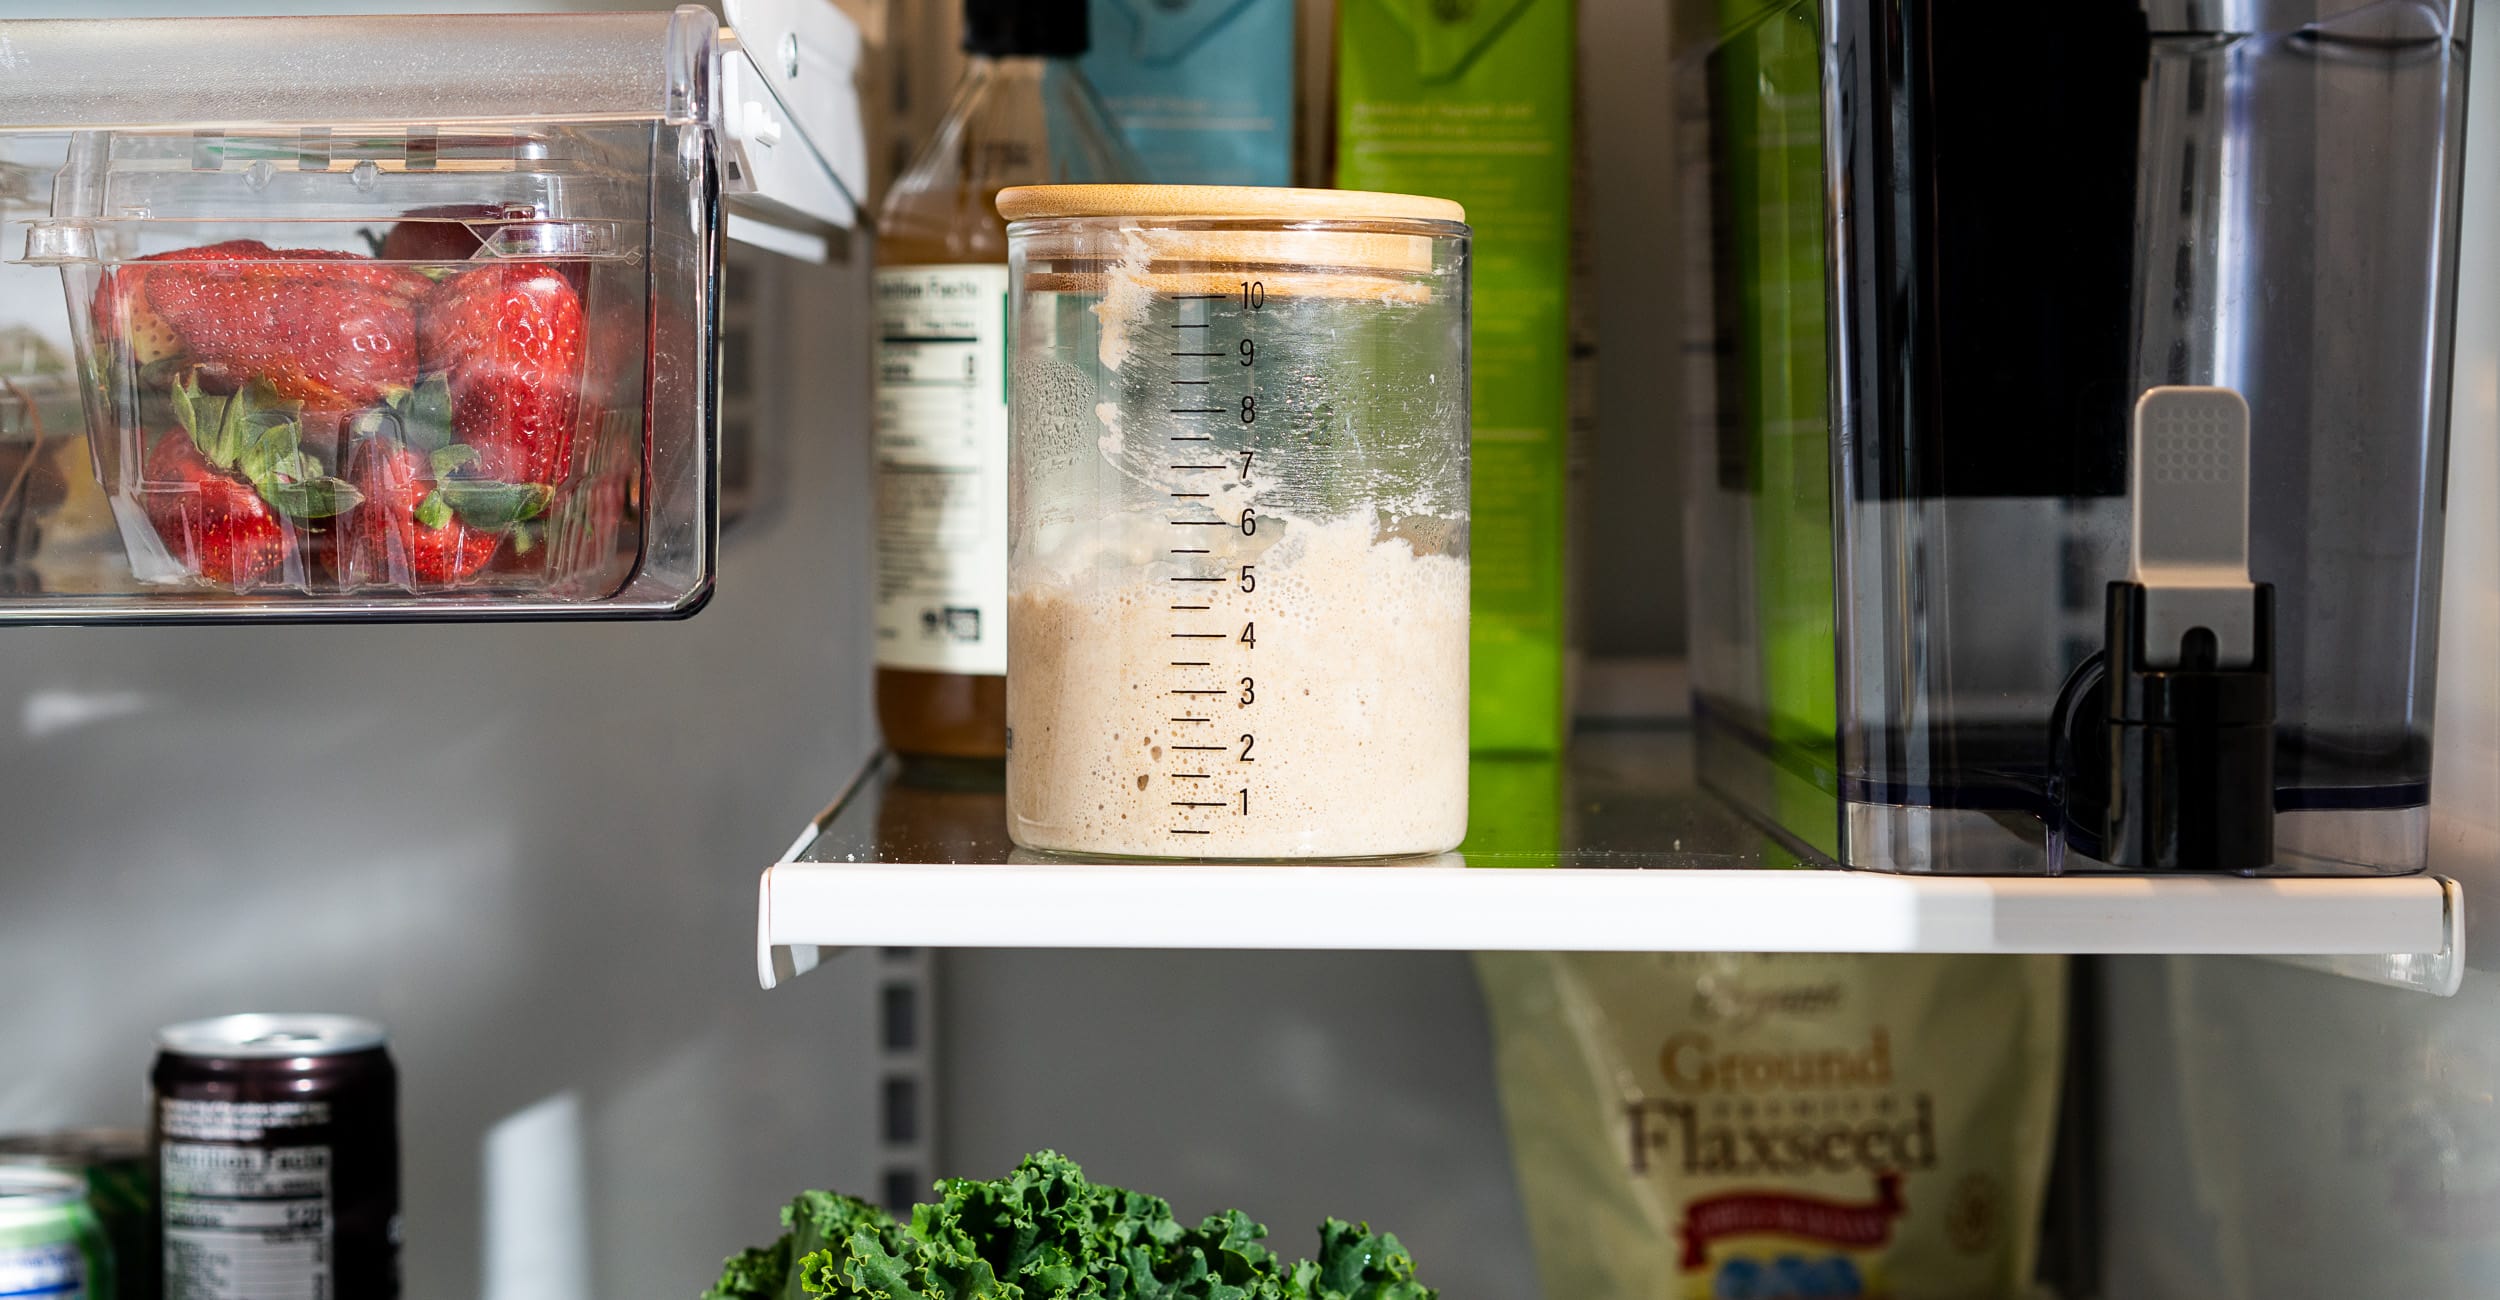
- Transfer to a storage container: Once the kefir grains are dry, transfer them to a clean, airtight glass container. Avoid using plastic or metal containers, as they can affect the flavor and health of the grains. Mason jars or glass jars with tight-fitting lids work well for kefir grain storage.
- Add a small amount of milk: To provide nourishment for the kefir grains during storage, add a small amount of milk to the container. Use just enough to cover the grains, creating a protective environment and preventing them from drying out. Whole milk or any milk used to make your kefir will suffice.
- Seal the container: Ensure the container is tightly sealed to prevent any contamination or moisture from entering. This will help maintain the freshness and health of the kefir grains throughout the storage period.
With your kefir grains prepared for storage, it’s time to choose the right container to ensure optimal conditions. Let’s explore the best options for storing kefir grains in the fridge!
Choosing the Right Storage Container
Selecting the right storage container for your kefir grains is crucial to maintain their quality and prevent any contamination. Here are some considerations when choosing a container:
- Material: Opt for glass containers over plastic or metal. Glass is non-reactive and does not leach any chemicals that may potentially harm the kefir grains. It also helps in maintaining the flavor and purity of your kefir.
- Airtightness: Ensure the container has a tight-fitting lid to create a sealed environment. This prevents the entry of air, which could lead to spoilage or mold growth. Airtight containers also prevent the absorption of unwanted odors from the refrigerator.
- Size: Choose a container that allows enough space for the kefir grains to be submerged in enough milk, as this provides essential nutrients for their survival. However, avoid using oversized containers as it may lead to excessive milk volume that can affect the balance of fermentation.
- Transparency: Opt for a transparent or slightly opaque container, which allows you to easily monitor the condition of the kefir grains without having to open the container frequently. This reduces the risk of introducing contaminants into the storage environment.
- Cleanliness: Ensure that the container is thoroughly cleaned and sterilized before storing the kefir grains. Use hot water and mild soap to clean the container, then rinse it well to remove any residue. Sterilizing the container helps maintain a hygienic environment for the grains.
Now that you have chosen the perfect container for storing your kefir grains, let’s move on to the steps for storing them in the fridge.
When storing kefir grains in the fridge, place them in a glass jar and cover them with milk. Change the milk every 1-2 weeks to keep the grains healthy and active.
Storing Kefir Grains in the Fridge
Storing kefir grains in the fridge is a simple process that helps maintain their freshness and viability. Follow these steps to store your kefir grains in the refrigerator:
- Ensure cleanliness: Before transferring the kefir grains to the storage container, ensure that both the container and your hands are clean to avoid introducing any contaminants.
- Transfer the grains: Carefully transfer the rinsed and dried kefir grains into the clean, airtight glass container. Use a spatula or a clean spoon to gently guide the grains into the container without damaging them. Ensure that there is enough space for the grains to be fully submerged in milk.
- Add milk: Pour enough milk into the container to fully cover the kefir grains. This creates a protective environment and provides nourishment for the grains during storage. Use the same type of milk that you usually use to make kefir, such as whole milk or plant-based alternatives.
- Seal the container: Ensure that the container lid is tightly sealed to create an airtight environment. This prevents any air or moisture from entering and compromising the quality of the kefir grains.
- Label and date: It’s a good practice to label the container with the date of storage. This helps you keep track of how long the kefir grains have been in the fridge and when it’s time to refresh or use them.
- Place in the fridge: Once everything is securely sealed and labeled, place the container with the kefir grains in the main section of the refrigerator, away from strong-smelling foods. The cool temperature of the fridge will slow down the fermentation process and extend the shelf life of the grains.
Remember to handle the kefir grains with care throughout the process to avoid damaging their structure and viability. Now that your kefir grains are safely stored in the fridge, let’s move on to the next step – checking and maintaining their condition.
Read more: How To Store Dough In Fridge
Checking and Maintaining Kefir Grains in Storage
While the kefir grains are in storage, it’s important to periodically check and maintain their condition to ensure their health and viability. Here are some essential steps:
- Regular inspections: Every week or so, take a moment to inspect the kefir grains in the storage container. Look for any signs of mold, foul odors, or discoloration. If you notice any abnormalities, it may indicate that the grains are not in optimal condition.
- Refreshing the milk: If the milk in the container appears to have separated or developed an off smell, it’s time to refresh it. Remove the old milk, rinse the grains in filtered water, and add fresh milk to cover the grains. This prevents the growth of harmful bacteria and preserves the balance of fermentation.
- Rotating the container: Periodically rotate or swirl the container gently to prevent the kefir grains from settling at the bottom. This helps distribute the nutrients and ensures that all the grains receive proper nourishment during storage.
- Adjusting milk-to-grain ratio: If the kefir grains are growing or multiplying significantly, you may need to adjust the amount of milk in the container. As the grains grow, they will require more milk to sustain their vitality. Add a little more milk, ensuring that the grains are fully submerged.
- Keeping a consistent temperature: Ensure that the storage temperature remains consistently cool in the fridge. Avoid sudden temperature changes, as it can shock the kefir grains and reduce their viability. Fluctuations in temperature can also affect the balance of fermentation.
- Monitoring storage duration: Regularly check the label to keep track of how long the kefir grains have been in storage. Generally, kefir grains can remain viable in the fridge for several weeks to a few months. If the grains have been in storage for an extended period, it’s advisable to refresh them more frequently to maintain their health.
By following these steps, you can keep a close eye on the condition of your kefir grains and ensure that they remain healthy and viable during storage. Now, let’s learn how to revive the kefir grains when you’re ready to make kefir again!
Reviving Kefir Grains from Storage
When you’re ready to start making kefir again, it’s time to revive your kefir grains from storage. Follow these steps to bring your kefir grains back to life:
- Remove from the fridge: Take the container of kefir grains out of the fridge and allow it to come to room temperature. Letting the grains adjust gradually helps prevent shock to their delicate structure.
- Strain the grains: Using a fine-mesh sieve, strain the kefir grains from the storage milk. Gently pour the milk through the sieve, collecting the kefir grains in a clean bowl or jar. Discard the storage milk.
- Rinse with filtered water: Rinse the kefir grains thoroughly with filtered water to remove any traces of the storage milk. This helps revitalize the grains and prepares them for the fermentation process.
- Start with small batches: To reintroduce the kefir grains to the fermenting process, start with small batches of fresh milk. Use about 1-2 tablespoons of kefir grains for every cup of milk. This allows the grains to gradually acclimate to the fermentation process.
- Ferment at room temperature: Place the kefir grains and the fresh milk in a clean, airtight container. Cover the container with a breathable cloth or lid with loose-fitting holes to allow for gas exchange. Leave it at room temperature, away from direct sunlight, for 24-48 hours to ferment.
- Monitor and taste: During the fermentation process, keep an eye on the kefir. You can gently stir it with a clean utensil to ensure proper fermentation. Taste the kefir after 24 hours to check for the desired flavor and consistency. If it is too tart or sour, you can reduce the fermentation time in subsequent batches.
- Strain and enjoy: Once the kefir reaches your desired flavor, strain it to separate the grains from the liquid. The liquid kefir can be consumed immediately or stored in the fridge for later use. The grains can be reused to make more kefir by repeating the fermentation process.
It’s important to note that it may take a few batches for the kefir grains to fully revive and regain their previous vigor. With each batch, the grains will gradually become more active and produce kefir of optimal quality.
By following these steps, you can successfully revive your kefir grains from storage and resume enjoying the delicious and nutritious benefits of homemade kefir. Now, go ahead and get brewing!
Conclusion
Storing kefir grains in the fridge is a great way to extend their lifespan and have a ready supply of grains for future batches of kefir. By following the proper steps for preparing, choosing the right storage container, and maintaining the grains while in storage, you can ensure their health and vitality.
The cool temperature of the fridge slows down the fermentation process, allowing the kefir grains to rest and conserve their energy. This not only extends their lifespan but also helps preserve the unique flavor and texture of the kefir they produce.
Regularly checking and maintaining the kefir grains in storage is essential to ensure their health and viability. Inspect the grains, refresh the milk if necessary, and keep a consistent temperature to ensure optimal conditions. This will help maintain the quality of the grains and ensure they are ready to be used when you’re ready to make kefir again.
When you’re ready to revive the kefir grains from storage, simply rinse them, start with small batches, and allow them to ferment at room temperature. With each batch, the kefir grains will gradually regain their activity and produce delicious and probiotic-rich kefir.
So, whether you have an excess of kefir grains or need a break from making kefir, storing your kefir grains in the fridge is a convenient and effective way to keep them healthy and viable. With proper storage and care, you can continue to enjoy the benefits of homemade kefir for months to come.
Now that you have all the knowledge and steps to store and revive your kefir grains, it’s time to put it into practice and enjoy the wonders of this delightful and gut-friendly beverage. Happy kefir making!
Frequently Asked Questions about How To Store Kefir Grains In Fridge
Was this page helpful?
At Storables.com, we guarantee accurate and reliable information. Our content, validated by Expert Board Contributors, is crafted following stringent Editorial Policies. We're committed to providing you with well-researched, expert-backed insights for all your informational needs.


0 thoughts on “How To Store Kefir Grains In Fridge”