Articles
How To Store Lava Cake
Modified: August 16, 2024
Learn how to store lava cake and keep it fresh for longer with these helpful articles. Discover the best tips and tricks for preserving the deliciousness of your lava cake.
(Many of the links in this article redirect to a specific reviewed product. Your purchase of these products through affiliate links helps to generate commission for Storables.com, at no extra cost. Learn more)
Introduction
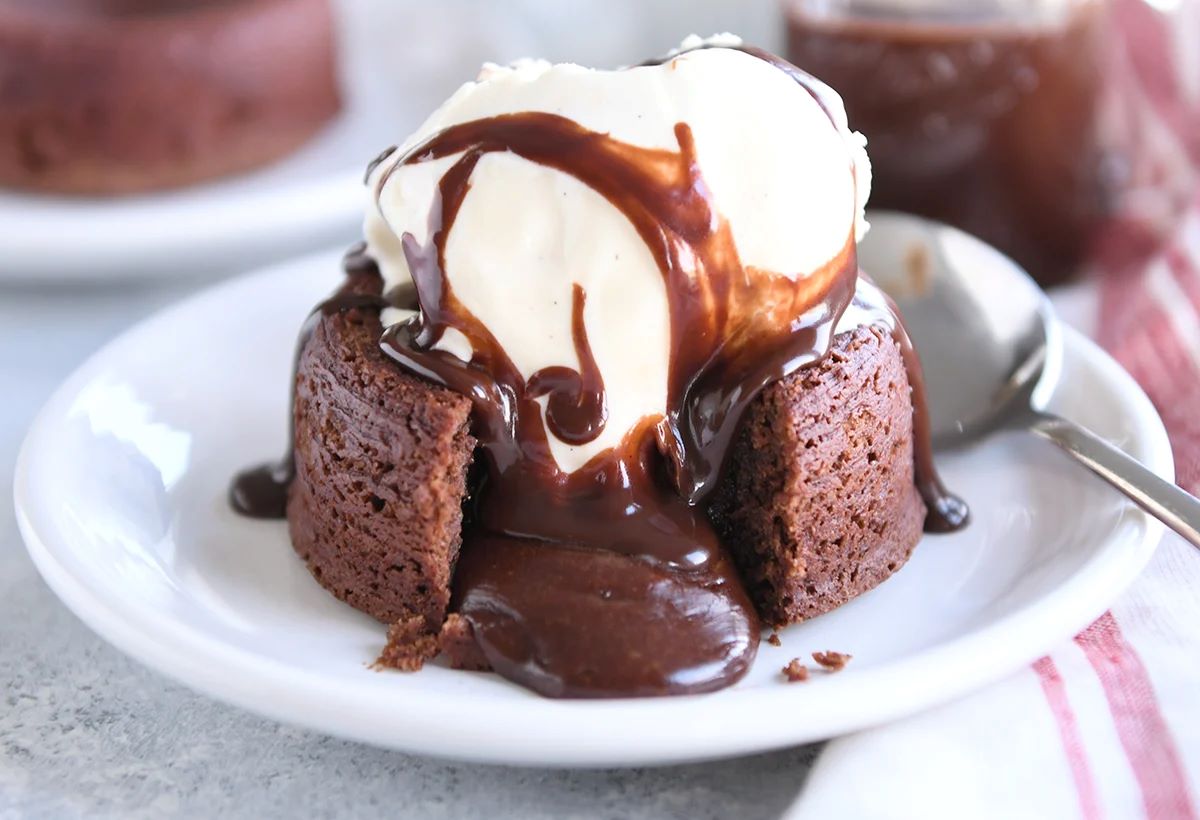
There’s nothing quite like indulging in a warm and gooey lava cake – that rich chocolatey exterior giving way to a molten, oozing center. Whether you’re a seasoned baker or a newbie in the kitchen, learning how to make lava cake is a game-changer. But what if you find yourself with leftover lava cake and want to store it for later enjoyment? In this article, we will guide you through the process of storing lava cake, ensuring that you can savor its deliciousness even beyond its freshly baked glory.
Saving leftover lava cake is not only a practical way to minimize food waste but also a great option if you want to have a delectable dessert on hand for unexpected cravings or special occasions. But, as with any food storage, there are certain guidelines to follow to ensure that the lava cakes retain their texture, taste, and gooey center.
In this comprehensive guide, we will walk you through the steps of storing lava cake properly. From the necessary equipment to the best storage methods and even tips for reheating, you’ll have all the knowledge you need to enjoy your lava cakes whenever the craving strikes. So, let’s get started on your journey to becoming a lava cake storage expert!
Key Takeaways:
- Indulge in the delight of lava cakes anytime by mastering the art of storing and reheating. From preparing the batter to proper storage, savor the gooey center whenever the craving strikes!
- Don’t let leftover lava cakes go to waste – store them properly for future enjoyment. Follow the steps to ensure freshness, texture, and the irresistible molten center.
Read more: How To Store A Sponge Cake
Ingredients
Before diving into the process of storing lava cake, let’s quickly recap the ingredients needed to make this delectable dessert:
- 1 cup of high-quality chocolate (preferably dark or semi-sweet)
- 1/2 cup of unsalted butter
- 1/2 cup of granulated sugar
- 1/4 cup of all-purpose flour
- 3 large eggs
- 1 teaspoon of vanilla extract
- A pinch of salt
- Additional ingredients if desired, such as flavored liqueur or espresso
These simple ingredients come together to create the perfect lava cake, with its signature chocolatey taste and luscious molten center. Make sure to gather all the ingredients before starting the baking process.
Note: Feel free to experiment with the flavors by adding different ingredients. For example, a splash of flavored liqueur like raspberry or coffee can add a delightful twist to your lava cake. However, be mindful of the quantity, as too much liquid can affect the texture and consistency of the cake.
Now that you have the necessary ingredients, let’s move on to the equipment required for baking and storing your lava cakes.
Equipment Needed
Preparing and storing lava cakes requires some basic equipment that you may already have in your kitchen. Here’s what you’ll need:
- Ramekins: These small, individual-sized baking dishes are essential for making lava cakes. Make sure they are oven-safe and have a capacity of around 6-8 ounces to accommodate the cake batter and the molten center. It’s a good idea to have extra ramekins on hand for storing any leftover lava cake.
- Baking Sheet: Placing the ramekins on a baking sheet helps ensure even heat distribution and easy handling while transferring in and out of the oven. It also prevents any potential spillage during baking.
- Mixing Bowls: Use separate mixing bowls for melting the chocolate, mixing the batter, and any additional flavoring you may want to incorporate.
- Whisk or Electric Mixer: Whisking the eggs and sugar together until they become light and fluffy is crucial to achieving the desired texture and rise of the lava cake. You can use a traditional whisk or an electric mixer for this step.
- Spatula: A rubber spatula or wooden spoon will come in handy for folding in the flour and other dry ingredients gently. It helps maintain the airy texture of the batter.
- Sieve: Sifting the flour before adding it to the batter helps avoid lumps and ensures a smooth texture.
- Oven: A standard home oven is sufficient for baking lava cakes. Preheat the oven to the specified temperature mentioned in your recipe.
- Storage Containers: You’ll need airtight containers or plastic wrap to properly store the leftover lava cakes. Make sure the containers are appropriate in size and can seal tightly to prevent air from entering.
With these basic baking tools and containers, you’re all set to make and store your lava cakes. Now, let’s dive into the process of preparing and storing these delectable treats.
Step 1: Preparing the Lava Cake Batter
Now that you have all your ingredients and equipment ready, it’s time to start preparing the lava cake batter. Follow these steps:
- Begin by preheating your oven to the recommended temperature mentioned in your recipe.
- In a microwave-safe bowl, melt the chocolate and butter together. You can do this in short intervals, mixing in between, to prevent the chocolate from burning. Alternatively, you can melt the chocolate and butter using a double boiler on the stovetop.
- Once melted, give the chocolate and butter mixture a stir to ensure it is smooth and well combined.
- In a separate bowl, whisk together the eggs and granulated sugar until they become light and airy. This step is crucial for achieving the desired texture of the lava cake.
- Gradually pour the melted chocolate and butter mixture into the bowl with the whisked eggs and sugar, whisking continuously as you do. This helps temper the eggs and prevent them from scrambling.
- Add the vanilla extract and a pinch of salt to the batter and mix well.
- If desired, you can incorporate any additional flavorings at this stage, such as flavored liqueur or a shot of espresso. Mix them into the batter until well combined.
- Sift the all-purpose flour into the bowl with the batter and gently fold it in using a spatula. Be careful not to overmix, as this can result in a dense and heavy lava cake.
By following these steps, you’ll create a smooth and velvety batter that is the foundation of a perfect lava cake. Once the batter is ready, it’s time to move on to the next step: filling the ramekins.
Step 2: Filling the Ramekins
With the lava cake batter prepared, it’s time to fill the ramekins and get them ready for baking. Follow these simple steps:
- Take your greased ramekins and place them on a baking sheet for easy handling and even baking.
- Using a ladle or a large spoon, divide the batter equally among the ramekins. Fill them up to about 3/4 of the way, leaving some space for the cake to rise while baking.
- Gently tap the bottom of each ramekin on the countertop to level the batter and remove any air bubbles. This helps ensure an even distribution of heat while baking.
- If you want to add a surprise filling to your lava cakes, such as a piece of chocolate, caramel, or fruit, you can place it in the center of each ramekin, pressing it slightly into the batter.
Remember, the filling you add will create the “lava” center once the cake is baked. The choice of filling is entirely up to you and can add an extra burst of flavor and excitement to the final dessert. However, be mindful of the size and quantity of the filling, as adding too much can cause the cake to overflow during baking.
Once the ramekins are filled and any desired filling is added, it’s time to move on to the next step: baking the lava cakes.
Store lava cake in an airtight container at room temperature for up to 2 days. For longer storage, wrap it tightly in plastic wrap and freeze for up to 1 month. Reheat in the microwave for 20-30 seconds before serving.
Read more: How To Store A Cake
Step 3: Baking the Lava Cakes
Now that the ramekins are filled with the lava cake batter, it’s time to bake them to perfection. Follow these steps to ensure a perfectly cooked lava cake:
- Place the baking sheet with the filled ramekins into the preheated oven.
- Bake the lava cakes according to the recommended temperature and duration mentioned in your recipe. Typically, lava cakes are baked at a high temperature for a short period to achieve the desired molten center.
- Keep a close eye on the cakes as they bake. They are ready when the edges appear set, but the center is still slightly jiggly. This ensures a gooey lava center once you dig into the cake.
- It’s important not to overbake the lava cakes, as they will lose their molten center and become firm throughout. Remember, the magic of a lava cake lies in the oozing, chocolatey center.
- Once the lava cakes are baked, remove them from the oven and let them cool in the ramekins for a few minutes. This allows the cakes to firm up slightly and makes them easier to handle.
Baking times may vary depending on the size of the ramekins and the specific recipe you are using. It’s always best to follow the instructions in your chosen recipe to achieve the perfect lava cake.
With the lava cakes baked to perfection, it’s time to move on to the next step: cooling and removing them from the ramekins.
Step 4: Cooling and Removing from the Ramekins
After the lava cakes have finished baking, it’s important to let them cool slightly before attempting to remove them from the ramekins. Follow these steps to ensure that the cakes retain their shape and are easy to transfer:
- Allow the lava cakes to cool in the ramekins for about 5-10 minutes.
- During this time, the cakes will continue to set and firm up slightly, making them easier to handle.
- Using a small offset spatula or a butter knife, carefully run it around the edges of the ramekins to loosen the cake from the sides.
- Gently invert each ramekin onto a serving plate or a parchment-lined baking sheet. Give it a gentle tap or shake if needed to help release the cake.
- If the cakes don’t immediately come out, you can use the spatula or knife to carefully lift the cake from the bottom of the ramekin.
- Once the lava cakes are released from the ramekins, let them cool completely before storing or serving.
It’s important to handle the lava cakes with care during this step, as they are delicate and prone to breaking apart if mishandled. By allowing them to cool slightly and using a gentle touch, you can ensure that the lava cakes maintain their shape and integrity.
Now that the lava cakes have been successfully removed from the ramekins, it’s time to move on to the final step: storing the lava cakes for future enjoyment.
Step 5: Storing the Lava Cakes
Storing lava cakes properly is essential to retain their freshness, texture, and decadent molten center. Follow these steps to store your lava cakes:
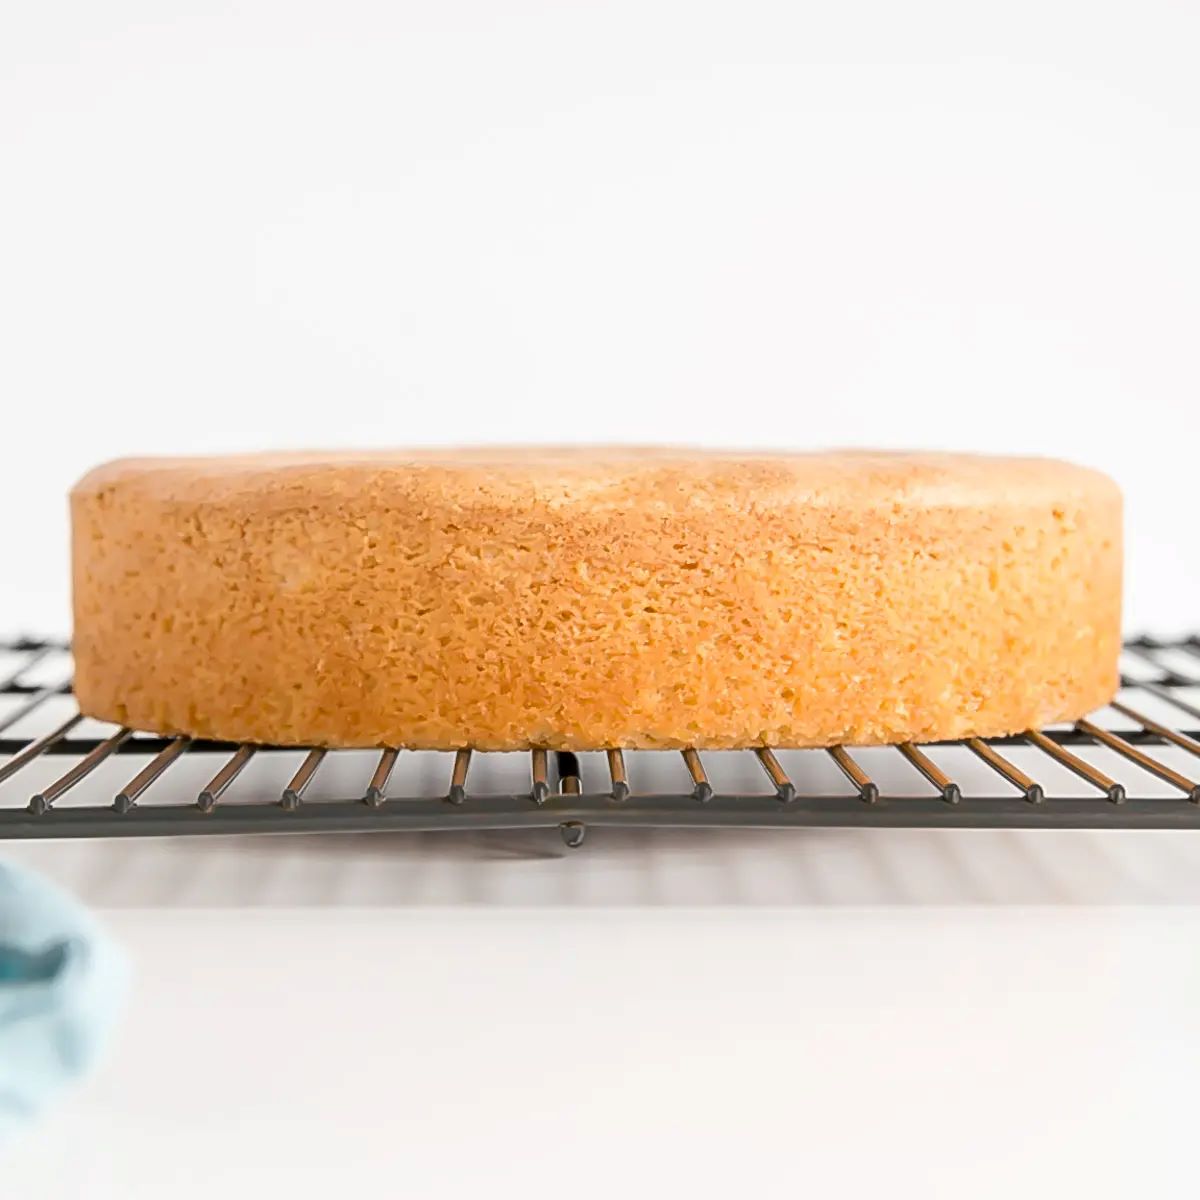
- Ensure that the lava cakes have cooled completely before attempting to store them. This helps prevent condensation and maintains their texture.
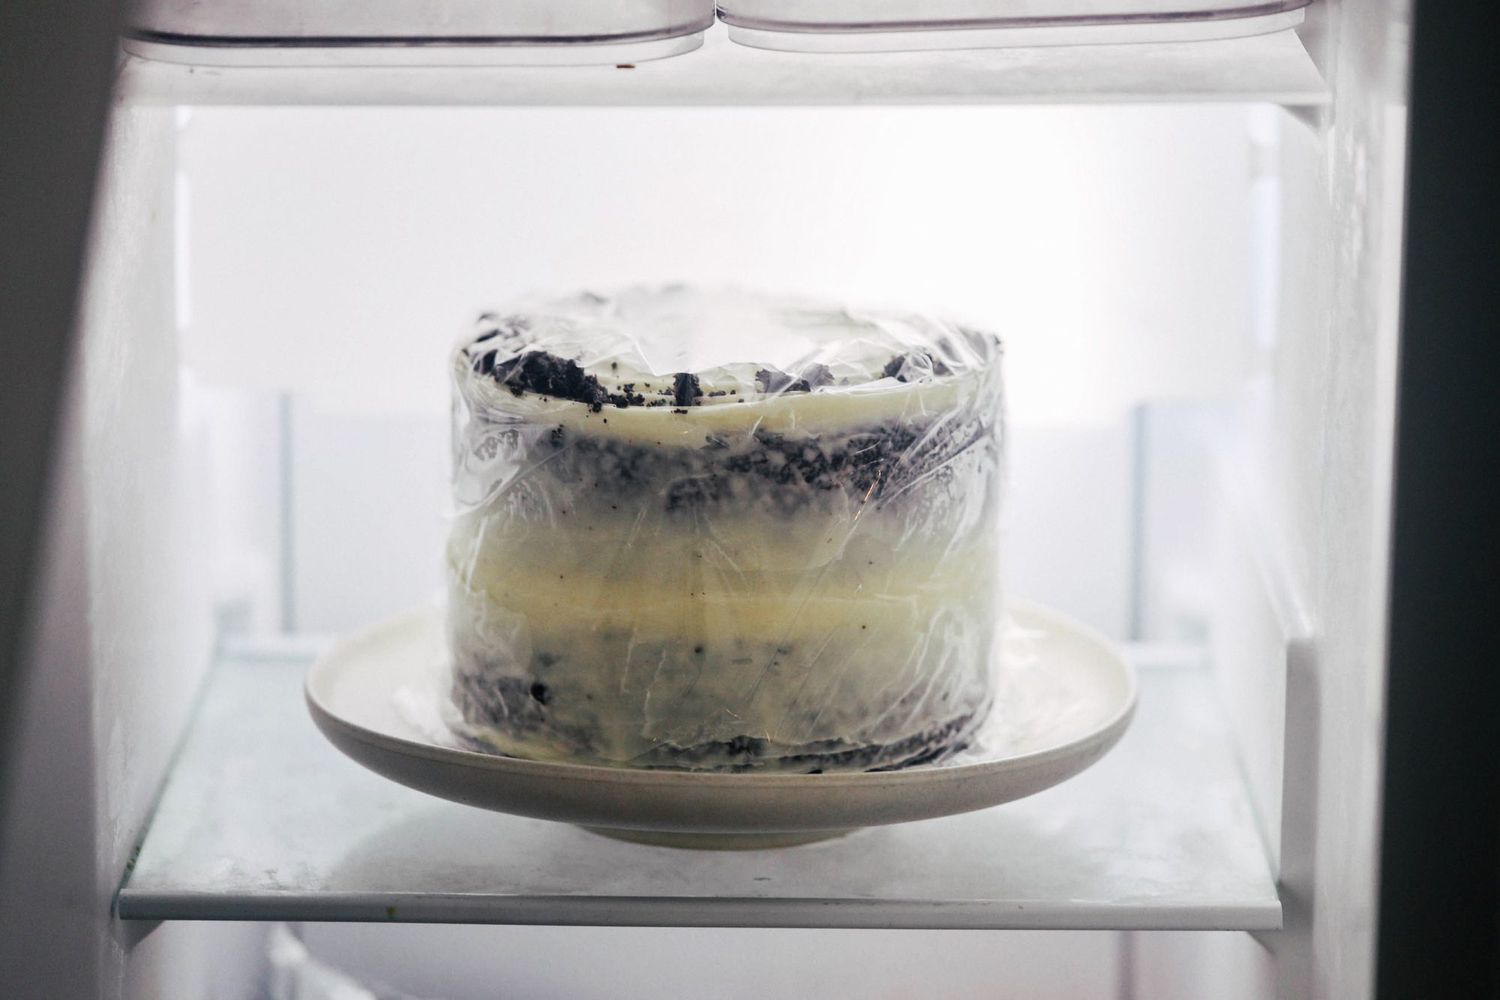
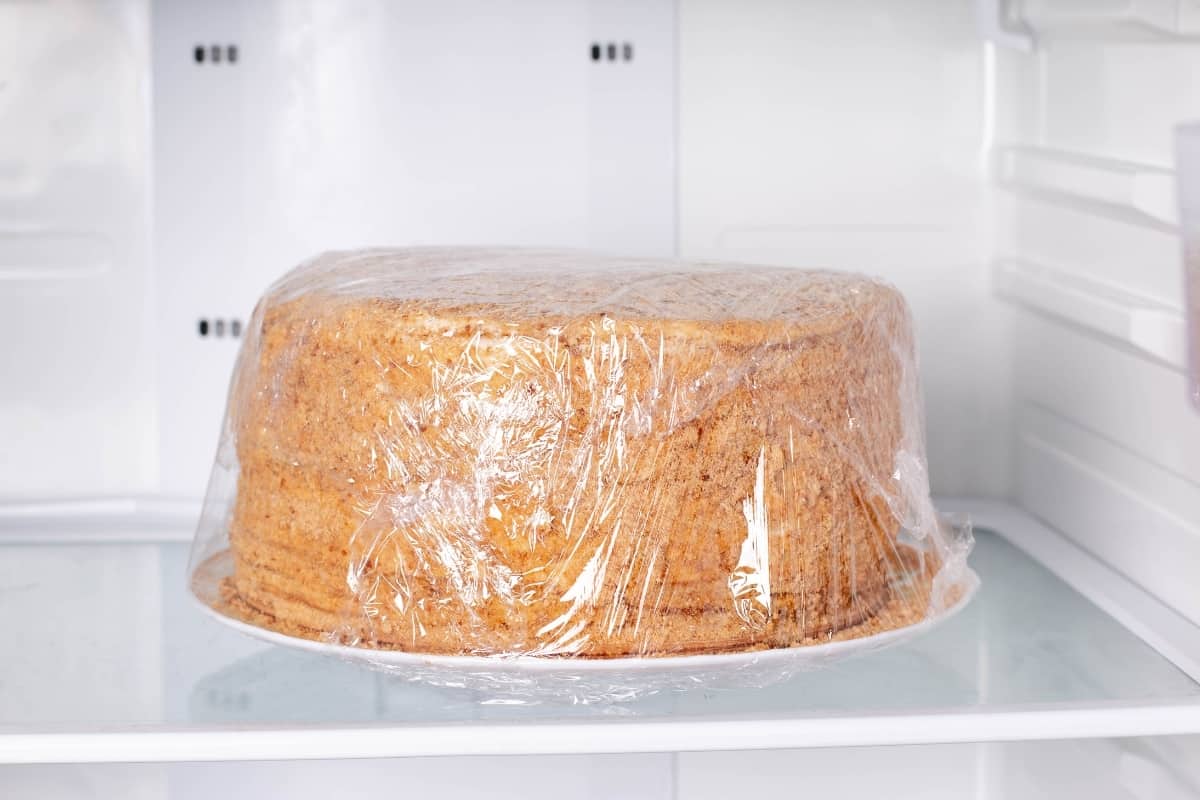
- Wrap each lava cake individually with plastic wrap or place them in separate airtight containers. This helps protect them from moisture and freezer burn.
- If you are using plastic wrap, make sure it tightly covers the entire cake, leaving no gaps for air to enter.
- Label each wrapped lava cake with the date of storage. This will help you keep track of their freshness and ensure you consume them within a reasonable timeframe.
- Place the wrapped lava cakes in the refrigerator or freezer, depending on your storage duration and preferences.
- If storing in the refrigerator, the lava cakes can typically be kept for up to 3-4 days. Make sure to store them in a section of the refrigerator where they won’t get squished or bumped.
- If storing in the freezer, the lava cakes can be kept for up to 1-2 months. However, it’s important to note that the texture and quality of the cakes may slightly change after thawing.
When you’re ready to enjoy your stored lava cakes, follow the recommended reheating method to bring them back to their luscious, gooey state. Let’s explore some tips for reheating your lava cakes in the next section.
By following these steps, you can ensure that your lava cakes stay fresh and delicious for future indulgence. Now, let’s move on to some tips for reheating your stored lava cakes.
Tips for Reheating Lava Cakes
Reheating lava cakes is crucial to bring back their irresistibly molten center and overall warmth. To ensure a successful reheating process, keep the following tips in mind:
- Thawing: If you have stored your lava cake in the freezer, it’s important to thaw it properly before reheating. Transfer the wrapped cake from the freezer to the refrigerator and let it thaw overnight. This gradual thawing process helps maintain the cake’s texture and prevents it from becoming too soft or mushy.
- Oven Method: For reheating, preheat your oven to a low temperature (around 325°F/163°C). Remove the plastic wrap and place the unwrapped lava cake on a baking sheet. Bake it in the preheated oven for 8-10 minutes. Keep a close eye on the cakes to avoid overbaking them, as this can cause the molten center to solidify.
- Microwave Method: If you’re short on time, you can use the microwave to reheat your lava cake. Remove the plastic wrap and place the unwrapped cake on a microwavable plate. Microwave it on medium power for 15-30 seconds, checking every few seconds to prevent overheating. The exact time may vary depending on the wattage of your microwave, so adjust accordingly.
- Timing: When reheating lava cakes, it’s essential to find the right balance between warming the exterior and maintaining the molten center. Aim to heat the cake just enough to warm the outer layer, allowing the center to remain gooey and liquidy.
- Serving: After reheating, allow the lava cakes to cool for a minute or two before serving. This helps the center to settle and prevents any scalding. To add an extra touch of decadence, you can serve the reheated lava cakes with a scoop of ice cream, a drizzle of chocolate sauce, or a dusting of powdered sugar.
By following these tips, you can revive your stored lava cakes and enjoy them as if they were freshly baked. Now, let’s wrap up our article on storing and reheating lava cakes.
Read more: How To Store Pound Cake
Conclusion
Learning how to store and reheat lava cakes allows you to enjoy this delectable dessert even beyond its initial serving. By following the steps outlined in this article, you can ensure that your lava cakes retain their exquisite taste, texture, and molten center.
From preparing the batter to filling the ramekins, baking the cakes to cooling and removing them from the ramekins, and finally storing and reheating, each step in the process plays a crucial role in achieving the perfect lava cake experience.
Remember to gather all the necessary ingredients and tools, including ramekins, a baking sheet, mixing bowls, and the essential chocolate and butter for the batter. Take your time to properly mix the ingredients, ensuring a smooth and velvety texture.
Once your lava cakes are baked to perfection and cooled, store them carefully in airtight containers or wrap them with plastic wrap to maintain their freshness. Properly storing the cakes allows you to enjoy them for several days, or even up to a couple of months when stored in the freezer.
When the time comes to enjoy your stored lava cakes, follow the recommended reheating methods to bring back their gooey and molten center. Whether using an oven or a microwave, be mindful of timing to achieve the desired warmth without overcooking the cakes.
So, the next time you find yourself craving a warm and indulgent dessert, don’t hesitate to bake a batch of lava cakes and store them for later enjoyment. With these tips and techniques, you’ll be able to savor the delightfully gooey center of a lava cake anytime you desire!
Happy baking, storing, and reheating!
Frequently Asked Questions about How To Store Lava Cake
Was this page helpful?
At Storables.com, we guarantee accurate and reliable information. Our content, validated by Expert Board Contributors, is crafted following stringent Editorial Policies. We're committed to providing you with well-researched, expert-backed insights for all your informational needs.
0 thoughts on “How To Store Lava Cake”