
Articles
How To Store Elderberries
Modified: January 8, 2024
Discover effective methods for storing elderberries in this informative article. Find out how to preserve the freshness and maximize the shelf life of elderberries for future use.
(Many of the links in this article redirect to a specific reviewed product. Your purchase of these products through affiliate links helps to generate commission for Storables.com, at no extra cost. Learn more)
Introduction
Having a bountiful supply of elderberries is a wonderful asset, as these tiny berries are packed with nutrients and have numerous health benefits. Whether you have harvested elderberries from your own garden or purchased them in bulk, proper storage is essential to maintain their flavor and freshness for future use.
In this article, we will explore various methods of storing elderberries, including freezing, drying, making syrup, and preserving them in jars. By following these storage techniques, you can enjoy the delicious taste and beneficial properties of elderberries throughout the year.
So, let’s dive in and discover how to store elderberries effectively, ensuring that you always have this amazing fruit on hand for culinary or medicinal purposes.
Key Takeaways:
- Preserve elderberries through freezing, drying, syrup-making, or jar storage to enjoy their flavor and health benefits year-round. Choose the method that suits your needs and culinary preferences for convenient access to this versatile fruit.
- Harvest, clean, and store elderberries using various methods to extend their availability, preserve their nutrients, and save money in the long run. Enjoy the culinary versatility and health benefits of elderberries throughout the year.
Read more: How To Store Elderberry Syrup
Why Store Elderberries?
Wondering why you should bother storing elderberries? Well, here are a few compelling reasons:
- Extended Availability: Elderberries have a relatively short harvest season, typically in late summer or early fall. By properly storing them, you can enjoy these berries all year round, even when they are not in season.
- Convenience: Having a stash of stored elderberries means you can easily incorporate them into your recipes without having to go out and buy them every time you need them. This saves you time and effort in the long run.
- Nutrient Preservation: Elderberries are packed with vitamins, minerals, and antioxidants that offer various health benefits. By storing them properly, you can preserve their nutritional value and enjoy their goodness whenever you desire.
- Cost-Effective: Buying fresh elderberries can be expensive, especially if you want to enjoy them year-round. Storing your own elderberries can help you save money in the long term, as you can take advantage of sales or bulk purchases and preserve them for later use.
- Culinary Versatility: Elderberries can be used in a variety of culinary creations, such as pies, jams, syrups, smoothies, and more. Having stored elderberries allows you to experiment with different recipes and enjoy their unique flavor profiles throughout the year.
Now that you understand the benefits of storing elderberries, let’s explore the various methods you can use to preserve these nutritious and flavorful berries.
Harvesting Elderberries
The first step in the process of storing elderberries is to harvest them when they are ripe. Elderberries are typically ready for harvest in late summer or early fall, depending on your geographic location.
Here are some guidelines to follow when harvesting elderberries:
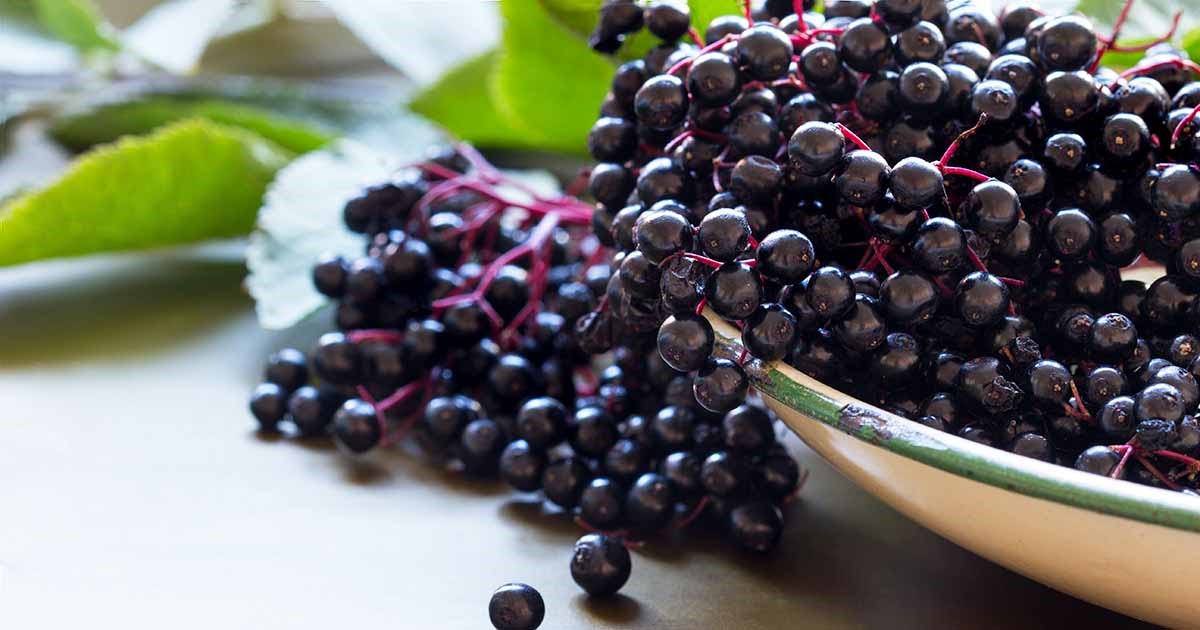
- Choose the Right Time: Wait until the berries are fully ripe before harvesting. They should be plump and deep purple in color. Avoid picking unripe or green berries, as they will not have developed their full flavor.
- Use Clean Hands or Tools: When harvesting elderberries, ensure your hands or harvesting tools are clean to avoid introducing any contaminants.
- Inspect for Quality: Examine each berry for signs of damage or mold. Only select firm, unblemished berries for storage.
- Clip the Clusters: Use sharp scissors or pruners to cut the entire elderberry cluster from the plant. This prevents damage to the plant and allows for easier processing later on.
- Be Mindful of Safety: Keep in mind that elderberry stems, leaves, and unripe berries can be toxic if ingested. Handle the berries with care and avoid consuming any parts of the plant that are not fully ripe.
Once you have harvested your elderberries, it’s time to move on to the next steps of cleaning and sorting them before storing.
Cleaning and Sorting Elderberries
After harvesting your elderberries, it’s important to clean and sort them before storing. This process ensures that you remove any debris, insects, or damaged berries, resulting in a higher quality storage product.
Here’s how to clean and sort elderberries effectively:
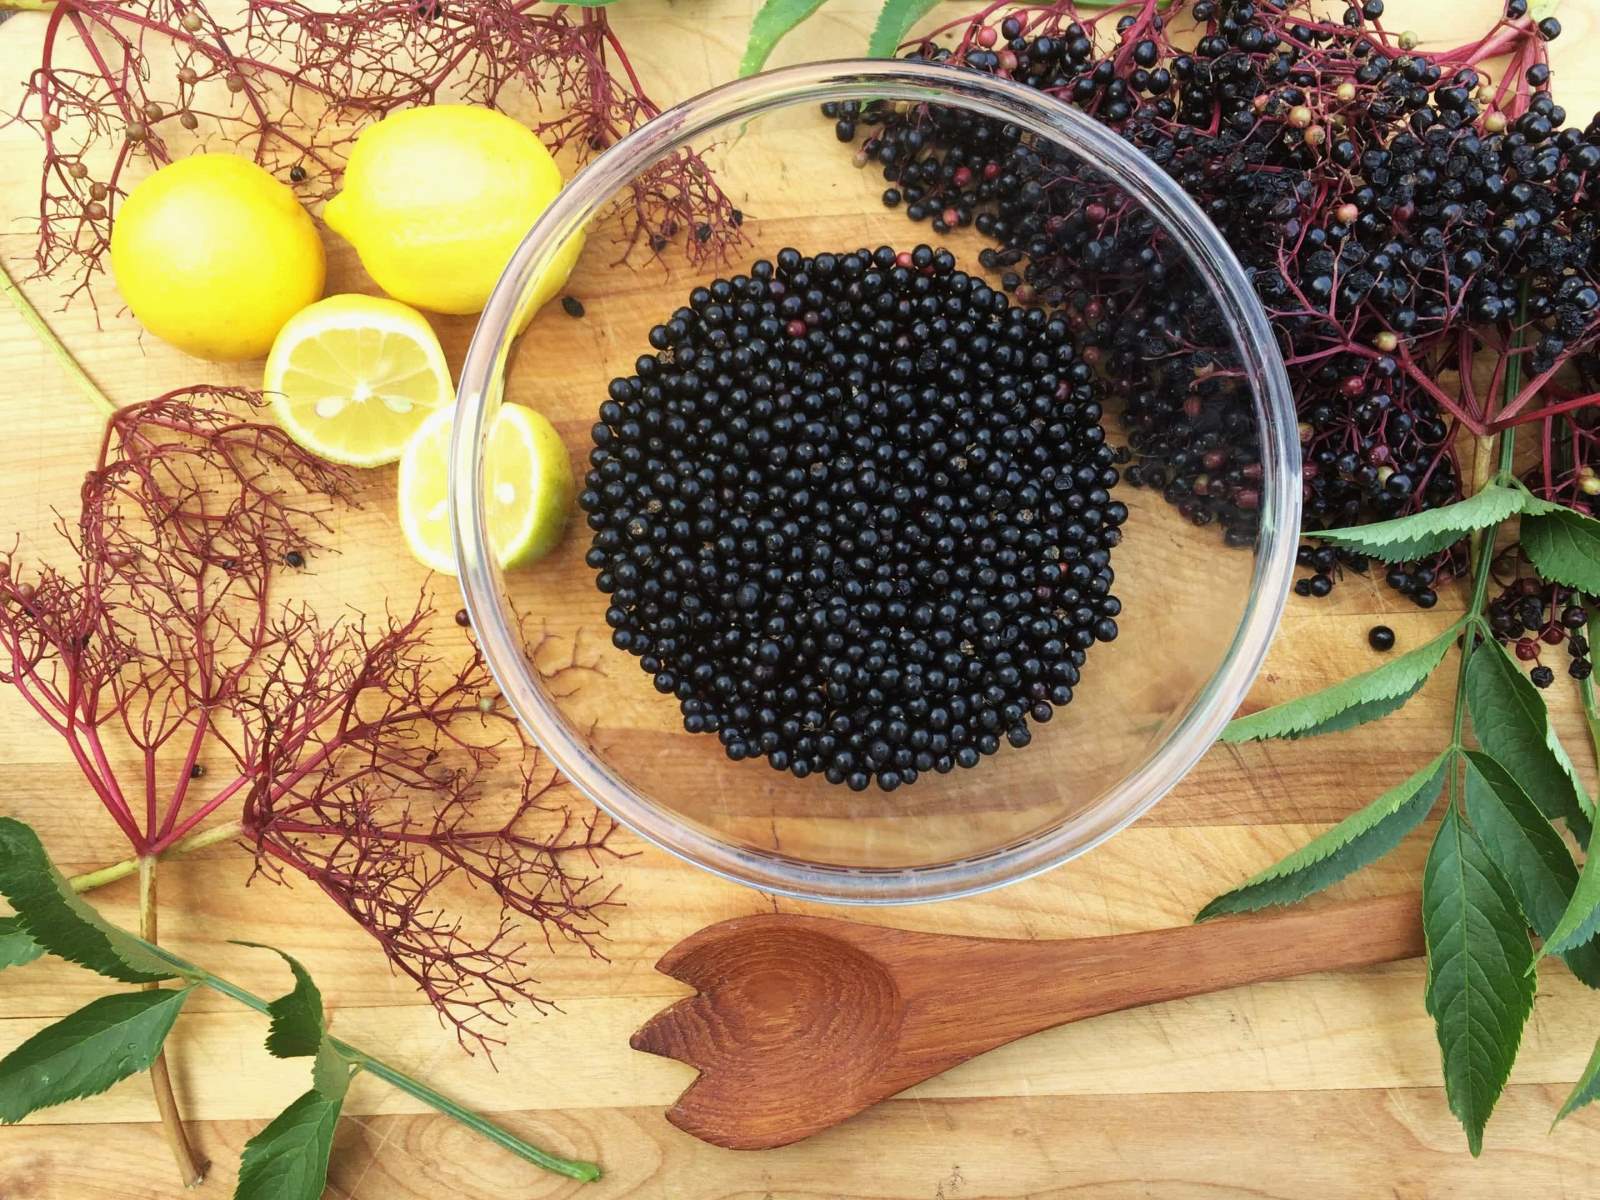
- Remove Stems: Begin by removing the stems from the elderberry clusters. You can do this by gently pulling the stems away or using a fork to strip the berries from the stems.
- Rinse the Berries: Place the elderberries in a colander and rinse them under cool running water. Gently agitate the berries with your hands to dislodge any dirt or residue.
- Inspect for Debris: As you rinse the berries, look for any leaves, stems, or insects that may have made their way into the clusters. Remove any unwanted debris that you come across.
- Sort and Discard: Take the time to sort through the berries and discard any damaged or unripe ones. Only select the best quality elderberries for storage.
- Pat Dry: Once the elderberries have been cleaned and sorted, gently pat them dry with a clean kitchen towel or paper towels. Make sure to remove any excess moisture to prevent mold or spoilage.
By following these steps, you can ensure that your elderberries are clean, free of debris, and ready for the storage method of your choice. Whether you plan to freeze, dry, make syrup, or preserve them in jars, properly cleaning and sorting the berries is an essential starting point.
Freezing Elderberries
Freezing elderberries is one of the most popular methods for preserving their freshness and flavor for an extended period. Freezing allows you to use the berries in a variety of recipes whenever you desire, while maintaining their nutritional value.
Here’s how to freeze elderberries effectively:
- Prepare the Berries: Make sure the elderberries are clean, sorted, and completely dry before freezing. Removing stems and any unwanted debris is essential.
- Spread on a Tray: Place the elderberries in a single layer on a parchment-lined tray or baking sheet. Avoid overcrowding the berries, as this can lead to clumping during freezing.
- Flash Freeze: Put the tray with the elderberries into the freezer and allow them to freeze individually. This process, known as flash freezing, ensures that the berries do not stick together when stored.
- Transfer to Containers: Once the elderberries are flash frozen, transfer them into freezer-safe containers or resealable plastic bags. Be sure to label the containers with the date of freezing to keep track of their freshness.
- Remove Air and Seal: Squeeze out any excess air from the containers or bags before sealing them tightly. This helps prevent freezer burn and extends the shelf life of the berries.
- Store in the Freezer: Place the containers or bags of elderberries in the freezer, ensuring they are stored in a flat position to prevent crushing or damage.
- Usage: Frozen elderberries can be used directly from the freezer in recipes like smoothies, jams, or pies. Alternatively, thaw them in the refrigerator before using, especially if you plan to eat them as a snack or use them in raw preparations.
By following these simple steps, you can enjoy the taste and health benefits of elderberries throughout the year. Freezing is a convenient way to preserve the berries, allowing you to incorporate them into a wide range of dishes whenever you please.
Read more: How To Store Dried Elderberries
Drying Elderberries
Drying elderberries is an excellent option for long-term storage, as it allows you to enjoy the berries well beyond their harvest season. The drying process removes moisture from the berries, preserving their flavor and nutritional content.
Here’s how to dry elderberries effectively:
- Prepare the Berries: Make sure the elderberries are clean, sorted, and completely dry before drying. Remove any stems and damaged berries.
- Option 1: Air Drying: Spread the elderberries in a single layer on a drying rack or a baking sheet lined with parchment paper. Place the berries in a well-ventilated room away from direct sunlight. Regularly agitate the berries to ensure even drying.
- Option 2: Dehydrator: If you have a food dehydrator, place the elderberries in a single layer on the dehydrator trays. Set the temperature to around 120°F (49°C) and let the berries dry for several hours. Follow the manufacturer’s instructions for your specific dehydrator model.
- Check for Dryness: Elderberries are dry when they are firm, leathery, and brittle to the touch. Cut a few berries open to check for any remaining moisture. If they are still moist or pliable, continue drying until fully dry.
- Cool and Store: Allow the dried elderberries to cool completely before storing them. Once cooled, transfer them to airtight containers, glass jars, or resealable bags. Ensure the containers are dry and clean to prevent moisture and humidity from reaching the berries.
- Store in a Cool, Dark Place: Place the containers of dried elderberries in a cool, dark pantry or cupboard. Avoid exposure to direct sunlight, heat, or moisture, as these can degrade the quality of the dried berries.
- Usage: When ready to use, rehydrate the dried elderberries by soaking them in water or any liquid of your choice. You can also add them directly to recipes that require cooking or simmering.
Dried elderberries are versatile and can be used in various culinary creations, such as teas, jams, baked goods, and herbal remedies. By drying elderberries, you can enjoy their unique flavor and health benefits throughout the year.
Store elderberries in the refrigerator in a breathable container, such as a paper bag or perforated plastic bag, to maintain freshness. Avoid washing them until ready to use to prevent spoilage.
Making Elderberry Syrup
Elderberry syrup is a popular and versatile way to store and enjoy the benefits of elderberries. It can be used as a delicious topping for pancakes and desserts, added to beverages, or even taken as a natural remedy for colds and flu.
Here’s a simple recipe for making elderberry syrup:
- Ingredients:
- 2 cups of fresh or frozen elderberries
- 1 cup of water
- 1 cup of honey or sweetener of your choice
- 1 cinnamon stick (optional)
- 1-2 cloves (optional)
- 1-2 slices of fresh ginger (optional)
- Instructions:
- Combine the elderberries, water, cinnamon stick, cloves, and ginger (if using) in a saucepan.
- Bring the mixture to a boil, then reduce the heat to low and simmer for about 30-40 minutes, or until the berries have softened and released their juices.
- Remove the pan from heat and allow the mixture to cool slightly.
- Using a fine-mesh strainer or cheesecloth, strain the mixture into a bowl or jar, pressing gently to extract all the syrup. Discard the solids.
- Once the liquid has cooled further, stir in the honey or sweetener of your choice until fully dissolved.
- Transfer the syrup to a sterilized bottle or jar and seal tightly.
- Storage: Store the elderberry syrup in the refrigerator for up to 2-3 months. Make sure to label the bottle with the date of preparation.
- Usage: Enjoy the elderberry syrup by adding it to beverages like tea, sparkling water, or drizzling it over pancakes, waffles, or yogurt. You can also take a spoonful of the syrup as a natural remedy when feeling under the weather.
Making your own elderberry syrup not only allows you to control the ingredients and sweetness but also provides a flavorful and beneficial addition to your pantry. Store-bought elderberry syrup can be quite expensive, so creating your own batch ensures a cost-effective and delicious supply.
Storing Elderberries in Jars
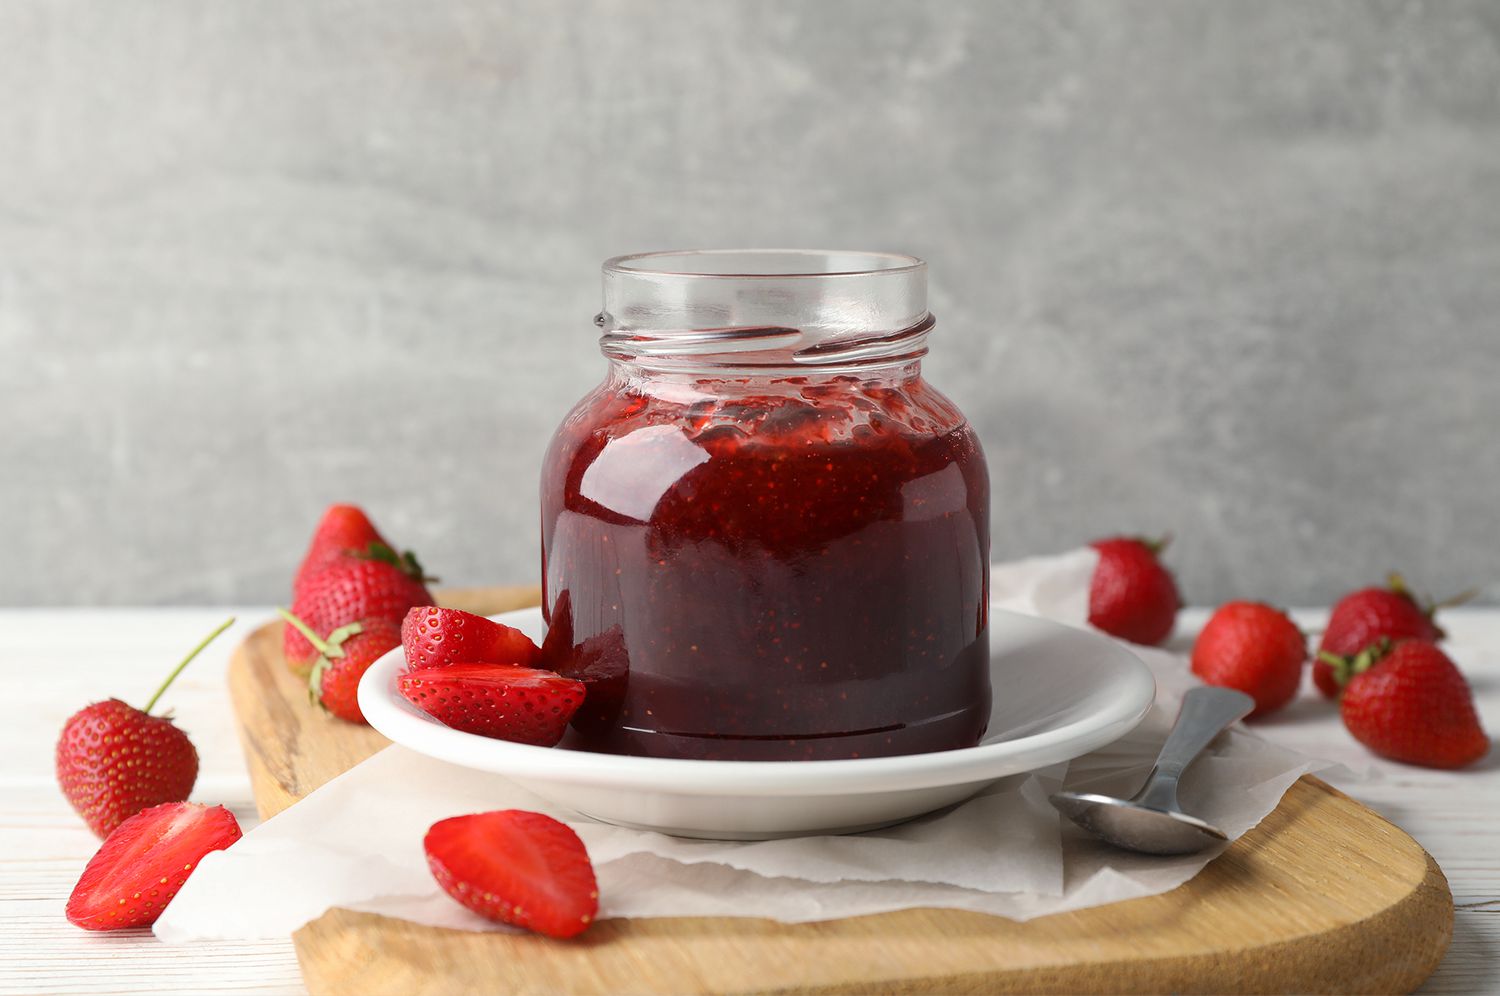
Preserving elderberries in jars is a traditional method that allows you to store and enjoy the natural flavor and goodness of the berries. Storing elderberries in jars can be done through various methods, such as making jams, jellies, or preserves.
Here’s how to store elderberries in jars effectively:
- Prepare the Berries: Make sure the elderberries are clean, sorted, and free of any stems or debris.
- Choose Your Method: Decide whether you want to make elderberry jam, jelly, or preserves, depending on your preference and culinary needs.
- Cooking Process: Follow a recipe for your desired method of preservation. Typically, this involves cooking the elderberries with sugar or sweetener, and sometimes adding lemon juice or pectin, to achieve the desired consistency.
- Sealing Jars: Once your jam, jelly, or preserves are cooked and ready, carefully pour the hot mixture into sterilized jars, leaving some headspace at the top.
- Process Jars: Depending on the preservation method, you may need to process the filled jars in a water bath canner or follow specific instructions for sealing the jars properly. This step ensures the jars are airtight and the contents are safe for long-term storage.
- Cool and Store: Once the jars have been properly sealed, allow them to cool completely before storing. Store the sealed jars in a cool, dark pantry or cupboard.
- Usage: When you’re ready to enjoy the elderberry jam, jelly, or preserves, simply unseal a jar and spread it on toast, biscuits, or use it as a topping for desserts. These preserved elderberries also make wonderful gifts to share with friends and family.
Storing elderberries in jars not only helps to preserve their flavor but also allows you to enjoy the taste of summer throughout the year. Whether you prefer the smoothness of jam, the clarity of jelly, or the chunky texture of preserves, this method of storage ensures that you have a delicious supply of elderberries at your fingertips.
Storing Elderberries in the Refrigerator
If you have a small batch of elderberries and want to store them for a shorter period, storing them in the refrigerator is a convenient option. By keeping the berries in the fridge, you can preserve their freshness and extend their shelf life.
Here’s how to store elderberries in the refrigerator effectively:
- Prepare the Berries: Ensure that the elderberries are clean, sorted, and free from any stems or damaged berries.
- Place in a Container: Transfer the elderberries into a clean, airtight container or a zip-top bag.
- Absorb Moisture: To prevent excess moisture and maintain the berries’ freshness, you can place a paper towel or a moisture-absorbing packet in the container along with the elderberries.
- Seal and Store: Close the container tightly, ensuring it is sealed properly to prevent air and moisture from getting in.
- Refrigerate: Place the container of elderberries in the refrigerator, ideally in the crisper drawer or a cool spot where the temperature remains consistently low.
- Usage: Stored in the refrigerator, the elderberries can typically stay fresh for about 1 to 2 weeks. Use them in your desired recipes or enjoy them as a snack during this time.
Remember to check the elderberries periodically for any signs of spoilage, such as mold or a foul odor. If you notice any, discard the affected berries.
Storing elderberries in the refrigerator is a simple method to keep them fresh for a limited period. It’s a convenient option when you don’t have large quantities of berries and plan to use them relatively soon.
Read more: How To Grow Elderberry From Seed
Storing Elderberries in the Freezer
Freezing elderberries is an excellent method for long-term storage, allowing you to enjoy their flavor and nutrition months after they have been harvested. Freezing preserves the freshness of elderberries, making them a versatile ingredient for a variety of recipes.
Here’s how to store elderberries in the freezer effectively:
- Prepare the Berries: Ensure that the elderberries are clean, sorted, and completely dry before freezing. Remove any stems or damaged berries.
- Flash Freeze: Spread the elderberries out in a single layer on a baking sheet or tray lined with parchment paper. This prevents the berries from clumping together during freezing, making them easier to use later on. Place the tray in the freezer.
- Transfer to Containers: After the elderberries are frozen individually (a process known as flash freezing), transfer them into freezer-safe containers, such as resealable plastic bags or airtight containers. Label the containers with the date for easy reference.
- Remove Excess Air: Squeeze out any excess air from the containers or bags to minimize potential freezer burn and prolong the longevity of the berries.
- Seal and Store: Seal the containers tightly and store them in the freezer. It’s best to keep the berries in a single layer to avoid crushing them.
- Usage: Frozen elderberries can be used directly from the freezer in a variety of recipes like smoothies, pies, jams, or baked goods. Alternatively, thaw them in the refrigerator before using them in raw preparations or as a snack.
Frozen elderberries can typically be stored in the freezer for up to a year without significant loss of flavor or nutritional value. This storage method allows you to enjoy the taste and health benefits of elderberries during any season.
Remember to keep the frozen elderberries sealed tightly, as exposure to air can cause freezer burn and affect their quality over time. By properly storing elderberries in the freezer, you can extend their shelf life and have a convenient supply on hand whenever you need them.
Storing Elderberries in the Pantry
If you prefer to store your elderberries in a dry and cool environment, storing them in the pantry is a viable option. While this method is not as long-term as freezing or drying, it is suitable for short-term storage, allowing you to have easy access to your elderberries for immediate use.
Here’s how to store elderberries in the pantry effectively:
- Prepare the Berries: Ensure that the elderberries are clean, sorted, and free from any stems or damaged berries.
- Airtight Containers: Transfer the elderberries into airtight jars or containers to protect them from moisture, air, and pests. Glass jars with tight-fitting lids are ideal for this purpose.
- Cool and Dark Spot: Find a cool, dark spot in your pantry where the temperature is consistent and remains relatively cool. Avoid areas near heat sources or direct sunlight, as this can degrade the quality of the berries.
- Storage Duration: Elderberries stored in the pantry can typically stay fresh for a few weeks to a couple of months, depending on the conditions. Be sure to consume them before they start to lose their flavor or show any signs of spoilage.
- Usage: Stored elderberries in the pantry can be used for various culinary purposes, such as making jams, jellies, syrups, or incorporating them into baked goods.
It’s important to periodically check the elderberries for any signs of mold, insect infestation, or an off odor. If you notice any such indications, discard the berries immediately.
Storing elderberries in the pantry provides easy access to these nutritious and versatile berries for short-term use. Just ensure they are sealed tightly in airtight containers and stored in an appropriate place to maintain their quality.
Conclusion
Properly storing elderberries allows you to enjoy their delicious flavor and numerous health benefits long after the harvest season has ended. Whether you have a small batch or a plentiful supply, there are various methods you can use to store elderberries effectively.
Freezing elderberries is a popular and convenient option, preserving their freshness and allowing you to use them in a variety of recipes throughout the year. By flash freezing the berries and storing them in freezer-safe containers, you can easily enjoy their taste and nutritional value whenever needed.
Drying elderberries is another excellent method, especially for long-term storage. By removing the moisture from the berries, you can maintain their flavor and incorporate them into teas, jams, or other culinary creations even after the harvest season is over.
If you prefer a ready-to-use form, making elderberry syrup is a fantastic option. The syrup can be stored in the refrigerator for a couple of months and used as a topping, beverage addition, or even as a natural remedy for colds and flu.
Storing elderberries in jars through methods such as making jams or jellies allows you to savor the natural taste of the berries all year round. These preserved forms can be used in a range of recipes or enjoyed on toast, biscuits, or desserts.
For shorter storage durations, refrigerating elderberries is a convenient and simple choice. By keeping them in a sealed container in the refrigerator, you can extend their shelf life for a week or two, ready to be used in your favorite recipes or enjoyed as a healthy snack.
Lastly, storing elderberries in the pantry is an option for short-term storage. By placing them in airtight containers in a cool and dark spot, you can have quick access to your elderberries for immediate culinary use.
Remember to choose the storage method that suits your needs and preferences, depending on the quantity of elderberries you have and how you plan to use them. Maintain proper hygiene, inspect the berries for quality, and follow the necessary steps for each storage method to ensure the best results.
With the knowledge of various storage techniques, you can now make the most of your elderberries, preserving their flavor, nutrition, and versatility. So go ahead and stock up on this wonderful fruit, knowing that you can enjoy its benefits and taste all year long.
Frequently Asked Questions about How To Store Elderberries
Was this page helpful?
At Storables.com, we guarantee accurate and reliable information. Our content, validated by Expert Board Contributors, is crafted following stringent Editorial Policies. We're committed to providing you with well-researched, expert-backed insights for all your informational needs.






0 thoughts on “How To Store Elderberries”