Articles
How To Store Milk From Haakaa
Modified: October 20, 2024
Learn how to properly store milk using Haakaa breast pumps in this informative article. Discover the best practices for preserving breast milk freshness and quality.
(Many of the links in this article redirect to a specific reviewed product. Your purchase of these products through affiliate links helps to generate commission for Storables.com, at no extra cost. Learn more)
Introduction
Welcome to this comprehensive guide on how to store milk from Haakaa. Haakaa is a popular brand known for its innovative breast pumps and milk storage containers. If you are a breastfeeding mother who uses a Haakaa pump, it is essential to know the proper techniques for storing your expressed milk.
Storing breast milk not only allows you to have a backup supply but also provides flexibility for feeding your baby. Whether you need to store milk for occasional use or for a longer period, following the correct storage methods will help maintain the nutritional value and safety of the milk.
In this article, we will walk you through the step-by-step process of storing milk from Haakaa, ensuring that you are equipped with the knowledge to do it effectively and safely. From choosing the right storage container to defrosting and using the stored milk, we will cover every aspect to help you make the most of your Haakaa pump.
So, let’s dive in and discover how you can store your milk using Haakaa and provide your baby with all the nourishment they need!
Key Takeaways:
- Properly storing breast milk using Haakaa involves choosing the right container, sterilizing it, expressing milk effectively, and labeling and dating the stored milk. Following these steps ensures the safety and nutritional value of the milk for your baby’s nourishment.
- Freezing and defrosting breast milk from Haakaa requires careful handling to maintain its quality. By following the recommended methods, you can confidently store and use your expressed milk, providing your baby with safe and nourishing nutrition.
Read more: How To Store Haakaa Milk
Step 1: Choosing the Right Haakaa Milk Storage Container
Choosing the right Haakaa milk storage container is crucial for ensuring the quality and safety of your breast milk. Here are a few factors to consider when selecting a container:
- Material: Haakaa offers milk storage containers in various materials, including silicone and glass. Both options are safe for storing breast milk. Silicone containers are lightweight and durable, making them convenient for everyday use, while glass containers are non-toxic and free from chemicals that could potentially leach into the milk.
- Capacity: Consider your milk production and storage needs when selecting the container size. Haakaa offers different sizes, typically ranging from 4 oz to 9 oz.
- Sealing and Leak-Proof Features: Look for a container with a secure lid that provides an airtight seal to prevent leakage and maintain the freshness of the milk.
- Compatibility: Ensure that the Haakaa storage container is compatible with your Haakaa breast pump. Most Haakaa containers can be directly attached to the pump for easy expression and storage.
Once you have chosen the right Haakaa milk storage container, it’s time to move on to the next step: sterilizing the container to ensure cleanliness and hygiene.
Step 2: Sterilizing the Haakaa Milk Storage Container
Before using the Haakaa milk storage container, it is essential to sterilize it to eliminate any bacteria or contaminants that may be present. Here is a step-by-step guide on how to sterilize your Haakaa milk storage container:
- Clean the Container: Start by washing the container with warm soapy water. Use a brush or sponge to clean all areas thoroughly. Rinse it with clean water.
- Boiling Method: Place the Haakaa milk storage container in a large pot and fill it with water. Ensure that the container is fully submerged. Bring the water to a boil and let it boil for about five minutes. Use tongs or a spoon to remove the container from the boiling water, and place it on a clean towel to air dry.
- Sterilizing Solution: Alternatively, you can use a sterilizing solution specifically designed for baby products. Follow the instructions provided by the manufacturer on how to dilute the solution and soak the Haakaa milk storage container for the recommended amount of time. Rinse the container with clean water after sterilizing.
It’s important to note that sterilization is necessary before the first use of the container and after each subsequent use.
Once the Haakaa milk storage container is sterilized, you can move on to the next step, which is expressing milk into the Haakaa container.
Step 3: Expressing Milk into the Haakaa
Now that you have a sterilized Haakaa milk storage container, it’s time to express your precious breast milk into it. Here’s a step-by-step guide on how to effectively express milk using your Haakaa pump:
- Find a Comfortable Position: Sit in a comfortable chair or use a nursing pillow to support your back and arms. Relaxation is key to successful milk expression.
- Apply Warm Compress: To stimulate milk flow, you can apply a warm compress or take a warm shower before pumping.
- Prepare the Haakaa: Ensure that the Haakaa pump is clean and assembled correctly. Make sure the suction base is securely attached to the pump.
- Position the Haakaa: Place the Haakaa pump on your breast, making sure that your nipple is centered inside the pump’s opening.
- Create Suction: Gently squeeze the base of the Haakaa pump and press it against your breast to create suction. This will initiate milk expression.
- Adjust Suction Strength: If necessary, adjust the suction strength by loosening or tightening the base of the pump until you find a comfortable and effective level.
- Let the Milk Flow: Allow the pump to work its magic and let the milk flow into the Haakaa milk storage container. You can gently massage your breast or use a hand expressing technique to enhance milk flow.
- Empty the Haakaa: Once you have expressed enough milk, carefully detach the Haakaa pump from your breast. Pour the milk into a storage container or continue to the next step if you plan to store it directly in the Haakaa container.
Remember to repeat the process on the other breast if you want to express milk from both breasts.
Now that you have mastered the art of expressing milk into the Haakaa, let’s move on to the next step: storing the milk in the Haakaa container.
Step 4: Storing Milk in the Haakaa Container
After successfully expressing your breast milk into the Haakaa pump, it’s time to transfer the milk into the Haakaa container for storage. Follow these steps to ensure proper storage:
- Ensure Cleanliness: Before transferring the milk, make sure that both the Haakaa container and your hands are clean and sanitized.
- Pour the Milk: Carefully pour the expressed breast milk from the Haakaa pump into the Haakaa milk storage container. Be cautious to avoid spills or contamination.
- Leave Space for Expansion: Remember to leave some space at the top of the container because breast milk expands when frozen. Leaving enough space allows room for the milk to expand without causing the container to crack or leak.
- Secure the Lid: Place the lid securely on the Haakaa container to create an airtight seal. This helps maintain the freshness and quality of the milk.
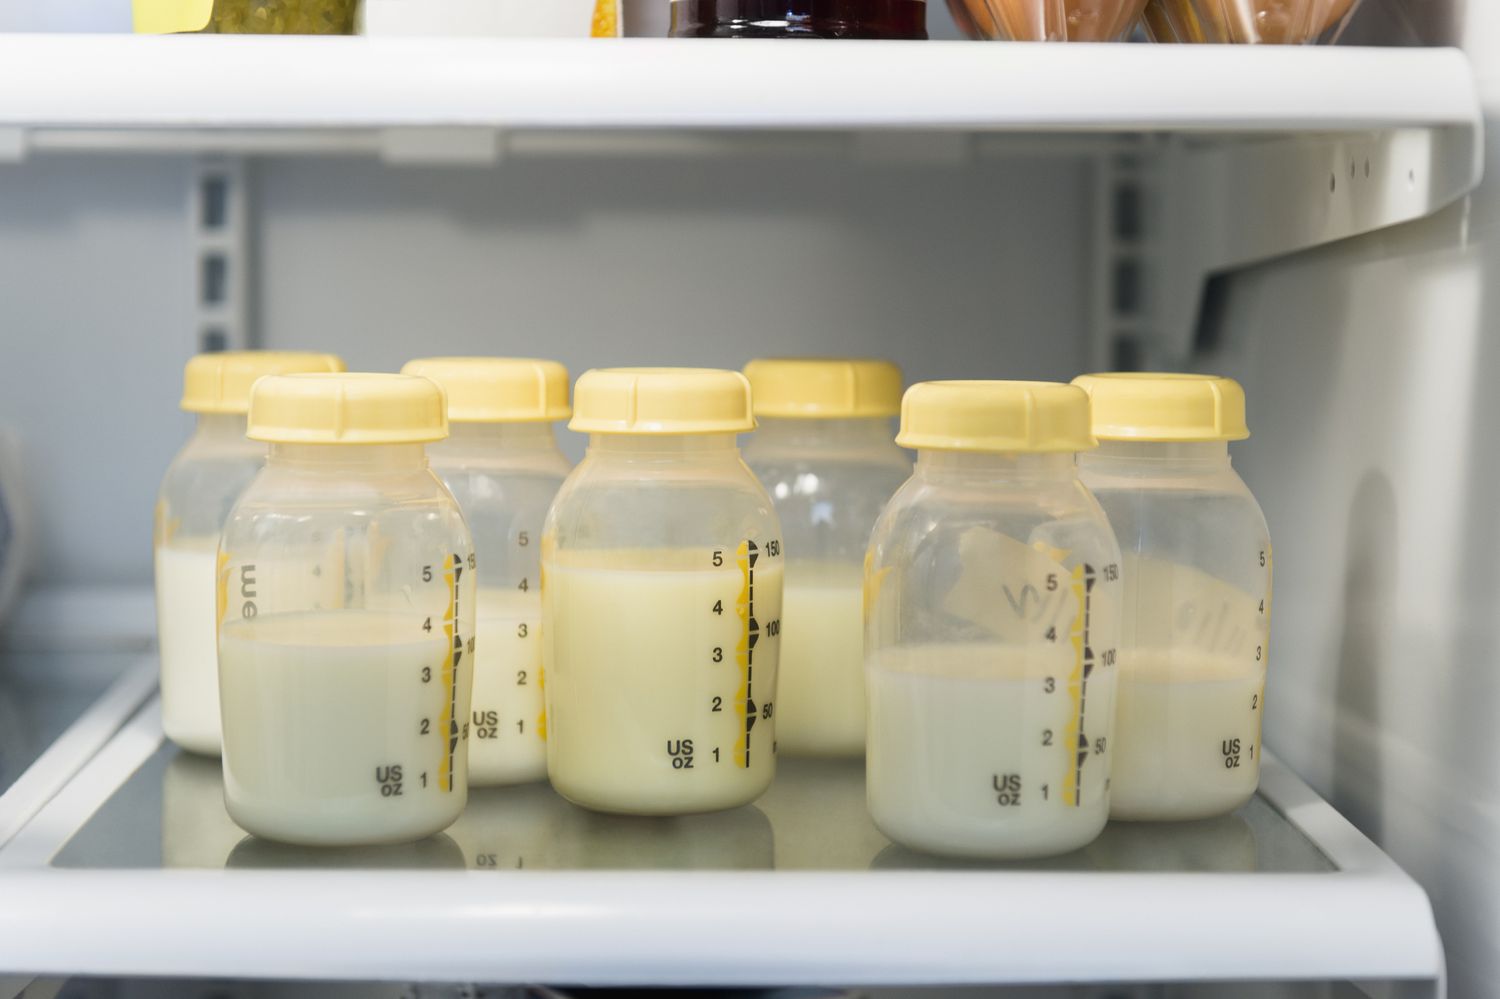
- Label the Container: Use a waterproof labeling pen or sticker to write the date and time of expression on the container. This will help you keep track of the milk’s freshness and ensure that you use the oldest milk first.
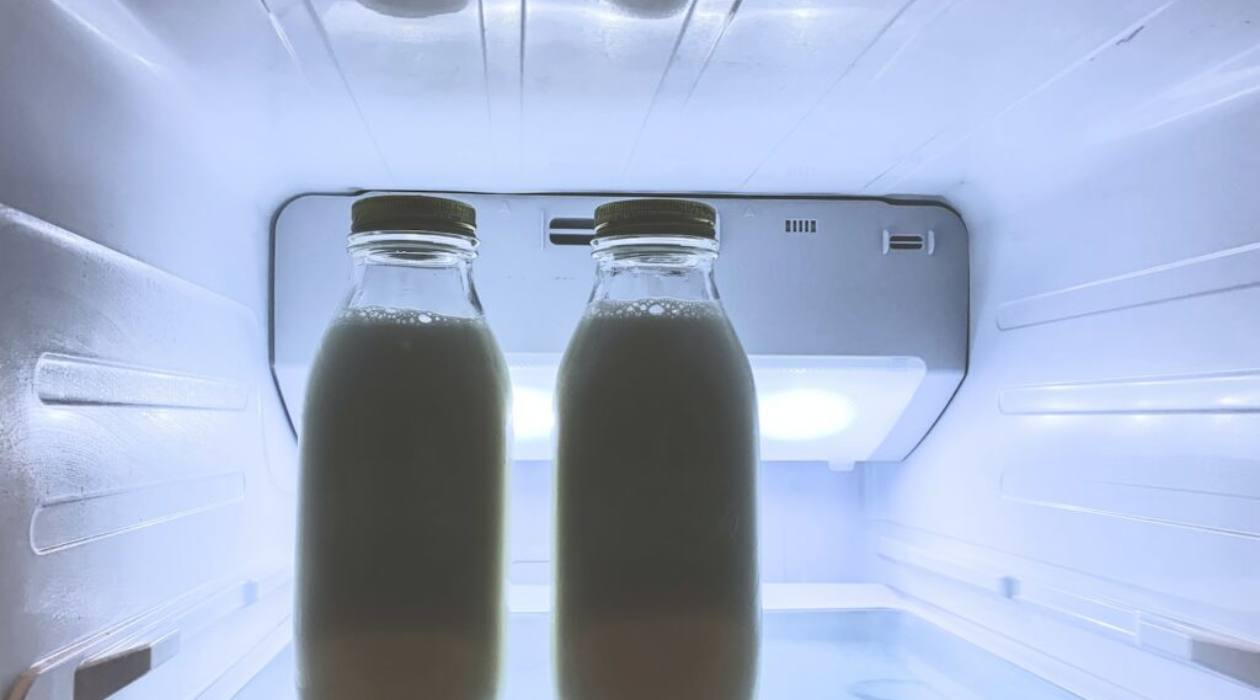
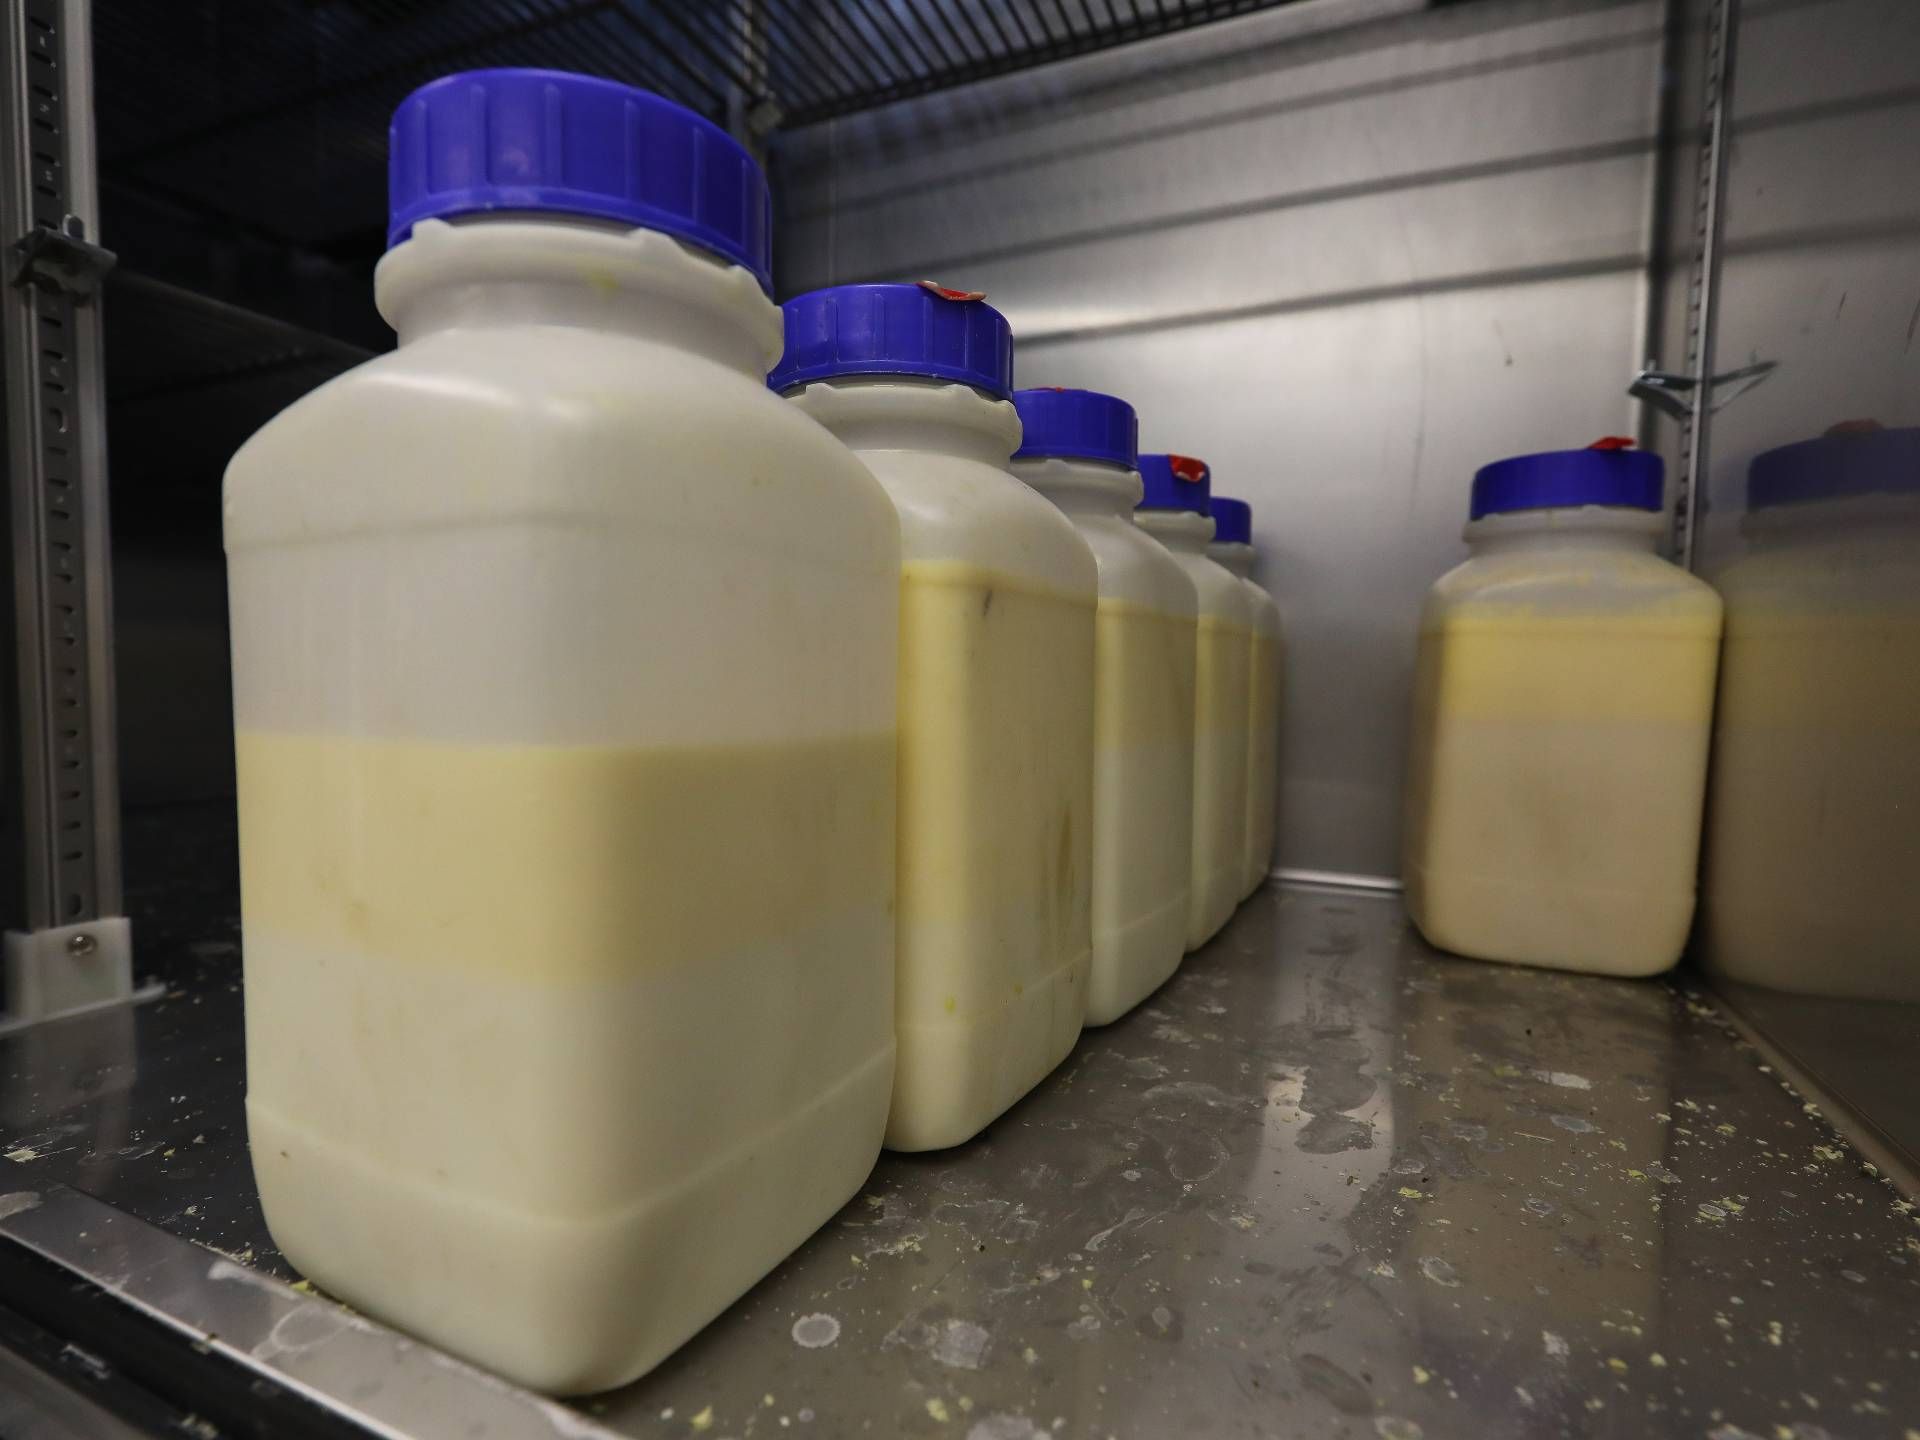
- Store Properly: Place the Haakaa milk storage container in the refrigerator if you plan to use the milk within 24 hours. If you want to store the milk for a longer period, move on to the next step: freezing the Haakaa container.
By following these steps, you can safely store your precious breast milk in the Haakaa container, preserving its nutritional value and freshness for your little one.
Next, we will discuss how to properly label and date the stored milk for easy organization and usage.
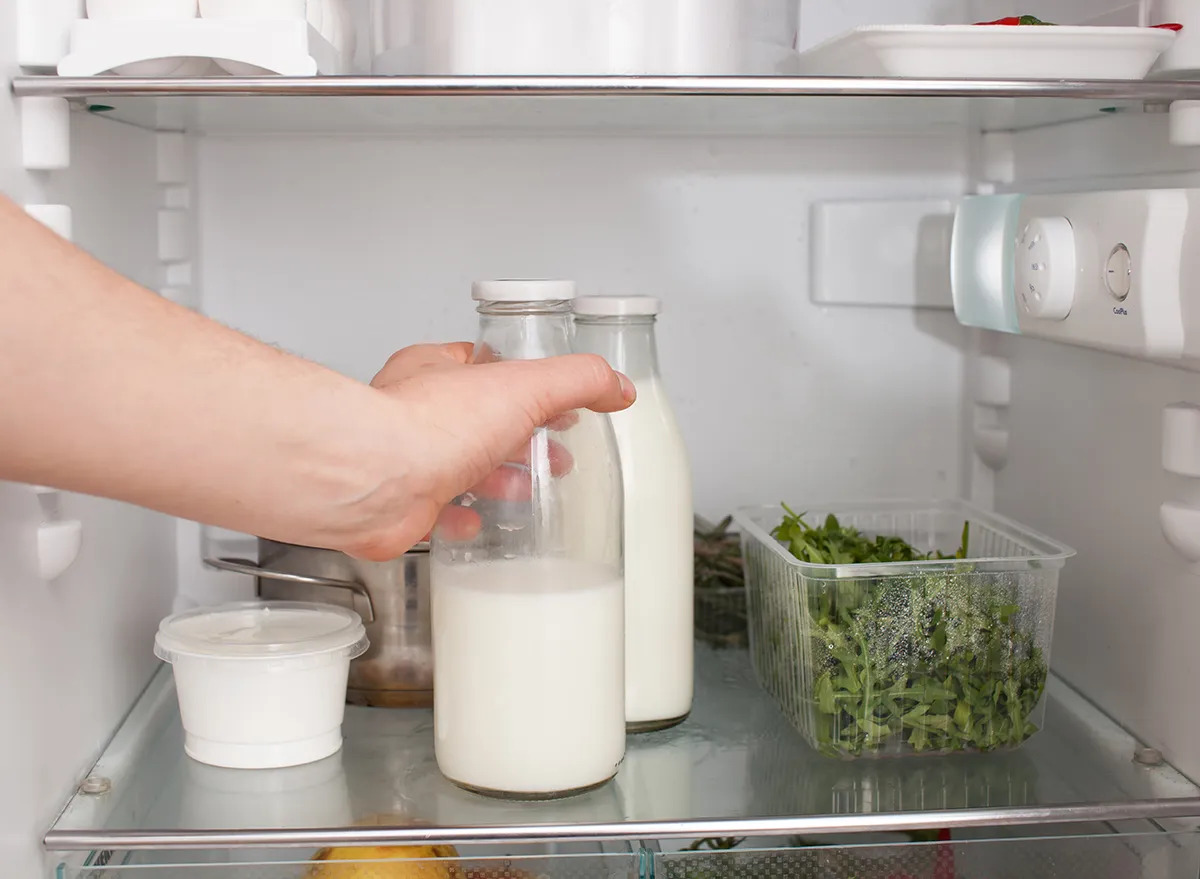
After using your Haakaa to collect breast milk, transfer the milk to a clean, airtight storage container and place it in the refrigerator or freezer immediately to maintain its freshness.
Read more: How To Store Haakaa Between Uses
Step 5: Labeling and Dating Stored Milk
Properly labeling and dating your stored breast milk is essential for maintaining organization and ensuring that you use the oldest milk first. Follow these steps to effectively label and date your stored milk:
- Retrieve Waterproof Labels: Use waterproof labels or a waterproof labeling pen specifically designed for breast milk storage. These labels will ensure that the information remains visible and intact, even when the container is exposed to moisture.
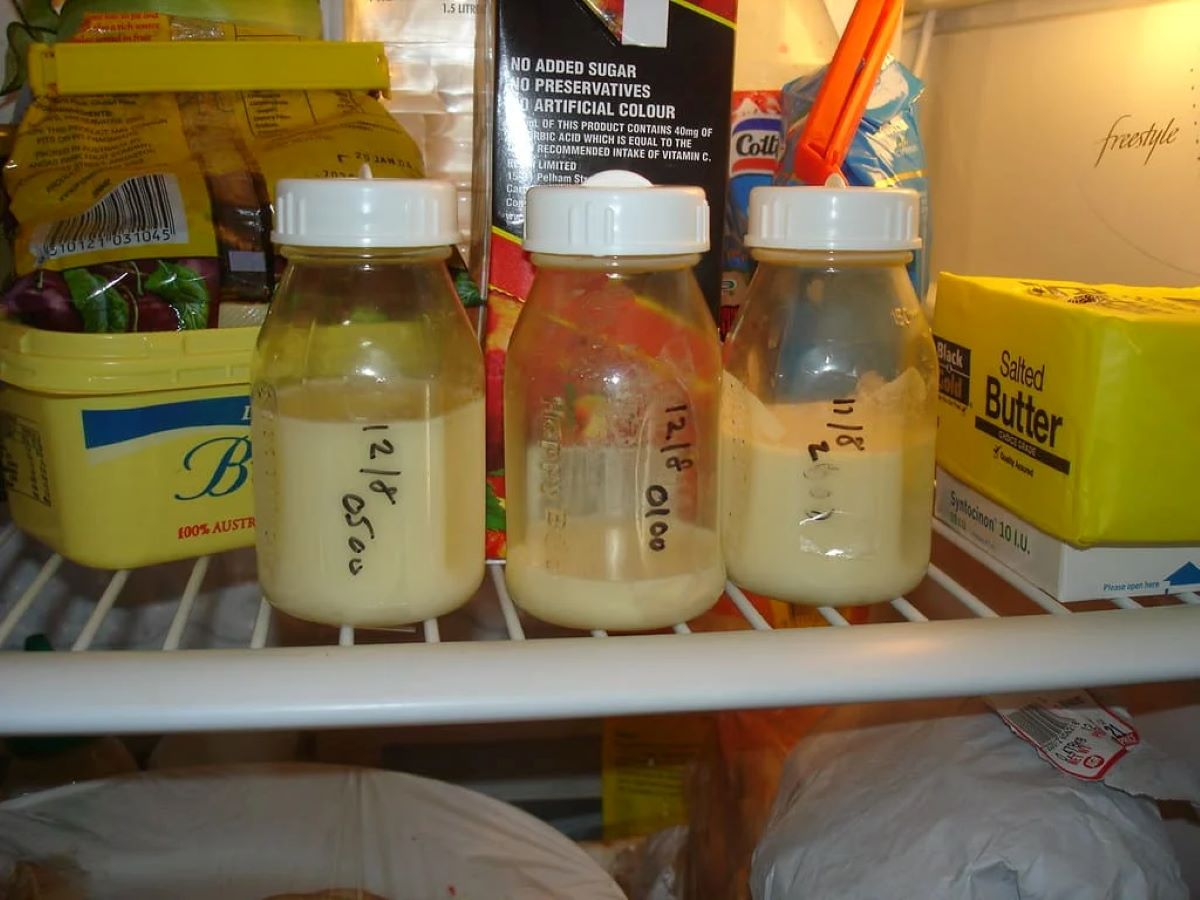
- Write the Date and Time: On the label, write the date and time that you expressed the milk. This will help you track the freshness of the milk and use the oldest milk first.
- Additional Information: If desired, you can also include additional information on the label such as your baby’s name, allergies, or any special instructions. This can be helpful if the milk will be used by others or if you have specific dietary concerns.
- Attach the Label: Stick the label onto the Haakaa milk storage container, ensuring that it is easily visible. Place it on an area that will not be covered or obstructed by the lid.
- Organize the Containers: If you have multiple containers of stored milk, consider organizing them in chronological order in the refrigerator or freezer. This will make it easier to locate and use the milk based on the date and time it was expressed.
By properly labeling and dating your stored breast milk, you can maintain organization and ensure that you are using the milk in the recommended order. This helps to minimize waste and ensure that your baby is receiving the freshest milk available.
Now that we have covered proper labeling and dating of stored milk, let’s move on to the next step: freezing the Haakaa milk container for long-term storage.
Step 6: Freezing the Haakaa Milk Container
If you plan to store your breast milk for an extended period, freezing is the best method to preserve its freshness and nutrients. Follow these steps to properly freeze the Haakaa milk container:
- Prepare the Container: Ensure that the Haakaa milk storage container is tightly sealed with the lid to prevent any leaks or spills during the freezing process.
- Choose a Freezer-Safe Bag or Container: If you prefer, you can use a freezer-safe storage bag or container to place the Haakaa milk container in for added protection against freezer burn.
- Label the Freezer Bag or Container: Use a waterproof labeling pen or sticker to write the date and time of expression on the freezer bag or container label. This will help you keep track of the milk’s freshness and use the oldest milk first.
- Place the Haakaa Container in the Freezer: Carefully place the Haakaa milk storage container inside the freezer bag or container. Ensure that it is positioned upright to avoid any potential spillage or leakage.
- Adjust Freezer Temperature: Set your freezer to a recommended temperature of 0°F or below to ensure optimal storage conditions for the breast milk.
- Store the Bag or Container: Place the labeled and sealed freezer bag or container in the coldest part of your freezer, away from the door, to minimize temperature fluctuations.
- Keep a Stash Rotation: As you continue to express milk and freeze it, make sure to organize the containers in a first-in, first-out rotation. This ensures that you use the oldest milk first, maintaining freshness and minimizing wastage.
By following these steps, you can safely freeze your Haakaa milk container, allowing you to store your breast milk for an extended period while preserving its quality and nutritional value.
Step 7: Defrosting and Using Stored Milk from the Haakaa
When it’s time to use the stored breast milk from your Haakaa container, proper defrosting is crucial to maintain its quality and safety. Here’s a step-by-step guide on how to defrost and use your stored milk:
- Retrieve the Frozen Milk: Remove the Haakaa milk container from the freezer and check the label to ensure that it is the oldest milk that needs to be used.
- Choose a Defrosting Method: There are two safe ways to defrost breast milk: in the refrigerator or under warm running water.
- Refrigerator Method: Place the Haakaa container in the refrigerator and let it defrost slowly. This method takes time, usually requiring 12 to 24 hours depending on the amount of milk.
- Warm Water Method: Alternatively, if you need to defrost the milk more quickly, you can run warm water (not hot) over the Haakaa container. Make sure the water is at a safe temperature and submerge the container in a bowl or basin. Swirl the container gently to help evenly distribute the warming water around the milk.
- Check the Temperature: After defrosting, gently swirl the container to ensure that the milk is fully thawed. Check the temperature of the milk by placing a few drops on the inside of your wrist. The milk should feel lukewarm, not hot.
- Use Within 24 Hours: Once the Haakaa milk container is fully defrosted, it should be used within 24 hours. Discard any leftover milk that was not consumed.
- Do Not Refreeze: It’s important to note that once breast milk has been thawed, it should not be refrozen. This is because freezing and thawing can affect the milk’s quality and safety.
- Gently Shake or Swirl: Before feeding the thawed milk to your baby, gently shake or swirl the container to mix the separated layers of milk. Do not vigorously shake the container, as this can damage the milk’s proteins and nutrients.
By following these steps, you can safely defrost your Haakaa stored milk and use it to provide your baby with the nourishment they need.
Step 8: Cleaning and Maintaining the Haakaa Milk Storage Container
Proper cleaning and maintenance of your Haakaa milk storage container is essential to ensure the safety and longevity of the product. Follow these steps to clean and maintain your Haakaa milk storage container:
- Disassemble the Container: Start by disassembling the Haakaa milk storage container, separating the lid, and any other detachable parts.
- Rinse with Cold Water: Rinse all parts of the container with cold water to remove any residual milk. Avoid using hot water, as it can cause proteins in the milk to stick and make cleaning more difficult.
- Wash with Mild Soap: Use a mild soap or baby bottle cleanser and a bottle brush to clean the container thoroughly. Pay attention to the inside and outside of the container, as well as the lid and any crevices. Ensure that all milk residue is removed.
- Rinse with Hot Water: Rinse the container with hot water to remove any soap residue. Make sure to rinse all parts thoroughly to ensure that no soap remains on the surface.
- Air Dry: Place the parts of the Haakaa milk storage container on a clean dish towel or paper towel to air dry completely. Avoid using a cloth or towel to dry the container, as it can introduce lint or bacteria.
- Store Clean and Dry: Once the container is dry, reassemble it and store it in a clean and dry area away from direct sunlight or sources of heat.
- Regularly Check for Wear and Tear: Regularly inspect the Haakaa milk storage container for any signs of wear and tear. This includes checking for cracks, leaks, or any damage that may compromise the container’s integrity.
- Replace if Necessary: If you notice any damage or deterioration, it may be necessary to replace the Haakaa milk storage container to ensure the safety of your breast milk.
By following these cleaning and maintenance steps, you can keep your Haakaa milk storage container in excellent condition and minimize the risk of contamination or bacterial growth.
Congratulations! You have now learned how to properly clean, maintain, and store your breast milk using the Haakaa milk storage container. With these steps, you can confidently provide your baby with safe and nourishing breast milk anytime!
Remember that these guidelines are general recommendations, and it’s always best to follow the specific instructions provided with your Haakaa milk storage container. Happy breastfeeding!
Read more: How To Store Milk From Elvie Pump
Conclusion
Congratulations on completing this comprehensive guide on how to store milk from Haakaa! Storing your breast milk properly is crucial for maintaining its nutritional value and ensuring the safety of your baby. By following the steps outlined in this article, you can confidently store your expressed milk using the Haakaa milk storage container.
We covered a range of important steps, from choosing the right container to defrosting and using the stored milk. Remember to choose a container that suits your needs and preferences, and always sterilize it before the first use and after each subsequent use. Express your milk into the Haakaa container using effective techniques, and store it properly in the refrigerator or freezer.
Labeling and dating your stored milk is essential for organizing and using the milk in the recommended order. Freezing the Haakaa container allows for longer storage, while proper defrosting techniques ensure that the milk retains its quality. Finally, maintaining the cleanliness and condition of your Haakaa milk storage container is vital for the ongoing safety and effectiveness of the product.
Remember, breastfeeding and expressing milk are personal experiences, and each mother’s journey is unique. It’s important to consult with a healthcare professional or lactation consultant if you have any specific concerns or questions about storing your breast milk.
By using the Haakaa milk storage container and following the guidelines provided in this article, you can confidently store your breast milk and provide your baby with the nourishment they need, even when you are away or need a backup supply. Enjoy this special bonding experience and the benefits of breastfeeding for both you and your little one!
Frequently Asked Questions about How To Store Milk From Haakaa
Was this page helpful?
At Storables.com, we guarantee accurate and reliable information. Our content, validated by Expert Board Contributors, is crafted following stringent Editorial Policies. We're committed to providing you with well-researched, expert-backed insights for all your informational needs.


0 thoughts on “How To Store Milk From Haakaa”