Articles
How To Store Mushroom Liquid Culture
Modified: August 17, 2024
Learn how to store and preserve mushroom liquid culture with our informative articles. Find expert tips and techniques for proper storage and maintenance.
(Many of the links in this article redirect to a specific reviewed product. Your purchase of these products through affiliate links helps to generate commission for Storables.com, at no extra cost. Learn more)
Introduction
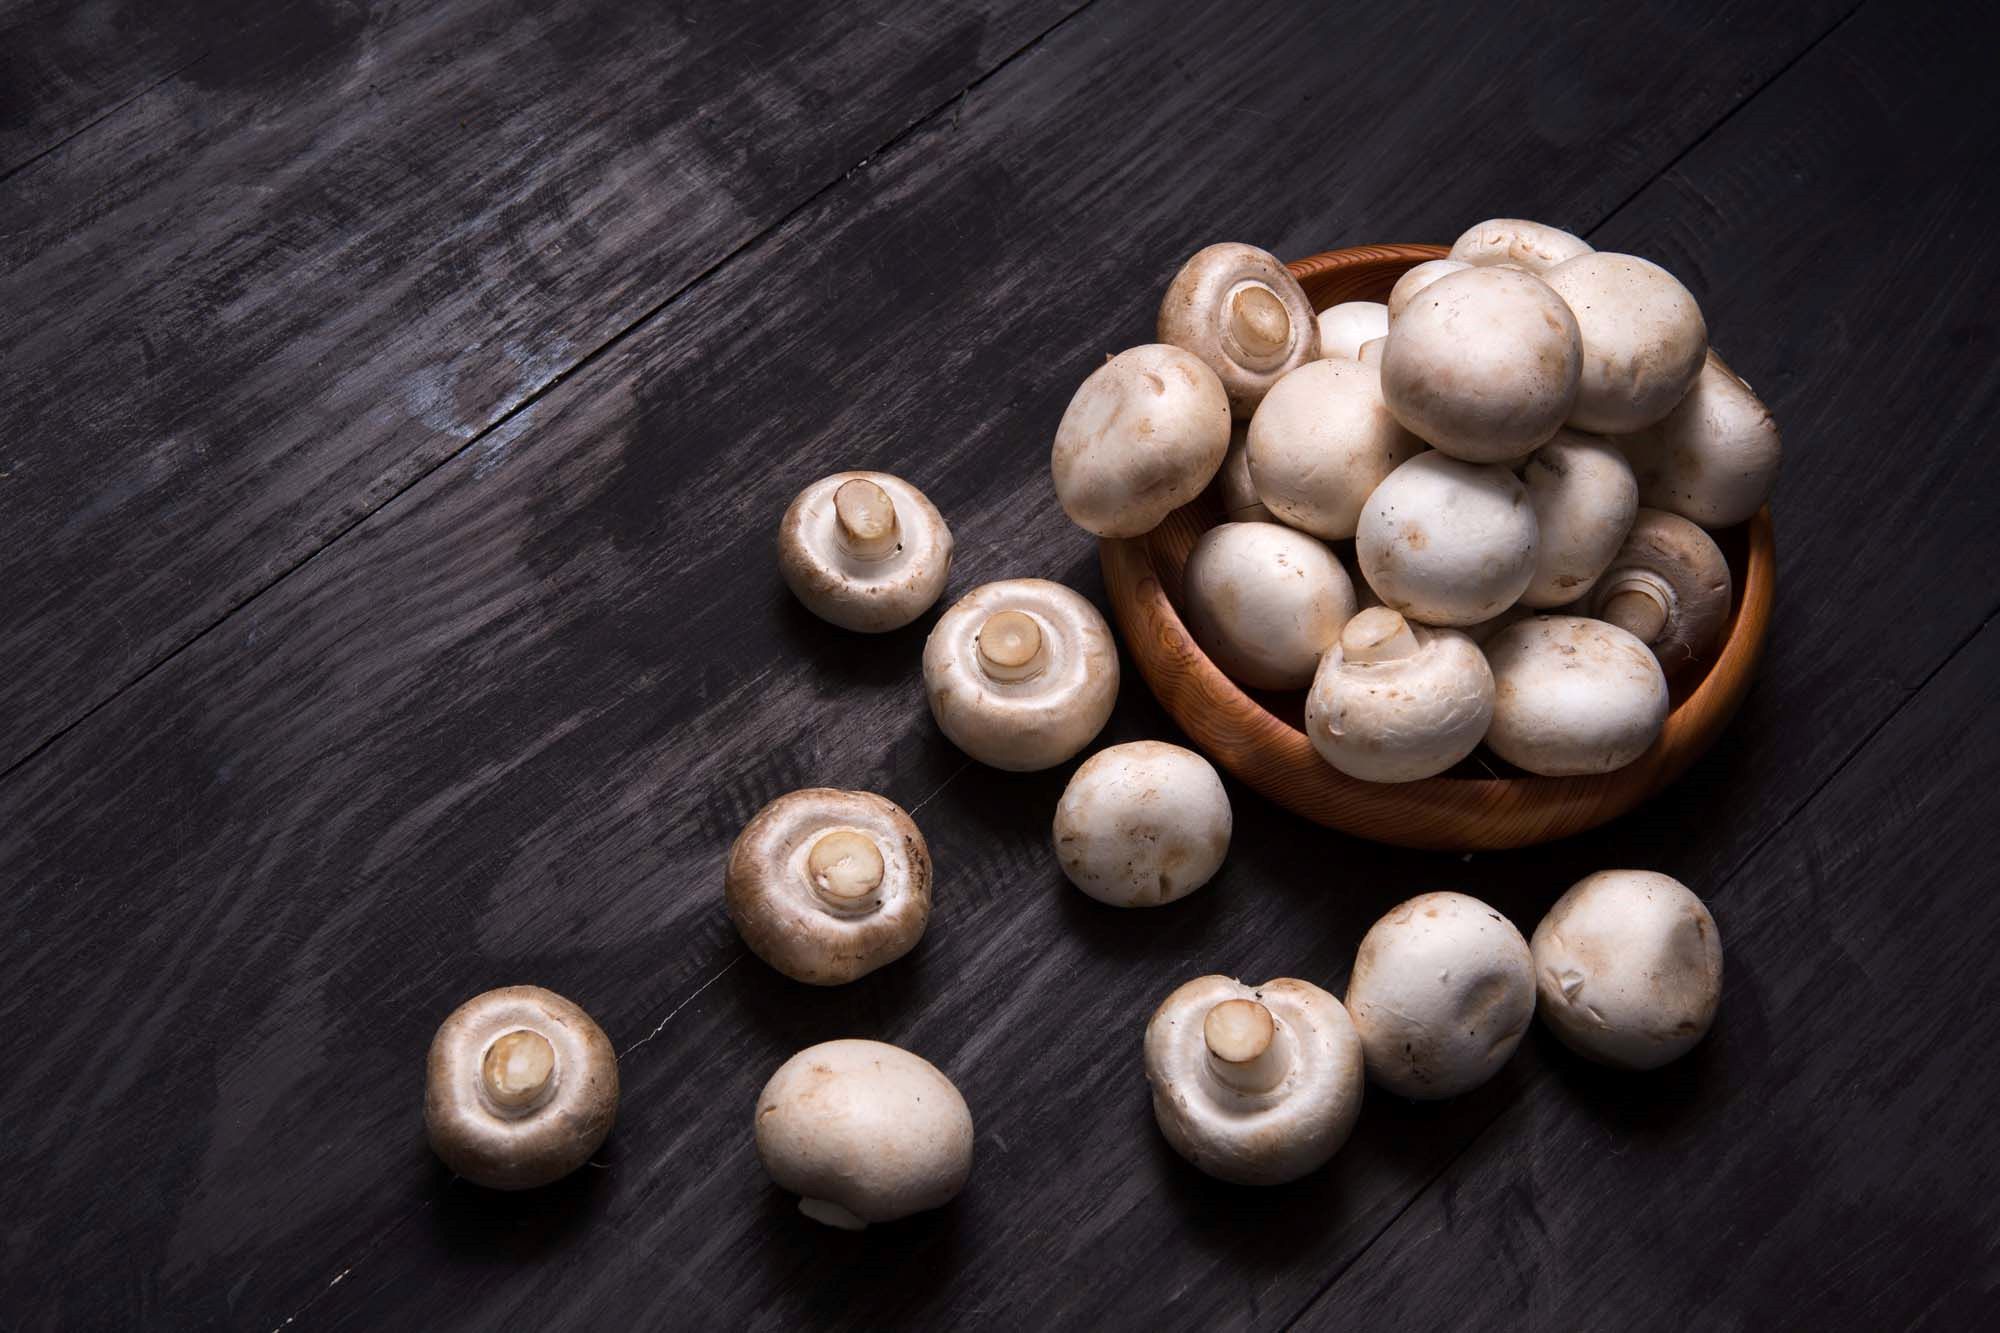
Mushroom liquid culture is a valuable tool for mushroom cultivation enthusiasts. It allows you to propagate and store a large number of mushroom mycelium in a liquid medium, making it easier to inoculate spawn or create new cultures. Whether you are a beginner or an experienced cultivator, learning how to properly store mushroom liquid culture is essential for long-term success in the hobby.
In this article, we will walk you through the step-by-step process of storing mushroom liquid culture. We will discuss the equipment needed, the preparation of the liquid culture, sterilizing the equipment, injecting the mushroom spores, incubating the culture, and finally, the proper storage methods. So let’s dive in and discover the secrets of preserving your mushroom liquid culture!
Key Takeaways:
- Master the art of storing mushroom liquid culture to preserve diverse strains for future cultivation and experimentation. Proper equipment, sterilization, and storage methods are essential for long-term viability.
- Embrace the world of mushroom cultivation by learning to store liquid cultures. Explore different strains, experiment with hybridization, and share cultures with fellow enthusiasts for endless mycological adventures.
Read more: How To Store Liquid Culture Syringes
Equipment Needed
Before you can start storing your mushroom liquid culture, you’ll need to gather a few essential pieces of equipment. These items will ensure that your culture remains uncontaminated and in optimal conditions for long-term storage. Here is a list of the equipment you will need:
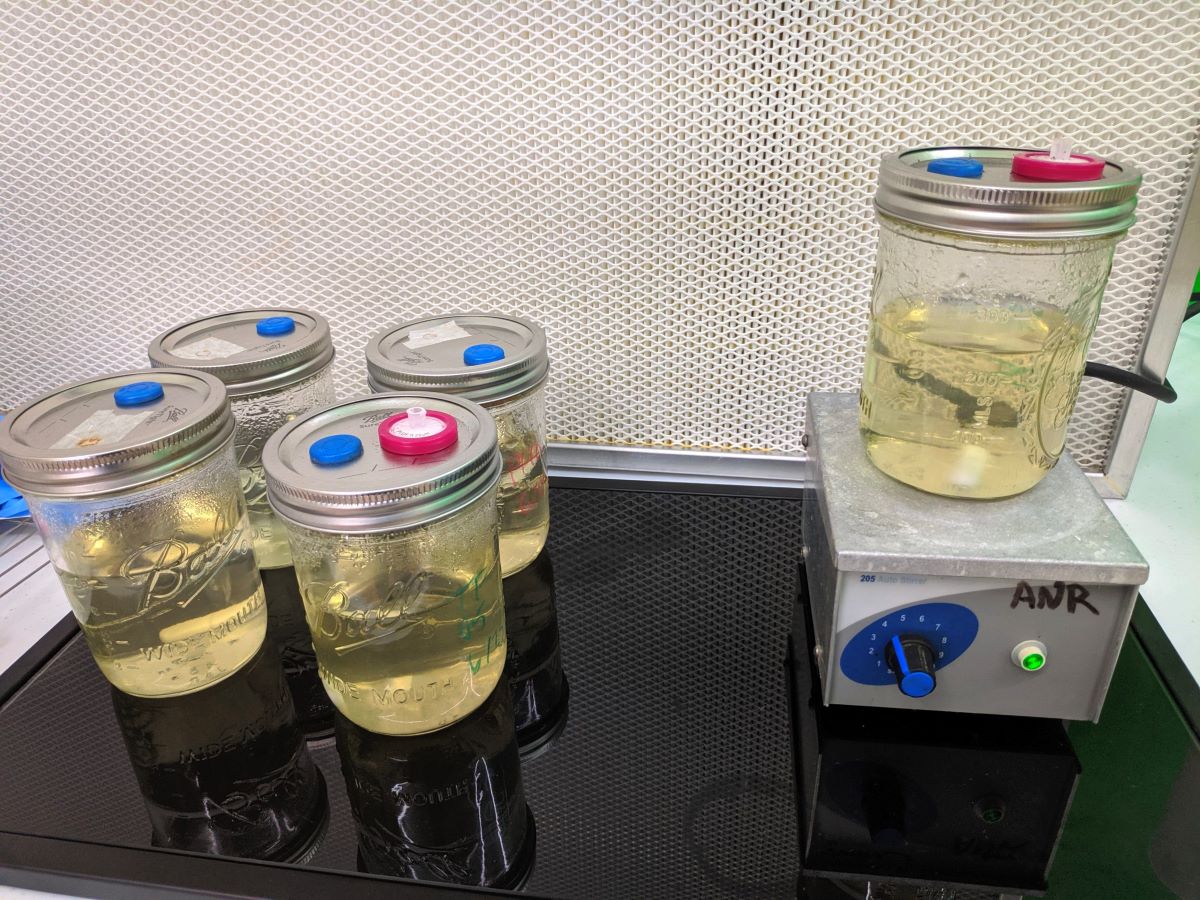
- Glass Jars: Use high-quality, sterilizable glass jars with airtight lids. Mason jars or laboratory-grade glass containers work best.
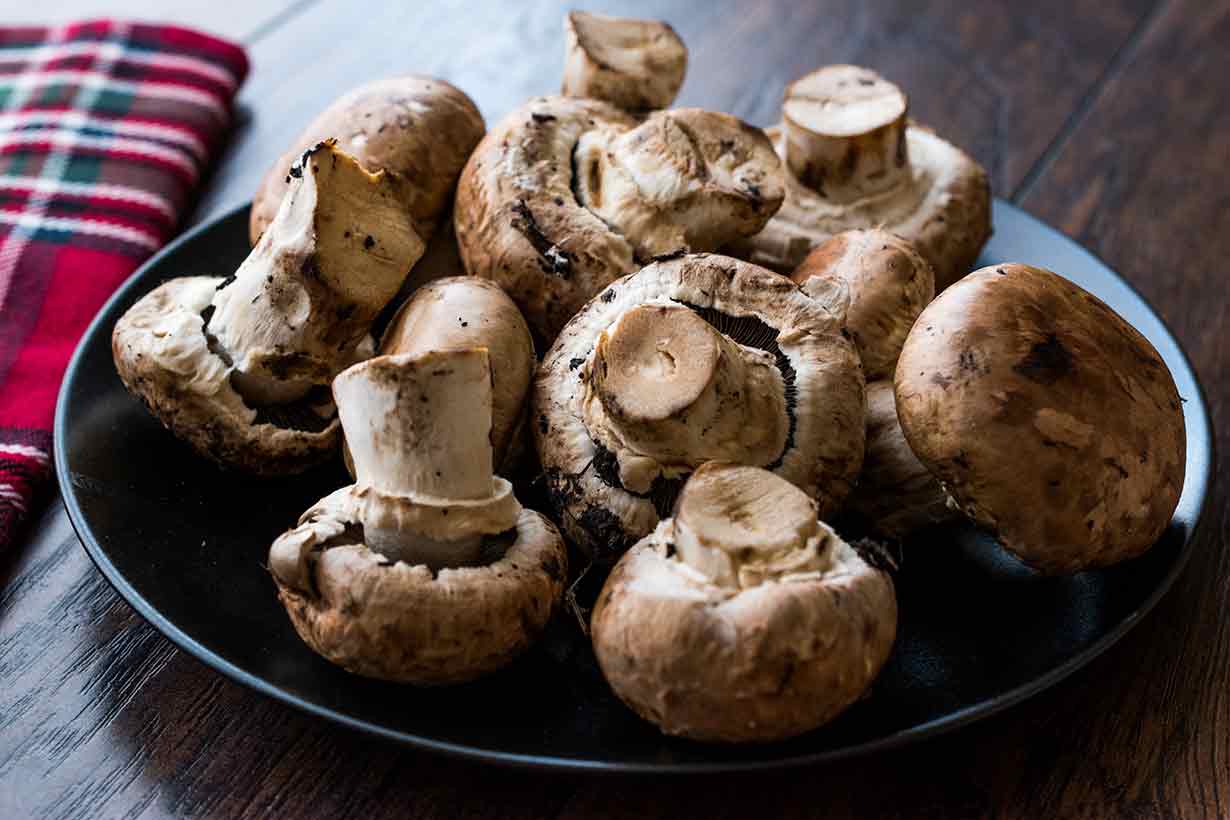
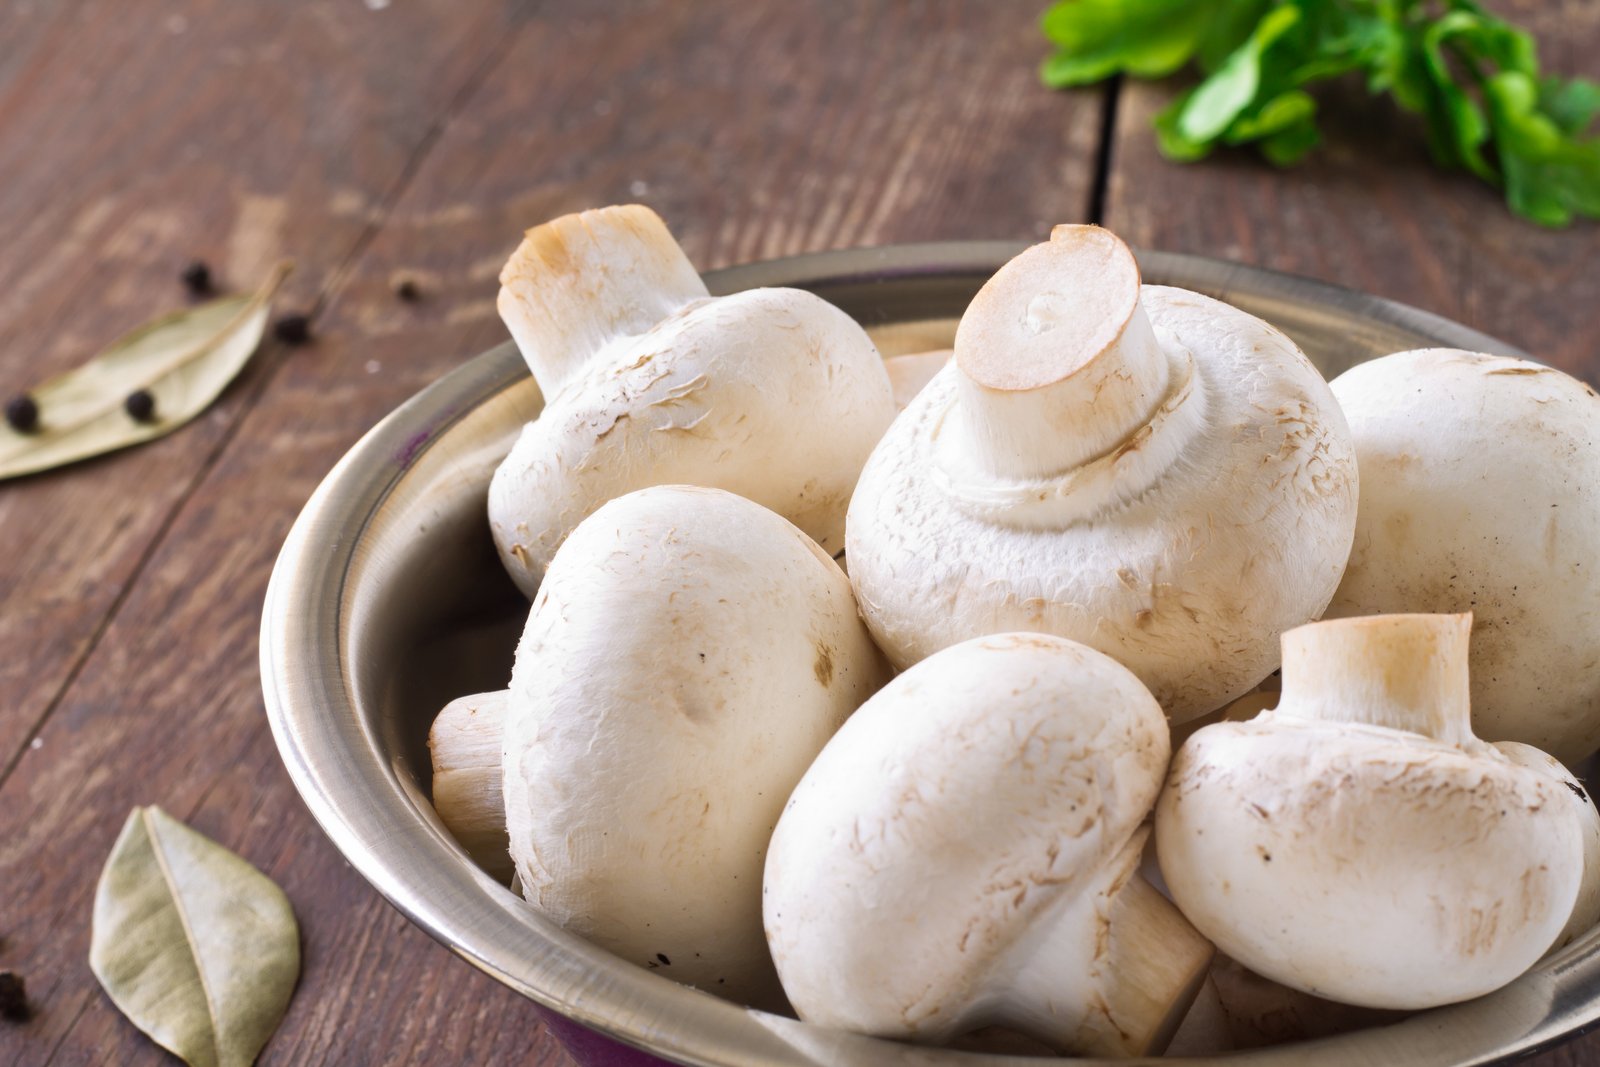
- Agar Plates: Agar plates serve as the initial medium for growing mushroom mycelium. Make sure you have fresh, sterile agar plates ready for the liquid culture transfer.
- Spore Syringe or Spore Print: You’ll need a spore syringe or spore print to inoculate the liquid culture. Both can be obtained from reputable suppliers or harvested from mature mushrooms.
- Sterile Gloves: Disposable sterile gloves are crucial for maintaining a sterile environment during the process.
- Alcohol or Bleach: Use alcohol or bleach for sterilizing your work area, surfaces, and equipment.
- Scalpel or Flame-sterilized Knife: You will need a scalpel or a flame-sterilized knife for transferring mycelium from agar plates to the liquid culture.
- Pressure Cooker or Autoclave: A pressure cooker or autoclave is necessary for sterilizing your equipment before use. It ensures that any potential contaminants are eliminated.
- Labels and Marker: Don’t forget to label your jars with the date and strain name to keep track of your cultures.
Ensure that all the equipment is thoroughly cleaned and sterilized before use. Proper sanitation is crucial to prevent contamination and promote healthy growth of the mushroom mycelium.
Now that you have your equipment ready, let’s move on to the next step: preparing the liquid culture.
Step 1: Preparing the Liquid Culture
Preparing the liquid culture involves creating a nutrient-rich solution that will support the growth of the mushroom mycelium. Here’s how you can do it:
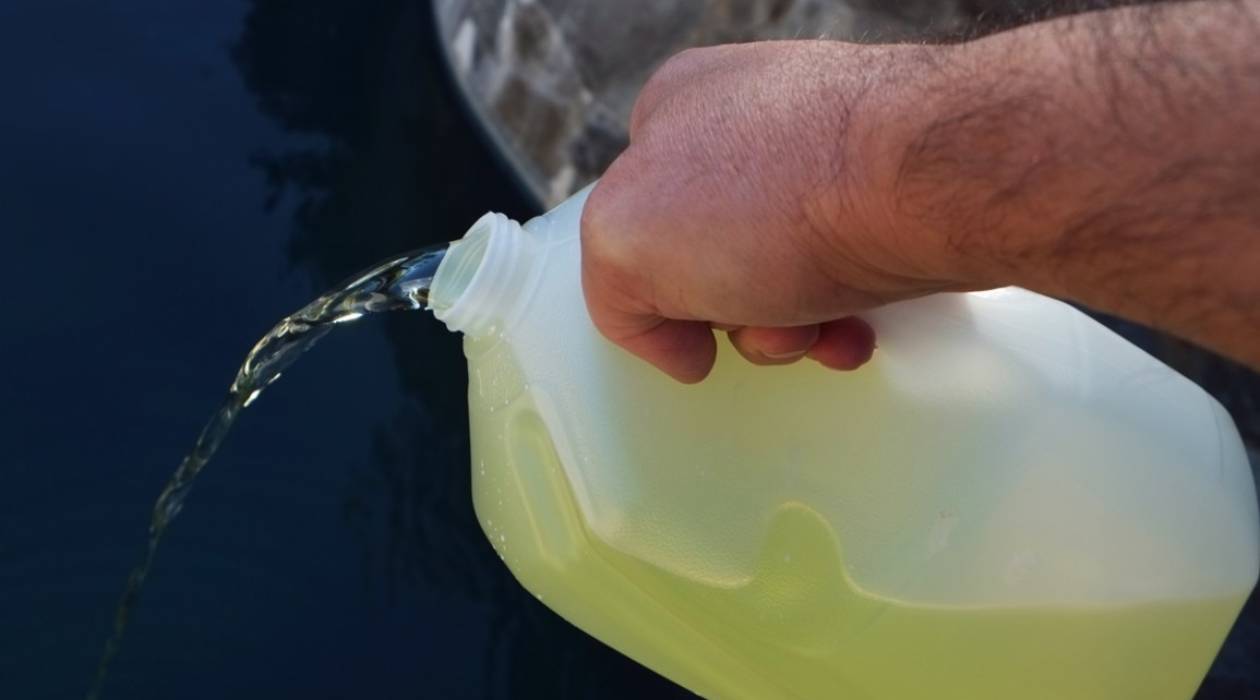
- Start by preparing a sterile liquid medium. You can use a variety of different nutrient solutions, such as malt extract, potato dextrose, or liquid culture solutions available in the market. Follow the instructions provided by the manufacturer or prepare your own nutrient solution.
- In a sterilized container, add the specified amount of water and the nutrient solution. Stir well to ensure the nutrients are fully dissolved.
- If desired, you can add additional supplements or additives to enhance the growth of the mycelium. These can include amino acids, vitamins, or plant extracts.
- Adjust the pH of the solution to the optimal range for the mushroom species you are working with. Most mushrooms prefer a slightly acidic pH ranging from 5 to 6.
- Place the container with the nutrient solution into a pressure cooker or autoclave and sterilize it at the recommended temperature and pressure for the specified duration. This step is vital to eliminate any potential contaminants.
- After sterilization, allow the liquid medium to cool down to room temperature. Avoid opening the container unless you are working in a sterile environment.
Once your liquid culture medium is prepared and cooled, you are ready to move on to the next step: sterilizing the equipment.
Step 2: Sterilizing the Equipment
Sterilizing the equipment is crucial to prevent contamination and ensure the success of your mushroom liquid culture. Follow these steps to sterilize your equipment:
- Before beginning the sterilization process, clean all the equipment thoroughly to remove any debris or residues.
- Fill a pressure cooker or autoclave with water and place the glass jars, agar plates, and any other equipment you will be using in the sterilization process.
- Ensure that the pressure cooker or autoclave has a proper seal and follow the manufacturer’s instructions to reach the appropriate temperature and pressure for sterilization. Typically, a temperature of 121°C (250°F) at 15 psi pressure is recommended.
- Allow the equipment to sterilize for the recommended duration, usually around 20-30 minutes.
- Once the sterilization time is complete, carefully remove the equipment from the pressure cooker or autoclave using sterile gloves or tongs. Place them in a clean, sterile environment.
Remember to maintain a sterile environment while handling the sterilized equipment. Avoid touching the inside of the lids or the surface of agar plates to prevent contamination. You can use a properly sterilized laminar flow hood or work in a glovebox to further minimize the risk of contamination.
With the equipment now properly sterilized, we can move on to the next step: injecting the mushroom spores.
After inoculating your substrate with the mushroom liquid culture, store any remaining culture in a clean, airtight container in the refrigerator to prolong its viability.
Step 3: Injecting the Mushroom Spores
Injecting the mushroom spores into the sterilized liquid culture is a critical step in the process of creating and storing the liquid culture. Follow these steps to inject the spores:
- Prepare a spore syringe or spore print. If using a spore print, scrape a small amount of spores onto a sterile surface.
- Sterilize a scalpel or a flame-sterilized knife. Flame sterilization involves briefly passing the blade through a flame to kill any potential contaminants.
- Open a sterilized glass jar and carefully remove the lid without touching the inside of the lid or the rim of the jar.
- Using the flame-sterilized scalpel or knife, make a small cut or puncture in the center of the agar plate or lid.
- If using a spore syringe, inject a small amount of spore solution into the puncture. If using a spore print, gently transfer some spore material onto the agar surface.
- Replace the lid on the glass jar and tighten it securely. Make sure the lid is airtight to prevent contamination.
Repeat these steps for each glass jar you are storing your liquid culture in. Label each jar with the date and the strain of mushroom culture you are working with. This will help you keep track of your cultures.
Now that the mushroom spores have been injected into the liquid culture, it’s time to move on to the next step: incubating the culture.
Read more: How To Store Shiitake Mushrooms
Step 4: Incubating the Liquid Culture
Incubating the liquid culture is the process of providing the optimal conditions for the mushroom mycelium to grow and flourish. Follow these steps to ensure successful incubation:
- After injecting the mushroom spores, place the sealed glass jars in a warm and dark space. The temperature should be within the preferred range for the mushroom species you are working with. Typically, a temperature between 20-25°C (68-77°F) works well for most common mushrooms.
- Avoid exposing the jars to direct sunlight or extreme temperature fluctuations, as this can interfere with the growth of the mycelium.
- Check the jars periodically to monitor the growth progress. You should start to see the mycelium spreading throughout the liquid culture. This process can take anywhere from a few days to a few weeks, depending on the mushroom species and environmental conditions.
- While incubating, make sure to handle the jars with clean, sterile hands or gloves. Avoid unnecessary disturbance that can introduce contaminants.
- It’s normal to see variations in the growth rate between different jars or strains. Some may colonize faster than others. Patience is key during this stage.
Remember, maintaining a sterile environment is crucial during incubation to prevent contamination. If you notice any signs of mold or other contaminants, discard the jar immediately to avoid spreading it to other cultures.
With the liquid culture successfully incubated, it’s time to move on to the final step: storing the mushroom liquid culture.
Step 5: Storing the Mushroom Liquid Culture
Properly storing the mushroom liquid culture is essential for long-term viability and future use. Here are the steps to ensure effective storage:
- Once the mycelium has fully colonized the liquid culture, it’s time to prepare it for storage. Shake or swirl the jar gently to distribute the mycelium uniformly throughout the liquid.
- Using a sterile syringe or pipette, transfer a small amount of the liquid culture into sterile glass vials or ampoules. Fill the vials to about 70-80% capacity to allow room for expansion during freezing or refrigeration.
- Cap the vials tightly, ensuring an airtight seal. Use parafilm or heat-sealed aluminum foil to further secure the caps and prevent contamination.
- Label each vial with the date, strain name, and any relevant information for easy identification in the future. Maintain a detailed record of the stored cultures for reference.
- Choose your preferred method of storage based on your long-term goals. There are two common options: refrigeration or freezing.
- Refrigeration: For short-term storage (up to a few months), store the vials in a refrigerator at a temperature between 2-8°C (36-46°F). Check the vials periodically for signs of contamination or deterioration.
- Freezing: For long-term storage (up to several years), place the vials in a freezer at a temperature below 0°C (32°F). Adding a cryoprotectant, such as glycerol, can help preserve the viability of the mycelium.
- When retrieving cultures from storage, make sure to thaw them gradually and aseptically before transferring to fresh growth media.
Remember to maintain a careful and sterile approach during the entire storage process to minimize the risk of contamination. Regularly check stored cultures for signs of degradation and discard any suspicious or contaminated vials to maintain the quality of your stock.
Congratulations! You have successfully learned how to store mushroom liquid culture. With proper storage techniques, you can preserve and maintain a diverse collection of mushroom strains for future experiments and cultivation endeavors.
Now that you have mastered the art of storing mushroom liquid cultures, feel free to explore different strains, experiment with hybridization, or share cultures with fellow mushroom enthusiasts. Happy cultivating!
Conclusion
Learning how to store mushroom liquid culture is a valuable skill for any mushroom cultivation enthusiast. By following the steps outlined in this article, you can ensure the long-term viability and availability of your favorite mushroom strains. Proper equipment, sterilization techniques, and incubation methods are key factors in maintaining a contamination-free liquid culture. Additionally, choosing the right storage method, whether refrigeration or freezing, will determine the longevity of your cultures.
Remember to maintain a sterile environment throughout the process. Regularly check the cultures for signs of contamination or degradation, and discard any suspect cultures to maintain the quality of your collection. Keeping accurate records of your stored cultures will help you stay organized and easily identify the strains in the future.
Storing mushroom liquid culture allows for scalability and flexibility in your mushroom cultivation endeavors. Whether you’re a hobbyist looking to explore different mushroom species or a serious cultivator working with specific strains, having a diverse collection of liquid cultures at your disposal opens up endless possibilities for experimentation and growth.
Now that you have a thorough understanding of how to store mushroom liquid culture, you have the knowledge and confidence to embark on your own mushroom cultivation journey. So go ahead, propagate your favorite mushroom strains, share cultures with like-minded individuals, and continue to expand your mycological adventures. Happy mushroom growing!
Frequently Asked Questions about How To Store Mushroom Liquid Culture
Was this page helpful?
At Storables.com, we guarantee accurate and reliable information. Our content, validated by Expert Board Contributors, is crafted following stringent Editorial Policies. We're committed to providing you with well-researched, expert-backed insights for all your informational needs.
0 thoughts on “How To Store Mushroom Liquid Culture”