Articles
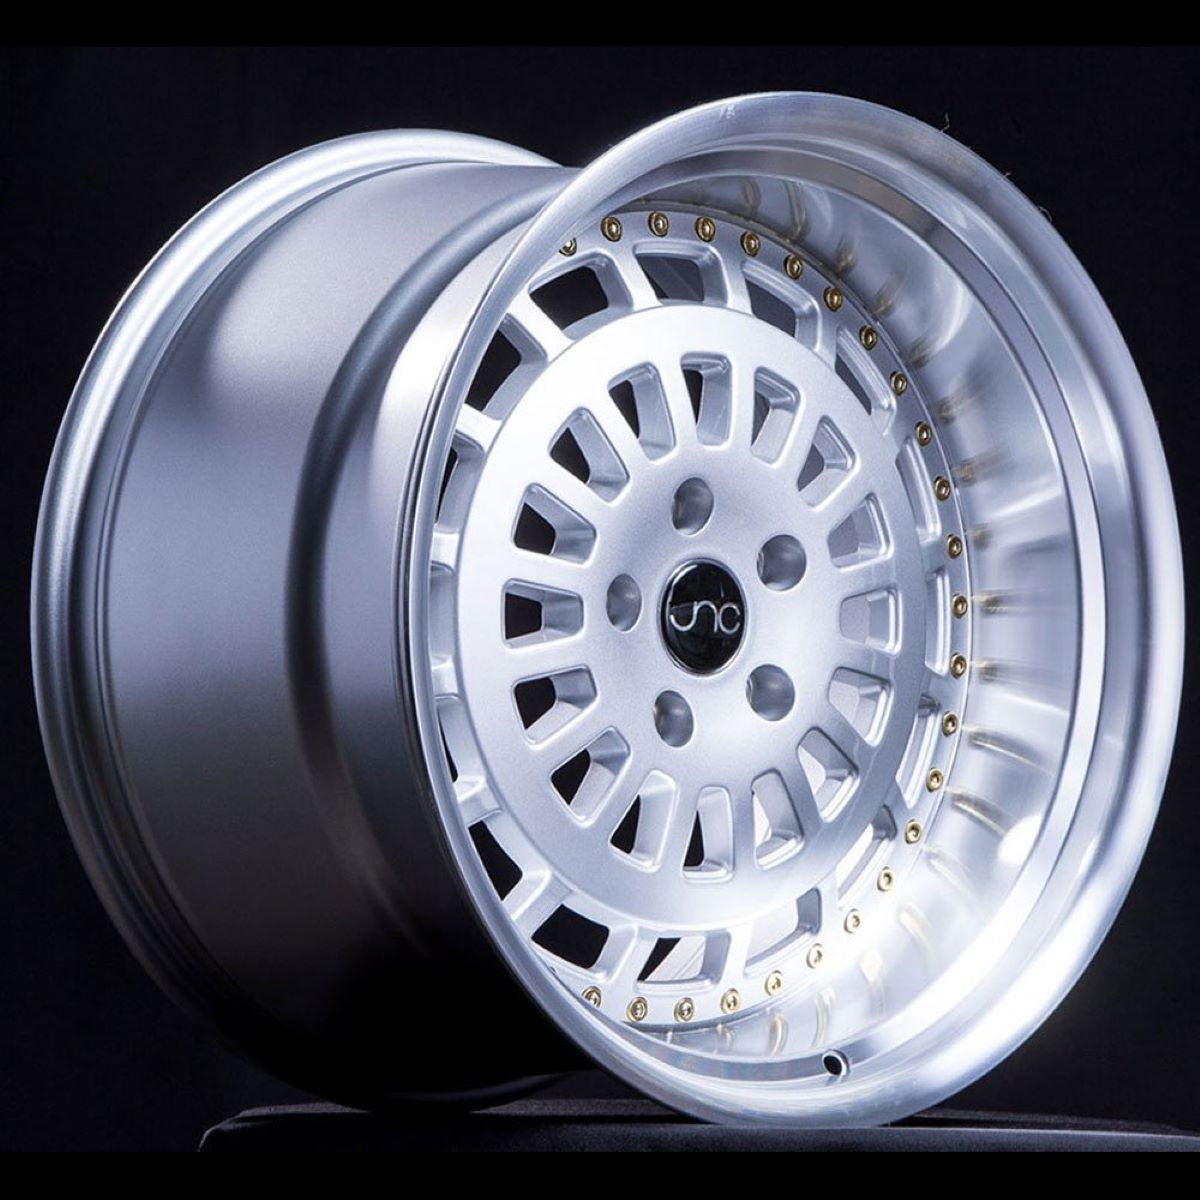
How To Store Rims Without Tires
Modified: May 6, 2024
Learn the best practices for storing rims without tires with our informative articles. Whether you're a DIY enthusiast or a professional, our tips will help you keep your rims safe and organized.
(Many of the links in this article redirect to a specific reviewed product. Your purchase of these products through affiliate links helps to generate commission for Storables.com, at no extra cost. Learn more)
Introduction
Welcome to our comprehensive guide on how to store rims without tires. If you’re a car enthusiast or a professional in the automotive industry, you understand the importance of properly storing your rims to ensure their longevity and performance.
When it comes to storing rims, one key factor to consider is keeping them separate from the tires. This not only saves space but also prevents any damage that may occur during storage. In this article, we will provide you with step-by-step instructions on how to remove tires from rims, clean the rims, and explore various storage methods.
By following the tips and recommendations outlined in this guide, you can ensure that your rims remain in excellent condition and are ready for use when you need them.
Key Takeaways:
- Properly storing rims without tires is crucial for maintaining their condition, maximizing space, and ensuring they are ready for use. Follow best practices, choose the right storage method, and keep the rims clean and separate from tires for optimal results.
- Whether using racks, wall hooks, tire bags, totes, or shelving units, ensure that the rims are stored in a cool, dry, and well-ventilated area. Regularly inspect and maintain the rims to prevent issues and preserve their longevity and performance.
Read more: How To Store Tires Without Rims
Why Tire Storage Matters
Proper tire storage is essential for multiple reasons. Firstly, it helps preserve the condition of the tires themselves. By storing them correctly, you can prevent flat spots, sidewall cracking, and other forms of damage that can occur when tires are neglected or stored improperly.
Secondly, storing tires separately from rims can help save space. By removing the tires, you can stack and store the rims more efficiently, maximizing the available storage area.
Additionally, keeping rims and tires separate allows for easier maintenance. You can inspect the rims for any signs of damage or corrosion, and it is also easier to clean them thoroughly before reinstallation.
Lastly, properly stored and maintained rims can enhance the overall appearance and performance of your vehicle. When the time comes to change or rotate your tires, you’ll have a set of rims that are in optimal condition, adding a touch of style and functionality to your vehicle.
In summary, tire storage matters because it helps preserve tire quality, saves space, simplifies maintenance, and improves the overall look and performance of your vehicle. Now that we understand the importance of tire storage, let’s move on to the next step: removing the tires from the rims.
Removing Tires from Rims
Before you begin removing the tires from the rims, it is essential to ensure your safety by wearing appropriate protective gear such as gloves and safety glasses. Follow these steps to safely remove tires from rims:
- Start by deflating the tires completely. You can do this by using a tire pressure gauge or simply pressing the valve stem until all the air has been released.
- Once the tires are deflated, use a tire iron or a pry bar to loosen the bead of the tire from the rim. Insert the tire iron between the tire bead and the rim and gently pry it up. Work your way around the tire, gradually loosening the entire bead from the rim.
- With the bead loosened, it’s time to remove the tire from the rim. You can do this by using tire levers or a tire mounting machine. Insert the tire lever between the tire bead and the rim and carefully pry the tire off the rim. Be cautious not to damage the rim during this process.
- Continue removing the tire from the rim by working your way around until the tire is completely free. You may need to use multiple tire levers or a tire mounting machine to ease the process, especially if the tire is stubborn or tightly attached to the rim.
- Repeat the above steps for each tire, ensuring that all tires are removed completely from their respective rims.
By following these steps, you can safely remove the tires from the rims without causing any damage to either component. Once the tires are removed, it’s time to move on to the next step: cleaning the rims before storage.
Cleaning Rims Before Storage
Before storing your rims, it is essential to clean them thoroughly. Over time, rims can accumulate dirt, brake dust, and other debris that can potentially damage their surface if left unattended. Follow these steps to clean your rims before storage:
- Start by rinsing the rims with water to remove any loose dirt or debris. Use a hose or a pressure washer for best results. This initial rinse will help to loosen and wash away any surface contaminants.
- Next, apply a wheel cleaner specifically designed for your type of rims. Make sure to choose a cleaner that is safe for the material of your rims (e.g., aluminum, chrome, or alloy). Follow the instructions on the cleaner’s label for the best application method.
- Use a soft-bristle brush or a wheel cleaning brush to agitate the cleaner on the rims. Pay attention to hard-to-reach areas such as spokes and wheel wells. Scrub gently but thoroughly to remove any stubborn grime or brake dust.
- Rinse the rims again with clean water to wash away the dirt and wheel cleaner. Ensure that all cleaning residue is removed from the rims.
- For a deeper clean, you can use a wheel detailing brush to clean the lug nut holes and other intricate areas of the rims. This will help to achieve a more thorough cleaning and enhance the appearance of the rims.
- Wipe the rims dry using a microfiber cloth or a clean, lint-free towel. This will prevent water spots and allow the rims to dry completely before storage.
Once your rims are clean and dry, they are ready for storage. Properly cleaned rims not only look better but also help to preserve their finish and protect against corrosion. Now that your rims are clean, let’s explore different storage methods to keep them safe and in optimal condition.
Choosing the Right Storage Method
When it comes to storing rims without tires, there are several options available, depending on your available space, budget, and personal preferences. Here are some popular storage methods to consider:
Read more: How To Store Tires Without Dry Rotting
Option 1: Storing Rims in a Rack or Stand
A rack or stand specifically designed for rim storage is a convenient and efficient option. These racks usually have slots or hooks where you can securely place each rim. This method allows for easy access and helps prevent the rims from rolling or getting damaged.
Option 2: Hanging Rims on Wall Hooks
If you have limited floor space, consider installing wall hooks to hang the rims. This not only saves space but also keeps the rims off the ground, reducing the risk of damage. Make sure the hooks are sturdy enough to support the weight of the rims.
Option 3: Using Racks or Shelves with Tire Bags
If you prefer to keep your rims covered for extra protection, using racks or shelves with tire bags is a great option. The racks or shelves provide a stable and organized storage solution, while the tire bags shield the rims from dust and debris.
Option 4: Storing Rims in Tire Totes
Tire totes are specially designed containers that provide a secure and organized storage solution for rims. These totes help protect the rims from damage, dust, and moisture. Look for totes that are stackable for space-saving convenience.
Read more: How To Store Rims
Option 5: Using Tire Racks or Shelving Units
Tire racks or shelving units offer a versatile storage option for rims without tires. These racks or shelves typically have adjustable height and width, allowing you to customize the storage space to fit your rims. They are often made of durable materials such as steel for long-lasting use.
Consider your specific storage needs, available space, and budget when selecting the right storage method for your rims. Whichever option you choose, make sure it provides adequate protection, stability, and easy access to your rims.
Now that you have a clear idea of the different storage methods available, let’s move on to the next section, where we will discuss best practices for storing rims to ensure their longevity and performance.
Option 1: Storing Rims in a Rack or Stand
One popular and practical option for storing rims without tires is to use a dedicated rack or stand. This method allows you to keep your rims organized, easily accessible, and protected from damage. Here’s how to go about it:
Step 1: Choose a Suitable Rack or Stand
Look for a rack or stand specifically designed for rim storage. Consider the number of rims you need to store and ensure that the chosen rack or stand has enough slots or hooks to accommodate them all. It’s important to select a sturdy and durable option to ensure the rims remain secure and stable.
Step 2: Prepare the Rims
Before placing the rims in the rack or stand, ensure they are clean and dry. Refer to the previous section on cleaning rims for proper cleaning instructions. Clean rims will help prevent any dirt or debris from transferring onto the rack or stand and keep the rims in pristine condition.
Read more: How To Store Tire Chains
Step 3: Arrange the Rims in the Rack or Stand
Once the rims are ready, determine the order in which you want to store them. You can arrange them based on size, type, or any other criteria that suits your preferences. Place each rim securely into the appropriate slot or hook of the rack or stand, ensuring they are aligned and balanced.
Step 4: Secure the Rims
Once all the rims are in place, take a moment to double-check that they are properly secured. Make sure they are not at risk of falling or shifting, as this can cause damage. If necessary, use tie-down straps or bungee cords to provide additional stability or prevent movement.
Step 5: Store in a Suitable Location
Find a dry and well-ventilated area to store the rack or stand with the rims. Avoid places with extreme temperature fluctuations or excessive humidity as these conditions can negatively impact the rims. Ideally, the storage area should be away from any potential hazards or heavy traffic to minimize the risk of accidental damage.
With your rims securely stored in a dedicated rack or stand, you can rest assured that they will remain in excellent condition until their next use. Remember to periodically inspect the rims during the storage period and address any issues as needed. In the next section, we will explore another storage option: hanging rims on wall hooks.
Option 2: Hanging Rims on Wall Hooks
If you have limited floor space or prefer a space-saving storage solution, you can consider hanging your rims on wall hooks. This method not only keeps your rims off the ground but also adds a unique visual appeal to your garage or storage area. Here’s how to hang rims on wall hooks:
Read more: How To Store Unmounted Tires
Step 1: Choose Sturdy and Reliable Wall Hooks
Start by selecting wall hooks that are specifically designed for hanging rims. Look for hooks made of durable materials, such as heavy-duty steel, to ensure they can support the weight of the rims. Consider the size of the hooks as well, ensuring they can accommodate the rims securely.
Step 2: Measure and Mark the Hanging Locations
Determine the desired height and spacing for the wall hooks. Measure and mark the locations where you will mount the hooks on the wall. It’s important to ensure the hooks are evenly spaced and properly aligned to maintain balance when hanging the rims.
Step 3: Mount the Wall Hooks
Using the appropriate tools, such as a drill and screws, mount the wall hooks according to the marked locations on the wall. Ensure the hooks are securely attached to the wall and can withstand the weight of the rims. If necessary, consult a professional for assistance to ensure proper installation.
Step 4: Prepare the Rims for Hanging
Clean and dry the rims before hanging them on the wall hooks. This step ensures the rims remain in good condition and prevents any dirt or debris from transferring onto the wall or hooks. Refer to the earlier section on cleaning rims for detailed instructions on how to clean them properly.
Read more: How To Store Summer Tires
Step 5: Hang the Rims on the Wall Hooks
Gently lift each rim and hook it onto the designated wall hooks. Take your time to ensure that each rim is securely placed and properly balanced. Double-check that the rims are not at risk of falling or being knocked off the hooks.
Step 6: Inspect and Maintain
Regularly inspect the rims and wall hooks to ensure they are in good condition. Look for any signs of damage, weakness, or loosening of the hooks. Address any issues promptly to maintain the security and safety of your hanging rims.
Hanging your rims on wall hooks not only saves space but also showcases your rims as a decorative element in your garage or storage area. Make sure to maintain proper balance, regularly inspect the hooks, and enjoy the visually appealing storage solution for your rims. In the next section, we will explore another storage option: using racks or shelves with tire bags.
Option 3: Using Racks or Shelves with Tire Bags
For those who want to provide extra protection to their rims while keeping them organized and easily accessible, using racks or shelves with tire bags is an excellent option. This storage method safeguards your rims from dust, dirt, and potential scratches. Here’s how to store rims using racks or shelves with tire bags:
Step 1: Choose Suitable Racks or Shelves
Select racks or shelves that can accommodate the size and weight of your rims. Look for sturdy and stable options made of materials such as steel or heavy-duty plastic. Ensure the racks or shelves have enough storage space for all your rims.
Read more: How To Store Tires In Garage
Step 2: Acquire Tire Bags
Purchase tire bags that are specifically designed for rim storage. These bags are typically made from durable materials like nylon or polyester and provide protection against dust, moisture, and light scratches. Ensure the tire bags are the appropriate size for your rims.
Step 3: Prepare the Rims
Before placing the rims in the bags, make sure they are clean and dry. Refer to the earlier section on cleaning rims for detailed instructions. Cleaning the rims ensures that no debris or dirt transfers onto the bags, keeping them in pristine condition.
Step 4: Slide the Rims into the Tire Bags
One by one, slide each rim into a tire bag. Make sure the rim is centered and positioned properly within the bag. Zip or seal the bag securely, ensuring there are no gaps or openings that could allow dust or moisture to enter.
Step 5: Place the Bags on the Racks or Shelves
Arrange the tire bags containing the rims on the racks or shelves. Ensure they are positioned securely and do not shift or slide off. If necessary, utilize additional straps or fasteners to keep the bags in place and maintain organization.
Read more: How To Store Bike Tires
Step 6: Store in a Suitable Location
Find a dry and well-ventilated area to store the racks or shelves with the tire bags. Avoid places with excessive humidity or temperature fluctuations. Consider covering the racks or shelves with a tarp or protective cover for added protection against dust and other debris.
Using racks or shelves with tire bags is an effective way to keep your rims clean, organized, and protected. Regularly inspect the bags and racks for any signs of damage or wear, and address any issues promptly. Now that you are familiar with this storage option, let’s move on to another method: storing rims in tire totes.
Option 4: Storing Rims in Tire Totes
If you’re looking for a convenient and protective storage solution for your rims, storing them in tire totes can be a great option. Tire totes provide a lightweight and portable way to store rims while ensuring they are shielded from dust, scratches, and other potential damage. Here’s how to store rims in tire totes:
Step 1: Choose Suitable Tire Totes
Look for tire totes that are specifically designed for rim storage. Ensure they are suitable for the size of your rims and made from durable materials such as nylon or polyester. Consider totes with handles for easy transportation and stackability for efficient storage.
Step 2: Prepare the Rims
Before placing the rims in the totes, clean them thoroughly and allow them to dry completely. Remove any dirt, brake dust, or debris from the rims using appropriate cleaning methods. Clean rims will help prevent any transfer of dirt or contaminants to the totes.
Read more: How To Store Tires Outside
Step 3: Insert the Rims into the Tire Totes
Gently slide each rim into its respective tire tote. Make sure the rim is centered and properly aligned within the tote. Depending on the size of the rims and totes, you may be able to store multiple rims in each tote, but ensure they do not touch each other to avoid any scratches or damage.
Step 4: Secure the Totes
Once the rims are in the totes, zip or secure the totes tightly to ensure they are properly sealed. This will prevent dust, moisture, and other contaminants from entering and potentially damaging the rims. Make sure the totes are securely closed and the rims are well-protected.
Step 5: Label and Store
To easily identify the rims, consider labeling the totes with important information such as the rim size, type, or the vehicle they belong to. This will help you quickly locate the desired set of rims when needed. Store the totes in a cool, dry and well-ventilated area away from direct sunlight or extreme temperatures.
Step 6: Transport with Care
If you need to transport the rims, the tire totes provide a convenient carrying option. Ensure the totes are securely fastened and handle them with care to prevent any damage or shifting of the rims during transportation.
Storing your rims in tire totes offers an organized and protective storage solution. Periodically check the totes and rims for any signs of damage or moisture build-up and address any issues promptly. Now that you’ve learned about storing rims in tire totes, let’s move on to the final option: using tire racks or shelving units.
Read more: How To Rim A Glass With Salt
Option 5: Using Tire Racks or Shelving Units
If you have a larger storage area or a collection of rims that you want to store in a well-organized manner, utilizing tire racks or shelving units can be an ideal option. These racks and shelving units provide a sturdy and efficient way to store rims, keeping them easily accessible and protected. Here’s how to store rims using tire racks or shelving units:
Step 1: Choose Suitable Tire Racks or Shelving Units
Look for tire racks or shelving units specifically designed for rim storage. Consider factors such as their weight capacity, size, adjustability, and durability. Opt for racks or shelves made of sturdy materials such as steel to ensure they can support the weight of the rims.
Step 2: Measure and Prepare the Storage Area
Measure the available space in your storage area, taking into account the size and quantity of rims you need to store. Prepare the storage area by clearing any debris or obstructions and ensuring it is clean and dry.
Step 3: Arrange the Racks or Shelving Units
Based on the measurements and your desired layout, assemble and position the tire racks or shelving units in the storage area. Ensure they are securely anchored or attached to the wall or floor for stability.
Read more: How To Rim A Glass With Tajin
Step 4: Prepare the Rims
Before placing the rims on the racks or shelves, ensure they are clean and dry. Refer to the earlier section on cleaning rims for detailed instructions on how to properly clean them. Clean rims contribute to maintaining the cleanliness and longevity of the storage area.
Step 5: Organize and Place the Rims
Organize the rims based on your preferred system, such as by size, type, or vehicle application. Place each rim securely on the designated rack or shelf, ensuring they are aligned and safely positioned. Consider leaving enough space between each rim to prevent any accidental damage when removing or inserting them.
Step 6: Maintain the Storage Area
Regularly inspect the tire racks or shelving units for any signs of wear, instability, or damage. Ensure that the rims are stored properly and do not pose any risk of falling or shifting. Also, periodically clean the storage area to maintain a dust-free environment for the rims.
Utilizing tire racks or shelving units provides a practical and organized solution for storing rims. Regularly check the racks or shelves and rims for any signs of damage or issues, and address them promptly to ensure the longevity and protection of your rims. Now that you’ve explored all the different storage options available, let’s move on to best practices for storing rims in general.
Best Practices for Storing Rims
When it comes to storing rims, there are a few best practices to keep in mind to ensure their longevity and optimal condition. By following these guidelines, you can preserve the appearance and performance of your rims:
Read more: How To Rim A Margarita Glass
1. Clean and Dry the Rims
Before storing the rims, make sure they are clean and completely dry. Remove any dirt, debris, or brake dust from the rims using suitable cleaning methods. Cleaning the rims prevents the accumulation of contaminants that could potentially damage the rims during storage.
2. Keep Rims Separate from Tires
To maximize storage space and prevent any damage, it is recommended to store rims separately from tires. Removing the tires from the rims allows for better organization and reduces the risk of leakage, flat spots, or sidewall cracking that can occur when tires are stored for an extended period.
3. Choose a Cool and Dry Storage Location
Select a storage area that is cool, dry, and well-ventilated. Extreme temperatures, humidity, and direct sunlight can adversely affect the rims. Avoid storing the rims in areas exposed to moisture or prone to temperature fluctuations, as this can lead to corrosion or other damage.
4. Utilize Protective Coverings
To shield the rims from dust and debris, consider using tire bags, tire totes, or other protective coverings. These coverings provide an additional layer of protection during storage, preventing scratches and maintaining a clean surface.
Read more: How To Rim A Glass With Sugar
5. Inspect and Maintain Regularly
Periodically inspect the stored rims for any signs of damage, corrosion, or other issues. Check the storage containers, racks, or shelves for stability and ensure that the rims are securely positioned. Address any issues promptly to prevent further damage or deterioration.
6. Avoid Excessive Weight or Pressure
When storing the rims, avoid placing excessive weight or pressure on them. This can cause warping or deformation, affecting their performance and appearance. Ensure that the rims are adequately supported and not stacked too high or in a way that compromises their integrity.
7. Rotate Rims Periodically
If storing the rims for an extended period, consider rotating them periodically. This prevents any flat spots or weight imbalances that may occur from long-term storage in the same position. Rotating the rims helps maintain their shape and reduces the risk of developing issues when they are put back into use.
By following these best practices, you can ensure that your stored rims remain in excellent condition and are ready for use whenever you need them. Taking proper care of your rims during storage will extend their lifespan and enhance their performance. Now you’re equipped with the knowledge to store your rims effectively and maintain their quality.
Wrapping Up
Properly storing rims without tires is essential for maintaining their condition, maximizing space, and ensuring they are ready for use when needed. Throughout this comprehensive guide, we have discussed various methods for storing rims, including using racks or stands, hanging them on wall hooks, utilizing tire bags or totes, and utilizing tire racks or shelving units.
Remember, before storing your rims, it’s important to remove the tires and clean the rims thoroughly. This helps prevent any damage or contamination during storage. Choosing the right storage method depends on your available space, budget, and personal preferences.
Whether you opt for a dedicated rack or stand, wall hooks, protective tire bags or totes, or tire racks and shelving units, ensure that the rims are stored in a cool, dry, and well-ventilated area. Regularly inspect the rims and the storage methods you choose to prevent any issues and maintain the rims’ longevity and performance.
By following the best practices outlined in this guide, including cleaning the rims, keeping them separate from tires, choosing a suitable storage location, utilizing protective coverings, and periodic maintenance, you can ensure that your stored rims remain in excellent condition and are ready for use whenever you need them.
Now that you have the knowledge and tools to store your rims effectively, it’s time to put it into practice. Take care of your rims, and they will continue to enhance the appearance and performance of your vehicle. Happy rim storage!
Once you've got those rims neatly stored, why not tackle that cluttered garage next? Our upcoming guide on garage storage solutions will walk you through the top picks to keep your garage organized, accessible, and looking sharp. Whether you're storing tools, seasonal decor, or sports equipment, we've got insights that'll turn your garage into a well-oiled machine. Don't miss out on transforming your space into a model of efficiency!
Frequently Asked Questions about How To Store Rims Without Tires
Was this page helpful?
At Storables.com, we guarantee accurate and reliable information. Our content, validated by Expert Board Contributors, is crafted following stringent Editorial Policies. We're committed to providing you with well-researched, expert-backed insights for all your informational needs.


0 thoughts on “How To Store Rims Without Tires”