Home>Furniture & Design>Interior Design Trends>How To Rim A Glass With Salt
Interior Design Trends
How To Rim A Glass With Salt
Modified: February 28, 2024
Learn how to rim a glass with salt and stay updated on the latest interior design trends. Enhance your home decor with expert tips and ideas. Discover more!
(Many of the links in this article redirect to a specific reviewed product. Your purchase of these products through affiliate links helps to generate commission for Storables.com, at no extra cost. Learn more)
Introduction
Rimming a glass with salt is a simple yet impactful technique that adds a delightful touch to cocktails, particularly margaritas and other mixed drinks. This process involves coating the rim of a glass with salt, creating a visually appealing presentation and enhancing the overall flavor experience. Whether you're a seasoned bartender or a home mixologist, mastering the art of rimming a glass with salt can elevate your drink preparation skills and impress your guests.
The salt-rimmed glass not only serves as an aesthetic enhancement but also contributes to the sensory experience of enjoying a cocktail. The combination of the salt's texture and taste as it meets the lips with each sip can complement the flavors of the beverage, creating a harmonious balance that tantalizes the palate. Additionally, the visual appeal of a salt-rimmed glass adds a touch of sophistication and allure to the drink, making it all the more enticing.
In this guide, we will walk you through the step-by-step process of rimming a glass with salt, providing you with the knowledge and confidence to execute this technique flawlessly. By following these simple instructions and using the right materials, you can effortlessly elevate the presentation and flavor profile of your favorite cocktails, leaving a lasting impression on those who indulge in your creations.
Rimming a glass with salt is a small detail that can make a big difference in the overall drinking experience. Whether you're hosting a gathering, enjoying a quiet evening at home, or honing your bartending skills, mastering this technique will undoubtedly enhance your appreciation for the art of mixology. So, let's dive into the materials needed and the step-by-step process to achieve the perfect salt-rimmed glass for your next cocktail creation.
Key Takeaways:
- Elevate your cocktail game by mastering the art of rimming a glass with salt. It adds sophistication and enhances the flavor, making every sip a tantalizing experience.
- Attention to detail is key in creating visually stunning and flavor-enhanced cocktails. Rimming a glass with salt adds a touch of elegance and allure, leaving a lasting impression on your guests.
Read more: How To Rim A Glass With Tajin
Materials Needed
To successfully rim a glass with salt, you will need a few essential materials to ensure a seamless and visually appealing result. Here's what you'll need:
-
Cocktail Glass: Select the appropriate glassware for the specific cocktail you are preparing. The most common choice for salt-rimmed drinks is the margarita glass, but other options include martini glasses, Collins glasses, or any other vessel that complements the beverage you are serving.
-
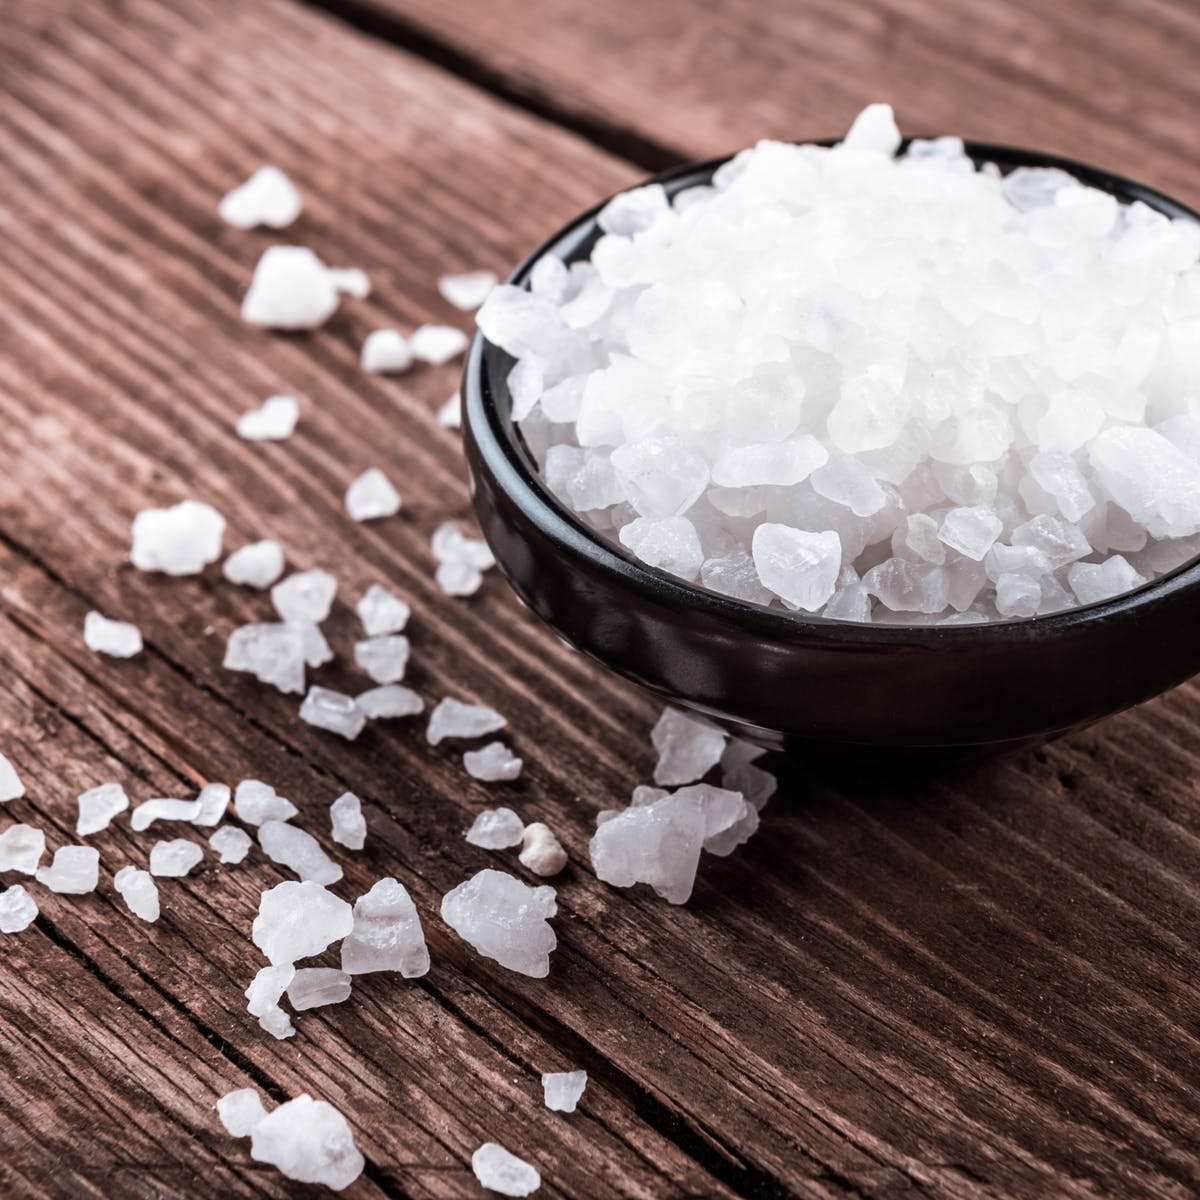
Salt: Opt for high-quality salt, such as kosher salt or sea salt, to achieve the best results. The coarse texture of these salts adheres well to the glass and provides a satisfying sensory experience when sipping the drink. Avoid using table salt, as its fine texture may not create the desired visual and textural effect.
-
Plate or Dish: Choose a plate or shallow dish that is wider than the rim of the glass. This will provide ample space for coating the rim without making a mess. The plate should be wide enough to accommodate the entire rim of the glass to ensure an even coating of salt.
-
Lime or Lemon Wedge: A fresh lime or lemon wedge is essential for moistening the rim of the glass. The natural acidity of the citrus fruit not only helps the salt adhere to the glass but also adds a subtle citrus aroma and flavor to the drink, enhancing the overall sensory experience.
-
Cocktail Ingredients: Of course, you'll also need the ingredients for the cocktail you are preparing. Whether it's tequila for a classic margarita, vodka for a Bloody Mary, or any other spirit, having the cocktail components on hand is crucial for completing the drink after rimming the glass.
By gathering these materials, you'll be well-equipped to create a beautifully rimmed glass that enhances the presentation and enjoyment of your cocktails. With the right glassware, salt, citrus, and cocktail ingredients at your disposal, you can confidently embark on the process of rimming a glass with salt, adding a touch of elegance and flavor to your beverage creations.
Step 1: Prepare the Glass
Before embarking on the process of rimming a glass with salt, it's essential to ensure that the glass is clean and free of any residue that may interfere with the salt adhesion or affect the presentation of the cocktail. Follow these steps to prepare the glass for the rimming process:
-
Select the Glassware: Choose the appropriate glass for the specific cocktail you are preparing. The shape and size of the glass should complement the drink, enhancing both its visual appeal and the overall drinking experience. For instance, margaritas are traditionally served in wide, shallow glasses with a broad rim, while martinis are best presented in stemmed cocktail glasses. Selecting the right glassware sets the stage for a visually stunning and enjoyable cocktail presentation.
-
Inspect for Cleanliness: Thoroughly examine the glass for any dust, fingerprints, or lingering odors. If the glass has been stored for some time, it's advisable to wash it with mild dish soap and water to ensure it is pristine and odor-free. Rinse the glass thoroughly and allow it to air dry or gently pat it dry with a lint-free cloth to avoid leaving behind any fibers or lint.
-
Check the Rim: Carefully inspect the rim of the glass to ensure it is free of any chips or cracks. A smooth, intact rim is crucial for achieving a flawless salt application and preventing any safety hazards while enjoying the cocktail. If you notice any imperfections, select a different glass to ensure a seamless rimming process.
By meticulously preparing the glass for the salt-rimming procedure, you set the stage for a visually appealing and hygienic cocktail presentation. This attention to detail not only enhances the overall aesthetic of the drink but also demonstrates a commitment to quality and craftsmanship in the art of mixology. With the glassware in optimal condition, you are now ready to proceed to the next step of rimming the glass with salt, adding an extra layer of sophistication and flavor to your cocktail creations.
Step 2: Add Salt to Plate
Adding salt to the plate is a crucial step in the process of rimming a glass with salt, as it sets the foundation for achieving an even and well-coated rim. This step requires precision and attention to detail to ensure that the salt adheres to the glass rim effectively. Here's a detailed guide on how to add salt to the plate for the rimming process:
-
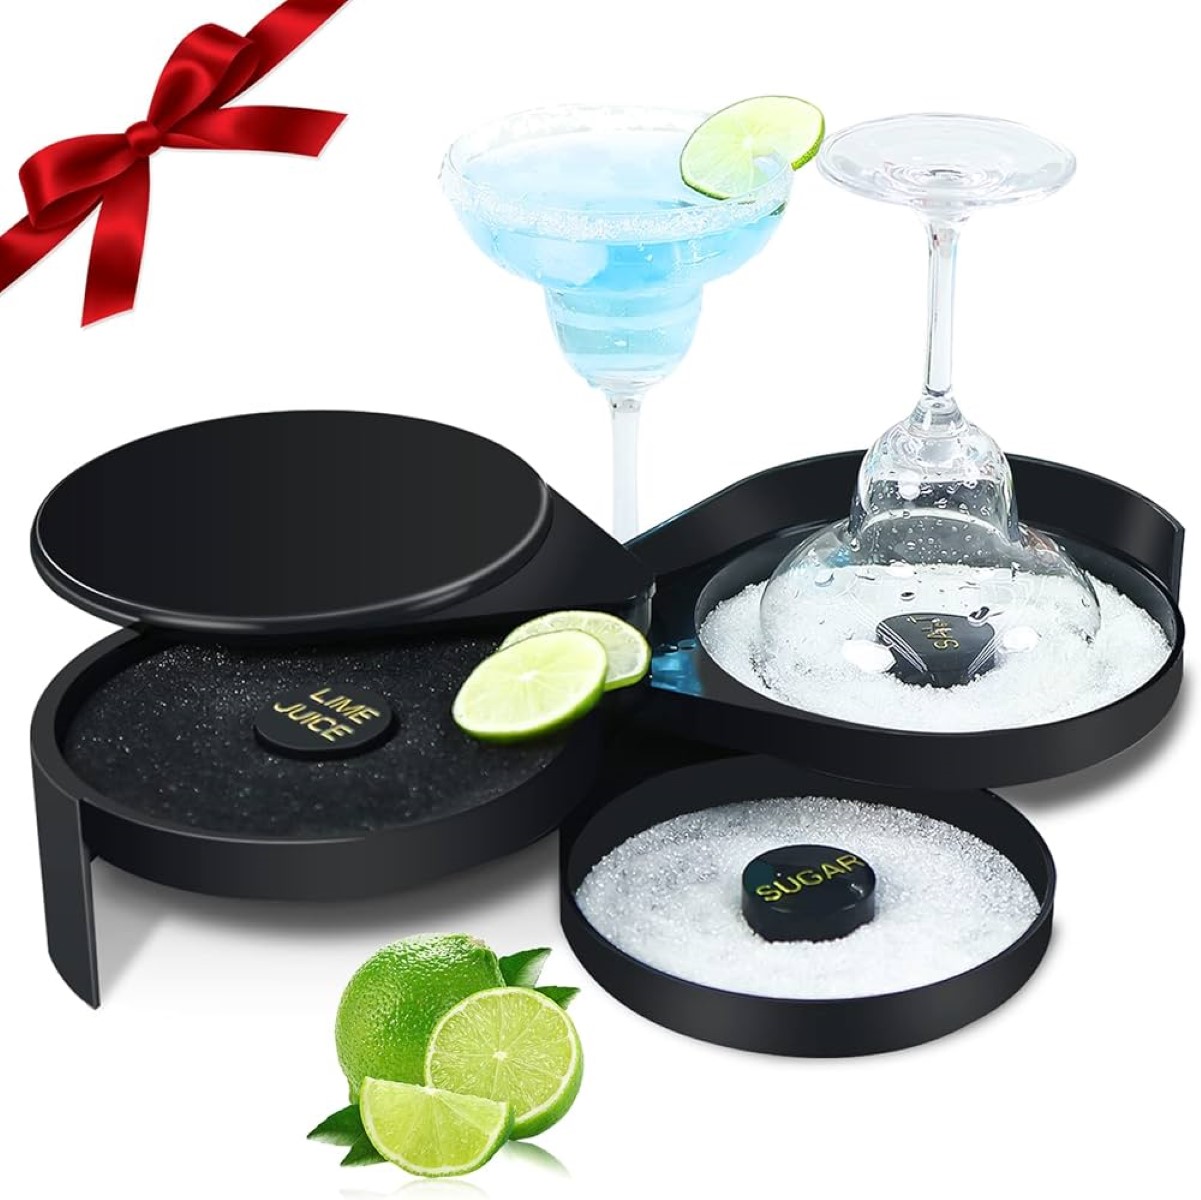
Select the Plate: Choose a plate or shallow dish that is wider than the rim of the glass. The plate should have a flat surface with a slight lip or rim to prevent the salt from spilling over. Opt for a plate that provides ample space for maneuvering the glass and allows for easy access to the entire rim without causing spillage.
-
Pour Salt onto the Plate: Take the selected plate and pour a small amount of salt onto it. The quantity of salt should be sufficient to cover the entire rim of the glass without excessive waste. It's essential to pour the salt in a circular mound, ensuring that it spreads evenly across the surface of the plate.
-
Spread the Salt: Gently tilt and rotate the plate to spread the salt into an even layer. The goal is to create a thin, uniform coating of salt on the plate's surface, allowing for easy and consistent rimming of the glass. Ensure that the salt is distributed evenly to avoid clumps or bare spots, which may result in an uneven application on the glass rim.
-
Inspect the Salt Coverage: Once the salt is spread across the plate, visually inspect it to confirm that the entire surface is adequately covered. Use a gentle touch to smooth out any uneven areas and redistribute the salt as needed to achieve a uniform layer. This meticulous approach ensures that the salt adheres seamlessly to the glass rim, enhancing the overall presentation of the cocktail.
By following these detailed steps to add salt to the plate, you establish the groundwork for a successful rimming process. The careful selection of the plate, precise salt pouring, and thorough spreading technique contribute to achieving a visually stunning and evenly salted glass rim. With the salt prepared on the plate, you are now ready to proceed to the next step of rimming the glass, bringing your cocktail creation one step closer to perfection.
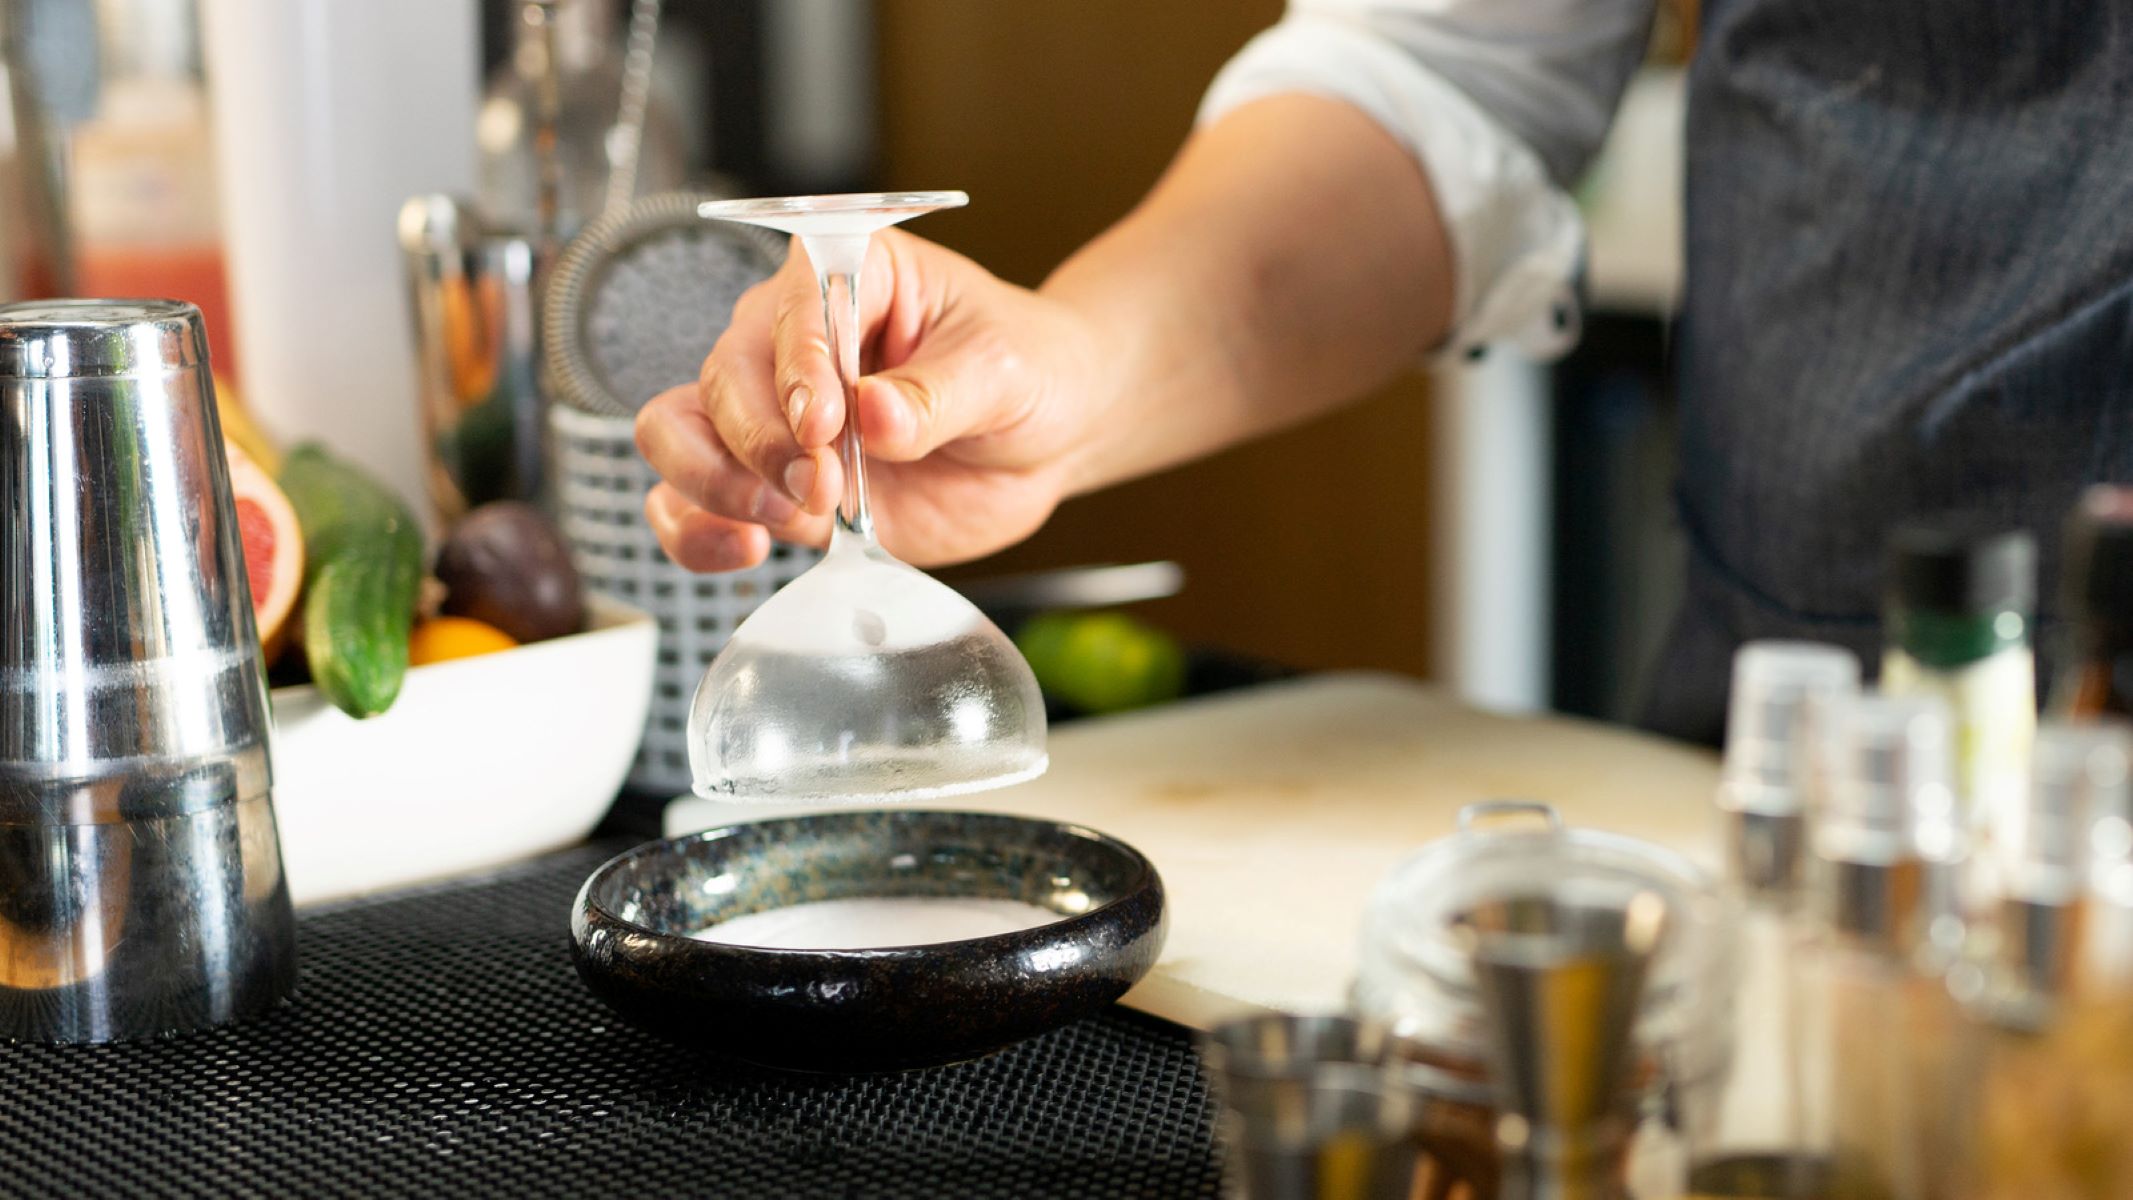
To rim a glass with salt, first moisten the rim with a lime or lemon wedge. Then, dip the rim into a shallow dish of salt, rotating it to coat evenly. This works well for margaritas and other cocktails.
Step 3: Rim the Glass
Rimming the glass with salt is the pivotal moment that transforms a regular cocktail into a visually striking and flavor-enhanced creation. This step requires precision and finesse to ensure that the salt adheres seamlessly to the glass rim, creating an enticing presentation and adding a delightful dimension to the drinking experience. Here's a detailed guide on how to expertly rim the glass with salt:
-
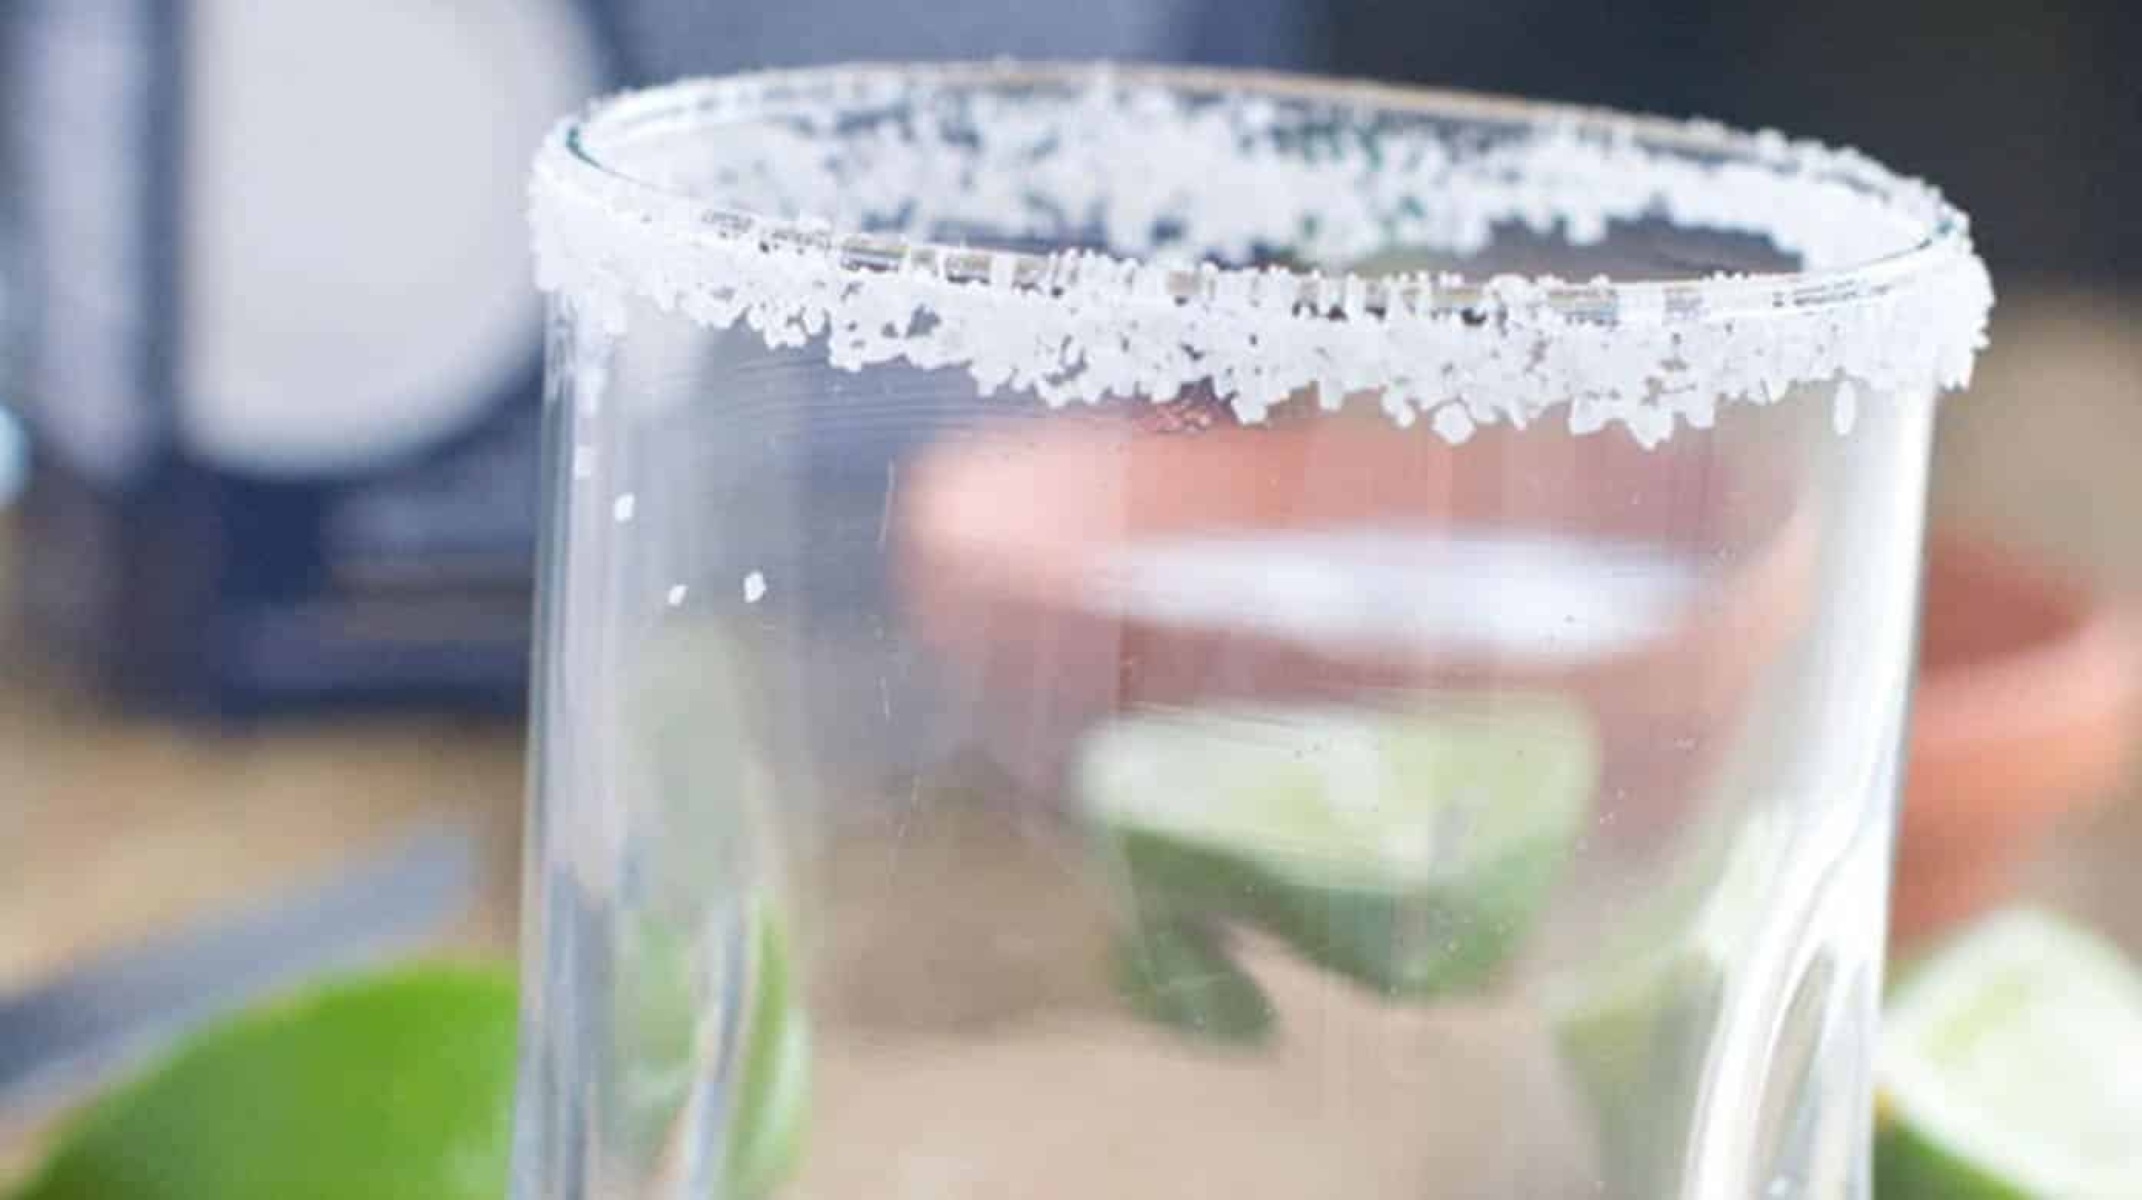
Moisten the Glass Rim: Take a fresh lime or lemon wedge and gently run it along the outer edge of the glass rim. The natural moisture from the citrus fruit serves as the adhesive for the salt, allowing it to adhere to the glass securely. Ensure that the entire rim is moistened evenly, as this step is crucial for the salt to stick effectively.
-
Invert the Glass onto the Salt: Holding the glass at a slight angle, carefully invert it and place the moistened rim onto the prepared plate of salt. Gently press and rotate the glass to ensure that the entire rim comes into contact with the salt. The angle at which the glass is held can influence the width of the salt rim, so adjust it according to your preference for salt coverage.
-
Twist and Coat the Rim: With the glass rim pressed against the salt, twist the glass in a circular motion, ensuring that the entire circumference of the rim is coated evenly. The goal is to create a uniform layer of salt that adheres securely to the moistened surface. This twisting motion helps distribute the salt evenly and prevents clumping or uneven coverage.
-
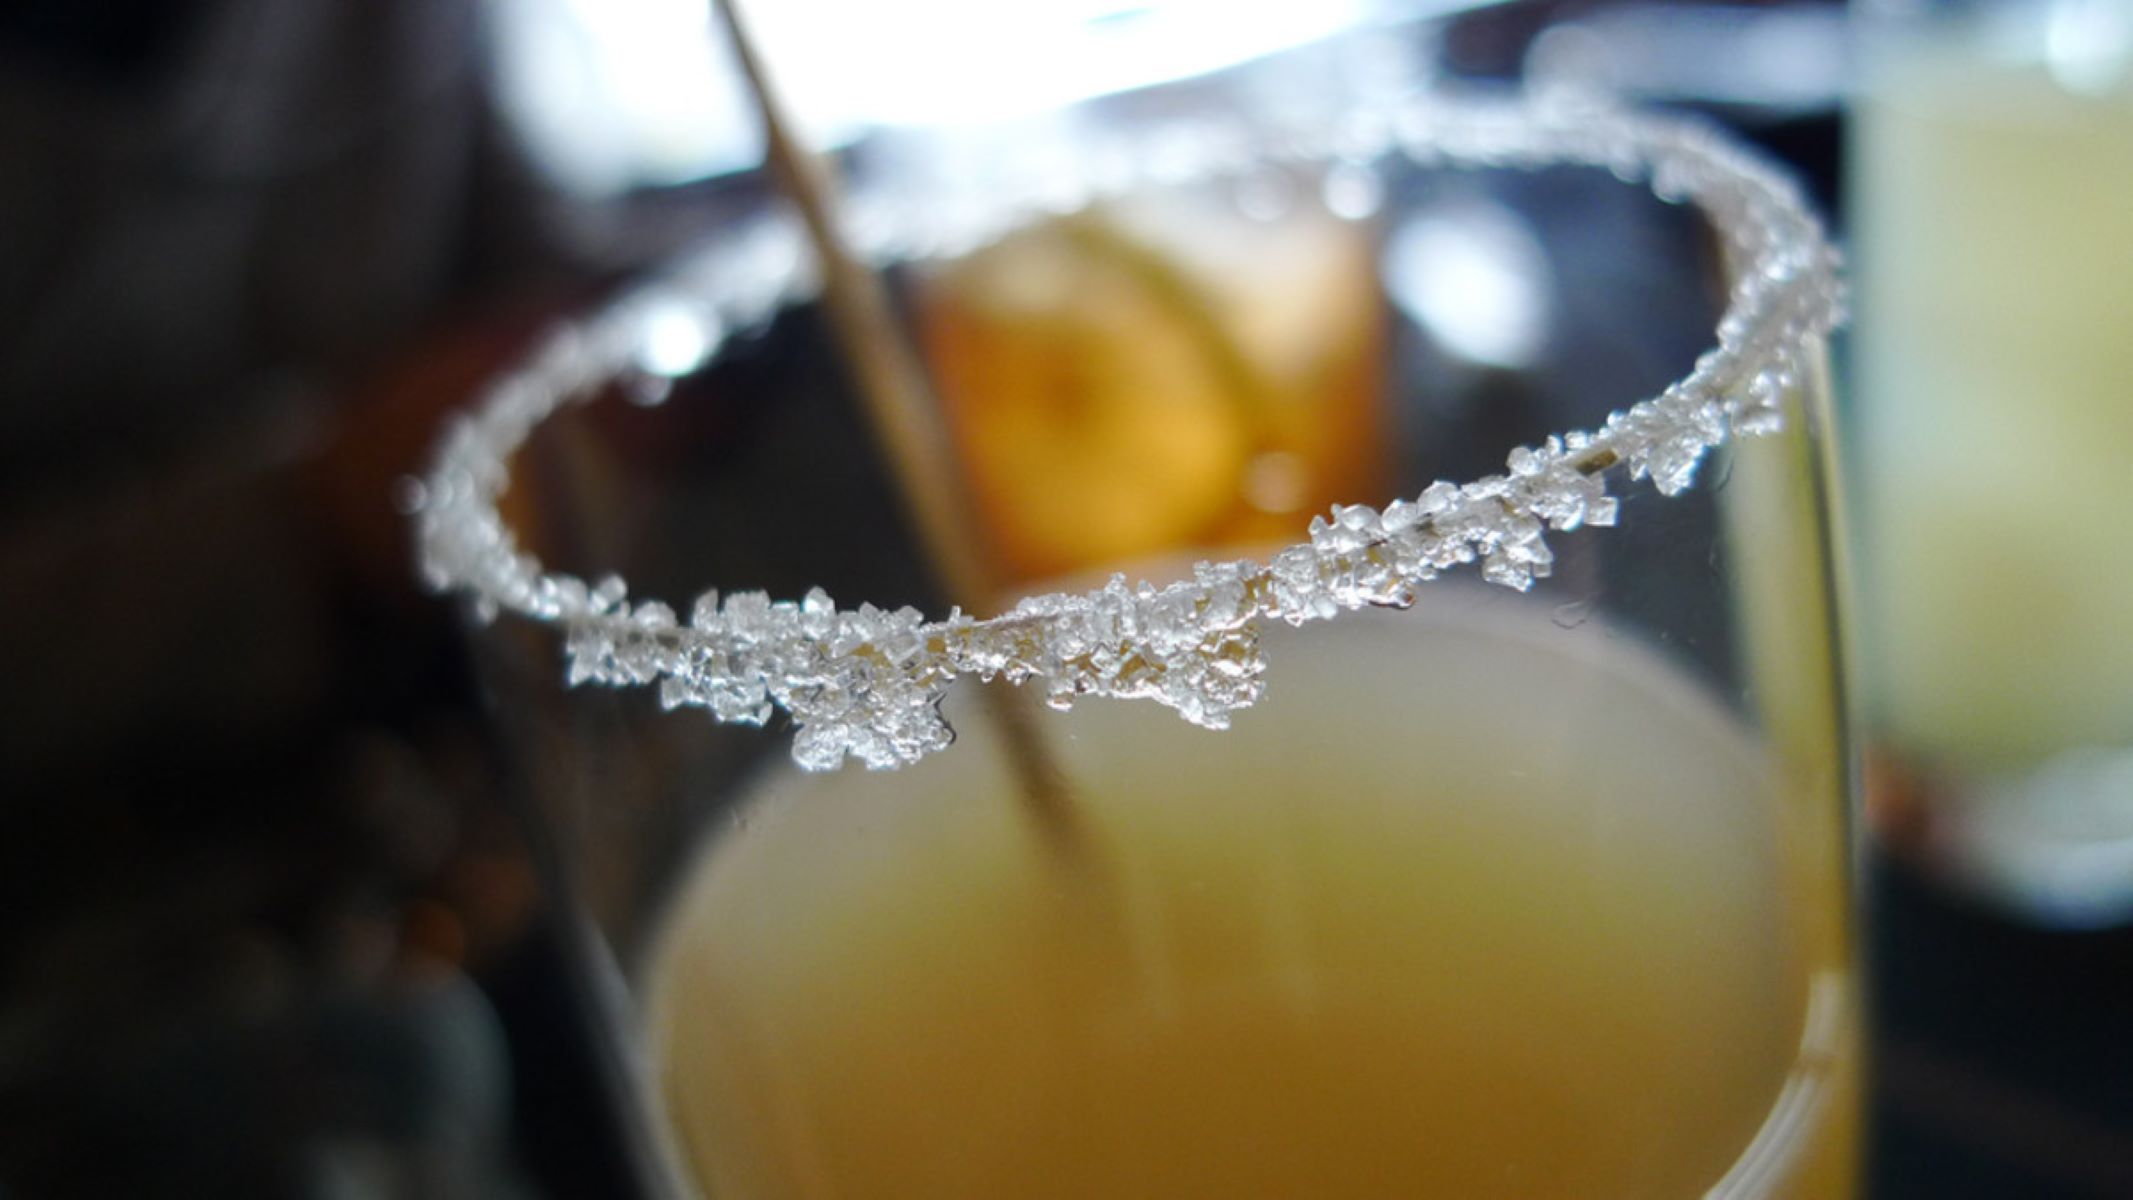
Lift and Inspect: Once the rim is thoroughly coated with salt, carefully lift the glass and hold it at eye level to inspect the coverage. Ensure that the salt adheres uniformly to the rim, creating a visually appealing and well-defined border. If any areas require additional salt, gently press the rim onto the plate to touch up the coverage as needed.
By following these meticulous steps to rim the glass with salt, you elevate the presentation and sensory experience of the cocktail. The precise application of salt adds a touch of sophistication and flavor to the drink, setting the stage for a memorable and visually stunning beverage. With the glass rim expertly coated, your cocktail is now ready to be filled with the delicious concoction, allowing the salt-rimmed glass to enhance every sip with its visual and textural allure.
Read more: How To Rim A Margarita Glass
Step 4: Shake off Excess Salt
After expertly rimming the glass with salt, the final step involves shaking off any excess salt to achieve a pristine presentation and ensure a balanced flavor experience. This crucial step requires finesse and attention to detail to maintain the visual appeal of the salt-rimmed glass while preventing an overwhelming saltiness that may detract from the cocktail's overall taste.
To shake off the excess salt, gently hold the glass at a slight angle over the sink or trash receptacle, allowing the force of gravity to assist in dislodging any loose salt particles. With a subtle and controlled motion, tap the base or side of the glass to encourage the excess salt to fall away. It's important to maintain a gentle touch to avoid dislodging the salt that has adhered securely to the rim during the previous steps.
As you tap the glass, observe the salt particles falling away, ensuring that the rim remains evenly coated while eliminating any loose or excessive salt. This delicate process allows for precise control over the salt distribution, resulting in a beautifully rimmed glass that strikes the perfect balance between visual appeal and flavor enhancement.
Once you have shaken off the excess salt, take a moment to inspect the rim and make any necessary adjustments. If you notice any areas with an uneven salt distribution or lingering loose particles, gently pat the rim with a clean, dry finger to remove the excess salt while maintaining the desired coverage.
By executing this final step with care and precision, you ensure that the salt-rimmed glass presents a visually stunning border that enhances the overall aesthetic of the cocktail. Additionally, the controlled removal of excess salt contributes to a harmonious flavor profile, allowing the salt to complement the drink without overpowering its inherent flavors.
With the excess salt effectively shaken off, the salt-rimmed glass is now primed to hold your carefully crafted cocktail, ready to delight the senses with its captivating presentation and nuanced flavor experience. This meticulous attention to detail in the salt-rimming process reflects a commitment to excellence in mixology, elevating the art of cocktail preparation to new heights of sophistication and allure.
Conclusion
In conclusion, mastering the art of rimming a glass with salt is a simple yet impactful technique that elevates the presentation and flavor experience of cocktails. By following the step-by-step process outlined in this guide and using the essential materials, you can effortlessly enhance the visual appeal and sensory allure of your favorite mixed drinks.
Rimming a glass with salt goes beyond mere aesthetics; it adds a layer of sophistication and complexity to the drinking experience. The combination of the salt's texture and taste as it meets the lips with each sip can complement the flavors of the beverage, creating a harmonious balance that tantalizes the palate. Additionally, the visual appeal of a salt-rimmed glass adds a touch of elegance and allure to the drink, making it all the more enticing.
The meticulous attention to detail in preparing the glass, adding salt to the plate, rimming the glass, and shaking off excess salt reflects a commitment to excellence in mixology. This dedication to craftsmanship and presentation sets the stage for an unforgettable cocktail experience, leaving a lasting impression on those who indulge in your creations.
By incorporating the right glassware, high-quality salt, fresh citrus, and precise technique, you can transform an ordinary cocktail into a visually stunning and flavor-enhanced masterpiece. Whether you're hosting a gathering, enjoying a quiet evening at home, or honing your bartending skills, mastering the art of rimming a glass with salt will undoubtedly enhance your appreciation for the art of mixology.
As you continue to explore the world of cocktail preparation, remember that the small details, such as rimming a glass with salt, can make a significant difference in the overall drinking experience. Embrace the opportunity to experiment with different salts, citrus varieties, and glassware to create unique and captivating presentations that reflect your creativity and attention to detail.
With the knowledge and confidence gained from this guide, you are well-equipped to embark on the journey of enhancing your cocktail creations through the artful and precise technique of rimming a glass with salt. Cheers to elevating the enjoyment of cocktails through the thoughtful and visually stunning addition of a perfectly salt-rimmed glass!
Frequently Asked Questions about How To Rim A Glass With Salt
Was this page helpful?
At Storables.com, we guarantee accurate and reliable information. Our content, validated by Expert Board Contributors, is crafted following stringent Editorial Policies. We're committed to providing you with well-researched, expert-backed insights for all your informational needs.


0 thoughts on “How To Rim A Glass With Salt”