Articles
How To Store Salad
Modified: October 20, 2024
Discover effective methods to store salad and keep it fresh for longer. Read our informative articles to learn smart tips and tricks for salad storage today!
(Many of the links in this article redirect to a specific reviewed product. Your purchase of these products through affiliate links helps to generate commission for Storables.com, at no extra cost. Learn more)
Introduction
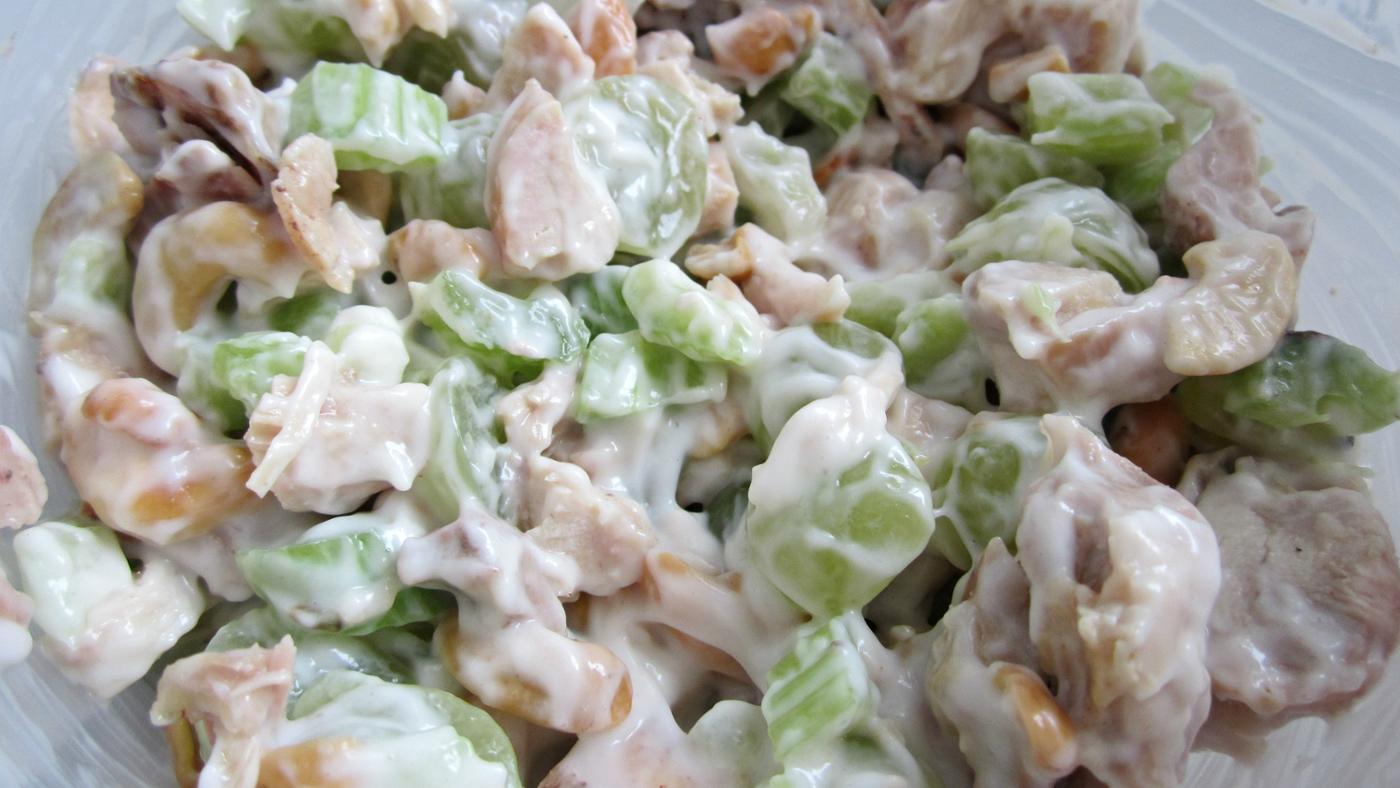
Salads are an essential part of a healthy diet, providing a myriad of nutrients and a refreshing burst of flavors. Whether it’s a simple green salad or a complex mix of vegetables, fruits, and protein, proper storage plays a crucial role in maintaining the freshness and quality of your salad. Nothing is more disappointing than reaching for a salad only to find wilted greens or soggy vegetables.
In this article, we will explore the importance of proper salad storage and provide you with expert tips on how to store and keep your salad fresh for longer periods. By following these guidelines, you can enjoy crisp and delicious salads throughout the week, saving you time and ensuring you get the most out of your ingredients.
Key Takeaways:
- Proper salad storage is essential for maintaining freshness, texture, and flavors. Choose airtight containers, store leafy greens properly, and keep dressing separate to enjoy crisp and delicious salads throughout the week.
- Prepping in advance, storing ingredients separately, and using airtight containers are key to keeping salads fresh and vibrant. Follow these expert tips to savor the freshness of your salads with every bite.
Read more: How To Store Salad Mix
Why is Proper Salad Storage Important?
Proper salad storage is crucial for several reasons. Firstly, it helps to maintain the freshness and texture of the ingredients. When greens and vegetables are stored incorrectly, they can wilt, become limp, and lose their natural crunchiness. This not only affects the taste and visual appeal of the salad but also diminishes its nutritional value.
Secondly, storing salad properly helps to prevent the growth of bacteria and the spread of foodborne illnesses. Salad ingredients, especially leafy greens, are prone to contamination. By following proper storage techniques, you can minimize the risk of bacterial growth and ensure the safety of your salad.
Lastly, storing salad correctly can help you save time and reduce food waste. With proper storage, you can prepare a large batch of salad in advance and enjoy it throughout the week. This is especially beneficial for individuals with busy schedules or those who want to make healthy eating convenient.
By understanding the importance of proper salad storage, you can make the most out of your ingredients, maintain their freshness, and ensure the safety of your salads.
Choosing the Right Container for Storing Salad
When it comes to storing salad, choosing the right container is essential to keep your ingredients fresh and prevent them from getting mushy or wilted. Here are some tips on selecting the right container for storing your salad:
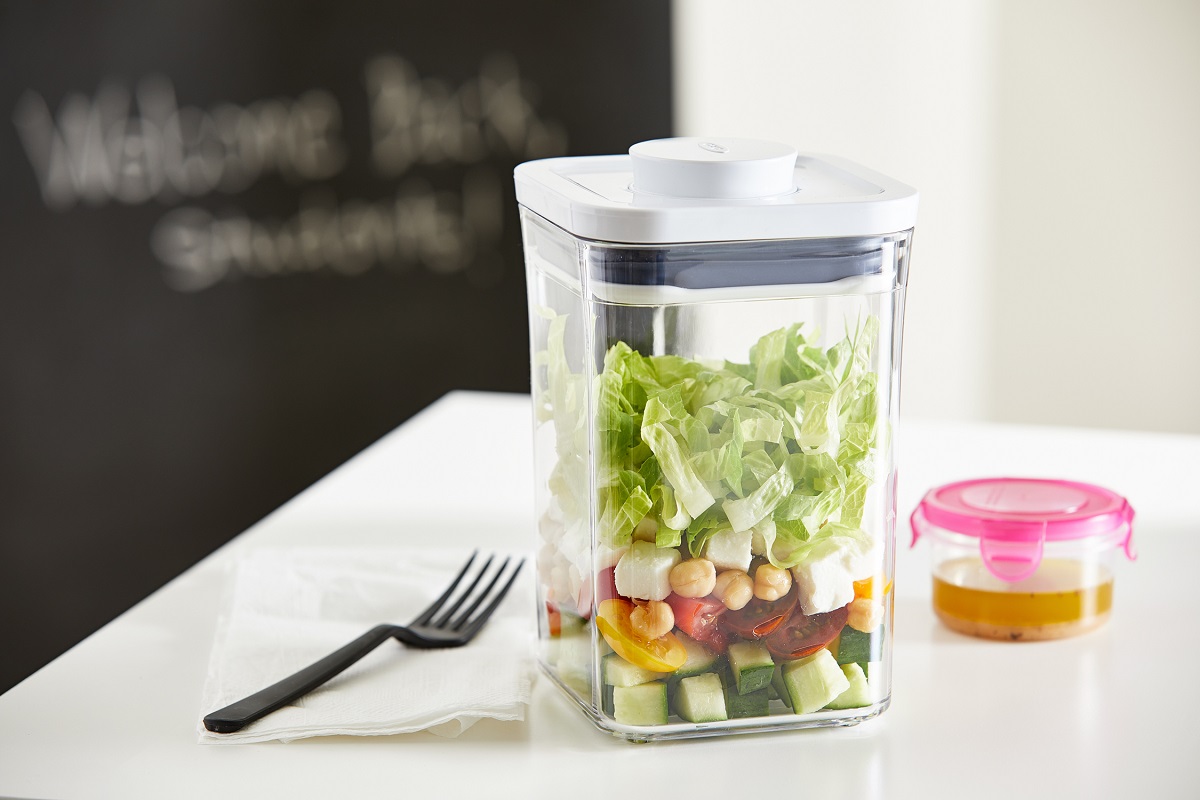
1. Airtight Containers: Opt for airtight containers that can effectively seal in the freshness and prevent moisture from accumulating. Look for containers with secure lids to ensure a tight seal.
2. BPA-Free Containers: Choose containers that are free from Bisphenol A (BPA) to ensure food safety. BPA can leach into the food and has been linked to certain health risks, so it is important to choose BPA-free containers for storing salads and other foods.
3. Size and Shape: Consider the size and shape of the container based on your salad portions. Ideally, choose a container that is slightly larger than the volume of your salad to allow room for tossing and mixing without spilling over.
4. Material: Glass or BPA-free plastic containers are popular choices for storing salads. Glass containers are durable, non-toxic, and can be easily cleaned. BPA-free plastic containers are lightweight and more convenient for on-the-go salads.
5. Compartments: If you prefer to store your salad ingredients separately, look for containers with compartments. This allows you to keep the dressing, toppings, and greens separate until you are ready to enjoy it. Simply mix it all together when you are ready to eat.
Remember, the container you choose should be practical, convenient, and suitable for your specific needs. By selecting the right container, you can keep your salad ingredients fresh and prevent them from getting soggy or spoiled.
Preparing and Storing Leafy Greens
Leafy greens, such as lettuce, spinach, and kale, are common ingredients in salads. Here are some tips on how to prepare and store them to maintain their freshness:
1. Cleaning: Start by rinsing the greens with cold water to remove any dirt or debris. Gently pat them dry with a paper towel or use a salad spinner to remove excess moisture. This helps to prevent wilting and the growth of bacteria.
2. Trim and Tear: Trim off any tough stems or discolored leaves from the greens. Tear the leaves into bite-sized pieces to make them easier to handle and eat. Avoid using a knife, as it can cause bruising and accelerate wilting.
3. Storage in the Fridge: Place the cleaned and dried greens in an airtight container lined with a paper towel. The paper towel helps to absorb excess moisture and keeps the greens crisp. Seal the container tightly and store it in the refrigerator.
4. Proper Temperature: Leafy greens are sensitive to temperature changes. Keep your fridge temperature between 36°F and 40°F (2°C and 4°C) to maintain the freshness and crispiness of the greens. Avoid storing them near the back of the fridge, as that area tends to be colder.
5. Storage Duration: Leafy greens are best consumed within a few days for optimal freshness. However, if they start to wilt or show signs of spoilage, it’s best to discard them to avoid potential foodborne illnesses.
By following these tips, you can ensure that your leafy greens stay fresh and retain their vibrant colors, making them perfect for your salads and other dishes.
To store salad, make sure to dry the leaves thoroughly before placing them in an airtight container with a paper towel to absorb excess moisture. This will help keep the salad fresh for longer.
Storing Chopped Vegetables and Toppings
In addition to leafy greens, salads often include various chopped vegetables and toppings. Properly storing these ingredients is essential to maintain their freshness and prevent them from losing their texture and flavor. Here are some tips on storing chopped vegetables and toppings for your salads:
1. Prepping in Advance: If you like to prep your vegetables in advance, make sure to store them properly. Chop the vegetables into uniform sizes and store them in airtight containers to prevent moisture loss and keep them crisp.
2. Separating Ingredients: To prevent sogginess and maintain the individual flavors and textures, store different vegetables and toppings separately. This is especially important for ingredients like tomatoes, cucumbers, and carrots, which can release moisture and cause other ingredients to become soggy.
3. Airtight Containers: Use airtight containers to store your chopped vegetables and toppings. This will help to preserve their freshness and prevent them from absorbing odors from other foods in the fridge.
4. Labeling: If you have multiple containers or different types of toppings, it’s a good idea to label them. Clearly labeling the containers will help you easily identify and locate the specific ingredients you need for your salads.
5. Toppings: For toppings like nuts, seeds, or croutons, it’s best to store them separately and add them to your salad just before serving. This will maintain their crunchiness and prevent them from becoming soggy.
By following these storage tips, you can keep your chopped vegetables and toppings fresh and enhance the overall taste and texture of your salads. With properly stored ingredients, your salads will be bursting with flavors and ready to enjoy whenever you’re craving a healthy meal.
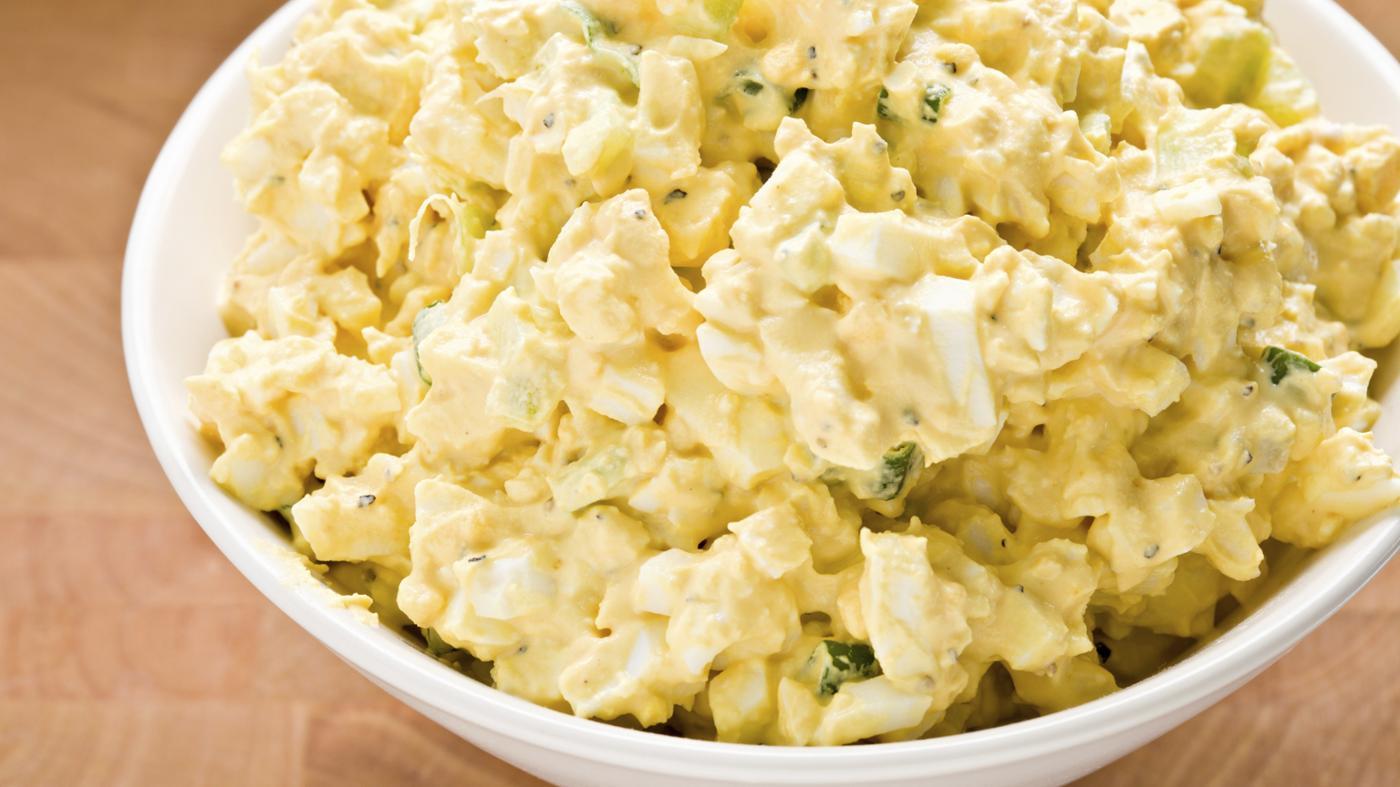
Read more: How To Store Egg Salad
Dressing Storage Tips
The dressing is an essential element of any salad, adding flavor and enhancing the overall taste. To ensure that your dressing stays fresh and maintains its quality, here are some helpful tips for storing it:
1. Refrigeration: Most salad dressings contain perishable ingredients, such as dairy or mayonnaise, that require refrigeration. Always check the label and refrigerate any dressings that specify the need for cold storage. Homemade dressings should also be stored in the refrigerator.
2. Airtight Containers: Transfer your dressing into a clean, airtight container before storing it in the refrigerator. This helps to maintain its flavor, prevent oxidation, and keep it from picking up any odors from other foods.
3. Date and Label: Remember to label your dressing container with the date it was made or opened. This will help you keep track of its freshness and avoid using expired dressing that may have spoiled.
4. Shelf Life: Pay attention to the shelf life of your dressings, whether store-bought or homemade. While commercially prepared dressings usually have a longer shelf life, homemade dressings with perishable ingredients should generally be consumed within a week.
5. Shake Before Using: Before using your refrigerated dressing, give it a good shake or stir. This helps to incorporate any separated ingredients and ensures that the flavors are well-blended.
6. Freezing Dressing: If you have excess dressing that you won’t consume within the recommended timeframe, you can freeze it. Pour the dressing into an airtight container, leaving a little room at the top for expansion, and freeze it. Just remember to thaw it in the refrigerator before using, and give it a thorough stir or shake before serving.
By following these dressing storage tips, you can keep your dressings fresh, flavorful, and ready to enhance your salads whenever you need them.
Tips for Keeping Salad Fresh
Keeping your salad fresh and crisp is essential for an enjoyable eating experience. Follow these tips to maximize the freshness and longevity of your salads:
1. Prepping in Advance: Consider prepping your salad ingredients but assembling the salad just before serving. This helps to prevent wilting, especially if you’re using delicate greens like lettuce or spinach.
2. Dry Greens Thoroughly: After washing your greens, make sure to dry them thoroughly to remove excess moisture. Wet greens can lead to a soggy salad. Use a salad spinner or pat them dry with a kitchen towel or paper towel.
3. Store Dressing Separately: Rather than dressing the entire salad in advance, store the dressing separately. This prevents the greens from becoming soggy and allows you to control the amount of dressing you add to each serving.
4. Toss Just Before Serving: If you prefer to dress your salad in advance, hold off on tossing it until just before serving. This helps to maintain the freshness and prevent the dressing from making the greens wilt prematurely.
5. Keep Ingredients Separate: If you’re packing a salad for lunch or a picnic, keep the wet ingredients, such as tomatoes or cucumber slices, separate from the greens. This prevents the greens from becoming soggy before you’re ready to eat.
6. Use Air-Tight Containers: When storing your prepped salad in the refrigerator, use air-tight containers or cover the salad bowl tightly with plastic wrap. This helps to maintain freshness and prevents the absorption of odors from other foods.
7. Avoid Overcrowding: Avoid overcrowding your salad container or bowl, as this can lead to moisture buildup and faster spoilage. Leave some room for the ingredients to breathe and stay crisp.
8. Store Delicate Ingredients Separately: If you’re including delicate ingredients like avocado or hard-boiled eggs in your salad, store them separately and add them just before serving. This helps to prevent them from getting mushy or discolored.
9. Revive with Citrus: If your salad greens start to wilt, you can revive them by squeezing some fresh citrus juice, like lemon or lime, over the salad. The acid helps to perk up the greens and bring back some of their crispness.
By following these tips, you can keep your salad fresh, vibrant, and ready to enjoy whenever you’re craving a nutritious and delicious meal.
Conclusion
Proper salad storage is crucial to maintain the freshness, texture, and flavors of your ingredients. By following the tips outlined in this article, you can ensure that your salads remain crisp, delicious, and safe to consume.
Choosing the right container for storing your salad is the first step towards preserving its quality. Opt for airtight containers that keep moisture out and maintain the freshness of your ingredients. Additionally, consider using separate compartments to store dressings and toppings to prevent them from spoiling the greens prematurely.
When it comes to leafy greens, proper cleaning, trimming, and storing in the refrigerator are essential. Keeping them dry, in an airtight container, and at the proper temperature will help maintain their crispness and prevent wilting.
Chopped vegetables and salad toppings should be stored separately in airtight containers to prevent sogginess and maintain their flavors and textures. Labeling the containers will aid in easy identification and retrieval when assembling your salads.
Salad dressings, whether store-bought or homemade, should be refrigerated in airtight containers to preserve their freshness. Shake or stir them before using to ensure the ingredients are well mixed.
Finally, by following tips for keeping salads fresh, such as prepping in advance, tossing just before serving, and storing ingredients separately, you can enjoy salads that remain crisp and flavorful for longer periods.
Remember, with proper storage techniques, your salads can be a convenient and healthy option for busy individuals and a delightful addition to any meal. So, take these tips into consideration and savor the freshness of your salads with every bite.
Frequently Asked Questions about How To Store Salad
Was this page helpful?
At Storables.com, we guarantee accurate and reliable information. Our content, validated by Expert Board Contributors, is crafted following stringent Editorial Policies. We're committed to providing you with well-researched, expert-backed insights for all your informational needs.


0 thoughts on “How To Store Salad”