Articles
How To Store Scones After Baking
Modified: May 6, 2024
Learn the best methods for storing freshly baked scones in this informative article. Discover tips and tricks to keep your scones fresh and delicious for longer.
(Many of the links in this article redirect to a specific reviewed product. Your purchase of these products through affiliate links helps to generate commission for Storables.com, at no extra cost. Learn more)
Introduction
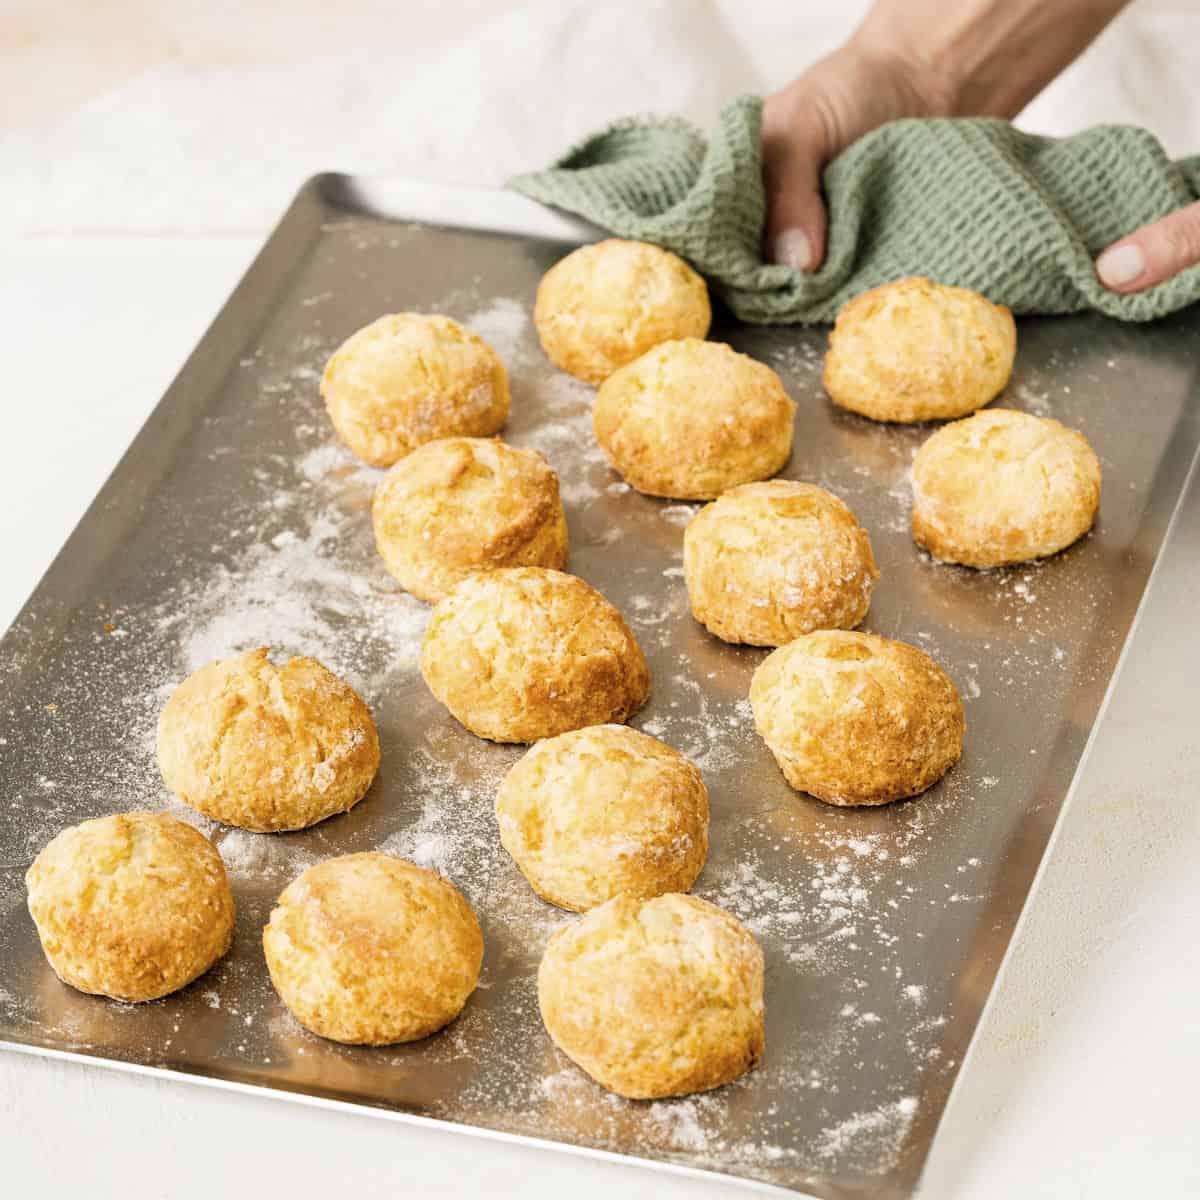
Welcome to the world of freshly baked scones! These delectable treats are a popular choice for breakfast, brunch, or even a delightful afternoon tea. However, once you’ve indulged in the decadent goodness, you might find yourself wondering how to store scones to maintain their freshness and taste for longer periods.
Proper storage is essential to ensure that your scones remain soft, moist, and delicious. In this article, we’ll explore the importance of storing scones correctly and provide you with expert tips and techniques to extend their shelf life.
Whether you’re an avid baker looking to preserve your homemade scones or simply a scone enthusiast who wants to make the most of store-bought options, understanding how to store scones effectively can make all the difference. By following the recommended storage methods and implementing a few simple tricks, you can enjoy the delightful melt-in-your-mouth texture of scones whenever you please.
So, without further ado, let’s dig into the ins and outs of storing scones and discover how to keep these delectable treats fresh for as long as possible!
Key Takeaways:
- Proper storage is crucial for maintaining the freshness and taste of scones. Consider factors like air exposure, moisture, and temperature to preserve their quality and enjoy them for longer.
- Storing scones at room temperature is ideal for short-term freshness, while freezing extends their shelf life. Follow recommended methods and tips to ensure your scones remain delicious and ready to enjoy whenever the craving strikes.
Read more: How To Store Cookies After Baking
Why Proper Storage is Important
Properly storing your freshly baked scones is crucial to maintain their taste, texture, and overall quality. Here’s why:
- Preserves Freshness: Scones are known for their delicate, crumbly texture. However, exposure to air and moisture can cause them to become stale and lose their appealing qualities. Proper storage helps seal in the moisture and prevents them from becoming dry and tasteless.
- Prevents Spoilage: Like any baked goods, scones are susceptible to mold growth if not stored correctly. By providing the ideal storage conditions, you can minimize the risk of spoilage and enjoy your scones for a longer period.
- Extends Shelf Life: By utilizing proper storage methods, you can significantly extend the shelf life of your scones. Whether you’re preparing a large batch in advance or have leftovers to enjoy later, understanding how to store scones correctly ensures that they stay fresh and tasty.
- Convenience and Cost-saving: Knowing how to store scones properly allows you to prepare them in advance and have a quick, ready-to-eat treat on hand whenever you crave them. This can save you time and money, especially if you prefer homemade scones over store-bought options.
Overall, proper storage not only enhances the taste and freshness of your scones but also helps reduce waste and ensures that you can enjoy them for an extended period. With the right techniques, you can savor every bite of your favorite scones without compromising on quality.
Factors to Consider When Storing Scones
When it comes to storing scones, there are a few key factors to keep in mind. These factors play a crucial role in maintaining the freshness and quality of your scones. Let’s take a closer look at them:
- Air Exposure: Exposure to air is one of the main factors that can lead to scone staleness. To prevent this, it’s important to store your scones in an airtight container or tightly-sealed plastic bag.
- Moisture: Scones can quickly become dry if exposed to excess moisture or humidity. It’s essential to store them in a dry environment to prevent any moisture absorption, which would result in a loss of their delightful texture.
- Temperature: The temperature at which you store your scones can greatly impact their quality. Room temperature is generally ideal for short-term storage, while freezing is recommended for long-term storage.
- Duration: Consider how long you plan to store your scones. If you intend to enjoy them within a day or two, room temperature storage should suffice. For longer periods, freezing is the best option.
- Fresh Ingredients: The quality of the ingredients used in your scones can also affect their shelf life. Using fresh, high-quality ingredients will result in scones that stay fresh for longer.
By taking these factors into account when storing your scones, you can ensure that they retain their freshness, taste, and texture for the maximum amount of time. Don’t overlook these considerations, as they can make a significant difference in the overall quality of your scones when you’re ready to indulge!
Recommended Storage Methods
When it comes to storing scones, there are two primary methods that are recommended: storing at room temperature and freezing. Let’s explore both of these methods:
- Storing Scones at Room Temperature:
- Allow your freshly baked scones to cool completely before storing them.
- Place the scones in an airtight container or a sealable plastic bag.
- Store them in a cool, dry place away from direct sunlight and any sources of heat.
- Consume the scones within 2-3 days for optimal freshness.
- Freezing Scones for Long-Term Storage:
- Allow the scones to cool completely after baking.
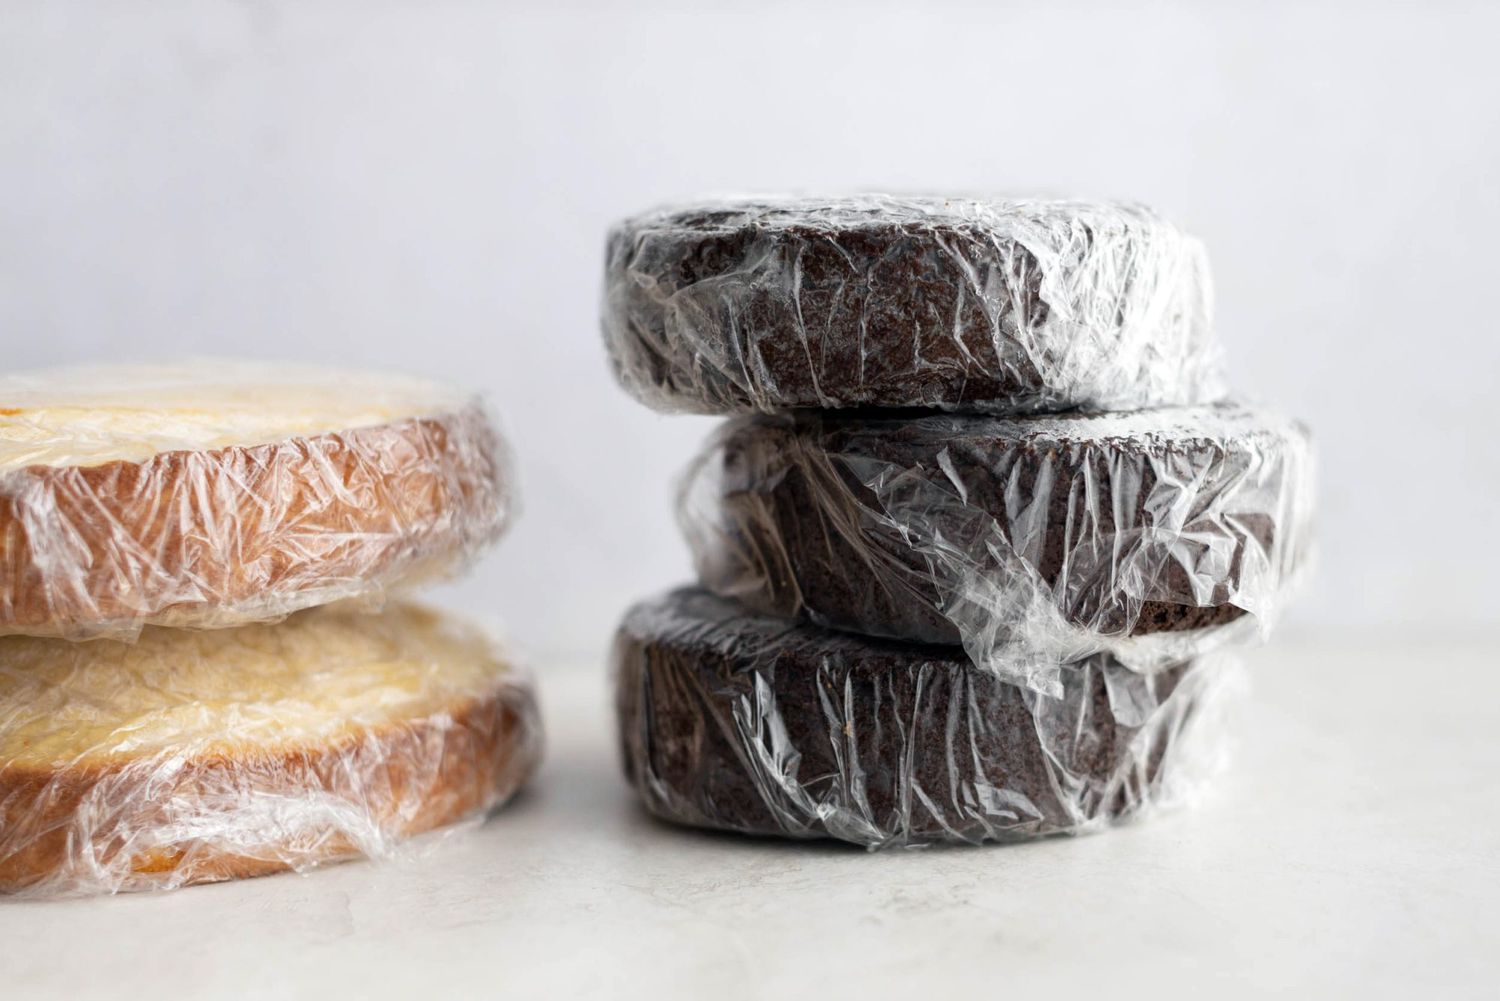
- Individually wrap each scone tightly in plastic wrap or place them in individual freezer bags.
- Place the wrapped scones in a freezer-safe container or bag for added protection.
- Label the container with the date of freezing.
- Store the scones in the freezer for up to 3 months.
- When ready to enjoy, thaw the scones at room temperature or briefly heat them in a preheated oven for a few minutes.
For short-term storage, storing scones at room temperature is a convenient option. To do this:
If you want to store scones for a more extended period, freezing is a great option. Follow these steps:
By following these recommended storage methods, you can ensure that your scones stay fresh and delicious, whether you’re storing them for a few days or for an extended period. Choose the method that suits your needs and enjoy scones whenever you desire!
Once the scones have completely cooled, store them in an airtight container or resealable plastic bag at room temperature for up to 2 days. For longer storage, freeze the scones in a freezer-safe container for up to 3 months.
Storing Scones at Room Temperature
Storing scones at room temperature is a convenient option if you plan on consuming them within 2-3 days. Follow these steps to ensure they stay fresh:
- Allow your freshly baked scones to cool completely before storing them. This helps prevent condensation, which can lead to sogginess.
- Place the scones in an airtight container or a sealable plastic bag. This will protect them from exposure to air and preserve their moisture.
- Store the container or bag in a cool, dry place away from direct sunlight and any sources of heat, such as the oven or stove. Excessive heat can cause the scones to dry out quickly.
- Avoid stacking the scones on top of each other, as it can cause them to flatten or lose their shape. If you need to stack them, separate the layers with parchment paper or wax paper.
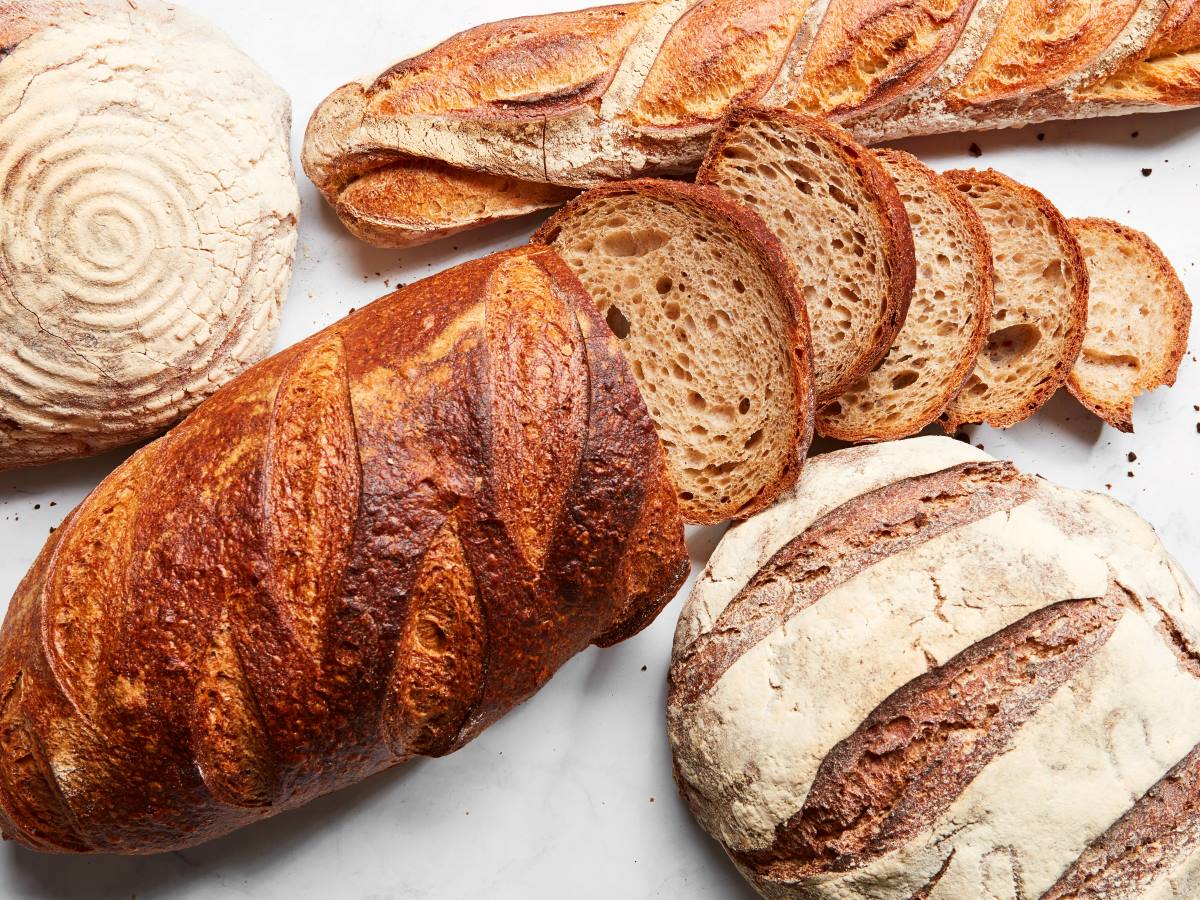
- If you want to store different flavored scones, it’s best to store them separately or in different containers to prevent mingling of flavors.
- Remember to consume your scones within 2-3 days for optimal freshness. After this time, their quality may start to deteriorate.
By following these steps, you can keep your scones at room temperature without compromising their taste and texture. This method is perfect for enjoying freshly baked scones over a short period without the need for refrigeration or freezing.
However, keep in mind that scones stored at room temperature will have a shorter shelf life compared to those stored in the freezer. If you don’t plan on consuming them within a few days, it’s best to freeze the scones for long-term storage.
Read more: How To Store Brownies After Baking
Freezing Scones for Long-Term Storage
Freezing scones is an excellent option if you want to store them for a more extended period. Follow these steps to freeze your scones properly:
- Allow the freshly baked scones to cool completely after baking. This ensures that the scones maintain their texture and don’t become soggy during freezing.
- Individually wrap each scone tightly in plastic wrap or place them in individual freezer bags. This helps prevent freezer burn and keeps the scones fresh.
- For added protection, place the wrapped scones in a freezer-safe container or bag. Make sure to label the container with the date of freezing, so you can keep track of their freshness.
- Store the scones in the freezer, ideally in a single layer to prevent them from sticking together. If you need to stack them, separate the layers with parchment paper or wax paper.
- Scones can be stored in the freezer for up to 3 months. Beyond this time, the quality may start to deteriorate.
- When you’re ready to enjoy the frozen scones, remove them from the freezer and let them thaw at room temperature. This usually takes a couple of hours. Alternatively, you can briefly reheat them in a preheated oven at a low temperature for a few minutes until warmed through.
By following these steps, you can ensure that your scones remain fresh and delicious even after being stored in the freezer for an extended period. This method is perfect for when you want to have scones on hand anytime without the need to bake them from scratch.
Remember, freezing can slightly alter the texture of the scones, but their taste and overall quality will be well preserved. Whether you’re preparing a large batch or saving leftovers, freezing is a reliable method for long-term storage.
Now that you know how to freeze scones properly, you can enjoy a warm, freshly baked scone whenever the craving hits!
Tips for Maintaining Freshness
To ensure that your scones stay fresh and delicious for as long as possible, here are some helpful tips:
- Wrap them properly: When storing scones, make sure to wrap them tightly in plastic wrap or place them in airtight containers. This helps seal in the moisture and prevent air exposure, which can lead to staleness.
- Avoid moisture: Excess moisture can cause scones to become soggy and lose their texture. Make sure your scones are completely cooled before storing them to prevent condensation.
- Don’t refrigerate: Refrigeration is not recommended for storing scones as it can dry them out. Room temperature or freezing is the best option for maintaining their freshness.
- Thawing frozen scones: When thawing frozen scones, it’s best to do so at room temperature. Avoid using the microwave as it can make the scones rubbery and unevenly heated.
- Reheat properly: If you prefer warm scones, you can reheat them in a preheated oven at a low temperature (around 325°F/163°C) for a few minutes until warmed through. This helps restore their just-baked freshness.
- Separate flavors: If you’re storing different flavored scones, it’s a good idea to store them separately or in different containers. This prevents the flavors from mingling and preserves the unique taste of each variety.
- Consider portioning: If you anticipate only eating a few scones at a time, you can portion the dough and freeze the unbaked scones individually. This way, you can bake them fresh whenever you desire.
- Frequent rotation: If you have multiple scones stored in the freezer, rotate their positions periodically. This ensures that all the scones get equal exposure to the freezing temperature and prevents any uneven freezer burn.
- Label and date: When storing scones, be sure to label the containers or freezer bags with the date of storage. This helps you keep track of their freshness and ensures you consume them within the recommended time frame.
By following these tips, you can maintain the freshness and quality of your scones, whether you’re storing them at room temperature or in the freezer. These simple practices will help you enjoy freshly baked scones for an extended period, ensuring a delightful treat every time.
Conclusion
Proper storage is essential for maintaining the freshness and taste of scones, whether they are homemade or store-bought. By following the recommended storage methods and implementing some handy tips, you can ensure that your scones stay delicious for longer periods.
When storing scones, consider factors such as air exposure, moisture, temperature, and duration. These factors play a significant role in preserving the quality of your scones.
Storing scones at room temperature is ideal for short-term storage, lasting 2-3 days. Use airtight containers or sealable bags to protect your scones from air and store them in a cool, dry place away from direct sunlight and heat sources.
For longer-term storage, freezing scones is the best option. Wrap them tightly in plastic wrap or place them in freezer bags, and store them in a freezer-safe container or bag. Label the container with the date of freezing and remember that scones can be frozen for up to 3 months.
To maintain freshness, be careful to avoid excess moisture, do not refrigerate scones, and thaw frozen scones at room temperature. Proper reheating techniques can help restore the just-baked freshness of your scones.
By implementing these tips and methods, you can enjoy the delightful taste and texture of scones whenever the craving strikes. Whether it’s a warm scone for breakfast or an afternoon tea-time treat, proper storage ensures that every bite is as fresh and delicious as the first.
So, the next time you whip up a batch of scones or find yourself with leftover scones, remember to store them correctly and savor their delectable flavors for longer periods. Happy scone storage and happy snacking!
Now that you've got the scoop on keeping scones fresh, why stop there? Dive into our next guide on the best ways to keep all your edible treats in tip-top shape. Whether you’re looking to save leftovers or prep meals ahead of time, "11 Best Food Storage For 2024" offers smart solutions. Don’t miss out on essential advice that’ll keep your pantry perfectly organized and your food tasting just like it should!
Frequently Asked Questions about How To Store Scones After Baking
Was this page helpful?
At Storables.com, we guarantee accurate and reliable information. Our content, validated by Expert Board Contributors, is crafted following stringent Editorial Policies. We're committed to providing you with well-researched, expert-backed insights for all your informational needs.


0 thoughts on “How To Store Scones After Baking”