Articles
How To Store Seashells
Modified: February 24, 2024
Learn the best methods for storing and preserving seashells with our informative articles. Discover how to maintain the beauty of your seashell collection effectively.
(Many of the links in this article redirect to a specific reviewed product. Your purchase of these products through affiliate links helps to generate commission for Storables.com, at no extra cost. Learn more)
Introduction
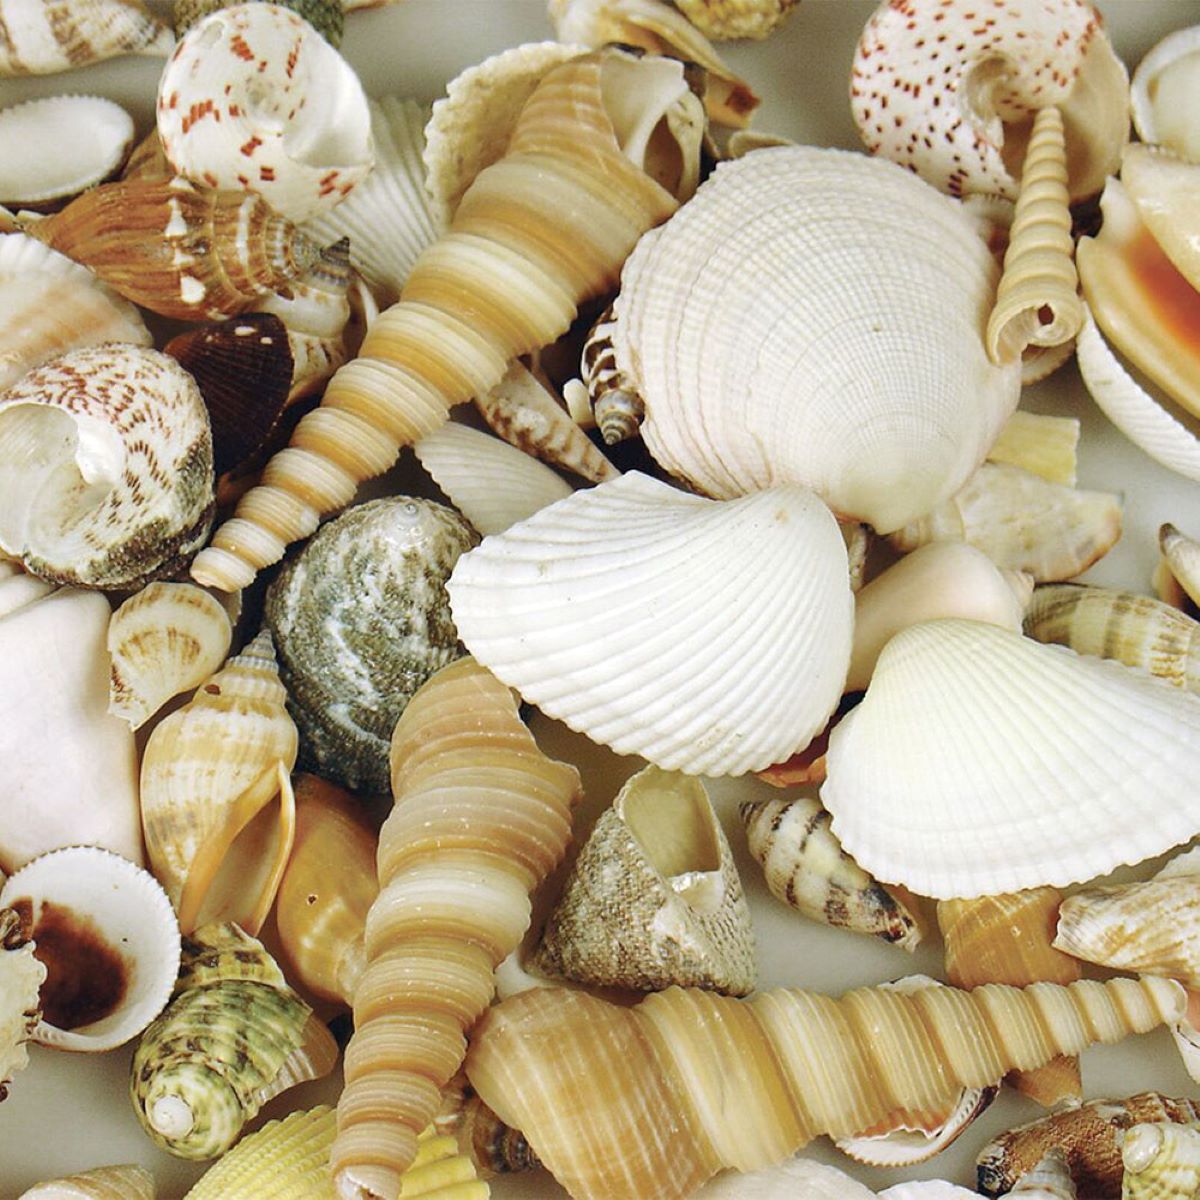
Seashells are fascinating treasures from the ocean that can bring a touch of the beach into our homes. Whether you collect seashells as a hobby or have come across some beautiful shells during your beach trips, knowing how to properly store them is essential to preserve their beauty and longevity.
Proper storage not only helps protect seashells from damage but also maintains their vibrant colors and unique textures. In this article, we will guide you through the steps to store seashells effectively, ensuring their longevity and allowing you to display them proudly.
Key Takeaways:
- Preserve the beauty of your seashell collection by cleaning, drying, and storing them properly. Choose a suitable container, use desiccant packs, and get creative with displaying your treasures to enjoy their natural charm for years to come.
- Ensure the longevity of your seashells by following essential steps: clean, dry, store, and display. Protect them from moisture, mold, and damage, and let their natural beauty bring a touch of the beach into your home.
Read more: How To Make Seashell Mirrors
Step 1: Cleaning the Seashells
Before storing your seashells, it is crucial to clean them properly to remove any dirt, debris, or sea creatures that may be attached to them. Cleaning seashells not only improves their appearance but also helps prevent any mold or odor issues in the future.
To clean your seashells, start by rinsing them under running water to remove any loose particles. Avoid using harsh chemicals or soaps as they can damage the shells. Instead, use a soft-bristled brush, such as a toothbrush, to gently scrub away any stubborn dirt or algae.
If the shells have any barnacles or calcification, you can soak them in a mixture of equal parts water and white vinegar for a few hours. The vinegar will help dissolve the calcium-based deposits and make it easier to remove them with a brush or toothpick. Rinse the shells thoroughly after soaking to remove any vinegar residue.
For shells with a strong odor, like those found in tide pools, you can soak them in a solution of water and bleach. Mix one part bleach with nine parts water and let the shells sit in the mixture for a few minutes. Make sure to wear gloves and work in a well-ventilated area when handling bleach. After soaking, rinse the shells thoroughly to remove any residual bleach.
Once you have finished cleaning the shells, allow them to dry completely before moving on to the next step. Any moisture left on the shells can lead to mold growth or deterioration, so it’s essential to ensure they are fully dry.
Step 2: Drying the Seashells
After cleaning the seashells, the next step is to ensure they are thoroughly dried before storage. Moisture can lead to the growth of mold or cause the shells to deteriorate over time. Proper drying techniques will help preserve the shells and maintain their quality.
To dry seashells, place them on a clean towel or a mesh drying rack. Avoid using paper towels or newspaper, as they can stick to the shells or leave ink residue. Arrange the shells in a single layer to allow for maximum airflow around each shell.
Set the shells in a well-ventilated area away from direct sunlight or excessive heat. Sunlight can fade the colors of the shells, and high temperatures might cause them to warp or crack. Ideally, choose a dry and cool spot to promote efficient drying.
Depending on the size and thickness of the shells, the drying process can take anywhere from a few days to a few weeks. It’s essential to be patient and allow the shells to dry naturally. Avoid using artificial heating methods as they can be too harsh and cause damage.
During the drying process, you may notice a slight change in the appearance of the shells. Some shells, like scallop shells, may close slightly as they dry. This is normal and should not cause concern. Once the shells are fully dried, they will regain their original shape.
To ensure that the shells are completely dry, check for any signs of moisture or dampness. If the shells feel cool or clammy to the touch, they may still contain moisture and require more drying time. It’s essential to wait until the shells are fully dry before proceeding to the next step.
Step 3: Choosing a Suitable Storage Container
Once your seashells are clean and dry, it’s time to choose a suitable storage container. The container you select should provide a safe and protected environment for the shells, keeping them free from dust, moisture, and potential damage.
One of the best options for storing seashells is a clear plastic container with a tight-fitting lid. Plastic containers are lightweight, durable, and allow you to easily see and admire your seashell collection. Look for containers made of non-reactive plastic, such as polypropylene, which won’t leach harmful chemicals onto the shells.
When choosing the size of the container, consider the number and size of your seashells. Ensure that the container has enough room to accommodate your collection comfortably without overcrowding the shells. Leaving space around each shell reduces the risk of damage and allows for proper air circulation.
If you have delicate or fragile shells, consider adding a layer of cushioning material at the bottom of the container. Soft materials like foam or cotton batting can provide an extra layer of protection and help prevent any accidental breakage.
To further protect your seashells, you may also consider placing silica gel packets inside the storage container. Silica gel is a desiccant that helps absorb moisture, preventing molds and humidity-related damage. Make sure the silica gel packets are sealed tightly to avoid any direct contact with the shells.
Remember to label your storage container with the type or location of the seashells to make it easier to find a specific shell when needed. You can also organize your collection by categorizing shells based on their size, type, or location of origin, using dividers or separate containers within the larger storage container.
Store the container in a cool and dry area, away from direct sunlight and extreme temperature fluctuations. Proper storage conditions will help prolong the life of your seashell collection and keep them in pristine condition for years to come.
To store seashells, make sure they are completely dry to prevent mold. Place them in a container with acid-free tissue paper to prevent scratching. Avoid airtight containers to prevent moisture buildup.
Step 4: Using Desiccant Packs
Desiccant packs are small packets that contain moisture-absorbing substances and are commonly used in various industries to control humidity levels. When storing seashells, desiccant packs can be a valuable addition to help prevent moisture build-up and protect the shells from damage.
Place a few desiccant packs inside the storage container with your seashells. The number of packs required will depend on the size of the container and the humidity levels in your area. As a general guideline, one pack per every 10 square inches of container space should be sufficient.
Desiccant packs are typically available in various sizes and formulas, such as silica gel or clay-based desiccants. Silica gel is one of the most common types and is easily recognizable with its small, moisture-absorbing beads. It is important to ensure that the packs you use are non-toxic and safe for use with seashells.
The desiccant packs will help draw moisture away from the environment inside the container, reducing the risk of mold growth, loss of color, or deterioration of the shells. They work best in closed containers with a tight-fitting lid to maintain a controlled environment. Check the packs periodically and replace them if they become saturated or ineffective.
It’s important to handle desiccant packs with care and avoid direct contact with the seashells. While they are non-toxic, they may cause discomfort if ingested. Keep them away from children and pets.
Remember that even with desiccant packs, it’s essential to periodically inspect your seashell collection for any signs of mold, pests, or deterioration. If you notice any issues, take the necessary steps to address them promptly to safeguard your shells.
By using desiccant packs in your storage containers, you can create an environment that will help preserve the quality of your seashells for years to come, ensuring that they remain beautiful and protected.
Read more: How To Make A Seashell Chandelier
Step 5: Displaying Seashells
After properly cleaning, drying, and storing your seashells, you may want to showcase them as a beautiful display in your home. Displaying seashells not only allows you to enjoy their natural beauty but also serves as a reminder of cherished beach memories. Here are some ideas for displaying your seashell collection:
- Use glass jars or vases: Fill clear glass jars or vases with seashells of various shapes, sizes, and colors. You can arrange them by color gradient or mix them up for an eclectic look. Place the jars on shelves, mantels, or tables for an elegant and eye-catching display.
- Create a shadow box: Shadow boxes are shallow, framed display cases that allow you to showcase objects while protecting them. Arrange your seashells inside a shadow box, and optionally add other beach-related elements like sand, driftwood, or small pieces of coral for added visual interest.
- Make a seashell wreath: Use a foam wreath form and hot glue to attach seashells all around the surface. Arrange the shells in a cohesive pattern or create a playful, whimsical design. Hang the seashell wreath on your front door or as wall decor in a beach-themed room.
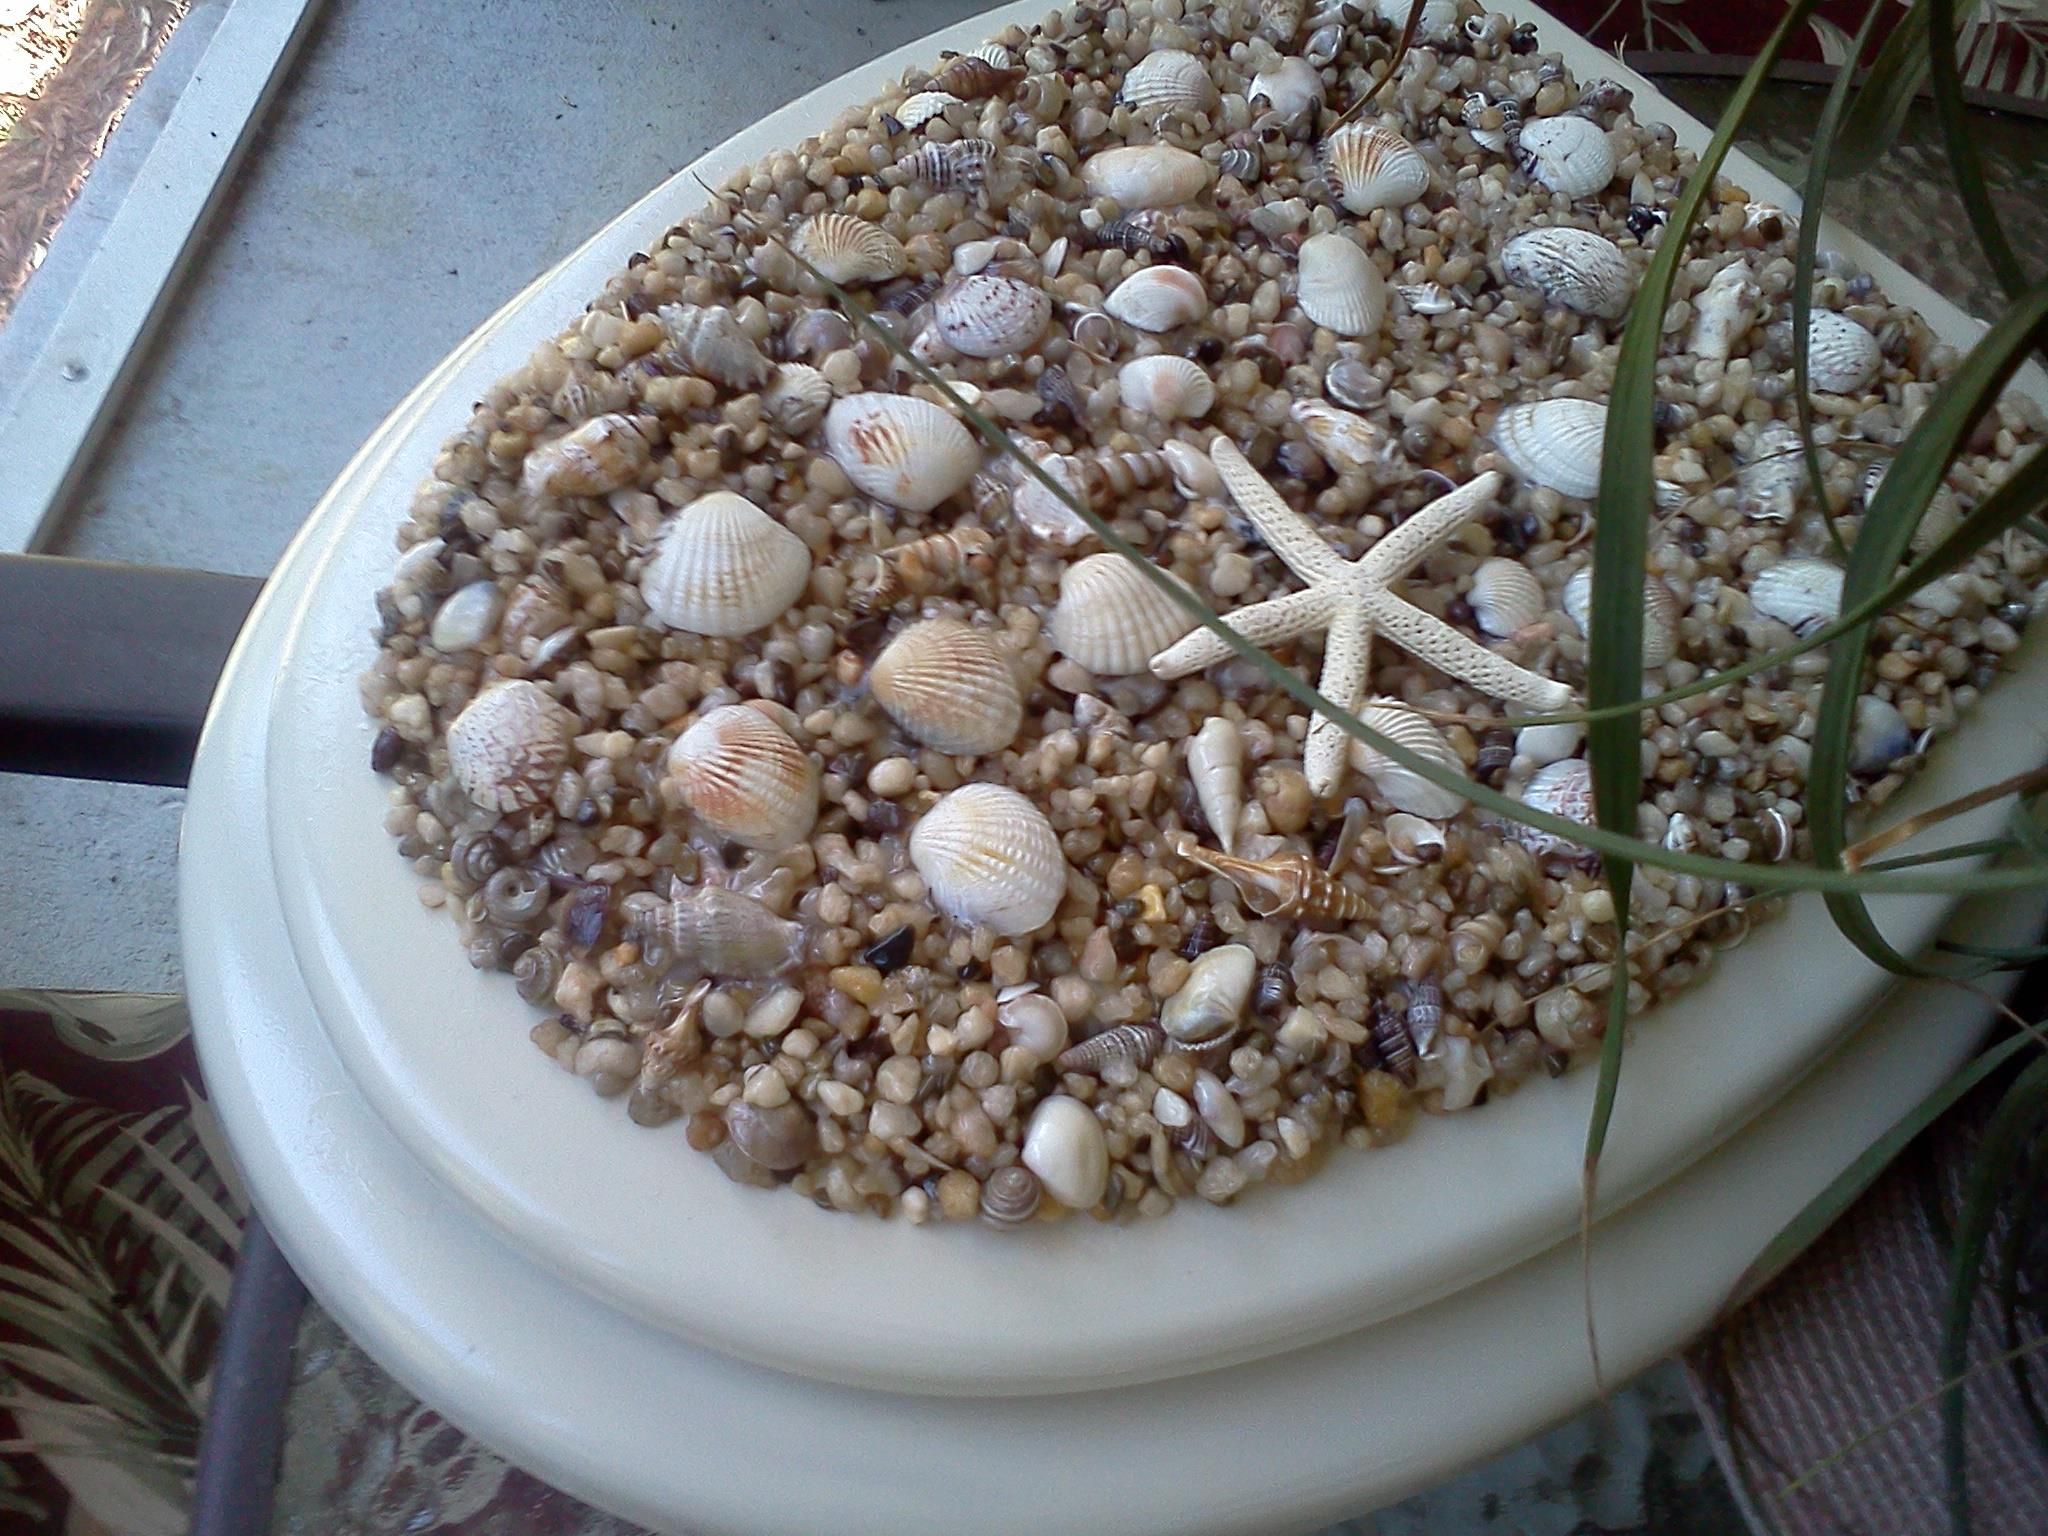
- Display on a tray or plate: Arrange a selection of seashells on a decorative tray or a large, shallow plate. Place the tray on a coffee table, an entryway table, or a bookshelf for a simple and chic display.
- Design a seashell shadow wall art: Choose a large frame and a contrasting-colored background, such as black or navy blue. Arrange and glue seashells onto the background to create a stunning shadow effect. Hang the framed artwork as a focal point in your living room or bedroom.
When displaying seashells, it’s important to keep them away from direct sunlight, excessive heat, and humidity. Proximity to windows or heat sources can cause the shells to fade or deteriorate. Regularly dust the displayed shells using a soft brush or cloth to keep them clean and looking their best.
Remember, displaying your seashell collection is not only about showcasing their beauty, but also about expressing your personal style and creating an inviting atmosphere in your home. Get creative, have fun, and let your seashells become treasured decorative accents that bring a touch of the beach indoors.
Conclusion
Storing seashells properly is essential to preserve their beauty and extend their lifespan. By following the steps outlined in this article, you can ensure that your seashells remain in pristine condition for years to come, allowing you to enjoy their natural charm and reminisce about beach memories.
Cleaning the seashells thoroughly and allowing them to dry completely is the first step towards proper storage. A clean and dry shell reduces the risk of mold, odor, and deterioration. Choosing a suitable storage container, such as a clear plastic container with a tight-fitting lid, provides a safe and protected environment to keep the shells free from dust and damage.
Using desiccant packs in the storage container helps to control moisture and prevents the shells from becoming damp or moldy. These packs absorb excess moisture, helping to maintain the shells’ quality and appearance.
Once your seashells are clean, dry, and stored in a suitable container, you can take your display to the next level by showcasing them in various creative ways. Glass jars or vases, shadow boxes, wreaths, or framed artworks are just a few options. Find a display method that suits your style and compliments your home decor.
Remember to periodically check on your seashell collection to ensure they remain in good condition. Dusting the shells and inspecting for any signs of damage or pests will help you address any issues promptly.
With proper care and attention, your seashells will continue to captivate and bring the essence of the beach into your living space. So, take your time, enjoy your collection, and let the beauty of these treasures from the sea brighten up your home.
Frequently Asked Questions about How To Store Seashells
Was this page helpful?
At Storables.com, we guarantee accurate and reliable information. Our content, validated by Expert Board Contributors, is crafted following stringent Editorial Policies. We're committed to providing you with well-researched, expert-backed insights for all your informational needs.


0 thoughts on “How To Store Seashells”