Furniture
How To Make A Seashell Chandelier
Modified: August 17, 2024
Learn how to create a stunning seashell chandelier that adds a touch of coastal elegance to your home decor. Discover furniture DIY ideas to transform your space.
(Many of the links in this article redirect to a specific reviewed product. Your purchase of these products through affiliate links helps to generate commission for Storables.com, at no extra cost. Learn more)
Introduction
Welcome to the world of DIY furniture and home decor! If you’re searching for a unique and eye-catching piece to add to your interior, look no further than a seashell chandelier. This stunning and natural creation will bring a touch of coastal charm to any space, whether it’s a beachside cottage or a city apartment.
Creating your own seashell chandelier not only allows you to showcase your creativity, but it also offers a budget-friendly alternative to purchasing a pre-made chandelier. Plus, it’s a fantastic way to repurpose those seashells you collected during your beach vacation.
In this article, we will guide you through the step-by-step process of making your very own seashell chandelier. From gathering the seashells to attaching them to the chandelier frame, we’ll cover everything you need to know to create a stunning piece that will be the envy of all your friends.
So, put on your crafting hat and let’s get started on this fun and rewarding DIY project that will bring the beauty of the ocean into your home.
Key Takeaways:
- Transform ordinary seashells into a stunning coastal chandelier, adding elegance and charm to your space while showcasing your creativity and flair for DIY projects.
- Create a soothing coastal ambiance in your home with a handmade seashell chandelier, a captivating focal point that brings the beauty of the ocean indoors.
Read more: How To Make Seashell Mirrors
Materials Needed
Before we dive into the creative process, let’s gather all the materials you’ll need to make your seashell chandelier:
- A chandelier frame (either store-bought or homemade using wire)
- Assorted seashells (collected from the beach or purchased online)
- Hot glue gun and glue sticks
- Scissors
- Clear fishing line or thin wire
- Drill with a small drill bit (optional)
- Lighting fixture or pendant light kit
- Ceiling hook or chain for hanging
- Paint or spray paint (optional, for customizing the chandelier frame)
- Protective goggles and gloves
- A well-ventilated workspace
Now that you have all the necessary materials, let’s move on to the exciting part: creating your seashell chandelier!
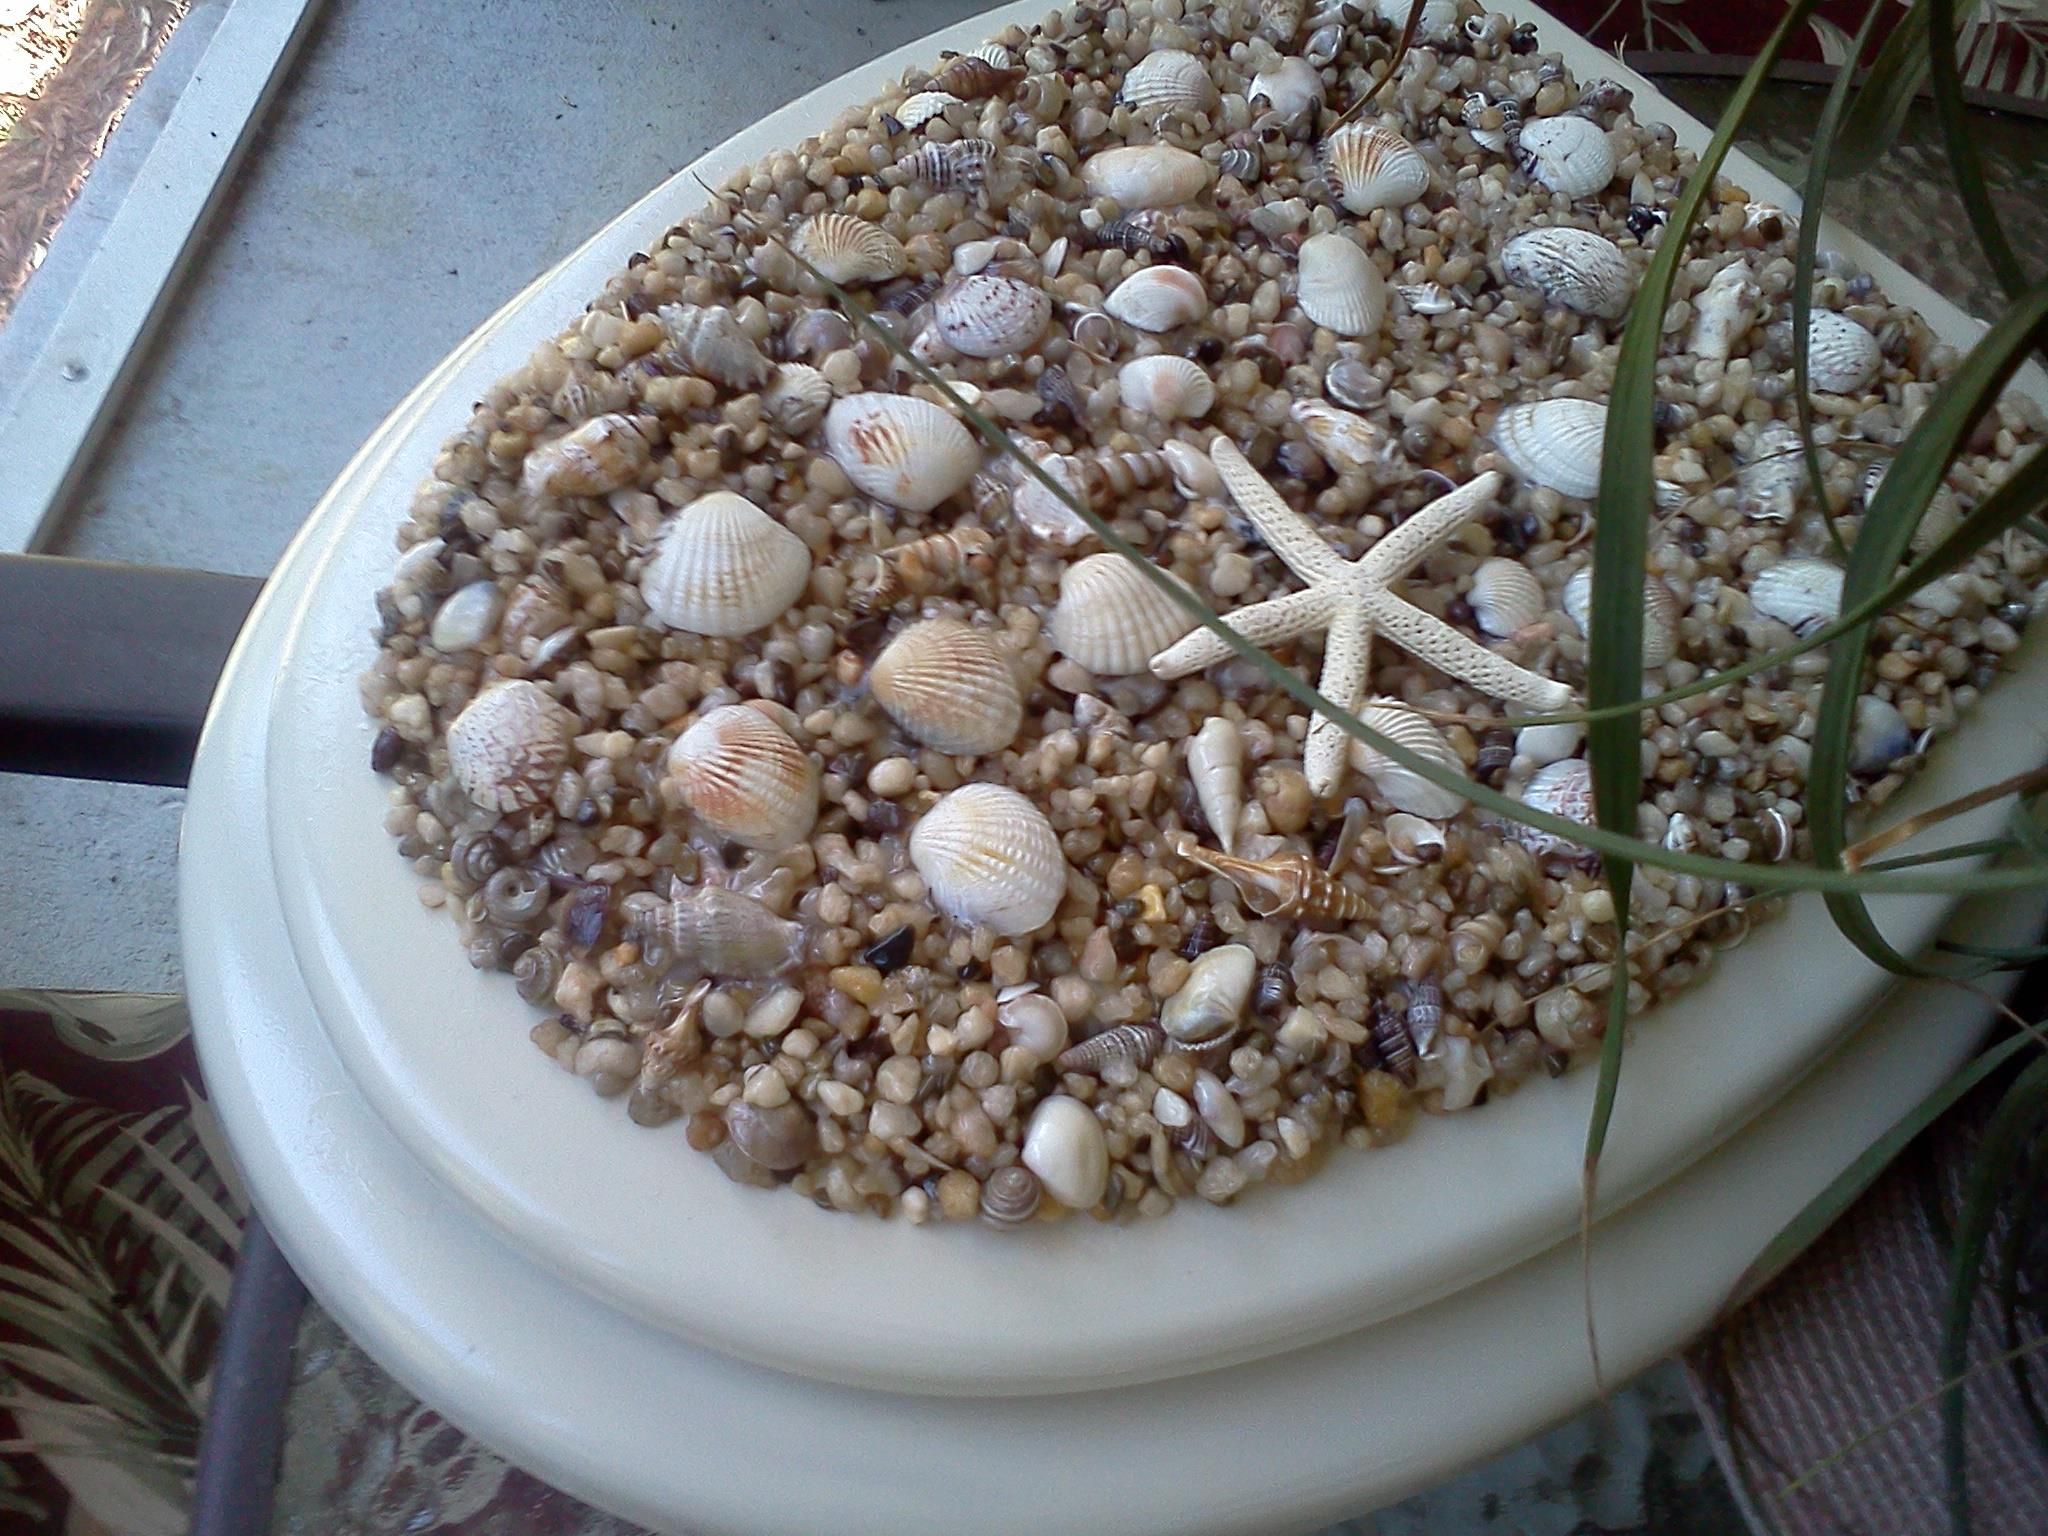
Step 1: Gather Seashells
The first step in creating your seashell chandelier is to gather the star of the show – the seashells! You have a couple of options when it comes to sourcing your seashells:
- Collect from the Beach: If you’re lucky enough to live near a beach or have access to one, take a stroll along the shoreline and keep an eye out for seashells. Look for a variety of shapes, sizes, and colors to add visual interest to your chandelier. Be sure to only collect empty seashells and leave any live creatures undisturbed.
- Purchase Online: If beachcombing isn’t an option for you or you want specific types of seashells, you can purchase them online. There are various online retailers that offer a wide range of seashells, allowing you to select the ones that best suit your design aesthetic.
Regardless of whether you collect them yourself or purchase them, make sure to gather an assortment of seashells in different shapes, sizes, and textures. This will give your chandelier a visually pleasing and dynamic look.
Once you have your seashells, it’s time to move on to the next step: cleaning and preparing them for use in your chandelier.
Step 2: Clean and Prepare the Seashells
Now that you have collected your seashells, it’s important to clean and prepare them before incorporating them into your chandelier. Follow these steps to ensure your seashells are ready for use:
- Rinse with Water: Start by rinsing the seashells with water to remove any sand or debris. Use a gentle stream of water or fill a basin with water and soak the shells for a few minutes.
- Soak in Soapy Water: Prepare a mixture of mild dish soap and warm water. Place the seashells in the soapy water solution and let them soak for about 15-20 minutes. Gently scrub the shells with a soft brush or sponge to remove any dirt or residue.
- Rinse Again: Rinse the seashells thoroughly with clean water to remove any soap residue.
- Remove Organic Material: Inspect each shell and remove any remaining organic material, such as barnacles or algae, that may be attached. Use a small brush or toothpick to carefully remove these elements.
- Dry Thoroughly: Pat the seashells dry with a towel and allow them to air-dry completely. Ensure they are completely dry before moving on to the next step.
- Optional: Seal the Seashells: If desired, you can apply a clear sealant or varnish to the seashells to enhance their natural colors and protect them from damage. Follow the instructions on the sealant product for proper application.
By following these steps, you’ll have clean and beautiful seashells that are ready to be transformed into a stunning chandelier. Now, let’s move on to creating the chandelier frame in the next step!
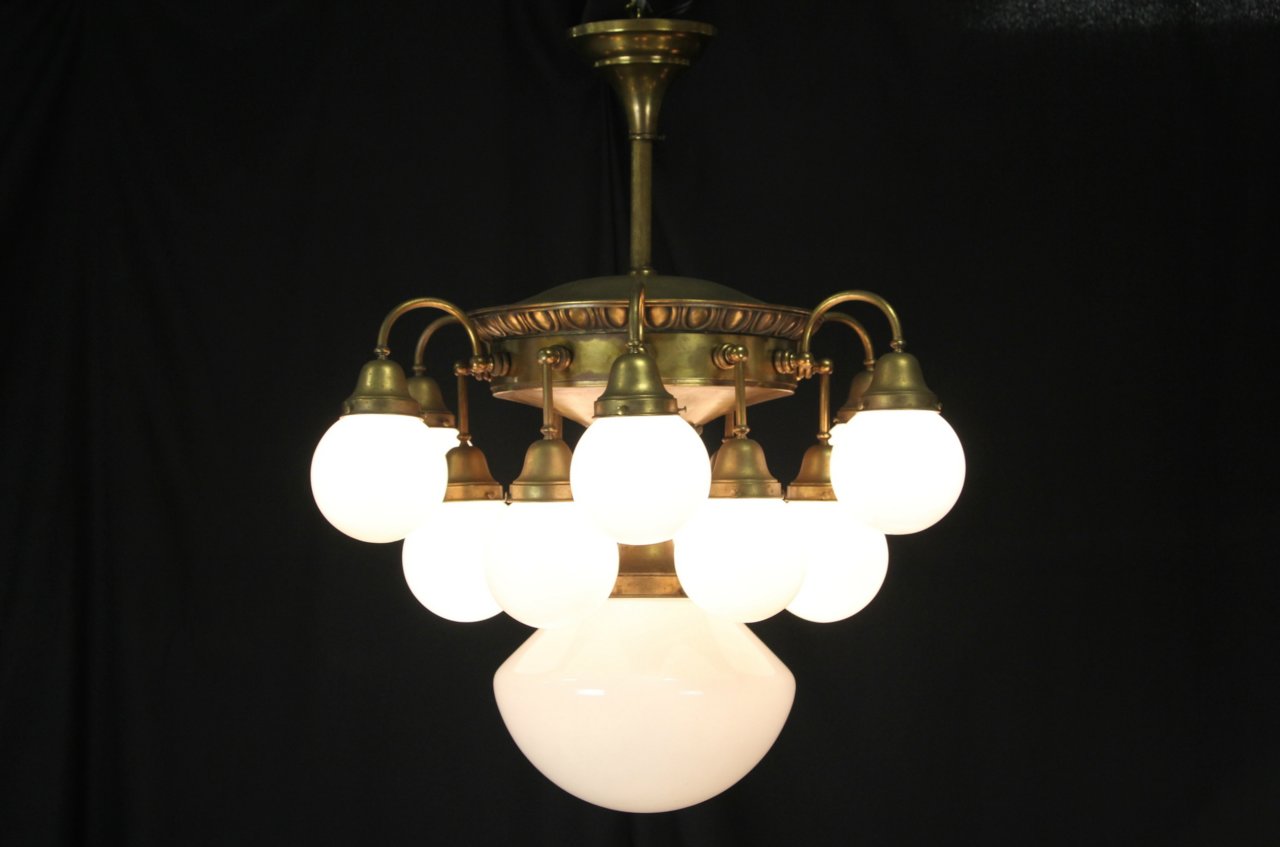
Step 3: Create the Chandelier Frame
With your cleaned and prepared seashells ready, it’s time to create the frame for your chandelier. The frame serves as the structure that will hold and display the seashells. Here’s how you can create the chandelier frame:
- Select a Frame: You have a couple of options when it comes to the chandelier frame. If you prefer a quick and convenient solution, you can purchase a pre-made chandelier frame from a home decor store or online. Alternatively, if you’re feeling more adventurous, you can create your own frame using wire or a wire lampshade frame as a base. The choice is yours!
- If Making Your Own Frame: If you decide to make your own frame, start by shaping the wire into your desired chandelier shape. This can be a traditional circular shape, a whimsical teardrop form, or any other shape that suits your taste and space. Use pliers to twist and secure the wire ends together to form a secure frame.
- If Using a Pre-Made Frame: If you opt for a pre-made chandelier frame, simply ensure it is clean and free from any dust or debris that may have accumulated during storage.
- Optional: Paint or Spray Paint: If you’d like to customize the look of your chandelier frame, consider painting it with a color that complements your home decor. You can use regular paint or spray paint for a smooth and even finish. Allow the paint to dry completely before proceeding.
Once you have your chandelier frame ready, it’s time to move on to the next step: attaching the seashells to the frame. This is where the magic happens, so let’s get started!
When making a seashell chandelier, be sure to clean and dry the shells thoroughly before attaching them to the chandelier frame to prevent any unwanted odors or mold growth.
Read more: How To Store Seashells
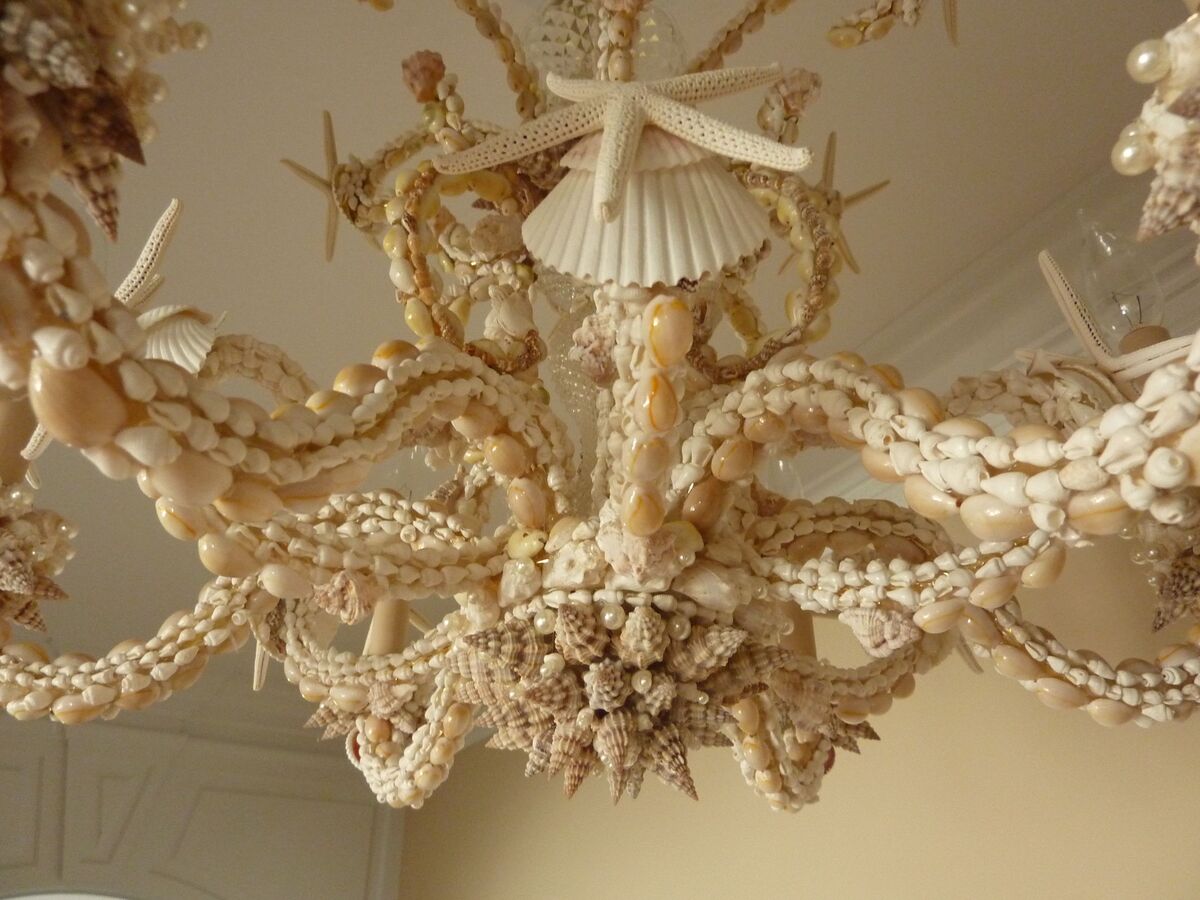
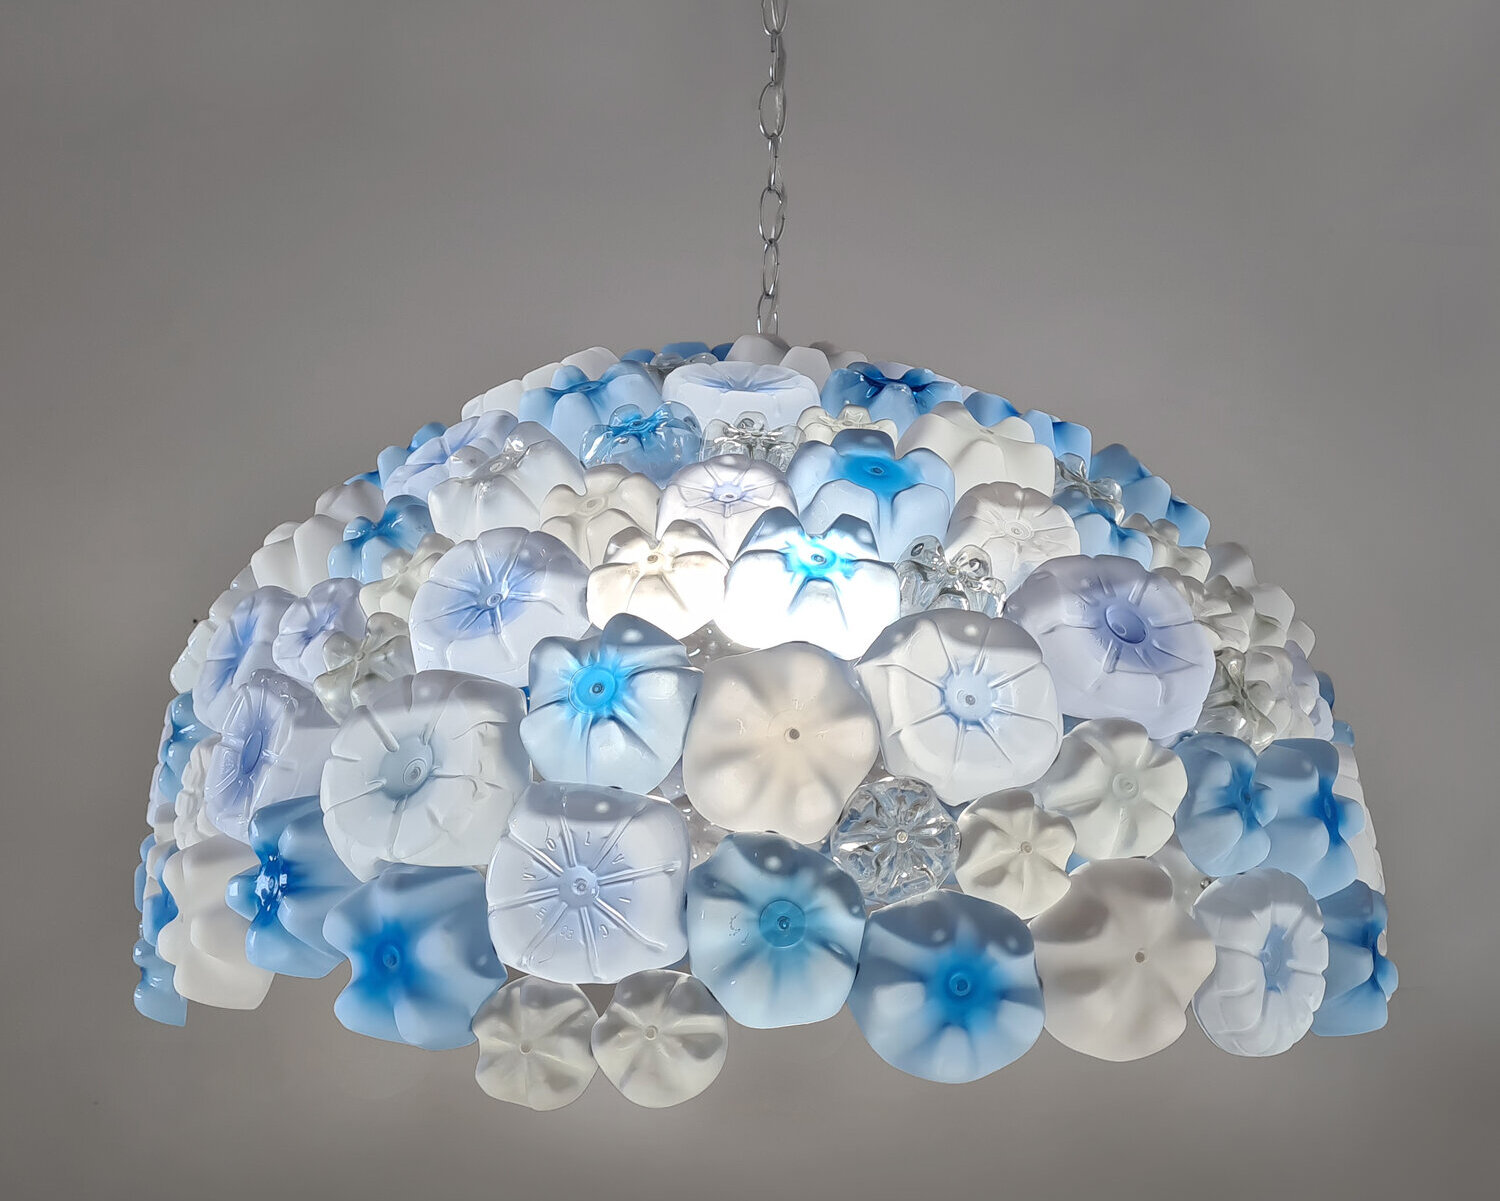
Step 4: Attach Seashells to the Frame
Now that you have your chandelier frame prepared, it’s time to attach the seashells to create a beautiful and intricate design. Here’s how to do it:
- Plan the Layout: Before attaching the seashells, take a moment to plan the layout of your chandelier. Arrange the seashells on top of the frame to get a sense of how they will look when attached. Experiment with different placements and orientations until you’re satisfied with the design.
- Use Hot Glue or Clear Fishing Line: There are two common methods for attaching seashells to the chandelier frame – using hot glue or clear fishing line. If you prefer a more secure hold, opt for hot glue. Apply a small amount of hot glue to the back of each seashell and carefully press it onto the frame, holding it in place for a few seconds until the glue sets. If you prefer a more delicate and floating look, use clear fishing line to tie the seashells to the frame. Simply thread the fishing line through small holes or gaps in the seashells and tie them securely to the frame.
- Be Mindful of Weight: Keep in mind the weight of the seashells and the capacity of your chandelier frame. Ensure that the frame can support the weight of the seashells to prevent any sagging or damage. If needed, reinforce the frame with additional wire or support to distribute the weight more evenly.
- Experiment with Layers: To add depth and dimension to your chandelier, consider attaching some seashells on top of others. This layering technique creates a visually interesting effect and allows you to showcase more of your seashell collection.
Take your time during this step to ensure each seashell is securely attached and positioned to your liking. Once all the seashells are in place, it’s time to add the lighting fixture in the next step!
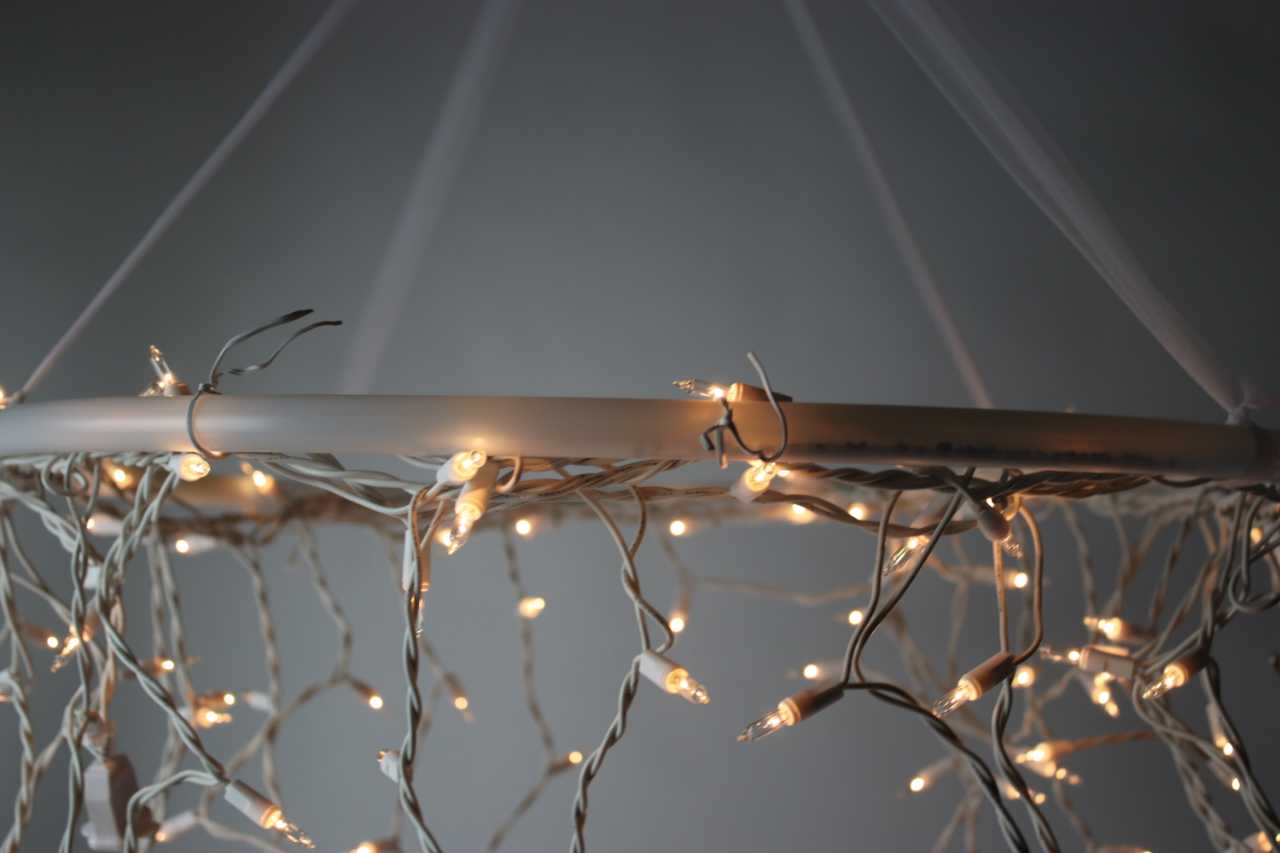
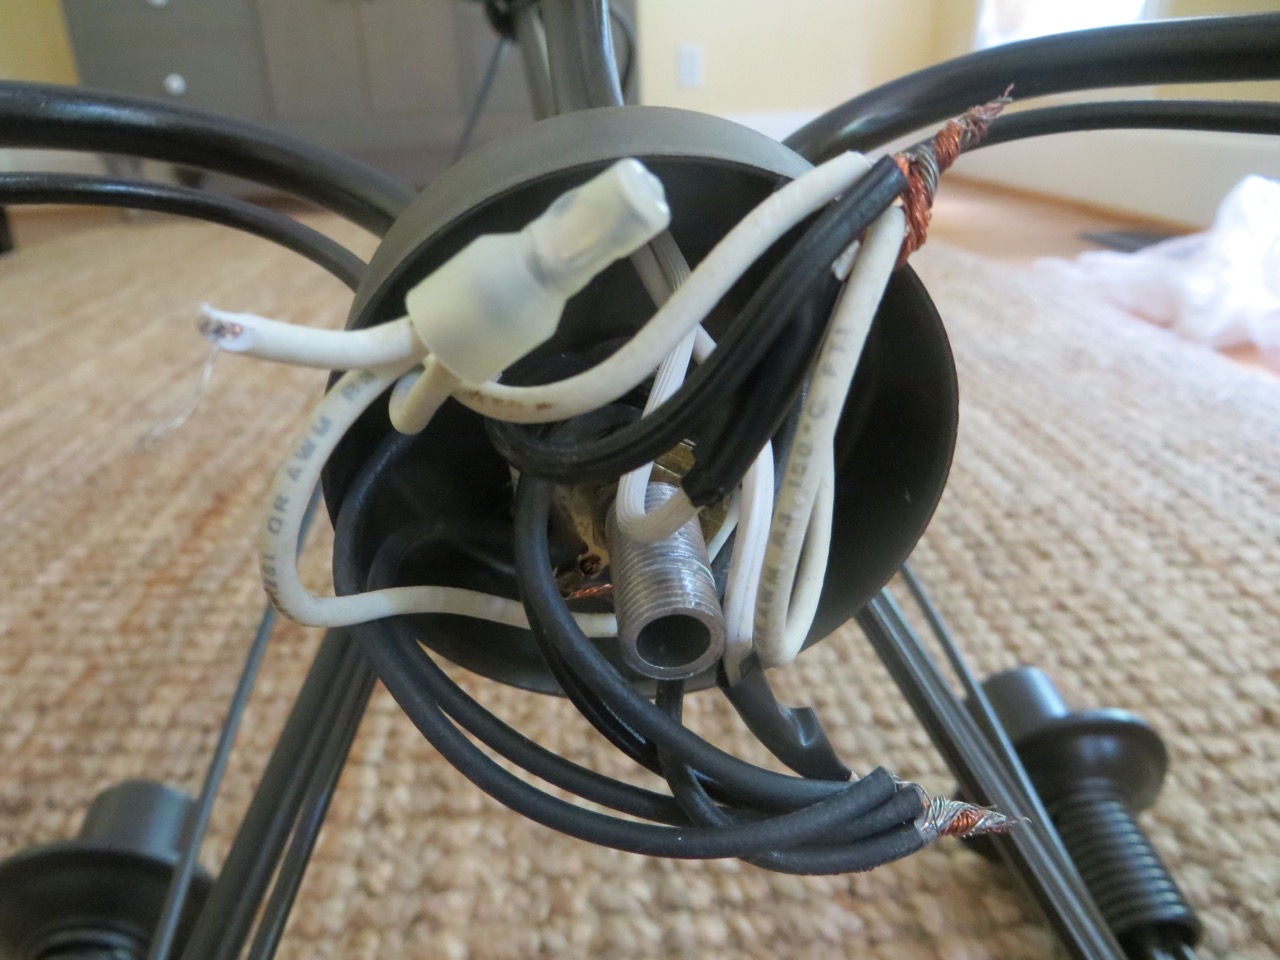
Step 5: Add Lighting Fixture
Now that your seashells are securely attached to the chandelier frame, it’s time to illuminate your creation by adding a lighting fixture. Follow these steps to incorporate the perfect lighting element:
- Select a Lighting Fixture: Choose a lighting fixture or pendant light kit that complements the style and size of your seashell chandelier. Consider the type of bulb, the amount of light it will emit, and the overall aesthetic of the fixture.
- Prepare the Chandelier for Wiring: If your chandelier frame doesn’t already have a wiring hole or space for attaching the lighting fixture, use a drill with a small drill bit to create a hole near the top or center of the frame. Ensure the hole is large enough for the wiring to pass through.
- Wire the Lighting Fixture: Follow the instructions provided with your lighting fixture or pendant light kit to properly wire it. This may involve connecting wires, attaching a canopy or mounting plate, and securing the fixture to the chandelier frame.
- Insert Light Bulb: Once the lighting fixture is properly wired, insert the appropriate light bulb. Consider using a warm or soft white bulb to create a cozy and inviting ambiance.
- Optional: Customize the Lighting Element: If you want to further enhance the seashell chandelier’s aesthetics, you can consider adding lampshade covers or diffusers that reflect or soften the light, creating a unique lighting effect. This can be achieved by attaching materials like fabric or translucent paper to the lighting fixture.
Once the lighting fixture is securely in place, your seashell chandelier is almost ready to shine bright. All that’s left is to hang it and enjoy the enchanting coastal ambiance it will bring to your space!
Step 6: Hang and Enjoy the Seashell Chandelier
Congratulations! You’ve reached the final step of creating your seashell chandelier. It’s time to hang it up and bask in the beauty of your handmade masterpiece. Follow these steps to ensure a secure and visually pleasing installation:
- Choose the Perfect Spot: Select a location in your home where the seashell chandelier will become a captivating focal point. Consider factors such as ceiling height, room size, and overall decor style.
- Install a Ceiling Hook or Chain: If your chandelier frame has a built-in hook, simply attach it directly to a secure ceiling fixture. If not, use a ceiling hook or chain that can support the weight of the chandelier. Follow the manufacturer’s instructions for installation.
- Ensure Proper Hanging Height: Consider the height at which you want your chandelier to hang. Keep in mind any furniture or tables beneath it, as well as the desired visual impact. Aim for a height that allows the chandelier to command attention while avoiding any potential obstructions.
- Secure the Chandelier: Carefully hang the chandelier on the ceiling hook or chain, ensuring it is stable and level. Check for any wobbling or imbalance and make any necessary adjustments.
- Turn on the Lights: Finally, flip the switch and witness the stunning glow of your seashell chandelier. Take a moment to marvel at the intricate details and the beachy ambiance it brings to your space.
As you enjoy your seashell chandelier, make sure to periodically check the stability of the installation and clean the seashells as needed to maintain their beauty. Don’t be surprised if your guests are in awe of your DIY creation and bombard you with compliments!
Now sit back, relax, and let the gentle sway and soft glow of your seashell chandelier transport you to a coastal paradise right in the comfort of your own home.
Conclusion
Congratulations on successfully creating your very own seashell chandelier! By gathering seashells, cleaning and preparing them, creating the chandelier frame, attaching the seashells, adding the lighting fixture, and hanging it up, you have transformed ordinary seashells into a stunning piece of coastal decor.
Your seashell chandelier not only adds a touch of elegance and charm to your space, but it also serves as a beautiful reminder of the beach and the natural beauty of the ocean. It’s a true work of art that showcases your creativity and flair for DIY projects.
Remember to occasionally check the stability of the installation, clean the seashells, and adjust the lighting as needed to maintain the chandelier’s beauty and functionality. Feel free to get creative and personalize your chandelier even further by incorporating additional elements such as beads, crystals, or even driftwood.
Whether you choose to place your seashell chandelier in your living room, bedroom, or dining area, it is sure to become a conversation starter and a cherished focal point in your home. The gentle sway of the shells and the soft glow of the lights will create a soothing and calming atmosphere, reminiscent of lazy beach days and coastal bliss.
Now, it’s time to sit back, relax, and let the enchantment of your seashell chandelier transport you to the serene and tranquil shores of the ocean, all within the comfort of your own home.
Happy crafting and enjoy the beauty of your own personalized seashell chandelier!
Frequently Asked Questions about How To Make A Seashell Chandelier
Was this page helpful?
At Storables.com, we guarantee accurate and reliable information. Our content, validated by Expert Board Contributors, is crafted following stringent Editorial Policies. We're committed to providing you with well-researched, expert-backed insights for all your informational needs.


0 thoughts on “How To Make A Seashell Chandelier”