Articles
How To Store Beans After Soaking
Modified: May 6, 2024
Learn the best way to store beans after soaking in this informative article. Keep your beans fresh and ready for cooking with these simple tips.
(Many of the links in this article redirect to a specific reviewed product. Your purchase of these products through affiliate links helps to generate commission for Storables.com, at no extra cost. Learn more)
Introduction
Beans are a staple in many cuisines around the world, known for their nutritional value, versatility, and budget-friendly nature. Whether you’re a fan of black beans, kidney beans, chickpeas, or pinto beans, you’ll likely encounter recipes that call for soaking the beans before cooking. While some may consider this step unnecessary, soaking beans offers several benefits that can enhance both the taste and texture of your dishes.
In this article, we will explore the reasons why soaking beans is recommended, the proper steps for soaking beans, how to cook them after soaking, and ultimately, how to store soaked beans to ensure freshness and quality for future use.
Key Takeaways:
- Soaking beans before cooking reduces cooking time, improves digestibility, enhances nutrient absorption, and leads to a creamier texture, making them a versatile and nutritious addition to your meals.
- Properly storing soaked beans in airtight containers, labeling them accurately, and following storage tips ensures their freshness and flavor, allowing you to enjoy the benefits of soaked beans in various recipes.
Read more: How To Store Coffee Beans After Opening
Why Soak Beans?
Soaking beans is a traditional method that has been used for generations, and it serves several important purposes:
- Reduced cooking time: One of the primary reasons to soak beans is to reduce their cooking time. When you soak beans, the water penetrates the tough outer layer, softening them and allowing for quicker and more even cooking. This can be particularly beneficial if you’re short on time or prefer a faster cooking process.
- Improved digestibility: Beans contain complex carbohydrates and indigestible sugars, known as oligosaccharides, which can cause gastrointestinal discomfort and bloating. Soaking beans helps to break down these sugars, making them easier to digest and less likely to cause discomfort.
- Enhanced nutrient absorption: Soaking beans also helps to improve the bioavailability of certain nutrients. Beans, like other legumes, contain phytic acid, which can inhibit the absorption of minerals such as iron, zinc, and calcium. Soaking beans reduces the phytic acid content, promoting better absorption of these essential nutrients.
- Texture improvement: Soaking beans can lead to improved texture. As the beans absorb water, they plump up, becoming softer and creamier when cooked. This can make them more enjoyable to eat and can enhance the overall mouthfeel of your dishes.
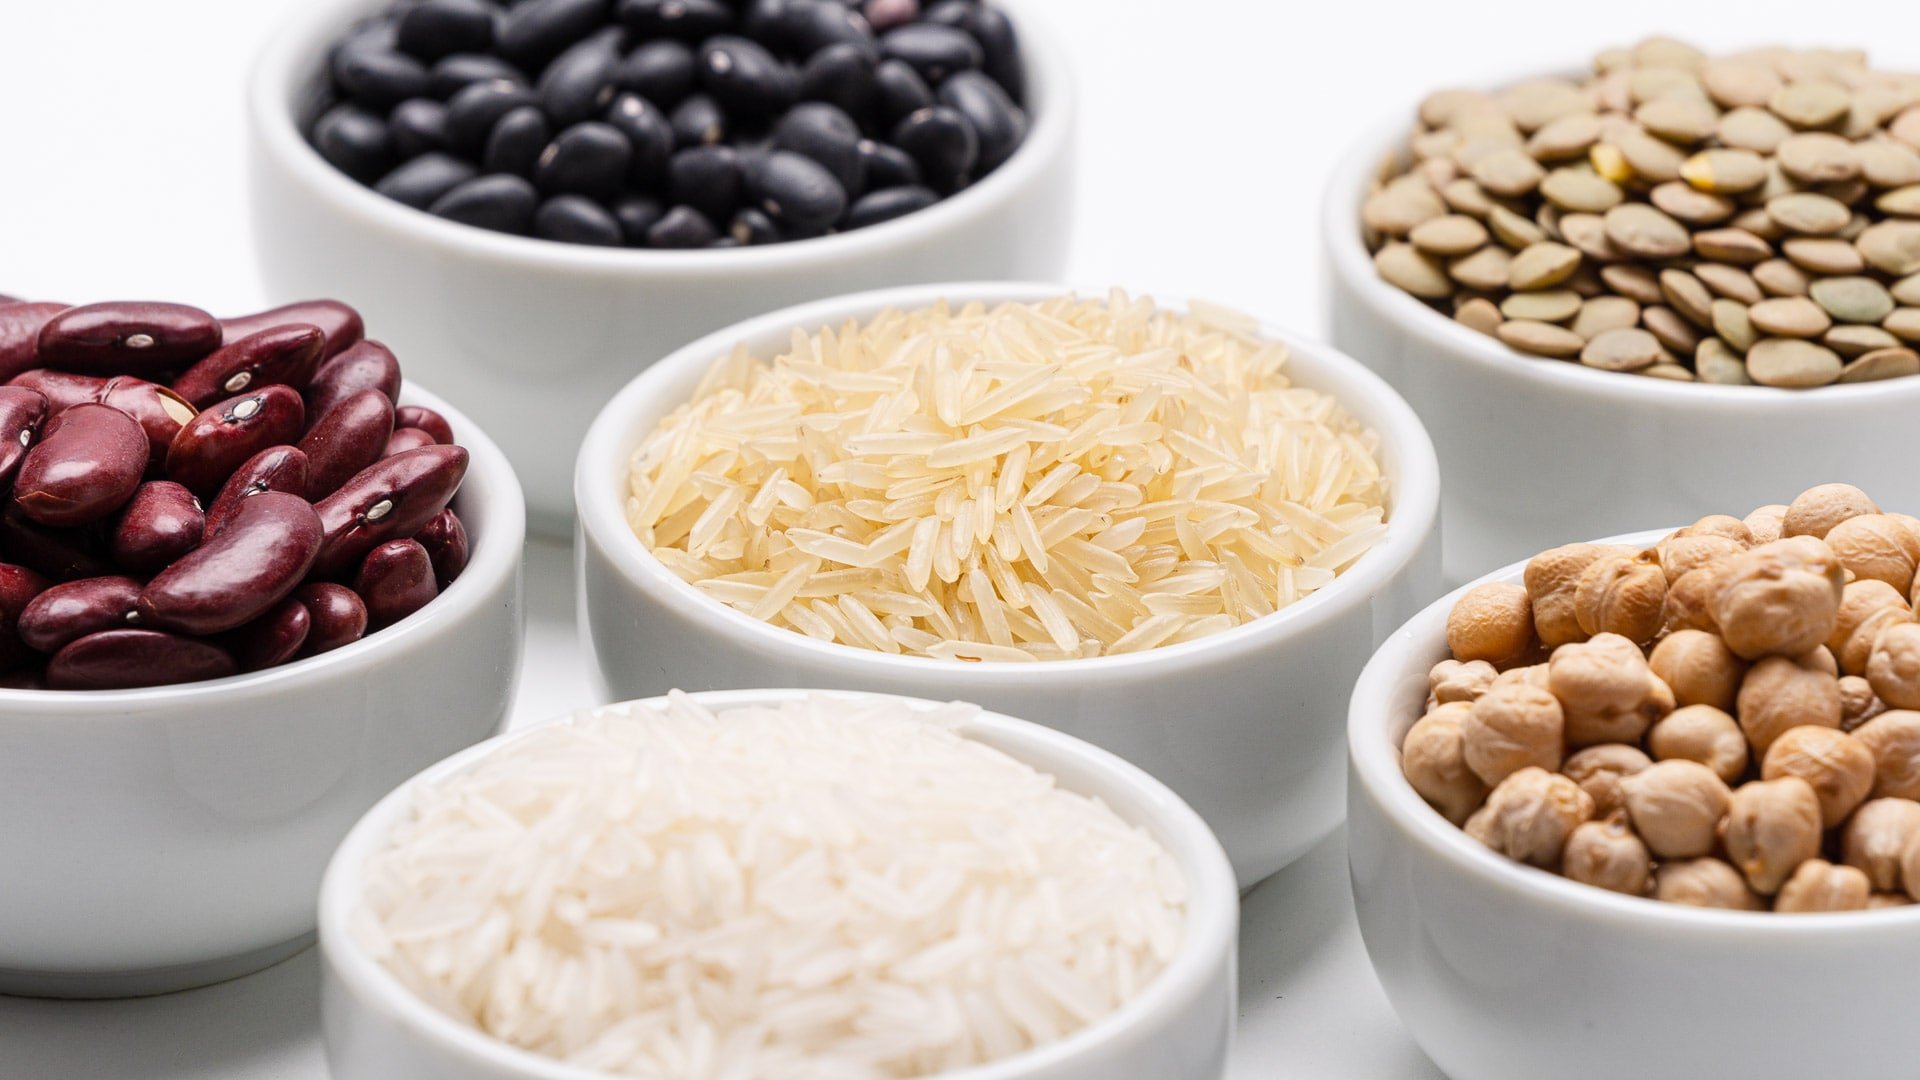
While the benefits of soaking beans are evident, it’s important to note that not all varieties of beans require soaking. Generally, larger and denser beans, such as kidney beans and chickpeas, benefit the most from soaking. However, smaller beans like lentils and black-eyed peas may not require soaking as they tend to cook relatively quickly even without prior soaking.
Now that we understand why soaking beans is beneficial, let’s explore the steps for properly soaking beans to achieve optimal results.
Steps for Soaking Beans
Properly soaking beans is crucial to ensure that they are thoroughly hydrated and ready for cooking. Follow these simple steps to soak your beans:
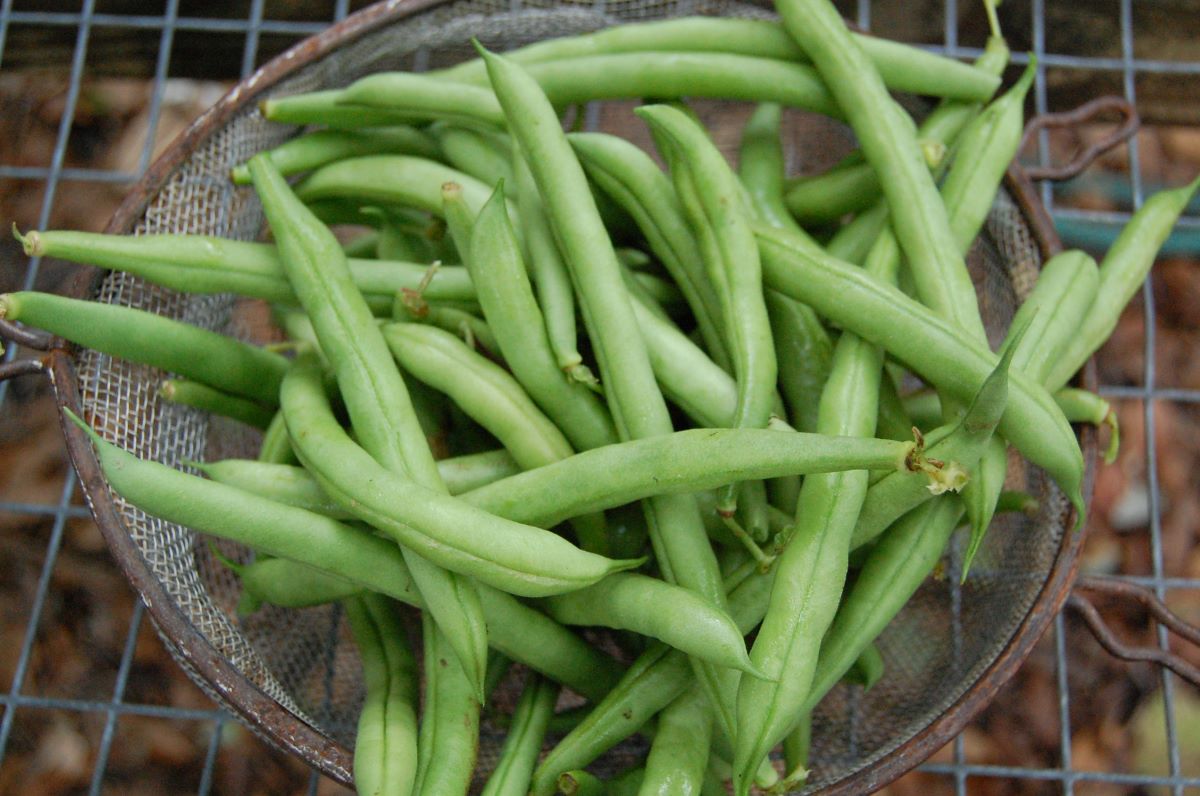
- Select your beans: Choose the type of beans you want to soak. From black beans to navy beans to chickpeas, the soaking process is similar for most varieties.
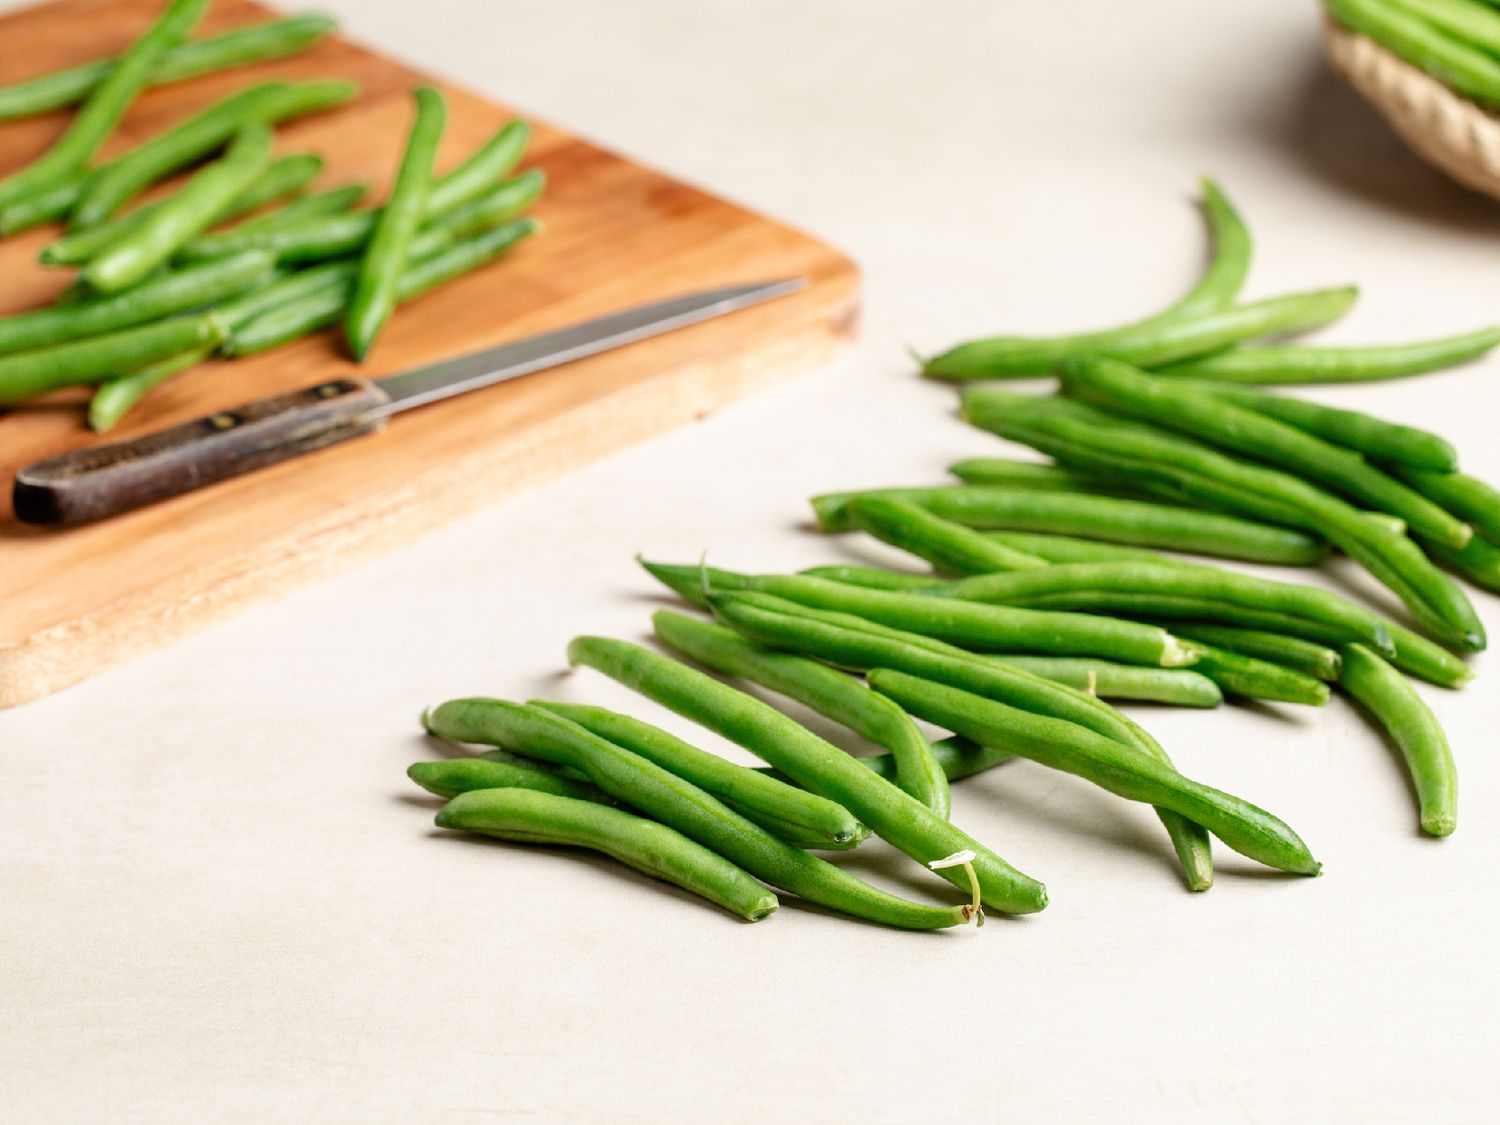
- Sort and rinse: Before soaking, sort through the beans to remove any debris or damaged beans. Rinse them thoroughly under cold water to remove any dirt or impurities.
- Measure and place in a bowl: Depending on the quantity of beans you need, measure out the desired amount. Typically, a ratio of 3 cups of water to 1 cup of beans works well. Place the beans in a large bowl.
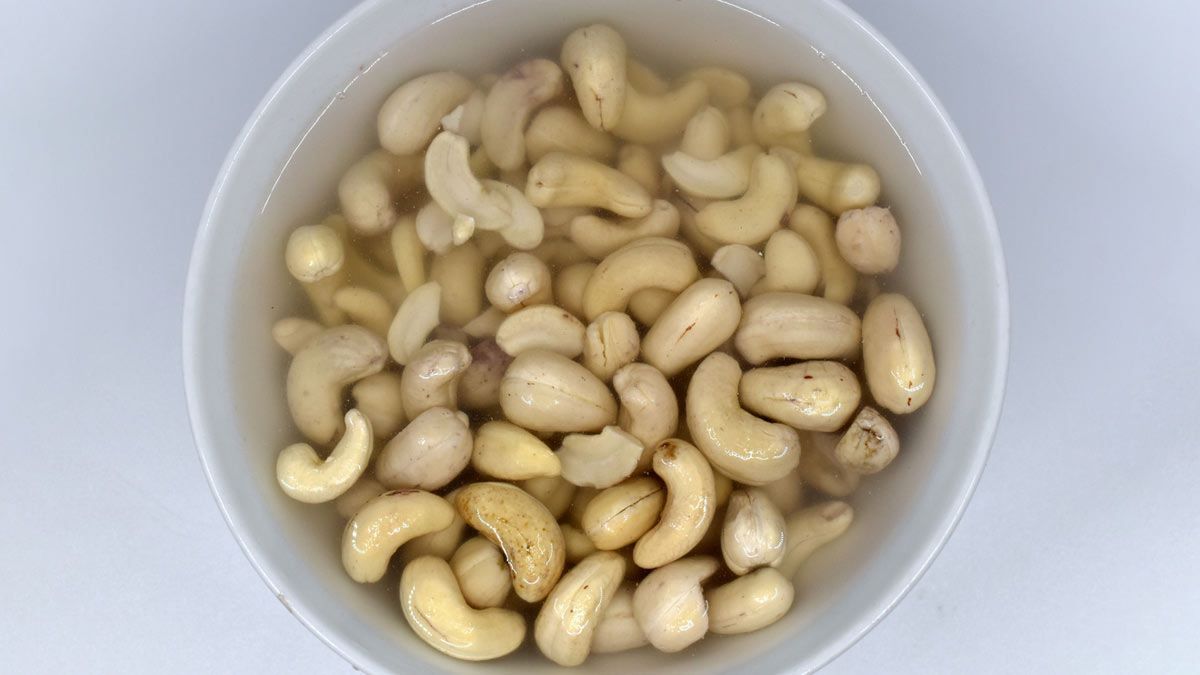
- Add water: Pour enough cold water over the beans to fully submerge them. The water level should be at least 2 inches above the beans, as they will expand during soaking.
- Soak overnight: Cover the bowl with a clean kitchen towel or plastic wrap and let the beans soak overnight at room temperature. This extended soaking period allows the beans to fully absorb the water and become plump.
- Drain and rinse: The next day, drain the soaking water from the beans and rinse them under cold water. This helps to remove any residual enzymes and substances that can cause gas and digestive discomfort.
- Ready to cook: After rinsing, the soaked beans are now ready to be cooked according to your recipe. Remember to adjust the cooking time as soaked beans tend to cook faster than unsoaked beans.
By following these steps, you can ensure that your beans are properly hydrated and primed for cooking. But what if you don’t plan on cooking the beans immediately? In such cases, it’s vital to store the soaked beans correctly to maintain their quality.
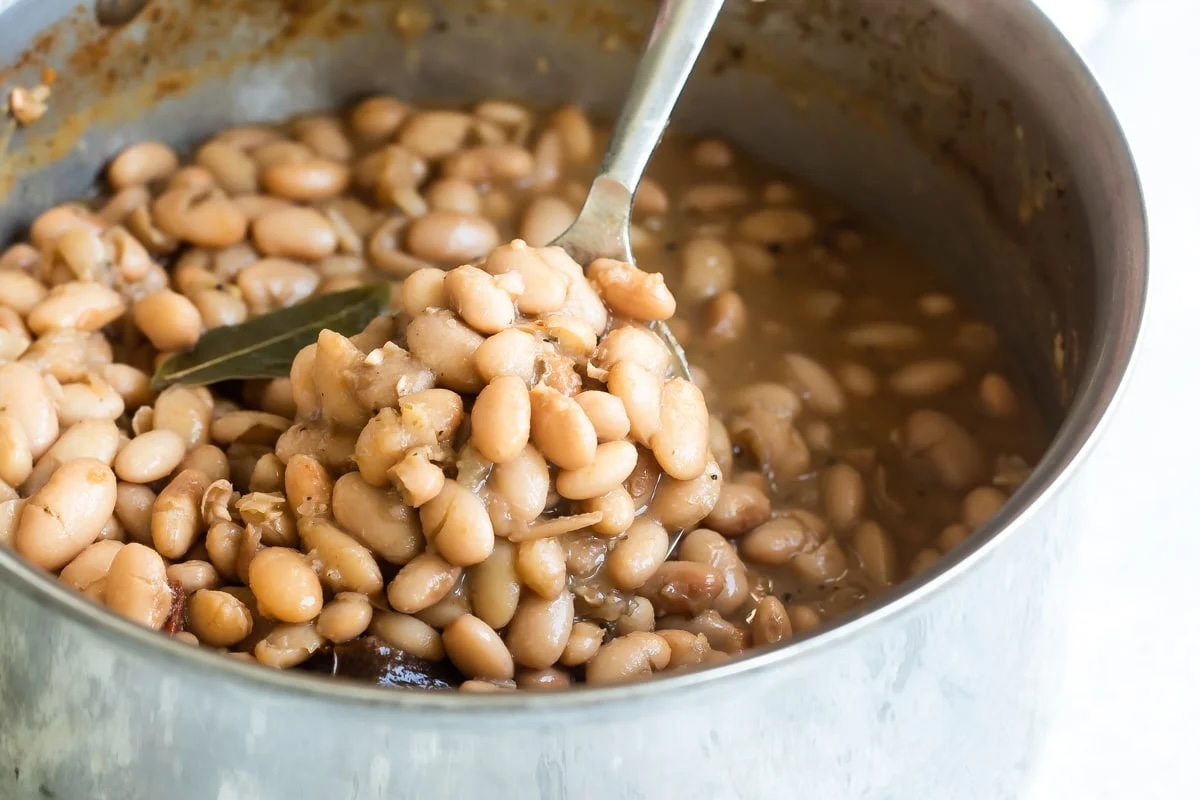
How to Properly Cook Soaked Beans
Once you have soaked your beans, it’s time to cook them to perfection. Proper cooking is essential to ensure that the beans are tender, flavorful, and safe to eat. Follow these guidelines for cooking soaked beans:
- Drain the soaked beans: Start by draining the soaked beans and discarding the soaking water. This removes any residual substances and enzymes.
- Rinse the beans: Give the beans a quick rinse under cold water to further cleanse them and prepare them for cooking.
- Add fresh water: Place the drained and rinsed beans in a large pot or pressure cooker. Add enough fresh water to cover the beans by about 2 inches.
- Season and flavor: Depending on your recipe, add any desired seasonings, such as onions, garlic, herbs, or spices, to enhance the flavor of the beans. This step is optional but can greatly enhance the taste of your dish.
- Cooking methods: There are several cooking methods for beans, including stovetop simmering, slow cooking, and pressure cooking. The cooking time will vary depending on the method you choose and the type of beans.
- Simmer on the stovetop: If using the stovetop method, bring the pot to a boil, then reduce the heat to a gentle simmer. Cover the pot and continue cooking until the beans are tender. This can take anywhere from 45 minutes to 2 hours, depending on the type and size of the beans.
- Use a slow cooker: If you prefer a hands-off approach, slow cooking is an excellent option. Transfer the soaked beans and fresh water to a slow cooker. Cook on low heat for 6 to 8 hours or on high heat for 3 to 4 hours until the beans are tender.
- Pressure cooking: For a quicker cooking time, consider using a pressure cooker. Follow the manufacturer’s instructions for cooking the soaked beans under pressure. Generally, most beans will cook in around 15 to 30 minutes in a pressure cooker.
- Check for doneness: Throughout the cooking process, check the doneness of the beans by taking a few out and tasting them. They should be tender and easily mashed between your fingers or teeth.
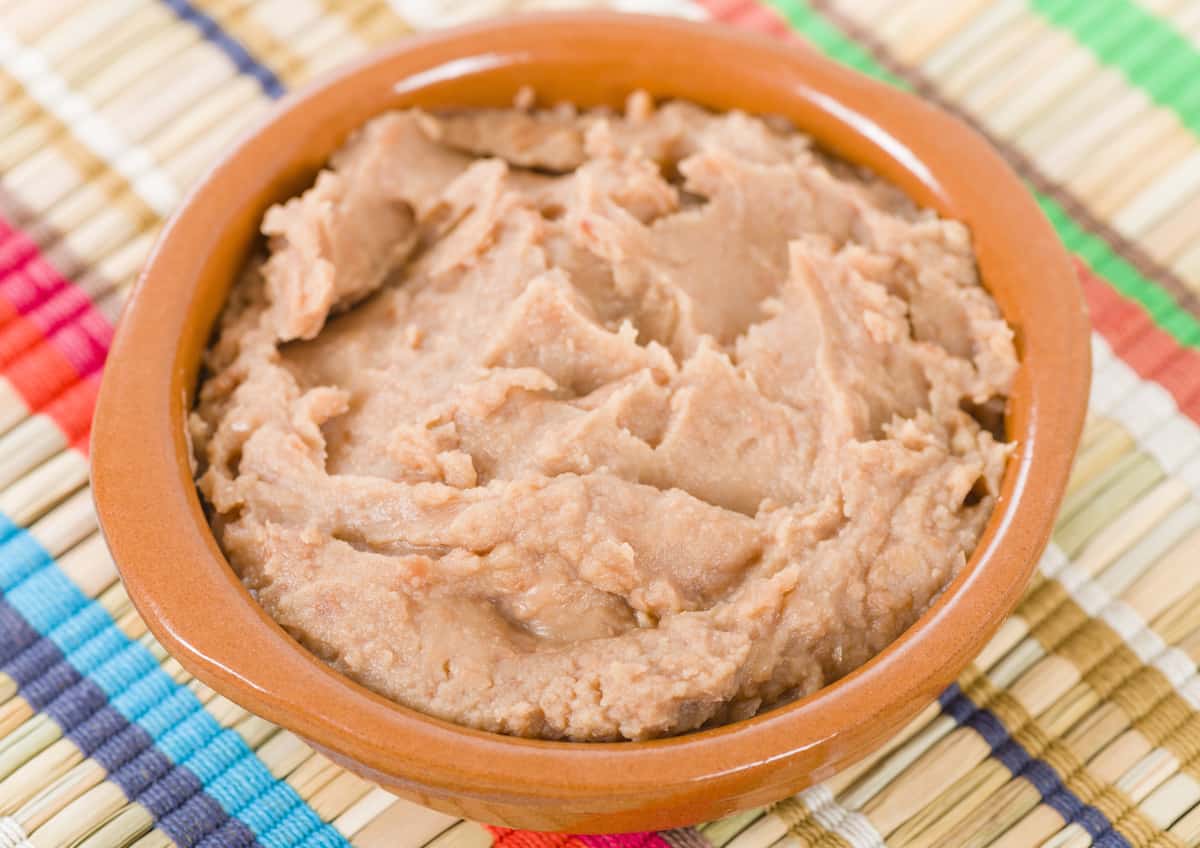
- Drain and use: Once the beans are cooked to your desired tenderness, drain them to remove any excess water. The cooked beans are now ready to be used in various recipes, from soups and stews to salads and dips.
Remember to adjust the cooking time based on the specific type of beans you’re using. Experiment with different cooking methods and flavorings to find your preferred way of cooking soaked beans. Now that you’ve successfully cooked your beans, it’s time to learn how to store them for future use.
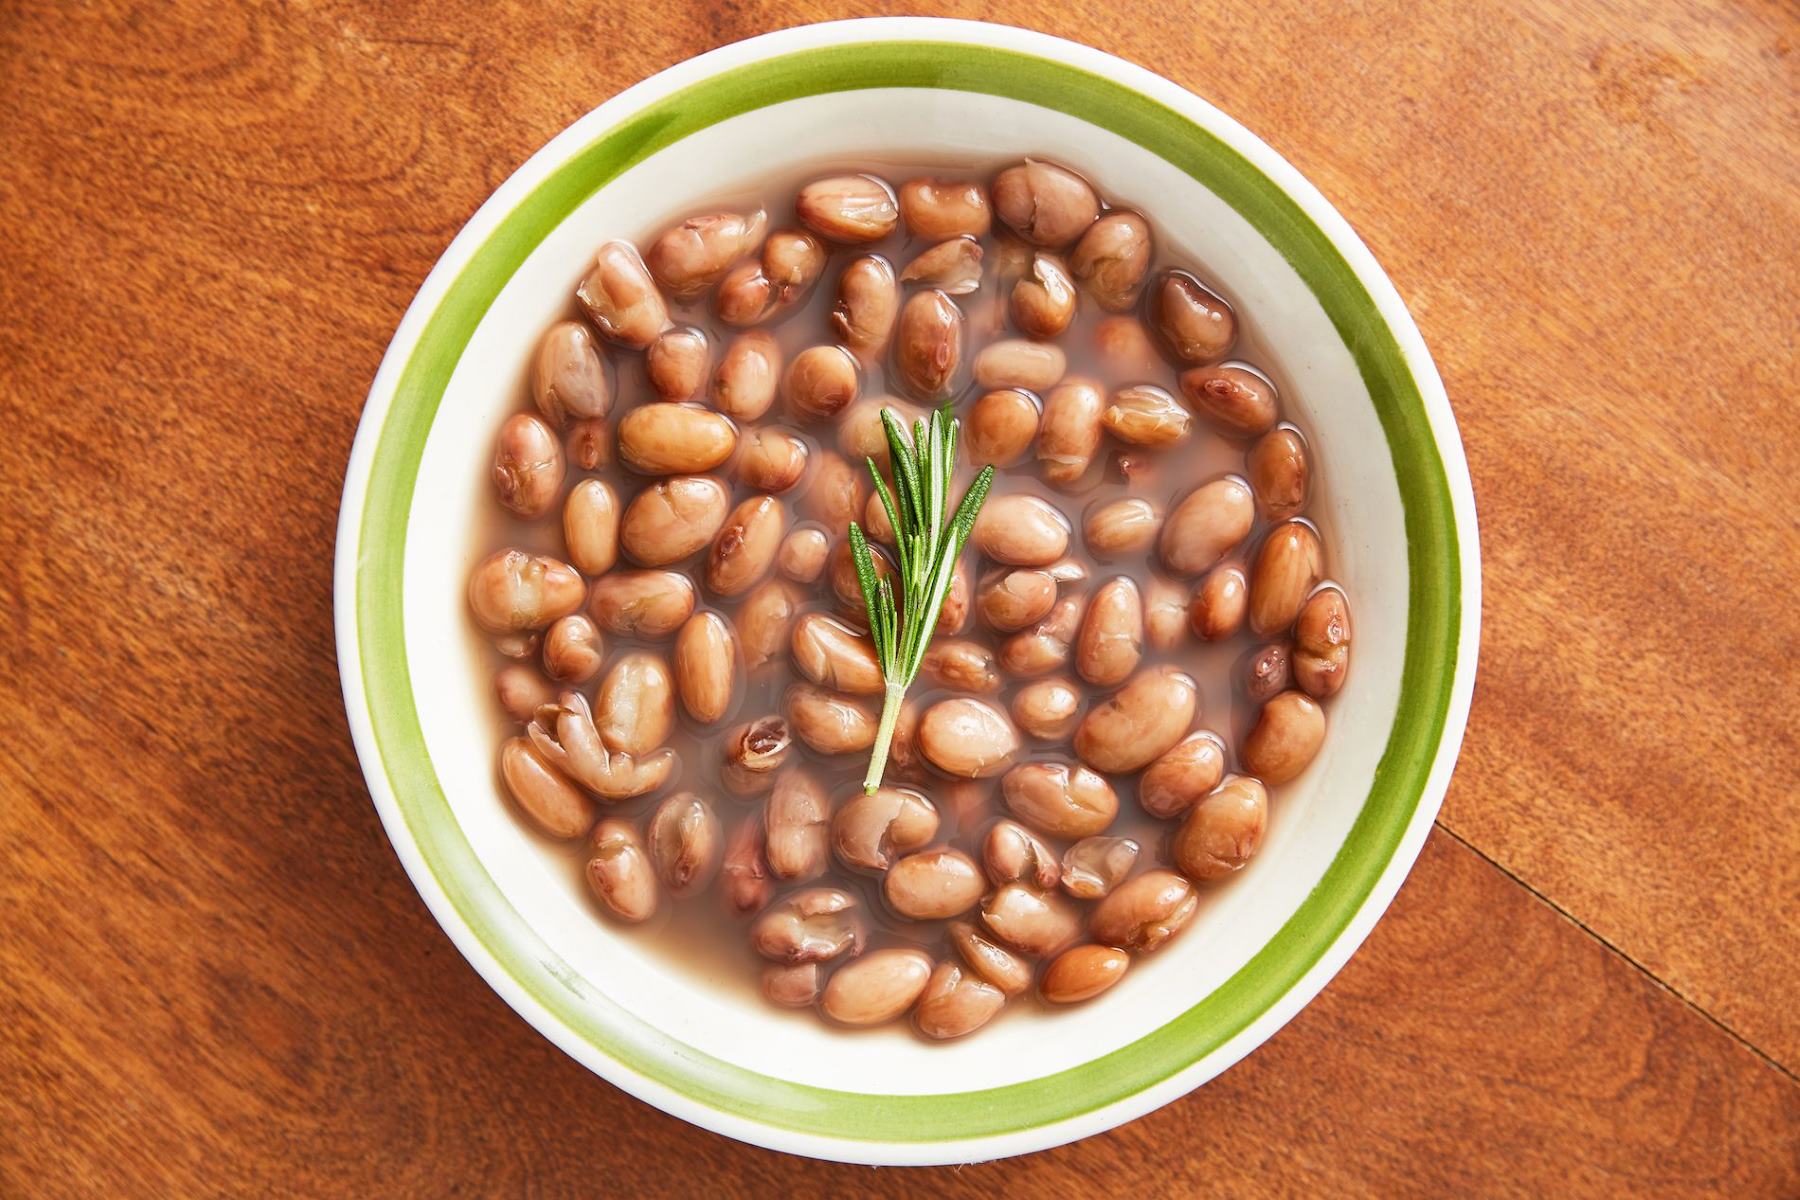
After soaking beans, store them in an airtight container in the refrigerator for up to 3 days. Make sure to cover them with fresh water and change the water daily to prevent fermentation.
Storing Soaked Beans
If you have soaked more beans than you need for your current recipe, it’s essential to store them properly to maintain their freshness and quality. Here are the recommended steps for storing soaked beans:
- Drain and cool: After cooking the soaked beans, allow them to cool completely before storing. Drain any excess liquid to prevent the beans from becoming mushy or spoiled.
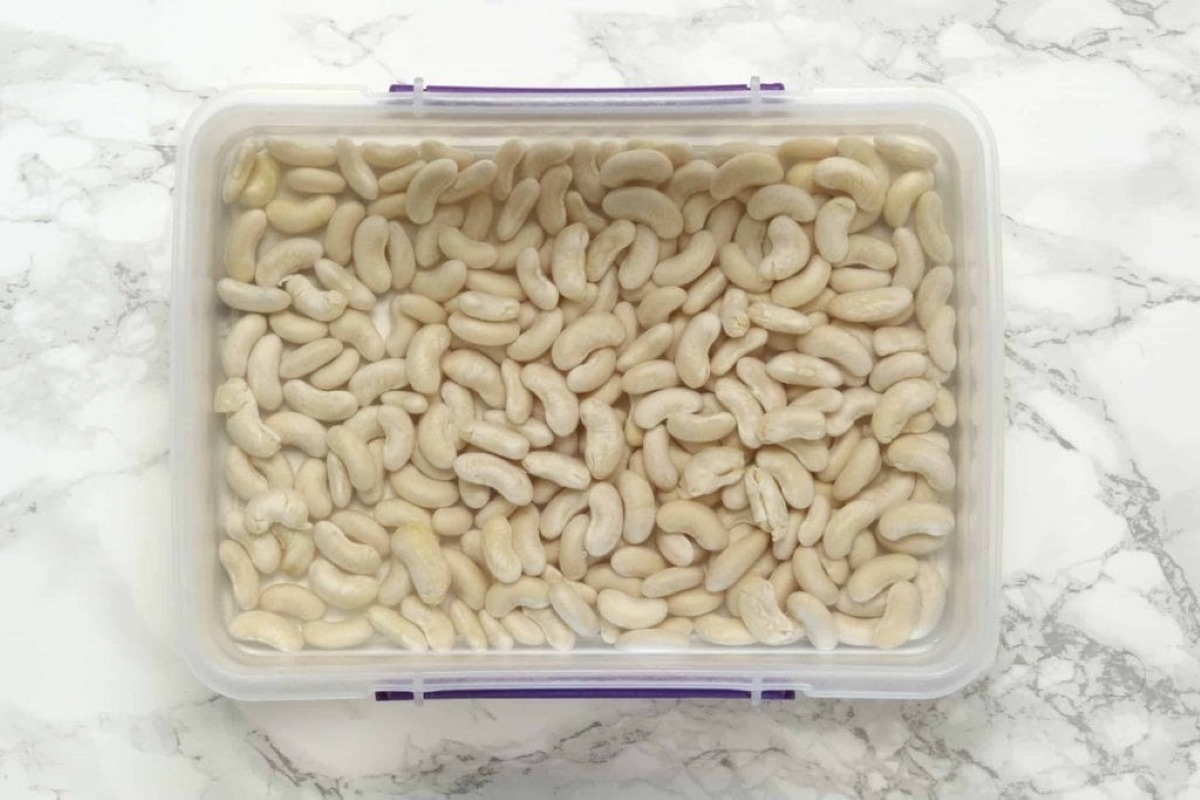
- Airtight container: Transfer the cooked and cooled beans to a clean, airtight container. Glass or plastic containers with tight-fitting lids work well for this purpose. Ensure that the container is large enough to hold the beans without overcrowding.
- Label and date: It’s important to label the container with the type of beans and the date of storage. This will help you keep track of their freshness and prevent confusion later on.
- Refrigeration: For short-term storage, place the container of soaked beans in the refrigerator. They can stay fresh in the fridge for up to 3 to 4 days.
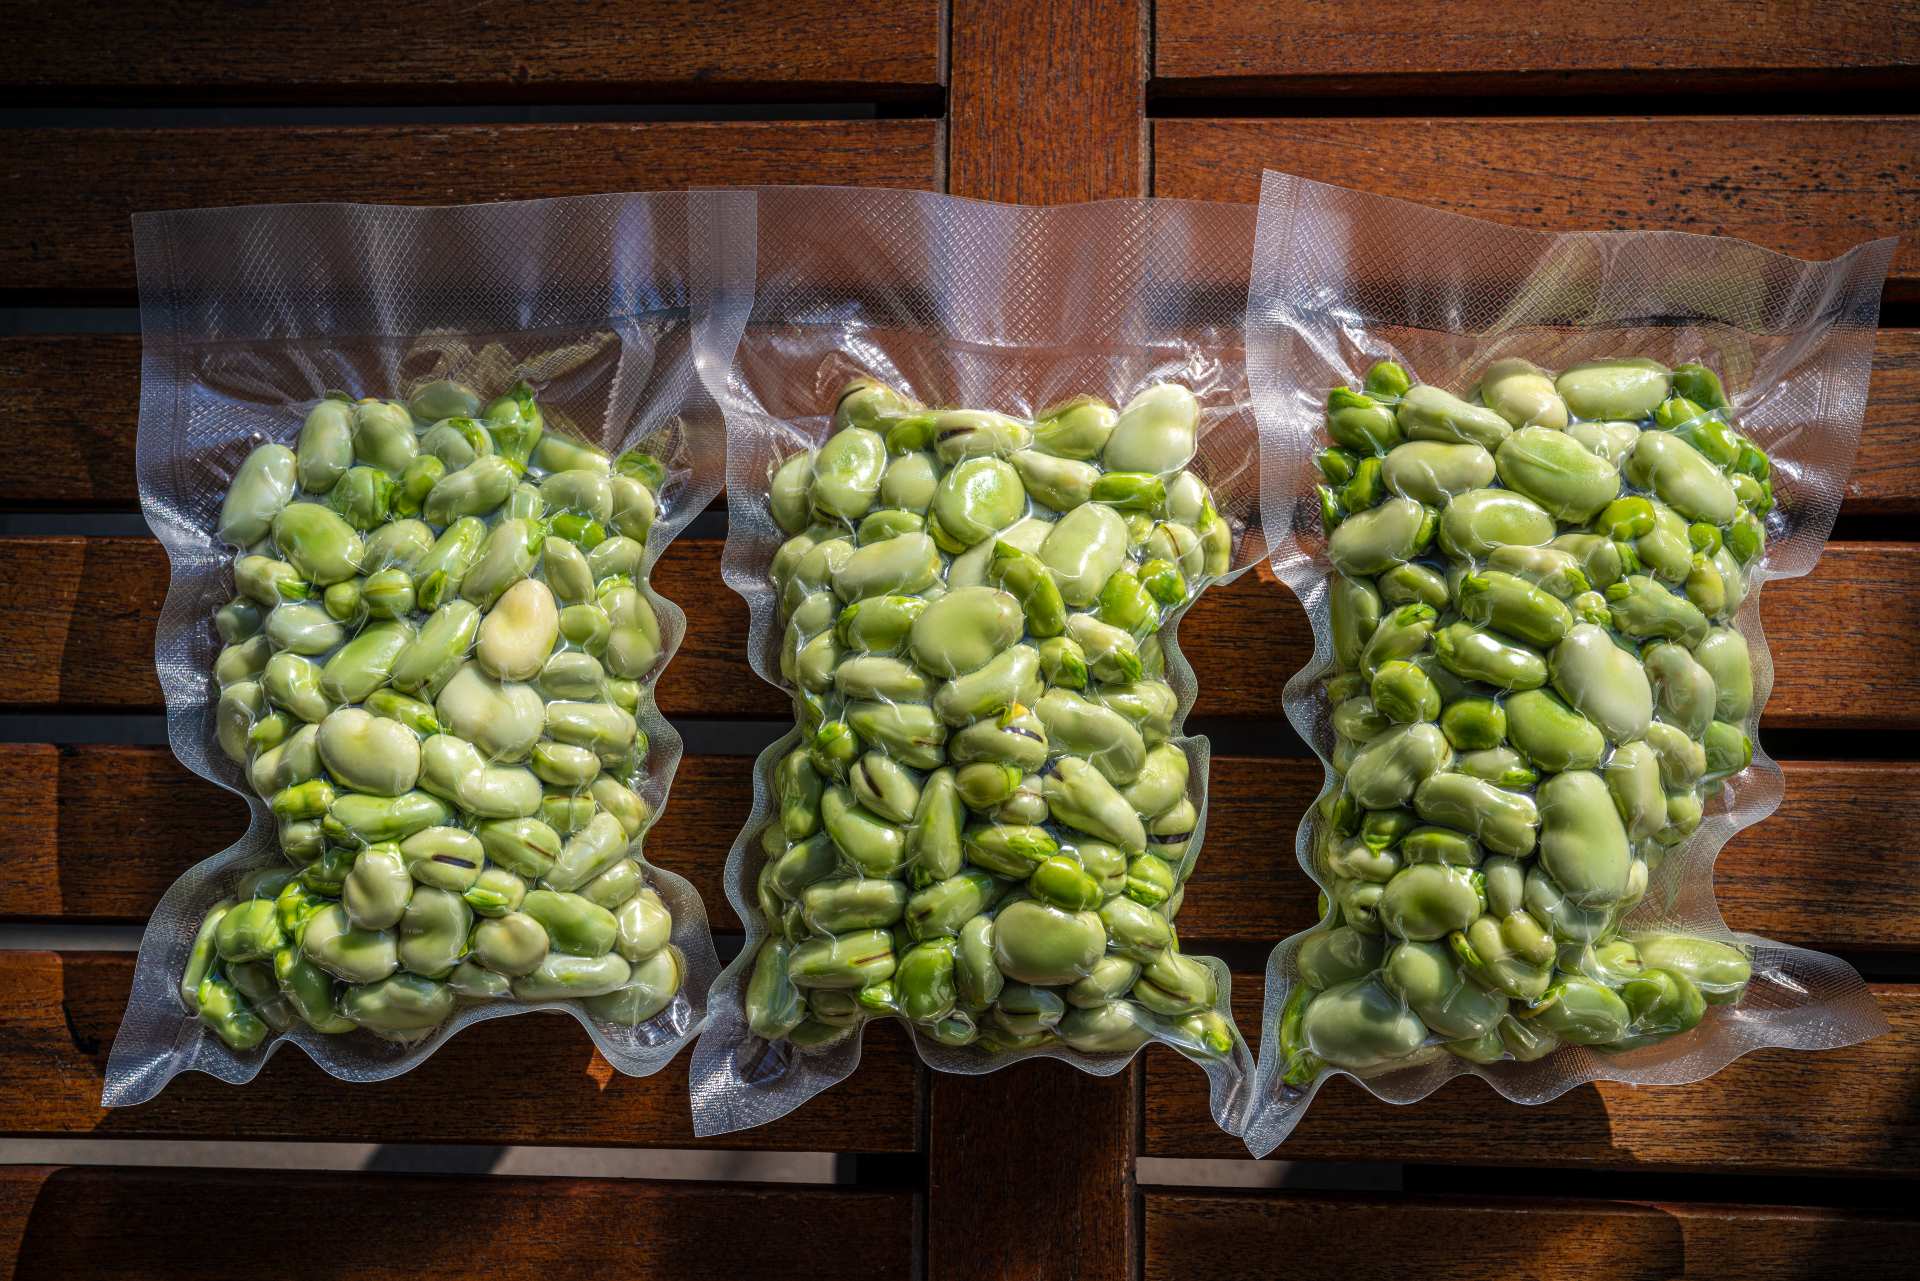
- Freezing: If you want to store the soaked beans for a longer period, freezing is your best option. Divide the beans into portion-sized freezer-safe containers or sealable freezer bags. Squeeze out any excess air to prevent freezer burn. Label the containers and store them in the freezer for up to 3 months.
When you’re ready to use the stored soaked beans, simply thaw them in the refrigerator overnight (if frozen) or take them directly from the refrigerator. They are now ready to be incorporated into your favorite recipes.
Note: It’s important to remember that storing soaked beans for an extended period can affect their texture, and they may become slightly softer. However, they will still be safe to consume and can be used in various dishes.
Now that you know how to properly store soaked beans, here are a few additional tips to keep in mind for maximum freshness and flavor.
Read more: How To Store Canned Beans After Opening
Tips for Storing Beans After Soaking
To ensure that your soaked beans stay fresh and flavorful for as long as possible, here are some helpful tips to keep in mind:
- Don’t overcrowd: Avoid overfilling your storage containers or bags. Leave some room for the beans to expand and breathe. Overcrowding can lead to a loss of texture and flavor.
- Use the right container: Choose a container that is suitable for long-term storage. Glass or BPA-free plastic containers with tight-fitting lids are ideal for preserving the freshness of soaked beans.
- Avoid moisture: Moisture is one of the biggest enemies when it comes to storing beans. Make sure the beans are completely dry before transferring them to the storage containers. Any excess moisture can lead to mold or spoilage.
- Store in a cool, dark place: If you are opting for short-term storage in the pantry, choose a cool and dark spot away from direct sunlight. Excessive light, heat, or humidity can accelerate the deterioration of the beans.
- Avoid strong odors: Beans are porous and can easily absorb strong odors from the environment. Keep them away from pungent foods like onions, garlic, or spices that can alter their taste.
- Label and rotate: Properly label your storage containers with the type of beans and the date of storage. Practice the “First In, First Out” (FIFO) method to ensure that you use the oldest beans first and maintain their freshness.
- Consider vacuum sealing: For long-term storage or if you frequently cook with beans, investing in a vacuum sealer can help prolong the shelf life of the soaked beans. Vacuum-sealed beans can be stored in the pantry or freezer and remain fresh for an extended period.
- Inspect before use: Before using the stored soaked beans, give them a quick visual inspection. Discard any beans that appear discolored, moldy, or have a foul odor. This ensures that you only use beans that are in good condition.
By following these tips, you can maintain the quality of your soaked beans and ensure that they are ready to use whenever you need them. Proper storage will preserve their flavor, texture, and nutritional value.
Now that you have learned how to soak, cook, and store beans after soaking, you can confidently incorporate soaked beans into your favorite recipes and enjoy the delicious and nutritious benefits they have to offer. Happy cooking!
Note: The cooking and storage times mentioned in this article are general guidelines. Actual cooking and storage times may vary depending on the type and age of the beans, as well as personal preferences. It’s always a good idea to check the beans for doneness and freshness before consuming or using them in recipes.
Conclusion
Soaking beans before cooking is a practice that has stood the test of time, offering numerous benefits that enhance the taste, texture, and digestibility of these nutritious legumes. By soaking beans, you can reduce cooking time, improve nutrient absorption, and achieve a more palatable texture in your dishes.
To properly soak beans, follow the steps of selecting, sorting, rinsing, and then allowing the beans to soak overnight. Once they are soaked and properly cooked according to your preferred method, storing them correctly is essential to maintain their freshness.
Whether you choose to store soaked beans in the refrigerator or the freezer, ensure they are properly drained, cooled, and placed in airtight containers with accurate labeling. This will help you keep track of their freshness and prevent any issues related to food safety or flavor.
By following the tips provided in this article, you can extend the shelf life of your soaked beans and ensure they’re ready to use whenever you need them. From soups and stews to salads and side dishes, incorporating soaked beans into your recipes will add a nutritious and delicious element to your meals.
So, the next time you find a recipe that calls for soaked beans, don’t overlook this important step. Take the time to soak your beans, cook them to perfection, and store them properly. Your taste buds and your body will thank you for it!
Remember, experimentation is key to finding the soaking and cooking methods that work best for you. Try different types of beans, various soaking times, and cooking techniques to achieve the desired results. With practice, you’ll become an expert in preparing and storing soaked beans, adding a touch of culinary creativity to your meals.
Now that you've mastered storing beans post-soaking, why stop there? Perfect storage isn't limited to just beans meant for cooking. For coffee enthusiasts looking to keep their beans fresh, ensuring the perfect brew every time, our detailed guide on the best options available for coffee bean storage will surely be your next great read. Find out which containers can help maintain the aroma and flavor of your favorite coffee beans.
Frequently Asked Questions about How To Store Beans After Soaking
Was this page helpful?
At Storables.com, we guarantee accurate and reliable information. Our content, validated by Expert Board Contributors, is crafted following stringent Editorial Policies. We're committed to providing you with well-researched, expert-backed insights for all your informational needs.


0 thoughts on “How To Store Beans After Soaking”