Articles
How To Store Canna Lily Seeds
Modified: September 1, 2024
Learn the best techniques for storing canna lily seeds in this informative article. Discover effective methods to keep your seeds viable and ensure successful growth.
(Many of the links in this article redirect to a specific reviewed product. Your purchase of these products through affiliate links helps to generate commission for Storables.com, at no extra cost. Learn more)
Introduction
Welcome to the world of gardening! Growing plants from seeds can be a rewarding and fulfilling experience. If you’re a fan of canna lilies and want to expand your garden, you may be interested in storing canna lily seeds. This comprehensive guide will walk you through the process, from choosing the right time to harvesting, cleaning, and storing the seeds. By following these steps, you’ll be able to preserve the seeds for future planting and ensure the continued beauty of your garden.
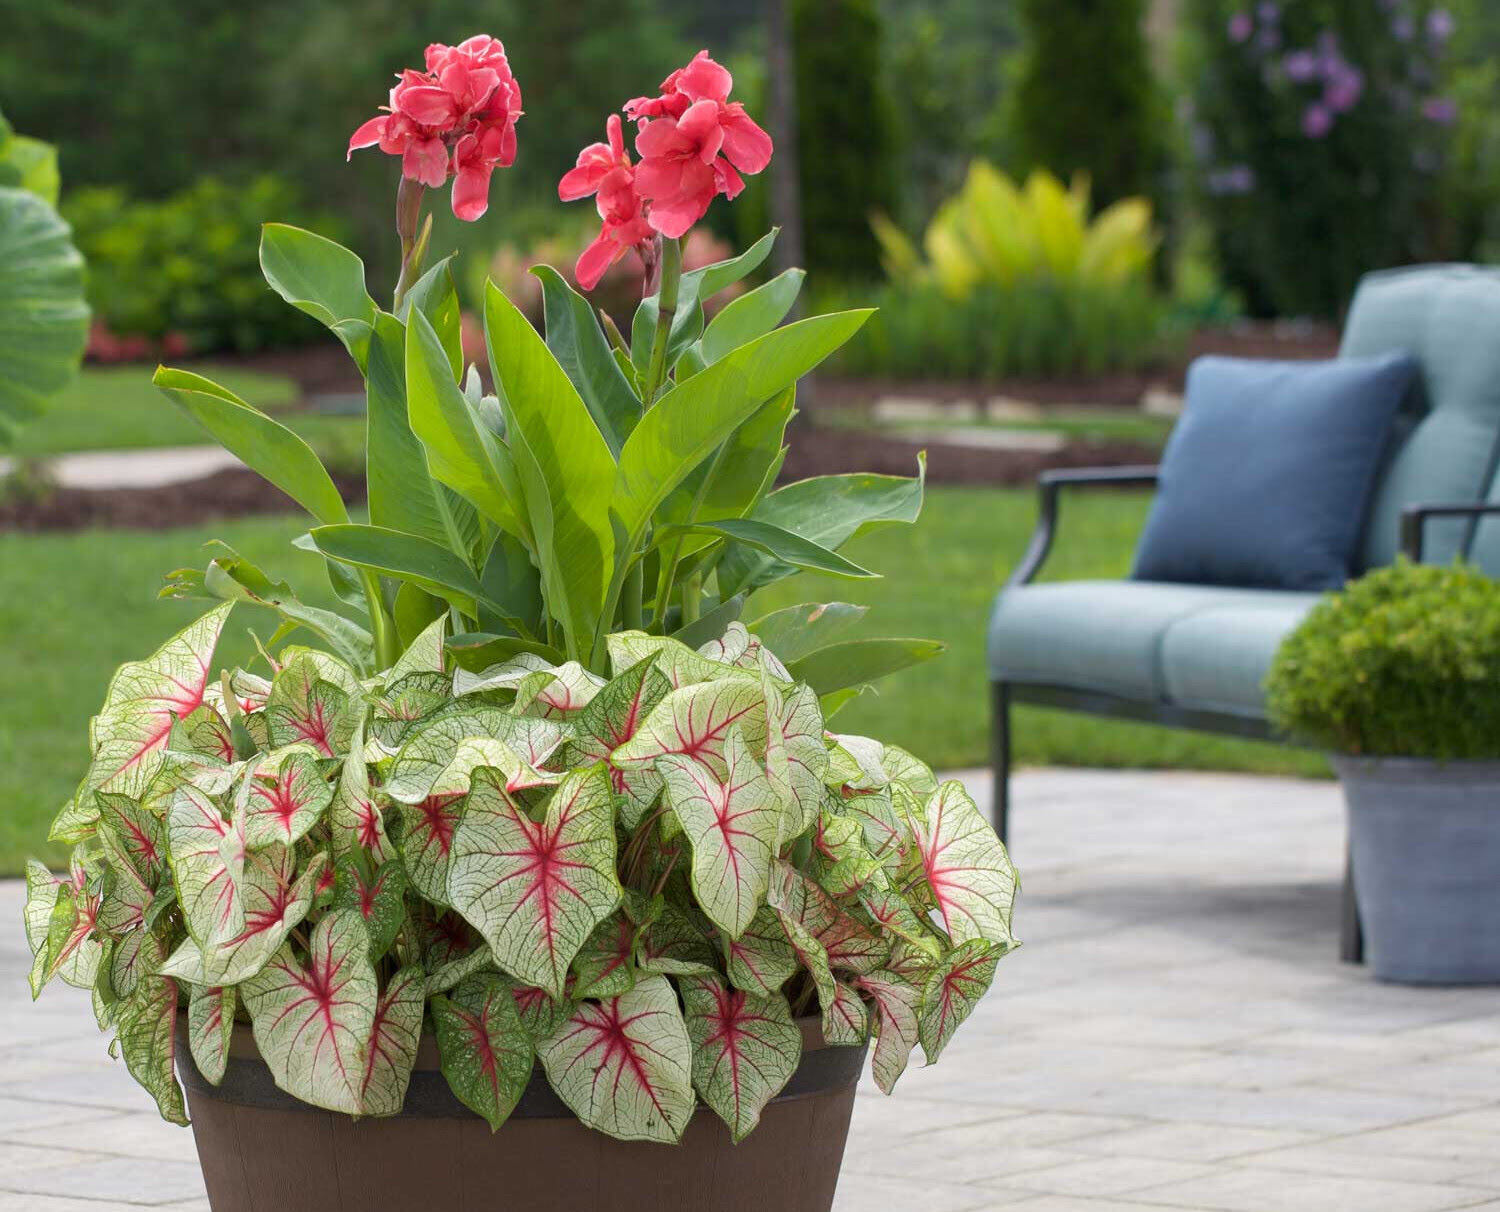
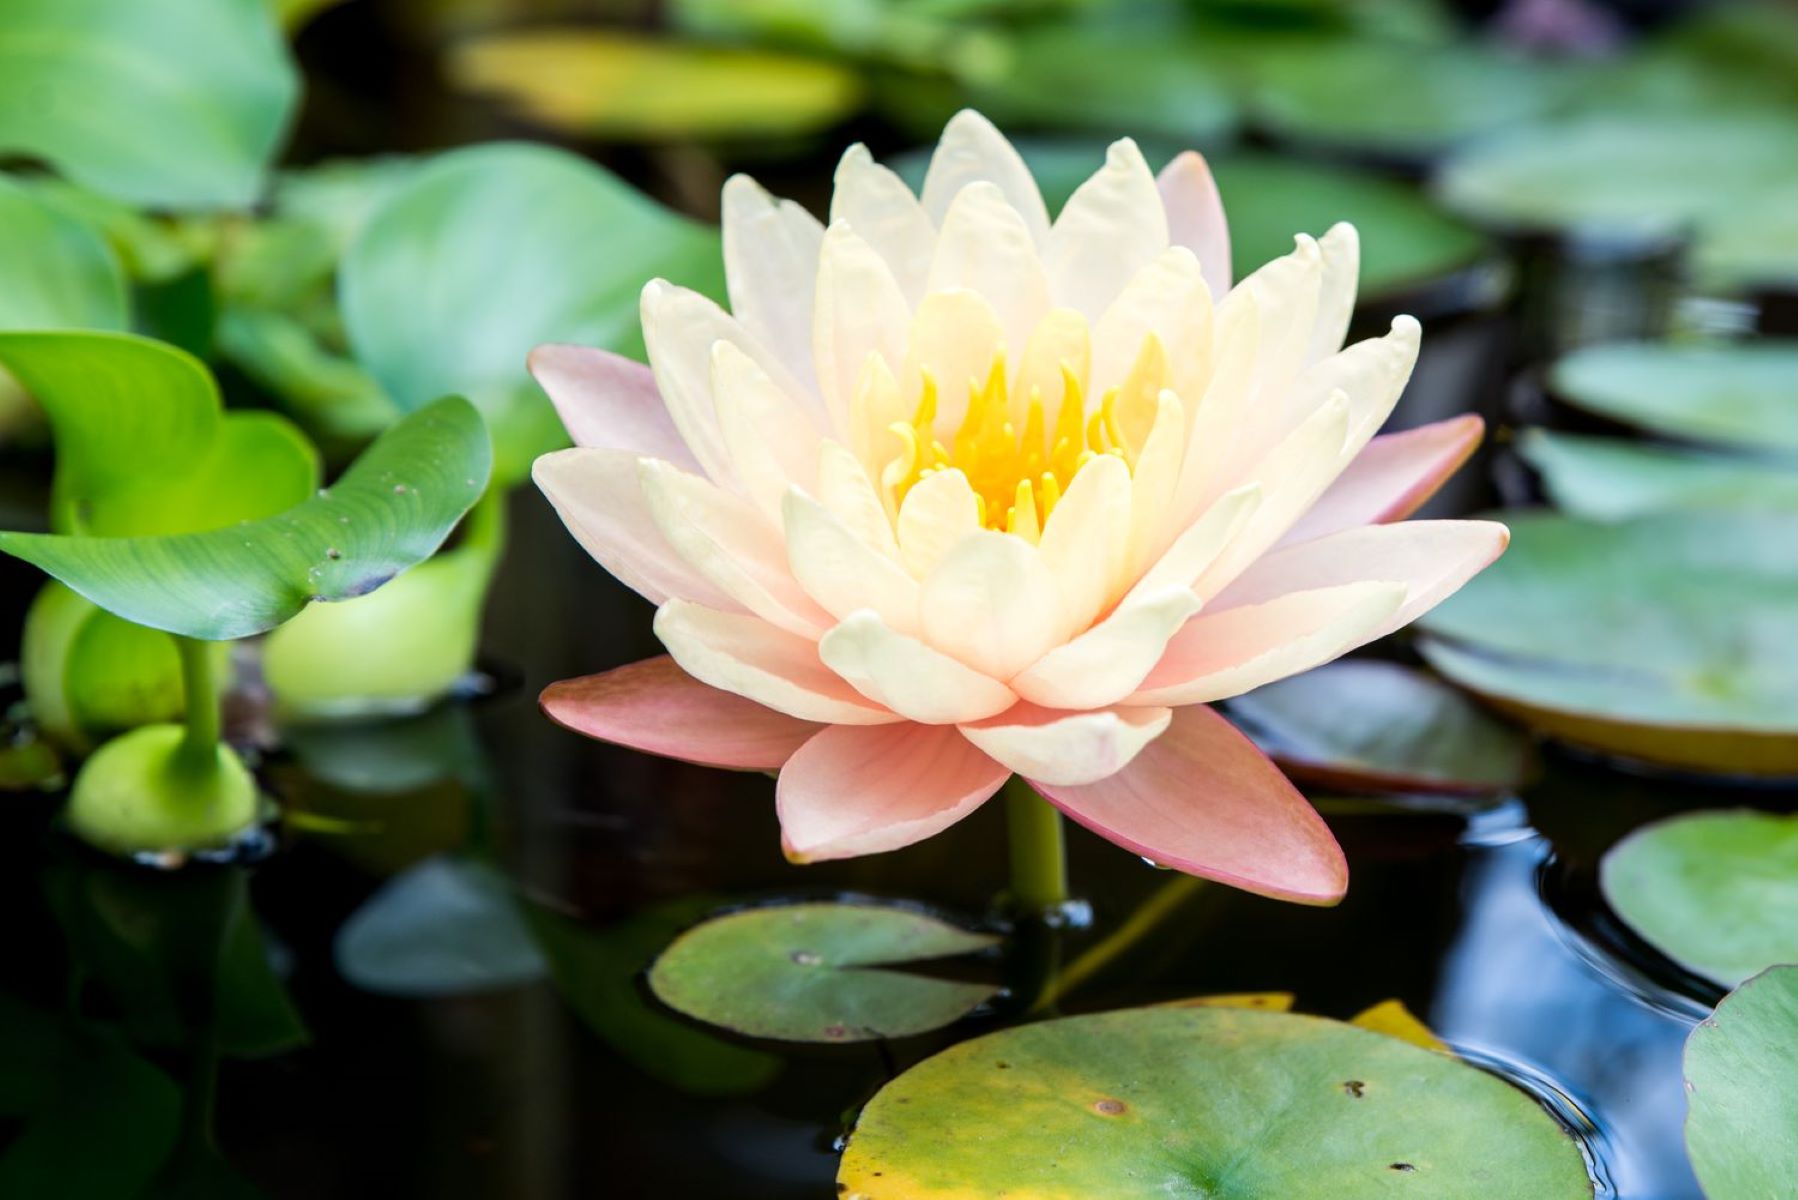
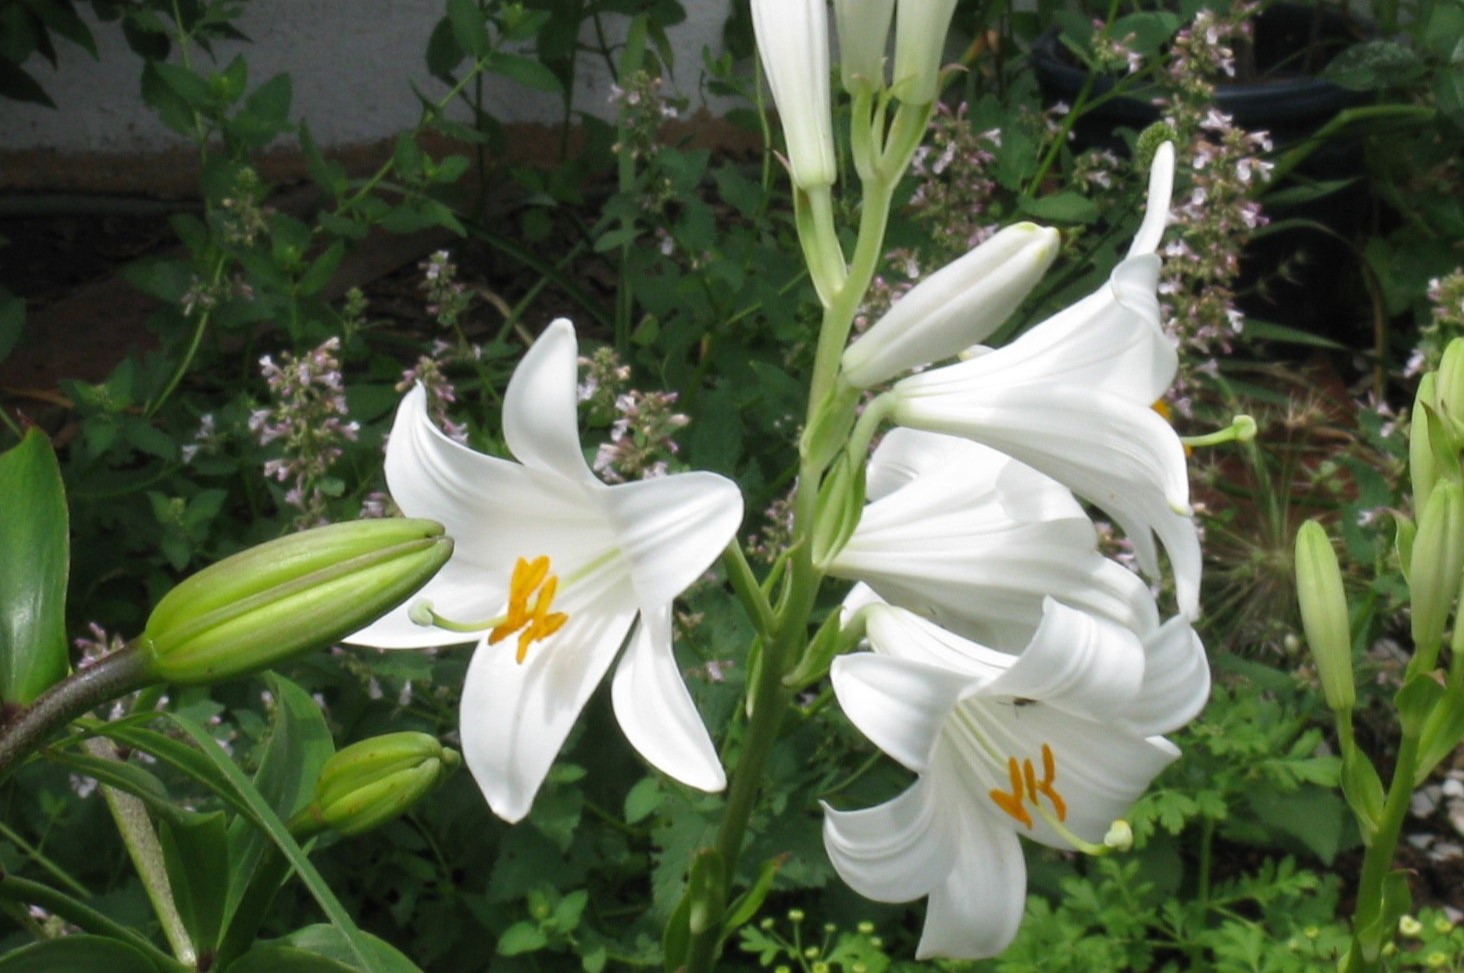
Canna lilies, known for their vibrant colors and tropical appeal, are popular among garden enthusiasts. These stunning plants produce seeds that can be saved and planted in the next growing season. Storing canna lily seeds properly is crucial to maintain their viability and give them the best chance of germinating successfully.
Before we delve into the nitty-gritty of storing canna lily seeds, it’s important to note that not all canna lilies produce viable seeds. Some hybrids and cultivars may not produce fertile seeds, so it’s best to check the specific variety you’re growing. If your plants do produce viable seeds, then read on to learn how to store them effectively.
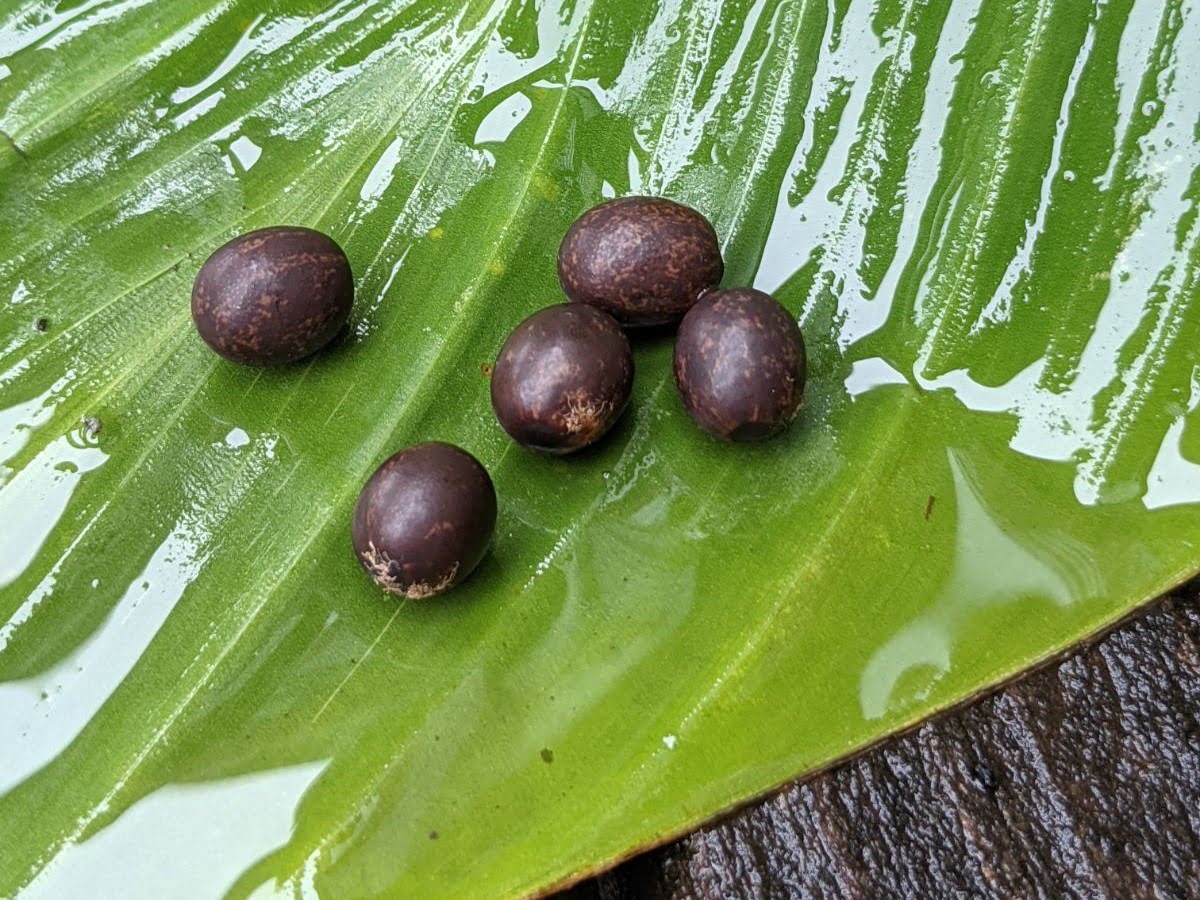
Proper timing is essential when it comes to harvesting canna lily seeds. You’ll need to wait until the seed pods have fully matured and turn brown or black. Harvesting the seeds too early can lead to immature or non-viable seeds.
Once you’ve determined that the seed pods are ready for harvesting, it’s time to gather your supplies and get to work. You’ll need a pair of garden gloves, pruning shears, paper bags, and a clean, dry surface for cleaning and drying the seeds.
Key Takeaways:
- Preserve the beauty of canna lilies by harvesting and storing their seeds properly. Timing is crucial, and careful cleaning and drying ensure long-term viability for a flourishing garden.
- Maintain the genetic diversity of canna lilies with effective seed storage. Choose the right time for harvesting, clean and dry the seeds meticulously, and store them in optimal conditions for future planting success.
Read more: How To Plant Canna Lily Seeds
Choosing the Right Time
Timing is crucial when it comes to harvesting canna lily seeds. You want to wait until the seed pods have reached their full maturity to ensure the viability of the seeds. The ideal time for harvesting canna lily seeds is when the pods have turned brown or black and are starting to dry out.
One way to determine if the seeds are ready for harvesting is by gently squeezing the pods. If they feel firm and resist pressure, they may not be fully matured yet. On the other hand, if the pods feel dry and crumble easily, it’s a good indication that the seeds are ready to be collected.
Another method is to observe the color of the seed pods. As canna lily seeds mature, the pods change from green to a darker shade, usually brown or black. Once you notice this color change, it’s a signal that the seeds are nearing their peak ripeness.
It’s important to note that harvesting canna lily seeds too early may result in immature or non-viable seeds. On the contrary, if you wait too long, the pods may split open, and the seeds could be lost, eaten by birds, or damaged by the elements.
To ensure that you’re harvesting your canna lily seeds at the right time, it’s a good idea to keep a close eye on the plants as they reach the end of their flowering season. Regular observations will help you spot the signs of seed maturation and ensure that you harvest the seeds at their peak.
In general, you can expect the canna lily seed pods to develop approximately two to three months after the plants first bloom. However, the exact timing may vary depending on the variety and growing conditions.
By selecting the right time for harvesting, you increase your chances of collecting healthy and viable canna lily seeds. These seeds can then be stored properly for future use, allowing you to grow more canna lilies and enhance the beauty of your garden.
Harvesting the Canna Lily Seeds
Now that you’ve determined the right time to harvest the canna lily seeds, it’s time to gather your supplies and start the process. Harvesting the seeds is a relatively simple task that requires minimal equipment and effort.
Here are the steps to follow:
- Put on a pair of garden gloves to protect your hands from any potential prickles or irritants on the canna lily plants.
- Grab a pair of sharp pruning shears or scissors. You’ll use these to cut the seed pods from the canna lily plants.
- Select the seed pods that are fully matured and have turned brown or black. Avoid harvesting pods that are still green or have not reached their full ripeness.
- Hold the seed pod firmly near the base and cut it off from the plant. Be careful not to damage the pod or any other part of the plant.
- Continue this process until you have collected all the mature seed pods you wish to harvest.
- Place the harvested seed pods in a clean paper bag or a container that allows for air circulation. Avoid using plastic bags as they can trap moisture and lead to mold or rot.
After harvesting the canna lily seed pods, it’s important to handle them with care to avoid damaging the seeds inside. The pods can be fragile, so it’s best to gently place them in the container rather than tossing them in roughly.
It’s worth mentioning that canna lilies produce plenty of seed pods, and you may find more pods than you need for planting. If that’s the case, you can choose to share the seeds with fellow gardeners or save them for future use.
By following these steps, you’ll successfully harvest the canna lily seeds without causing harm to the plants or the seeds themselves. Once you’ve gathered all the seed pods, it’s time to move on to the next step—cleaning and drying the seeds.
Cleaning and Drying the Seeds
After harvesting the canna lily seed pods, it’s crucial to clean and dry the seeds thoroughly before storing them. This process helps remove any debris, fungal spores, or moisture that can potentially affect the viability of the seeds.
Here’s how to clean and dry your canna lily seeds:
- Begin by preparing a clean, dry surface, such as a tray or a plate.
- Gently open the seed pods one by one and extract the seeds. You can do this by using your fingers or a small tool.
- Place the seeds on the clean surface, making sure to spread them out evenly. This will allow for better airflow during the drying process.
- Inspect the seeds and discard any that appear discolored, damaged, or shriveled. These seeds are unlikely to germinate successfully.
- Once you’ve sorted through the seeds, leave them to air dry in a well-ventilated area for about a week. Ensure that the location is away from direct sunlight and humidity.
- Avoid using artificial heat sources for drying, as excessive heat can damage the seeds.
- During the drying period, you can occasionally stir or turn the seeds to prevent them from sticking together or developing mold.
It’s important to note that canna lily seeds have a protective covering, known as the seed coat or husk. This outer layer can sometimes hinder germination by preventing water absorption. To enhance germination rates, some gardeners recommend gently scarifying the seed coat with sandpaper or carefully nicking it with a small knife. However, this step is optional and not always necessary.
Once the canna lily seeds are completely dry, they are ready for long-term storage. Properly storing the seeds will help maintain their viability and ensure that they remain in good condition until you’re ready to plant them.
Next, we’ll explore the best practices for storing canna lily seeds to maximize their shelf life and increase their chances of successful germination.
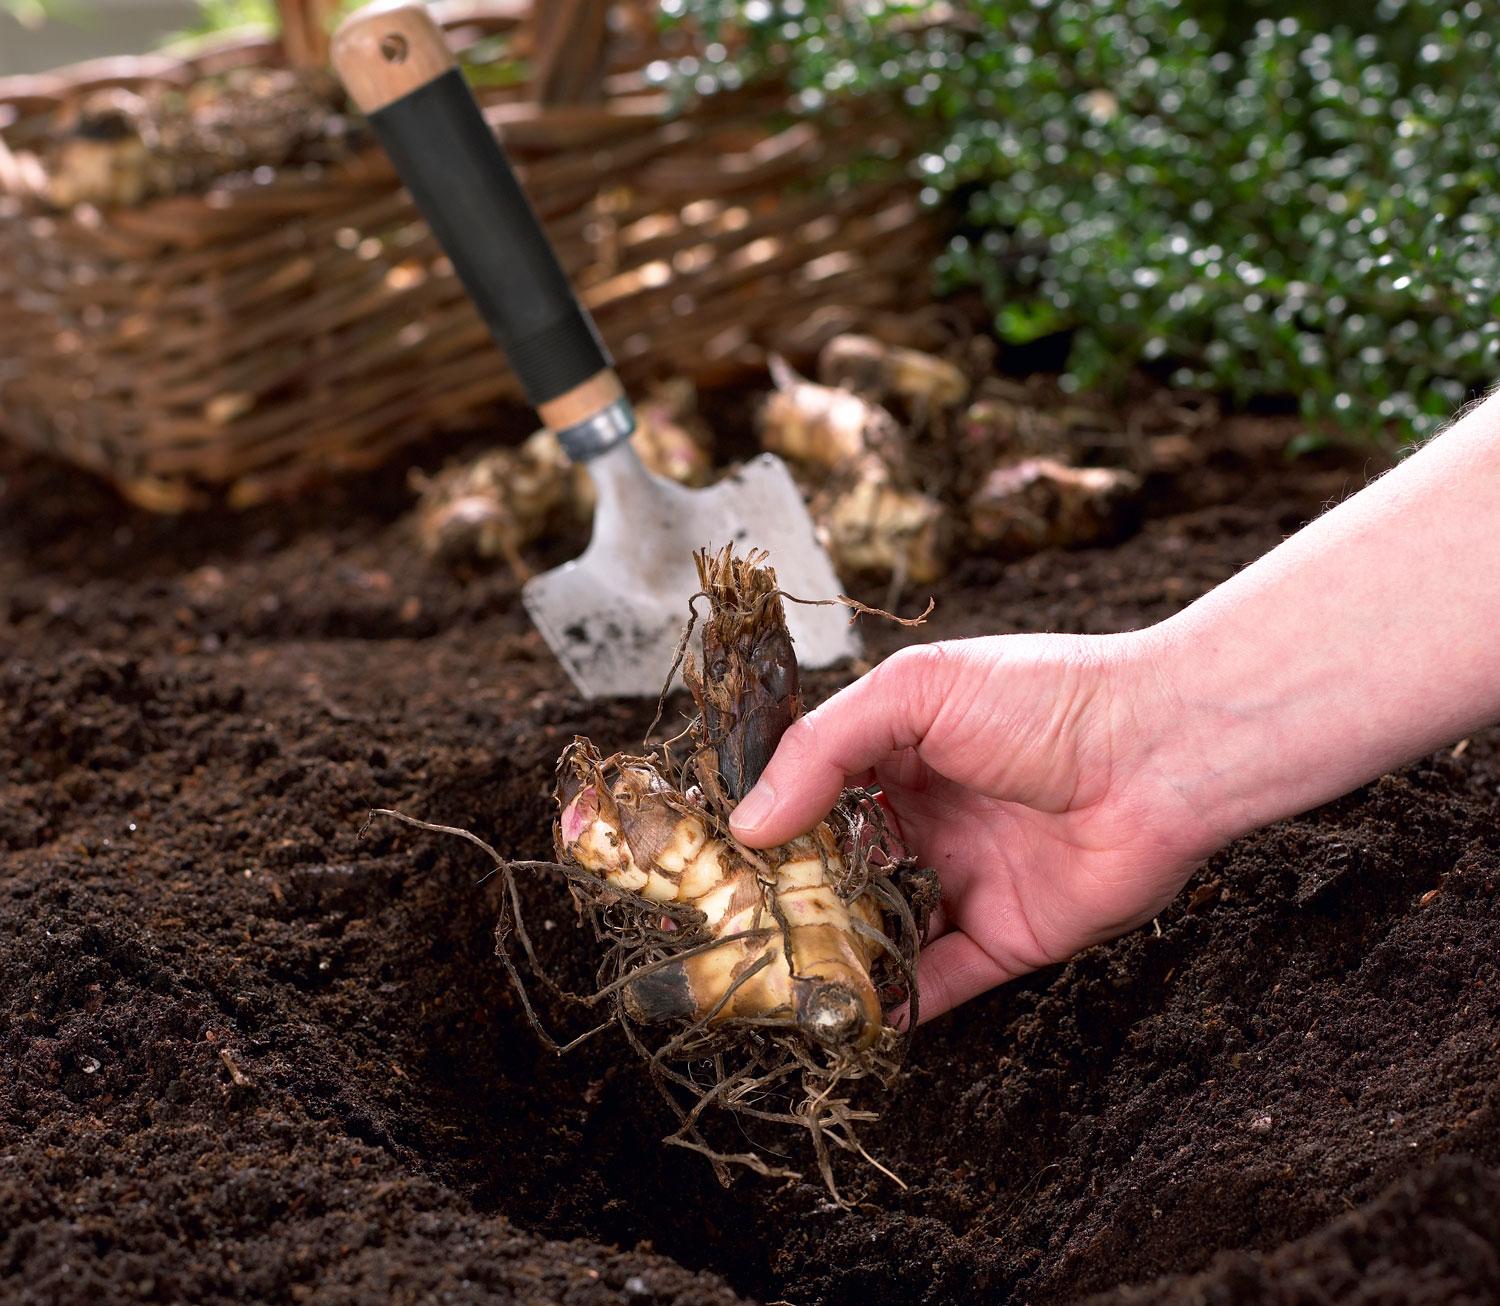
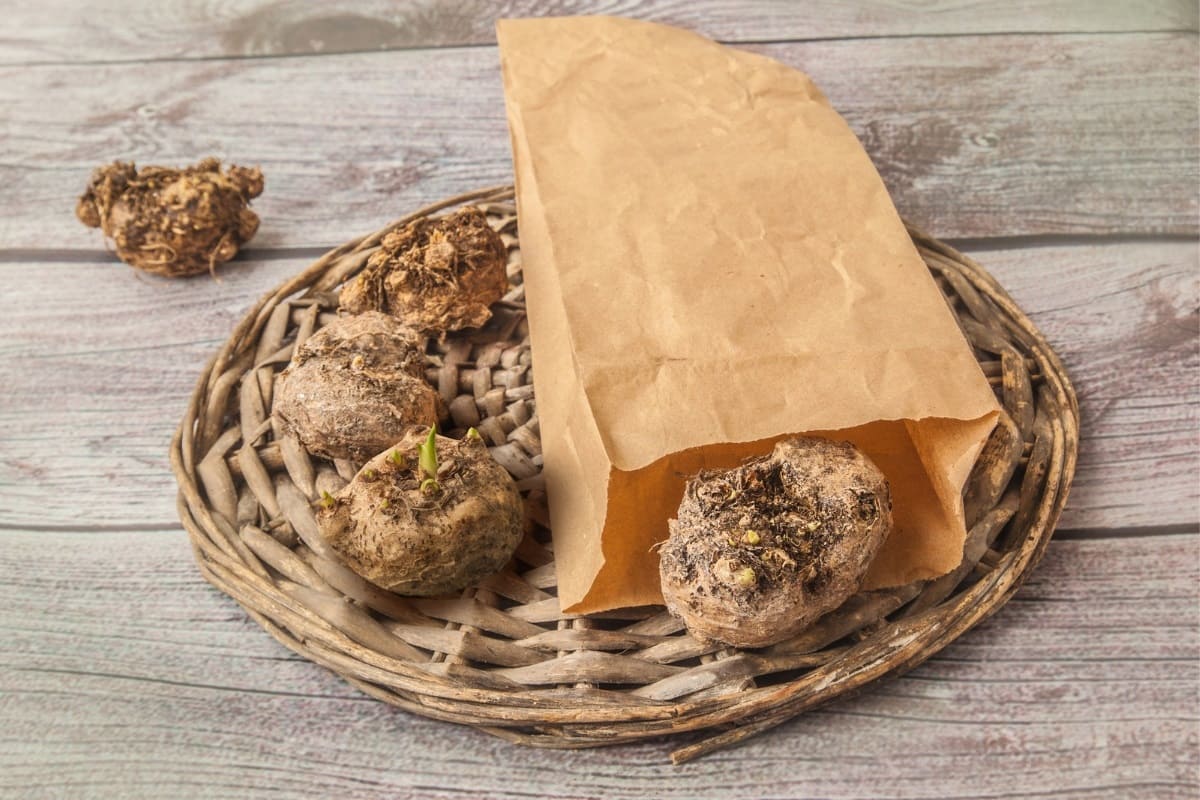
After harvesting, allow canna lily seeds to air dry for a few days. Store them in a cool, dry place in a paper envelope or breathable container to prevent mold. Label with the date and variety.
Storing the Canna Lily Seeds
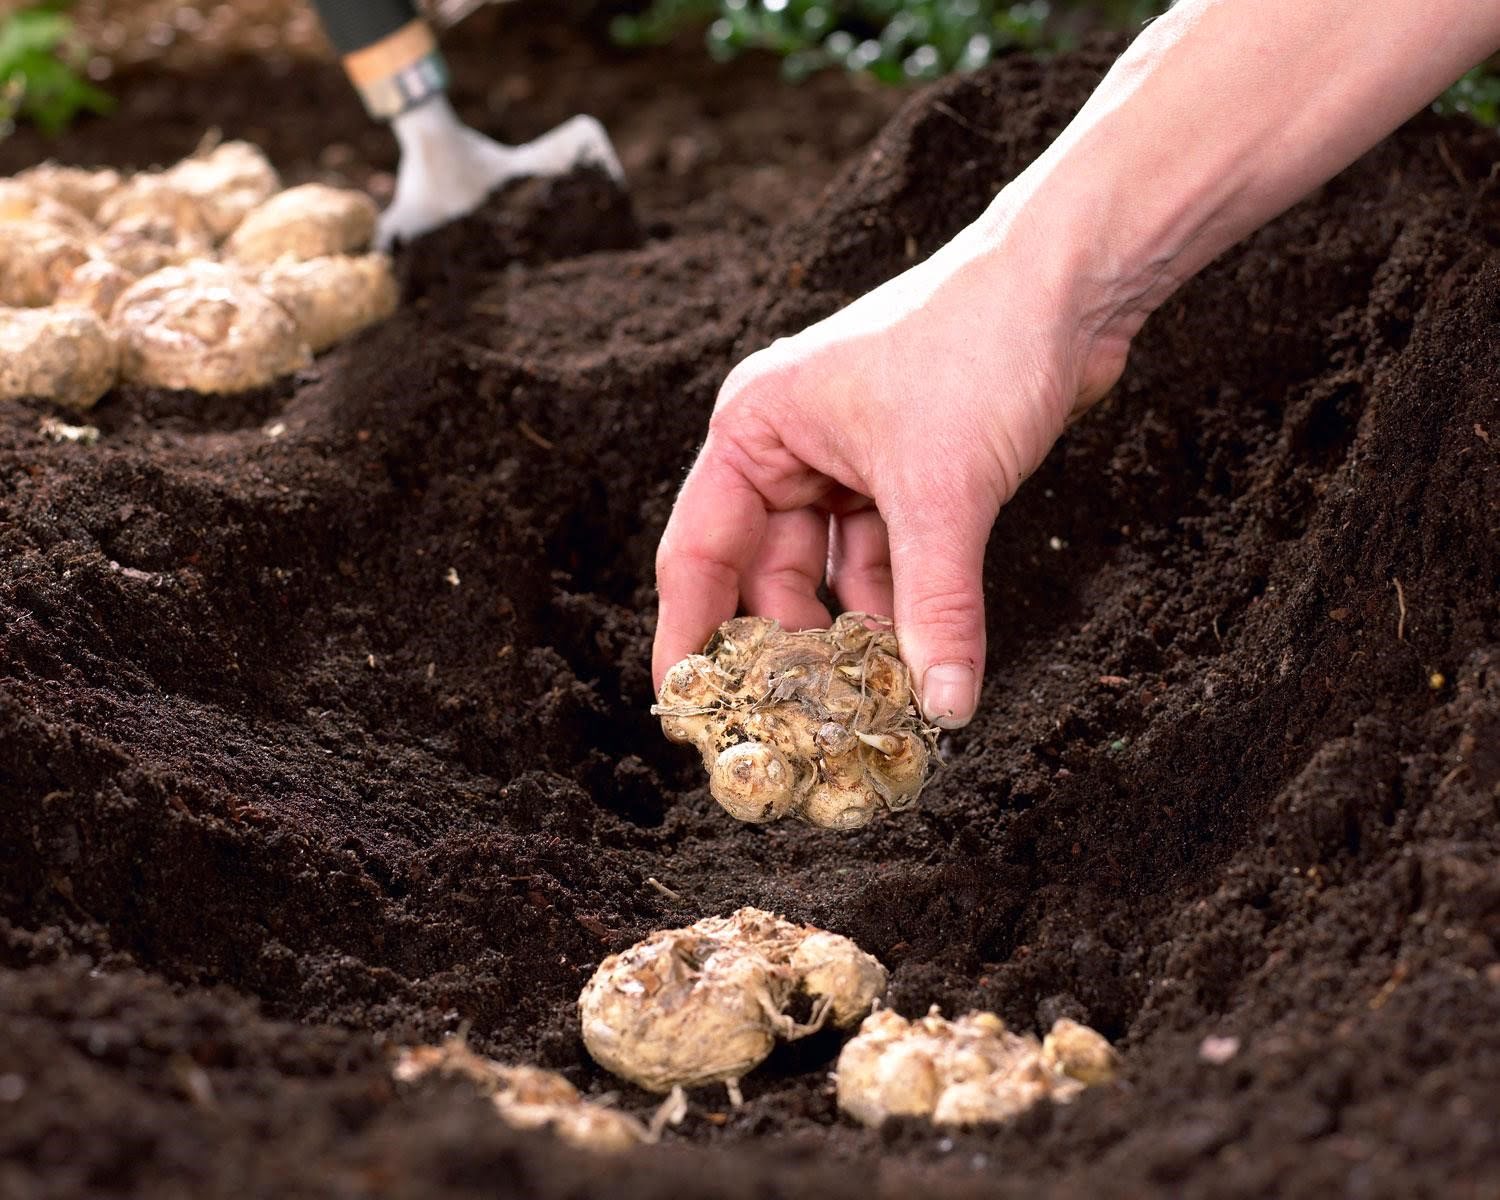
Proper storage is critical for preserving the viability of canna lily seeds. When stored correctly, these seeds can remain viable for several years, allowing you to save them for future planting or share them with other gardeners. Here’s how to store your canna lily seeds:
- Ensure that the seeds are completely dry before storing them. Moisture is the enemy of seed storage and can lead to mold and rot. If you notice any residual moisture, continue drying the seeds until they are fully dry.
- Choose a suitable container for storing the seeds. Ideally, you want something airtight and moisture-proof. Small plastic bags or glass jars with tight-fitting lids work well for this purpose.
- Fill the container with a moisture-absorbing agent, such as silica gel packets or rice grains, to help keep the seeds dry. Make sure the moisture absorber doesn’t come into direct contact with the seeds to avoid any potential damage.
- Label the container with the date of harvest and the specific canna lily variety, if known. This will help you keep track of the age and type of seeds stored.
- Place the canna lily seeds into the container and seal it tightly to prevent any moisture or air from entering. Store the container in a cool, dry, and dark location, such as a pantry or refrigerator.
- Avoid storing the seeds in extreme temperatures. Freezing temperatures can damage the viability of the seeds, while excessively warm temperatures can lead to premature aging and reduced germination rates.
By following these storage guidelines, you can prolong the lifespan of your canna lily seeds and maintain their viability. Remember to periodically check on the stored seeds and ensure that the container remains tightly sealed to prevent moisture ingress.
It’s important to note that the viability of canna lily seeds can vary depending on the specific variety and growing conditions. While properly stored seeds can remain viable for several years, it’s always a good idea to test a small sample of seeds before planting on a larger scale to ensure their germination ability.
Now that you’ve learned how to store canna lily seeds effectively, you can enjoy the flexibility of saving and preserving these beautiful plants for future enjoyment.
Read more: What Do Canna Lily Seeds Look Like
Tips for Successful Storage
To ensure the long-term viability of your canna lily seeds, there are a few additional tips and considerations to keep in mind:
- Keep track of the storage duration: It’s a good practice to monitor the age of your stored canna lily seeds. While some seeds can remain viable for several years, their germination rates may decrease over time. Consider using the oldest seeds first and periodically testing the viability of stored seeds.
- Maintain a consistent temperature: Fluctuations in temperature can negatively impact the viability of stored seeds. It’s best to choose a storage location, such as a refrigerator or cool basement, where the temperature remains relatively stable.
- Avoid exposure to light: Light can stimulate seed metabolism and reduce their shelf life. Keep the storage container in a dark location or choose an opaque container that blocks out light.
- Protect seeds from pests: Insects and rodents can damage or consume stored seeds. Ensure that the storage container is securely sealed to prevent any unwanted intruders. If you suspect pest activity, consider using natural pest deterrents like cedar chips or sachets of dried lavender.
- Monitor humidity levels: Excessive humidity can lead to seed deterioration. If you live in a particularly humid environment, you may want to consider using a dehumidifier in the storage area or adding extra moisture-absorbing agents to the container.
- Record your storage conditions: Keeping a record of the storage conditions, such as temperature and humidity levels, can help you identify any patterns or issues that may affect the viability of your seeds. This information can be useful for adjusting your storage methods in the future.
- Rotate your seed stock: To ensure a fresh supply of viable seeds, periodically rotate your seed stock. By planting and collecting new seeds each year, you can maintain a healthy and diverse collection of canna lilies.
By implementing these tips, you can enhance the success of storing canna lily seeds and increase the chances of their successful germination in the future. Remember that proper storage and care are essential for preserving the genetic diversity and beauty of these remarkable plants.
Conclusion
Storing canna lily seeds allows you to preserve the beauty and genetic diversity of these stunning plants. By following the steps outlined in this guide, you can ensure the long-term viability of your seeds and enjoy a bountiful supply for future planting.
From choosing the right time to harvest the seeds to cleaning, drying, and storing them properly, each step plays a significant role in maintaining the quality of the seeds. Remember to handle the seeds with care, removing any damaged or discolored ones before storing.
Proper storage conditions, such as a cool, dark, and dry environment, along with the use of moisture-absorbing agents, will help protect the seeds from degradation. It’s important to periodically check on the stored seeds and test their viability before large-scale planting.
By practicing good seed storage techniques and monitoring the age and condition of your stored seeds, you can ensure a consistent supply of healthy canna lilies for years to come.
Whether you’re planning to expand your garden or share your canna lily seeds with fellow gardening enthusiasts, storing them correctly is essential for preserving their vitality and beauty. With patience, attention to detail, and optimal storage practices, you can enjoy the rewards of successful seed storage and create a flourishing garden filled with vibrant canna lilies.
Now, it’s time to put your newfound knowledge into action and embark on your journey of storing canna lily seeds. Happy gardening!
Now that you've mastered storing canna lily seeds, why not broaden your horizons with more savvy storage solutions? For garden enthusiasts eager to keep their seeds in top-notch condition, checking out our guide on seed storage will surely pay off. On another note, if curiosity about costs has ever crossed your mind, our detailed breakdown on flower seeds prices provides all the necessary insights. Both articles are packed with valuable tips and tricks, ensuring your gardening efforts bloom beautifully.
Frequently Asked Questions about How To Store Canna Lily Seeds
Was this page helpful?
At Storables.com, we guarantee accurate and reliable information. Our content, validated by Expert Board Contributors, is crafted following stringent Editorial Policies. We're committed to providing you with well-researched, expert-backed insights for all your informational needs.

0 thoughts on “How To Store Canna Lily Seeds”