Articles
How To Store Spring Onions For Months
Modified: April 23, 2024
Learn how to store spring onions for months with these helpful articles. Keep your onions fresh and flavorful for longer!
(Many of the links in this article redirect to a specific reviewed product. Your purchase of these products through affiliate links helps to generate commission for Storables.com, at no extra cost. Learn more)
Introduction
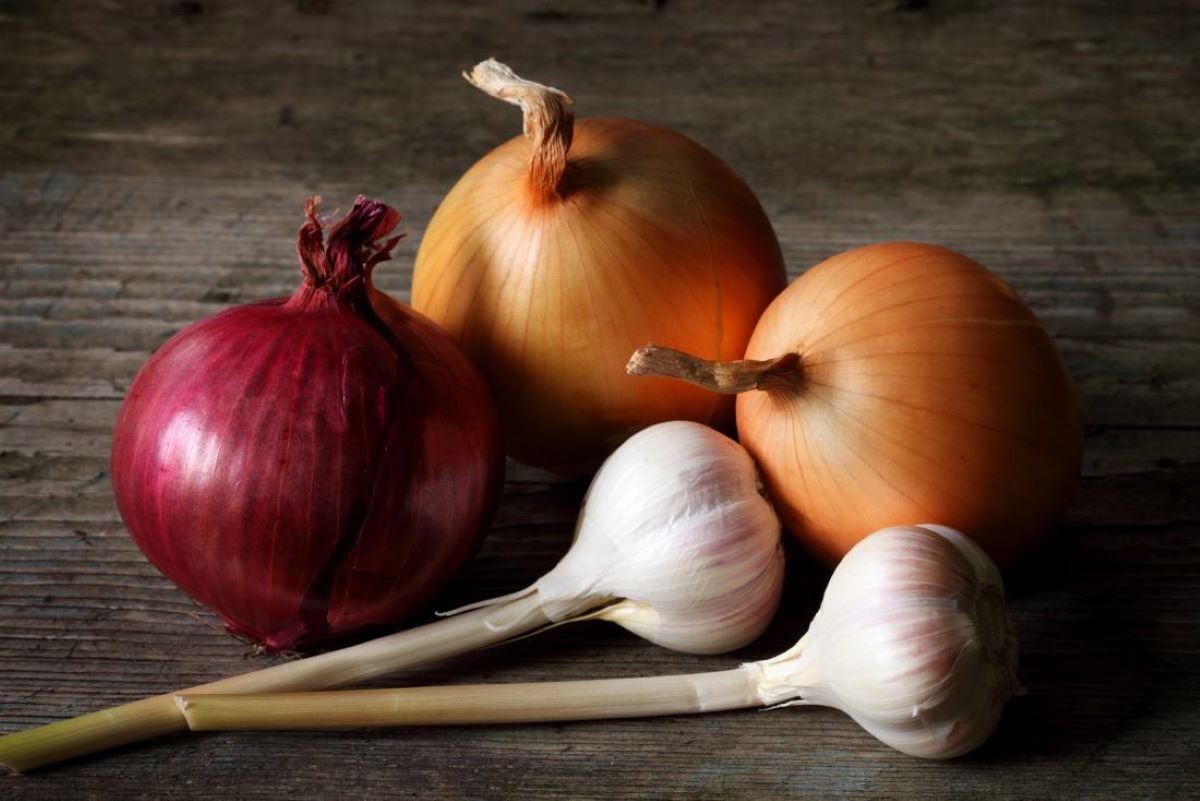
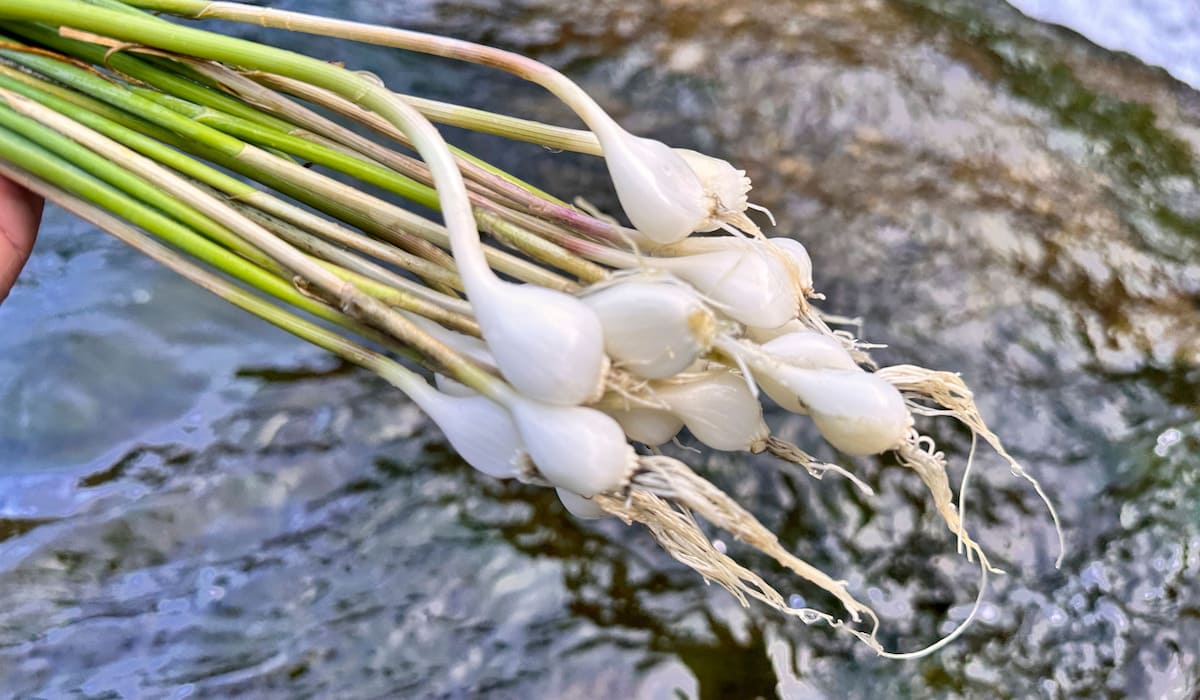
Spring onions, also known as scallions or green onions, are a versatile and nutritious ingredient that add a delightful freshness to a wide range of dishes. With their mild and slightly peppery flavor, they are a popular choice for salads, stir-fries, soups, and more. However, spring onions have a relatively short shelf life and can quickly lose their crispness and taste if not stored properly.
If you enjoy using spring onions in your cooking and want to have a steady supply on hand, learning how to store spring onions for months is essential. By employing various storage methods, you can extend the lifespan of spring onions and keep them fresh and flavorful for an extended period.
In this article, we will discuss different techniques to store spring onions, including refrigeration, freezing, canning, and dehydrating. We will also provide tips on how to utilize stored spring onions effectively in your recipes.
So, let’s dive in and explore the various methods of storing spring onions to ensure you have a bountiful supply even when they are out of season!
Key Takeaways:
- Store spring onions for months using refrigeration, freezing, canning, or dehydrating. Enjoy their fresh, vibrant flavor year-round and reduce food waste while adding a burst of freshness to your dishes.
- Harvest, prepare, and store spring onions to ensure their longevity and flavor. Use them in various recipes, experiment with different cooking methods, and get creative in the kitchen.
Read more: How To Store Onions
Why Store Spring Onions?
Spring onions are a versatile and flavorful ingredient that can elevate the taste of many dishes. However, the challenge with spring onions is their relatively short shelf life. If not stored properly, they can wilt, lose their crispness, and ultimately end up in the compost pile.
Storing spring onions allows you to enjoy this tasty ingredient throughout the year, regardless of seasonal availability. Here are a few reasons why you should consider storing spring onions:
- Convenience: By storing spring onions, you’ll always have them on hand, saving you from last-minute trips to the grocery store. A well-stocked supply of spring onions ensures that you can add a burst of flavor and freshness to your dishes whenever you please.
- Cost savings: Buying spring onions in bulk when they are in season and storing them properly can save you money in the long run. Instead of purchasing small bundles of spring onions regularly, you can take advantage of seasonal discounts and sales to accumulate a larger quantity at a lower price.
- Continuity of flavor: Spring onions harvested at their peak and stored correctly retain their vibrant flavor. By storing them, you can preserve their delicate taste, allowing you to enjoy that distinctive oniony kick even when they are not in season.
- Creative cooking: Having stored spring onions opens up possibilities for experimentation in the kitchen. Whether it’s exploring new recipes or improvising with your favorite dishes, having a stash of spring onions gives you the freedom to get creative without worrying about availability.
- Reduction of food waste: By properly storing spring onions, you can minimize food waste by extending their shelf life. Instead of letting them go to waste or risking them spoiling before you can use them, proper storage techniques ensure that you get the most out of your spring onions.
Now that you understand the benefits of storing spring onions, let’s move on to the essential steps to ensure their longevity and freshness.
Harvesting Spring Onions
Before you can store spring onions, you need to harvest them at the right time to ensure optimal flavor and quality. Luckily, harvesting spring onions is a straightforward process. Here are the steps to follow:
- Timing: Spring onions can be harvested once the green tops have reached a desirable height of around 6 to 8 inches. The bulbs should be well formed but not overly large or woody.
- Loosening the soil: Gently loosen the soil around the base of the spring onion plants using a garden fork or trowel. Be careful not to damage the bulbs in the process.
- Removing the onions: Grasp the green tops of the onions near the soil level and gently pull them out of the ground. If you encounter resistance, use a gardening tool to help free the onions from the soil.
- Cleaning: Once you have harvested the spring onions, give them a gentle shake or brush off any excess soil. Avoid washing them at this stage, as excessive moisture can promote spoilage during storage.
- Trimming: Using a sharp pair of scissors or pruning shears, trim off any damaged or wilted leaves from the green tops of the onions. Leave a small portion of the green stem intact, as this adds flavor and aesthetics to the stored onions.
- Separating: If you have harvested a large quantity of spring onions, you may want to separate them into smaller groups or bundles. This will make it easier to store and use them later without exposing the entire harvest to spoilage risk.
Following these steps will ensure that you harvest your spring onions at their peak freshness. Now that you have your harvest ready, it’s time to prepare them for storage.
Preparing Spring Onions for Storage
Properly preparing spring onions for storage is essential to maintain their freshness and quality. Here are the steps to follow:
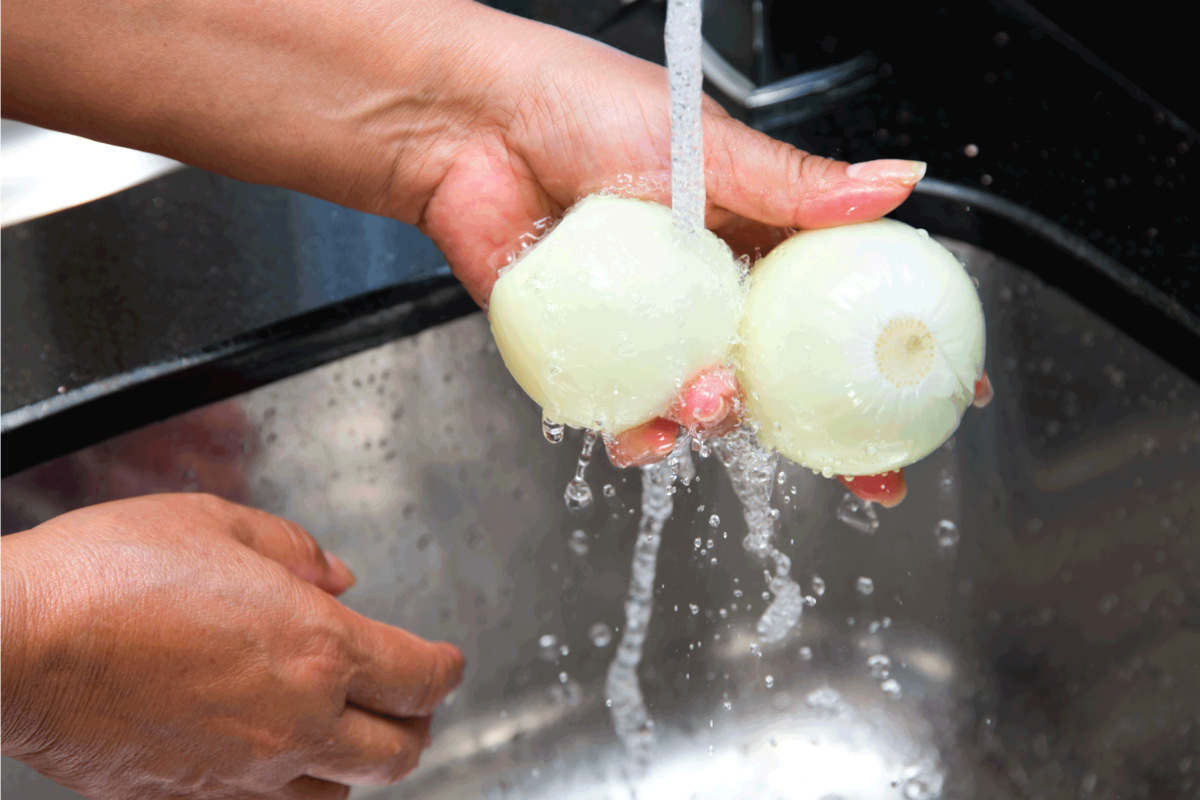
- Cleaning: Start by gently washing the harvested spring onions under cool running water. Remove any dirt, debris, or loose soil from the bulbs and green tops. Pat them dry using a clean kitchen towel or paper towels.
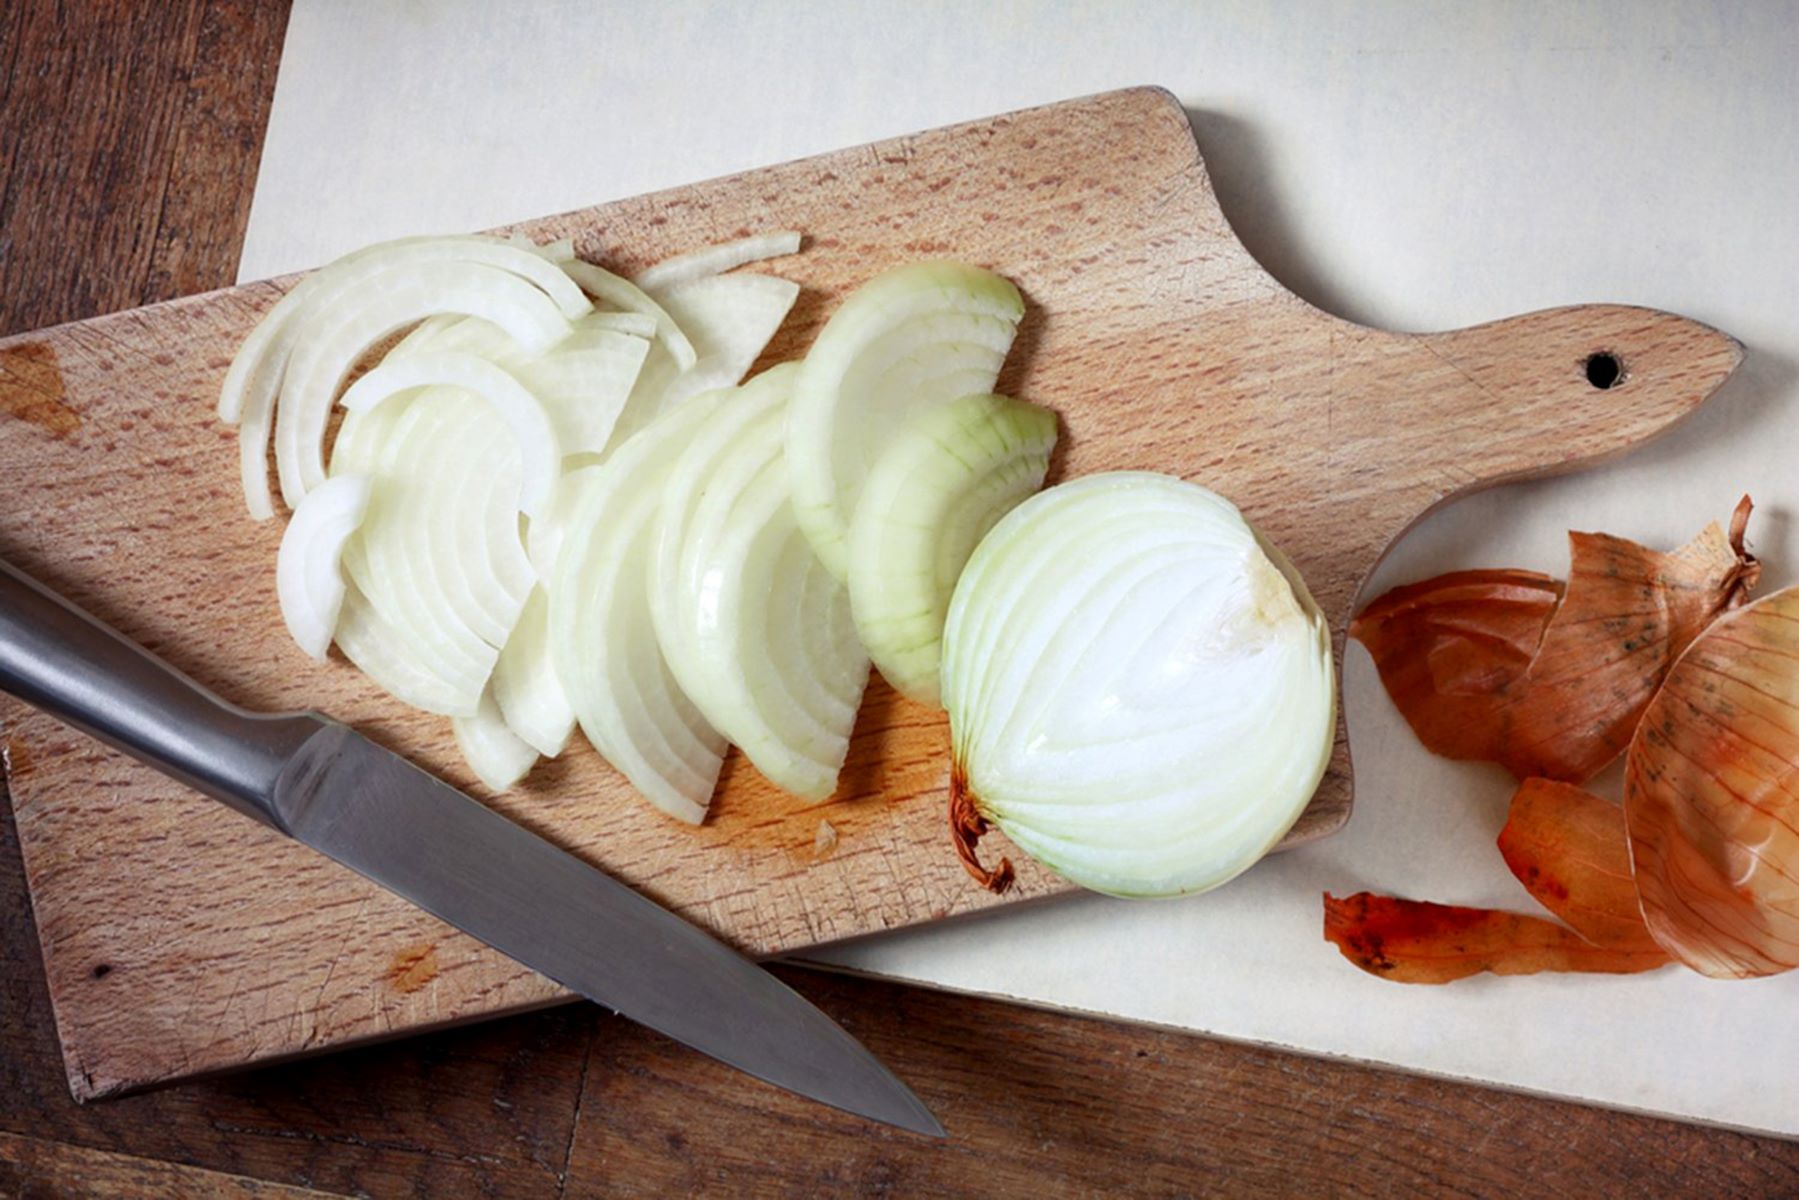
- Trimming: Trim the root end of each spring onion by cutting off a thin slice using a sharp knife. This will remove any discolored or damaged parts and ensure a fresh starting point for storage.
- Separating bulbs and greens: Depending on your storage preferences, you can choose to store the entire spring onion or separate the bulbs from the green tops. If you decide to separate them, gently twist or cut the green tops from the bulbs, leaving a small portion of the green stem intact on each bulb for added flavor and presentation.
- Organizing: If you’ve opted to store the bulbs and green tops separately, consider organizing them in separate containers or storage bags. This will make it easier to retrieve the desired portion when you need it.
- Labeling: To avoid confusion later on, label your storage containers or bags with the date and indicate whether they contain the bulbs or the green tops. This will help you keep track of their freshness and easily locate what you need.
- Quality check: Before storing, inspect the spring onions one final time to ensure they are free from any signs of decay, bruising, or pests. Discard any onions that appear spoiled or damaged to prevent the spread of deterioration to other stored onions.
By following these preparation steps, you are setting the stage for successful storage and prolonged freshness of your spring onions. Now, let’s explore different methods to store spring onions for long-term use.
Method 1: Refrigerating Spring Onions
Refrigeration is one of the simplest and most popular methods for storing spring onions. With proper refrigeration, you can extend their freshness and maintain their flavor for up to a few weeks. Here’s how to refrigerate spring onions:
- Trimming: Before refrigerating, trim the spring onions by removing any damaged or wilted leaves. Leave a small portion of the green stem intact for added flavor and presentation.
- Wrap in damp paper towel: Take a damp paper towel and wrap it around the bulb ends of the spring onions. The moisture from the paper towel helps maintain their crispness and prevents them from drying out.
- Place in a plastic bag: Transfer the wrapped spring onions to a plastic bag or airtight container. Seal the bag or container tightly to prevent moisture or air from entering.
- Store in the refrigerator: Place the plastic bag or container in the vegetable crisper drawer of your refrigerator. The cool and controlled environment will help prolong the freshness of the spring onions.
- Check regularly: Periodically check the spring onions for any signs of spoilage, such as mold or rot. Remove any onions that have deteriorated to prevent them from affecting the others.
By refrigerating your spring onions using this method, you can have them readily available for use in your recipes for several weeks. The cool temperature helps slow down the natural aging process and preserves their crispness and flavor.
Remember to use the refrigerated spring onions within a reasonable time frame to ensure the best taste and quality. If you find that you won’t be able to use them all before they start showing signs of spoilage, consider trying out other storage methods, such as freezing or dehydrating, to prolong their shelf life even further.
Now that you know how to refrigerate spring onions, let’s explore another method—freezing—for long-term storage.
Read more: How To Store Spinach For Months
Method 2: Freezing Spring Onions
Freezing is an excellent method for long-term storage of spring onions. When properly frozen, they can retain their flavor and texture for up to several months. Follow these steps to freeze spring onions:
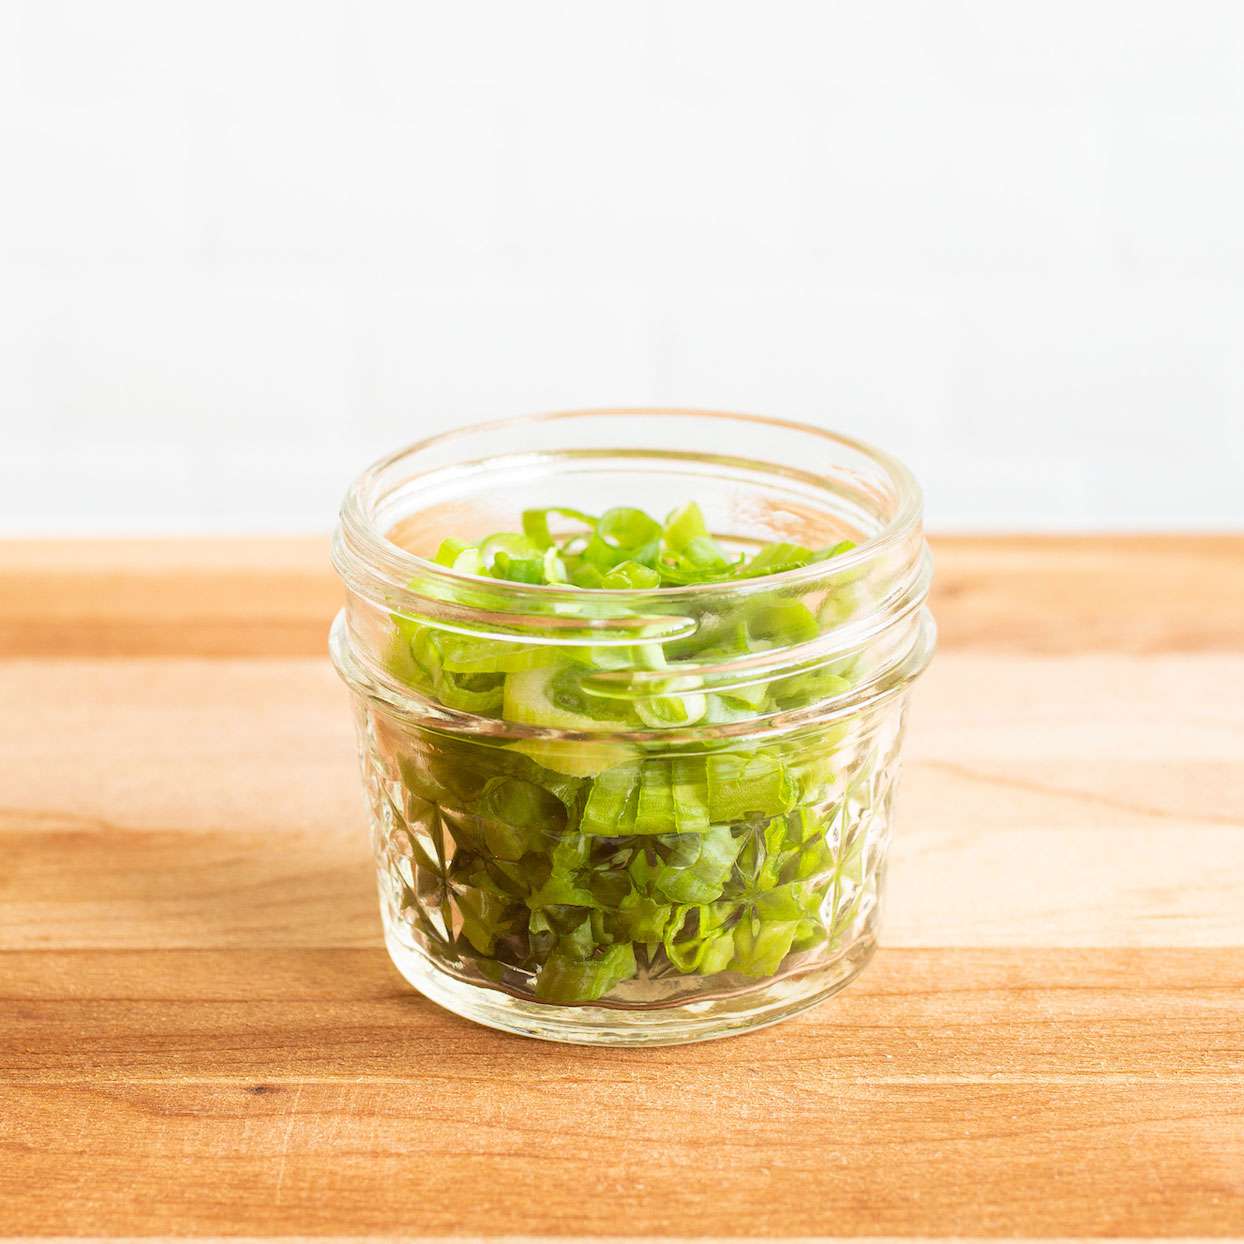
- Clean and chop: Begin by cleaning the spring onions under cool running water and patting them dry. Then, chop them into small pieces according to your preference. You can chop both the bulbs and the green tops, or keep them separate if desired.
- Blanching: Blanching the chopped spring onions helps preserve their color, flavor, and texture. Bring a pot of water to a boil and prepare a bowl of ice water. Place the chopped spring onions into the boiling water for about 30 seconds, then transfer them immediately to the ice water to stop the cooking process. Drain the spring onions thoroughly.
- Freeze: Spread the blanched and drained spring onions in a single layer on a baking sheet or tray lined with parchment paper. Place the tray in the freezer and let the spring onions freeze for about an hour. Freezing them in a single layer first prevents them from clumping together in a solid mass during long-term storage.
- Packaging: Once the spring onions are partially frozen, transfer them into freezer-safe bags or airtight containers. Remove any excess air from the bags or containers before sealing them tightly. Label the packaging with the date for future reference.
- Return to the freezer: Place the sealed bags or containers of spring onions back into the freezer. They can be stored for several months without significant loss of quality. However, it’s best to use them within three to six months for the best flavor.
- Thawing and using: When you’re ready to use the frozen spring onions, simply remove the desired amount from the freezer and thaw them in the refrigerator or at room temperature. They can be added directly to your cooked dishes without the need for further cooking.
Freezing spring onions is an excellent option when you have a surplus harvest or want to stock up for future use. Whether you need them for soups, stir-fries, or other recipes, having frozen spring onions on hand ensures you always have a flavorful ingredient readily available.
Now that we’ve covered the freezing method, let’s move on to another technique—canning—for preserving spring onions.
To store spring onions for months, trim the roots and place them in a glass of water. Cover with a plastic bag and store in the refrigerator. Change the water every few days to keep them fresh.
Method 3: Canning Spring Onions
Canning spring onions is a great way to preserve them for an extended period while maintaining their flavor and texture. When properly canned, spring onions can last up to a year or more. Follow these steps to can spring onions:
- Prepare the jars: Start by sterilizing your canning jars and lids according to the manufacturer’s instructions. This ensures that they are clean and free from any bacteria or contaminants that could spoil the onions.
- Prep the spring onions: Clean the spring onions thoroughly under cool running water and pat them dry. Trim off the root ends and remove any damaged or wilted leaves. Leave a small portion of the green stem intact for added flavor and presentation.
- Blanching: Blanching the spring onions before canning helps preserve their color and texture. Bring a pot of water to a boil and prepare a bowl of ice water. Place the spring onions into the boiling water for about 2 minutes, then transfer them immediately to the ice water to stop the cooking process. Drain the spring onions thoroughly.
- Fill the jars: Pack the blanched spring onions tightly into the sterilized canning jars, leaving about 1 inch of headspace at the top. Be sure to avoid overpacking the jars, as the onions will expand slightly during the canning process.
- Add liquid: Pour a boiling liquid, such as a light brine solution or vegetable broth, into each jar, covering the spring onions completely. Leave about 1/2 inch of headspace to allow for expansion during canning. You can also add spices or herbs to enhance the flavor if desired.
- Secure the lids: Wipe the rims of the jars to ensure they are clean and free from any debris. Place the sterilized lids on the jars and screw on the rings until they are finger-tight. This allows for proper sealing during the canning process.
- Process the jars: Carefully lower the filled jars into a canner or large pot of boiling water, ensuring that they are fully submerged. Process the jars according to the recommended time for your altitude and the size of the jars. This information can be found in canning guides or online resources.
- Cool and store: Once the processing time is completed, carefully remove the jars from the canner and place them on a towel-lined surface. Allow the jars to cool undisturbed for 12 to 24 hours. Check for proper seals before storing the jars in a cool, dark, and dry pantry or storage area.
When canning spring onions, it’s essential to follow proper canning guidelines and food safety practices to prevent spoilage and ensure the long-term shelf stability of the onions. Properly canned spring onions can be a delicious and convenient addition to your pantry for various recipes throughout the year.
Now that we’ve explored the canning method, let’s discuss another technique—dehydrating—for preserving spring onions.
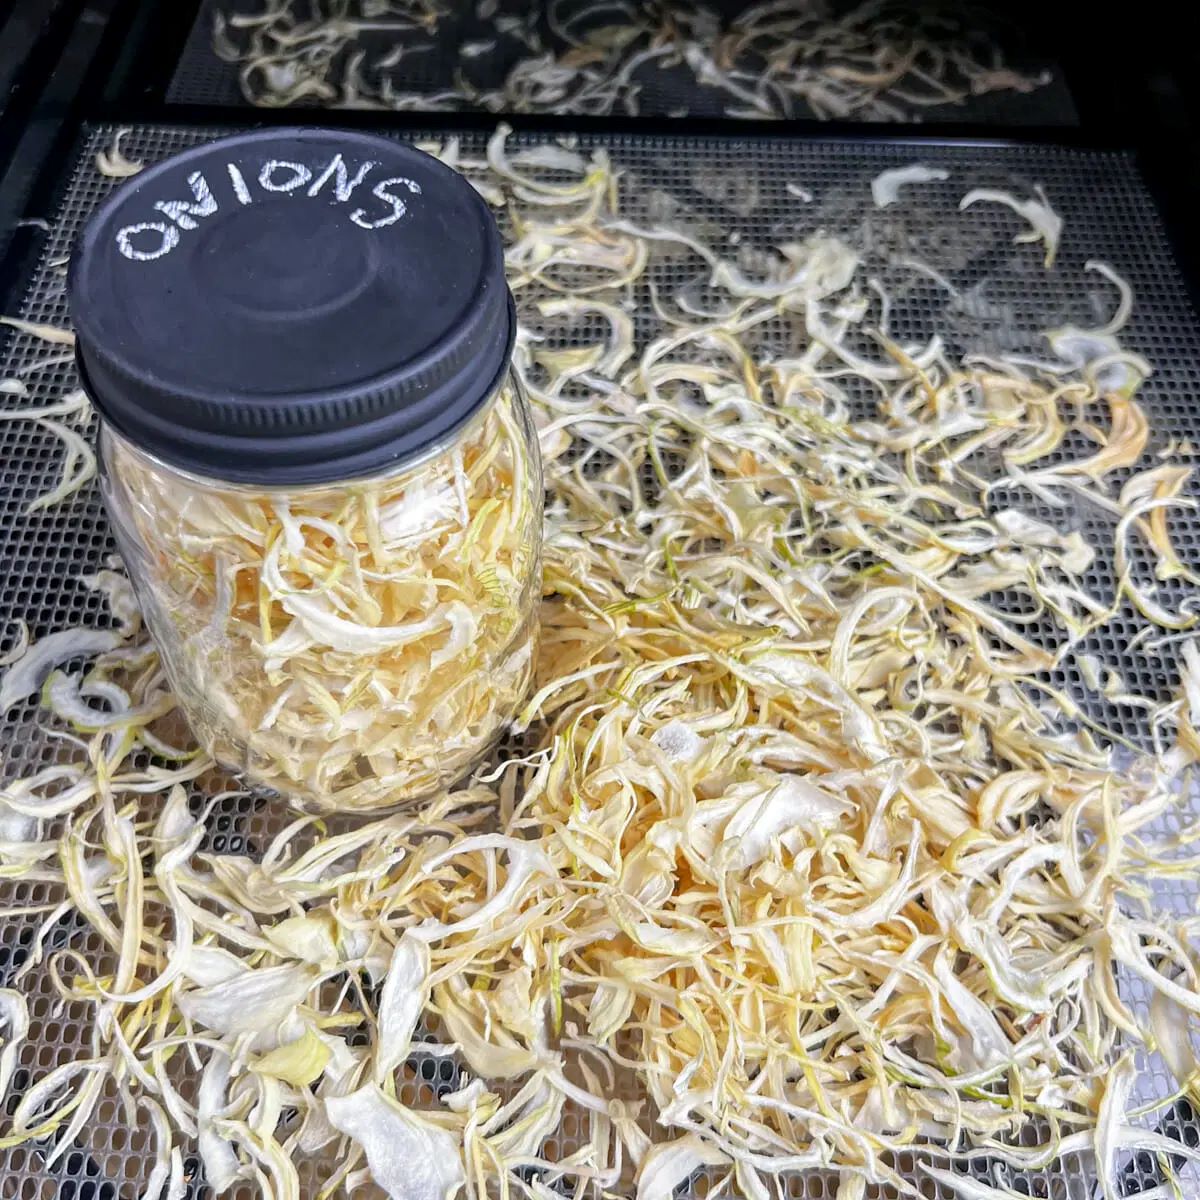
Method 4: Dehydrating Spring Onions
Dehydrating spring onions is a fantastic way to preserve their flavor and extend their shelf life. When properly dehydrated, they can be stored for months or even years, ready to add a burst of oniony goodness to your favorite dishes. Follow these steps to dehydrate spring onions:
- Clean and trim spring onions: Start by cleaning the spring onions under cool running water. Remove any dirt or debris and pat them dry. Trim off the root ends and any wilted or damaged green leaves.
- Slice the onions: Slice the spring onions into thin, uniform slices. You can adjust the thickness depending on your preference, but aim for slices that are no thicker than 1/4 inch. This ensures even and consistent drying.
- Spread on dehydrator trays: Arrange the sliced spring onions in a single layer on the trays of your food dehydrator. Make sure there is enough space between the slices for air circulation, which aids in the drying process.
- Dehydrate: Set your food dehydrator to the appropriate temperature for drying vegetables. Generally, a temperature range of 125-135°F (52-57°C) is recommended. Allow the spring onions to dehydrate for approximately 6-8 hours, or until they are fully dried and crispy.
- Check for dryness: To ensure the spring onions are completely dehydrated, check for dryness by removing a few slices and allowing them to cool. They should be brittle and snap easily. If they feel soft or pliable, return them to the dehydrator for additional drying time.
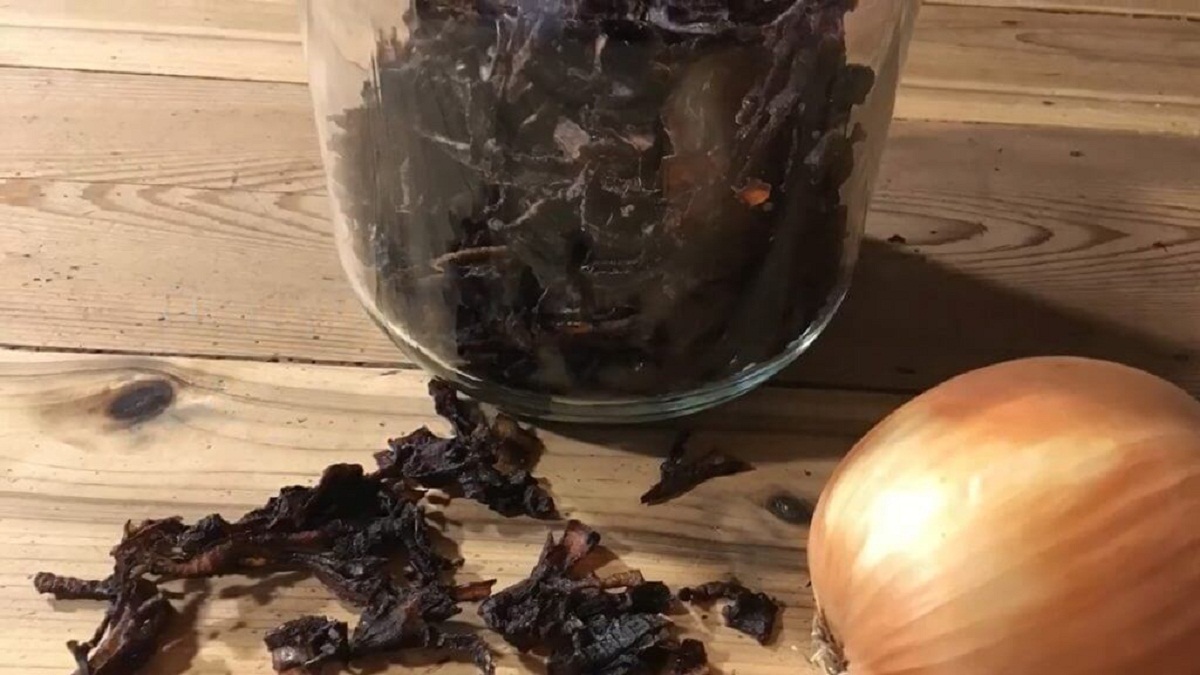
- Store in airtight containers: Once the spring onions are fully dehydrated, allow them to cool completely before transferring them to airtight containers, such as glass jars or resealable bags. Store them in a cool, dark place away from moisture and sunlight.
- Rehydrate before use: When you’re ready to use the dehydrated spring onions, simply soak them in warm water for a few minutes to rehydrate. Alternatively, you can add them directly to soups, stews, or other dishes that contain liquid, and they will rehydrate during the cooking process.
Dehydrated spring onions offer a convenient and flavorful option for adding a burst of onion flavor to your recipes. They are great for enhancing the taste of soups, sauces, stir-fries, and more, even when fresh onions are not available.
Now that you know the process of dehydrating spring onions, you have another excellent method for preserving this versatile ingredient. Let’s move on to the next section, where we will discuss tips on storing spring onions for months.
Storing Spring Onions for Months
To keep your spring onions fresh and flavorful for an extended period, it’s crucial to store them properly. The storage method you choose will depend on your preference and the available resources. Here are some tips for storing spring onions for months:
- Refrigeration: As mentioned earlier, refrigeration is a simple and effective method for storing spring onions for a few weeks. Wrap them in a damp paper towel, place them in a plastic bag or airtight container, and store them in the refrigerator’s vegetable crisper drawer.
- Freezing: Freezing spring onions is an excellent option for long-term storage. Chop them, blanch them briefly, spread them in a single layer on a baking sheet to freeze partially, and then transfer them to freezer-safe bags or containers. Frozen spring onions can be stored for up to several months.
- Canning: Canning is an ideal method for preserving spring onions for an extended period without the need for refrigeration or freezing. Pack them in sterilized jars, add a boiling liquid to cover them completely, and process the jars in a water bath or pressure canner according to the recommended guidelines.
- Dehydrating: Dehydrating spring onions removes their moisture, allowing them to be stored for months or even years. Slice them thinly, dehydrate them in a food dehydrator until they are crispy, and store them in airtight containers in a cool, dark place.
- Hybrid methods: You can also combine storage methods. For instance, you can freeze chopped spring onions in portion-sized bags for convenient use, or dehydrate them and keep the dried slices in cans or jars for long-term storage.
Whichever method you choose, consider labeling and dating your stored spring onions to keep track of their freshness. This will help you prioritize their use and ensure that you use the oldest ones first.
Remember, while stored spring onions can last for months, their quality and intensity of flavor may gradually diminish over time. The sooner you use them, the better they will taste. However, with proper storage techniques, you can enjoy the bounty of spring onions even when they are out of season.
Now that you know how to store spring onions for months, let’s move on to some tips for using your stored spring onions effectively.
Read more: How To Store Green Tomatoes For Months
Tips for Using Stored Spring Onions
Using stored spring onions is a great way to add a burst of flavor and freshness to your dishes, even when they are out of season. Here are some tips to make the most of your stored spring onions:
- Rehydration: If you’ve frozen or dehydrated your spring onions, remember to rehydrate them before use. Soak frozen spring onions in warm water and give dehydrated ones a quick soak or add them directly to dishes with liquid to allow them to rehydrate during cooking.
- Recipe substitution: Substitute stored spring onions in recipes that call for fresh onions. Their flavor may slightly differ from fresh ones, but they will still add a delightful oniony taste to your dishes.
- A garnish or topping: Sprinkle chopped or sliced spring onions on top of soups, salads, stir-fries, or any dish where a pop of freshness and crunch is desirable. It adds a vibrant touch and enhances the visual appeal of your meals.
- Sauté or stir-fry: Cook stored spring onions in a little oil or butter to release their flavor and soften them. They can be a tasty addition to stir-fries, omelets, pasta dishes, or sautéed vegetables.
- Use as a flavoring agent: Add chopped or minced spring onions to marinades, dressings, dips, or sauces to infuse them with a mild onion flavor. They can bring extra depth and freshness to your homemade creations.
- Use in baked goods: Get creative and experiment by adding chopped spring onions to savory muffins, bread, quiches, or even scones. They can add a unique twist and savory notes to your baked treats.
- Combine with other ingredients: Mix stored spring onions with other ingredients like garlic, herbs, or spices to amplify their flavors and create delicious seasoning blends or rubs.
- Keep portion sizes in mind: When using stored spring onions, consider the intensity of their flavor and adjust the amount accordingly. Start with a smaller quantity and increase as desired, keeping in mind that the stored spring onions may have a more concentrated taste.
Remember to store any unused portions of your spring onions properly to maintain their freshness and quality for future use.
By incorporating these tips into your culinary adventures, you can make the most of your stored spring onions and continue to enjoy their delightful taste long after their harvest season.
Now that you’re equipped with these tips, feel free to experiment and let your creativity shine in the kitchen!
Conclusion
Storing spring onions for months allows you to enjoy their fresh and flavorful taste even when they are out of season. With the right storage methods, you can preserve the vibrant green color, crispness, and distinctive oniony flavor of spring onions for an extended period. Whether you choose to refrigerate, freeze, can, or dehydrate them, each method offers its own benefits and suitability for different preferences and needs.
Refrigeration provides a short-term solution for keeping spring onions fresh for a few weeks. Freezing, on the other hand, allows you to store chopped or whole spring onions for several months, ready to be used whenever you need them. Canning provides long-term shelf stability, with preserved spring onions that can be stored for a year or more. Dehydrating spring onions removes their moisture, giving you a pantry staple that can be kept for months or even years.
When utilizing your stored spring onions, remember to rehydrate them if necessary before incorporating them into your recipes. Whether you use them as garnishes, seasoning agents, or key ingredients, the preserved spring onions can bring a burst of flavor and freshness to a wide range of dishes.
By following the tips and techniques provided in this article, you can make the most of your stored spring onions and ensure that they remain a valuable ingredient in your kitchen arsenal. Whether you’re preparing a hearty soup, a zesty stir-fry, or a savory sauce, having a supply of stored spring onions will allow you to add a touch of deliciousness all year round.
So, go ahead and stock up on spring onions, apply the appropriate storage method, and enjoy the convenience and versatility of having this flavorful ingredient at your fingertips. Happy cooking!
Frequently Asked Questions about How To Store Spring Onions For Months
Was this page helpful?
At Storables.com, we guarantee accurate and reliable information. Our content, validated by Expert Board Contributors, is crafted following stringent Editorial Policies. We're committed to providing you with well-researched, expert-backed insights for all your informational needs.


0 thoughts on “How To Store Spring Onions For Months”