Articles
How To Store A Keurig Coffee Maker
Modified: October 18, 2024
Learn the best way to store your Keurig coffee maker to keep it safe and protected. Follow these articles for expert tips and advice on proper storage techniques.
(Many of the links in this article redirect to a specific reviewed product. Your purchase of these products through affiliate links helps to generate commission for Storables.com, at no extra cost. Learn more)
Introduction:
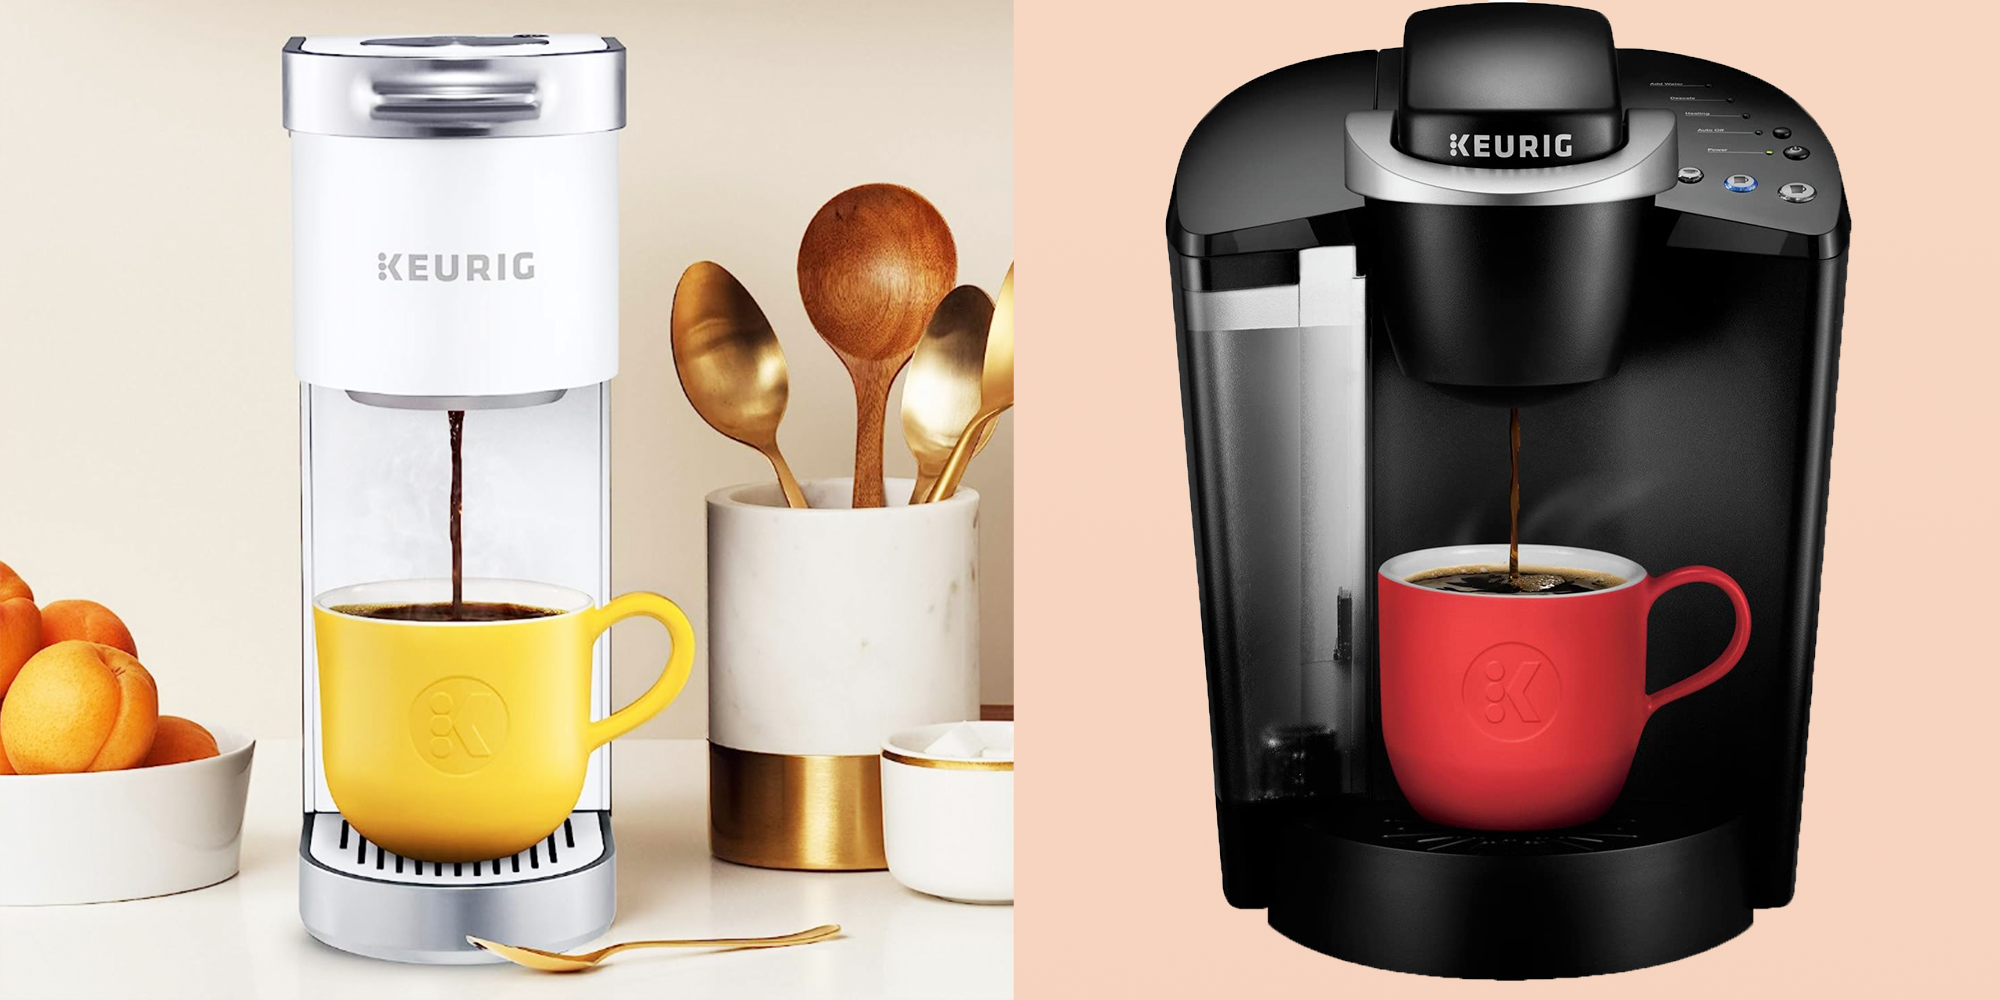
Storing a Keurig coffee maker properly is essential to ensure its longevity and functionality. Whether you’re temporarily storing it between uses or need to pack it away for a longer period, taking the right steps will keep your coffee maker in pristine condition. In this article, we will guide you through the process of storing your Keurig coffee maker, ensuring that it remains clean, protected, and ready to brew your favorite cup of coffee whenever you need it.
A Keurig coffee maker is a valuable appliance that brings convenience and delicious coffee into your daily routine. To maintain its performance, it’s crucial to clean it thoroughly before storage. This will prevent any buildup of coffee residue, mold, or bacteria that could impact the taste and quality of your brews in the future.
Next, we’ll discuss the step-by-step approach to cleaning your Keurig coffee maker in preparation for storage.
Key Takeaways:
- Properly storing your Keurig coffee maker involves thorough cleaning, disassembly, and packaging to preserve its longevity and functionality for future use.
- Choosing the right storage location, wrapping the power cord, and periodic check-ups are essential steps to ensure your Keurig coffee maker remains in pristine condition during storage.
Read more: How To Descale Keurig Coffee Machine
Step 1: Cleaning the Coffee Maker:
Before storing your Keurig coffee maker, it’s important to ensure that it is thoroughly clean. This will help prevent any buildup of residue or mold, and maintain the quality of your coffee when you use it again in the future.
Start by unplugging the coffee maker and removing any remaining pods from the pod holder. Next, disassemble the brewer by removing the water reservoir, cup holder, and drip tray. These components can be washed with warm, soapy water or placed in the dishwasher if they are dishwasher-safe. Rinse them well and allow them to air dry thoroughly before moving on to the next step.
To clean the main brewer unit, use a damp cloth or sponge to wipe down any exterior surfaces. Be sure to pay extra attention to areas that may have coffee stains or residue. For hard-to-reach areas, use a soft brush or toothbrush soaked in warm, soapy water to gently scrub away any buildup. Avoid using abrasive cleaners or scouring pads, as they can damage the finish of your coffee maker.
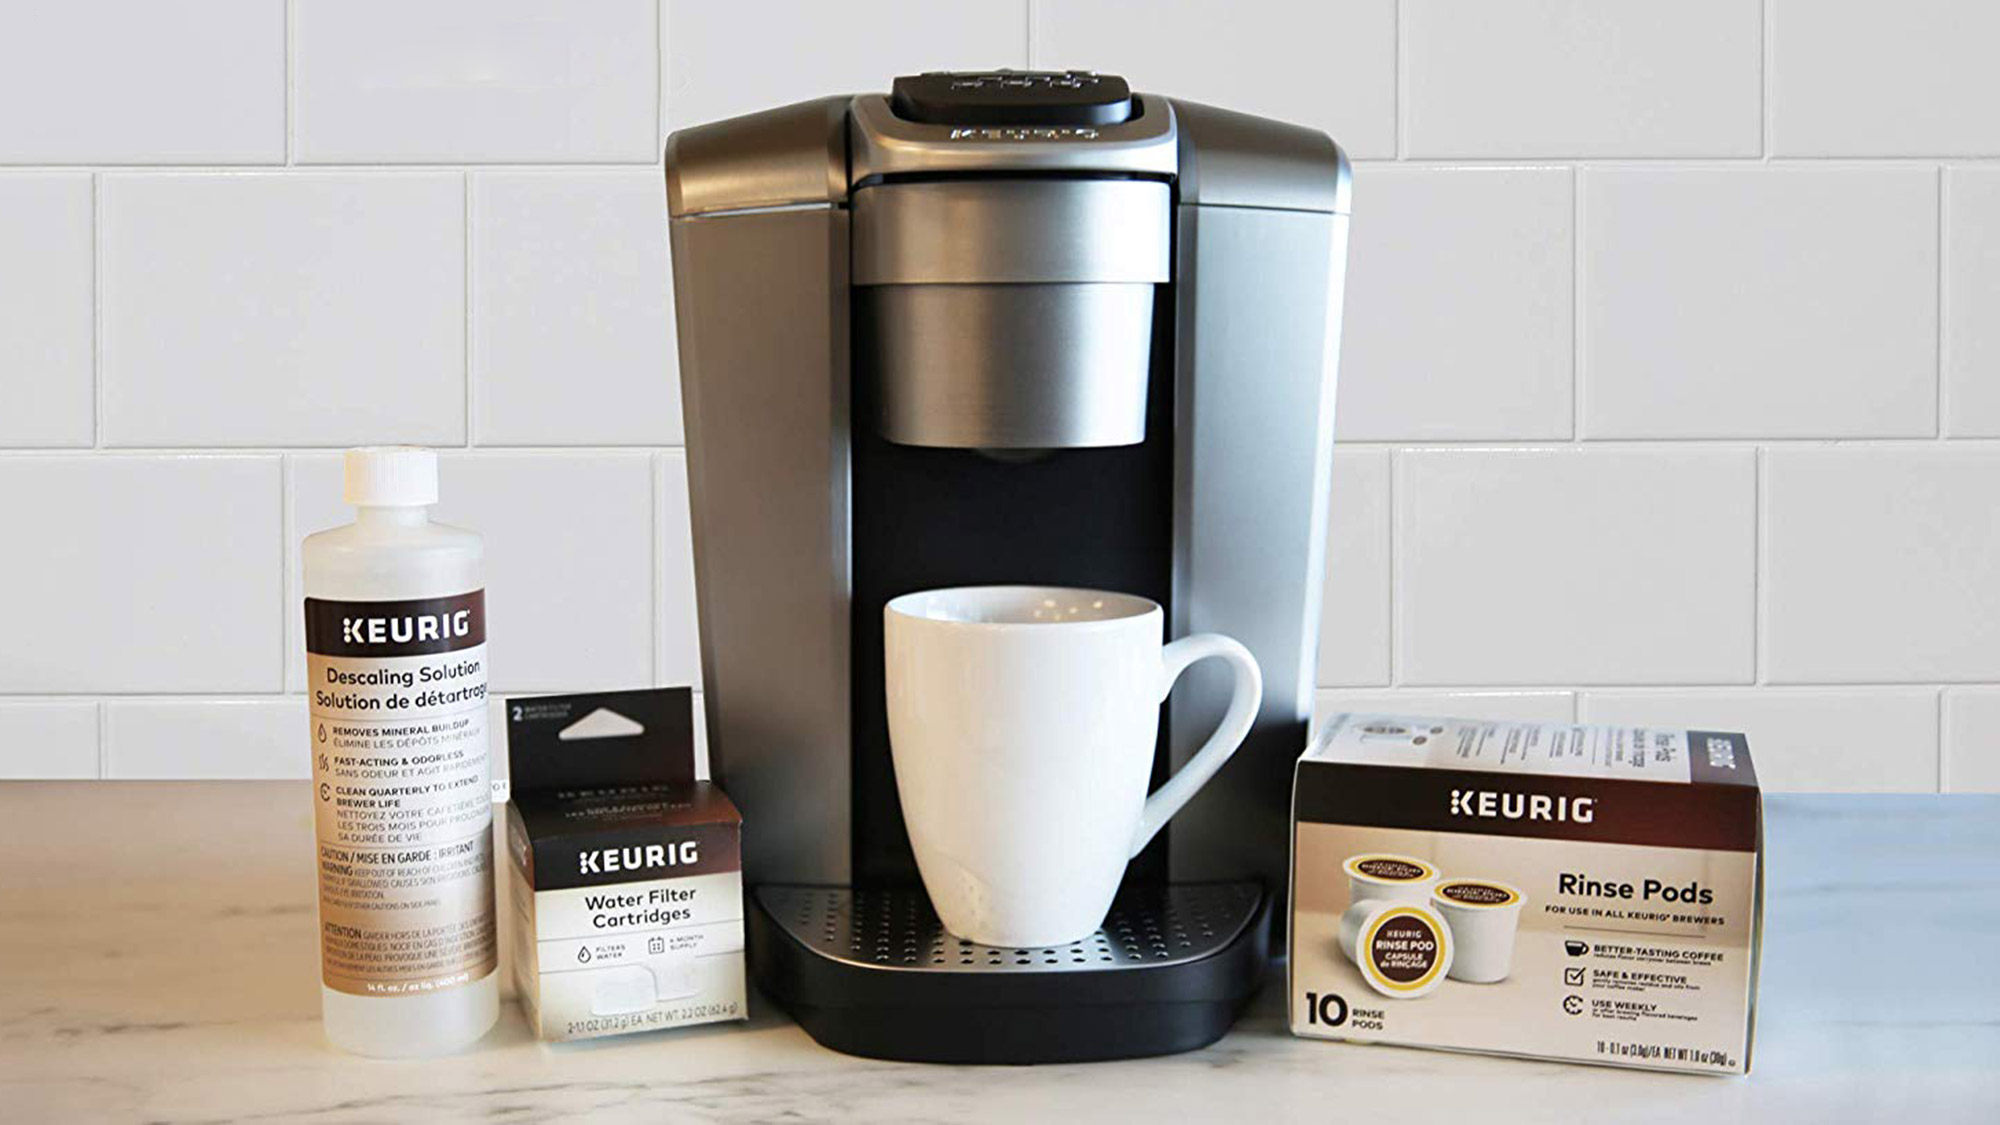
Once you’ve cleaned the exterior, it’s time to clean the internal components. Fill the water reservoir with a mixture of equal parts water and white vinegar. Place a large mug or container under the brew spout to catch the liquid. Run a brew cycle without inserting a coffee pod, allowing the vinegar mixture to flow through the machine. This will help descale and remove any mineral buildup inside the coffee maker.
After the vinegar cycle, repeat the process with a couple of cycles of just water to rinse out any remaining vinegar taste or smell. This will ensure that your coffee doesn’t have any unwanted flavors when you start using the machine again.
Once you’ve completed the cleaning process, let all the components air dry completely before moving on to the next step of storing your Keurig coffee maker.
Step 2: Disassembling the Coffee Maker:
Now that your Keurig coffee maker is clean, it’s time to disassemble it in preparation for storage. Disassembling the coffee maker will help protect its delicate components and make it easier to pack and store.
Start by removing the water reservoir, cup holder, and drip tray, which you may have already done during the cleaning process. These components should be washed and dried thoroughly before storage. Place them in a safe spot where they won’t get damaged or misplaced.
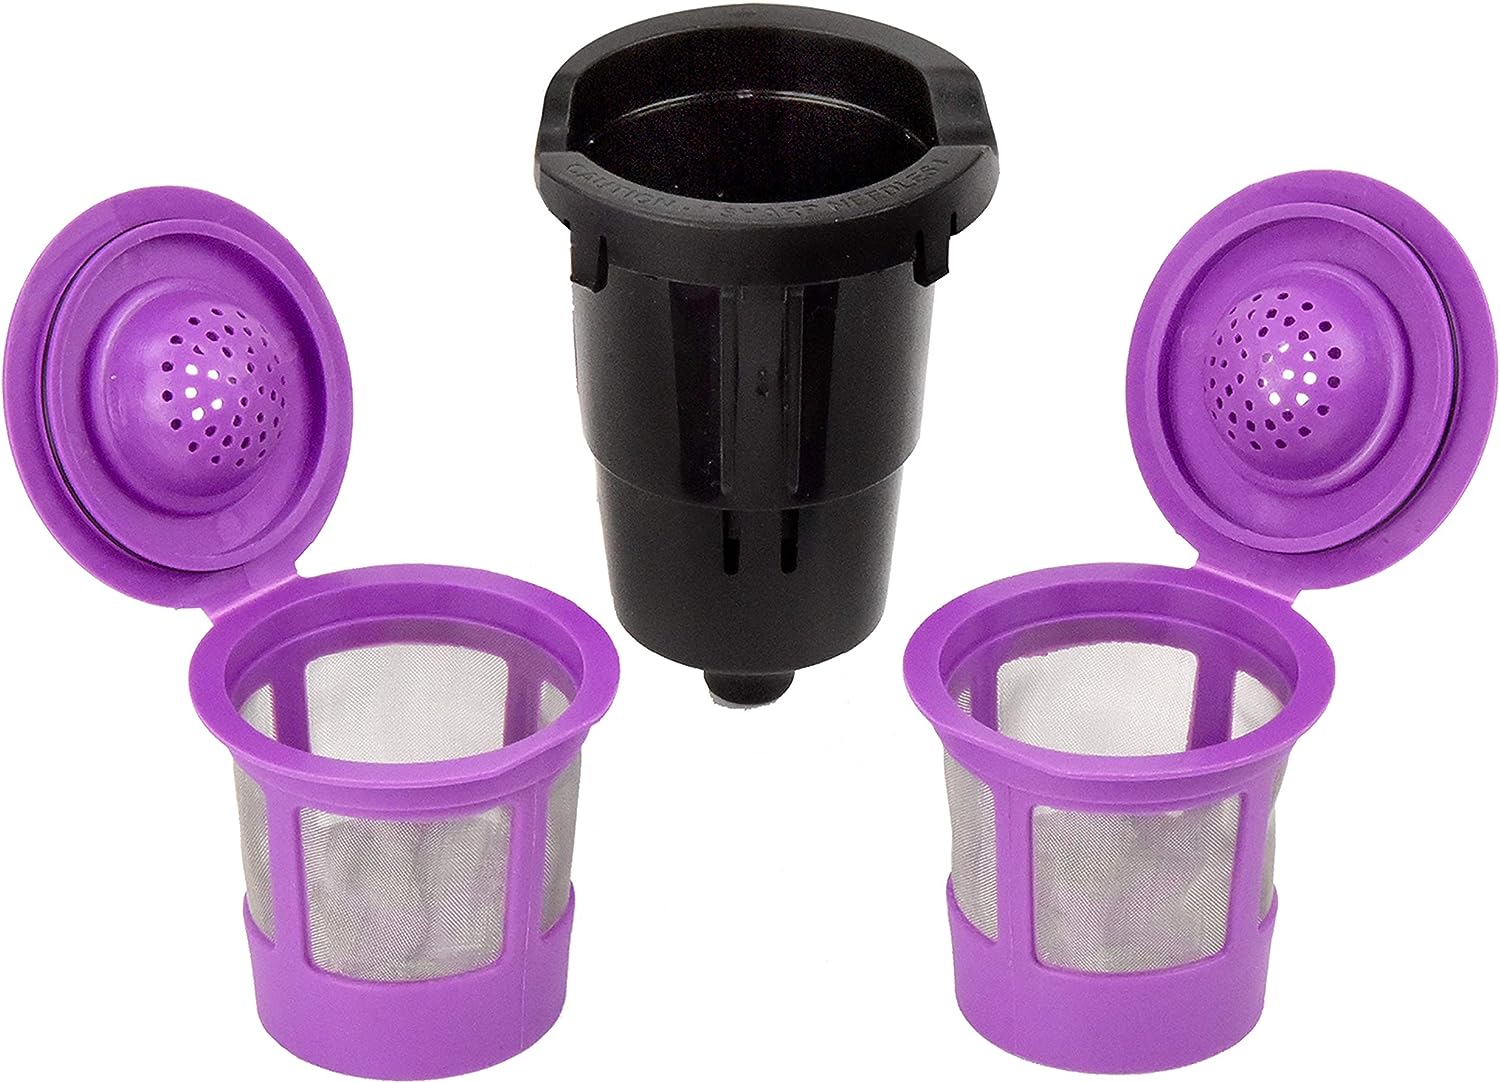
Next, carefully remove the pod holder from the coffee maker. Gently pull it out and set it aside. It’s important to handle this component with care, as it can be fragile and prone to breakage. Inspect the pod holder for any signs of damage or wear and tear. If you notice any cracks or broken parts, it’s best to replace it before storing your coffee maker. You can easily find replacement pod holders online or at local appliance stores.
Once the pod holder is removed, take a look inside the brewing chamber. Use a clean, dry cloth or a soft brush to remove any coffee grounds or debris that may have accumulated. Ensure that the chamber is completely clean and dry before moving on to the next step.
Lastly, remove the power cord from the electrical outlet and detach it from the coffee maker. Gently wrap the power cord, making sure to avoid any kinks or bends. Securing it with a twist tie or a Velcro strap will prevent tangling and keep it organized during storage.
By disassembling your Keurig coffee maker, you’ll not only protect its various components but also ensure that it takes up less space when stored. This will make it easier to pack and preserve the functionality of your coffee maker for future use.
Step 3: Choosing the Storage Location:
Choosing the right storage location for your Keurig coffee maker is crucial to keep it safe and protected during its time in storage. Here are some considerations to keep in mind when selecting the ideal spot:
1. Dry and Cool Environment: It’s important to store your coffee maker in a dry and cool environment to prevent the growth of mold, mildew, or damage from humidity. Avoid areas that are prone to moisture, such as basements or bathrooms.
2. Away from Direct Sunlight: Sunlight exposure can fade the colors and damage the materials of the coffee maker. Find a location where your appliance won’t be exposed to direct sunlight, whether it’s in a pantry, cupboard, or a dedicated storage area.
3. Dust-free Area: Keeping your coffee maker away from excessive dust will help maintain its cleanliness and prevent any clogging or damage to its components. Choose a storage spot that is relatively dust-free or consider covering it with a clean cloth or plastic bag for added protection.
4. Easy Accessibility: While you’re storing your coffee maker away, it’s still important to keep it easily accessible for future use. Consider a spot that is convenient to reach when you want to bring out the appliance again or make any necessary maintenance checks.
5. Stable and Secure: Ensure that the storage location you choose provides stability and security for your coffee maker. Avoid areas where it may be at risk of falling or getting knocked over by other items. If storing it on a shelf, make sure it has a stable base or use additional support to prevent any accidents.
By considering these factors, you’ll be able to choose an optimal storage location that safeguards your Keurig coffee maker and ensures it remains in pristine condition until you’re ready to use it again.
When storing a Keurig coffee maker, be sure to empty and clean the water reservoir, remove any remaining pods, and unplug the machine. Store it in a dry, cool place to prevent any damage.
Step 4: Wrapping the Power Cord:
Properly wrapping the power cord of your Keurig coffee maker is essential to prevent tangles, damage, and ensure easy storage. Here are a few steps to follow when wrapping the power cord:
1. Disconnect the Power Cord: Before wrapping the power cord, make sure the coffee maker is unplugged from the electrical outlet. This will ensure safety and prevent any potential accidents.
2. Straighten the Power Cord: Straighten out the power cord and remove any kinks or twists. This will make it easier to wrap the cord and prevent any tangling.
3. Choose a Method: There are a few different methods you can use to wrap the power cord. One simple method is to loosely coil the cord in a circular motion, making sure not to bend it too tightly. Another option is to use a cord organizer or Velcro strap to secure the cord in a neat and organized manner.
4. Start Wrapping: Begin wrapping the power cord from the plug end towards the other end. Hold the plug in one hand and use your other hand to wrap the cord loosely around it. Avoid pulling the cord too tightly to prevent any damage or strain on the wires.
5. Secure the Wrapped Cord: Once the cord is wrapped, secure it to prevent it from unraveling. You can use a twist tie, rubber band, or Velcro strap to hold the coil in place and keep it neat and tidy during storage.
6. Keep the Wrapped Cord Separate: To keep the power cord separated from the rest of the coffee maker components, consider placing it in a separate bag or wrapping it in a cloth before storing it alongside or inside the coffee maker. This will prevent the cord from scratching or damaging other parts during storage.
By properly wrapping and securing the power cord, you’ll keep it organized, protected, and ready for use when you take your Keurig coffee maker out of storage.
Read more: How To Prime A Keurig Coffee Machine
Step 5: Packaging the Components:
Properly packaging the components of your Keurig coffee maker is crucial to protect them from damage and ensure they remain in good condition during storage. Here’s how you can package the components:
1. Gather Necessary Supplies: Before you start packaging, gather the necessary supplies such as bubble wrap, packing paper, or soft cloth. These materials will provide cushioning and protection for the delicate components of your coffee maker.
2. Wrap the Main Unit: Begin by wrapping the main unit of the coffee maker with bubble wrap or a soft cloth. Make sure to cover all sides and corners to protect it from any potential scratches or impact that may occur during storage. Secure the wrapping with tape or twist ties to keep it in place.
3. Individual Component Packaging: For each individual component, wrap them individually with bubble wrap or packing paper to provide an extra layer of protection. Pay close attention to any fragile parts, such as the water reservoir or pod holder, and ensure they are securely wrapped.
4. Arrange the Components: Once each component is wrapped, arrange them in a sturdy box or container. Place the wrapped main unit at the bottom of the box and then carefully position the other components around it. Fill any empty spaces with additional packing materials, such as packing peanuts or crumpled packing paper, to prevent shifting during storage.
5. Label the Box: To easily locate your coffee maker and its components when you need to retrieve them from storage, label the box with its contents. Include a clear description of the items stored inside and indicate that it contains your Keurig coffee maker. This will help you quickly identify the box without having to open multiple boxes when you need to access it.
6. Store in a Secure Location: Once the components are packaged, find a secure location to store the box. Ideally, choose a shelf or an area where it won’t be at risk of being crushed or damaged by other items. Keep it off the ground to prevent moisture or pests from getting in.
By properly packaging the components of your Keurig coffee maker, you’ll give them the necessary protection and ensure they remain in excellent condition until you’re ready to use them again.
Step 6: Storing the Coffee Maker:
Now that you’ve completed the previous steps of cleaning, disassembling, wrapping the power cord, and packaging the components, it’s time to store your Keurig coffee maker properly. Here’s how to do it:
1. Find the Ideal Storage Spot: Locate a suitable spot for storing your coffee maker. It should meet the criteria mentioned earlier, such as being dry, cool, dust-free, and secure. Ensure that the storage location is easily accessible for future retrieval.
2. Place the Packaged Components: Carefully place the box containing the packaged coffee maker components in the chosen storage spot. Make sure it is positioned securely and won’t be at risk of falling or being damaged by other items.
3. Ensure Proper Ventilation: While storing your coffee maker, it’s important to ensure proper ventilation to prevent any potential moisture buildup or condensation. Avoid sealing the box completely, as this can lead to humidity and affect the internal components of the coffee maker.
4. Maintain Regular Check-ups: While your coffee maker is in storage, it’s a good idea to periodically check on it to ensure that it remains in good condition. This can include inspecting for any signs of pests, checking for any visible damage or moisture, and verifying that the packaging is intact.
5. Set Reminders for Future Use: If you plan to store your coffee maker for an extended period, it can be helpful to set reminders for yourself to check for any maintenance requirements or to test its functionality before using it again.
By following these steps, you’ll successfully store your Keurig coffee maker in a safe and secure manner, ensuring its longevity and preserving its performance when you’re ready to enjoy a fresh cup of coffee again.
Conclusion:
Properly storing your Keurig coffee maker is essential to protect its components while ensuring optimal functionality when you’re ready to use it again. By following the step-by-step guide outlined in this article, you can ensure your coffee maker remains clean, protected, and ready to brew a perfect cup of coffee.
From cleaning the coffee maker and disassembling its components to choosing the right storage location, wrapping the power cord, packaging the components, and finally storing it in a secure spot, each step plays a crucial role in preserving the longevity of your coffee maker.
Remember to clean your coffee maker thoroughly before storage, removing any residue or buildup that can affect the quality of your future brews. Disassembling the coffee maker helps protect its delicate components, while wrapping the power cord avoids tangling and potential damage. Packaging the components ensures they are well-protected during storage, and choosing the right storage location is paramount to safeguarding your coffee maker from any potential harm.
By following these steps and periodically checking in on your coffee maker during storage, you’ll maintain its performance and ensure it’s ready for use when you want to enjoy your favorite hot beverage once again.
So, whether you’re storing your Keurig coffee maker temporarily or for an extended period, take the time to follow these steps, and you’ll be rewarded with a well-preserved coffee maker that continues to brew delicious cups of coffee for years to come.
Frequently Asked Questions about How To Store A Keurig Coffee Maker
Was this page helpful?
At Storables.com, we guarantee accurate and reliable information. Our content, validated by Expert Board Contributors, is crafted following stringent Editorial Policies. We're committed to providing you with well-researched, expert-backed insights for all your informational needs.


0 thoughts on “How To Store A Keurig Coffee Maker”