

Articles
How To Store Wet Paint Brushes
Modified: January 18, 2024
Discover effective techniques and tips for properly storing wet paint brushes in our informative articles.
(Many of the links in this article redirect to a specific reviewed product. Your purchase of these products through affiliate links helps to generate commission for Storables.com, at no extra cost. Learn more)
Introduction
When working on a painting project, it’s not uncommon to encounter the need to store wet paint brushes for later use. Whether you’re taking a break from your work or planning to use the brushes again in the near future, proper storage is essential to maintain the quality and longevity of your brushes.
Storing wet paint brushes incorrectly can lead to bristle damage, mold growth, and even a loss of shape or functionality. However, with the right techniques and materials, you can ensure that your brushes stay in optimal condition for future use.
In this article, we will guide you through the step-by-step process of storing wet paint brushes. We will cover the materials you’ll need, as well as the proper techniques to prepare, choose the right storage container, and protect your brushes during both short-term and long-term storage.
By following these guidelines, you’ll be able to keep your paint brushes in excellent condition, preventing them from drying out or getting damaged, and saving you time, money, and frustration in the long run.
So, let’s dive in and learn how to store wet paint brushes properly!
Key Takeaways:
- Properly storing wet paint brushes is crucial for maintaining their quality and longevity. Follow step-by-step guidelines to prepare, store, and protect your brushes, ensuring optimal condition for future use.
- Thoroughly clean and store wet paint brushes for long-term preservation. Proper care and maintenance will extend the lifespan of your brushes, contributing to better painting results and artistic output.
Read more: How To Store A Paint Brush
Materials Needed
Before you start the process of storing wet paint brushes, you’ll need to gather a few essential materials. Having these items on hand will ensure that you can properly clean and store your brushes, keeping them in optimal condition for future use. Here’s a list of the materials you’ll need:
- Waterproof storage container: This could be a plastic container, a jar with a lid, or any other airtight container that is large enough to hold your brushes.
- Water or solvent: Depending on the type of paint you’re working with, you’ll need either water (for water-based paints) or an appropriate solvent (for oil-based paints) to clean your brushes.
- Mild soap or brush cleaner: To remove any remaining paint residue from the bristles, you’ll need a mild soap or brush cleaner specifically formulated for paint brushes.
- Brush holder or rack: A brush holder or rack will help to keep your brushes upright and prevent them from bending or flattening out while drying.
- Lint-free cloth or paper towels: These will be useful for wiping excess paint and moisture from your brushes.
- Plastic wrap or plastic bags: To protect your brushes from dust and debris during storage, you’ll need plastic wrap or bags to cover them.
- Label or marker: For long-term storage, it’s a good idea to label your storage container with the type of paint or brushes inside and the date of storage.
Having these materials available will ensure that you can efficiently and effectively store your wet paint brushes, maintaining their quality and prolonging their lifespan for future use.
Now that you have the necessary materials, let’s move on to the step-by-step process of storing wet paint brushes.
Step 1: Prepare the Brushes
Before you store your wet paint brushes, it’s important to prep them properly. This will help remove excess paint and prevent it from drying on the bristles, ensuring that your brushes stay in good condition.
Here’s how to prepare your brushes for storage:
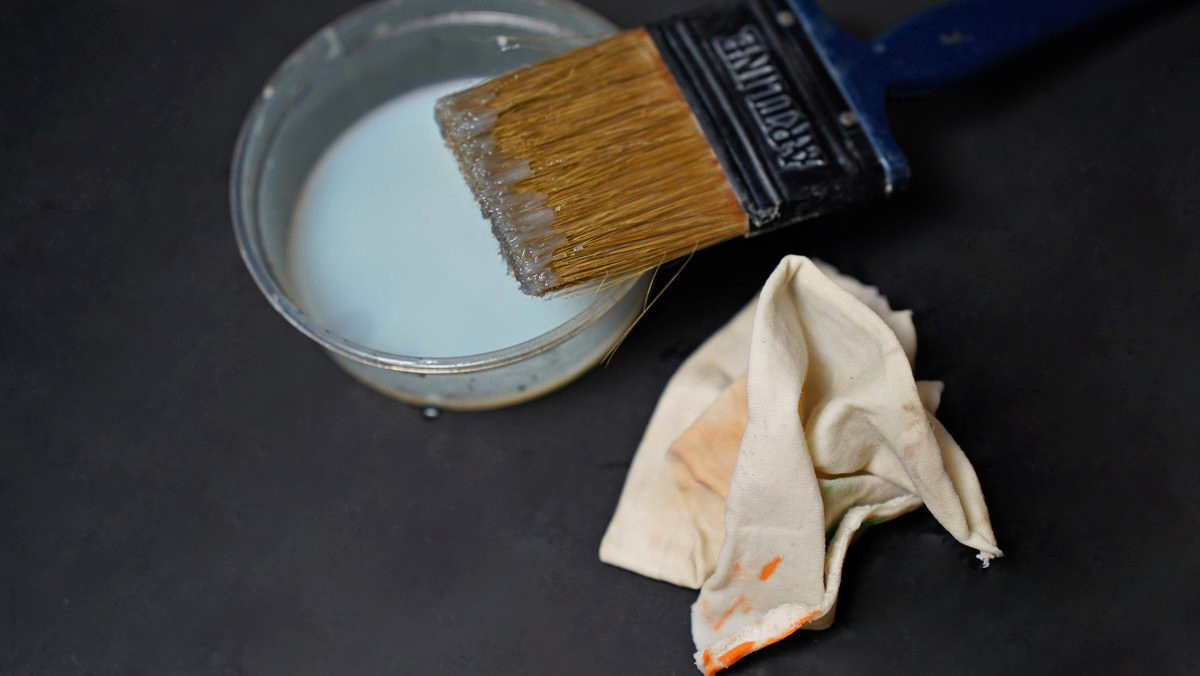
- Wipe off excess paint: Use a lint-free cloth or paper towel to gently wipe off any excess paint from the bristles. Be careful not to press too hard or rub the bristles vigorously, as this can damage them. Aim to remove as much paint as possible before moving on to the next step.
- Clean the bristles: Depending on the type of paint you’ve been using, you’ll need to clean the bristles with water or an appropriate solvent. For water-based paints, rinse the brushes under warm water and gently massage the bristles to remove any remaining paint. For oil-based paints, dip the brushes in the appropriate solvent and swirl them around to loosen the paint. Repeat the process until the bristles are clean.
- Use mild soap or brush cleaner: Once the majority of the paint has been removed, you can use a mild soap or brush cleaner to further clean the bristles. Apply a small amount of soap or cleaner to your hand and gently massage it into the bristles. Rinse the brushes again under warm water to remove any soap residue.
- Shape the bristles: After cleaning, gently reshape the bristles by using your fingers or a brush comb. Smooth out any bent or misshapen bristles to restore the natural shape of the brush. This will help ensure that the brushes dry in the correct form.
- Remove excess water: Gently squeeze the bristles with your fingers or wrap them with a clean cloth or paper towel to remove any excess water. Avoid squeezing too tightly or wringing the bristles, as this can damage them.
By following these steps, you’ll prepare your brushes for storage, removing excess paint and cleaning them thoroughly. This will help maintain the integrity of the bristles and prevent any paint residue from drying and hardening on the brushes while they are stored.
Now that your brushes are prepared, let’s move on to step two: choosing the proper storage container.
Step 2: Choose the Proper Storage Container
Choosing the right storage container for your wet paint brushes is crucial to keeping them protected and in good condition during storage. The container should provide a secure and safe environment that prevents the brushes from drying out or becoming damaged. Here’s what you need to consider when selecting a suitable storage container:
- Airtight and Waterproof: It’s important to choose a container that is airtight and waterproof to prevent air and moisture from reaching the brushes. This will help to keep the bristles at the proper moisture level and prevent them from drying out or becoming brittle.
- Size and Shape: The container should be large enough to accommodate your paint brushes without bending or crowding them. Consider the size and shape of your brushes when choosing a container to ensure a proper fit.
- Durable and Sturdy: Opt for a container that is made of durable and sturdy material, such as plastic or glass. This will provide sufficient protection for your brushes and prevent them from getting crushed or damaged during storage.
Once you have chosen a suitable container, make sure to clean and dry it thoroughly before placing your wet paint brushes inside. This will prevent any dirt, debris, or residue from contaminating your brushes.
If you’re working with multiple brushes, consider using dividers within the container to keep the brushes separate and prevent them from rubbing against each other. You can use cardboard dividers or even rolled-up paper towels as makeshift dividers.
Remember, the key is to provide a secure and moisture-controlled environment for your brushes, protecting them from any potential damage while they are stored.
Now that you have your storage container ready, let’s move on to the next step: removing excess paint from the brushes.
Step 3: Remove Excess Paint
Before storing your wet paint brushes, it’s important to remove any remaining paint from the bristles. This will prevent the paint from drying and hardening on the brushes, which can damage the bristles and affect their performance in the future. Here’s how to remove excess paint from your brushes:
- Scrape off excess paint: Use a palette knife or a brush comb to gently scrape off any excess paint from the bristles. Be careful not to apply too much pressure or pull on the bristles, as this can damage them. Aim to remove as much paint as possible before moving on to the next step.
- Use a cloth or paper towel: Take a lint-free cloth or paper towel and gently blot the bristles to absorb any remaining wet paint. Do this multiple times until there is no more visible paint transferring onto the cloth or paper towel. Be gentle while blotting to avoid bending or damaging the bristles.
- Rinse with water (for water-based paints): If you’re working with water-based paints, rinse the brushes under warm water. Use your fingers to gently massage the bristles, working out any residual paint. Continue rinsing and massaging until the water runs clear and there are no visible traces of paint left. This step helps remove any paint that may be deeper within the bristles.
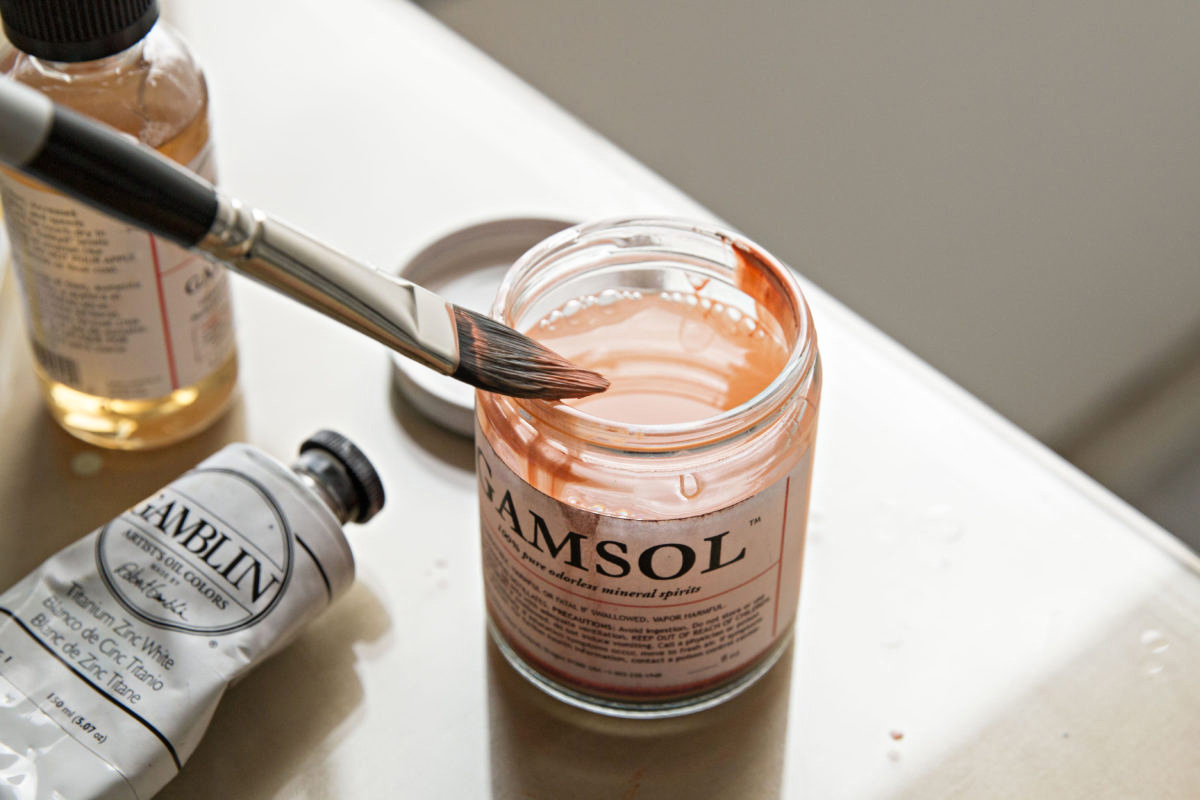
- Clean with an appropriate solvent (for oil-based paints): If you’re using oil-based paints, dip the brushes in an appropriate solvent, such as mineral spirits or paint thinner. Swirl the brushes around in the solvent, loosening any remaining paint. Repeat this process as needed until the solvent runs clear and there are no traces of paint left on the brushes.
- Blot again: After rinsing or cleaning with a solvent, gently blot the bristles with a clean cloth or paper towel once more to remove any excess moisture.
By removing excess paint from your brushes, you ensure that they are clean and ready for storage. This step is crucial to prevent the paint from drying and becoming difficult to remove, which can damage the brushes and compromise their performance.
Now that you have successfully removed excess paint, it’s time to move on to the next step: utilizing a brush holder or rack for storage.
After cleaning your wet paint brushes, reshape the bristles and store them flat or hanging to dry completely. Once dry, store them in a brush holder or wrap them in paper towels to protect the bristles.
Read more: How To Store Used Paint Brushes
Step 4: Use a Brush Holder or Rack
Properly storing your wet paint brushes requires the use of a brush holder or rack. These tools help keep the brushes in an upright position and prevent them from getting bent or losing their shape while drying. Here’s how to use a brush holder or rack for optimal brush storage:
- Select a brush holder or rack: Choose a brush holder or rack that can accommodate the size and number of brushes you need to store. There are various options available, including plastic brush holders, metal drying racks, or even DIY solutions like clothespins or binder clips attached to a board.
- Place the brushes in the holder or rack: Carefully insert the bristle end of each brush into the designated slots, hooks, or clips on the holder or rack. Make sure the brushes are secure and not overcrowded to prevent them from touching each other.
- Position the handles: Ensure that the handles of the brushes are positioned higher than the bristles, allowing for proper airflow and even drying. This helps prevent water or moisture from accumulating near the ferrule, which can lead to rust or damage over time.
- Leave sufficient space: Allow enough space between each brush to ensure proper ventilation and prevent any contact between the bristles. This helps promote faster drying and reduces the risk of brushes sticking together or deforming each other’s shape.
- Opt for adjustable holders or racks: If you work with brushes of different sizes, consider using adjustable holders or racks that can accommodate varying brush sizes. This allows for flexibility in storing different types of brushes and ensures a snug fit for each one.
Using a brush holder or rack is an effective way to store your wet paint brushes, as it promotes even drying and prevents any damage to the bristles or handles. By utilizing these tools, you can maintain the shape and quality of your brushes, ensuring their longevity and optimal performance.
Now that your brushes are properly positioned in the holder or rack, let’s move on to step five: covering and storing the brushes properly.
Step 5: Cover and Store the Brushes Properly
After preparing your wet paint brushes and using a brush holder or rack, it’s essential to cover and store them properly to ensure their protection and longevity. Here’s how to cover and store your brushes effectively:
- Cover with plastic wrap or plastic bags: Take a piece of plastic wrap or place the brushes inside a plastic bag. Wrap the plastic tightly around the bristles, covering them completely. Ensure that the plastic is secured, so it doesn’t come loose during storage. This step helps to protect the brushes from dust, debris, and external elements that could affect their condition.
- Secure the wrapped brushes: Use a rubber band or a twist tie to keep the plastic wrap or bag securely in place. Make sure it’s not too tight to avoid pressing down on the bristles, but secure enough to prevent the plastic from slipping off.
- Label the storage container: If you’re using a storage container for your brushes, consider labeling it with the type of paint or brushes inside and the date of storage. This helps you keep track of the contents and ensures that you know when the brushes were last stored or used.
- Choose a suitable storage location: Select a cool, dry, and well-ventilated area for storing your brushes. Avoid areas with extreme temperature changes or high humidity, as these conditions can damage the bristles or cause mold growth. Additionally, keep the brushes away from direct sunlight, as prolonged exposure can lead to fading or weakening of the bristles.
- Store the brushes upright: Whether you’re using a container or a brush holder, store your brushes in an upright position to maintain their shape and prevent flattening. This also allows for better ventilation and airflow around the bristles, aiding in the drying process.
By covering your brushes with plastic wrap or bags and storing them properly, you’ll protect them from dust, debris, and environmental factors that could potentially damage them. These measures also help maintain the moisture level and condition of the bristles, ensuring that your brushes stay in optimal shape for future use.
Now that you have covered and stored your brushes, let’s move on to step six: cleaning and storing brushes for long-term storage.
Step 6: Clean and Store Brushes for Long-Term Storage
If you anticipate not using your paint brushes for an extended period, it’s crucial to clean them thoroughly before long-term storage. This step ensures that your brushes remain in excellent condition and are ready to use when you eventually need them. Here’s how to clean and store your brushes for long-term storage:
- Clean the brushes: Follow the cleaning process mentioned in previous steps to remove any paint residue from the bristles. Use mild soap or brush cleaner, rinse with water or solvent depending on the type of paint, and gently reshape the bristles. Ensure that the brushes are completely clean and free from any remaining paint.
- Dry the brushes completely: After cleaning, allow your brushes to dry completely. Lay them flat on a clean cloth or paper towel, ensuring that the bristle end is elevated, and let them air dry naturally. Avoid using heat sources or direct sunlight to speed up the drying process, as this can cause the bristles to warp or become brittle.
- Protect the brushes: Once the brushes are dry, cover them with a clean plastic wrap or store them in a clean, airtight container to protect them from dust and damage during long-term storage. Ensure that the container is labeled with the contents and date of storage as a reference.
- Choose an appropriate storage location: Select a cool and dry storage area for long-term storage of your brushes. Ideally, the location should have consistent temperature and humidity levels to prevent damage to the bristles. Avoid storing brushes in basements, attics, or areas prone to extreme temperature changes or high humidity, as these conditions can be detrimental to the brushes’ longevity.
- Check and maintain: Periodically check on your stored brushes to ensure they remain in good condition. If you notice any mold growth or signs of damage, take steps to address the issue promptly. Also, avoid storing the brushes for too long without any use, as extended periods of inactivity can negatively affect their performance.
By thoroughly cleaning your brushes and storing them properly for long-term storage, you can ensure their longevity and maintain their quality. Following these guidelines will help preserve your brushes and ensure that they’re in optimal condition when you’re ready to use them again.
Now that you have cleaned and stored your brushes for long-term storage, you can retrieve them whenever you’re ready to unleash your creativity again!
Remember, proper care and storage of your paint brushes can extend their lifespan, save you money, and contribute to better painting results. By following these steps, you can enjoy the use of your brushes for years to come!
Thank you for reading, and happy painting!
Conclusion
Storing wet paint brushes properly is essential to maintain their quality and prolong their lifespan. By following the steps outlined in this article, you can ensure that your brushes stay in optimal condition for future use, whether it’s a short break during a painting project or long-term storage.
From preparing the brushes and choosing the right storage container to removing excess paint and using a brush holder or rack, each step plays a vital role in protecting your brushes from damage, preserving their shape, and preventing the buildup of paint residue on the bristles. Additionally, covering the brushes and storing them in a suitable location further safeguards them from dust, debris, and environmental factors.
For long-term storage, it’s crucial to clean the brushes thoroughly and let them dry completely before covering and storing them. Regular maintenance and periodic checks ensure that the stored brushes remain in good condition and are ready for use when you need them again.
Remember, taking proper care of your paint brushes not only saves you time and money by extending their lifespan but also contributes to better painting results. A well-maintained brush will help you achieve smoother strokes, improve paint application, and enhance your overall artistic output.
So, the next time you need to store wet paint brushes, be sure to follow these step-by-step guidelines. Your brushes will thank you, and you’ll be able to continue creating beautiful works of art for years to come.
Happy painting!
Frequently Asked Questions about How To Store Wet Paint Brushes
Was this page helpful?
At Storables.com, we guarantee accurate and reliable information. Our content, validated by Expert Board Contributors, is crafted following stringent Editorial Policies. We're committed to providing you with well-researched, expert-backed insights for all your informational needs.









0 thoughts on “How To Store Wet Paint Brushes”