
Articles
How To Tap A Keg In An Edgestar Kegerator
Modified: October 21, 2024
Learn how to tap a keg in an Edgestar kegerator with these step-by-step articles. Become a keg tapping pro today!
(Many of the links in this article redirect to a specific reviewed product. Your purchase of these products through affiliate links helps to generate commission for Storables.com, at no extra cost. Learn more)
Introduction
Imagine hosting a party or gathering with friends, and instead of serving individual cans or bottles of beer, you have a keg ready to be tapped. The thought of that perfectly chilled, freshly poured beer is enough to make any beer lover’s mouth water. But before you can enjoy that delicious beverage, you need to know how to properly tap a keg in an Edgestar Kegerator.
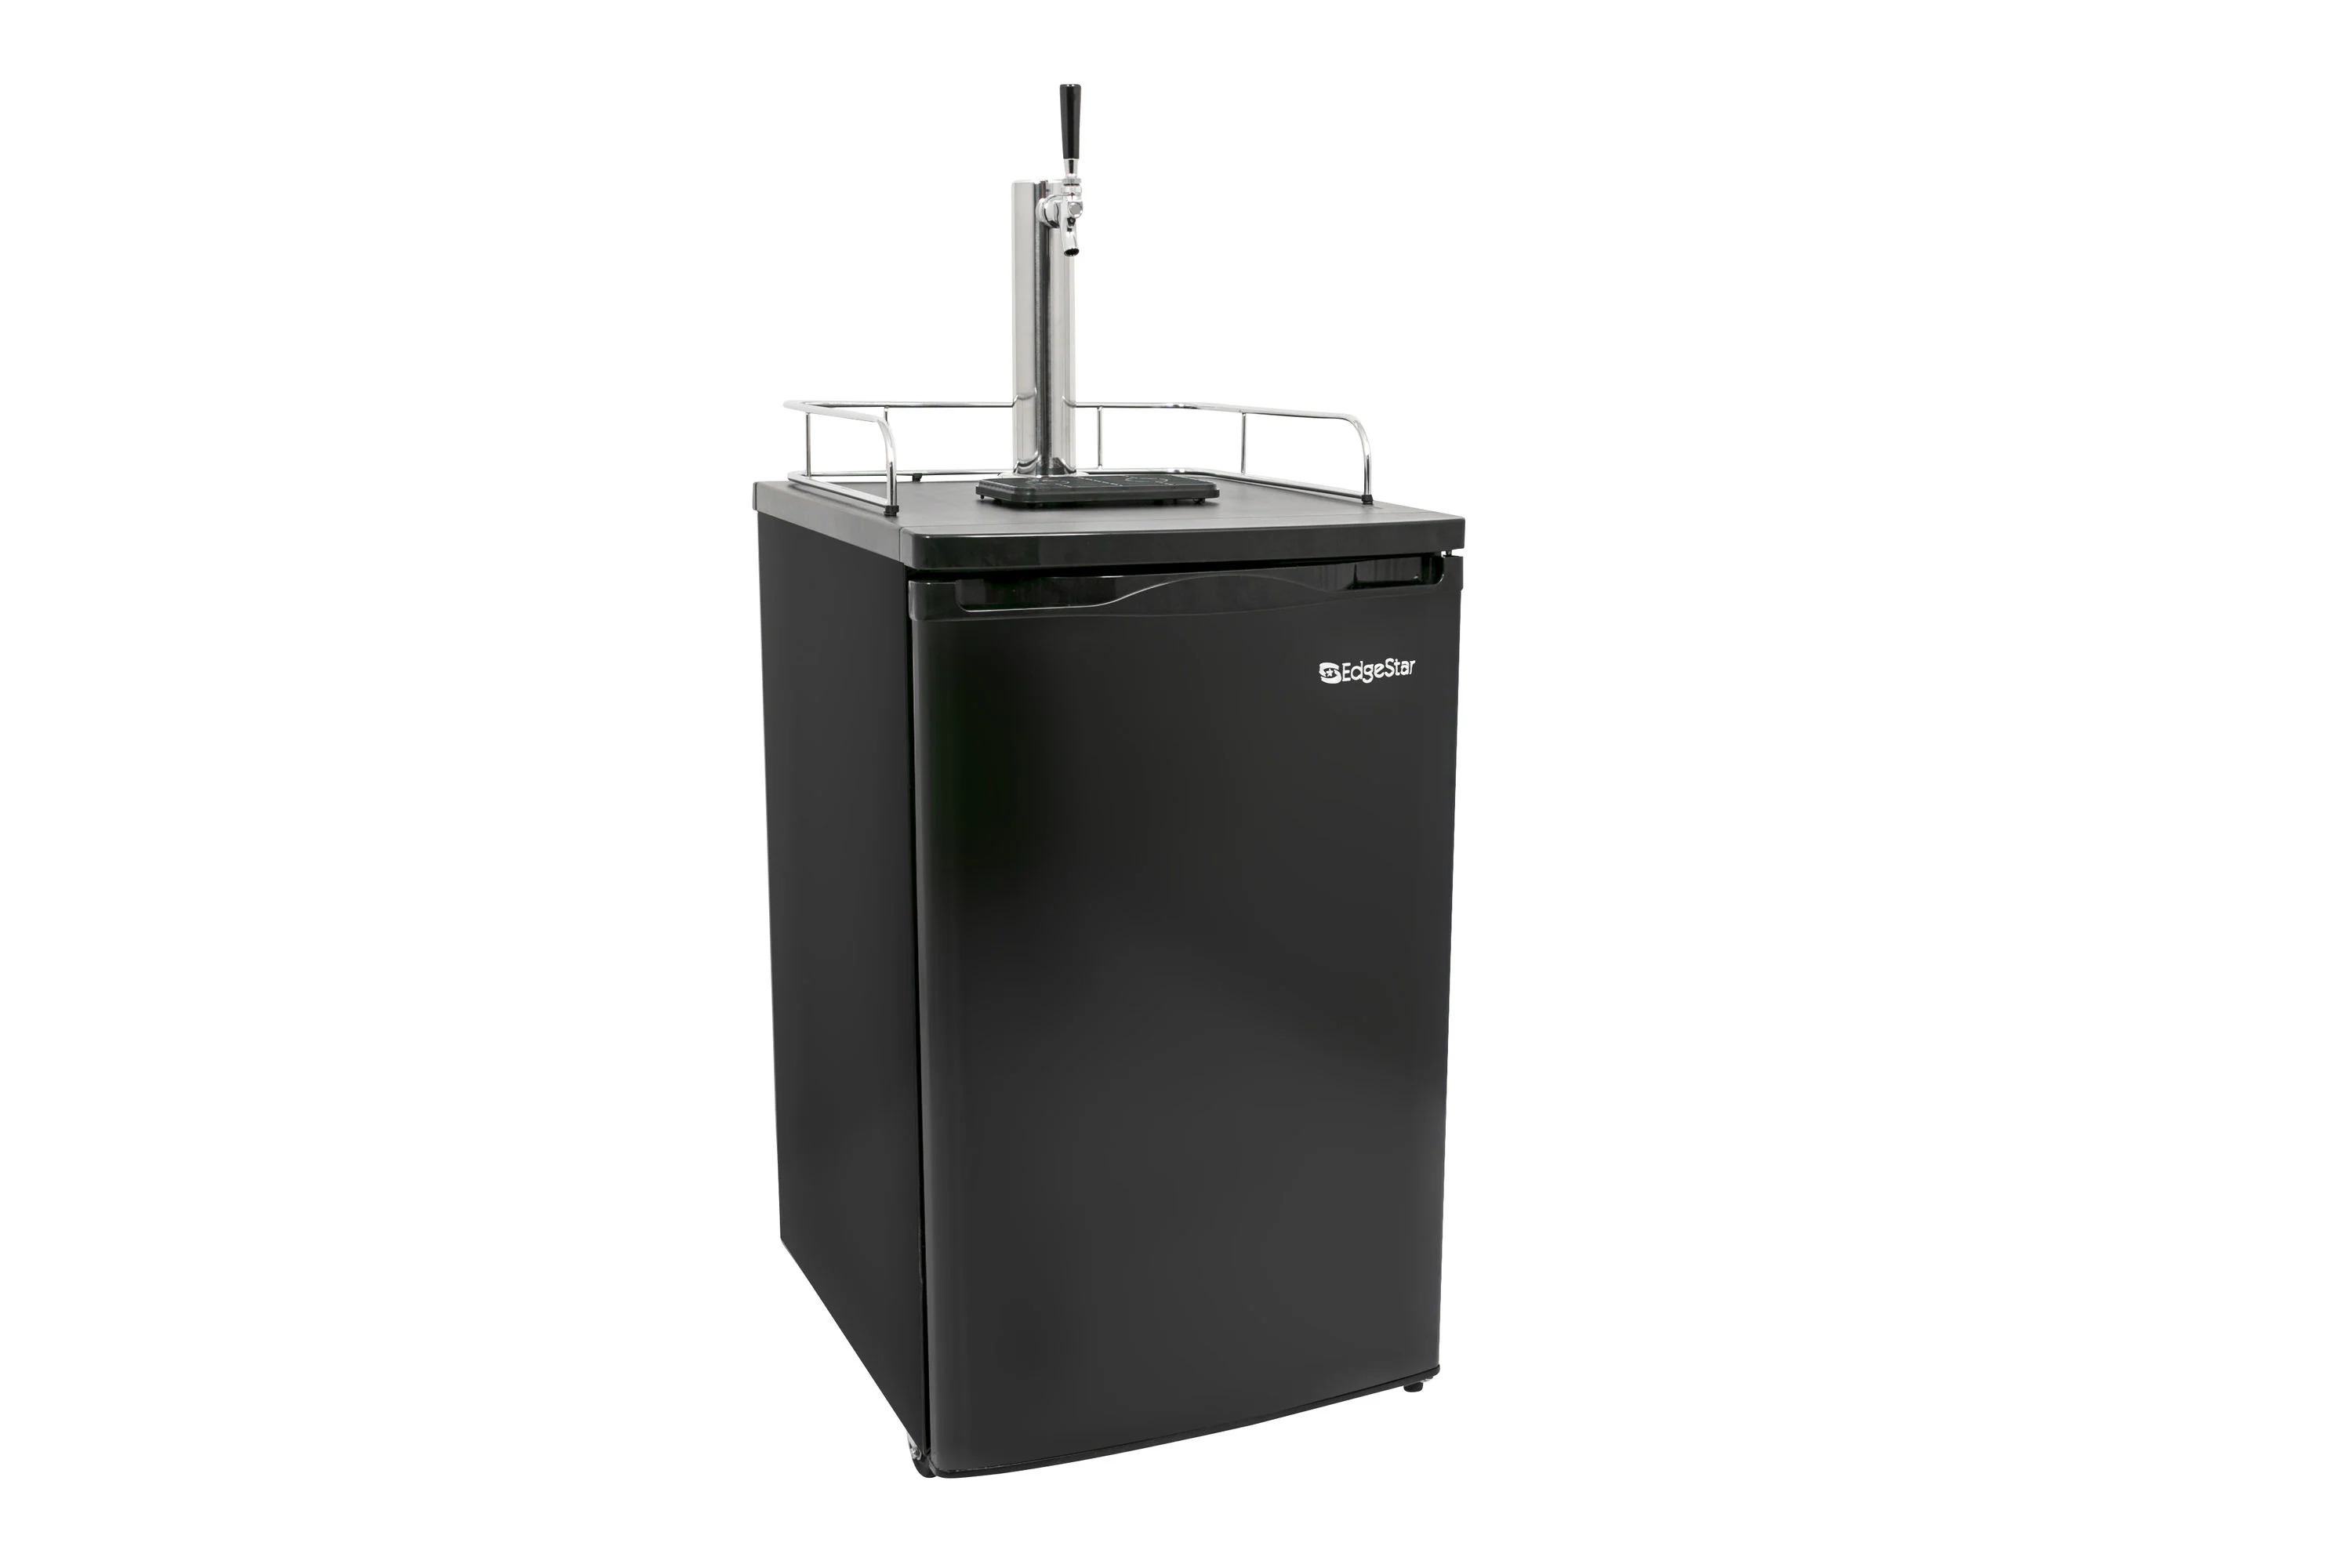
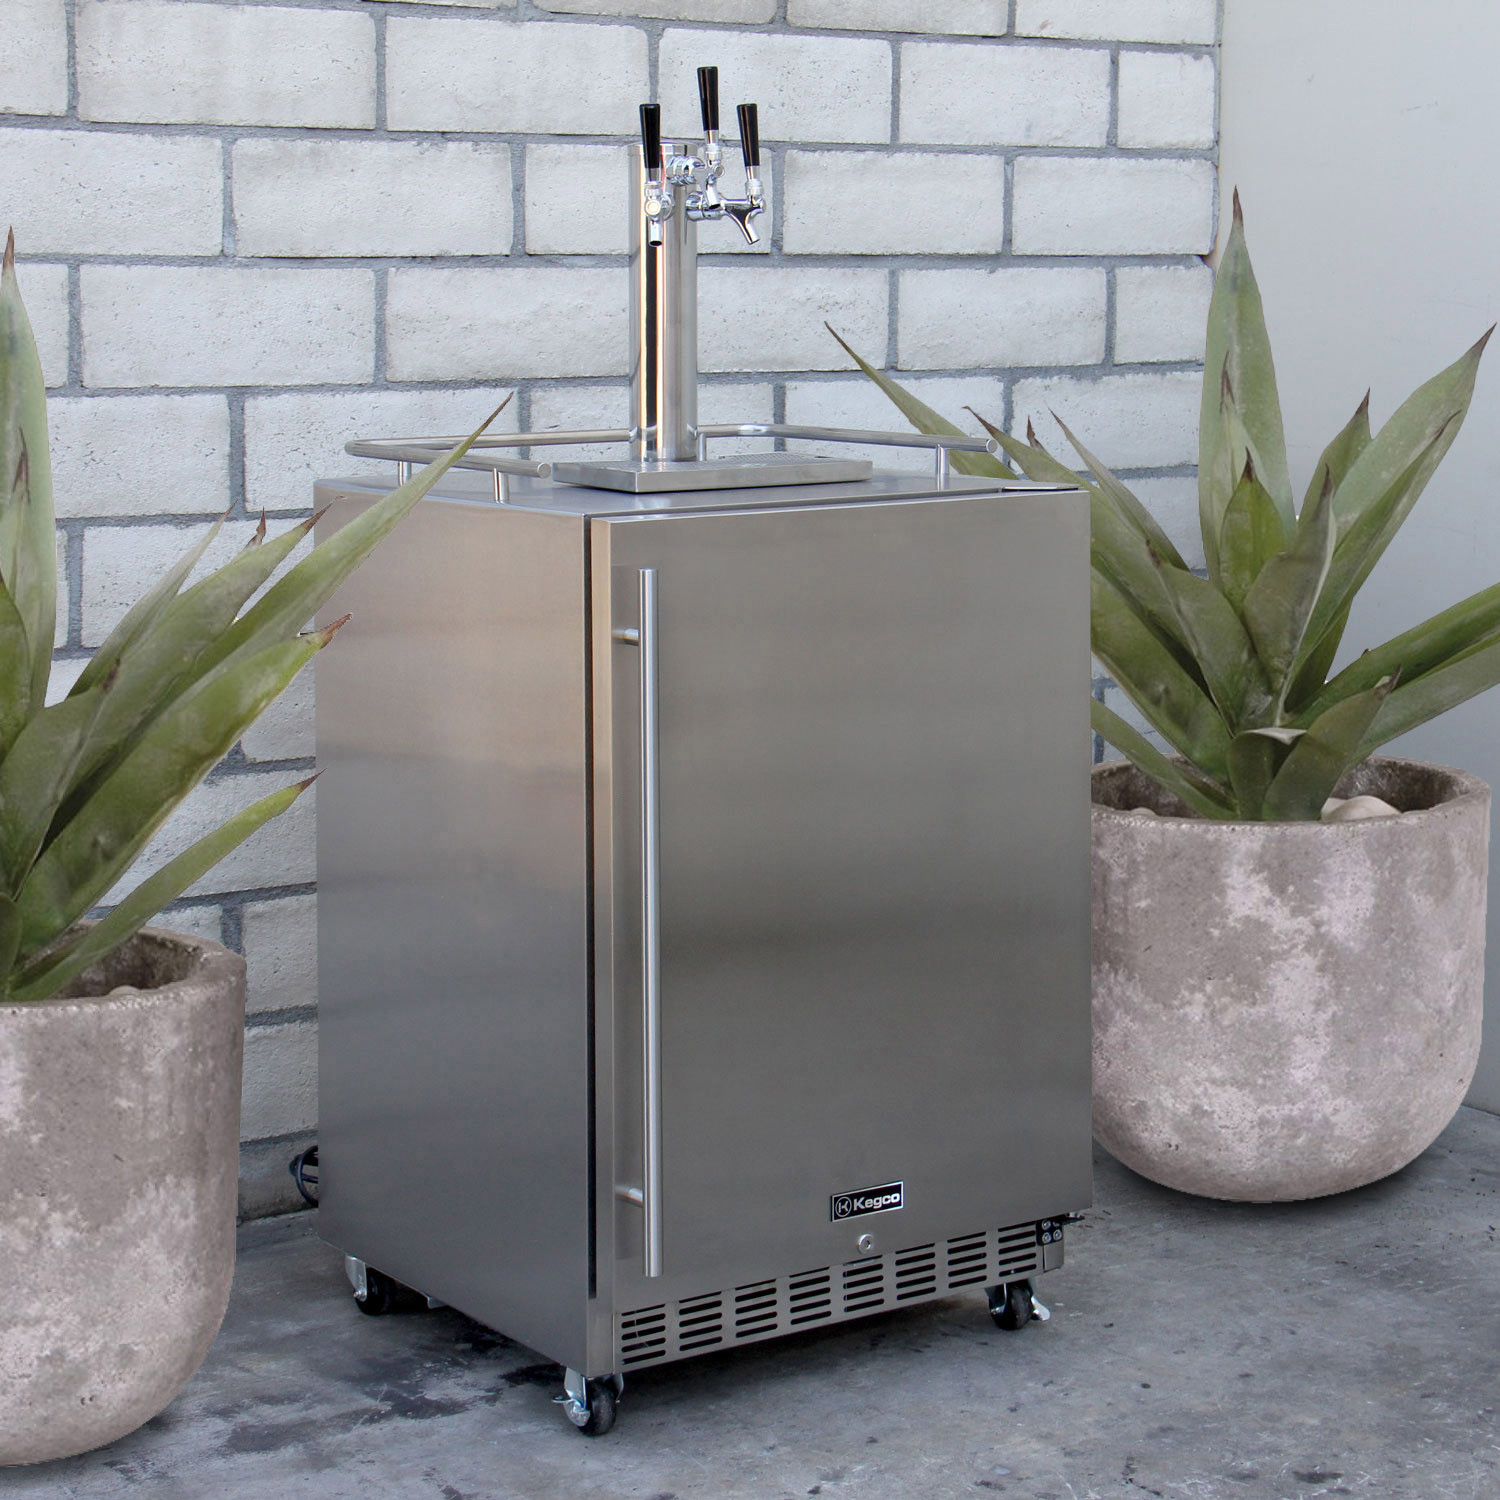
An Edgestar Kegerator is a popular choice among beer enthusiasts and homebrewers. It is a reliable and efficient kegerator that allows you to keep your kegs at the ideal temperature and carbonation level so that you can enjoy a perfect pour every time. Tapping a keg in an Edgestar Kegerator is a straightforward process, but it requires precision and attention to detail to ensure a successful tap.
In this article, we will guide you through the step-by-step process of tapping a keg in an Edgestar Kegerator. Whether you’re a seasoned beer aficionado or a newbie to keg tapping, we’ll provide you with all the necessary information and tips to successfully tap and pour your favorite beer.
Before we dive into the steps, let’s make sure you have all the necessary supplies readily available.
Key Takeaways:
- Master the art of tapping a keg in an Edgestar Kegerator to impress friends, elevate gatherings, and enjoy the convenience of serving perfectly poured, fresh beer at home.
- Pay attention to detail, from preparing your kegerator to adjusting pressure, to achieve the perfect pour and enhance the overall beer-drinking experience.
Read also: 10 Unbelievable Edgestar Kegerator For 2025
Step 1: Gather Your Supplies
Before you start tapping your keg in an Edgestar Kegerator, it’s essential to gather all the necessary supplies. This ensures that you have everything you need within arm’s reach, allowing for a smooth and uninterrupted process. Here’s what you’ll need:
- Keg: Choose the type of beer you want to serve and make sure you have a compatible keg. Different kegs have different connections, such as Sankey, A, or D couplers. Confirm the type of coupler that your keg requires before proceeding.
- CO2 Tank: The CO2 tank is responsible for pressurizing the keg and allowing for a steady flow of beer. Ensure that your CO2 tank is filled and ready to use.
- Regulator: The regulator is used to control the pressure inside the keg. Make sure your regulator is properly attached to the CO2 tank and in working condition.
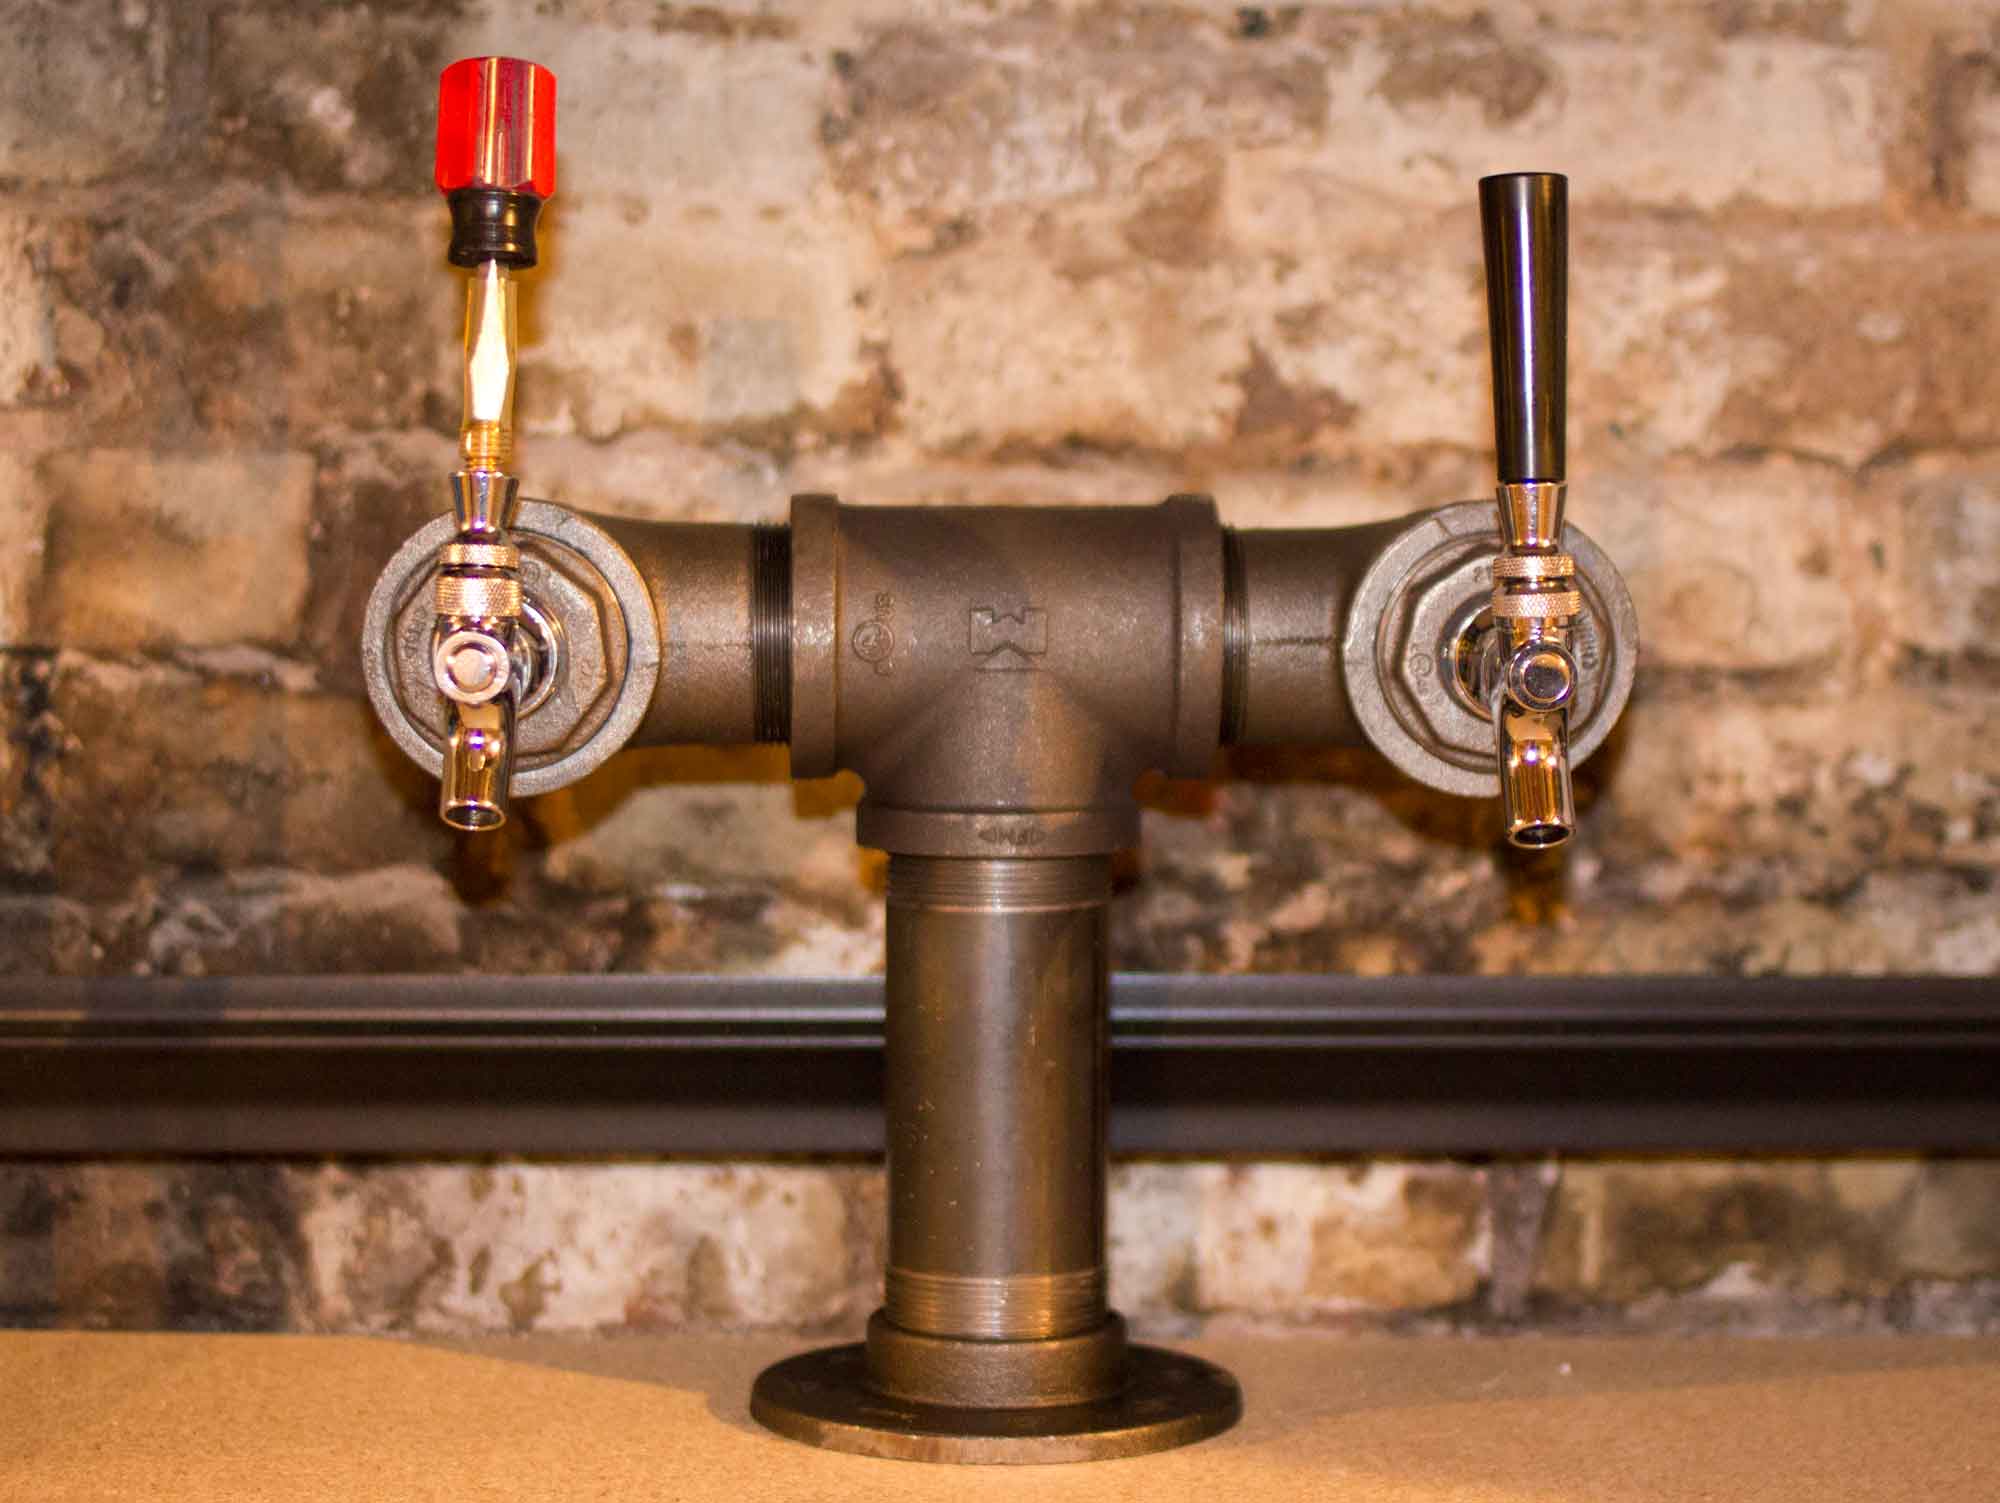
- Beer Line: The beer line connects the keg to the faucet, allowing the beer to flow. Check that your beer line is clean and free from any obstructions.
- Faucet: The faucet is where the beer is dispensed. Ensure that your faucet is clean and in good working order.
- Wrench: You may need a wrench to tighten or loosen any connections, depending on your keg setup.
- Glassware: Don’t forget to have appropriate glassware ready for serving your beer.
Having all these supplies ready before you begin tapping your keg will save you time and frustration during the process. Make sure everything is clean and in good working order.
Now that you have all the necessary supplies, it’s time to prepare your Edgestar Kegerator for the keg-tapping process. This will ensure that your keg stays at the optimal temperature and carbonation level throughout the pouring process. Let’s move on to Step 2: Prepare Your Kegerator.
Step 2: Prepare Your Kegerator
Before you tap your keg in an Edgestar Kegerator, it’s crucial to prepare the kegerator itself. This step ensures that your keg is stored at the correct temperature and that all necessary connections are in place for a successful pour. Follow these steps to prepare your Edgestar Kegerator:
- Clean Your Kegerator: Start by cleaning the inside of your kegerator. Remove any empty kegs, beer lines, and other accessories. Wipe down the interior with a clean, damp cloth to remove any dirt or residue. Ensure that the drip tray and faucet are also cleaned thoroughly.
- Set the Temperature: Adjust the temperature of your kegerator to the desired level for the beer you will be serving. Consult the beer’s specific temperature requirements, generally between 34-40°F (1-4°C). Allow your kegerator to stabilize at the desired temperature before proceeding.
- Check the CO2 Tank: Ensure that the CO2 tank is securely attached to the regulator and the regulator is securely attached to the kegerator. Double-check that the CO2 tank is filled and ready to provide pressure for the keg.
- Inspect the Beer Line: Examine the beer line for any signs of damage or blockage. Clear any obstructions and ensure that it is properly connected to the keg and the faucet.
- Sanitize Your Equipment: Prior to connecting the keg, sanitize all the equipment, including the beer line, keg coupler, and faucet. This step is crucial to maintain the quality and flavor of the beer.
- Position the Glassware: Place your clean glassware in the appropriate position below the faucet to catch the beer as it is poured.
By properly preparing your Edgestar Kegerator, you ensure that your keg is stored at the ideal temperature and that all connections are clean and secure. This step is essential for maintaining the quality and flavor of your beer. Once your kegerator is prepared, it’s time to move on to Step 3: Connect the CO2 Tank.
Step 3: Connect the CO2 Tank
Connecting the CO2 tank is a crucial step in tapping a keg in an Edgestar Kegerator. The CO2 tank provides the pressure necessary to push the beer from the keg to the faucet. Follow these steps to connect the CO2 tank:
- Locate the CO2 Tank: Find the CO2 tank and ensure it is filled with enough CO2 to pressurize the keg.
- Attach the Regulator: Take the regulator and securely attach it to the CO2 tank. Use a wrench if necessary to ensure a tight connection.
- Adjust the Pressure: Set the pressure on the regulator according to the requirements of the beer you will be serving. Different beers require different levels of carbonation, typically between 10-14 PSI (pounds per square inch).
- Connect the Gas Line: Connect one end of the gas line to the output port of the regulator and the other end to the gas inlet on the keg coupler. Make sure the connections are tight and secure.
- Open the CO2 Tank Valve: Slowly open the valve on the CO2 tank to allow the gas to flow into the keg.
- Check for Leaks: Apply a soapy water solution to the connection points to check for any leaks. If you see bubbles forming, there is a leak. Correct any leaks by tightening the connections or replacing any faulty parts.
It’s important to note that the pressure required may vary depending on the type of beer and personal preference. Be sure to consult the specific recommendations for the beer you are serving to ensure the best pouring experience.
Once you have successfully connected the CO2 tank and ensured there are no leaks, you are ready to move on to the next step: attaching the beer line. Let’s proceed to Step 4.
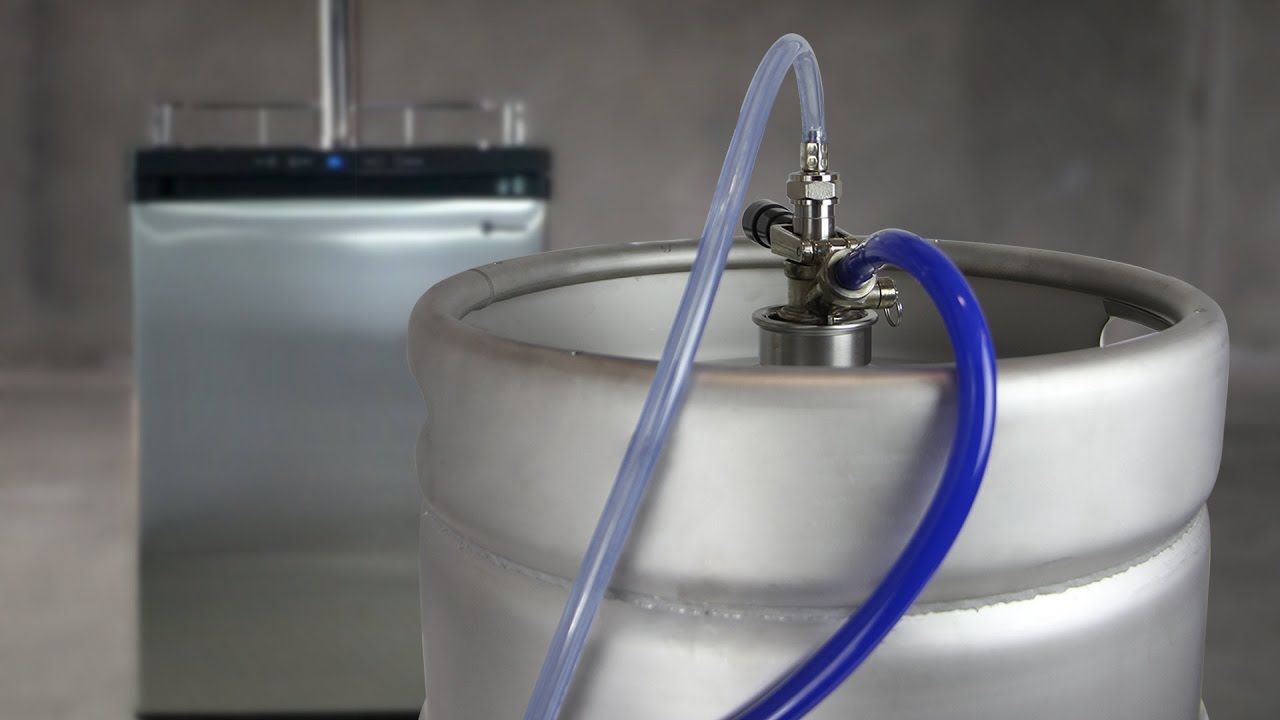
Step 4: Attach the Beer Line
Attaching the beer line is a crucial step in tapping a keg in an Edgestar Kegerator. The beer line connects the keg to the faucet, allowing the beer to flow smoothly. Follow these steps to properly attach the beer line:
- Inspect the Beer Line: Before attaching the beer line, inspect it for any signs of damage or blockage. Ensure that it is clean and free from any obstructions.
- Prepare the Keg Coupler: Take the keg coupler and remove the dust cover from the gas-in port and beer-out port.
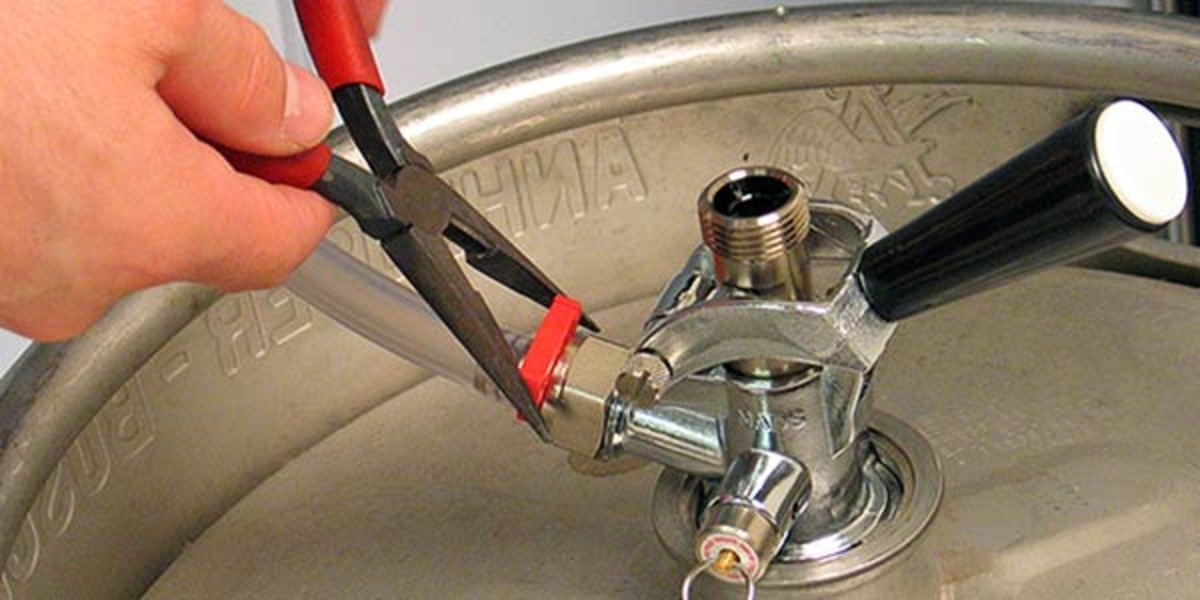
- Connect the Beer Line: Take one end of the beer line and attach it to the beer-out port on the keg coupler. Make sure the connection is tight and secure. If using a threaded connection, use a wrench to tighten it.
- Purge the Line: Once the beer line is attached, it’s important to purge the line of any air or contaminants. To do this, turn on the CO2 tank valve briefly to allow a burst of gas to flow through the line and out of the faucet. This ensures a clean and clear line for the beer to flow.
- Attach the Faucet and Beer Line to the Kegerator: Position the faucet and beer line through the appropriate hole on the kegerator door. Secure the faucet to the faucet shank by tightening the coupling nut. Make sure the connection is tight to prevent any leaks.
- Check for Leaks: Apply a soapy water solution to the connection points to check for any leaks. If there are bubbles forming, there may be a leak. Correct any leaks by tightening the connections or replacing any faulty parts.
Once you have attached the beer line and ensured there are no leaks, you’re one step closer to enjoying a perfectly poured beer. In the next step, we will tap the keg and initiate the pouring process. Let’s move on to Step 5.
Before tapping a keg in an Edgestar Kegerator, make sure the CO2 tank is connected and turned on to maintain proper pressure for dispensing the beer. Also, ensure that the keg coupler is properly attached to the keg to avoid any leaks.
Step 5: Tap the Keg
Now that the beer line is properly attached, it’s time to tap the keg and get ready to pour some refreshing beer from your Edgestar Kegerator. Follow these steps to tap the keg:
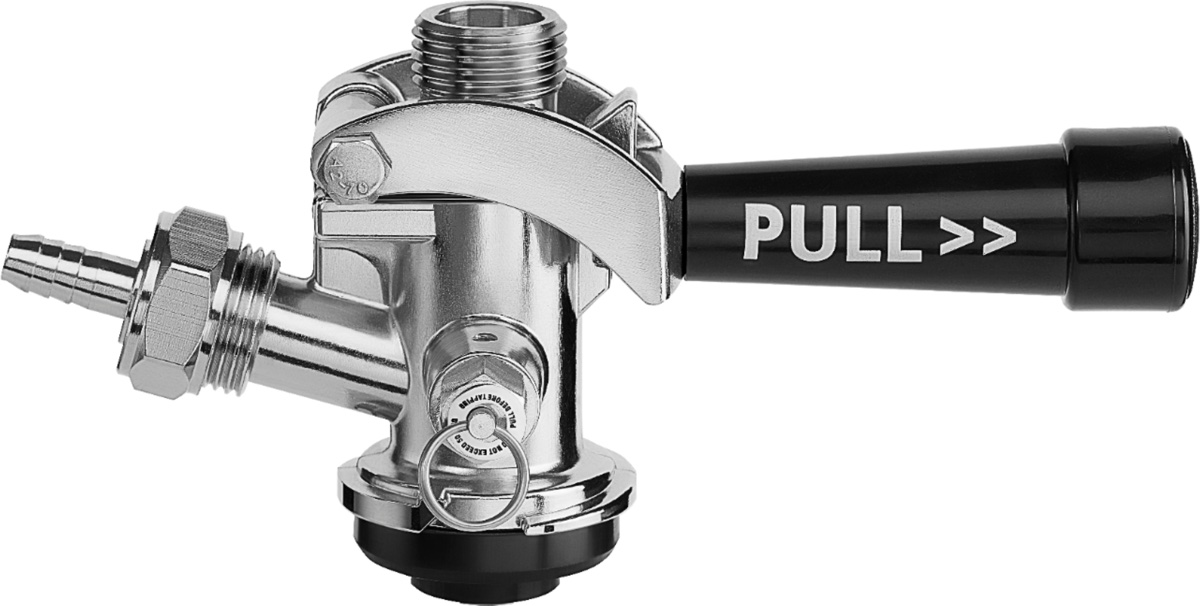
- Locate the Keg Coupler: Find the keg coupler and make sure it is clean and free from any dirt or debris.
- Identify the Keg Valve: Locate the valve on the top of the keg. This is where the keg coupler will be connected.
- Align the Coupler: Align the keg coupler with the valve on the keg. Ensure that the coupler and the valve connections are compatible.
- Push Down and Twist: Press down firmly on the keg coupler and twist it clockwise to lock it onto the keg valve. You should feel a click or resistance when it is properly attached.
- Open the Pressure Relief Valve: Open the pressure relief valve on the keg coupler to release any excess pressure inside the keg. This step prevents any foam or beer from prematurely pouring out.
- Close the Pressure Relief Valve: Once the excess pressure has been released, close the pressure relief valve by gently pushing it back into place.
Tapping the keg allows the beer to flow from the keg into the beer line, ready to be poured into a glass. It’s essential to ensure a proper seal between the keg coupler and the keg valve to prevent any leaks or loss of carbonation.
Now that the keg is successfully tapped, it’s time to fine-tune the pressure settings in the next step. Let’s move on to Step 6.
Step 6: Adjust the Pressure
Once the keg is tapped in your Edgestar Kegerator, it’s important to adjust the pressure to ensure a smooth and controlled pour. Adjusting the pressure allows you to achieve the right level of carbonation and prevent excessive foaming. Follow these steps to adjust the pressure:
- Check the Pressure Gauge: Take a look at the pressure gauge on the regulator to see the current pressure setting.
- Pour a Test Glass: Begin by pouring a small test glass of beer. This will help you gauge the current carbonation level and determine if any adjustments are necessary.
- Observe the Pour: Pay attention to the rate of flow, the amount of foam, and the bubbles in the beer as you pour it into the glass.
- Adjust the Pressure: If the beer pours too slowly and lacks carbonation, increase the pressure by turning the adjustment knob clockwise. If the beer pours too quickly with excessive foam, decrease the pressure by turning the knob counterclockwise.
- Pour Another Test Glass: After adjusting the pressure, pour another test glass to evaluate if the carbonation and pouring speed are to your liking. Repeat the adjustment process as needed until you achieve your desired results.
- Take Note: It’s helpful to note the pressure setting that works well for a particular type of beer. This way, you can easily replicate the optimum pouring experience in the future.
Adjusting the pressure is a critical step in tapping a keg. Finding the right balance ensures that you have a consistently enjoyable pour without excessive foam or flat beer. Remember that different beers may require different pressure settings, so always refer to the specifications provided by the brewery.
Now that the pressure is properly adjusted, it’s time to pour and enjoy your favorite beer! Let’s move on to the final step: pouring and savoring the refreshing taste of your tapped keg.
Step 7: Pour and Enjoy
You’ve reached the final step of tapping a keg in an Edgestar Kegerator – it’s time to pour a cold, refreshing glass of beer and enjoy the fruits of your labor. Follow these steps to pour and savor your beer:
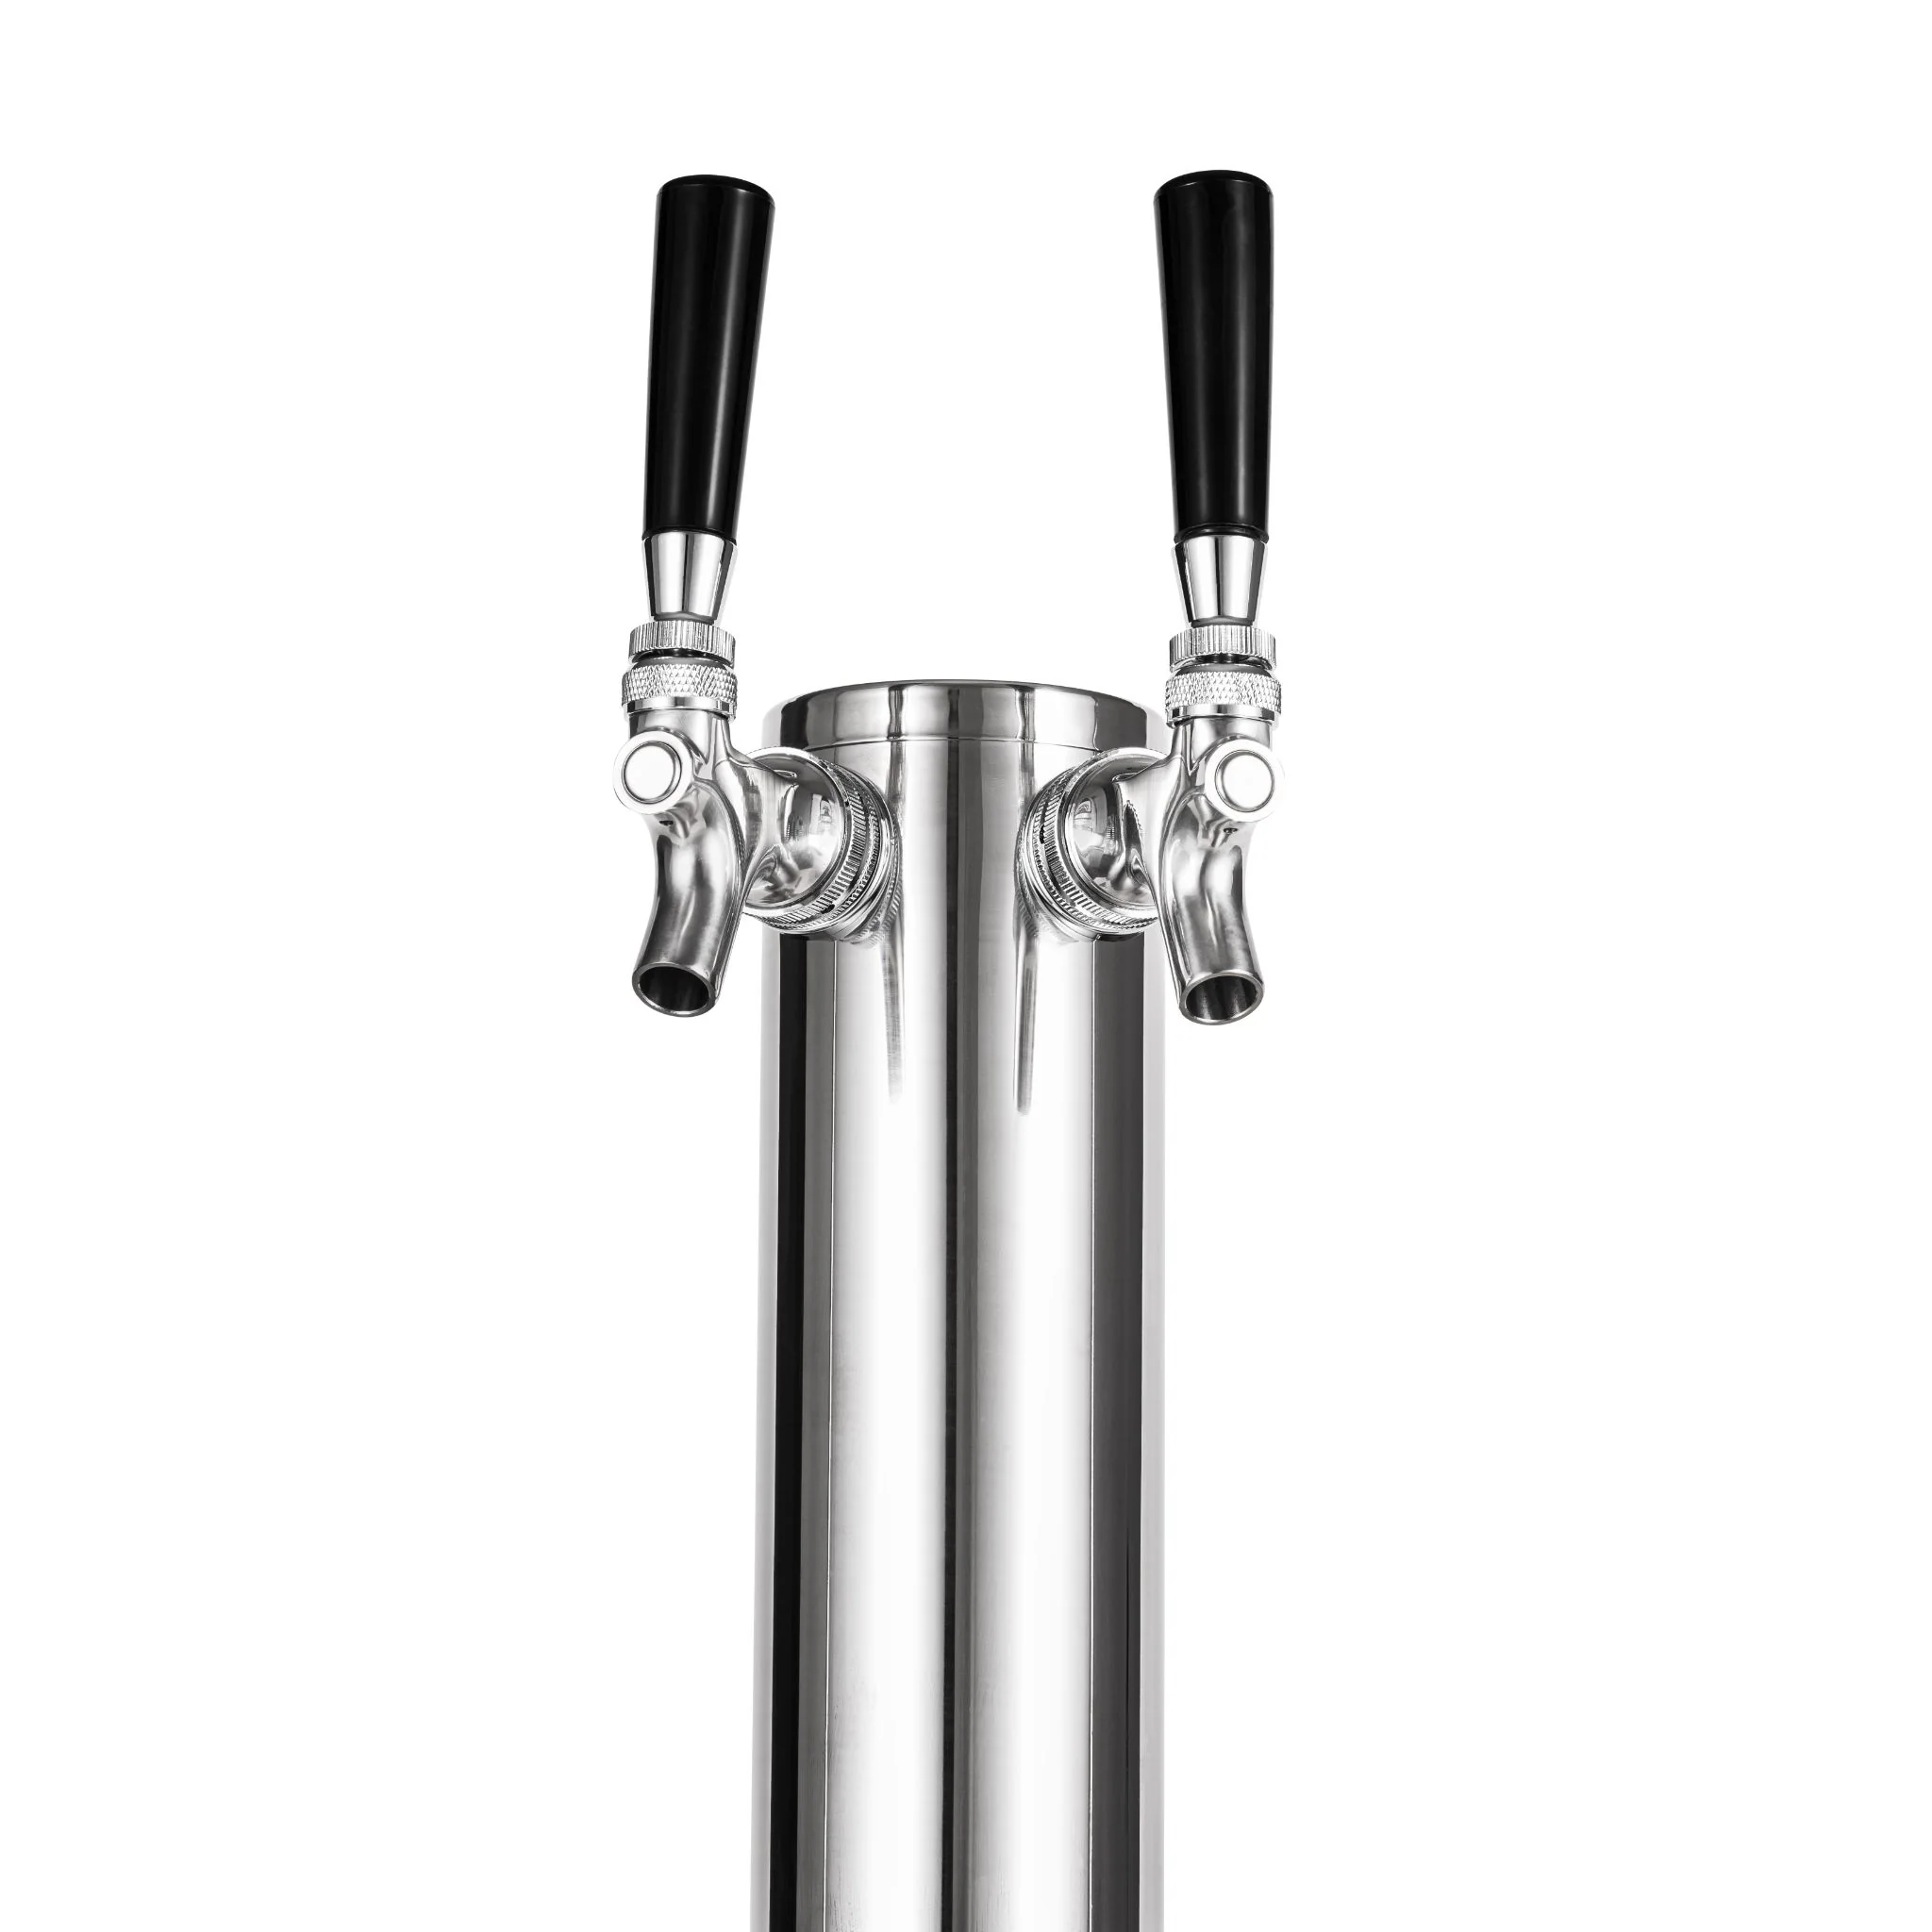
- Position the Glass: Hold a clean and properly sized glass at a slight angle below the faucet.
- Open the Faucet: Slowly open the faucet by pulling the handle forward. This will allow the beer to begin flowing into the glass.
- Adjust the Angle: As the glass fills with beer, slowly straighten it to an upright position to achieve the perfect pour.
- Control the Flow: Keep an eye on the flow of beer as it fills the glass. Adjust the faucet handle to control the flow and prevent excessive foam. Aim for a smooth, cascading flow with a moderate amount of foam.
- Top It Off: Once the glass is nearly full, slowly close the faucet to slow down the flow and top off the glass. Aim for a small amount of foam at the top, known as the beer’s “head.”
- Serve and Savor: Serve the freshly poured beer to yourself or your guests and savor the aroma, flavor, and effervescence. Take note of the beer’s characteristics and appreciate the craftsmanship that went into its creation.
- Repeat and Enjoy: Keep pouring and enjoying your beer, ensuring that each glass is poured with care and precision. Adjust the pressure and pouring technique as needed to consistently achieve the perfect pour.
Remember to return the faucet handle to its closed position after serving to prevent any drips. Properly poured beer not only tastes better, but it also enhances the overall beer-drinking experience.
Now that you’ve successfully tapped a keg in your Edgestar Kegerator and know how to pour a perfect glass of beer, it’s time to relax and enjoy your favorite brew. Cheers!
If you need to tap another keg in the future, simply follow these steps again to ensure a smooth and enjoyable pouring experience.
Conclusion
Congratulations! You’ve learned how to tap a keg in an Edgestar Kegerator, and now you have the knowledge and skills to enjoy a perfectly poured glass of beer anytime you want. Tapping a keg may seem like a daunting task at first, but by following the step-by-step process outlined in this guide, you can confidently tap your keg and savor the refreshing taste of your favorite brew.
Throughout the steps, we discussed the importance of gathering all the necessary supplies, preparing your Edgestar Kegerator, connecting the CO2 tank, attaching the beer line, tapping the keg, adjusting the pressure, and finally, pouring and enjoying the beer. Each step plays a significant role in ensuring a successful pour and an enjoyable beer-drinking experience.
Remember, it’s crucial to pay attention to the details, such as cleaning and sanitizing your equipment, properly attaching the beer line, adjusting the pressure to the beer’s specifications, and pouring with care to achieve the perfect balance of flavor, carbonation, and appearance.
By mastering the art of tapping a keg in an Edgestar Kegerator, you can impress your friends, elevate your parties or gatherings, and enjoy the convenience and cost-effectiveness of serving beer on tap. The freshness, quality, and taste of a keg-poured beer are unmatched, and with your newfound skills, you can experience it right in the comfort of your own home.
Remember to always drink responsibly and in moderation. Cheers to your keg-tapping success and many enjoyable moments with friends and loved ones!
If you have any questions or need further assistance, refer back to this guide or consult the manufacturer’s instructions for your specific Edgestar Kegerator model. Happy pouring!
Frequently Asked Questions about How To Tap A Keg In An Edgestar Kegerator
Was this page helpful?
At Storables.com, we guarantee accurate and reliable information. Our content, validated by Expert Board Contributors, is crafted following stringent Editorial Policies. We're committed to providing you with well-researched, expert-backed insights for all your informational needs.


0 thoughts on “How To Tap A Keg In An Edgestar Kegerator”