
Articles
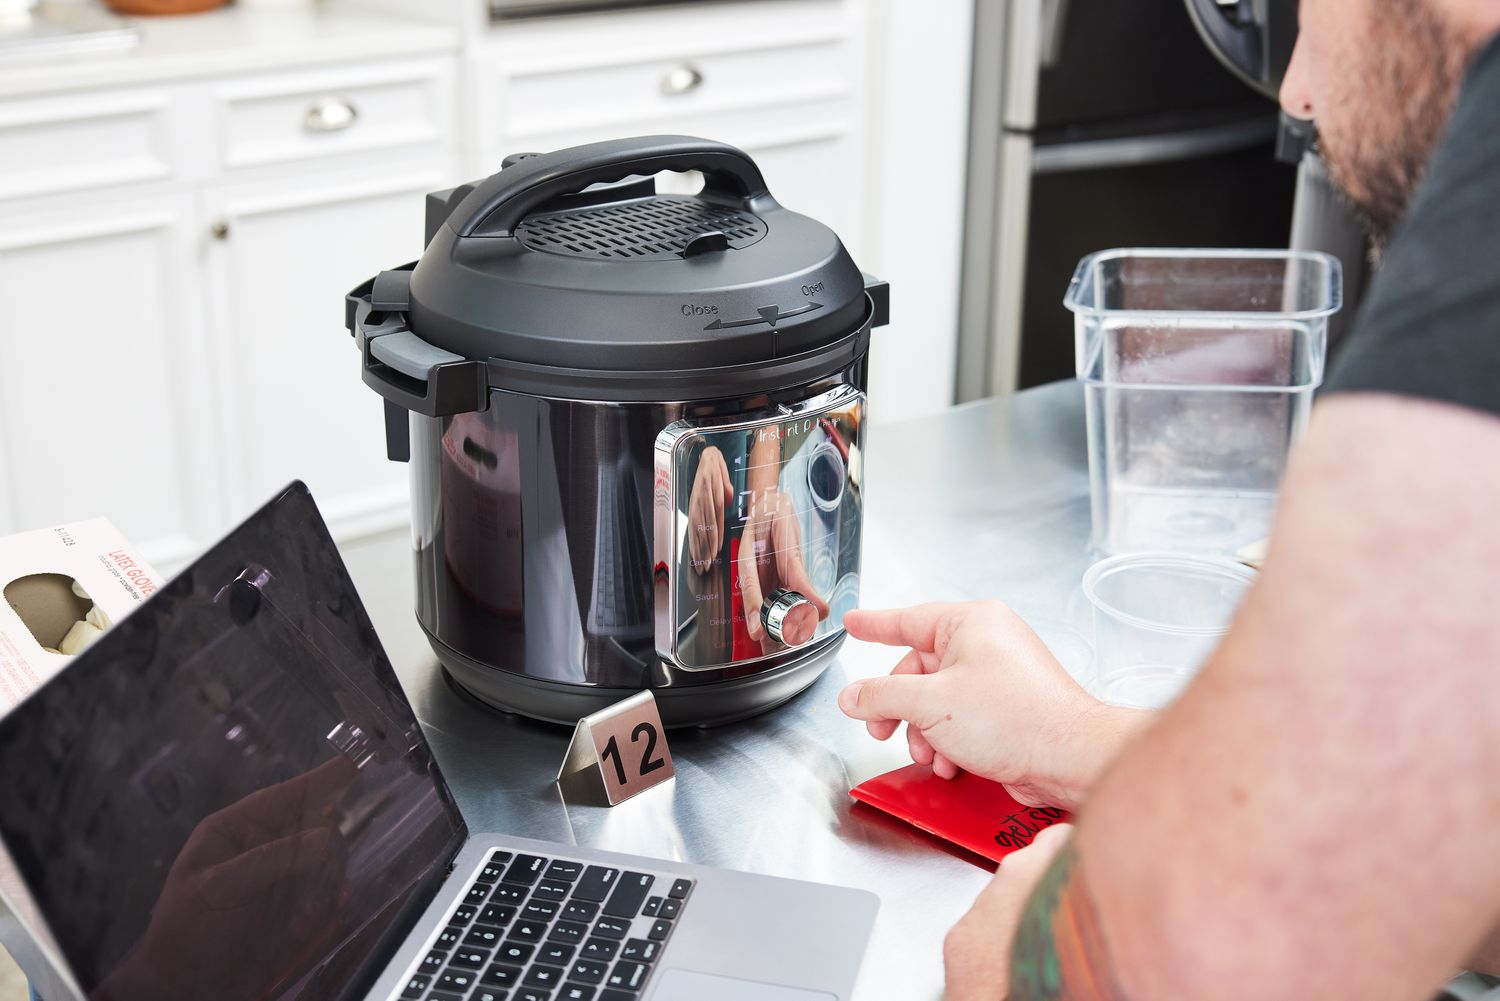
How To Test Electric Pressure Cooker
Modified: August 24, 2024
Looking for reliable articles on how to test an electric pressure cooker? Check out our comprehensive guide to ensure you choose the right one for your needs.
(Many of the links in this article redirect to a specific reviewed product. Your purchase of these products through affiliate links helps to generate commission for Storables.com, at no extra cost. Learn more)
Introduction
Welcome to the world of electric pressure cookers! These handy kitchen appliances have revolutionized the way we cook, offering convenience, speed, and versatility. Whether you’re a seasoned home cook or a busy professional looking to save time in the kitchen, an electric pressure cooker is a fantastic addition to your culinary arsenal.
But before you start whipping up delicious meals, it’s crucial to understand how to properly test your electric pressure cooker. In this article, we will walk you through the necessary steps to ensure the safety and functionality of your appliance.
Safety should always be the top priority when working with any cooking equipment, and electric pressure cookers are no exception. Before diving into the testing process, be sure to familiarize yourself with the specific safety precautions outlined in the user manual provided by the manufacturer. This will ensure that you handle the appliance correctly and avoid any potential accidents or mishaps.
Now, let’s dive into the essential testing procedures for your electric pressure cooker!
Key Takeaways:
- Ensure the safety and functionality of your electric pressure cooker by following thorough testing procedures for power, pressure valve, temperature, timer, cooking function, and cleaning aspects. Regular testing ensures optimal performance and longevity.
- Familiarize yourself with safety precautions, power testing, pressure valve testing, temperature testing, timer testing, cooking function testing, and cleaning and maintenance testing to confidently assess the safety and functionality of your electric pressure cooker. Regular testing ensures optimal performance and longevity.
Read more: How To Can With An Electric Pressure Cooker
Safety Precautions
Before testing your electric pressure cooker, it’s important to review and follow the safety precautions recommended by the manufacturer. These precautions are designed to protect you and ensure the proper functioning of the appliance. Here are some general safety guidelines to keep in mind:
-
Read the user manual thoroughly: Familiarize yourself with the specific instructions and guidelines provided by the manufacturer. This will give you a clear understanding of the features, functions, and limitations of your electric pressure cooker.
-
Check for damage: Inspect the cooker carefully for any signs of damage or wear before using it. If you notice any cracks, dents, or frayed cords, do not attempt to test or use the appliance. Contact the manufacturer for further instructions.
-
Use proper electrical connections: Ensure that the electric pressure cooker is plugged into a properly grounded electrical outlet. Avoid using extension cords or multiple adapters, as this can pose a safety risk.
-
Keep the appliance away from water: Electric pressure cookers should never be submerged in water or come in contact with liquids. This can result in electric shock and damage to the appliance. Clean the cooker with a damp cloth or sponge as recommended by the manufacturer.
-
Release pressure safely: Before opening the lid of the pressure cooker, make sure to release the pressure completely. Follow the manufacturer’s instructions for the recommended method of pressure release. This will prevent any sudden release of steam and minimize the risk of burns or accidents.
-
Do not overfill: Never exceed the maximum fill line indicated inside the cooker. Overfilling can lead to clogging, improper cooking, and potential leakage. Follow the recommended guidelines for the amount of food and liquid to be used in the cooker.
-
Keep children and pets away: Make sure to keep the electric pressure cooker out of reach of children and pets. The high temperatures and pressure involved can be dangerous, and accidental contact can cause severe burns or injury.
Adhering to these safety precautions will help ensure a safe and enjoyable cooking experience with your electric pressure cooker. Now that we’ve covered the necessary safety measures, let’s move on to the testing process to ensure the functionality of your appliance.
Power Testing
One of the first steps in testing your electric pressure cooker is to check if it is receiving power and functioning properly. Here’s how you can perform a power test:
-
Plug in the electric pressure cooker: Ensure that the power cord is securely connected to both the cooker and the electrical outlet. Make sure the outlet is functioning, as a faulty outlet can lead to power issues.
-
Check for power indicator lights: Most electric pressure cookers come with an indicator light that illuminates when the cooker is receiving power. Look for this light on the control panel or any part of the appliance that signifies power. If the light doesn’t turn on, it might indicate a power supply issue.
-
Test the control panel: Press the power button or turn the control knob to the “on” position. This should activate the control panel and display the cooker’s settings. If the control panel does not respond or display any information, there might be a malfunction in the power supply or control unit.
-
Verify heating elements: Electric pressure cookers rely on heating elements to generate heat. After turning on the cooker, wait for a few minutes and place your hand near the sides and bottom of the appliance. You should feel warmth indicating that the heating elements are working correctly. If there is no heat or if it feels uneven, there might be a problem with the heating mechanism.
-
Perform a water test: Fill the cooker with the recommended amount of water and close the lid securely. Set the cooking time for a short duration, such as ten minutes. The appliance should start heating the water, and you should hear distinct sounds of boiling and steam generation. If there is no heating or steam production, there may be an issue with the heating element or pressure release valve.
It’s important to note that power testing should be conducted in a safe and controlled environment. Keep in mind all the safety precautions mentioned earlier, such as keeping your hands and fingers away from hot surfaces and releasing pressure before opening the lid.
If you encounter any issues during the power testing phase, consult the user manual provided by the manufacturer or contact their customer support for further assistance. They will be able to guide you through troubleshooting steps or provide instructions for repair or replacement if necessary.
Now that we’ve ensured the electric pressure cooker is receiving power, we can move on to testing the pressure valves.
Pressure Valve Testing
The pressure valve is a crucial component of an electric pressure cooker as it regulates and releases steam to maintain the desired cooking pressure. Testing the pressure valve will ensure that it is functioning correctly. Here’s how you can perform a pressure valve test:
-
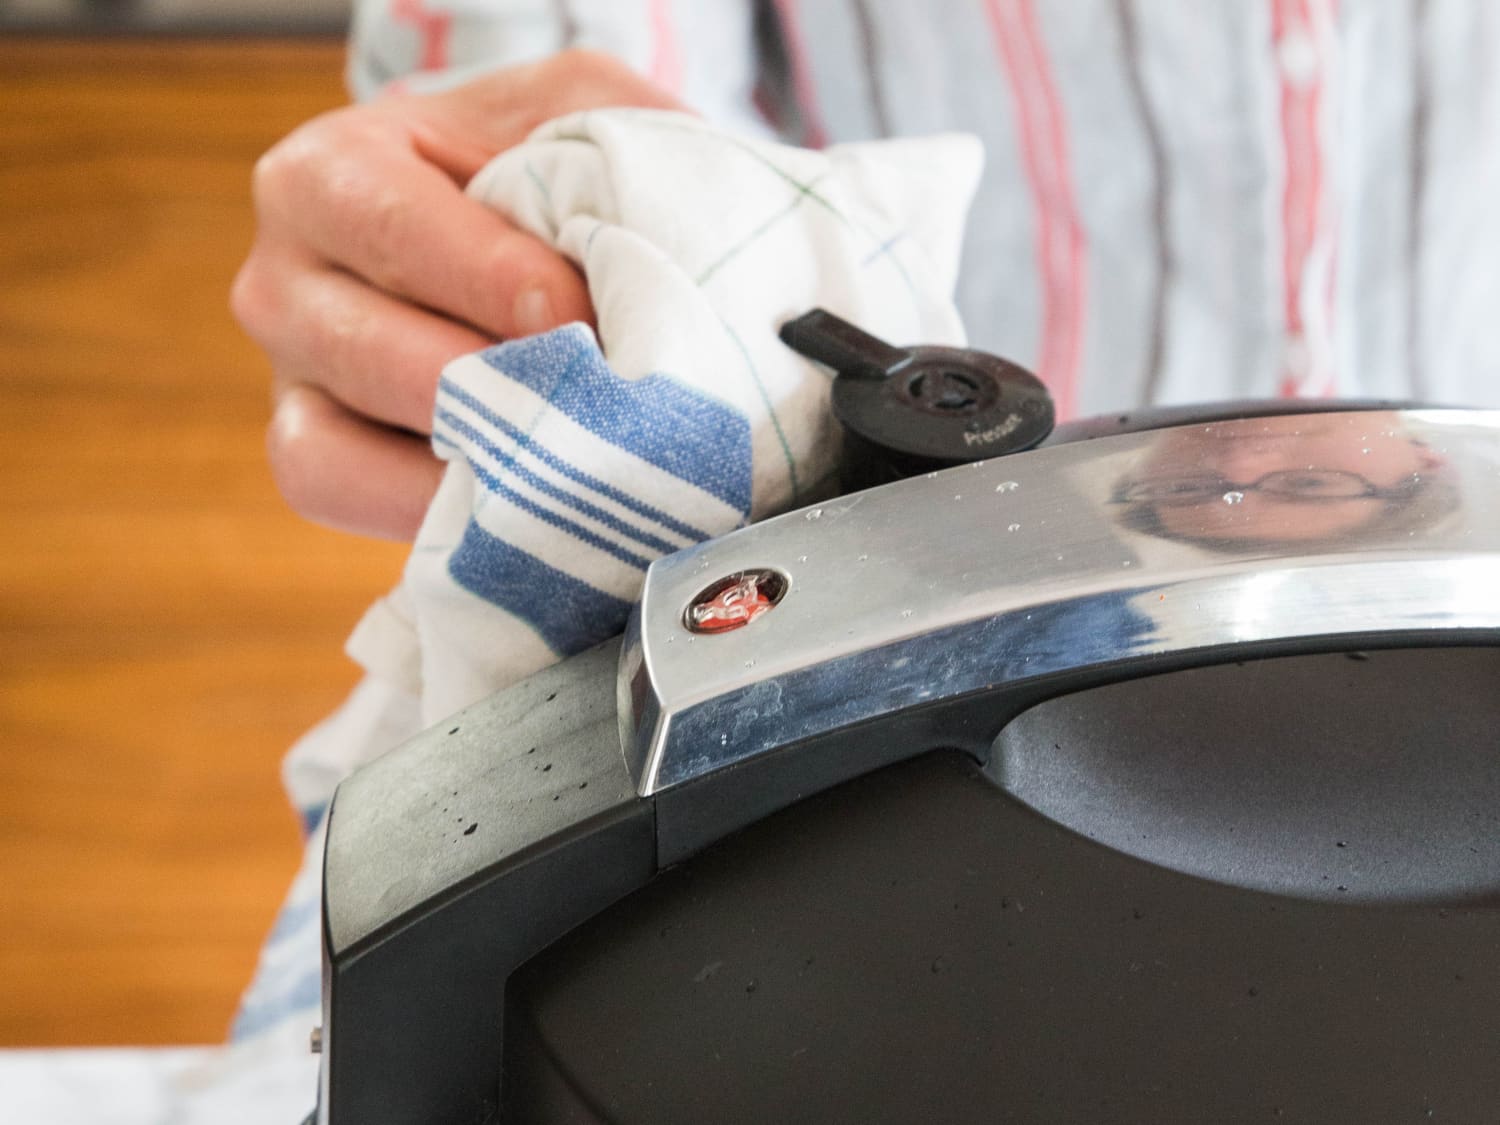
Ensure the cooker is cleaned and dry: Before conducting the pressure valve test, make sure the cooker is clean, and there are no obstructions in the valve or its surrounding area. Any debris or residue can affect the valve’s performance. Refer to the user manual for the proper cleaning instructions.
-
Fill the cooker with water: Add the recommended amount of water to the cooker, ensuring it doesn’t exceed the maximum fill line. This water will create steam during the testing process.
-
Close and lock the lid: Securely close the lid of the cooker, ensuring it is properly aligned with the base. Lock the lid in place, following the instructions provided by the manufacturer.
-
Select the pressure cooking function: Set the desired pressure cooking function on the control panel. Different models may have specific pressure levels and cooking presets. Consult the user manual for the appropriate setting.
-
Wait for the pressure to build up: Once you’ve set the pressure cooking function, the cooker will start to build up pressure. You may hear hissing sounds as the steam is generated and trapped inside.
-
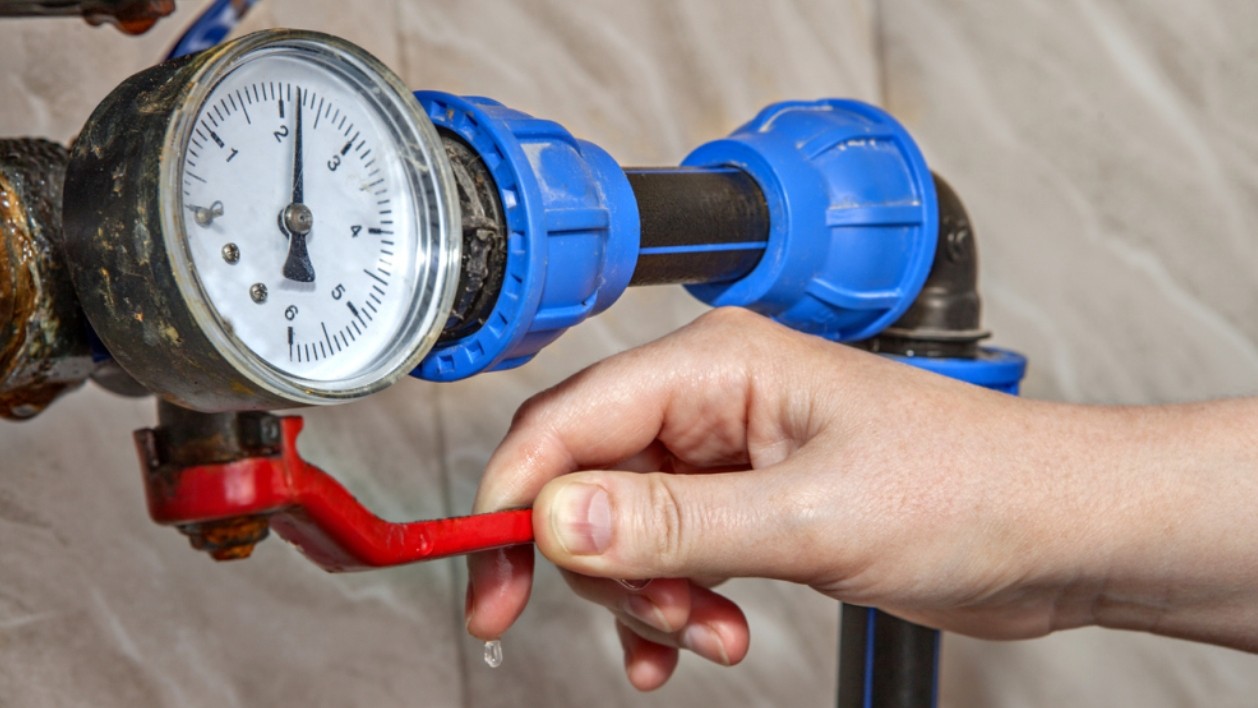
Observe the pressure indicator: Electric pressure cookers typically have a pressure indicator, which rises when the desired pressure is reached. Monitor the pressure indicator to ensure that it rises and stabilizes within the specified range. If the pressure indicator doesn’t rise or fluctuates significantly, there might be an issue with the pressure valve or sealing ring.
-
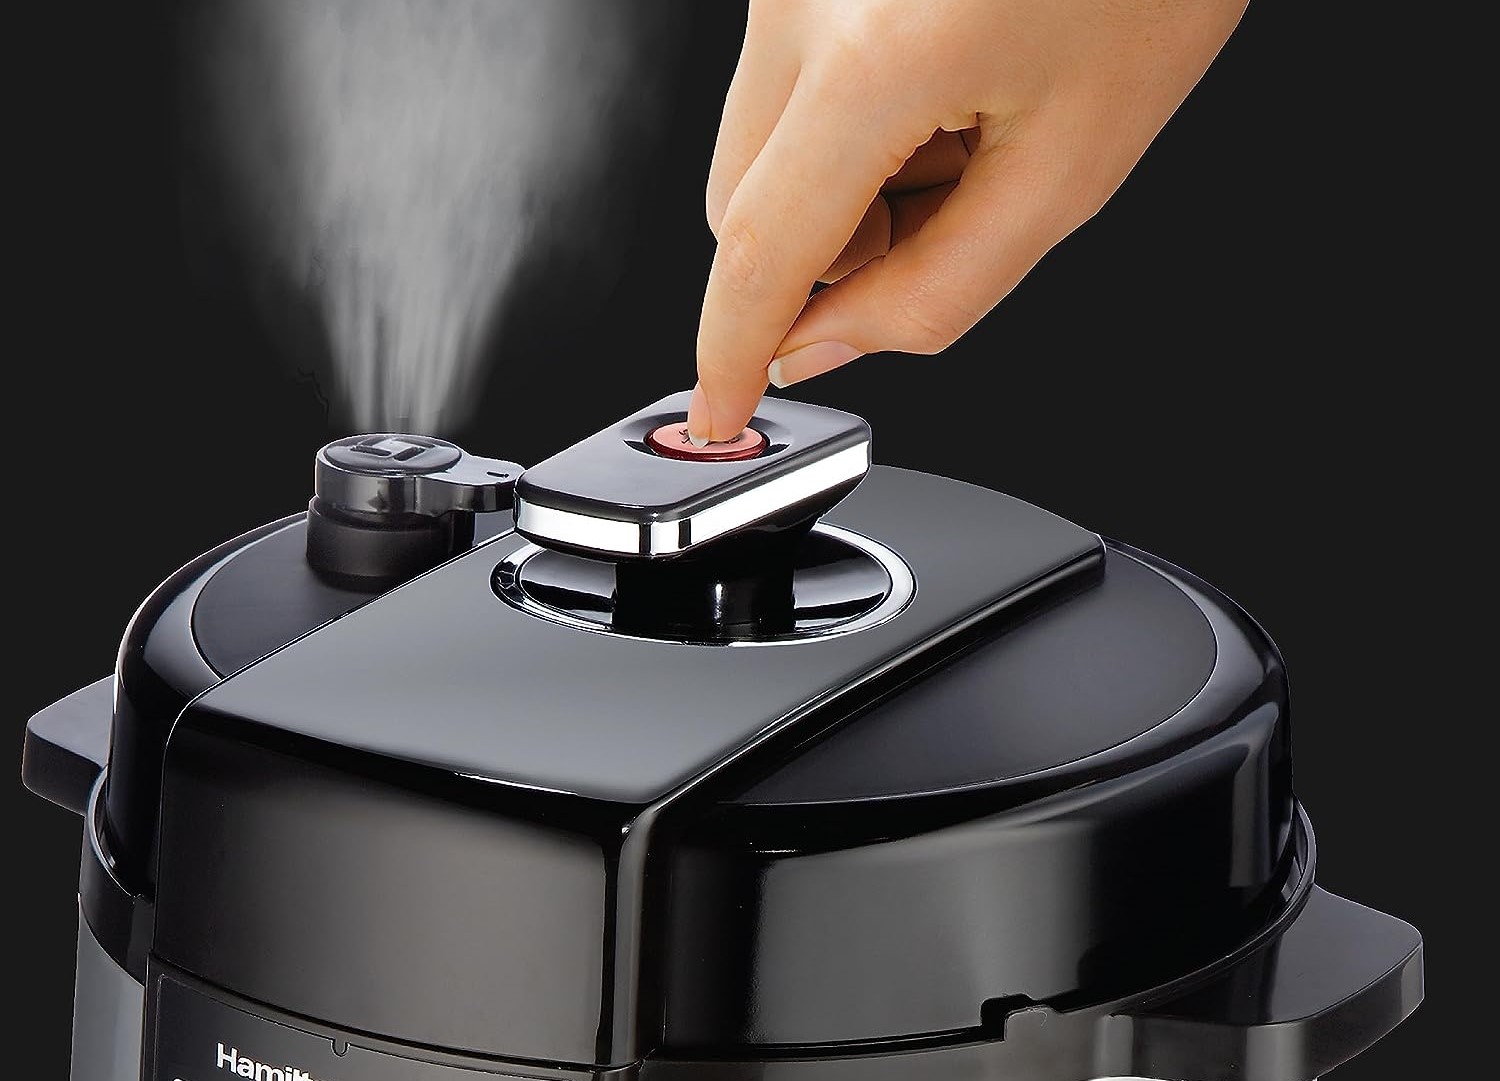
Check the pressure release: After the pressure has built up, the cooker will start releasing excess pressure through the pressure valve. This can be identified by the escaping steam and the gentle rocking motion of the pressure valve. Ensure that the steam release is consistent and steady. If there is no steam release or if it is excessive, there might be a problem with the pressure release mechanism.
-
Allow the pressure to release: Once the pressure valve has released steam for the required cooking time, allow the pressure inside the cooker to release naturally. This can take a few minutes or more depending on the recipe and desired pressure level. Never attempt to force open the lid of the cooker when there is still pressure inside.
By conducting a pressure valve test, you can ensure the proper functioning of this critical component. If you encounter any issues during the test, such as inconsistent pressure or a malfunctioning valve, it is recommended to contact the manufacturer or professional service for further assistance.
Now that we’ve tested the pressure valve, let’s move on to checking the temperature accuracy of your electric pressure cooker.
Temperature Testing
Accurate temperature control is essential for optimal cooking results in an electric pressure cooker. Performing a temperature test will help you determine if your appliance is heating food to the desired temperature. Here’s how to conduct a temperature test:
-
Select a temperature testing method: There are a few different methods you can use to test the temperature accuracy of your electric pressure cooker. The most common method is using a food thermometer, but you can also use a thermometer designed specifically for pressure cookers or an instant-read thermometer.
-
Prepare the cooker for testing: Fill the cooker with a known quantity of water, such as 2 cups, and close the lid securely. Do not use food during the temperature test, as it may affect the results.
-
Set the cooking function: Select a specific cooking function that requires heating the water, such as the “rice” or “steam” function. Set the desired cooking time according to the manufacturer’s instructions.
-
Start the cooking process: Begin the cooking process as you normally would, allowing the cooker to build up and maintain pressure. Ensure that the pressure indicator rises and stabilizes within the specified range.
-
Measure the water temperature: After the cooking cycle is complete, carefully open the lid and use a food thermometer or pressure cooker thermometer to measure the temperature of the water. Insert the thermometer into the water, making sure it is submerged but not touching the bottom or sides of the cooker.
-
Compare the measured temperature: Compare the measured temperature to the desired temperature for the cooking function you selected. Ideally, the measured temperature should be close to the desired temperature. If there is a significant difference, such as the water being too hot or not reaching the desired temperature, there may be an issue with the temperature control of the electric pressure cooker.
-
Repeat the test: For more accurate results, it is recommended to repeat the temperature test multiple times with different cooking functions and cooking times. This will help identify any consistent discrepancies in temperature accuracy.
If you find that the temperature of your electric pressure cooker is consistently off or not reaching the desired temperature, it is recommended to contact the manufacturer or seek professional assistance. They can provide guidance on troubleshooting or repairs.
Now that we’ve tested the temperature accuracy, let’s move on to checking the timer functionality of your electric pressure cooker.
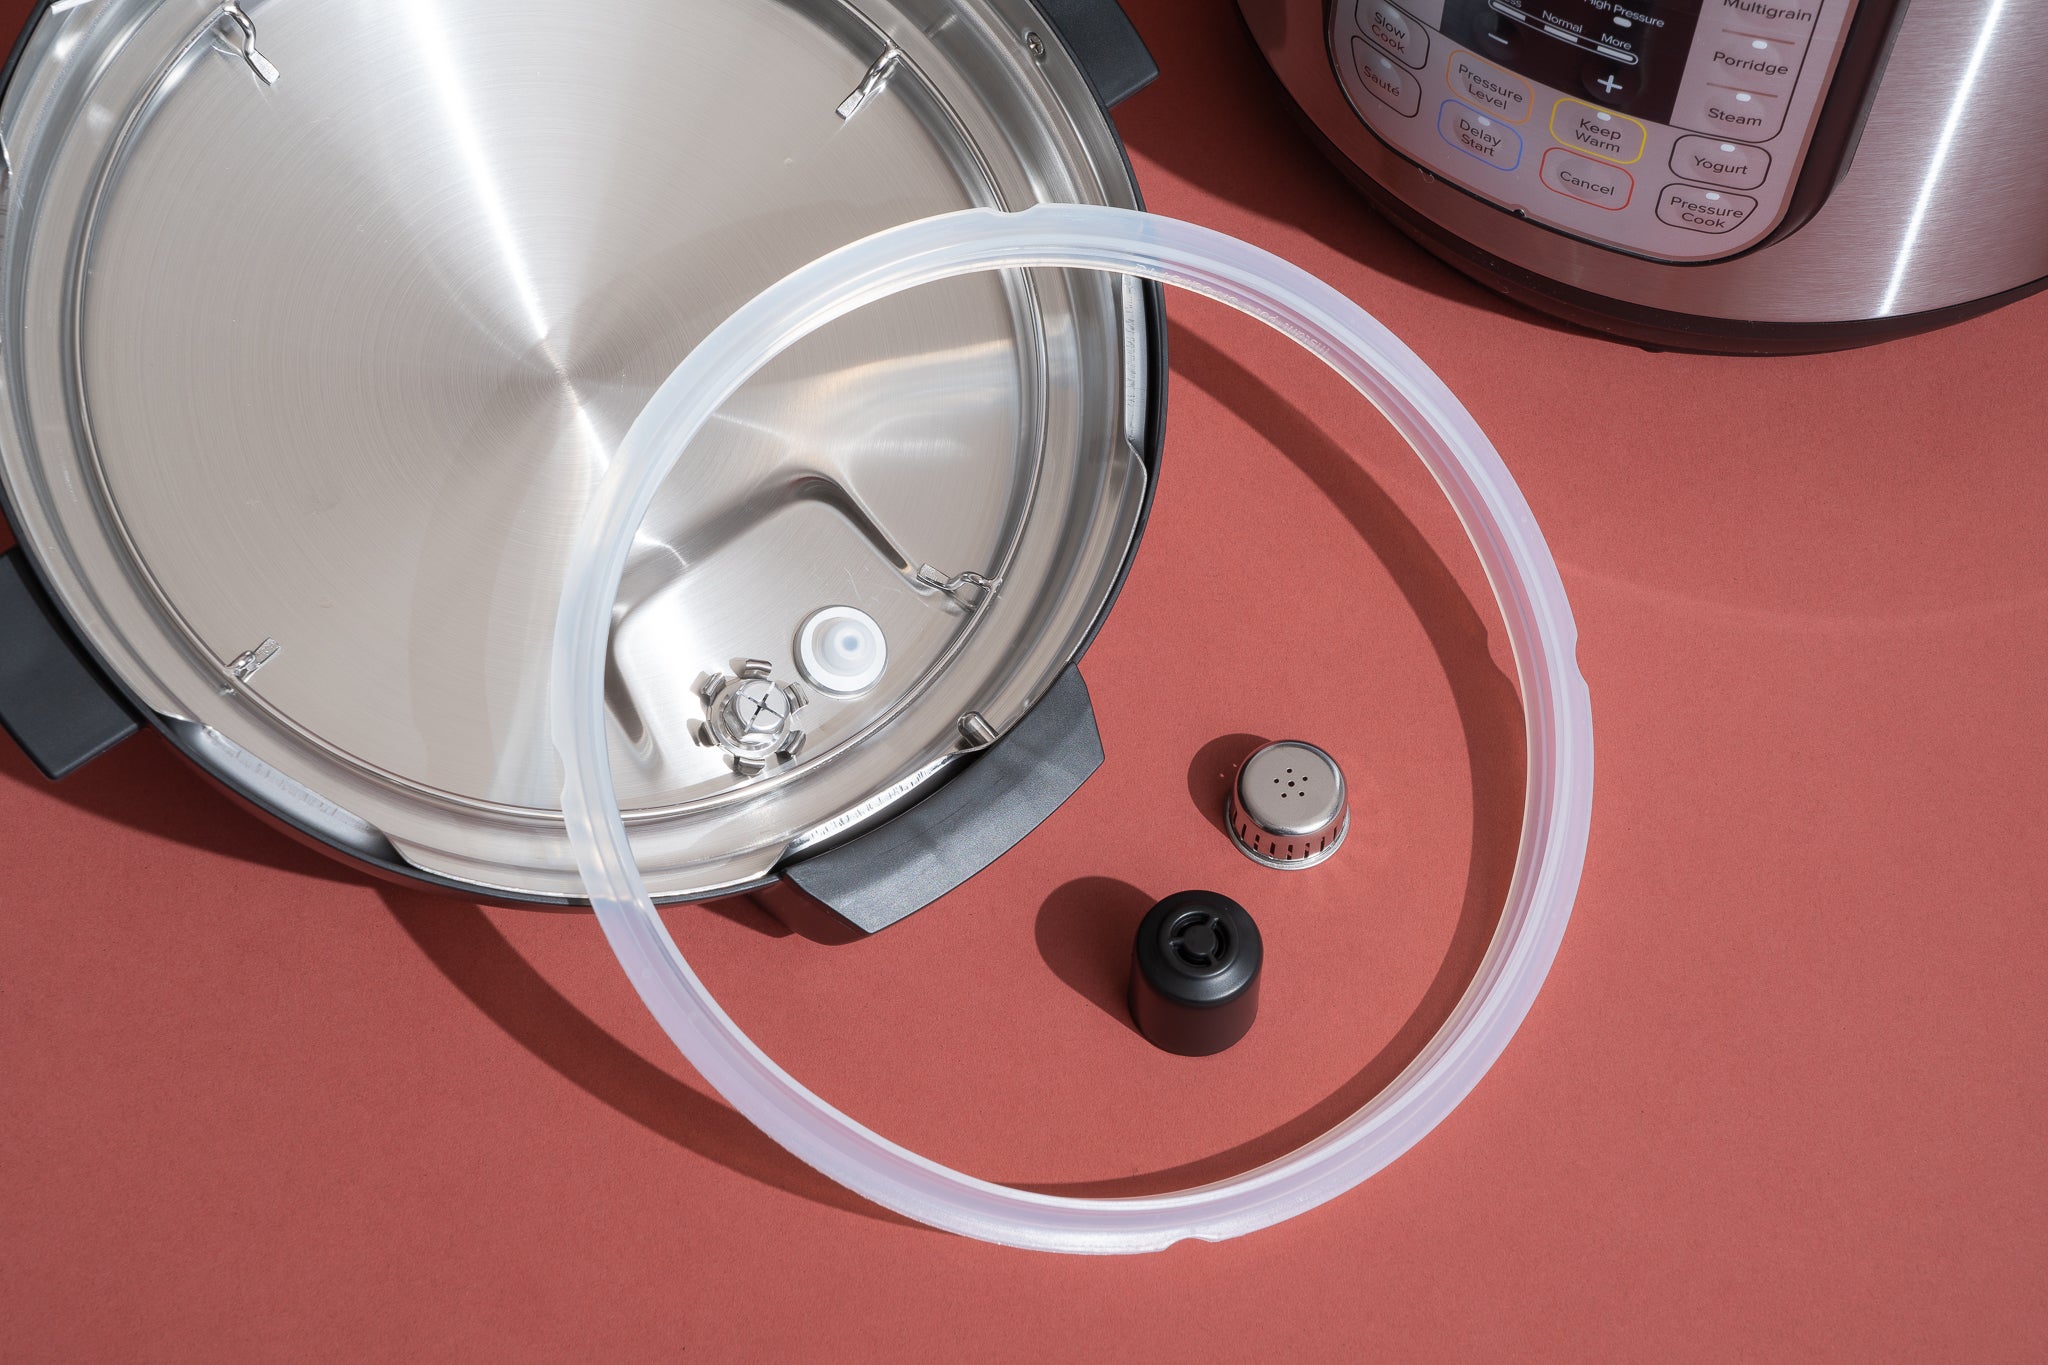
Before testing an electric pressure cooker, always ensure that the sealing ring is properly in place and the pressure release valve is functioning correctly to avoid any potential safety hazards.
Read more: How To Use An Electric Pressure Cooker
Timer Testing
The timer function is a key feature of electric pressure cookers, allowing you to set specific cooking durations for different recipes. Conducting a timer test will help ensure that the timer functionality of your cooker is accurate and reliable. Here’s how you can test the timer:
-
Select a timer testing method: There are a few ways you can test the timer function of your electric pressure cooker. One method is to use a separate timer or stopwatch to track the cooking time set on the cooker. Alternatively, you can use the timer function of another device, such as a smartphone or kitchen timer.
-
Prepare the cooker for testing: Choose a recipe or cooking function that requires a specific cooking time, such as boiling eggs for 5 minutes or pressure cooking a stew for 30 minutes. Follow the recipe instructions and set the desired cooking time on the control panel of your cooker.
-
Start the cooking process: Begin cooking as you normally would, allowing the cooker to build up and maintain pressure. Ensure that the pressure indicator rises and stabilizes within the specified range.
-
Start the timer: Start the timer or stopwatch simultaneously with the cooker’s timer. If you’re using a separate device, make sure it is synchronized with the cooker’s timer. If using a smartphone timer app, set the timer for the same duration as the cooker’s timer.
-
Monitor the cooking process: Keep a close eye on both the cooker’s timer and the external timer. Observe their progress and note any differences in the remaining time displayed.
-
Compare the results: Once the cooking time is complete, compare the time displayed on the cooker’s timer with the time recorded on the external timer. Ideally, the two should be very close or identical. If there is a significant discrepancy in the timer duration, there may be an issue with the timer functionality of your electric pressure cooker.
-
Repeat the test: For more accurate results, it is recommended to repeat the timer test with different cooking times and functions. This will help identify any consistent inconsistencies or variations in the timer functionality.
If you notice a consistent discrepancy in the timer function of your cooker, it is advisable to consult the user manual provided by the manufacturer or contact their customer support for further assistance. They will be able to guide you through troubleshooting steps or provide instructions for repair or replacement if necessary.
Now that we’ve tested the timer functionality, let’s move on to checking the cooking function of your electric pressure cooker.
Cooking Function Testing
The cooking function is at the heart of an electric pressure cooker, allowing you to prepare a wide range of delicious meals. Testing the cooking function ensures that your cooker is capable of properly cooking different types of food. Here’s how you can conduct a cooking function test:
-
Select a cooking function: Choose a specific cooking function on your electric pressure cooker that you want to test, such as pressure cooking, slow cooking, sautéing, or steaming. Refer to the user manual for the recommended cooking times and settings for each function.
-
Prepare the recipe ingredients: Gather the ingredients necessary for the chosen cooking function. Follow the instructions provided in a recipe or your own preferred method for that specific dish.
-
Follow the cooking instructions: Set the appropriate cooking time and temperature for the selected function on the control panel of your cooker. Add the ingredients to the cooker as directed in the recipe or per your preferred method.
-
Start the cooking process: Begin cooking as instructed, allowing the cooker to build up pressure or reach the desired temperature according to the chosen cooking function. Ensure that the pressure indicator rises and stabilizes within the specified range.
-
Monitor the cooking process: Keep an eye on the cooker as it progresses through the cooking cycle. You may need to make adjustments to the heat level, pressure, or cooking time depending on your specific recipe or preferences.
-
Taste and evaluate the results: Once the cooking process is complete, carefully open the lid and check the doneness and flavor of the prepared dish. Assess if the food is cooked to your desired level and if the flavors have developed properly.
-
Repeat the test: To ensure the cooking function’s consistency, it is advisable to repeat the test with different recipes or dishes using the same function. This will help you gauge the cooker’s performance in a variety of cooking scenarios.
If you encounter any issues during the cooking function test, such as undercooked food, uneven cooking, or inconsistent results, refer to the user manual for troubleshooting tips or contact the manufacturer for further assistance. They may provide guidance on settings adjustments or offer insights into optimizing the cooking function.
Now that we’ve tested the cooking function, let’s move on to the cleaning and maintenance testing of your electric pressure cooker.
Cleaning and Maintenance Testing
Cleaning and maintaining your electric pressure cooker is essential for its longevity and optimal performance. Testing the cleaning and maintenance aspects of your appliance ensures that you can effectively keep it in good condition. Here’s how you can conduct a cleaning and maintenance test:
-
Review the cleaning instructions: Refer to the user manual provided by the manufacturer for specific cleaning instructions and recommendations. Familiarize yourself with the recommended cleaning products, techniques, and frequency.
-
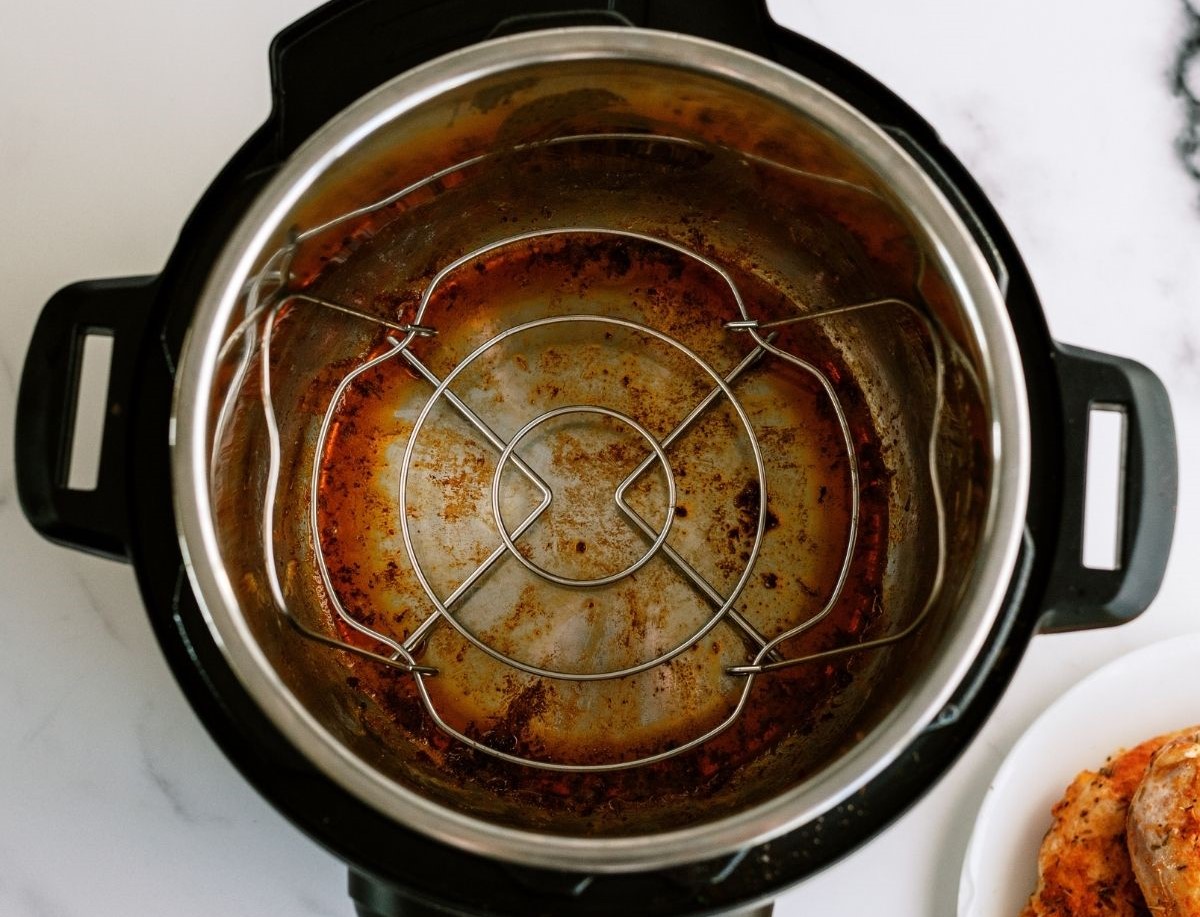
Take note of the removable parts: Identify the removable parts of your electric pressure cooker, such as the cooking pot, sealing ring, steam rack, and any other detachable components. These parts will require regular cleaning and maintenance.
-
Perform a visual inspection: Carefully examine each removable part of your cooker for any signs of residue, stains, or damage. This will help you assess the effectiveness of your cleaning routine.
-
Clean the removable parts: Follow the cleaning instructions provided by the manufacturer for each specific part. Use the recommended cleaning products, such as mild dish soap or non-abrasive cleaners, and clean each part thoroughly. Pay special attention to cleaning the sealing ring, as it can trap food particles and odors.
-
Check for ease of cleaning: Evaluate how easy or difficult it is to clean each removable part. Note if any areas are challenging to access or if certain parts require extra effort to remove stubborn food residue or stains.
-
Assess the reassembly process: After cleaning each part, reassemble them to ensure they fit snugly and correctly. Verify that all the parts click into place securely before using the cooker again.
-
Test the functionality post-cleaning: After cleaning and reassembling the cooker, test its functionality to ensure that it operates smoothly and efficiently. Perform power tests, pressure valve tests, temperature tests, or any other appropriate tests covered earlier in this article.
-
Create a cleaning and maintenance schedule: Based on your observations during the cleaning and maintenance test, create a schedule that outlines how often you need to clean different parts of your electric pressure cooker. This schedule will help you keep your appliance in top condition.
Regularly testing the cleaning and maintenance aspects of your electric pressure cooker will ensure that it stays in excellent working condition and prolong its lifespan. If you encounter any difficulties during the cleaning process or notice any ongoing issues, refer to the user manual or contact the manufacturer for further guidance.
Now that we’ve covered the cleaning and maintenance testing, let’s conclude our comprehensive guide on testing the functionality of an electric pressure cooker.
Conclusion
Congratulations! You have now learned how to properly test your electric pressure cooker to ensure its safety and functionality. By following the steps provided in this guide, you can confidently assess the power supply, pressure valve, temperature control, timer function, cooking capabilities, and cleaning and maintenance aspects of your appliance.
Remember, safety should always be a top priority when working with any cooking equipment. Familiarize yourself with the specific safety precautions recommended by the manufacturer, and always follow their guidelines for proper usage and maintenance.
Regular testing of your electric pressure cooker is important to identify any potential issues and ensure that it is working optimally. By conducting power tests, pressure valve tests, temperature tests, and timer tests, you can be confident in the accuracy and reliability of your appliance.
In addition, don’t forget to clean and maintain your electric pressure cooker regularly. Proper cleaning and maintenance will not only prolong the lifespan of your appliance but also enhance its performance for years to come.
We hope this comprehensive guide has provided you with the knowledge and confidence to test your electric pressure cooker effectively. Enjoy exploring the vast culinary possibilities it offers and experiment with a wide range of delicious recipes!
Frequently Asked Questions about How To Test Electric Pressure Cooker
Was this page helpful?
At Storables.com, we guarantee accurate and reliable information. Our content, validated by Expert Board Contributors, is crafted following stringent Editorial Policies. We're committed to providing you with well-researched, expert-backed insights for all your informational needs.



0 thoughts on “How To Test Electric Pressure Cooker”