
Articles
How To Pressure Test Pool Plumbing
Modified: August 28, 2024
Discover expert articles on how to pressure test pool plumbing and ensure your pool's plumbing system is functioning properly.
(Many of the links in this article redirect to a specific reviewed product. Your purchase of these products through affiliate links helps to generate commission for Storables.com, at no extra cost. Learn more)
Introduction
Have you recently installed a new swimming pool or are you experiencing issues with your pool plumbing? Pressure testing your pool plumbing is a crucial step to ensure its integrity and prevent future headaches. By conducting a pressure test, you can identify any leaks or weaknesses in the plumbing system and address them before they develop into major problems.
In this article, we will guide you through the process of pressure testing pool plumbing. From understanding the importance of pressure testing to identifying and fixing leaks, we will cover everything you need to know to keep your pool plumbing functioning at its best.
Before we delve into the step-by-step process, it is essential to understand why pressure testing is necessary. Over time, the pool plumbing system can degrade due to various factors such as temperature changes, soil movement, and regular wear and tear. If left unnoticed, leaks in the system can lead to water loss, increased water bills, and even structural damage to your pool or surrounding areas.
By pressure testing the pool plumbing, you can identify any existing or potential issues and take appropriate measures to prevent further damage. Furthermore, pressure testing is typically required by building codes and regulations to ensure the safety and durability of swimming pools.
Now that we understand the importance of pressure testing, let’s move on to the tools and equipment you will need for this task. Stay tuned!
Key Takeaways:
- Regular pressure testing of pool plumbing is crucial to prevent water loss, structural damage, and increased bills. It’s especially vital for new installations and renovations, ensuring compliance with building codes.
- By following a comprehensive pressure testing process, pool owners can proactively identify and address plumbing issues, maintaining a reliable and efficient system. Regular maintenance checks are key to avoiding costly repairs.
Read more: How To Test Swimming Pool Water
Step 1: Understanding the Importance of Pressure Testing
Prior to diving into the process of pressure testing your pool plumbing, it is crucial to comprehend why this step is essential. Pressure testing helps determine the integrity of your pool’s plumbing system and identify any leaks or weaknesses it may have.
One of the primary benefits of pressure testing is the ability to catch potential problems before they escalate. By applying pressure to the plumbing lines, you can identify any leaks or weak points that could cause significant issues down the line. Detecting and repairing these problems early on can save you time, money, and frustration in the long run.
Pressure testing is especially crucial for newly installed pools or pools that have undergone recent plumbing repairs or renovations. These situations often involve modifications or additions to the plumbing system, making it essential to confirm that the new or modified parts are properly sealed and functioning correctly.
Furthermore, pressure testing is an essential step in ensuring the safety and durability of your pool. Leaks or weaknesses in the plumbing system can lead to water loss, compromising the structural integrity of the pool and potentially causing damage to the surrounding areas. By pressure testing, you can identify and address these issues proactively.
Lastly, pressure testing is often required by building codes and regulations for swimming pool installations. By conducting a thorough pressure test, you can demonstrate compliance and ensure that your pool meets the necessary safety standards.
Now that you understand the importance of pressure testing, let’s move on to the next step: gathering the necessary tools and equipment for the task. Stay with us!
Step 2: Gather the Necessary Tools and Equipment
Before you can begin pressure testing your pool plumbing, it is important to gather the necessary tools and equipment. Having everything you need on hand will make the process smoother and more efficient.
Here are the essential tools and equipment you will need for pressure testing:
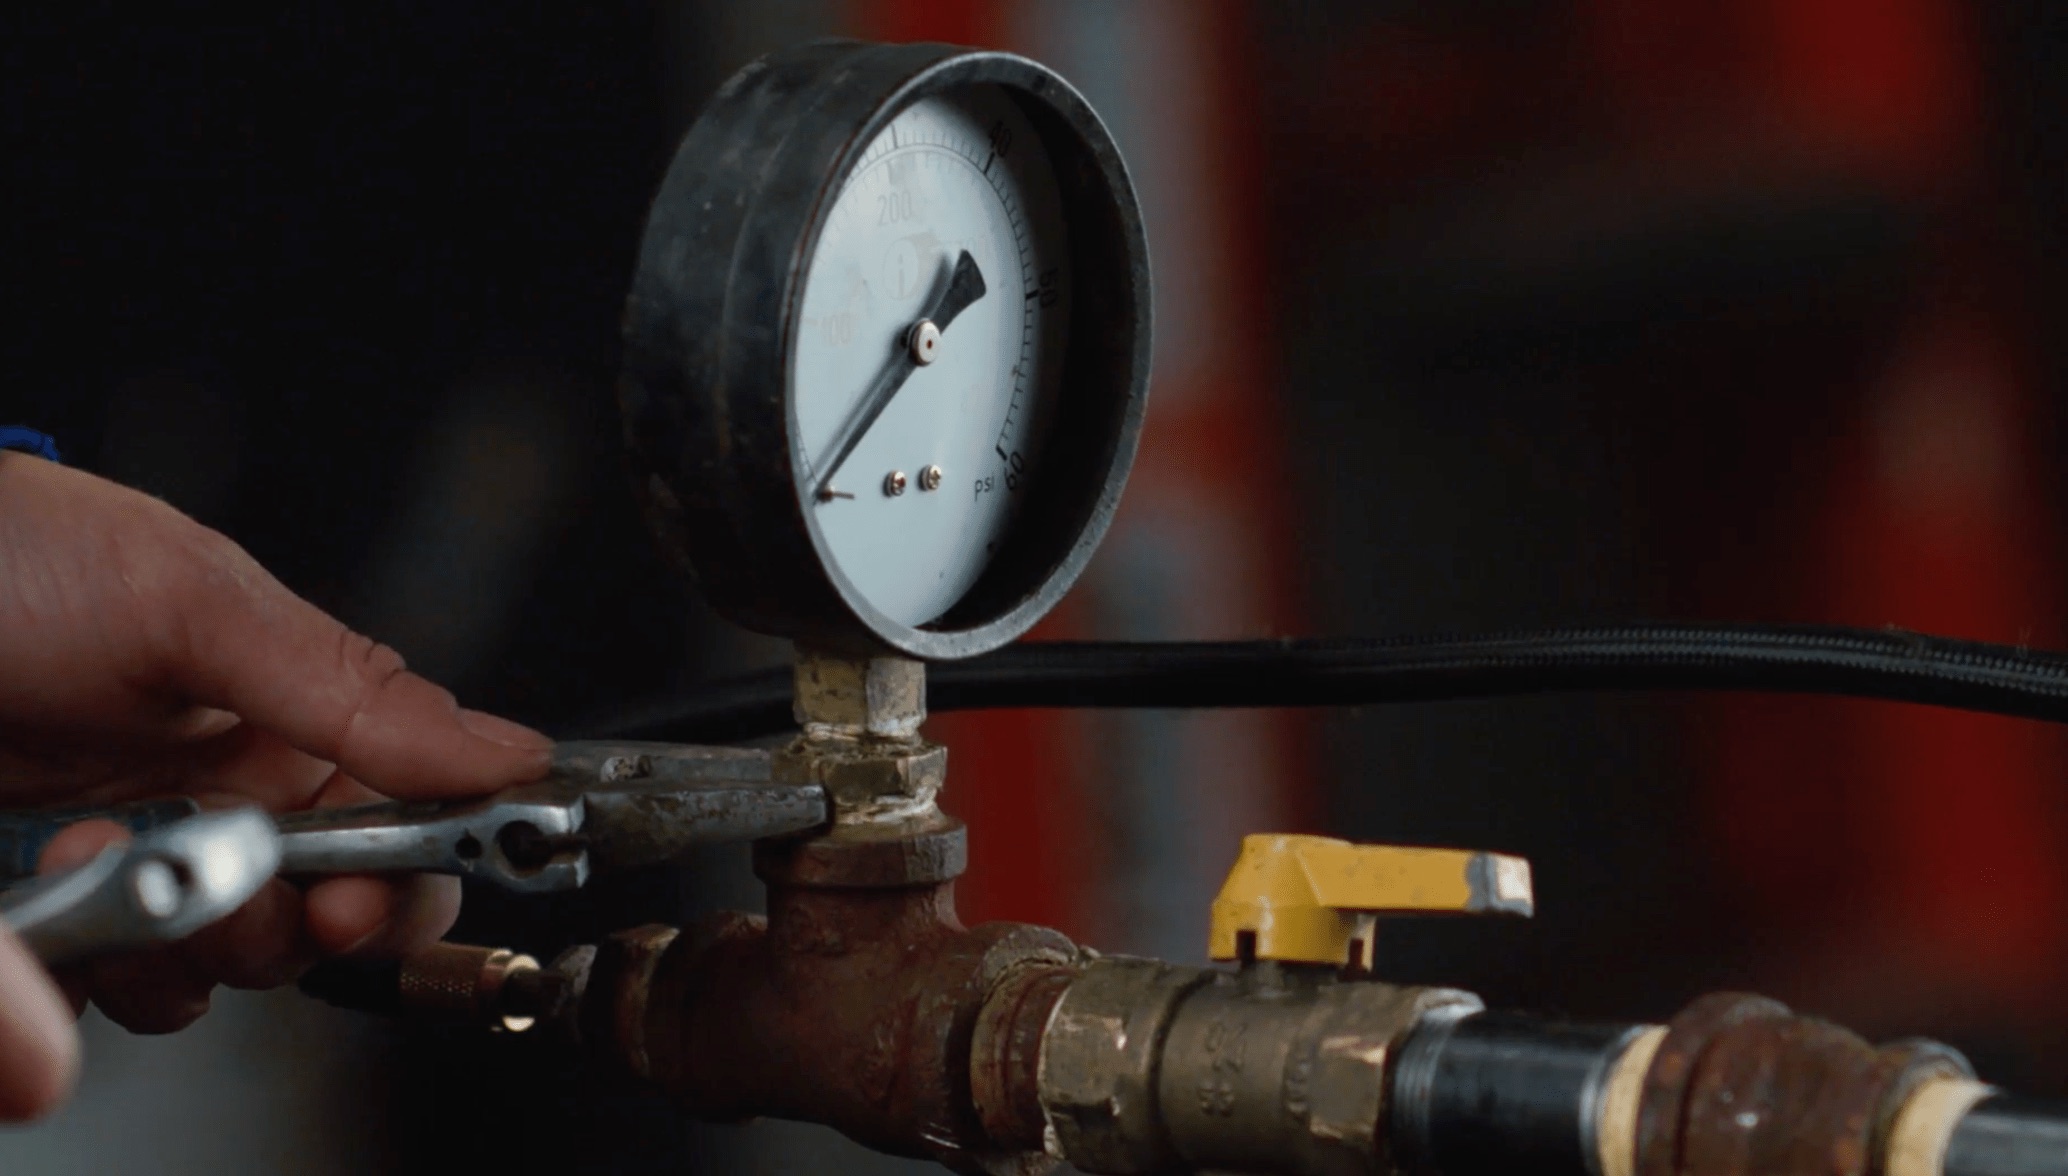
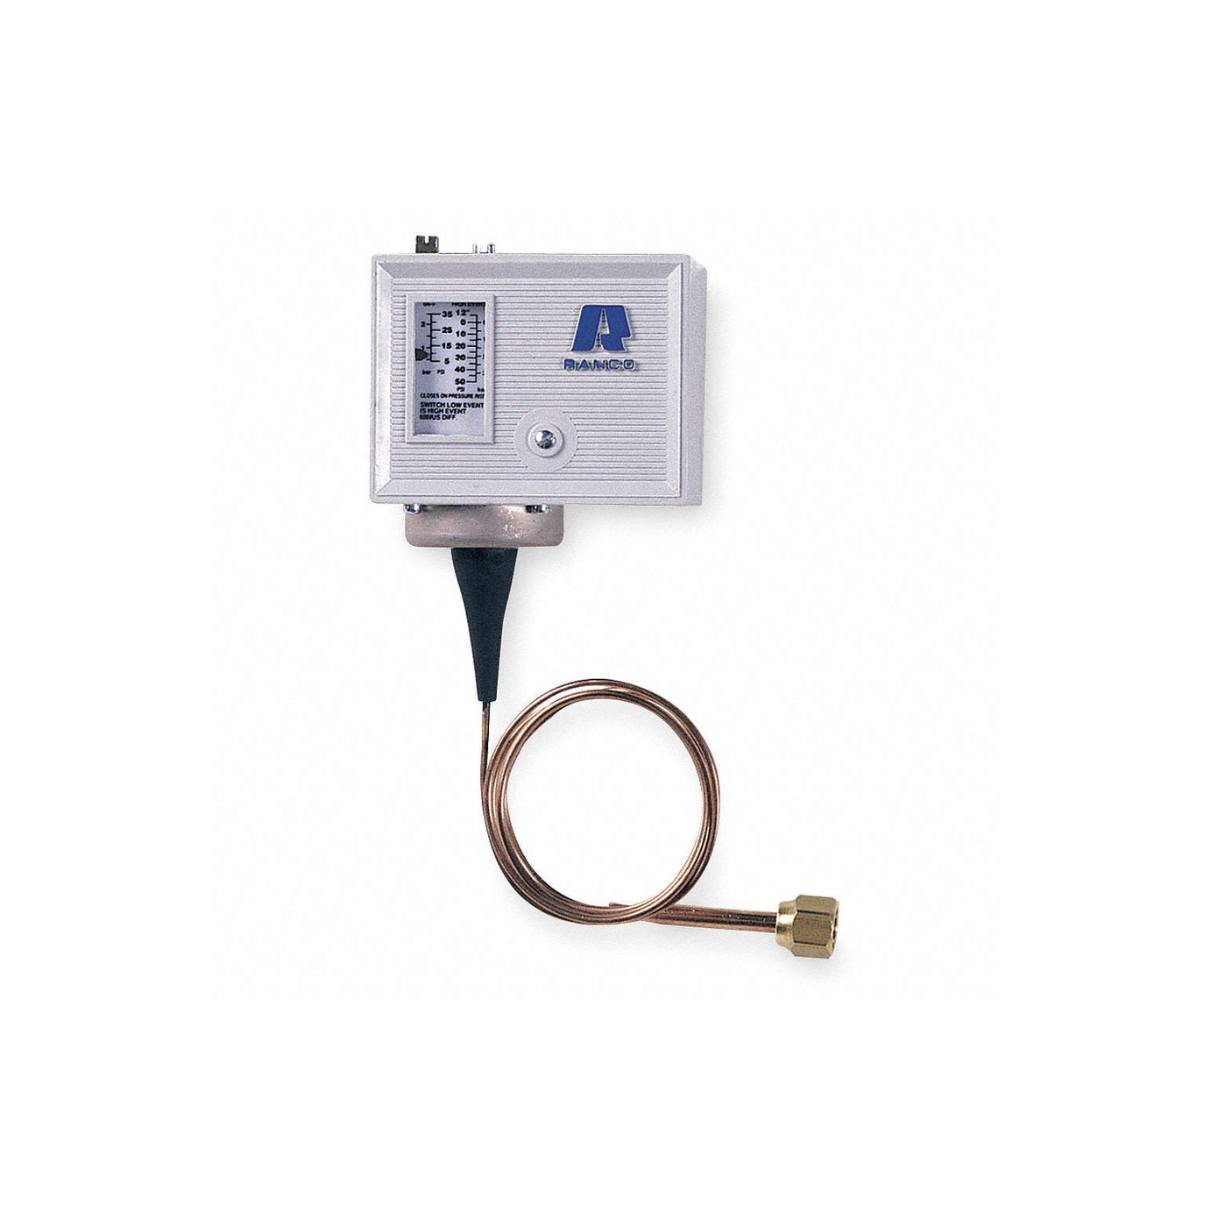
- A pressure testing gauge: This is a device that measures the pressure within the plumbing lines. Make sure to choose a gauge that is compatible with your pool’s plumbing system.
- Plugs or test caps: These are used to seal off the different lines in your pool’s plumbing system during the pressure test. Ensure that you have plugs or test caps of the appropriate size for your specific plumbing fittings.
- Teflon tape: This is used to create a tight seal between the plugs or test caps and the plumbing fittings. Apply a few wraps of Teflon tape around the male threads of the fitting before screwing in the plug or test cap.
- A wrench or pliers: These tools are necessary for tightening the plugs or test caps securely, ensuring a leak-free seal.
- A air compressor or a hand pump: This is used to generate pressure within the plumbing lines for the test. Depending on the size of your pool’s plumbing system, you can choose either an air compressor or a hand pump to provide the necessary pressure.
Before starting the pressure test, it is important to ensure that all the plugs or test caps are in good condition and free from any damage. Inspect them for cracks, worn-out seals, or any other issues that could compromise their effectiveness.
Now that you have gathered all the necessary tools and equipment, you are ready to move on to the next step: preparing your pool plumbing for the pressure test. Let’s get started!
Step 3: Prepare the Pool Plumbing for Testing
Once you have gathered all the necessary tools and equipment, it’s time to prepare your pool plumbing for the pressure test. Proper preparation will ensure accurate results and a smooth testing process.
Follow these steps to prepare your pool plumbing:
- Turn off the pool pump and ensure that there is no water flowing through the plumbing lines. This is crucial to ensure an accurate pressure test.
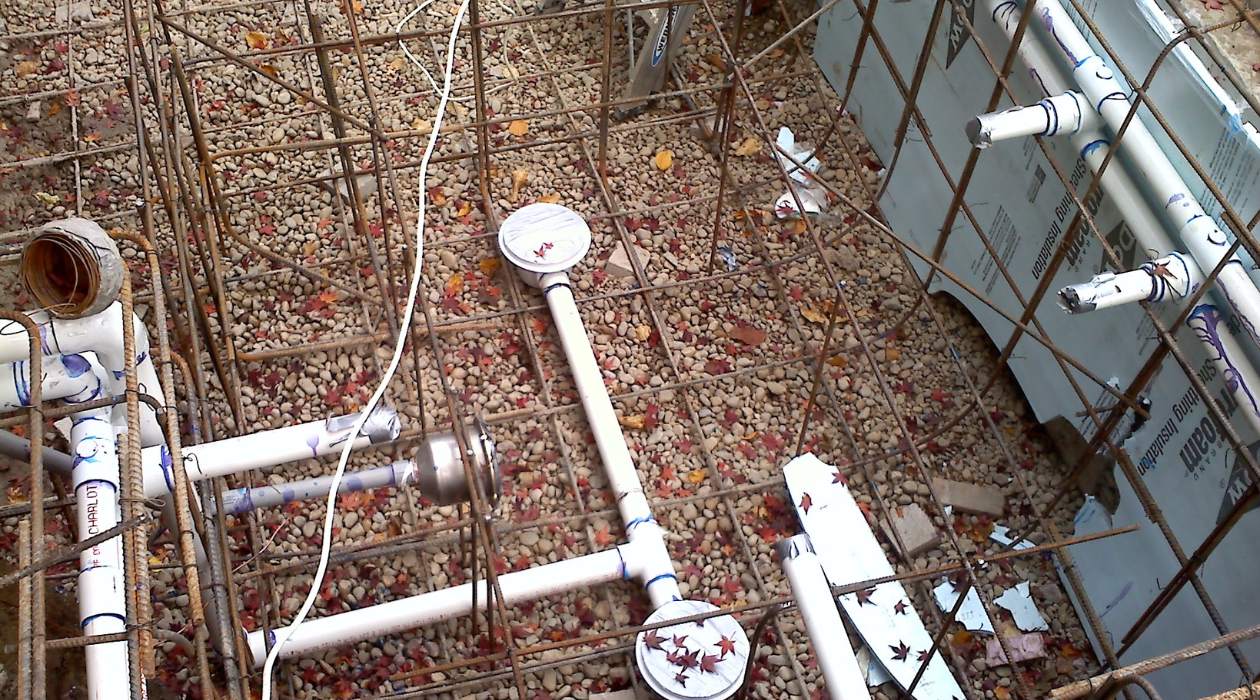
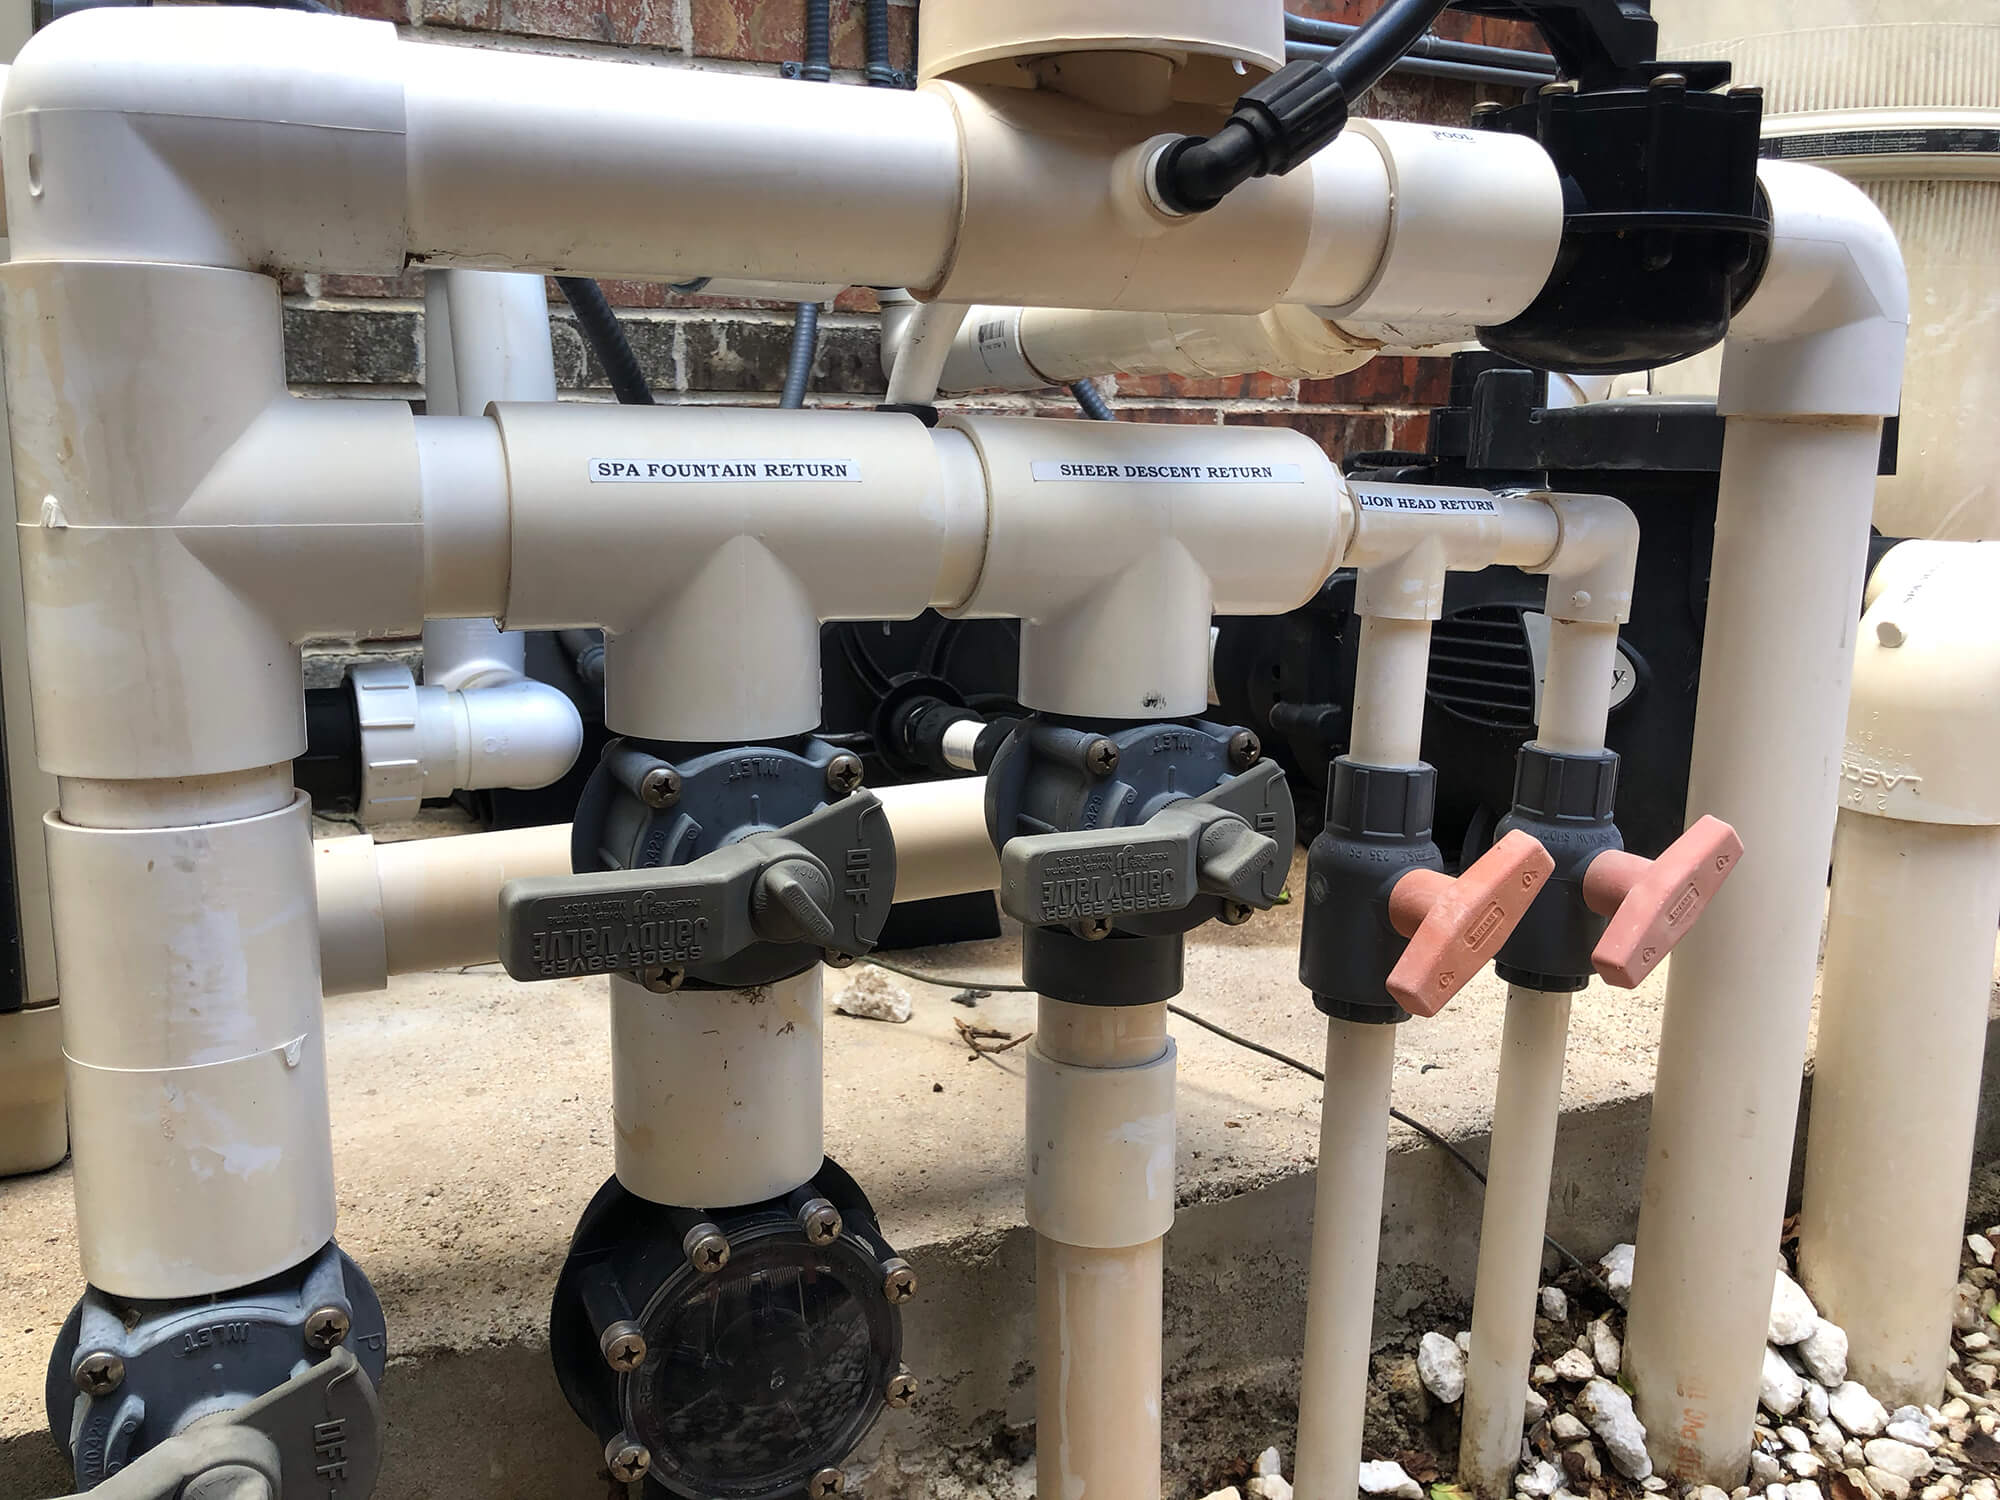
- Identify all the main lines and individual sections of your pool’s plumbing system. This includes the skimmer line, return line, main drain line, and any other auxiliary lines.
- Thoroughly inspect each line for any existing leaks or damage. Repair any leaks before proceeding with the pressure test to ensure accurate results.
- If necessary, clean out any debris or obstructions from the plumbing lines to ensure unrestricted flow.
- Apply Teflon tape to the male threads of the plugs or test caps and screw them into the corresponding fittings of each line. Make sure to tighten them securely with a wrench or pliers to ensure a leak-free seal.
- Repeat the process for each line of your pool’s plumbing system until all lines are securely plugged or capped.
- Double-check all the plugs or test caps to ensure they are properly installed and tightened. Any loose connections can result in inaccurate pressure readings.
Once you have completed these steps, your pool plumbing is now prepared for the pressure test. In the next step, we will guide you through the process of conducting the pressure test. Stay tuned!
When pressure testing pool plumbing, always start with a low pressure and gradually increase to the recommended level to avoid damaging the pipes. Check for any leaks and make necessary repairs before proceeding with filling the pool.
Step 4: Conducting the Pressure Test
With your pool plumbing properly prepared, you are now ready to conduct the pressure test. This step will help you identify any leaks or weaknesses in the plumbing system and ensure its integrity.
Follow these steps to conduct the pressure test:
- Make sure the plugs or test caps are securely tightened to create a seal on all the lines of your pool’s plumbing system.
- If you’re using an air compressor, connect it to one of the test caps and turn it on. Gradually increase the pressure until it reaches the recommended level for your pool’s plumbing system. If you’re using a hand pump, follow the manufacturer’s instructions to generate the appropriate pressure.
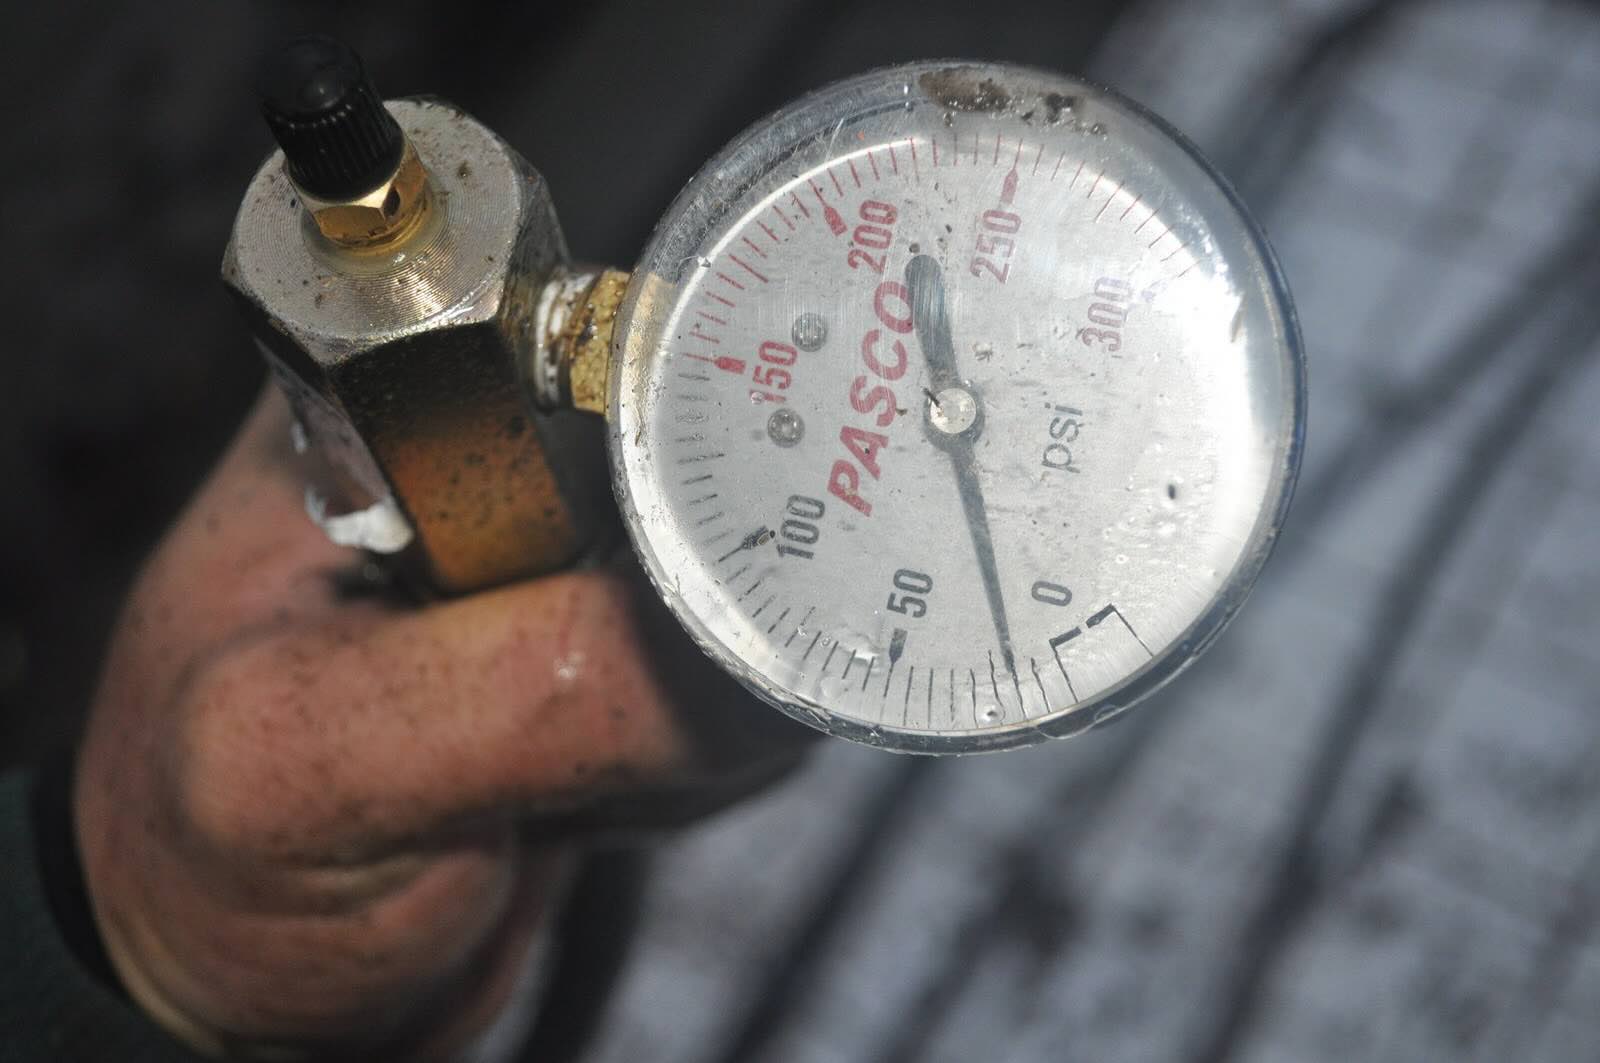
- Monitor the pressure gauge to ensure that the pressure remains stable. Note any significant drops or fluctuations in pressure, as this could indicate a leak.
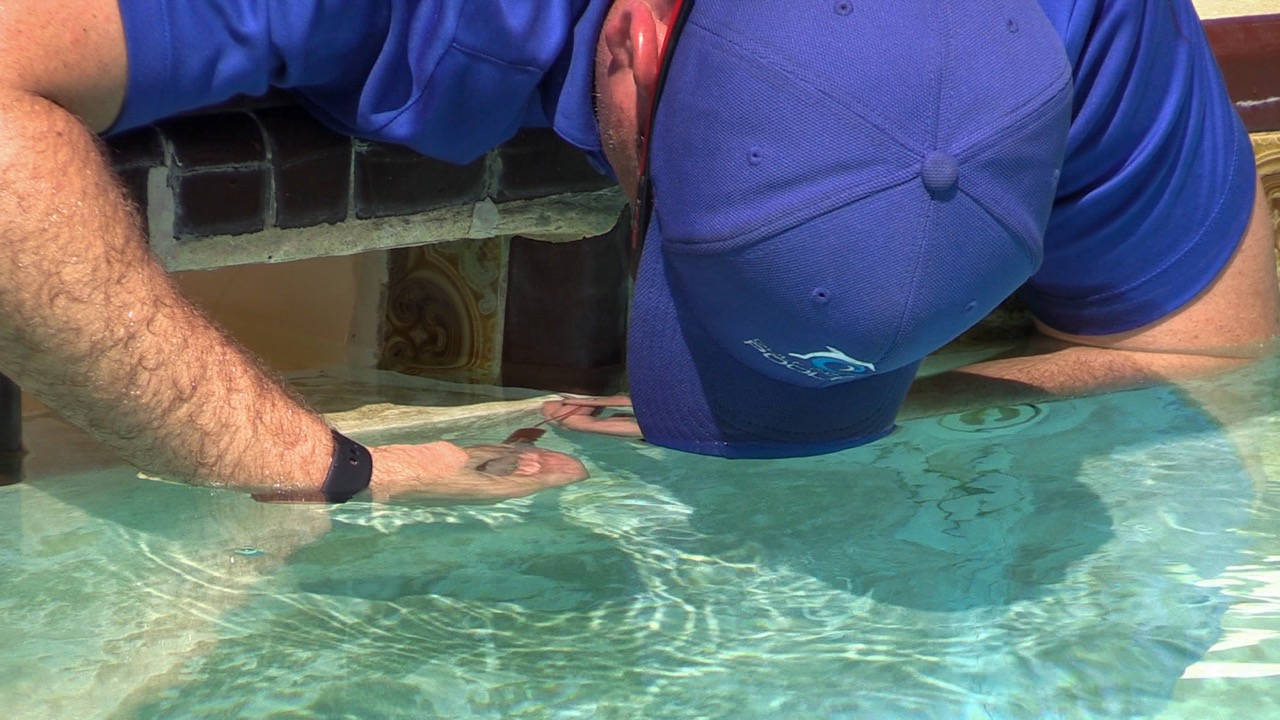
- Inspect all the plugs or test caps and the plumbing lines for any signs of leakage. Look for air bubbles, water sprays, or any other indications of a leak.
- If you notice a leak, carefully tighten the corresponding plug or test cap. If the leak persists, you may need to replace the plug or test cap or repair the plumbing line.
- Continue monitoring the pressure and checking for leaks for a sufficient amount of time, typically around 10-15 minutes. This duration allows for a thorough test of the plumbing system.
- If the pressure remains stable and no leaks are detected, congratulations! Your pool plumbing has passed the pressure test. Proceed to the next step to address any leaks you may have found.
Remember, it is crucial to carefully follow the instructions and safety precautions provided by the manufacturer of your pressure testing equipment. If you are unsure about any aspect of the pressure testing process, consult a professional who can assist you.
Now that you have conducted the pressure test, let’s move on to the next step: identifying and fixing leaks. Keep reading!
Read more: How To Remove A Plumbing Test Ball
Step 5: Identifying and Fixing Leaks
After conducting the pressure test, it’s time to identify and fix any leaks that were detected during the test. This step is crucial to ensure that your pool plumbing is free from any issues that could lead to water loss or further damage.
Follow these steps to identify and fix leaks in your pool plumbing:
- Start by visually inspecting the plumbing lines and the plugs or test caps for any signs of leakage. Look for water sprays, drips, or damp spots.
- If you notice a leak at one of the plugs or test caps, carefully tighten it with a wrench or pliers. Check again to see if the leak stops. If the leak persists, you may need to replace the plug or test cap.
- If the leak is coming from a specific section of the plumbing line, you may need to repair or replace that section. Cut out the damaged portion of the line and use PVC primer and cement to join a new section.
- In some cases, the source of the leak may be difficult to identify visually. In these instances, you can use a leak detection dye or perform a water test to pinpoint the exact location of the leak.
- Once you have identified the source of the leak, make the necessary repairs. Depending on the severity of the leak, you may need to consult a professional plumber for assistance.
- After fixing the leaks, conduct another pressure test to ensure that all the repairs were successful and there are no further leaks in the system.
Remember, addressing leaks promptly is crucial to prevent further damage to your pool and surrounding areas. Water loss can result in increased water bills and potential structural issues, so it’s essential to fix any leaks as soon as they are detected.
With the leaks resolved and your pool plumbing in optimal condition, let’s move on to the final step: conducting final checks and maintenance. Keep reading!
Step 6: Final Checks and Maintenance
Now that you have identified and fixed any leaks in your pool plumbing, it’s time to perform final checks and maintenance to ensure the longevity and efficiency of your system.
Follow these steps for the final checks and maintenance:
- Double-check all the plugs or test caps to ensure that they are securely tightened and there are no leaks.
- Inspect the entire pool plumbing system for any signs of damage or wear. Pay close attention to fittings, joints, and valves, and repair or replace any components that show signs of deterioration.
- Check the pressure gauge to ensure that it is accurate and functioning correctly. Replace it if necessary.
- Regularly monitor your pool’s water level to ensure that it remains stable. Significant drops in water level could indicate the presence of a hidden leak.
- It is recommended to periodically conduct maintenance checks and pressure tests on your pool plumbing to catch any potential issues before they become major problems. Consult with a professional to determine the appropriate frequency for these tests based on your specific pool and usage.
- Additionally, practicing regular pool maintenance, such as cleaning and balancing the water chemistry, will help prevent clogs and other plumbing issues.
By regularly performing these checks and maintenance tasks, you can ensure that your pool plumbing remains in optimal condition and avoids costly repairs in the future.
Congratulations! You have successfully completed the steps to pressure test your pool plumbing and ensure its integrity. By following these guidelines, you have taken an important step towards maintaining a well-functioning and reliable pool.
Remember, it is always recommended to consult with a professional if you have any concerns or doubts about performing pressure tests or addressing plumbing issues.
We hope this guide has been helpful to you. Enjoy your clean and leak-free pool!
Conclusion
Pressure testing your pool plumbing is a crucial step in ensuring the integrity and efficiency of your system. By identifying and addressing leaks or weaknesses in the plumbing system, you can prevent potential issues such as water loss, increased water bills, and structural damage.
In this article, we have provided you with a comprehensive guide to pressure testing your pool plumbing. From understanding the importance of pressure testing to conducting the test and fixing leaks, we have covered all the necessary steps to keep your pool in top condition.
Remember, pressure testing is especially important for newly installed pools or pools that have undergone recent plumbing repairs or renovations. It is also essential to comply with building codes and regulations that require pressure testing for swimming pool installations.
By following the step-by-step process outlined in this article, you can confidently pressure test your pool plumbing and address any issues that may arise. Regular maintenance checks, including pressure testing, will help you maintain a well-functioning pool and avoid costly repairs in the future.
We hope that this guide has provided you with valuable insights and knowledge to carry out the pressure testing process effectively. If you have any concerns or questions, it’s always recommended to consult with a professional plumber who can assist you with your specific pool plumbing needs.
Thank you for reading, and may your pool plumbing remain leak-free and in excellent condition for years to come!
Frequently Asked Questions about How To Pressure Test Pool Plumbing
Was this page helpful?
At Storables.com, we guarantee accurate and reliable information. Our content, validated by Expert Board Contributors, is crafted following stringent Editorial Policies. We're committed to providing you with well-researched, expert-backed insights for all your informational needs.


0 thoughts on “How To Pressure Test Pool Plumbing”