Articles
How To Can Salsa In Electric Pressure Cooker
Modified: September 2, 2024
Discover the best method for canning salsa using an electric pressure cooker. Read our informative articles to learn step-by-step instructions and preserve your favorite salsa flavors.
(Many of the links in this article redirect to a specific reviewed product. Your purchase of these products through affiliate links helps to generate commission for Storables.com, at no extra cost. Learn more)
Introduction
Welcome to the world of homemade salsa! If you’re a fan of this delightful condiment and own an electric pressure cooker, you’re in for a treat. In this article, we’ll guide you through the process of canning salsa using your trusty electric pressure cooker. Canning your own salsa not only allows you to customize the flavors to your liking but also helps preserve the vibrant taste of summer all year round.
Before we delve into the steps, it’s essential to understand that canning salsa in an electric pressure cooker requires a bit of planning and preparation. The beauty of this method lies in the convenience and efficiency it offers. Unlike traditional stovetop canning, an electric pressure cooker allows for precise temperature control and faster cooking times.
Whether you want to whip up a batch of mild and tangy salsa for tacos or a zesty and spicy variety for chips and dips, the process is relatively straightforward. All you need are some fresh ingredients, a few canning jars, and your electric pressure cooker.
So, let’s roll up our sleeves and get ready to embark on a salsa-making adventure in the comfort of your own kitchen!
Key Takeaways:
- Canning salsa in an electric pressure cooker offers convenience, precise temperature control, and faster cooking times, ensuring the preservation of vibrant flavors and nutritional value all year round.
- Selecting fresh and high-quality ingredients, proper preparation of the electric pressure cooker, and meticulous processing and sealing of the jars are essential for creating delicious and shelf-stable homemade salsa.
Read more: How To Can With An Electric Pressure Cooker
Choosing the Right Ingredients
The key to a delicious homemade salsa starts with selecting the right ingredients. By using fresh and flavorful produce, you can elevate the taste and add a burst of natural goodness to your salsa. Here are some tips to help you choose the best ingredients:
- Tomatoes: Opt for ripe and juicy tomatoes, such as Roma or vine-ripened varieties. Look for tomatoes that are vibrant in color and free from any blemishes or bruises.
- Peppers: Add some heat and complexity to your salsa by choosing a variety of peppers. Jalapenos, serranos, or Anaheim peppers are popular choices. Remove the seeds and membranes if you prefer a milder salsa.
- Onions: Red or white onions work well in salsa, providing a sharp and slightly sweet flavor. Dice them finely for a more uniform texture.
- Cilantro: Fresh cilantro adds a refreshing herbal note to salsa. Be sure to wash and chop it just before adding it to the mix for maximum flavor.
- Lime: A squeeze of lime juice not only enhances the taste but also helps preserve the vibrant color of the salsa. Use freshly squeezed lime juice for the best results.
- Garlic: For a savory undertone, mince some garlic cloves and add them to the mix. Adjust the amount according to your preferences.
- Spices: You can customize the spice level by adding spices like cumin or chili powder. Add them gradually and taste as you go to achieve the desired heat.
- Salt: Don’t forget to season your salsa with salt to bring out the flavors of the ingredients. Add it sparingly and adjust to taste.
While these are the basic ingredients to create a classic salsa, feel free to experiment and add other ingredients like corn, black beans, or even fruits like mango for a unique twist. The key is to use fresh and high-quality ingredients to achieve a vibrant and flavorful salsa.
Now that you have your ingredients sorted, let’s move on to preparing your electric pressure cooker for salsa canning.
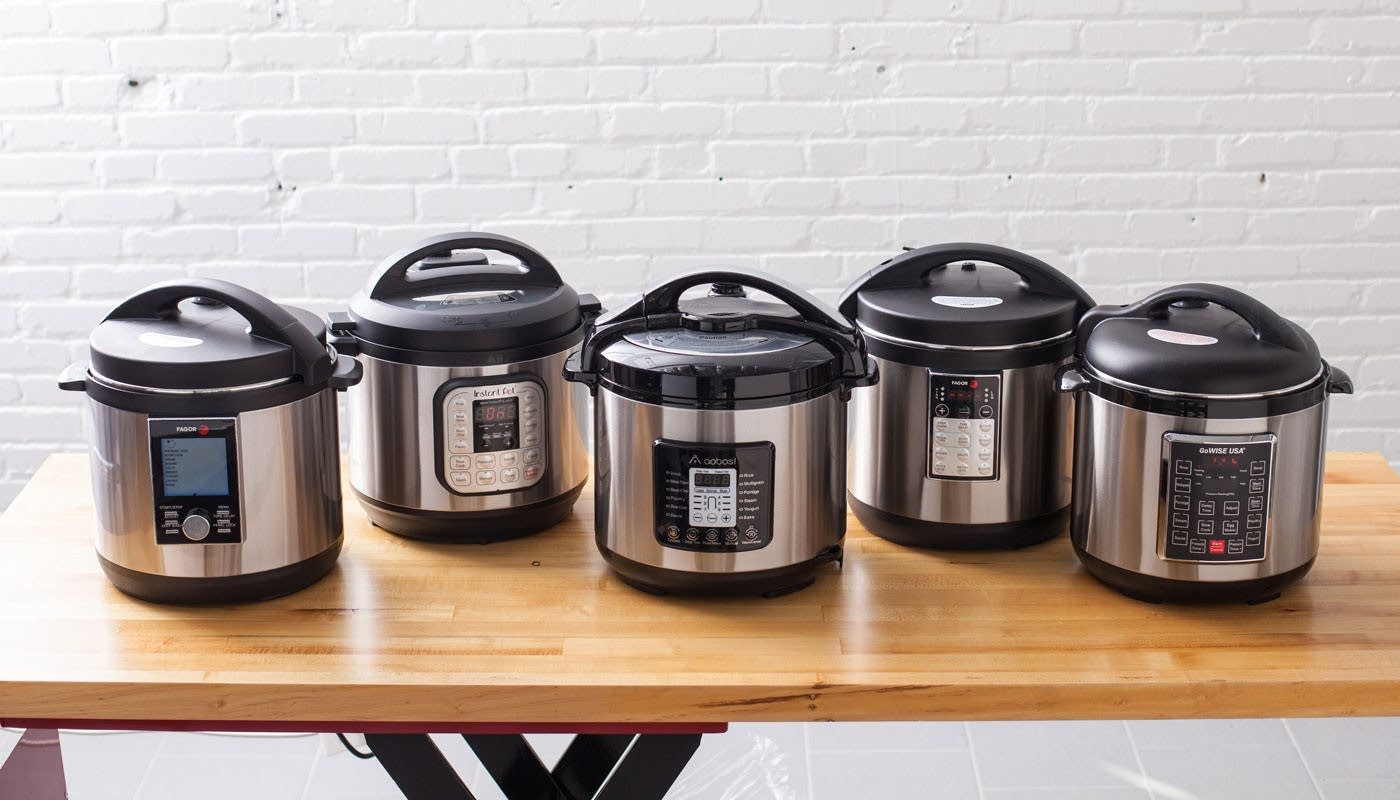
Preparing the Electric Pressure Cooker
Before you start the canning process, it’s crucial to prepare your electric pressure cooker to ensure a safe and efficient cooking environment. Here are the steps to follow:
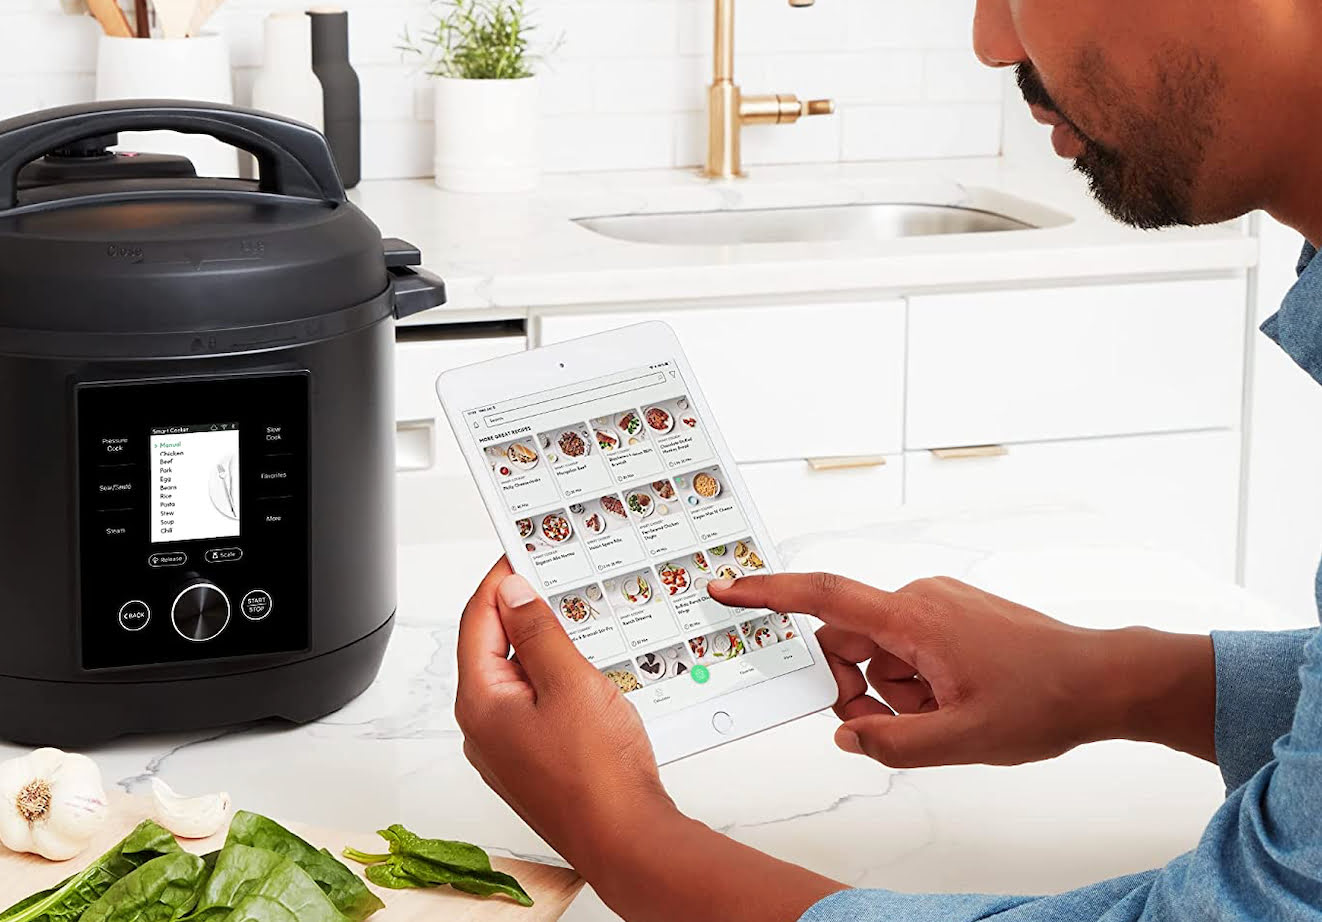
- Read the Instruction Manual: Familiarize yourself with the specific instructions and guidelines provided by the manufacturer for canning. Every electric pressure cooker may have slightly different features and recommendations.
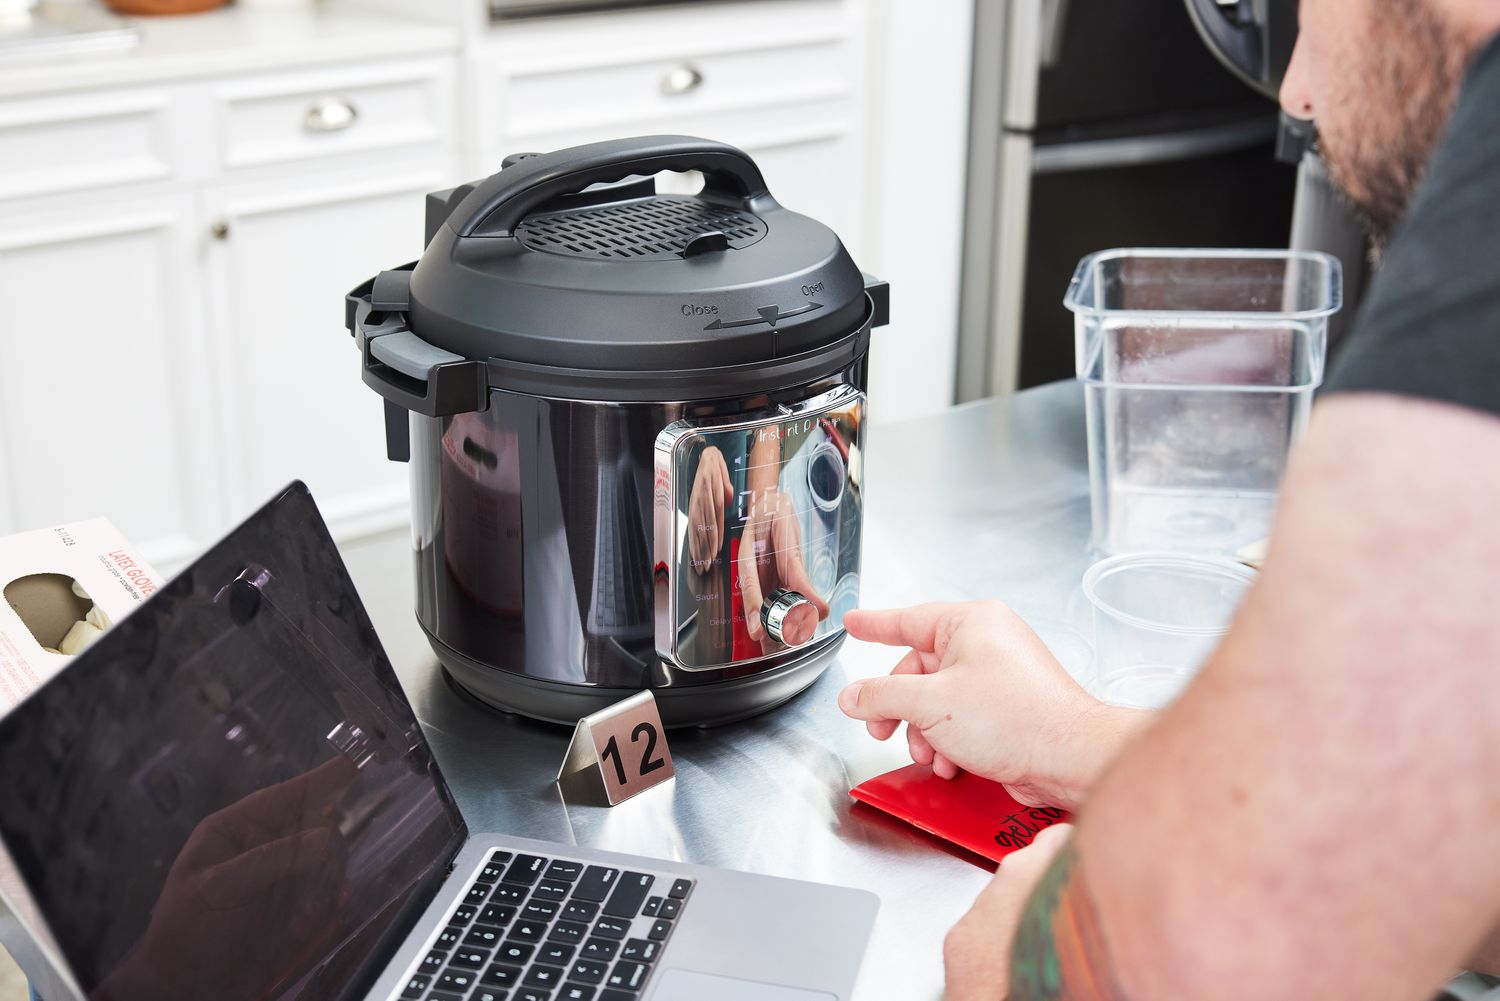
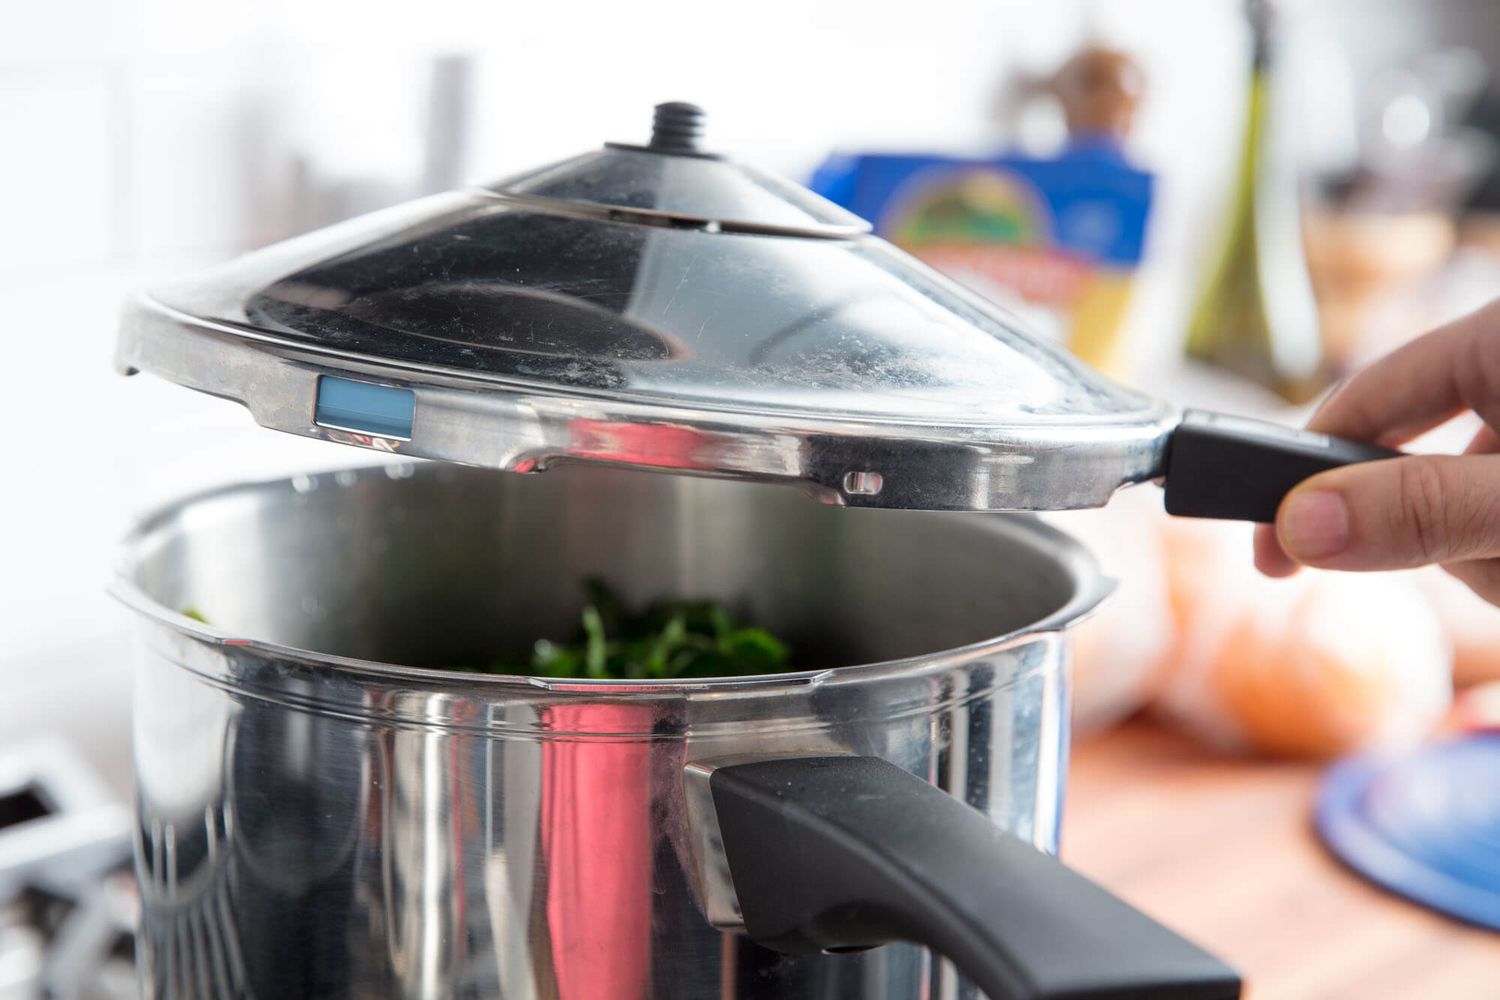
- Inspect and Clean: Check your pressure cooker for any damage or defects. Ensure that the rubber gasket and pressure release valves are in good condition. Clean the interior and exterior of the pressure cooker thoroughly using mild dish soap and water.
- Assemble the Equipment: Gather all the necessary equipment for canning, including canning jars, lids, and bands. Ensure that they are clean and in good condition. You may also need a canning rack or trivet to elevate the jars inside the cooker.
- Prepare the Canning Jars: Sterilize the canning jars and lids by running them through a dishwasher cycle or by boiling them in a large pot of water for a few minutes. Keep them hot until you’re ready to fill them with salsa.
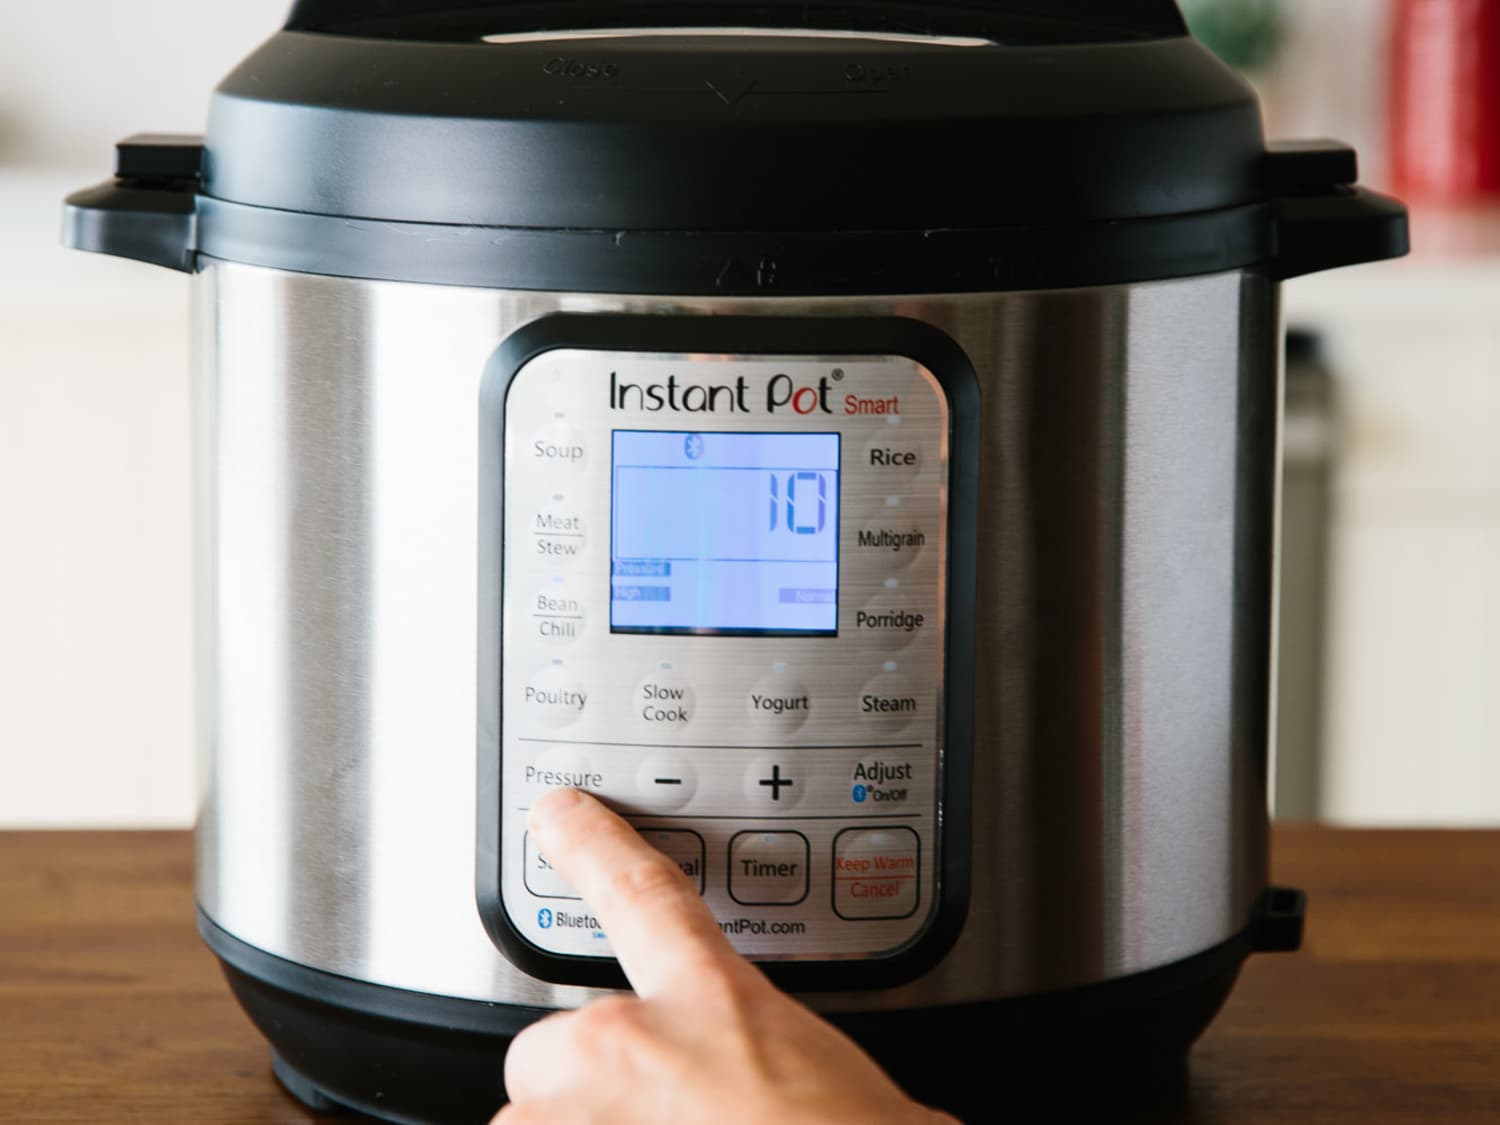
- Set Up the Pressure Cooker: Place the trivet or canning rack at the bottom of the pressure cooker. Add water according to the manufacturer’s instructions, usually about 2-3 cups, to create steam for the canning process.
- Select the Pressure Setting: Some pressure cookers have different pressure settings. Choose the appropriate setting for canning. Most salsa recipes require a high-pressure setting, which is typically around 10 or 15 psi (pounds per square inch).
Once you’ve completed these steps, your electric pressure cooker will be ready for the salsa canning process. Preparing the pressure cooker properly ensures that your salsa will be cooked and processed safely, maintaining its freshness and flavor.
In the next section, we’ll dive into the exciting part of actually cooking the salsa in the electric pressure cooker. Get ready for the aroma of fresh ingredients filling your kitchen!
Cooking the Salsa
Now that your electric pressure cooker is prepped and ready, it’s time to start cooking your salsa. Follow these steps to achieve a perfectly cooked and flavorful salsa:
- Prepare the Ingredients: Wash and chop all the vegetables and herbs according to your desired consistency. You can finely chop them for a smoother salsa or leave them slightly chunky for a more textured version.
- Add the Ingredients to the Pressure Cooker: Place the chopped tomatoes, peppers, onions, garlic, cilantro, lime juice, spices, and salt into the electric pressure cooker. Give everything a gentle stir to combine the flavors.
- Secure the Lid: Ensure that the lid is securely locked in place on the pressure cooker. Double-check that the pressure release valve is closed.
- Select the Cooking Time and Pressure: Set the cooking time and pressure according to the salsa recipe you’re following. Most salsa recipes require a cooking time of around 5-10 minutes at high pressure.
- Start Cooking: Turn on the pressure cooker and let it come to the specified pressure. Once the desired pressure is reached, the cooking time will begin counting down.
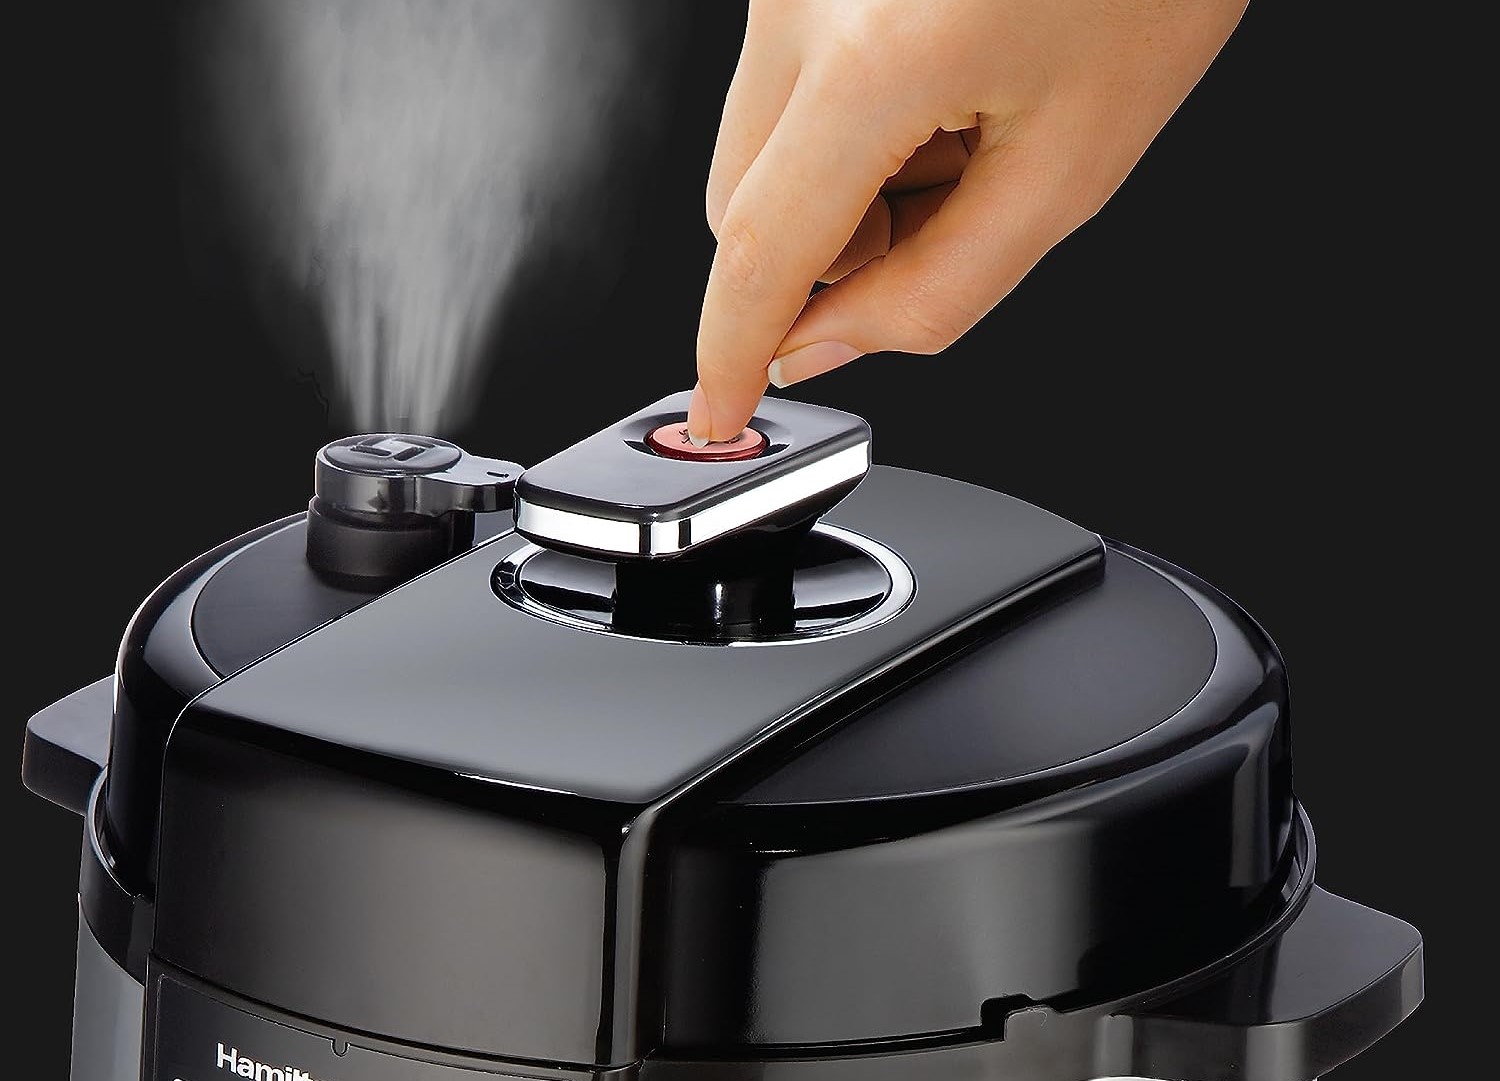
- Natural or Quick Release: After the cooking time is complete, you can either perform a natural release, allowing the pressure to release gradually on its own, or a quick release by carefully opening the pressure release valve to release the steam.
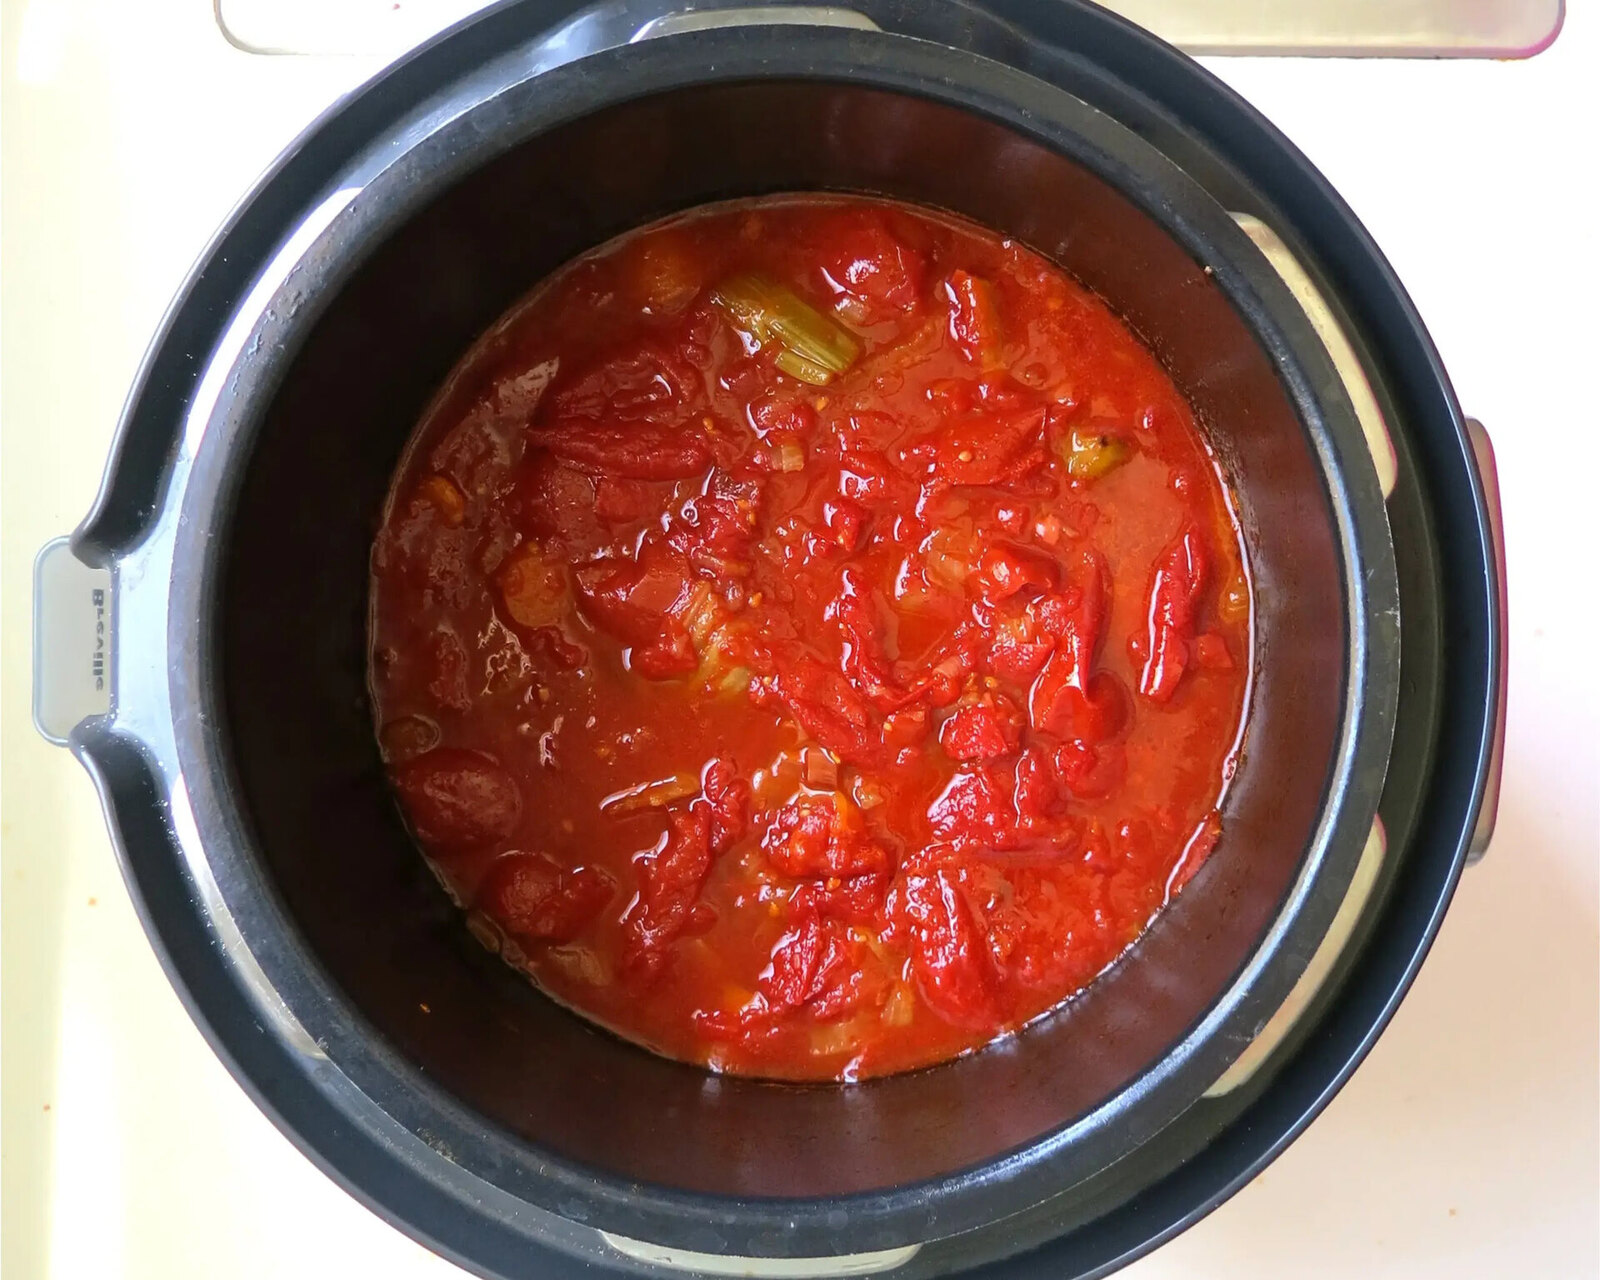
- Check the Salsa: Open the lid and give the salsa a taste test. Adjust the seasoning if needed by adding more salt, spices, or lime juice.
With the help of your electric pressure cooker, the flavors of the vegetables and spices will meld together beautifully, creating a delicious and rich salsa. The pressure cooking process not only ensures thorough cooking but also helps infuse the flavors, resulting in a salsa that captures the essence of each ingredient.
Now that your salsa is cooked to perfection, it’s time to pack it into jars for storage. We’ll guide you through the next steps in the following section.
When canning salsa in an electric pressure cooker, always follow a tested recipe and processing time to ensure the safety and preservation of your salsa. Use proper canning techniques and sterilize your jars to prevent spoilage.
Packing the Salsa into Jars
Once your salsa is cooked and bursting with flavor, it’s time to pack it into jars for storage. Follow these steps to ensure proper packing:
- Prepare the Canning Jars: Remove the sterilized canning jars from the dishwasher or boiling water, ensuring they are hot. Using a jar lifter or oven mitts, carefully place the jars on a clean towel or heat-resistant surface.
- Fill the Jars: Using a ladle or a wide-mouth funnel, carefully fill the hot jars with the cooked salsa, leaving about 1/2 inch of headspace at the top. This headspace allows for proper sealing and expansion during processing.
- Remove Air Bubbles: Gently tap the jars on the countertop to dislodge any air bubbles trapped in the salsa. You can also use a non-metallic spatula to release any air pockets.
- Wipe the Jar Rims: Using a clean, damp cloth, wipe the rims and threads of the jars to ensure a clean seal. This step is crucial for a successful canning process.
- Apply the Lids and Bands: Place the preheated lids on top of each jar, ensuring they are centered. Screw the bands onto the jars until they are hand-tight, being careful not to over tighten.
With the salsa neatly packed into the jars, you’re one step closer to enjoying homemade salsa year-round. But before we proceed, let’s learn how to process and seal the jars to ensure their long-term preservation.
In the following section, we’ll guide you through the processing and sealing steps required to make your canned salsa shelf-stable and ready for months of enjoyment.
Read more: How To Can Soup In Electric Pressure Cooker
Processing and Sealing the Jars
Processing and sealing the jars is a crucial step in the canning process that ensures the long-term preservation of your salsa. Follow these steps to properly process and seal the jars:
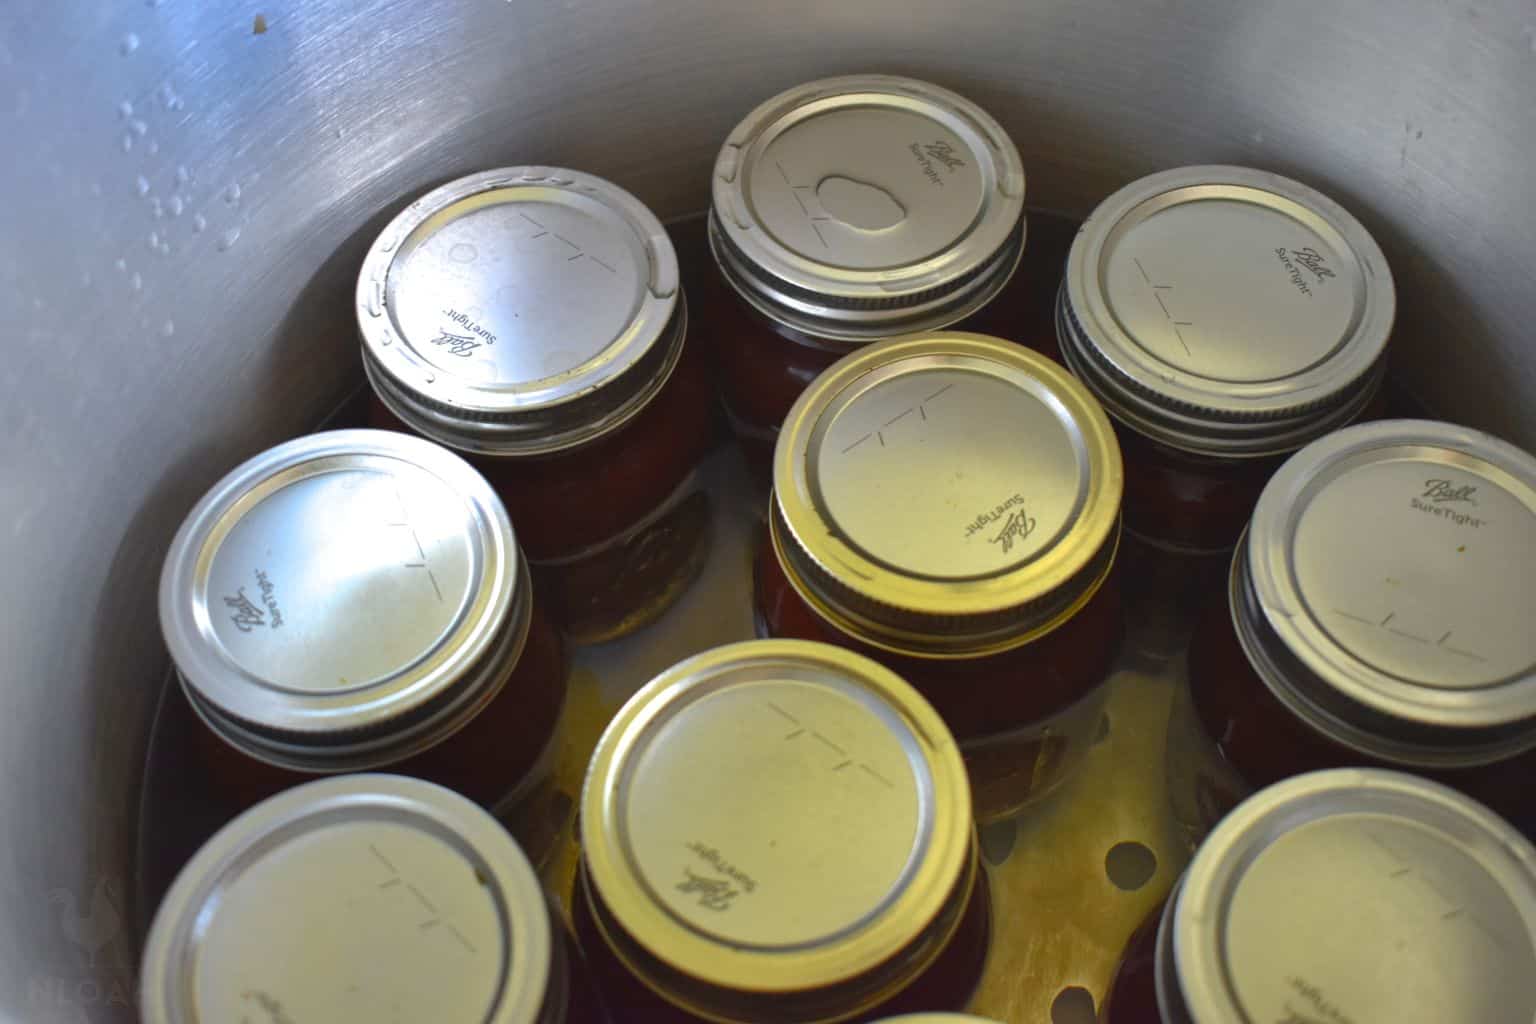
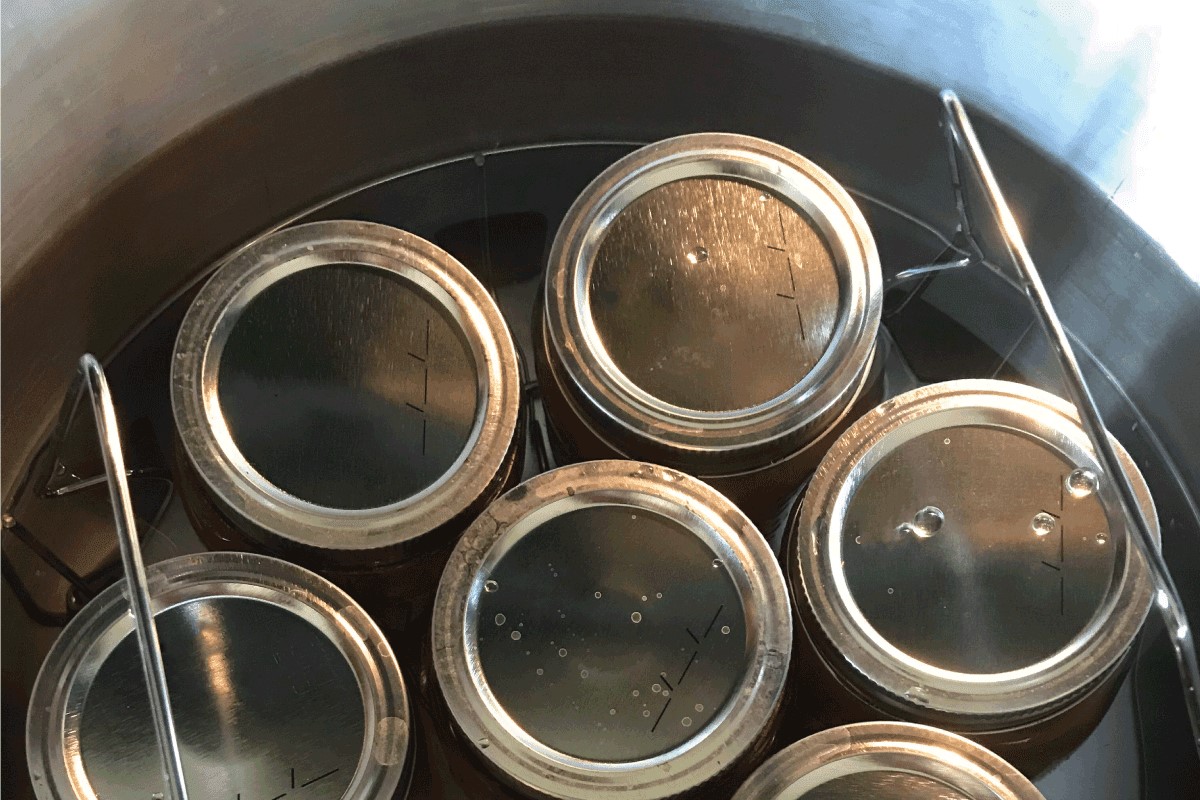
- Prepare the Water Bath: Fill a large stockpot or water bath canner with enough water to cover the jars by at least 1-2 inches. Place a canning rack or a folded towel at the bottom to prevent direct contact between the jars and the pot.
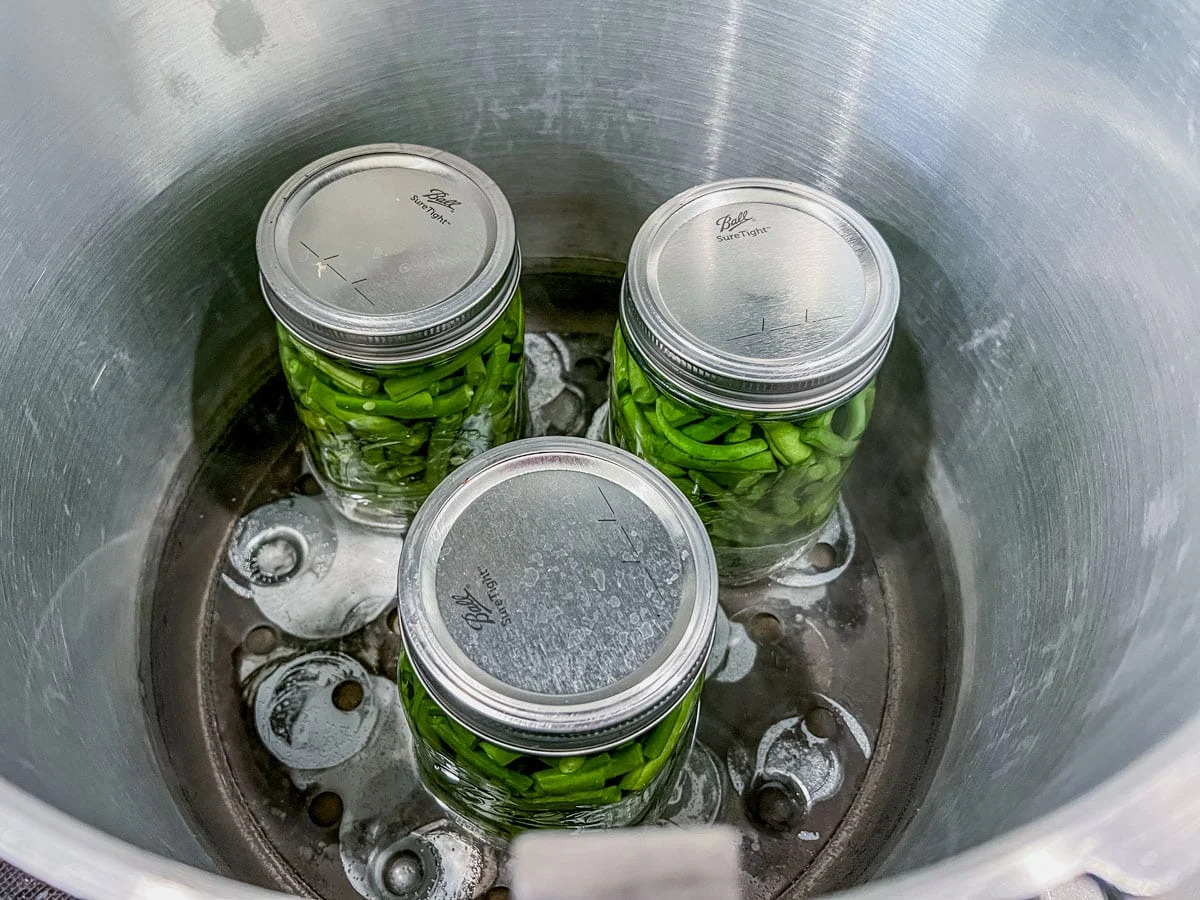
- Place the Jars in the Water Bath: Using a jar lifter, carefully place each filled and sealed jar into the water bath, ensuring they are fully submerged in water. Add more boiling water if necessary to maintain the proper water level.
- Bring the Water to a Boil: Turn the heat to high and bring the water to a rolling boil. Once it reaches a full boil, start the timer for the recommended processing time.
- Process the Jars: The processing time will vary depending on your elevation and the size of the jars. Refer to a trusted canning resource or the recipe you’re following for the specific processing time. Typically, it can range from 15 to 30 minutes.
- Remove the Jars: After the processing time is complete, turn off the heat and use a jar lifter to carefully remove the jars from the water bath. Place them on a towel or heat-resistant surface and let them cool undisturbed.
- Check for Seals: As the jars cool, you’ll hear a satisfying “pop” sound, indicating that the jars have properly sealed. After they have cooled completely, press down on the center of each lid to ensure they are firm and do not flex. Any unsealed jars should be refrigerated and consumed within a few weeks.
- Label and Store: Once you’ve confirmed that all the jars are properly sealed, label each jar with the date of canning. Store the jars in a cool, dark place away from direct sunlight and extreme temperature changes. Canned salsa can typically last for up to a year.
Properly processing and sealing the jars is essential for preventing spoilage and ensuring the safety and longevity of your salsa. Taking the time to follow these steps meticulously will give you the confidence to enjoy your homemade salsa all year long.
In the next section, we’ll discuss how to store and use your freshly canned salsa for maximum flavor and enjoyment.
Storing and Using Canned Salsa
Now that your salsa is safely canned and ready for long-term storage, it’s important to know how to store and use it effectively. Follow these guidelines to ensure that your canned salsa stays fresh and delicious:
- Storage Conditions: Store your canned salsa in a cool, dark place, such as a pantry or cellar. Avoid storing it in direct sunlight or in areas with high humidity or extreme temperature fluctuations.
- Label and Rotation: Label each jar with the date of canning and arrange them in a way that allows for easy access and rotation. Use the first-in, first-out principle to ensure that older jars are used before newer ones.
- Quality Check: Before using the salsa, visually inspect the jars for any signs of spoilage, such as mold, discoloration, or an off odor. If any of these indicators are present, discard the salsa immediately.
- Using Canned Salsa: Canned salsa can be used in a variety of ways. It makes a fantastic topping for tacos, nachos, or scrambled eggs. You can also use it as a base for soups, stews, or even as a marinade for meats.
- Adjusting the Flavor: Over time, the flavor of the salsa may mellow. If you prefer a fresher taste, you can add additional ingredients like fresh cilantro, lime juice, or chopped onions just before serving.
- Sharing the Salsa: Canned salsa also makes a wonderful homemade gift. Consider sharing jars of your delicious salsa with friends and family.
Remember that homemade salsa can vary in taste and texture compared to store-bought varieties. Enjoy the unique flavors of your creation and embrace the satisfaction of knowing that you’ve preserved the goodness of fresh ingredients in each jar.
By following proper storage practices and utilizing your canned salsa creatively, you can enjoy its zesty flavors even after the harvest season has passed.
As we conclude our journey into canning salsa using an electric pressure cooker, we hope this guide has inspired you to embark on your own salsa-making adventure. Get creative, experiment with different ingredients and spice levels, and impress your taste buds with the rich and vibrant flavors of homemade salsa!
Conclusion
Canning homemade salsa in an electric pressure cooker is a rewarding and convenient way to preserve the flavors of summer all year round. With the right ingredients, proper preparation, and careful processing, you can enjoy delicious and flavorful salsa whenever you desire.
Choosing fresh and high-quality ingredients sets the stage for a tantalizing salsa experience. From juicy tomatoes to spicy peppers and aromatic spices, each ingredient is a crucial building block of flavor. Experimentation and customization allow you to create a salsa that perfectly suits your taste preferences.
Preparing your electric pressure cooker and understanding its features are essential for successful salsa canning. Take the time to read the instruction manual, inspect and clean your pressure cooker, and gather all the necessary equipment. Creating a safe and efficient cooking environment is crucial for achieving the best results.
Cooking the salsa in your electric pressure cooker infuses the flavors together, resulting in a rich and vibrant salsa. The precise temperature control and faster cooking times offered by the pressure cooker allow for efficient cooking while maintaining the freshness and nutritional value of the ingredients.
Packing the salsa into jars is a satisfying step that brings you one step closer to enjoying your homemade creation. Properly sealing the jars and processing them in a water bath ensures that your salsa is shelf-stable and ready to be stored for an extended period.
Storing your canned salsa in the right conditions and utilizing it creatively in various dishes guarantees continued enjoyment for months to come. From flavorful toppings to hearty marinades, the versatility of canned salsa knows no bounds.
As you embark on your salsa-making journey, remember that every jar is a testament to your culinary prowess. Enjoy the fruits of your labor, savor the vibrant flavors, and share your delicious homemade salsa with loved ones.
So, fire up your electric pressure cooker, gather those fresh ingredients, and dive into the wonderful world of homemade salsa. Your taste buds will thank you for the explosion of flavors, and you’ll never look back at store-bought salsa again.
Cheers to the satisfaction of creating something delicious and preserving the tastes of summer with every jar of homemade salsa! Happy canning!
Frequently Asked Questions about How To Can Salsa In Electric Pressure Cooker
Was this page helpful?
At Storables.com, we guarantee accurate and reliable information. Our content, validated by Expert Board Contributors, is crafted following stringent Editorial Policies. We're committed to providing you with well-researched, expert-backed insights for all your informational needs.


0 thoughts on “How To Can Salsa In Electric Pressure Cooker”