Articles
How To Test An Electric Fence
Modified: December 7, 2023
Discover expert tips and step-by-step guides on testing electric fences in our informative articles. Ensure the safety and reliability of your electric fence with our valuable insights.
(Many of the links in this article redirect to a specific reviewed product. Your purchase of these products through affiliate links helps to generate commission for Storables.com, at no extra cost. Learn more)
Introduction
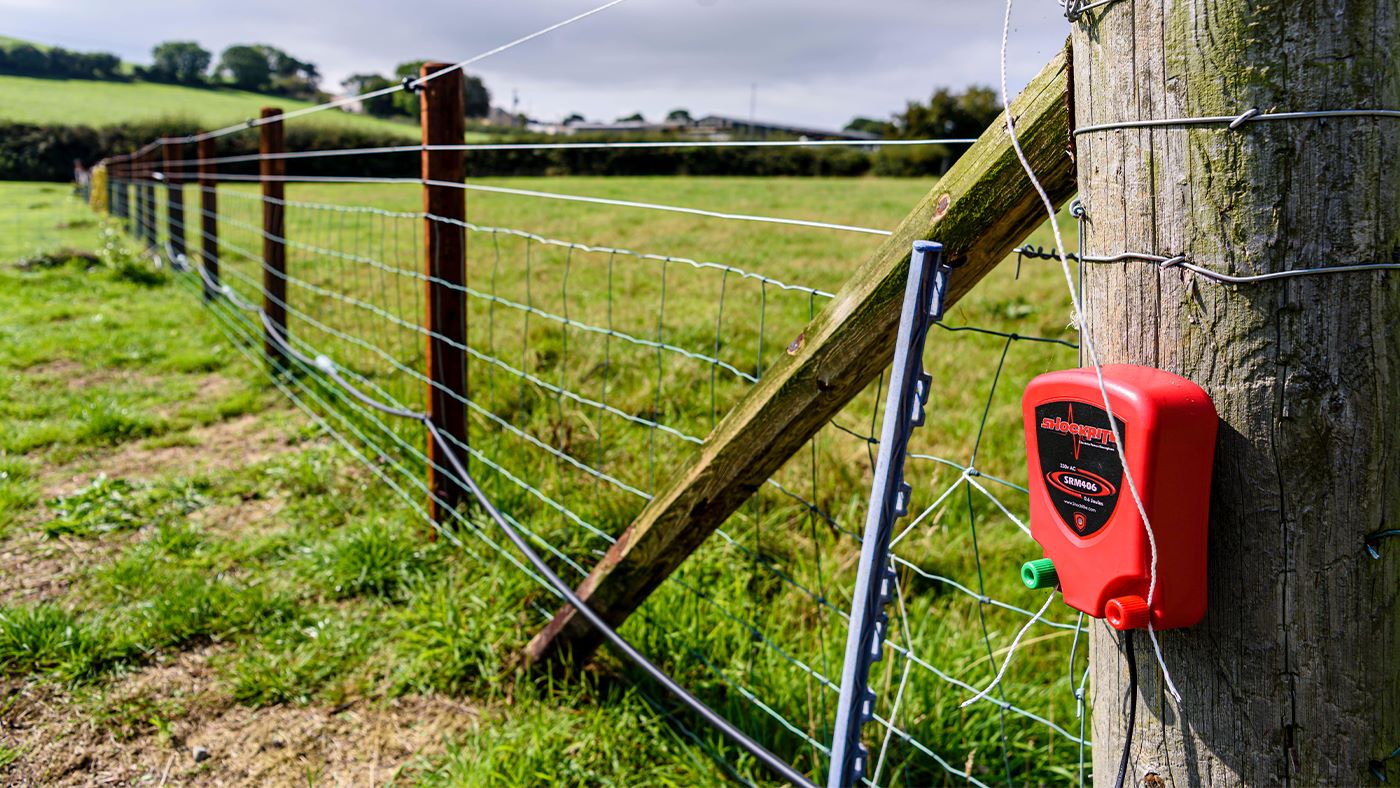
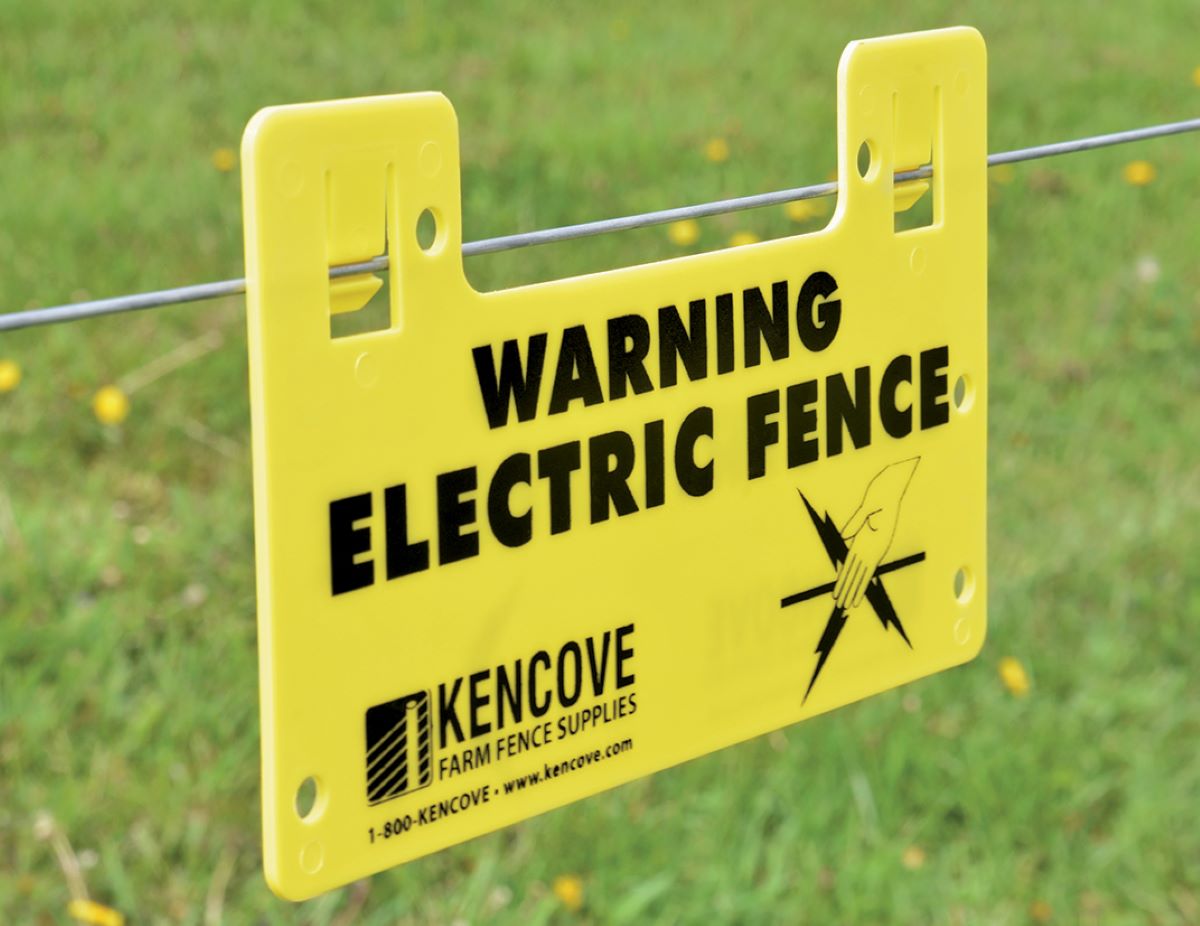
Electric fences have become a popular choice for containing livestock and protecting property. They use a low-intensity electrical charge to create a psychological barrier that prevents animals from crossing the fence. While electric fences are effective, they require regular testing to ensure that they are functioning properly and providing the necessary confinement.
Testing an electric fence involves checking various components, including the voltage, grounding, insulators, wire connections, and overall functionality. By performing routine tests, you can identify any faults or issues that may be compromising the effectiveness of your fence. This article will guide you through the process of testing an electric fence and ensuring its optimum performance.
Before we delve into the details of testing an electric fence, it is important to understand the basic components of an electric fence system. An electric fence typically consists of an energizer, fence wire, insulators, grounding system, and a controller for monitoring and adjusting the fence output.
It is also crucial to prioritize safety while working with electric fences. Always assume that the fence is live and take necessary precautions, such as wearing insulating gloves, avoiding contact with wet surfaces, and using appropriate tools and equipment.
Now, let’s get started with the step-by-step process of testing an electric fence, ensuring its proper functionality, and maintaining the safety of both your livestock and property.
Key Takeaways:
- Regular testing and maintenance of electric fences are crucial for ensuring the safety and containment of livestock and property. By following the step-by-step process outlined in this article, you can identify and address any issues that may compromise the effectiveness of the fence.
- Prioritizing safety precautions, conducting thorough visual inspections, checking voltage output, testing the grounding system, examining insulators, assessing wire connections, identifying shorts, and evaluating overall fence functionality are essential steps in maintaining the optimal performance of an electric fence.
Read more: How To Test Electric Stove Burners
Understanding Electric Fences
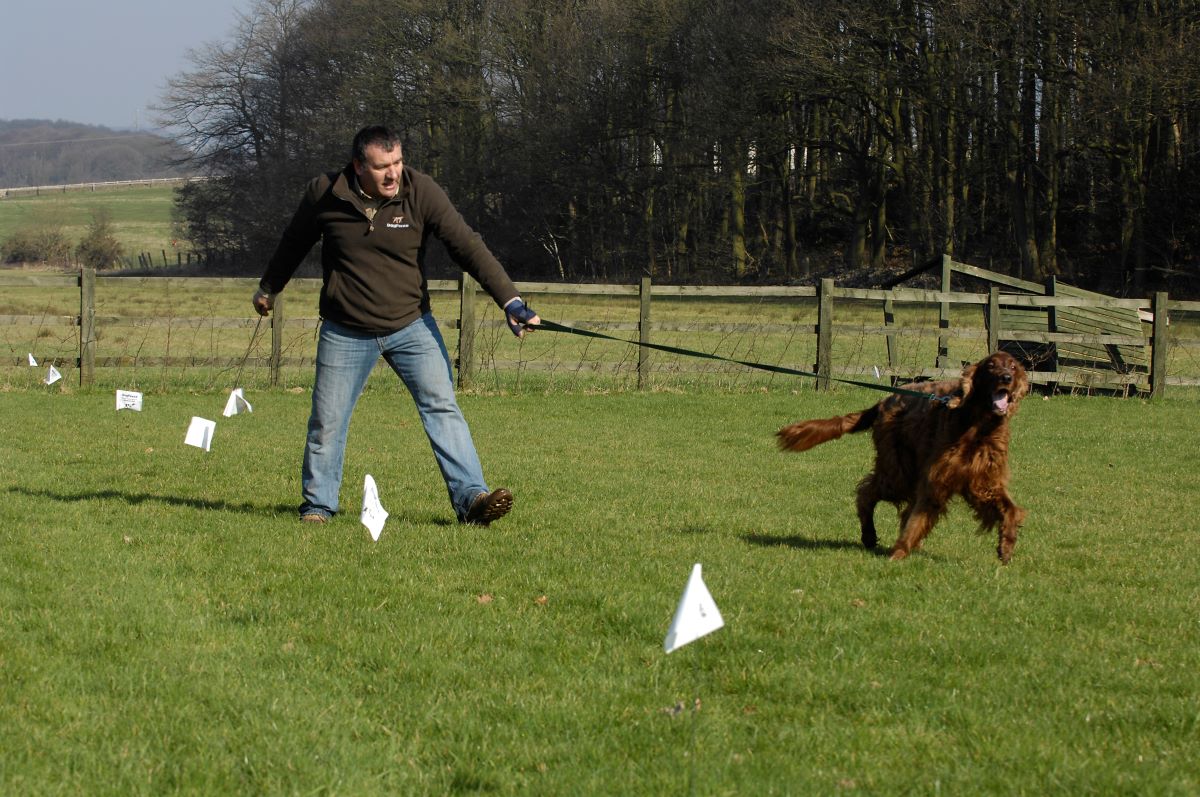
Electric fences function by delivering a mild electrical shock to animals when they come in contact with the wire. This shock serves as a deterrent and conditions the animals to respect the boundaries of the fence. It is important to note that electric fences are not intended to harm the animals but rather to provide a safe and effective containment system.
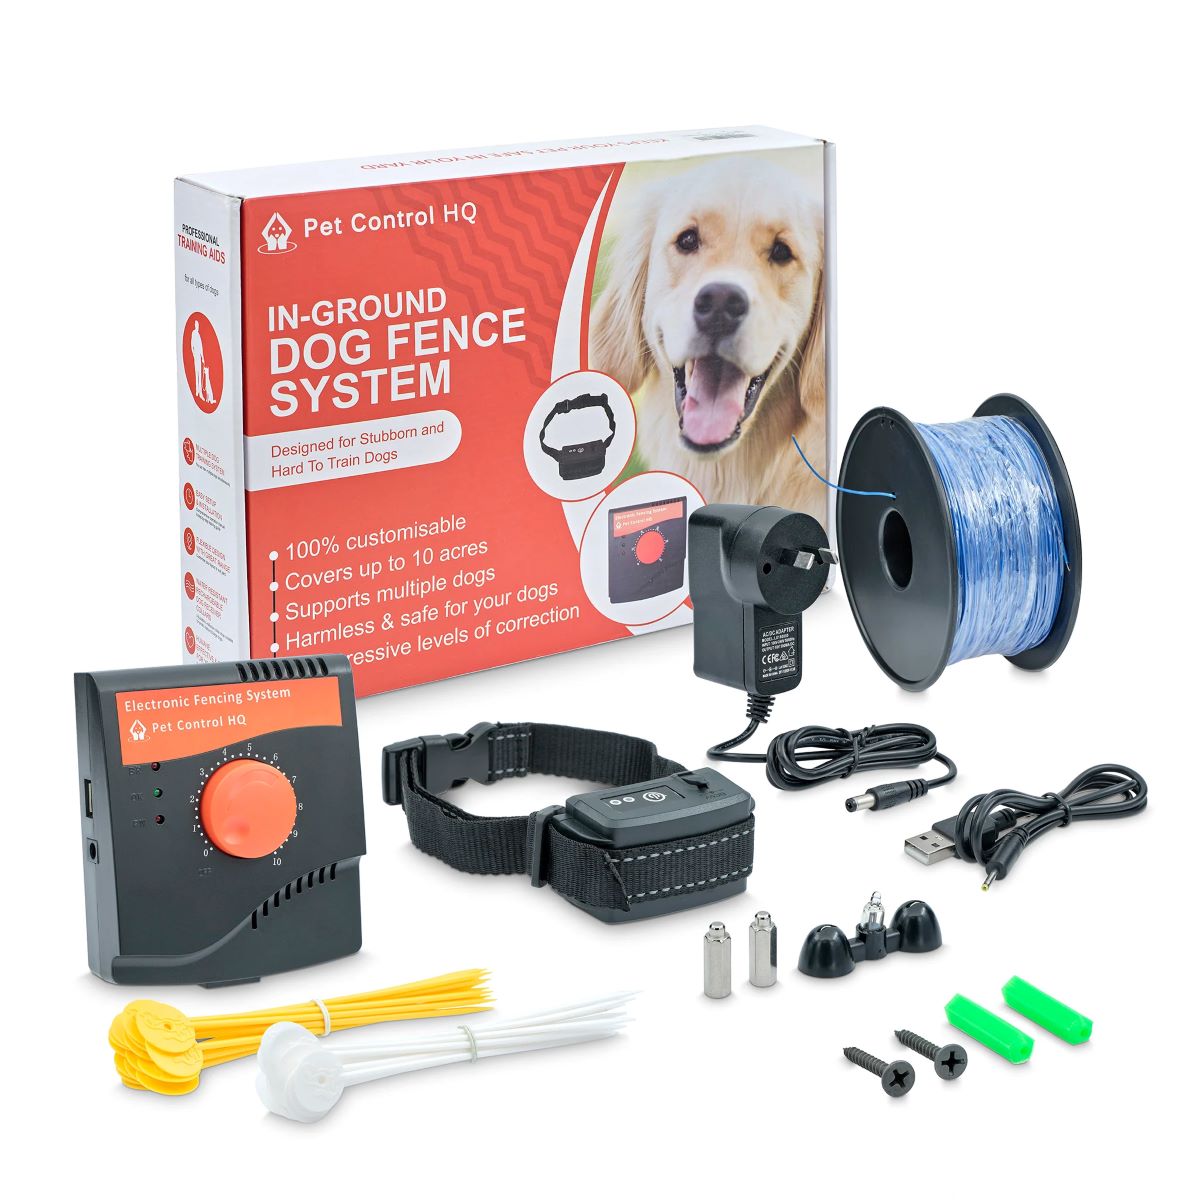
There are two main types of electric fences: battery-powered and AC-powered. Battery-powered fences are commonly used in remote areas where electricity is not readily available. They require regular battery maintenance and have a limited power output. On the other hand, AC-powered fences are connected to a mains power supply and provide a consistently powerful charge.
The heart of an electric fence system is the energizer, also known as the fence charger or fence controller. The energizer converts the input power into a high-voltage pulse that is transmitted through the fence wire. This pulse is typically delivered in short bursts, ensuring that the animals feel a quick but harmless shock.
The type and gauge of the wire used in an electric fence can vary depending on the specific needs of the application. High-tensile wire is often used due to its strength and durability. Polywire and polytape are other popular options, especially when aesthetics are a concern.
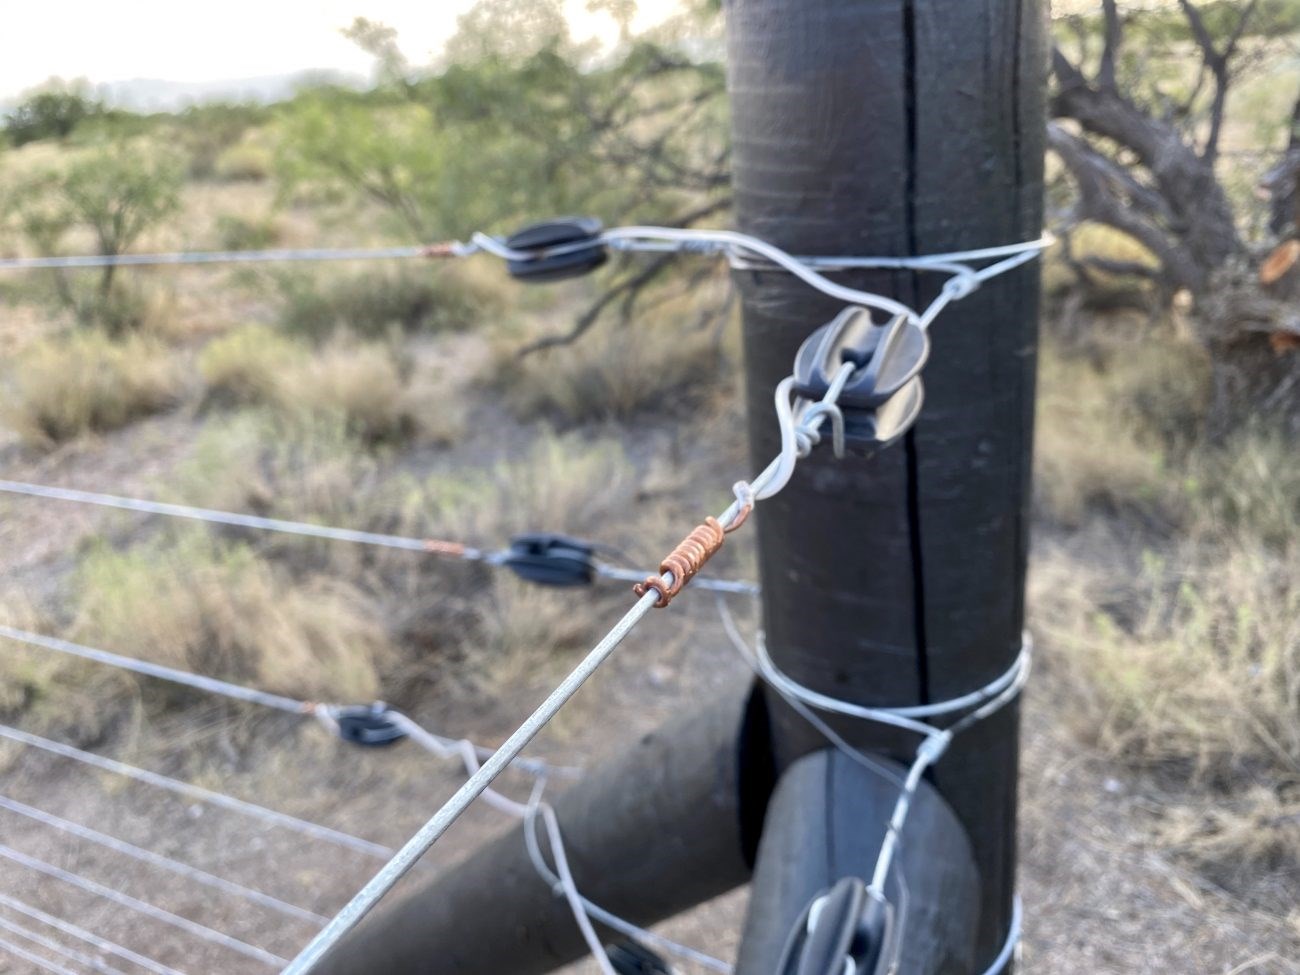
Insulators are an integral part of an electric fence system. They prevent the electrical charge from escaping through posts or other structures and ensure that the fence wire remains isolated. Insulators are made from non-conductive materials such as plastic or porcelain.
The grounding system is another essential component of an electric fence. It provides a path for the electrical charge to dissipate into the ground. A properly installed grounding system helps maintain a consistent voltage throughout the fence and ensures its effectiveness. It usually consists of grounding rods or plates buried in the ground.
Now that you have a basic understanding of electric fences and their components, it’s time to move on to the next step: safety precautions. Ensuring your safety and the safety of your livestock is of utmost importance when testing an electric fence.
Safety Precautions
Testing an electric fence requires careful consideration of safety precautions to prevent accidents and ensure personal protection. Here are some essential safety measures to keep in mind:
- Assume the fence is live: Always treat the fence as if it is actively carrying an electrical charge. Even if you have turned off the power source, there may be residual voltage in the line. Avoid touching the fence unless necessary and use insulated gloves when handling components.
- Inspect the area: Before testing the fence, visually inspect the surroundings. Make sure there are no loose objects or debris that may interfere with the testing process. Remove any potential hazards, such as tree limbs or vegetation, that could come into contact with the fence during testing.
- Be mindful of weather conditions: Avoid testing the fence during rainy or stormy weather. Wet conditions can increase the conductivity of the fence and pose a higher risk of electric shock. Choose a dry day for testing to minimize the chances of accidents.
- Turn off the power source: Before conducting any tests or inspections, ensure that the power to the fence is turned off. Locate the main power switch or disconnect the energizer from the power source. Doing so will prevent accidental shocks and provide a safe testing environment.
- Use proper tools: When working with an electric fence, use tools specifically designed for the purpose. Insulated tools are essential for handling live wires and components. Avoid using metal tools that can conduct electricity and increase the risk of shocks.
- Keep a safe distance: Maintain a safe distance from the fence while testing. Use a non-conductive measuring device or voltmeter to measure voltage or conduct other tests. Avoid touching the fence with your body or any metal objects, as it may result in electric shock.
- Follow manufacturer’s instructions: Every electric fence system is different, so it’s crucial to read and understand the manufacturer’s instructions. Familiarize yourself with the recommended testing procedures and safety guidelines provided by the manufacturer.
By following these safety precautions, you can minimize the risk of accidents and ensure a safe testing experience. Now that you are equipped with the necessary safety knowledge, let’s move on to the equipment needed for testing an electric fence.
Equipment Needed
Testing an electric fence requires a few essential tools and equipment to accurately assess its functionality. Here is a list of the equipment you will need:
- Insulated gloves: Insulated gloves are necessary to protect yourself from electric shocks while handling live wires and components.
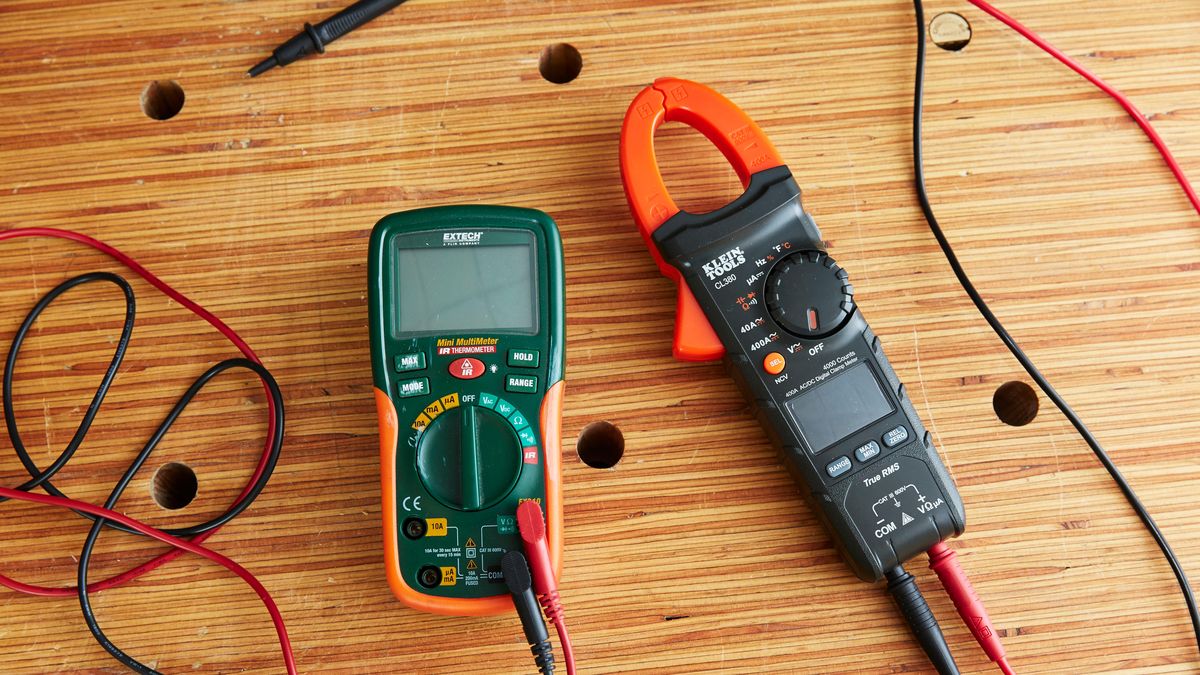
- Voltmeter: A voltmeter is used to measure the voltage output of the electric fence. It allows you to check if the fence is delivering the desired charge.
- Grounding rod: A grounding rod is used to test the grounding system of the fence. It ensures that the electrical charge is properly dissipated into the ground.
- Wire cutter/stripper: Wire cutters or strippers are used to trim or strip the insulation off the fence wire for testing and maintenance purposes.
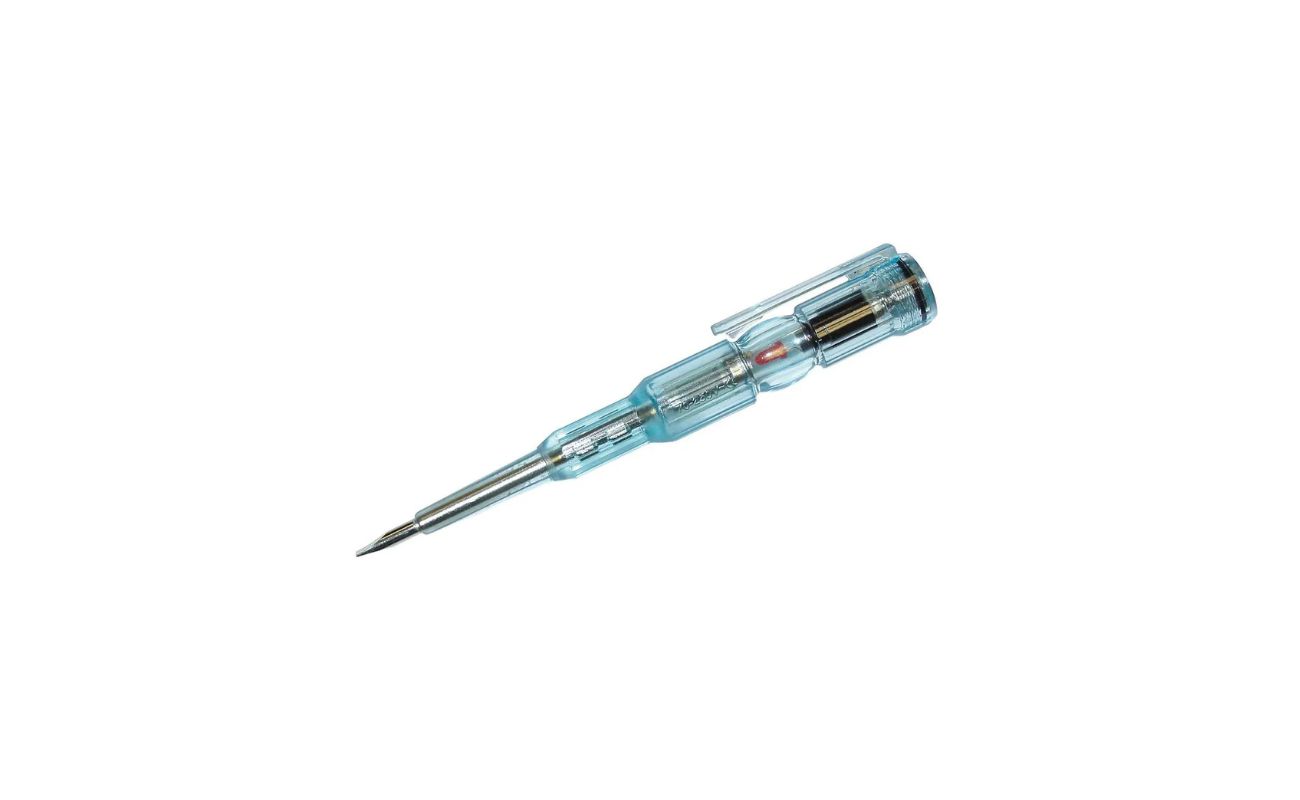
- Non-conductive measuring device: A non-conductive measuring device, such as a plastic or wooden stick, can be used to detect current flow or check for shorts in the fence without getting shocked.
- Clipboard and notebook: Keeping a clipboard and notebook handy allows you to record your test results, track any issues, and note down any necessary repairs or adjustments.
- Tape measure: A tape measure can be helpful in measuring the height and distance of the fence, ensuring it meets the required standards.
- Safety glasses: Safety glasses protect your eyes from any debris or particles that may be present during testing and maintenance.
- Flashlight/headlamp: A flashlight or headlamp can assist in inspecting the fence during low light conditions or when any issues need to be addressed in dark areas.
Having these essential tools and equipment on hand will make the testing process more efficient and ensure accurate assessment of the electric fence. Now that you are familiar with the equipment, let’s proceed to the step-by-step process of testing an electric fence.
Step 1: Visual Inspection
Before testing the functionality of an electric fence, it’s important to conduct a thorough visual inspection of the entire fence system. This inspection will help identify any visible defects, damages, or potential issues that may affect the performance of the fence. Here is a step-by-step guide for conducting a visual inspection:
- Walk the perimeter: Begin by walking along the entire length of the fence, inspecting each section carefully. Look for any signs of damage, such as broken wires, loose insulators, or sagging fence lines. Check if the fence posts are secure and upright, and ensure that they are not leaning or damaged.
- Check for vegetation interference: Clear away any vegetation or overgrown plants that may be touching the electric fence. Vegetation can interfere with the electrical charge and cause power loss or short circuits. Remove any branches, vines, or grass that could come into contact with the fence.
- Examine insulators: Inspect the insulators along the fence line. Ensure that they are intact, securely attached to the fence posts, and free from cracks or damage. Replace any damaged or broken insulators as they can compromise the effectiveness of the electric fence.
- Inspect wire connections: Check all the wire connections, including the connection to the energizer and any splices or junctions in the fence line. Make sure that the wires are tightly connected and there are no loose or corroded connections. Secure any loose wires and clean any corrosion using a wire brush.
- Verify proper grounding: Inspect the grounding system of the fence. Check the grounding rods or plates to ensure they are firmly in the ground and free from corrosion. Make sure the grounding wire is securely connected to the energizer and the grounding system.
- Look for animal damage: Look for signs of animal damage to the fence, such as gnawed wires or bent posts. Animals, such as rodents or larger wildlife, can cause damage to the fence and compromise its integrity. Repair any animal-inflicted damage promptly to maintain the effectiveness of the electric fence.
- Assess overall fence condition: Step back and assess the overall condition of the electric fence. Take note of any significant issues, repairs, or maintenance tasks that need to be addressed. This will help you prioritize and plan for the necessary actions to ensure the fence’s functionality.
By conducting a thorough visual inspection, you can identify and address any visible issues that may affect the performance of your electric fence. Once you have completed the visual inspection, you can proceed to the next step: checking the voltage output of the fence.
Read more: How To Test A Small Electric Motor
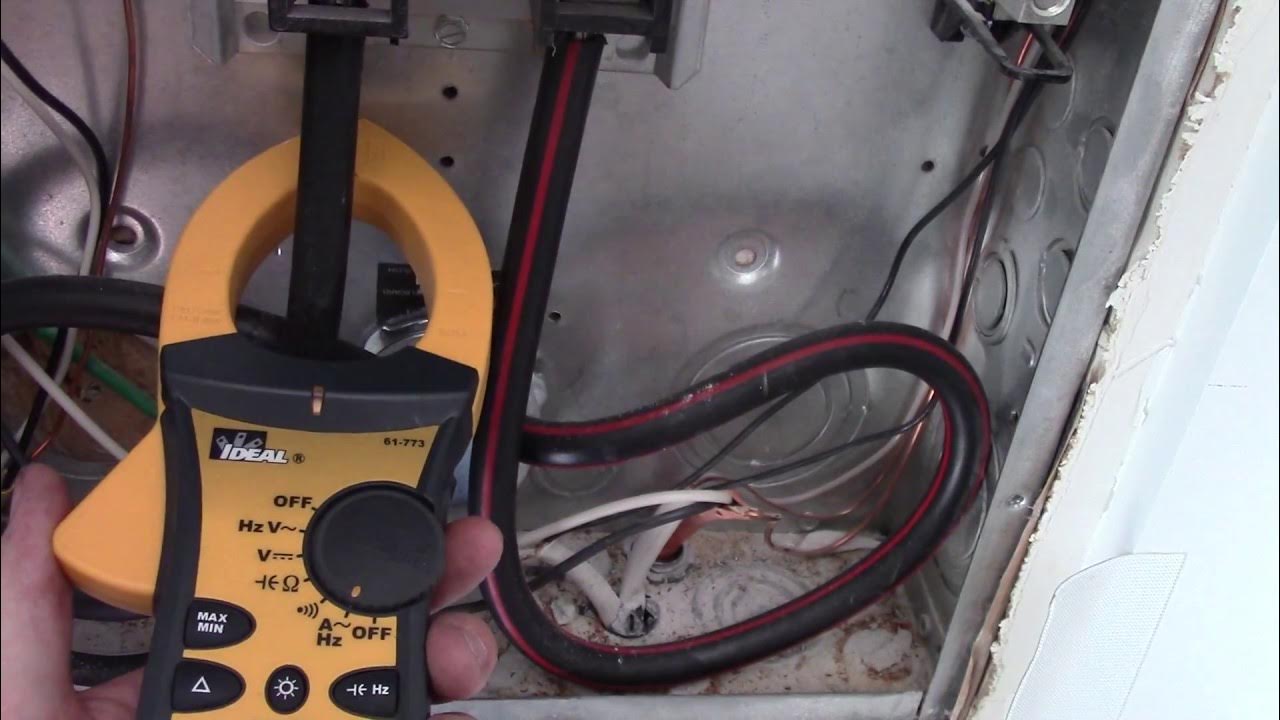
Step 2: Checking Voltage
After completing the visual inspection, the next step in testing an electric fence is checking the voltage output. This step will help determine if the fence is delivering the appropriate charge necessary for effective containment. Here’s how you can check the voltage output of the electric fence:
- Turn on the power: Make sure the power to the fence is turned on by connecting or activating the energizer. Ensure that you are following the manufacturer’s instructions for operating the energizer safely.
- Select an appropriate location: Choose a suitable spot along the fence line to measure the voltage. Ideally, pick an area that represents the average voltage output of the fence, away from any potential interference or short circuits.
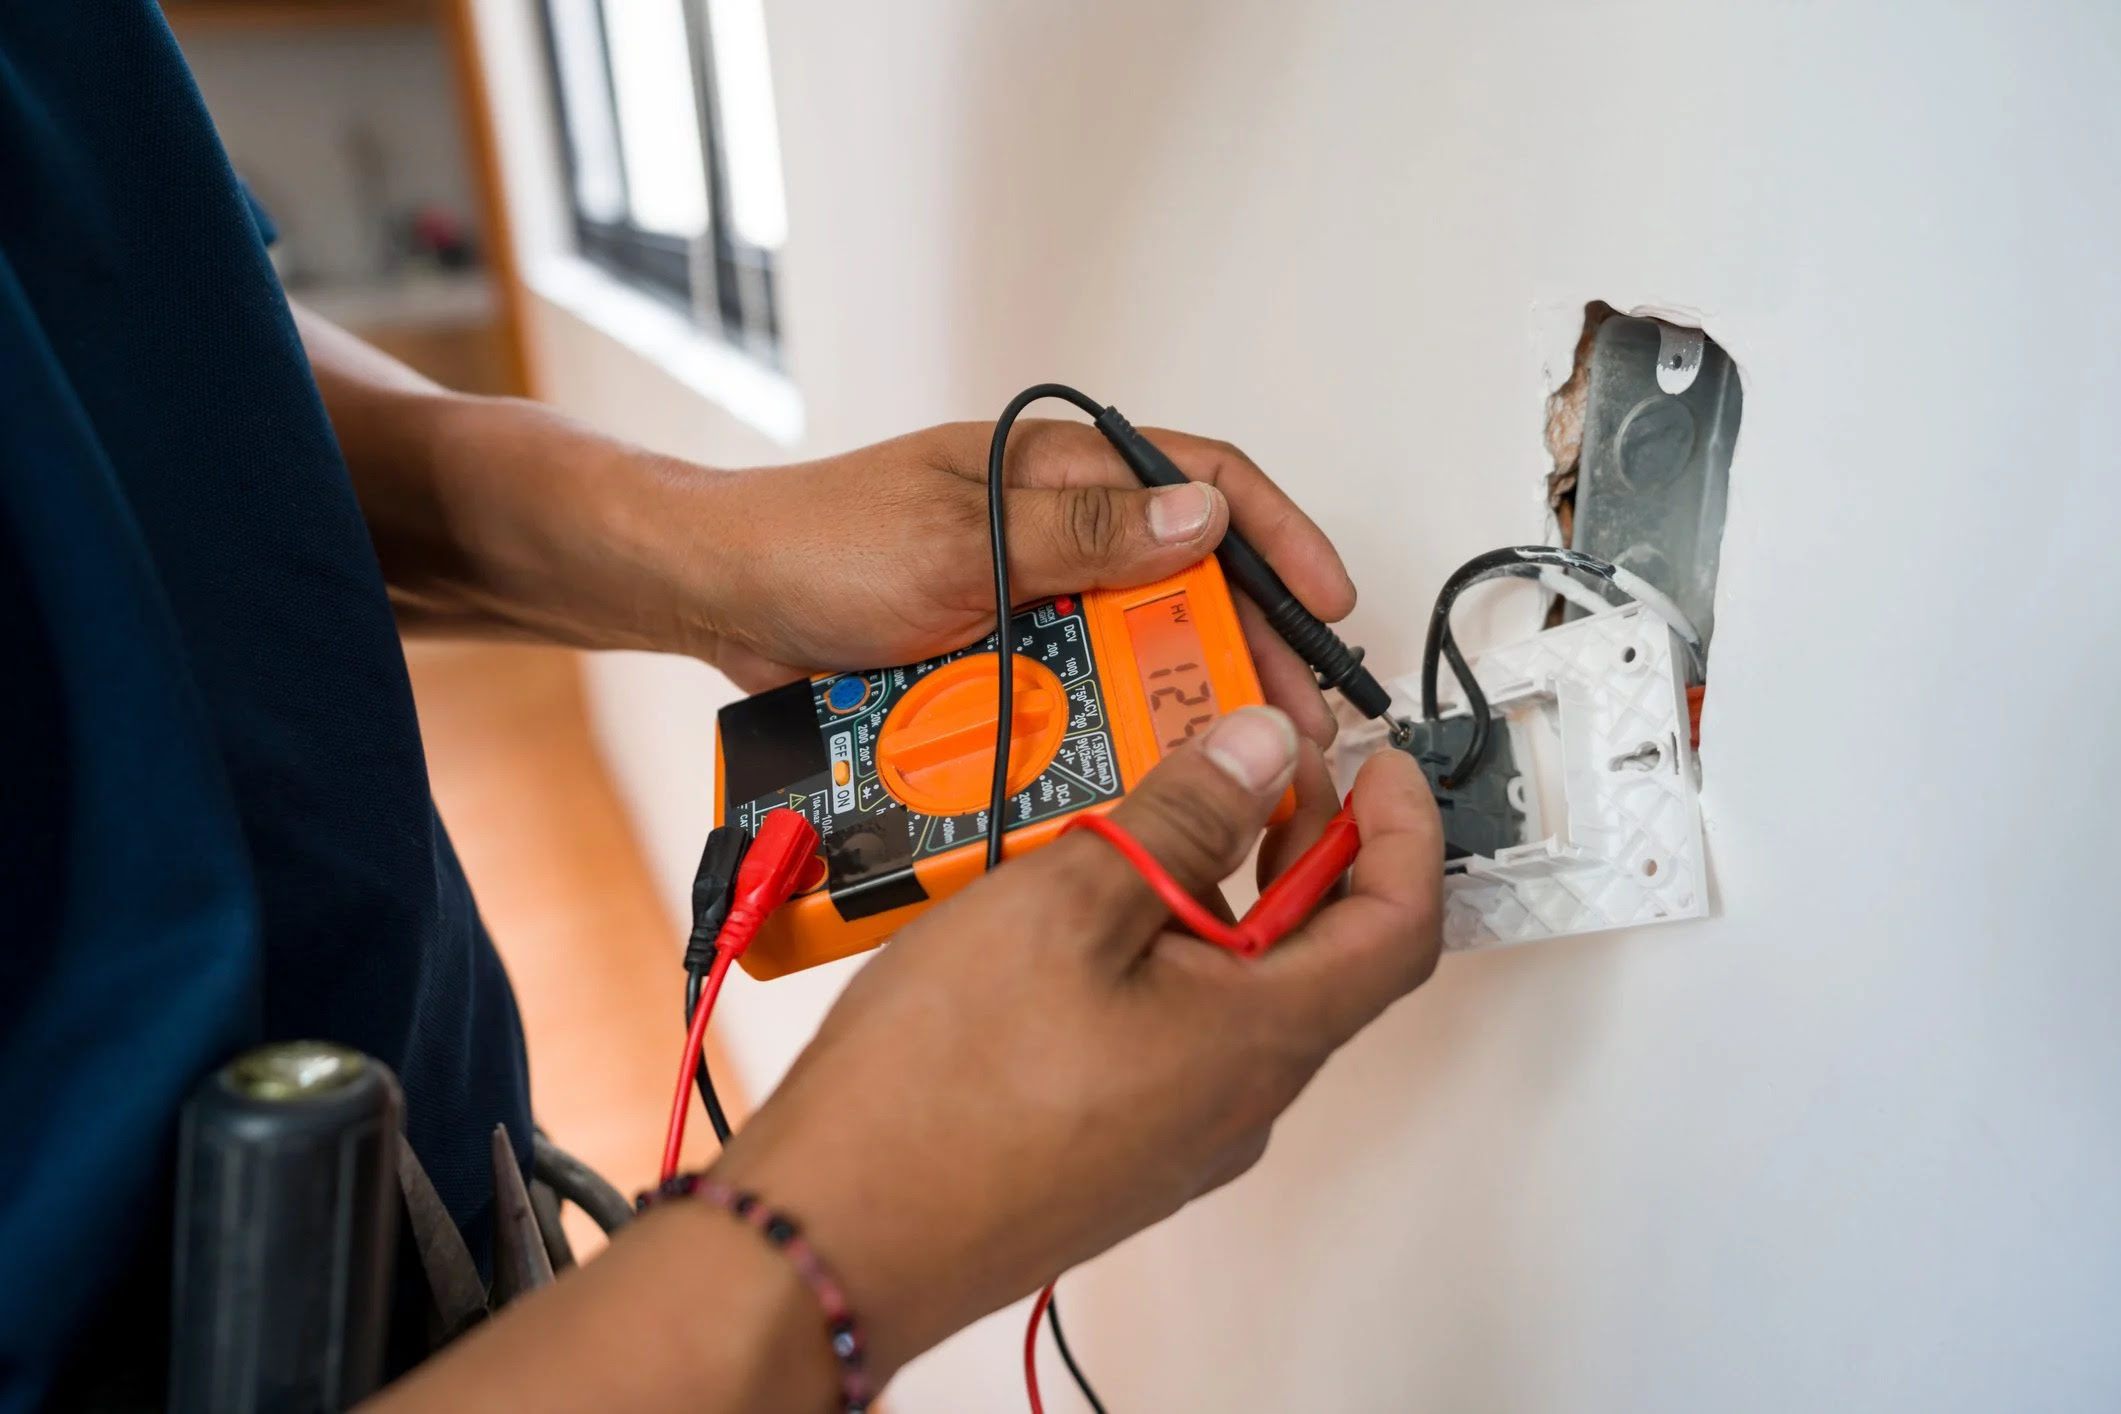
- Set up the voltmeter: Connect the voltmeter’s probes to the fence wire, ensuring that one probe is touching the fence wire and the other probe is grounded. Use the non-conductive measuring device to hold the ground probe securely in the ground.
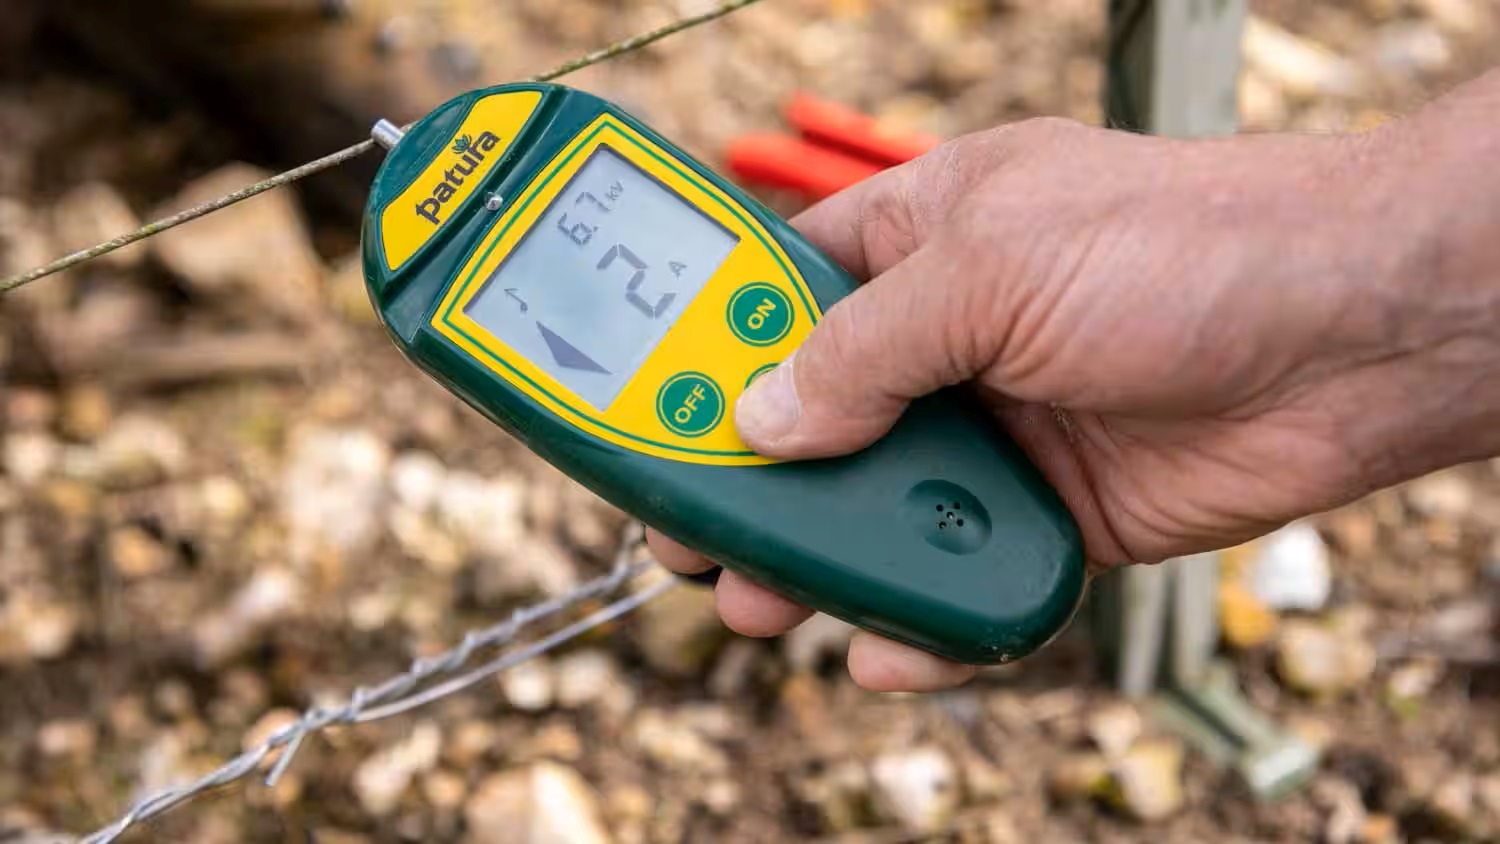
- Take the voltage reading: With the voltmeter set up correctly, take a voltage reading by observing the readings displayed on the voltmeter. The voltage reading should be within the range specified by the manufacturer or the desired voltage for your particular application (e.g., 4,000 to 5,000 volts for livestock containment).
- Repeat the measurement: To ensure accuracy, take multiple voltage measurements at different locations along the fence line. This will help identify any discrepancies or inconsistencies in the voltage output.
- Compare with desired voltage: Compare the measured voltage with the desired voltage for your electric fence system. If the measured voltage is significantly lower than the desired voltage, it may indicate a fault or issue that needs to be addressed.
- Note any fluctuations: Pay attention to any voltage fluctuations observed during the measurement. Fluctuations in voltage may indicate a problem with the energizer or a weak power supply. It may be necessary to troubleshoot and rectify the issue to ensure consistent voltage output.
- Record the results: Record all the voltage readings and any observations or issues noted during the measurement process. This will help track the performance of the fence over time and make future maintenance and troubleshooting easier.
Checking the voltage output is crucial in ensuring that the electric fence is providing the desired charge for containment. By following these steps, you can accurately measure the voltage of your electric fence and identify any voltage-related issues that need to be addressed. Next, we will move on to step 3: testing the grounding system of the fence.
When testing an electric fence, use a fence tester to check the voltage at various points along the fence. This will ensure that the entire fence is functioning properly and delivering a consistent shock to deter animals.
Step 3: Testing Grounding
Testing the grounding system of an electric fence is an important step to ensure that the electrical charge is properly dissipated into the ground. A well-functioning grounding system helps maintain a consistent voltage throughout the fence and enhances its effectiveness. Here’s a step-by-step guide for testing the grounding system:
- Select a test location: Choose a suitable location near the grounding system where you can conduct the testing. This could be near one of the grounding rods or plates that are connected to the fence’s grounding wire.
- Prepare the grounding rod connection: Ensure that the grounding wire is securely connected to the grounding rod or plate. If there are multiple grounding rods, select one for testing purposes. Make sure the connection is tight and free from corrosion.
- Set up the voltmeter: Connect the voltmeter’s probes, one to the grounding rod or plate and the other to a known good ground, such as a metal rod or pipe that is buried deep in the ground. Ensure that the probes are securely attached and making good contact with the respective grounding points.
- Measure the voltage difference: With the voltmeter set up, take a voltage reading by observing the display on the voltmeter. The voltage reading represents the difference in electrical potential between the grounding rod and the known good ground point.
- Evaluate the voltage reading: Compare the measured voltage reading with the recommended values specified by the manufacturer or industry standards. Typically, the voltage difference should be minimal, indicating a good grounding system. Excessive voltage differences may signify a problem with the grounding, such as corrosion or inadequate grounding.
- Check for grounding faults: During the test, look out for any signs of grounding faults. These may include sparking, unusual noise, or high voltage readings. Such indications may suggest a faulty grounding system that needs further investigation and corrective action.
- Repeat the measurement: To ensure accuracy and reliability, repeat the measurement at different grounding points along the fence line. This helps identify any variations in the grounding system’s performance and locate potential issues.
- Record the results: Document all the voltage readings and observations during the grounding test. Keeping a record will help track the performance of the grounding system over time and facilitate future maintenance and troubleshooting.
Testing the grounding system of an electric fence is crucial to ensure its proper functionality. By following these steps, you can assess the effectiveness of the grounding and address any grounding-related issues that may be affecting the performance of your fence. With the grounding tested, let’s move on to step 4: testing the insulators.
Step 4: Testing Insulators
Insulators play a vital role in maintaining the effectiveness of an electric fence by preventing the electrical charge from escaping through the fence posts or other structures. Testing the insulators is essential to ensure that they are doing their job properly. Here’s a step-by-step guide for testing the insulators:
- Inspect the insulators: Begin by visually inspecting all the insulators along the fence line. Check for any signs of damage, such as cracks, chips, or loose fittings. Pay close attention to insulators that are exposed to direct sunlight or other harsh environmental conditions, as they are more prone to deterioration.
- Observe for leakage: While inspecting the insulators, keep an eye out for any signs of leakage. Look for indicators like black or charred marks on the insulators, which may suggest that the electrical charge is arcing or escaping through the insulator. This can reduce the efficacy of the electric fence.
- Check for tightness: Ensure that the insulators are securely fastened to the fence posts or other supporting structures. Loose insulators can cause the fence wire to come into contact with the ground or other conductive surfaces, resulting in power loss or short circuits. Tighten or replace any loose or damaged insulators as necessary.
- Perform a knock test: To further test the insulators, gently tap or knock each insulator with a non-conductive object, such as a plastic or wooden stick. Observe if there are any noticeable vibrations or movements. Insulators should remain firmly attached to their respective positions and not show signs of weakness or detachment.
- Check for insulation integrity: Insulators are designed to provide electrical insulation, so it is essential to ensure their integrity. Check that there are no conductive materials, like dirt, debris, or vegetation, touching or covering the insulators. Any contact between conductive materials and the insulators can compromise their ability to insulate the electric fence properly.
- Test with a voltmeter: Using a voltmeter, you can perform a voltage test on the insulators. Connect the voltmeter’s probes to the fence wire on both sides of an insulator. Measure the voltage difference across the insulator. If the voltage reading is significantly lower than the overall fence voltage, it may suggest a faulty or ineffective insulator.
- Replace faulty insulators: If you detect any damaged, leaking, or ineffective insulators during the test, it is crucial to replace them promptly. Using high-quality insulators is essential to ensure the proper functioning of the electric fence and maintain its effectiveness.
- Record the results: Keep a record of any observations or issues noted during the insulator testing process. This information will help you track the performance of the insulators over time and guide future maintenance and troubleshooting efforts.
By thoroughly testing the insulators, you can identify and address any insulator-related issues that may be compromising the efficiency of your electric fence. With the insulators tested, let’s proceed to step 5: testing the wire connections.
Step 5: Testing Wire Connections
Ensuring secure and effective wire connections is crucial for the proper functioning of an electric fence. Testing the wire connections will help identify any loose, corroded, or faulty connections that may impede the flow of electricity. Here’s a step-by-step guide to testing the wire connections on your electric fence:
- Inspect the wire connections: Begin by visually inspecting all the wire connections, including the connection to the energizer and any splices or junctions along the fence line. Look for any signs of loose or corroded connections, damaged wires, or improper splicing.
- Tighten loose connections: If you come across any loose connections, use appropriate tools like pliers or wrenches to securely tighten them. Ensure that all connections are tight and snug to maintain proper electrical conductivity. Be cautious not to over-tighten as it may damage the wire or connection point.
- Check for corrosion: Corrosion can significantly affect the performance of wire connections. Inspect all wire connectors for signs of corrosion, such as green or white deposits. Use a wire brush or sandpaper to clean any corrosion from the connectors, ensuring good conductivity.
- Inspect splices and junctions: Pay close attention to any splices or junctions in the fence wire. Ensure that they are secure and free from damage. Splices should be properly insulated using appropriate connectors or heat shrink tubing to prevent wire separation or exposure.
- Perform a tugging test: To check the strength of the wire connections, gently tug on the wires at each connection point. The wires should remain tightly connected without any signs of movement or disconnection. If you notice any weak or loose connections, tighten them further or replace damaged connectors if necessary.
- Test with a voltmeter: To verify the conductivity of the wire connections, use a voltmeter. Connect the voltmeter’s probes to both sides of a wire connection and measure the voltage across the connection point. Ensure that the voltage reading is consistent and shows a minimal voltage drop, indicating good conductivity.
- Check for arcing or sparking: While testing the wire connections, observe for any signs of arcing or sparking. These could indicate loose or faulty connections that may need immediate attention. Arcing and sparking can lead to power loss, short circuits, or even electrical hazards.
- Replace faulty connectors: If you discover any damaged or ineffective wire connectors during the testing process, it’s essential to replace them promptly. Faulty connectors can lead to poor electrical conductivity and compromise the overall performance of the electric fence.
- Record the results: Maintain a record of the wire connections that were tested and any observations or issues noted. This documentation will help you keep track of the condition of the wire connections and guide future maintenance or troubleshooting efforts.
Thoroughly testing the wire connections will help ensure a properly functioning electric fence with consistent electrical conductivity. With the wire connections tested, let’s proceed to step 6: checking for shorts.
Read more: How To Test Electric Pressure Cooker
Step 6: Checking for Shorts
Short circuits can affect the functionality and effectiveness of an electric fence by causing voltage loss or erratic behavior. Checking for shorts is a critical step in maintaining the integrity of your fence. Here’s a step-by-step guide for identifying and addressing shorts on your electric fence:
- Turn off the power: Before checking for shorts, ensure that the power to the electric fence is turned off. Disconnect the energizer or switch off the power source to eliminate the risk of electric shock during the process.
- Inspect the fence wire: Carefully examine the entire length of the fence wire, visually looking for any signs of damage, vegetation interference, or loose wires. Pay close attention to areas where the wire may come into contact with other conductive objects, such as trees, metal structures, or vegetation.
- Use a fault-finding device: Employ a fault-finding device, such as a digital fault finder or fault locator, to identify the presence of any shorts on the fence line. These devices detect breaks or faults in the circuit caused by vegetation touching the wire or wire-to-wire contact.
- Walk the fence line: Slowly walk along the fence line, holding the fault-finding device near the wire. The device will emit an audible signal or display a visual indication when it detects a short or fault. Mark the locations where the device indicates a short for further investigation and repair.
- Inspect marked areas: Return to the marked areas along the fence line and inspect them more closely. Look for any physical signs of shorts, such as vegetation touching the wire or wire entanglement, which may be causing a short circuit. Clear away any vegetation or debris that may be causing the short.
- Check insulators and connections: Inspect the insulators and wire connections at the marked areas. Ensure that the insulators are intact and securely positioned, providing proper electrical insulation. Examine the wire connections for any loose or damaged components that may be causing a short circuit.
- Test for shorts: After addressing any visible issues, use the fault-finding device or a voltmeter to retest the areas where shorts were detected. Ensure that the device no longer indicates any faults and that the voltage across the marked areas is within the expected range.
- Repeat the process: Walk the entire fence line again, repeating the process of checking for shorts and addressing any issues as necessary. Pay attention to areas that may be more susceptible to shorts, such as corners, gateways, or areas with dense vegetation.
- Record the results: Keep a record of the shorts detected and the steps taken to address them. This documentation will assist in monitoring the occurrence of shorts over time and enable you to take preventive measures to minimize future short circuits.
By systematically checking for shorts and promptly addressing any issues, you can ensure optimal performance and effectiveness of your electric fence. Once you have completed the process of checking for shorts, let’s move on to step 7: assessing the overall fence functionality.
Step 7: Assessing Overall Fence Functionality
After completing the previous steps of testing and addressing specific components of the electric fence, it is crucial to assess the overall functionality of the fence. This final step will help ensure that the fence is performing at its optimal level and providing effective containment. Here’s how to assess the overall fence functionality:
- Turn on the power: Ensure that the power to the electric fence is turned on by reconnecting the energizer or switching on the power source. Allow the fence to energize and start operating normally.
- Observe animal behavior: Watch the behavior of the animals that are being contained by the fence. Notice if they are respecting the boundaries and staying within the designated area. If there are indications of animals crossing or challenging the fence, it may suggest a problem with the fence’s functionality.
- Monitor voltage: Continuously monitor the voltage output across different sections of the fence using a voltmeter. Ensure that the voltage remains within the desired range specified by the manufacturer or the recommended voltage for your particular application.
- Check for signs of malfunctions: Observe the fence for any signs of malfunctions, such as arcing, sparking, or hot spots. These signs may indicate faults in the energizer, wire connections, or other components of the fence system. Any unusual behavior should be investigated and addressed promptly.
- Perform periodic tests: Regularly conduct routine tests on the fence to ensure ongoing functionality. These tests may include voltage measurements, visual inspections, and checks for shorts or other issues. Performing periodic tests will help identify and address potential problems before they escalate.
- Observe the fence during different weather conditions: Pay attention to how the fence performs during various weather conditions, such as heavy rain, high winds, or extreme temperatures. The fence should withstand these conditions without compromising its functionality or causing power loss.
- Address any concerns: If you notice any issues or concerns during the assessment, take appropriate steps to address them. This may include further inspections, repairs, or contacting a professional for assistance if needed.
- Regular maintenance: Develop a schedule for regular maintenance of the electric fence. This includes tasks such as cleaning insulators, tightening wire connections, trimming vegetation, checking the energizer, and testing voltage levels. A well-maintained fence will ensure consistent functionality and longevity.
- Record the assessment: Keep a detailed record of the overall assessment, including any observations, findings, and actions taken. This record will serve as a reference for future maintenance, troubleshooting, and fence performance monitoring.
Assessing the overall functionality of the electric fence is essential to ensure reliable and effective containment of animals. By following these steps and regularly monitoring the fence, you can maintain its optimal performance and provide a secure barrier for your livestock or property.
With step 7 completed, you have successfully gone through the process of testing an electric fence. Remember to regularly check and maintain your fence to ensure the safety and security of your livestock and property. Happy fencing!
Conclusion
Testing an electric fence is a critical task that ensures the functionality, effectiveness, and safety of the fence system. By following the step-by-step process outlined in this article, you can identify and address any issues that may compromise the containment capabilities of the fence. Proper testing and maintenance of an electric fence are essential for keeping livestock safe, protecting property, and maintaining peace of mind.
Throughout the testing process, you have learned how to visually inspect the fence, check the voltage output, test the grounding system, examine the insulators, assess wire connections, identify shorts, and evaluate the overall fence functionality. Each step contributes to the comprehensive assessment of the electric fence and helps maintain its optimal performance.
Remember to prioritize safety precautions throughout the testing process. Treat the fence as if it is live, wear insulated gloves, and avoid contact with wet surfaces. Regularly inspect the fence for damage and clear any vegetation interference. Use the appropriate tools and equipment for testing, such as a voltmeter, grounding rod, wire cutters, and fault-finding devices.
By conducting routine tests and inspections, you can detect any faults or issues early on and take immediate corrective actions. Timely repairs of loose wire connections, damaged insulators, short circuits, or faulty grounding can prevent potential breaches in the fence and ensure the safety and containment of your livestock.
Don’t forget to maintain a record of your tests, including voltage readings, observations, and maintenance actions. This documentation will help you track the performance of the electric fence over time, identify patterns or recurring issues, and guide future maintenance efforts.
Regular testing and diligent maintenance of your electric fence will help maximize its functionality, longevity, and reliability. By ensuring its proper operation, you can enhance the safety of your livestock, protect your property, and achieve peace of mind. Investing time and effort in testing an electric fence is a valuable endeavor that pays off in the long run.
Now that you possess the knowledge and understanding of how to test an electric fence, put this information into practice and keep your electric fence in optimal condition. Enjoy the benefits of a well-maintained and effective electric fence system!
Frequently Asked Questions about How To Test An Electric Fence
Was this page helpful?
At Storables.com, we guarantee accurate and reliable information. Our content, validated by Expert Board Contributors, is crafted following stringent Editorial Policies. We're committed to providing you with well-researched, expert-backed insights for all your informational needs.


0 thoughts on “How To Test An Electric Fence”