Articles
What Is Tuckpointing A Chimney
Modified: January 9, 2024
Learn everything you need to know about tuckpointing a chimney with our informative articles. Discover the benefits, process, and expert tips.
(Many of the links in this article redirect to a specific reviewed product. Your purchase of these products through affiliate links helps to generate commission for Storables.com, at no extra cost. Learn more)
Introduction
Tuckpointing is a crucial process in maintaining the integrity and functionality of a chimney. Over time, weather elements, wear and tear, and natural settling can cause the mortar joints between the bricks to deteriorate. This deterioration not only compromises the structural stability of the chimney but also allows water penetration, leading to leaks and further damage.
In this article, we will delve into the definition of tuckpointing, discuss the importance of tuckpointing a chimney, highlight the signs that indicate your chimney needs tuckpointing, explore the steps involved in the tuckpointing process, and provide valuable tips for maintenance post-tuckpointing.
Whether you are a homeowner looking to tackle this project yourself, or considering hiring a professional, this article will equip you with the necessary knowledge to make informed decisions and preserve the longevity of your chimney.
Key Takeaways:
- Tuckpointing is crucial for preserving a chimney’s structural integrity, preventing water damage, enhancing energy efficiency, and improving safety. Regular inspections and proper maintenance post-tuckpointing are essential for long-term chimney functionality.
- Whether opting for DIY tuckpointing or hiring a professional, it’s important to weigh the advantages and considerations of each approach. Prioritizing safety, expertise, and long-term quality ensures the optimal longevity of a tuckpointed chimney.
Read more: How To Tuckpoint Chimney
Definition of Tuckpointing
Tuckpointing, also known as pointing or repointing, is a technique used to repair and restore the mortar joints between bricks or stones in a masonry structure, such as a chimney. The term “tuckpointing” originated in the 18th century when masons would use a pointing trowel to apply two different colors of mortar to create the illusion of well-maintained joints.
Tuckpointing involves removing the deteriorated or damaged mortar from the joints and replacing it with fresh mortar. The new mortar not only fills the gaps but also provides a strong bond between the bricks, ensuring the structural stability of the chimney.
The process typically includes two steps: “raking out” or removing the old mortar and “pointing” or filling the joints with new mortar. The old mortar is carefully removed to a specific depth, usually about 1/2 inch, to create a clean and sound surface for the new mortar to adhere to.
Once the joints are clean, fresh mortar is applied using a pointing trowel, filling the gaps and creating a smooth and uniform finish. It is essential to match the color and texture of the existing mortar to achieve a seamless and aesthetically pleasing result.
Tuckpointing is not solely a cosmetic procedure. While improving the appearance of the chimney, it also plays a vital role in preventing water damage and maintaining the structural integrity of the masonry. By replacing deteriorated mortar, tuckpointing seals the gaps, preventing water from infiltrating the chimney and causing further deterioration or leaks.
Overall, tuckpointing is a critical maintenance task that helps prolong the lifespan of a chimney, ensures its functionality, and enhances the curb appeal of your home.
Importance of Tuckpointing a Chimney
Tuckpointing a chimney is a crucial process that offers several important benefits. Let’s explore the significance of tuckpointing and why it should be prioritized in chimney maintenance.
- Preserves Structural Integrity: Over time, the mortar joints between bricks can deteriorate due to weather exposure, temperature fluctuations, settling, and other factors. This deterioration weakens the entire chimney structure, making it vulnerable to collapse or damage. Tuckpointing fills in the gaps and restores the stability of the chimney, ensuring it can withstand the elements and remain structurally sound.
- Prevents Water Damage: The primary function of mortar joints in a chimney is to provide a watertight seal. When the mortar deteriorates, gaps and cracks form, allowing water to penetrate the chimney. Water infiltration can lead to costly damage, such as efflorescence (white staining), spalling (bricks cracking and breaking), and even internal water leaks. Tuckpointing seals these gaps, preventing water from entering the chimney and protecting it from water-related issues.
- Enhances Energy Efficiency: A properly maintained chimney with solid mortar joints acts as a barrier against drafts and air leakage. When mortar starts to deteriorate, it can create gaps that compromise the chimney’s energy efficiency. Tuckpointing seals these gaps, ensuring that warm or cool air from your home doesn’t escape through the chimney. By improving energy efficiency, tuckpointing helps reduce heating and cooling costs.
- Improves Safety: A damaged chimney with deteriorated mortar joints poses significant safety hazards. Loose bricks or crumbling mortar can fall from the chimney, endangering people and property below. Additionally, water penetration can lead to hidden structural damage that weakens the chimney over time. Tuckpointing eliminates these risks by restoring the chimney’s integrity and minimizing the chance of chimney collapse or falling debris.
- Preserves Historical Value: For older homes or historic buildings, tuckpointing is especially critical. These structures often feature unique brickwork and craftsmanship that contribute to their historical value. Tuckpointing preserves the original appearance and integrity of the chimney, maintaining the historical charm of the property.
Overall, tuckpointing is a crucial maintenance task that not only ensures the longevity and functionality of the chimney but also protects your home’s structural integrity and enhances its value. Regular inspection and timely tuckpointing can save you from expensive repairs in the future and provide peace of mind.
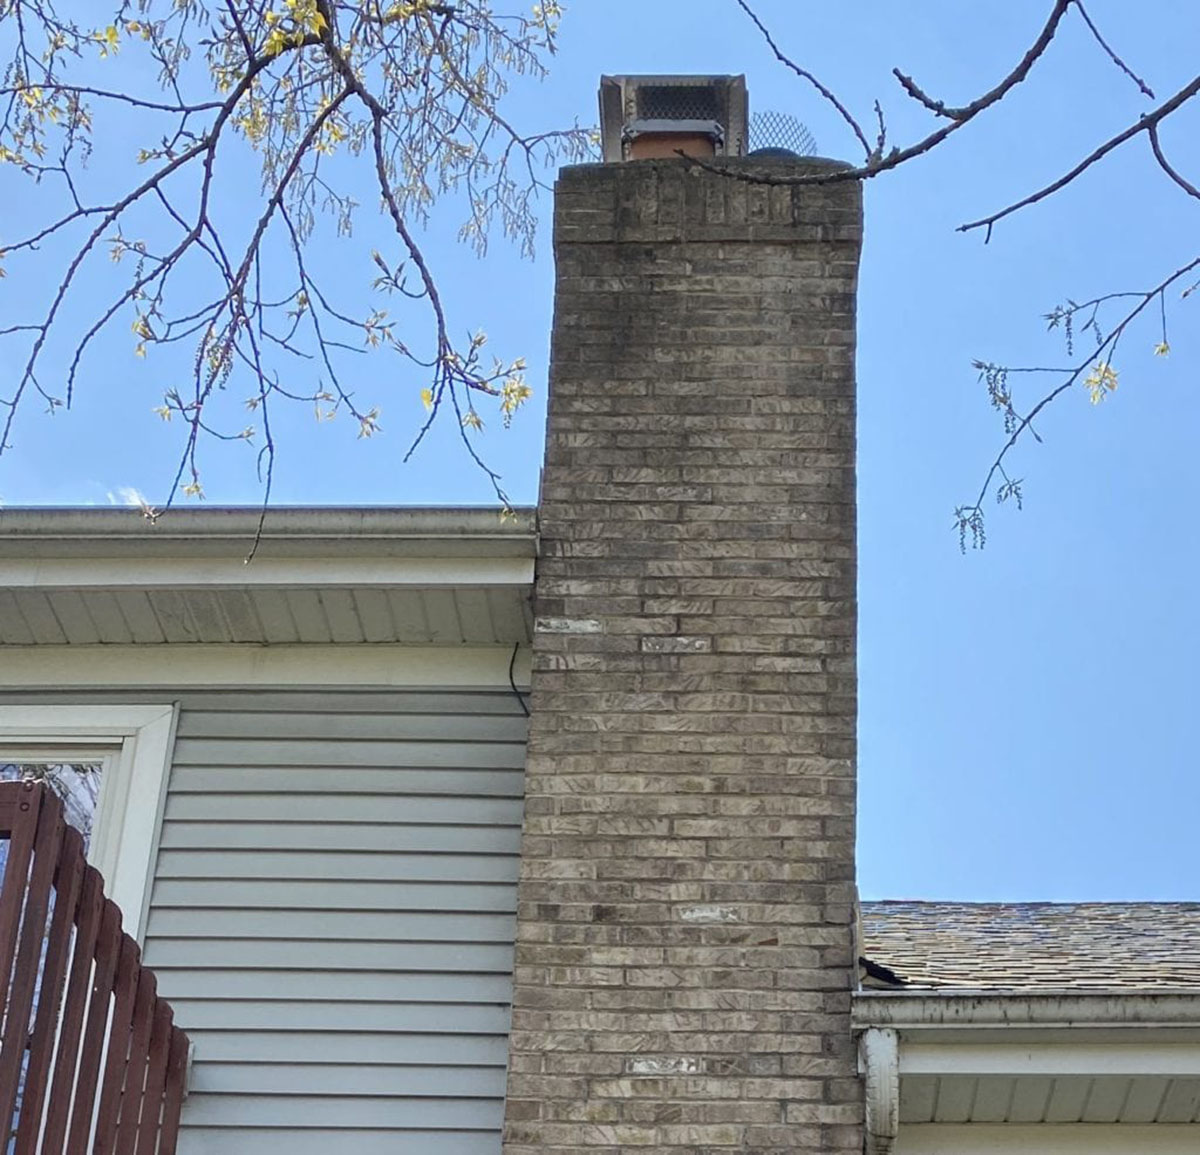
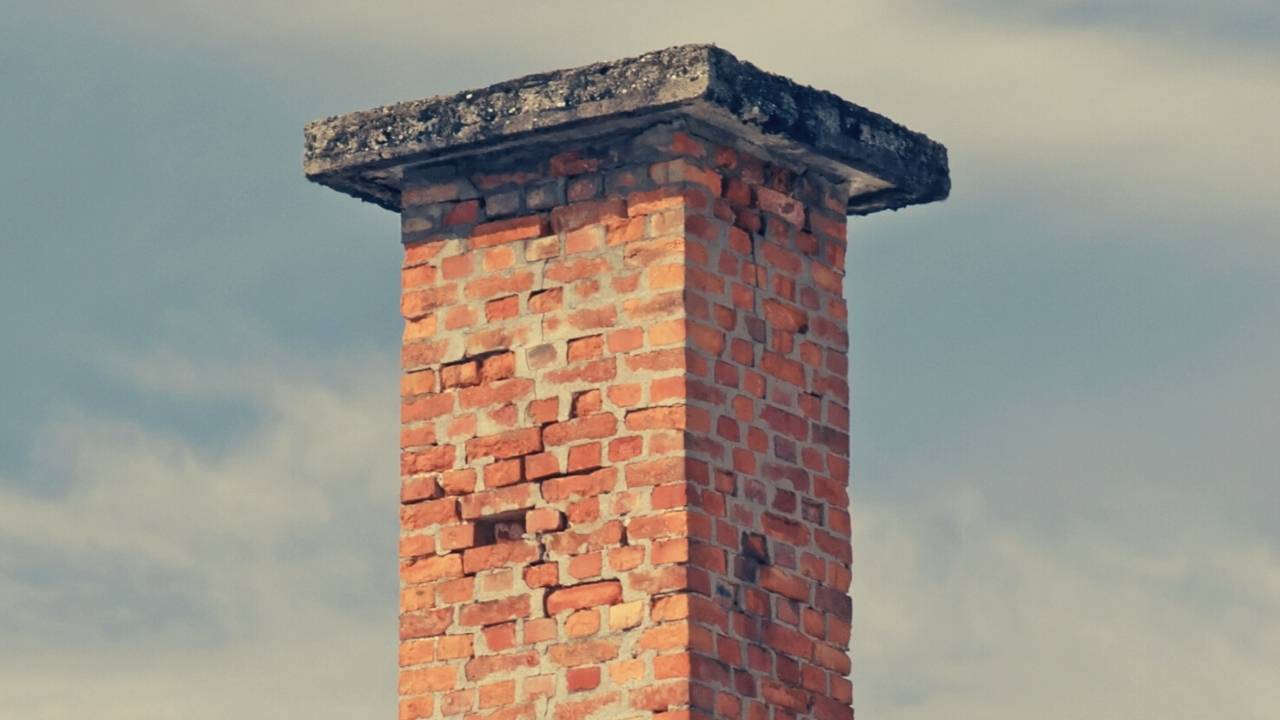
Signs Your Chimney Needs Tuckpointing
Regular inspection of your chimney is essential to identify any signs of damage or deterioration that indicate the need for tuckpointing. Here are some common signs that your chimney may require tuckpointing:
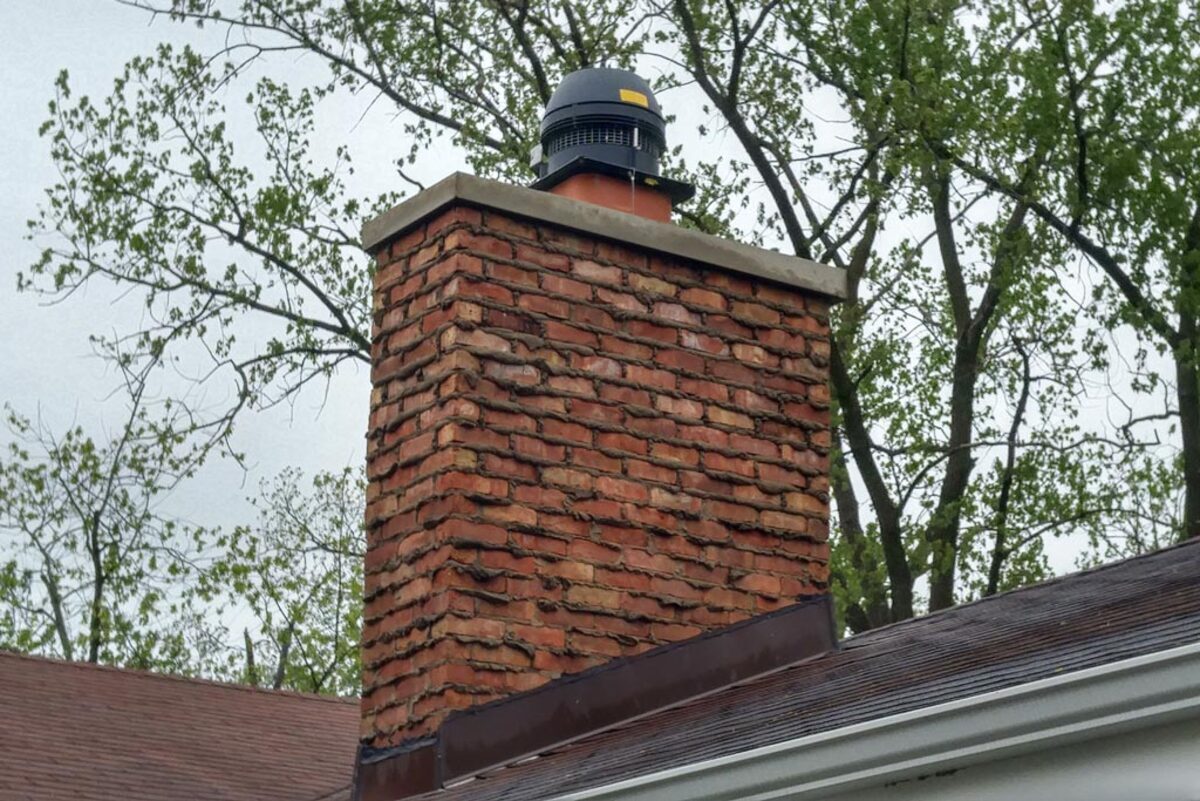
- Visible Cracks: Cracks in the mortar joints are a clear indicator that tuckpointing is needed. Inspect the chimney from multiple angles, both on the exterior and interior, to identify any visible cracks or gaps in the mortar. Small cracks may start as hairline fractures but can grow larger over time if left unaddressed.
- Missing Mortar: If you notice any gaps or areas where the mortar is completely missing between the bricks, it is a sign that tuckpointing is necessary. The absence of mortar can weaken the structure and allows water to penetrate the chimney, leading to further damage.
- Decayed or Crumbling Mortar: Deteriorated mortar is a common problem in older chimneys. If the mortar appears soft, crumbles easily, or has a powdery texture, it indicates that it has reached the end of its lifespan and needs to be replaced through tuckpointing.
- Water Leaks: If you notice water stains or visible signs of water damage around the chimney, it is likely that the mortar joints have deteriorated, allowing water to enter. Water leaks can lead to additional problems, such as mold growth, rotting of wood, and damage to the chimney structure. Tuckpointing will help seal the gaps and prevent further water infiltration.
- Bricks Out of Alignment: As mortar deteriorates, it can cause the bricks to shift or become misaligned. If you notice any bricks that are sticking out, tilting, or appear uneven, it is a sign that the mortar joints are in poor condition and require tuckpointing to restore stability to the chimney.
If you notice any of these signs, it is crucial to address the issue promptly by scheduling tuckpointing. Ignoring deteriorated mortar can lead to more extensive damage and costly repairs in the future. Consulting with a professional chimney contractor is advisable to assess the condition of the chimney and determine the extent of tuckpointing needed.
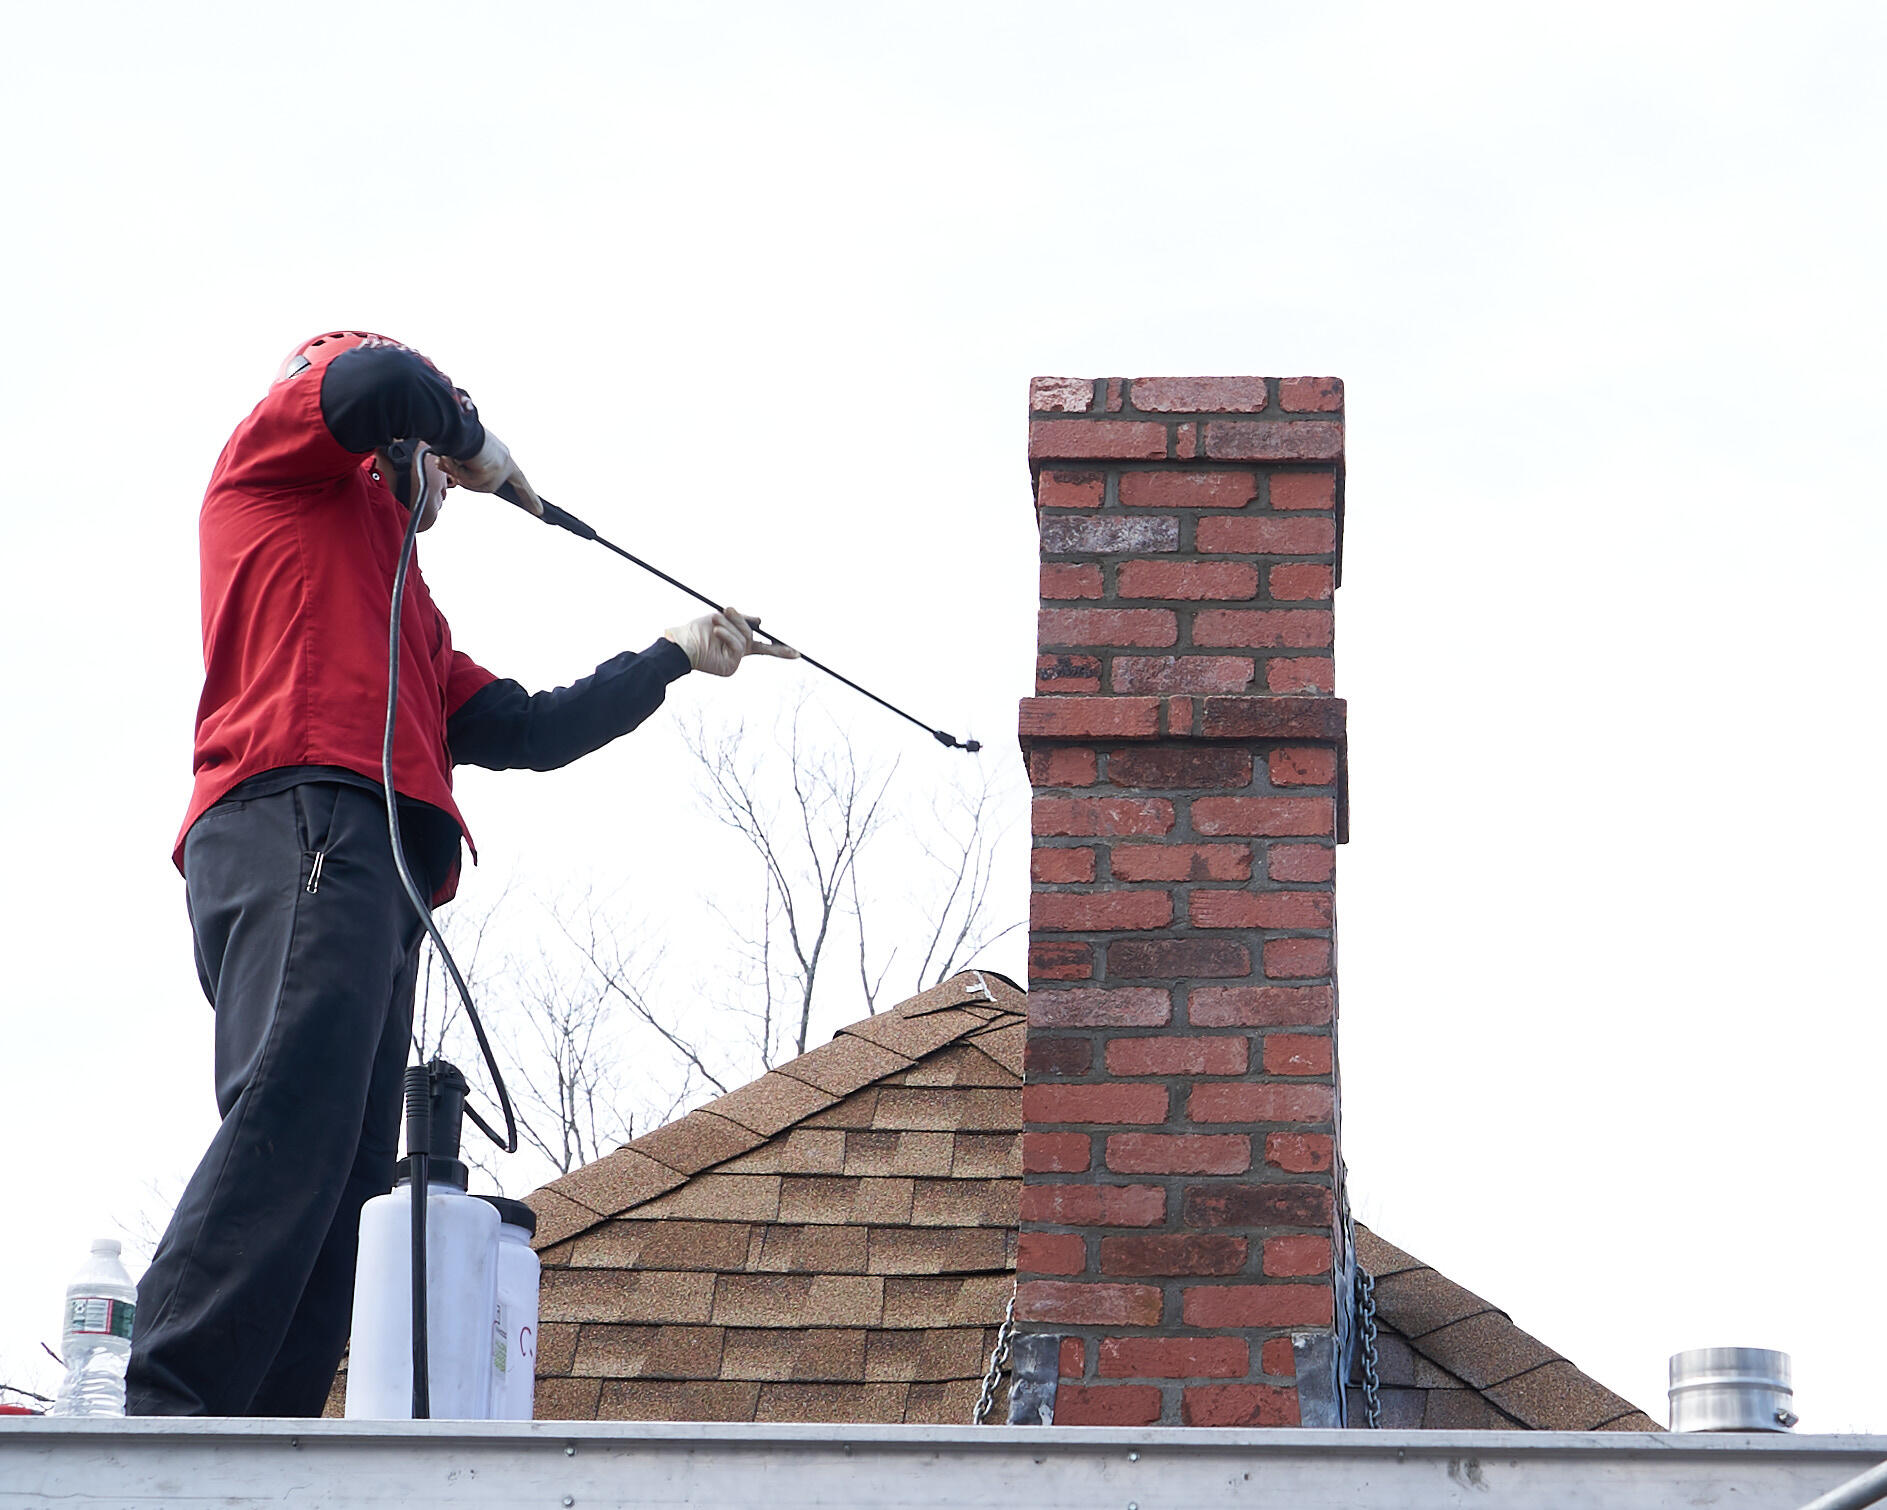
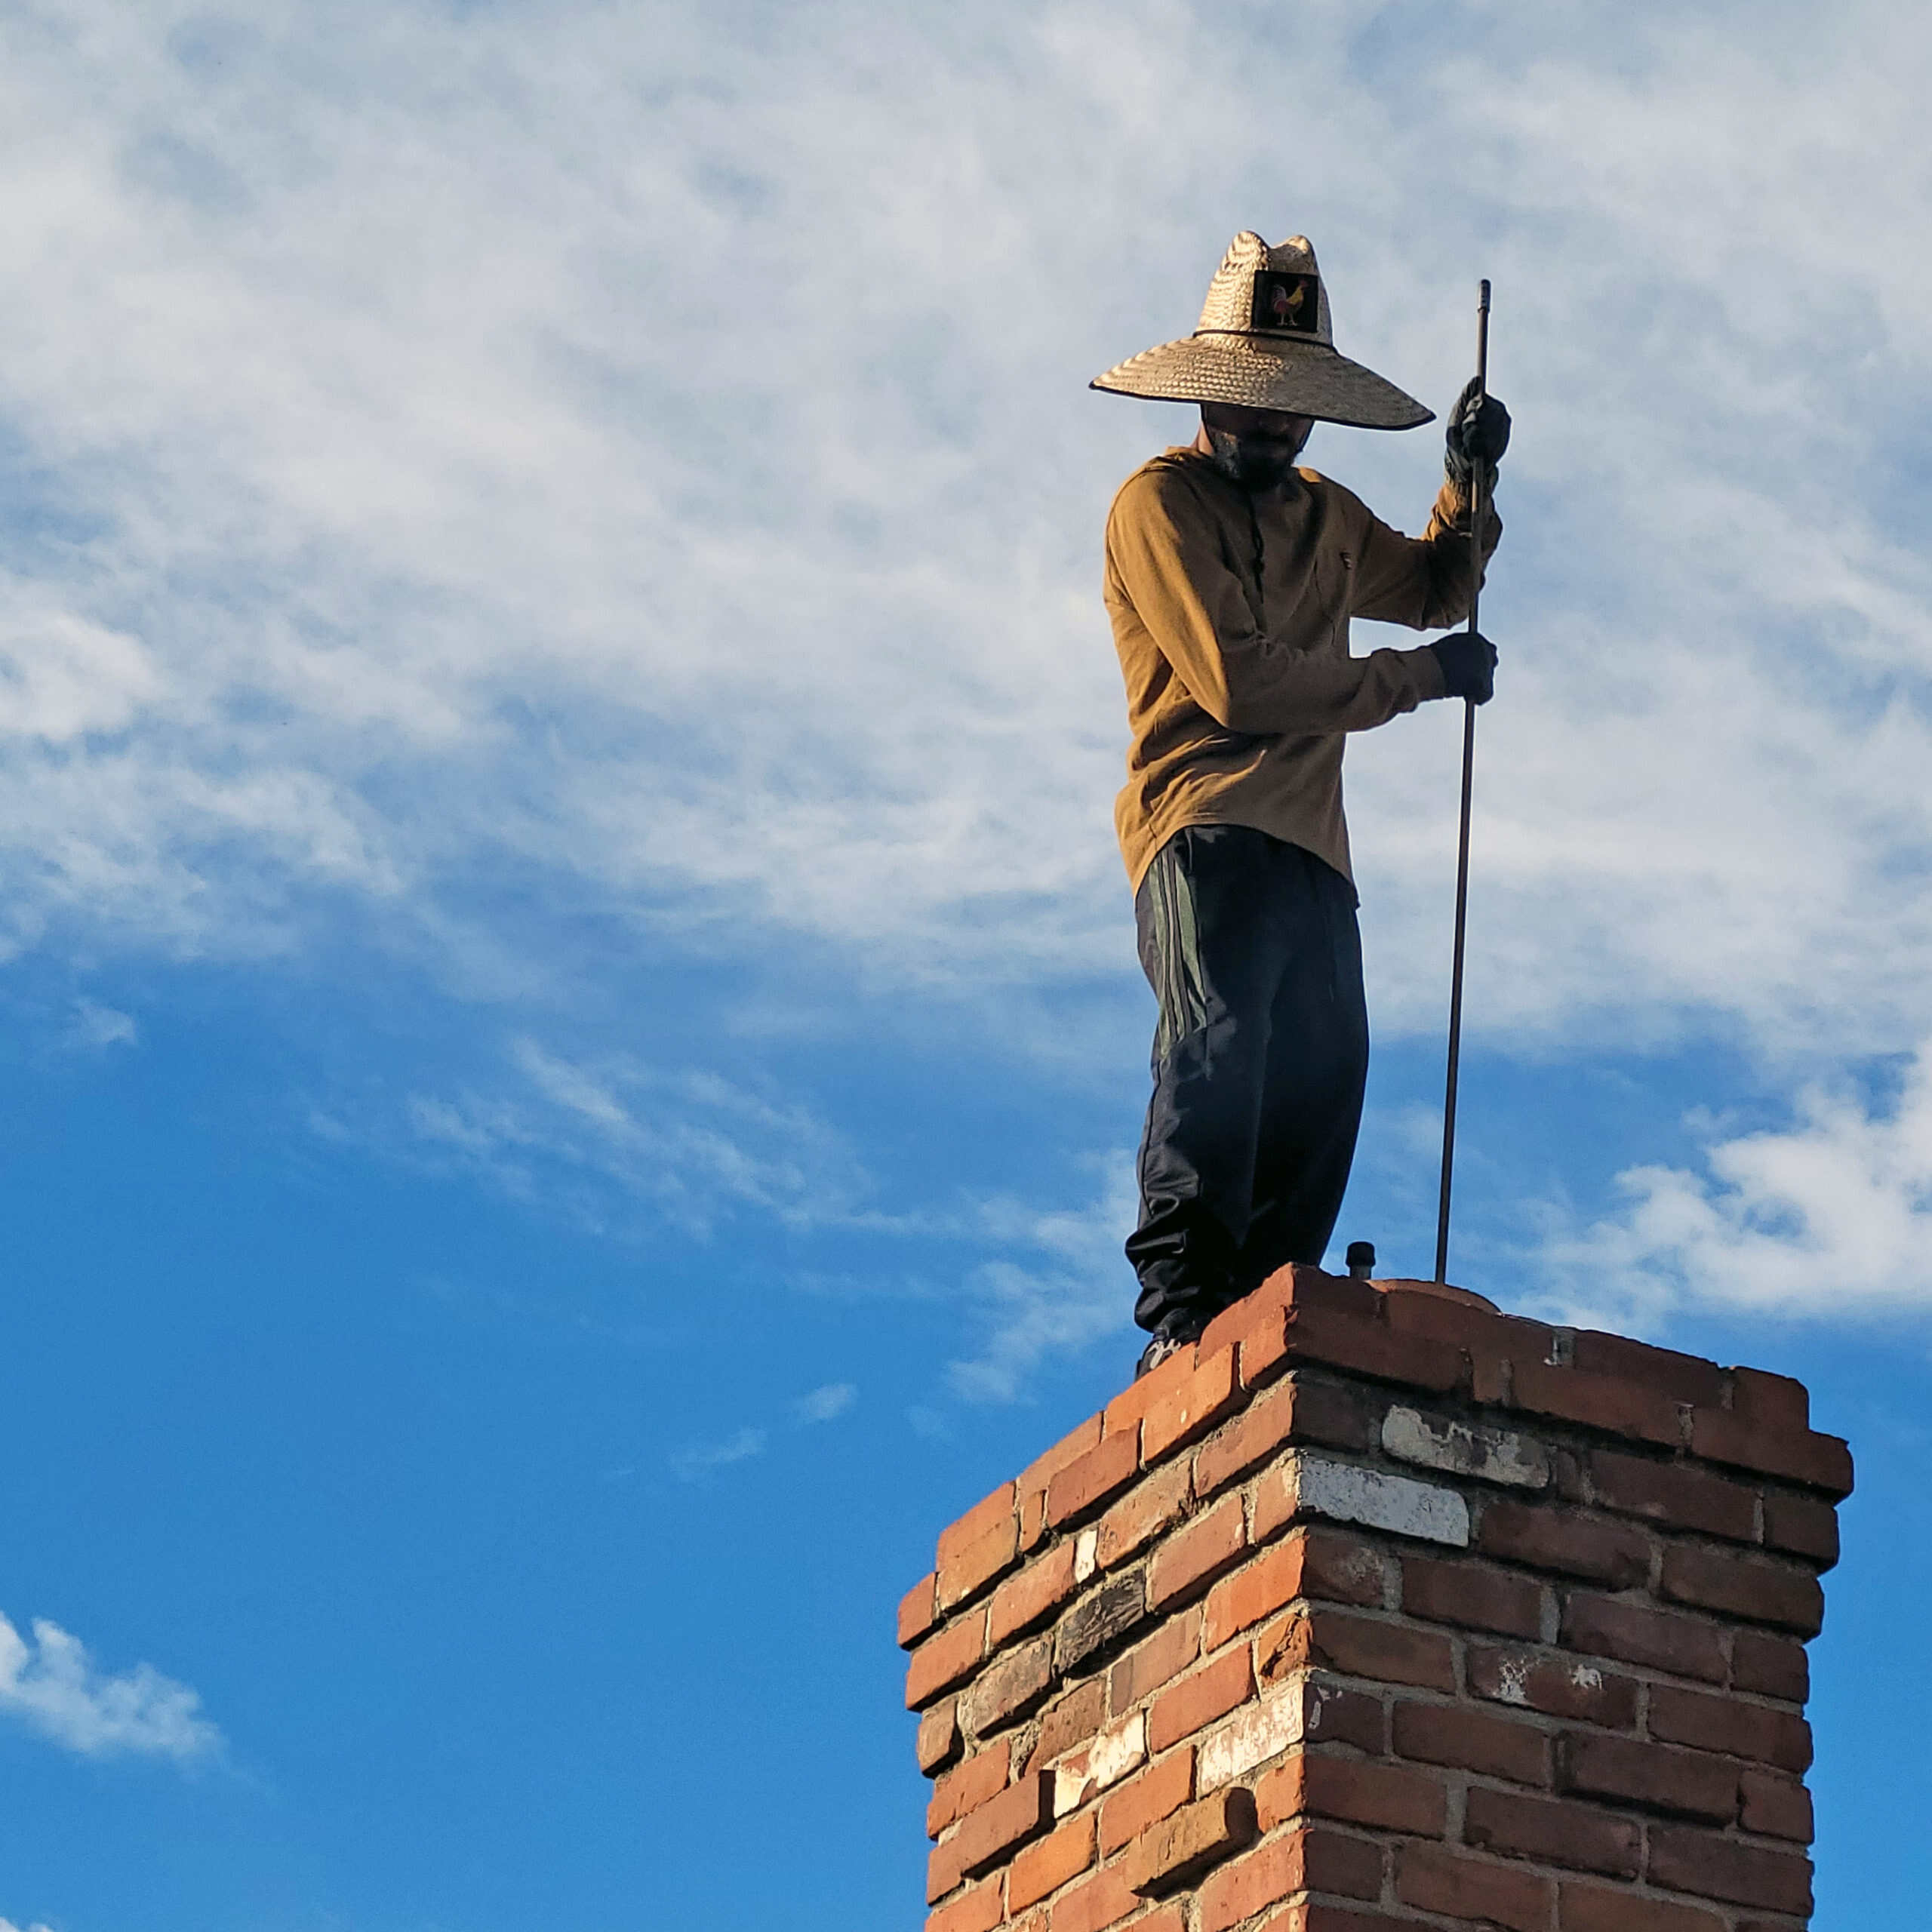
Steps Involved in Tuckpointing Process
Tuckpointing is a meticulous process that requires attention to detail and proper technique. Here are the general steps involved in the tuckpointing process:
- Assessment and Preparation: Before starting the tuckpointing process, it is important to assess the condition of the chimney and identify the areas that require repair. Inspect the mortar joints for cracks, gaps, or deterioration. Prepare the workspace by removing any debris or loose mortar from the joints.
- Removal of Old Mortar: Using a chisel or grinder, carefully remove the old mortar from the joints. It is important to remove the damaged mortar to a specific depth, usually around 1/2 inch, to ensure a clean and solid surface for the new mortar.
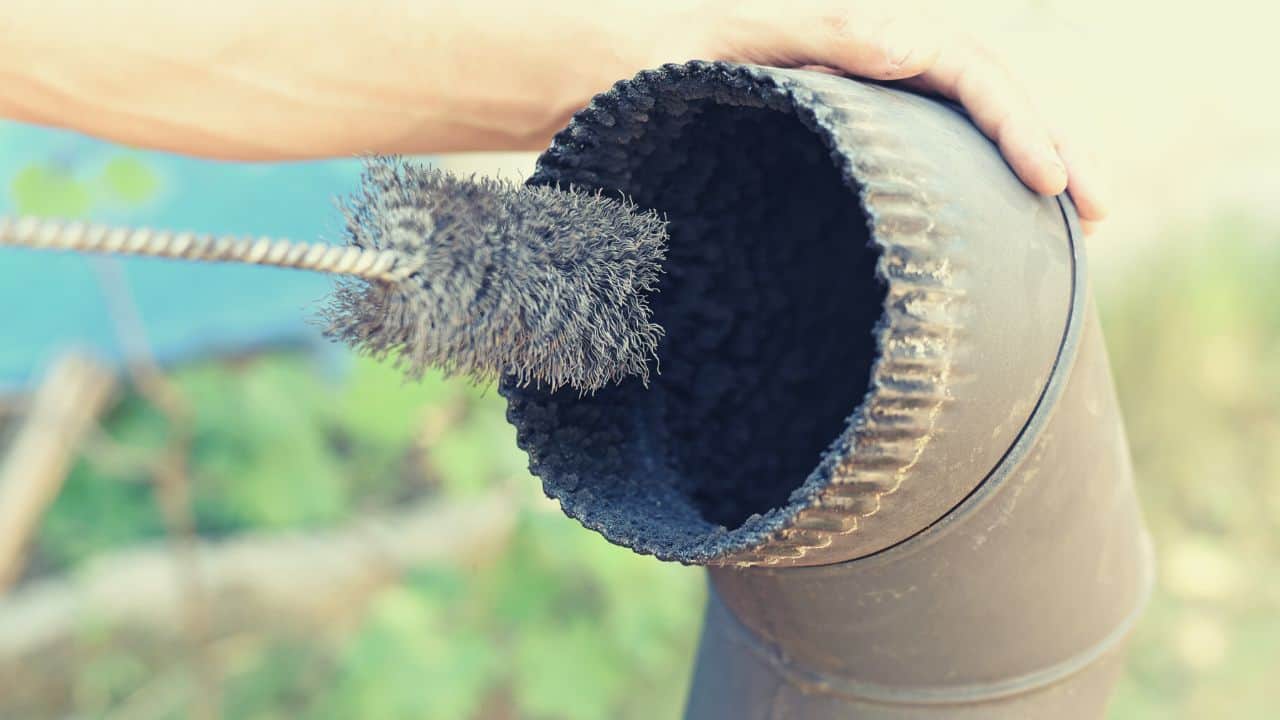
- Cleaning and Preparing the Joints: After the old mortar is removed, clean the joints with a wire brush or power wash to remove any remaining debris, dust, or loose particles. This step ensures proper adhesion of the new mortar to the brick surface.
- Mixing the Mortar: Prepare the mortar mix according to the manufacturer’s instructions, ensuring the correct ratio of cement, sand, and water. It is crucial to match the color, texture, and consistency of the existing mortar to achieve a seamless finish.
- Application of New Mortar: Use a pointing trowel to apply the fresh mortar into the cleaned joints. Press the mortar firmly into the joints, ensuring it fills the gaps completely. Remove any excess mortar from the brick surface with a tuckpointing trowel or a jointing tool, leaving a neat and uniform finish.
- Striking the Mortar Joints: After the new mortar is applied, wait for it to become firm but slightly pliable. Use a striking tool, such as a tuckpointing iron, to strike the joints, shaping them to match the profile of the surrounding mortar joints and creating a visually appealing pattern.
- Curing and Cleaning: Allow the newly applied mortar to cure for the recommended time, typically 24-48 hours. Avoid excessive moisture exposure during this period. Once cured, clean the brick surface by gently brushing away any residual mortar using a stiff brush.
- Sealing the Joints (Optional): To provide added protection against water penetration and extend the life of the mortar, consider applying a waterproof sealer to the tuckpointed joints. Consult with professionals or follow the product instructions for proper application.
The tuckpointing process requires skill and precision, especially when matching the color and texture of the existing mortar. It is essential to follow safety precautions, such as wearing protective gear and using the appropriate tools, to ensure a successful tuckpointing job. For complex or extensive tuckpointing projects, it is advisable to seek the assistance of a professional chimney contractor to ensure the best results.
Read more: How Much Does It Cost To Tuckpoint A Chimney
Tools and Materials Required for Tuckpointing
Performing a tuckpointing project requires specific tools and materials to ensure a successful and efficient process. Here are the essential tools and materials you will need:
Tools:
- Masonry chisel or grinder: Used to remove old mortar from the joints.
- Wire brush or power washer: Used to clean the joints and remove debris from the brick surface.
- Pointing trowel: Used to apply the fresh mortar into the cleaned joints.
- Tuckpointing trowel or jointing tool: Used to remove excess mortar and achieve a neat finish.
- Striking tool (tuckpointing iron): Used to shape and profile the mortar joints to match the surrounding joints.
- Stiff brush: Used to clean the brick surface after completion.
- Protective gear: Safety glasses, dust mask, gloves, and knee pads are recommended to protect yourself during the tuckpointing process.
Materials:
- Mortar mix: Choose a mortar mix that matches the color, texture, and strength of the existing mortar in your chimney.
- Cement: Used to mix with sand to create the mortar.
- Sand: A key ingredient in the mortar mix, it provides texture and strength.
- Waterproof sealer (optional): Used to protect the tuckpointed joints from water penetration.
When selecting the tools and materials for your tuckpointing project, it is important to consider the size, scope, and condition of your chimney. If you are unsure about the appropriate tools or the type of mortar mix to use, it is recommended to consult with a professional chimney contractor for guidance.
Remember to follow proper safety precautions when using tools and materials during the tuckpointing process. Wear protective gear, work on stable platforms or scaffolding, and exercise caution to prevent accidents or injuries.
Having the right tools and materials at hand will contribute to the efficiency and quality of your tuckpointing project, ensuring that your chimney is restored to its optimal condition.
DIY Tuckpointing vs Hiring a Professional
When it comes to tuckpointing a chimney, you have the option to either tackle the project yourself or hire a professional chimney contractor. Let’s explore the pros and cons of each approach to help you make an informed decision:
Read more: What Is Chimney Soot
DIY Tuckpointing:
Advantages:
- Cost Savings: Doing the tuckpointing yourself can save you money on labor costs. However, it is important to consider the potential risks of errors or inadequate repairs that may lead to more expensive repairs in the future.
- Sense of Accomplishment: Successfully completing a DIY tuckpointing project can provide a sense of satisfaction and accomplishment.
- Flexibility and Control: By doing it yourself, you have full control over the process and can work at your own pace.
Disadvantages:
- Limited Expertise: Tuckpointing requires knowledge and skill to properly assess the condition of the chimney, mix mortar, and achieve a seamless finish. Inadequate repairs can compromise the structural integrity and aesthetics of the chimney.
- Safety Concerns: Tuckpointing involves working at heights and using tools that can pose safety risks. Improper safety precautions can lead to accidents or injuries.
- Time and Effort: Tuckpointing is a time-consuming and labor-intensive process. It requires considerable effort, especially if you have little or no prior experience with masonry work.
Hiring a Professional:
Advantages:
- Expertise and Experience: Professional chimney contractors have the necessary expertise and years of experience to accurately assess the condition of the chimney, perform proper tuckpointing techniques, and achieve high-quality results.
- Time and Efficiency: Hiring professionals saves you time and effort, as they have the proper tools, knowledge, and workforce to complete the tuckpointing project efficiently and effectively.
- Quality Workmanship: Professionals take pride in their work and ensure that the tuckpointing is done to industry standards, resulting in a visually appealing and structurally sound chimney.
- Safety Assurance: Professional chimney contractors are well-versed in safety protocols and have the necessary equipment and training to work at heights without compromising safety.
Disadvantages:
- Cost: Hiring professionals for tuckpointing may require a financial investment in labor costs. However, the cost is justified by the expertise, efficiency, and quality of work provided.
- Lack of Control: When hiring professionals, you give up some control over the process and rely on their expertise. However, reputable contractors will keep you informed and involve you in important decision-making.
Ultimately, the decision to pursue DIY tuckpointing or hire a professional depends on factors such as your budget, time, skill level, and the complexity of the project. If you have doubts or lack experience in masonry work, it is wise to seek the assistance of a professional chimney contractor. Their expertise will ensure that the tuckpointing is done correctly, maximizing the longevity and functionality of your chimney.
When tuckpointing a chimney, make sure to use a mortar mix that matches the original color and texture of the existing mortar to maintain the aesthetic appeal of the chimney.
Maintenance Tips after Tuckpointing
Once you have completed the tuckpointing process and restored the mortar joints of your chimney, it is important to follow proper maintenance practices to ensure its longevity and continued functionality. Here are some essential maintenance tips to keep in mind:
- Allow Sufficient Curing Time: After tuckpointing, give the newly applied mortar enough time to cure properly. Follow the manufacturer’s instructions for the recommended curing period, typically 24-48 hours. Avoid exposing the newly tuckpointed chimney to excessive moisture or harsh weather conditions during this time.
- Inspect Regularly: Perform regular inspections of the chimney to check for any signs of damage or deterioration. Look for cracks, gaps, or loose mortar joints that may require immediate attention. Early detection and prompt repairs can prevent further damage and costly repairs in the future.
- Maintain Proper Drainage: Ensure that the area around the chimney is properly graded to promote good drainage. Poor drainage can lead to water pooling around the chimney, which can accelerate the deterioration of the mortar joints. Take steps to redirect water away from the chimney and keep gutters and downspouts clear of debris to prevent water intrusion.
- Avoid Harsh Cleaning Methods: When cleaning the chimney, avoid using abrasive materials or harsh chemicals that can damage the mortar joints. Opt for gentle cleaning methods, such as using a soft brush or sponge with mild detergent, to remove any surface dirt or grime. Regular and gentle cleaning will help preserve the appearance and integrity of the tuckpointed joints.
- Monitor for Water Leaks: Keep an eye out for any signs of water leaks or moisture intrusion into your home. Check the attic, ceilings, and walls near the chimney for water stains or moisture buildup. If you notice any signs of water penetration, address the issue promptly to prevent further damage to the tuckpointed joints and chimney structure.
- Trim Overhanging Trees: If there are trees in close proximity to your chimney, regularly trim any overhanging branches. Falling branches or debris can cause damage to the chimney and dislodge or damage the tuckpointed mortar joints.
- Apply a Waterproof Sealer (Optional): Consider applying a waterproof sealer to the tuckpointed mortar joints. This additional layer of protection can help prevent water penetration and extend the lifespan of the mortar. Consult with professionals or follow the product instructions for proper application.
- Schedule Regular Chimney Inspections: Apart from your own visual inspections, it is recommended to have your chimney professionally inspected and cleaned on a regular basis. Professional chimney inspections can identify potential issues early on and allow for timely repairs or maintenance.
By following these maintenance tips, you can ensure that your tuckpointed chimney remains in optimal condition, with strong and watertight mortar joints. Regular upkeep and proactive maintenance will help preserve the integrity and longevity of your chimney for years to come.
Conclusion
Tuckpointing a chimney is a vital maintenance task that should not be overlooked. By understanding the importance of tuckpointing and recognizing the signs that indicate the need for repairs, you can take proactive steps to ensure the longevity and functionality of your chimney.
Tuckpointing not only preserves the structural integrity of the chimney but also prevents water damage, enhances energy efficiency, and improves safety. Cracks, gaps, crumbling mortar, and water leaks are all signs that tuckpointing is necessary to maintain the chimney’s integrity and prevent further damage.
The tuckpointing process involves careful assessment, meticulous removal of old mortar, proper cleaning and preparation of joints, expert application of fresh mortar, and, if desired, the application of a waterproof sealer. Whether you choose to pursue DIY tuckpointing or hire a professional chimney contractor, each approach has its advantages and considerations. Consider factors such as expertise, time, cost, and safety before making your decision.
After tuckpointing, it is crucial to give the mortar sufficient time to cure and follow proper maintenance practices. Regular inspections, maintenance of proper drainage, gentle cleaning methods, monitoring for water leaks, and scheduling professional chimney inspections are all important steps to ensure the longevity and continued functionality of the tuckpointed chimney.
In conclusion, tuckpointing is an essential process in chimney maintenance that helps preserve the structural integrity, prevents water damage, enhances energy efficiency, and improves safety. Whether you tackle the project yourself or enlist the help of professionals, proper tuckpointing and post-maintenance care will ensure that your chimney stands strong for years to come, providing warmth, comfort, and peace of mind.
Frequently Asked Questions about What Is Tuckpointing A Chimney
Was this page helpful?
At Storables.com, we guarantee accurate and reliable information. Our content, validated by Expert Board Contributors, is crafted following stringent Editorial Policies. We're committed to providing you with well-researched, expert-backed insights for all your informational needs.

0 thoughts on “What Is Tuckpointing A Chimney”