Articles
What Paint To Use On Mirrors
Modified: October 28, 2024
Looking for articles on what paint to use on mirrors? Discover the best paint options for mirror projects and achieve stunning results in no time.
(Many of the links in this article redirect to a specific reviewed product. Your purchase of these products through affiliate links helps to generate commission for Storables.com, at no extra cost. Learn more)
Introduction
When it comes to sprucing up your home decor, mirrors can play a significant role. They not only serve a functional purpose but can also add style and personality to any space. If you’re looking to give your mirrors a fresh new look, one cost-effective option is to paint them. However, it’s important to choose the right type of paint to ensure a durable and professional finish. In this article, we will explore the different factors to consider before selecting paint, the types of paint suitable for mirrors, and provide step-by-step instructions for painting a mirror.
Before diving into the world of mirror painting, there are a few key factors to keep in mind. First and foremost, consider the type of mirror you have. Is it a framed mirror, a wall-mounted mirror, or a dresser mirror? This will determine the approach you take when painting. Additionally, think about the overall style and color scheme of the room where the mirror is located. Choose a paint color that complements the existing decor or opt for a bold contrast to make a statement.
Next, consider the material of the mirror. Most mirrors have a glass surface, which requires different paint options compared to other materials such as wood or metal. Glass can be a tricky surface to work with, as it is smooth and non-porous, making it challenging for paint to adhere properly without proper preparation.
Lastly, consider the desired finish you want to achieve. Do you want a glossy or matte look? This will help determine the type of paint you choose, as different paints offer different finishes. Now that we’ve covered the key factors to consider, let’s delve into the types of paint that are suitable for painting mirrors.
Key Takeaways:
- Choose the right paint for your mirror based on factors like mirror type, surface preparation, finish, and color. Acrylic paint, spray paint, and glass paint offer versatile options for achieving a professional and long-lasting finish.
- Prepare your mirror by cleaning, masking, and, if necessary, priming the surface before painting. Follow step-by-step instructions and valuable tips to achieve the best results, and don’t forget to have fun and be creative throughout the process!
Read more: What Are Obsidian Mirrors Used For
Factors to Consider Before Choosing Paint
Before diving into painting your mirror, there are several important factors to consider. These factors will ensure that you choose the right paint for the job and achieve the best possible results:
- Mirror Type: Consider the type of mirror you have. Is it framed or frameless? Wall-mounted or freestanding? The type of mirror will impact the paint application process.
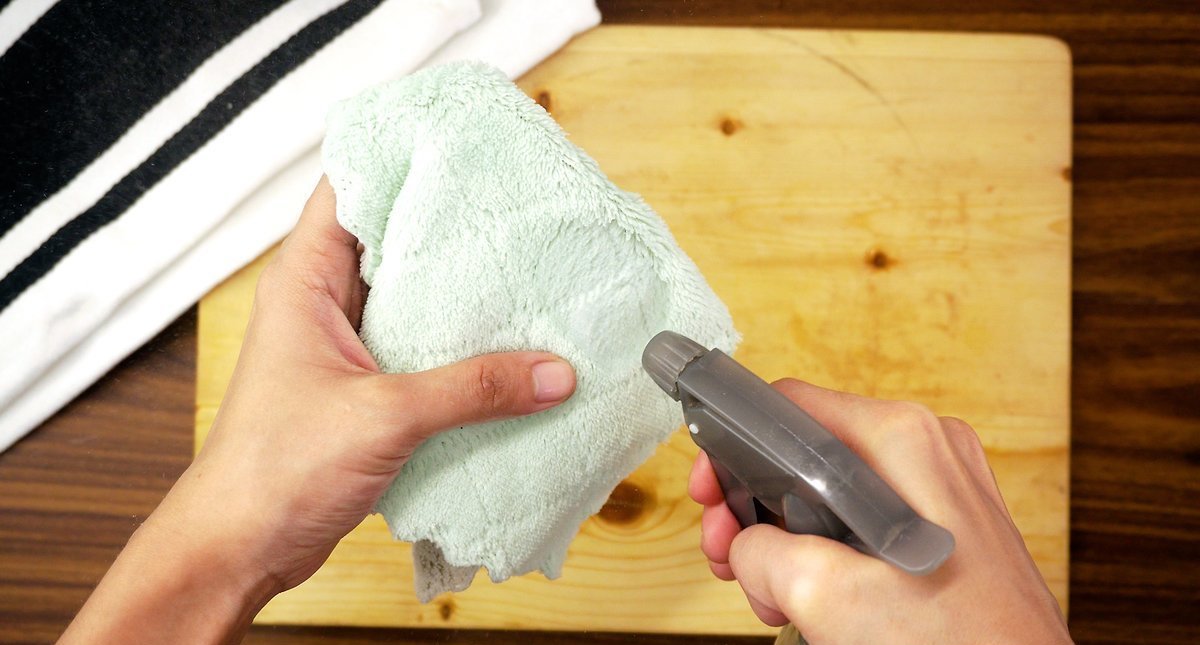
- Surface Preparation: Proper surface preparation is crucial for paint adhesion. Clean the mirror thoroughly to remove any dust, dirt, or residue. Consider using a glass cleaner or rubbing alcohol to ensure a clean surface.
- Paint Type: Select a paint specifically formulated for glass or smooth surfaces. Ordinary paints may not adhere properly and may peel or chip over time.
- Finish: Decide on the desired finish for your mirror. Do you want a glossy, matte, or metallic finish? Different paint types offer different finishes, so consider the overall look you’re trying to achieve.
- Color: Choose a color that complements your existing decor or adds a bold contrast. Consider the color scheme and style of the room where the mirror is located to create a cohesive look.
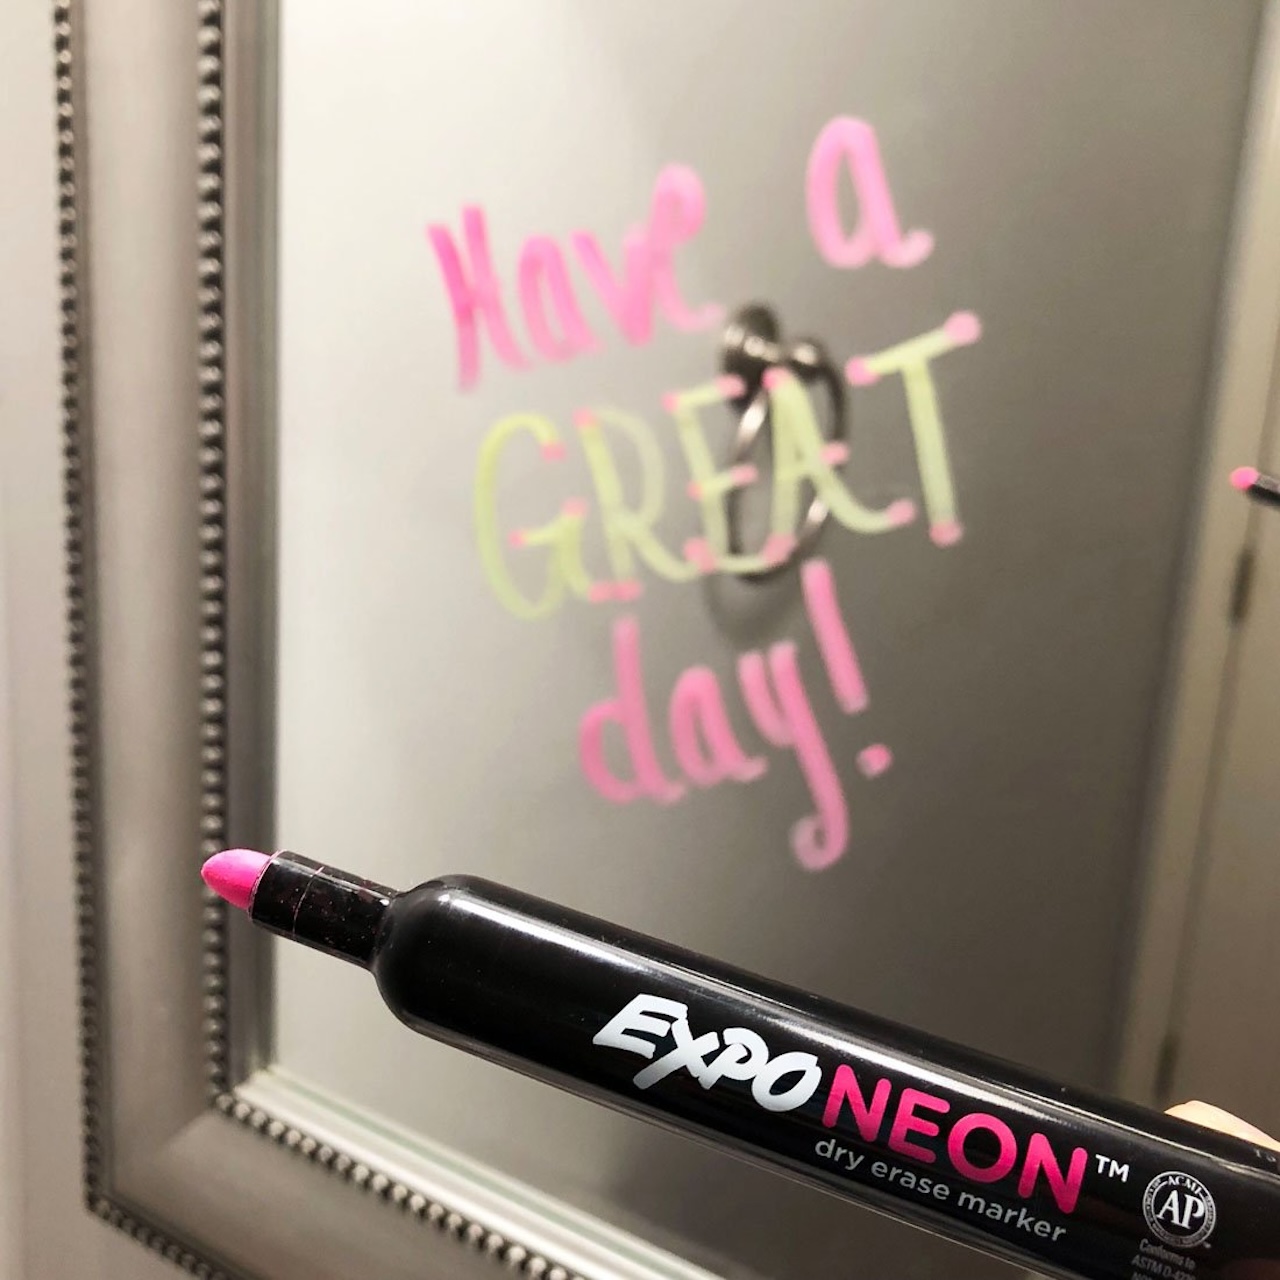
- Application Method: Consider the application method that suits your needs and preferences. You can choose to brush on the paint, use a spray can, or use a special glass paint marker for more intricate designs.
- Drying Time and Cure Time: Different paints have varying drying and curing times. Take note of these times to ensure that the paint fully adheres and cures before mounting or using the mirror.
- Longevity: Consider the durability and longevity of the paint. Some paints offer better resistance to moisture, heat, and UV rays, ensuring that your painted mirror stays vibrant and intact for a longer period.
- Budget: Lastly, consider your budget. Paint prices can vary depending on the brand and quality. Determine your budget and choose a paint that fits within your price range while still meeting your requirements.
By considering these factors, you can make an informed decision when choosing the right paint for your mirror. This will help you achieve a professional and long-lasting finish that enhances the look and style of your space.
Types of Paint Suitable for Mirrors
When it comes to painting mirrors, not all paints are created equal. It is important to select a paint that is suitable for glass surfaces and provides a durable and lasting finish. Here are a few types of paint that are commonly used for mirror painting:
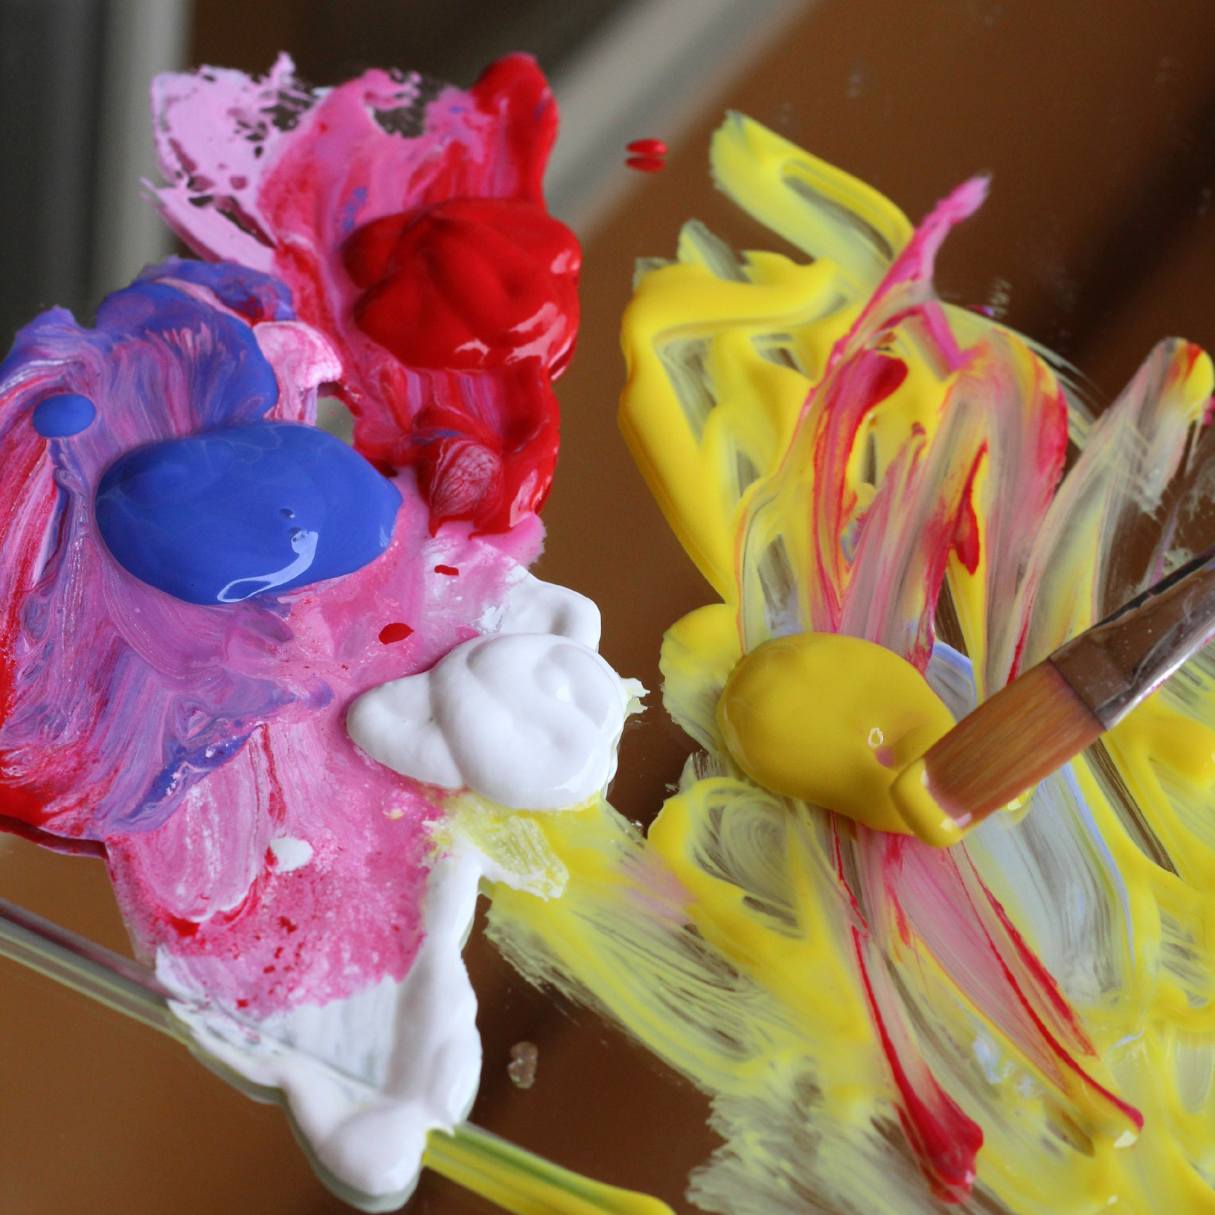
- Acrylic Paint: Acrylic paint is a versatile option that works well on glass surfaces. It adheres well and dries quickly, making it convenient for mirror painting. It comes in a wide range of colors and finishes, including glossy, matte, or metallic. Acrylic paint also allows for easy mixing and layering to create unique effects on your mirror.
- Spray Paint: Spray paint is another popular choice for painting mirrors. It provides a smooth and even finish, especially when used with spray primers designed for glass surfaces. Spray paint comes in various colors and finishes, and its application is quick and effortless. However, ensure proper ventilation and cover surrounding areas to prevent overspray.
- Glass Paint: Specifically designed for glass surfaces, glass paint offers excellent adhesion and durability. It is available in both transparent and opaque varieties, allowing you to create precise designs or add a stained glass effect to your mirror. Glass paint often requires baking or curing to achieve maximum longevity and resistance to wear and tear.
When selecting the right paint, consider the desired look and finish you want to achieve. Additionally, read the labels and check for any additional steps or precautions to ensure optimal adhesion and longevity of the paint on the glass surface.
Remember, regardless of the type of paint you choose, proper surface preparation is essential. Clean the mirror thoroughly and follow any specific instructions provided by the paint manufacturer for the best results.
Now that we have explored the types of paint suitable for mirrors, let’s move on to the preparation steps before painting.
– Acrylic Paint
Acrylic paint is a popular choice for painting mirrors due to its versatility, availability, and ease of use. It is a water-based paint that consists of pigment suspended in an acrylic polymer emulsion. Here are some key features and benefits of using acrylic paint for mirror painting:
- Adhesion: Acrylic paint adheres well to glass surfaces, providing a strong and durable bond. This ensures that the paint does not easily peel or chip off over time.
- Quick Drying Time: Acrylic paint dries faster compared to other types of paint, allowing for quicker project completion. Within minutes to hours, the paint will be touch dry, depending on the thickness of the application.
- Color Options: Acrylic paint comes in a wide range of colors, including opaque, translucent, and metallic options. This gives you the ability to choose from a plethora of shades and create custom color combinations.
- Finish Variety: Whether you prefer a glossy, matte, or metallic finish, acrylic paint offers versatility when it comes to achieving your desired look. There are also specialty acrylic paints available, such as iridescent or pearlized paint, which can add unique visual effects to your mirror.
- Easy Mixing and Layering: Acrylic paints can be easily mixed to create custom colors. You can also layer different colors to achieve depth and dimension in your design. This flexibility allows for endless creative possibilities.
- Application Methods: Acrylic paint can be applied using various techniques, including brush painting, sponge painting, or even pouring. This versatility enables you to experiment with different textures and effects on your mirror.
- Sealant Compatibility: Once the acrylic paint has dried, you can apply a clear sealant or varnish to protect the painted surface and enhance its longevity. The sealant adds an additional layer of protection against moisture and scratches.
When using acrylic paint for mirror painting, it is important to ensure proper surface preparation. Clean the mirror thoroughly and remove any dirt, dust, or residue. It may be helpful to lightly sand the surface with fine-grit sandpaper to create a slightly roughened texture, which can improve paint adhesion.
When applying acrylic paint, use a high-quality brush or foam brush for smooth and even coverage. Multiple thin layers are preferable to one thick layer to avoid drips and uneven drying. Allow each layer to dry completely before applying the next. Once the paint has dried, consider applying a clear sealant to protect your painted design.
Now that you have learned about acrylic paint, let’s explore another type of paint suitable for mirror painting: spray paint.
– Spray Paint
Spray paint is a convenient and popular choice for painting mirrors, offering a smooth and even finish. It is available in a wide variety of colors and finishes, making it easy to find the perfect match for your mirror transformation. Here are some key features and benefits of using spray paint for mirror painting:
- Effortless Application: Spray paint is incredibly easy to apply, allowing for a quick and efficient painting process. The aerosol can delivers a fine mist of paint, ensuring even coverage on the mirror surface.
- Smooth and Uniform Finish: Spray paint provides a professional-looking finish with no brush strokes or uneven application. The mist of paint settles evenly on the mirror, creating a smooth and uniform appearance.
- Wide Color Range: Spray paint is available in a vast array of colors, including matte, glossy, metallic, and specialty finishes. This allows you to choose a color that perfectly suits your style and complements your room’s decor.
- Fast Drying Time: Spray paint typically dries within minutes, allowing you to complete your mirror painting project swiftly. However, ensure that you follow the instructions on the paint can regarding drying times and any recommended waiting periods between coats.
- Substrate Versatility: Spray paint is formulated to adhere to various surfaces, including glass. It provides good adhesion on glass mirrors, creating a long-lasting bond that is resistant to chipping and peeling.
- Easy Coverage of Complex Designs: Spray paint is particularly useful for painting intricate mirror designs or patterns. It allows for quick coverage of detailed areas, ensuring that no brush strokes or unevenness interfere with the design.
- Application Control: Spray paint offers control over the paint flow and intensity. By adjusting the distance between the can and the mirror, you can create different effects, such as light coats for a translucent look or heavier coats for a more opaque coverage.
When using spray paint for mirror painting, it is essential to protect the surrounding area from overspray. Before starting, cover any nearby surfaces and objects with drop cloths or newspaper. It is also advisable to work in a well-ventilated area or outdoors to ensure proper ventilation during the painting process.
Begin by shaking the spray paint can vigorously for the recommended time mentioned on the label. Hold the can approximately 8-12 inches away from the mirror’s surface, then apply the paint in sweeping motions, moving across the mirror in a consistent direction. Remember to apply thin coats, allowing each coat to dry before applying the next. This will help prevent drips and ensure a smooth finish.
Once the spray paint has dried completely, you can optionally apply a clear sealant to protect the painted surface from scratches or damage. Follow the instructions on the can for the drying and curing times of both the spray paint and the sealant.
Now that you’ve learned about spray paint for mirror painting, let’s move on to exploring another type of paint suitable for mirrors: glass paint.
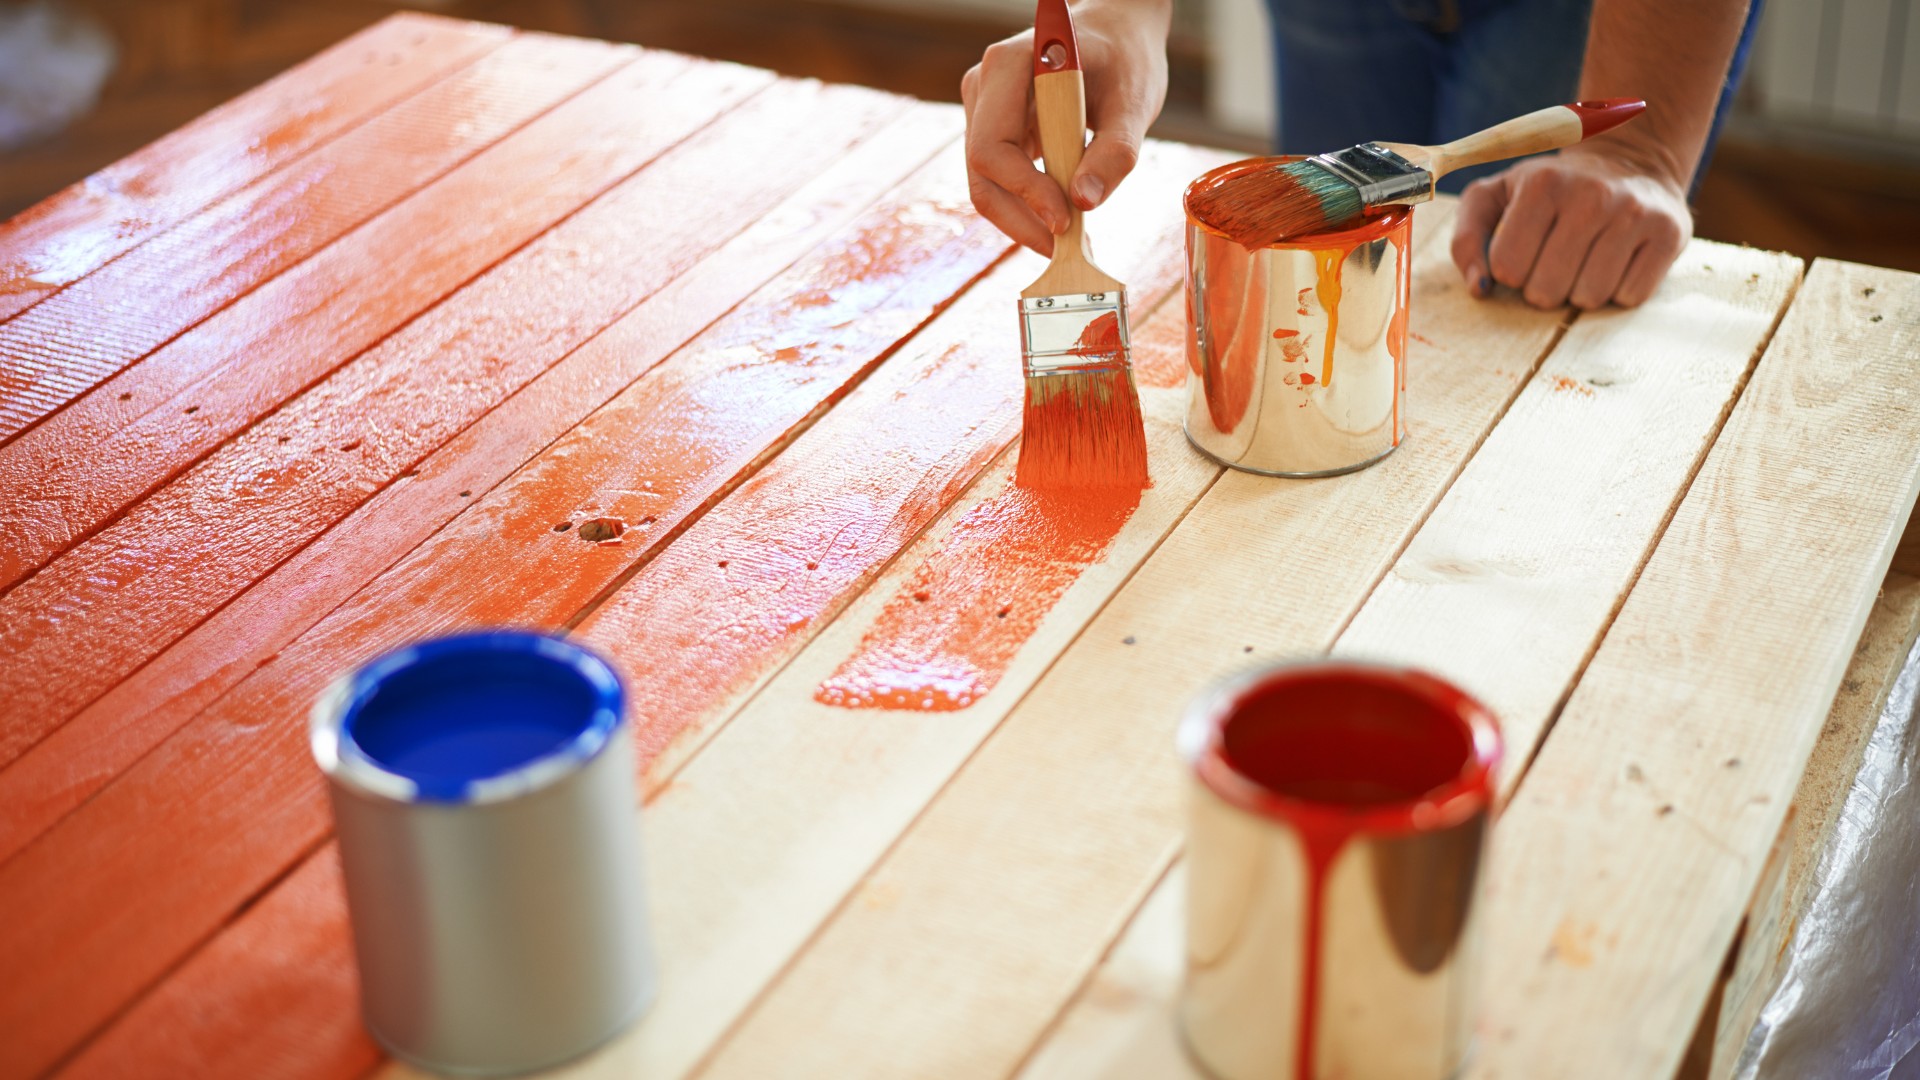
When painting a mirror, use a high-quality acrylic or enamel paint specifically designed for glass or mirrors. Clean the surface thoroughly before painting and consider using a primer for better adhesion.
Read more: What Paint To Use On Countertops
– Glass Paint
Glass paint is specifically designed for painting glass surfaces, making it an ideal choice for mirror painting. It offers excellent adhesion and durability, ensuring a long-lasting and professional finish. Here are some key features and benefits of using glass paint for mirror painting:
- Superior Adhesion: Glass paint is formulated to adhere to glass surfaces effectively. It creates a strong bond, preventing the paint from peeling or chipping over time.
- Transparency and Opaque Options: Glass paint is available in both transparent and opaque varieties. Transparent glass paint allows the natural mirror reflection to show through, creating a stained glass effect. Opaque glass paint offers full coverage and is perfect for creating bold and vibrant designs.
- Specialty Effects: Glass paint often comes in a variety of specialty effects, such as frosted, metallic, or iridescent finishes. These effects can add an extra touch of uniqueness and visual interest to your painted mirror.
- Precision and Detailing: Glass paint can be used with paintbrushes or glass paint markers to achieve precise designs and intricate detailing. This makes it a great option for creating patterns, borders, or personalized designs on your mirror.
- Durability: Glass paint is formulated to withstand moisture, heat, and UV rays, ensuring the longevity of your painted mirror. This makes it suitable for mirrors located in high-humidity areas, such as bathrooms or kitchens.
- Curing Process: Glass paint often requires a curing process to ensure maximum adhesion and durability. This may involve air drying for a specific period or baking the painted mirror in the oven to set the paint and make it resistant to water and scratches. Follow the manufacturer’s instructions regarding the recommended curing method.
- Layering and Blending: Glass paint allows for layering and blending colors to create unique effects and gradients on your mirror. You can experiment with different techniques, such as stippling or sponging, to achieve a textured or dimensional look.
When using glass paint for mirror painting, it is crucial to prepare the surface properly. Clean the mirror thoroughly to remove any dirt, dust, or residues. Consider using rubbing alcohol or a glass cleaner to ensure a pristine surface for paint adhesion.
Apply the glass paint using a paintbrush or glass paint markers, depending on the design and level of detail you want to achieve. Follow the instructions provided by the manufacturer regarding the application process, layering, and drying times. It is also important to allow the paint to cure properly to achieve its full durability.
Once the glass paint has dried and cured, you can enjoy your beautifully painted mirror. Consider adding a clear sealant to further protect the painted surface and enhance its longevity, especially if the mirror is in a high-traffic area.
Now that you’ve learned about glass paint for mirror painting, you have a variety of options to choose from. Let’s move on to the next section, where we will discuss the preparation steps before painting your mirror.
Preparation for Painting
Before diving into painting your mirror, proper preparation is key to ensuring a smooth and successful painting process. Here are the essential steps to prepare your mirror for painting:
- Clean the Mirror: Begin by thoroughly cleaning the mirror surface. Remove any dust, dirt, or residue using a glass cleaner or a mixture of water and mild detergent. Make sure the mirror is completely dry before proceeding to the next step.
- Masking: If there are any parts of the mirror that you do not want to paint, such as the frame or decorative elements, use painter’s tape or masking tape to protect those areas. Ensure that the tape is firmly adhered to the mirror’s edges to prevent paint bleed-through.
- Sand the Surface (for non-glass mirrors): If your mirror is made of a material other than glass, such as wood or metal, consider lightly sanding the surface. This will create a slightly roughened texture, allowing the paint to adhere better. Use a fine-grit sandpaper and remove any dust or debris afterwards.
- Prime the Mirror (optional): Depending on the type of paint you plan to use and the condition of the mirror, you may need to apply a primer. Priming the mirror will improve the paint’s adhesion and help create a smooth and even finish. Consult the paint manufacturer’s instructions to determine if priming is necessary.
- Protect the Surrounding Area: Cover the area surrounding the mirror with newspapers, drop cloths, or plastic sheets to protect the surrounding surfaces from accidental paint splatters or spills.
- Ensure Proper Ventilation: If you are using spray paint or working with other paint types that emit strong fumes, make sure to work in a well-ventilated area. Open windows or doors, or consider working outside if weather permits, to allow for proper air circulation.
By following these preparation steps, you are setting the foundation for a successful painting project. Clean and well-prepared surfaces ensure better paint adhesion and a professional finish. Once you have completed the preparation, you are ready to start painting your mirror.
In the next section, we will provide step-by-step instructions on how to paint a mirror, so let’s dive in!
Steps to Paint a Mirror
Painting a mirror can be a fun and rewarding DIY project that instantly transforms the look of your space. Follow these step-by-step instructions to achieve a beautifully painted mirror:
- Step 1: Prepare the Mirror: Clean the mirror thoroughly to remove any dust, dirt, or residue. If necessary, lightly sand the surface for better paint adhesion. Protect any areas you do not want to paint with masking tape or painter’s tape.
- Step 2: Choose the Right Paint: Select a paint that is suitable for glass surfaces, such as acrylic paint or glass paint. Consider the desired finish and color for your mirror.
- Step 3: Apply Primer (if necessary): Depending on the type of paint and the condition of the mirror, you may need to apply a primer. This will enhance paint adhesion and help create a smooth finish. Follow the manufacturer’s instructions for the primer application.
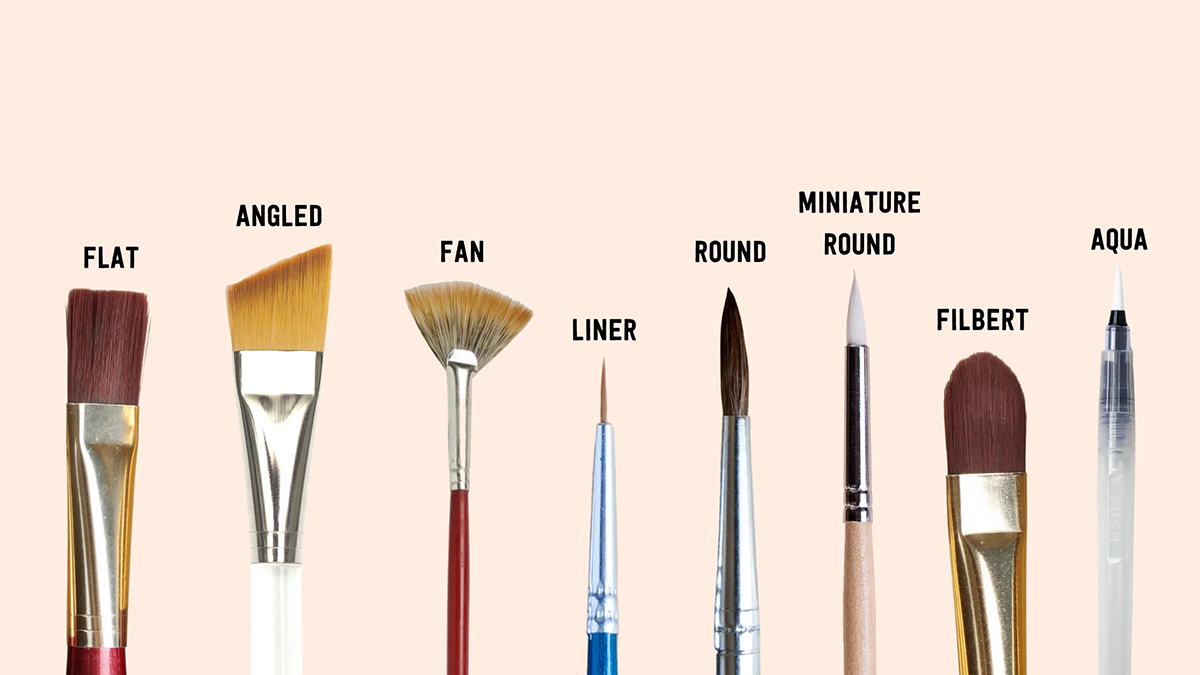
- Step 4: Gather the Painting Supplies: Gather all the necessary painting supplies, including brushes, foam brushes, or spray paint cans. Ensure you have a clean and well-ventilated area to work in.
- Step 5: Start Painting: Begin applying the paint to the mirror surface. Use a brush, foam brush, or spray can, depending on the paint type you are using. Follow the manufacturer’s instructions for the best application technique.
- Step 6: Apply Thin Layers: Apply thin layers of paint rather than thick coats. This allows for better control and helps prevent drips or pooling of the paint. Work in even strokes to ensure a smooth and even coverage on the mirror.
- Step 7: Allow Drying Time: Allow each layer of paint to dry completely before applying the next layer. Follow the drying time recommended by the paint manufacturer. This will prevent smudging or smearing of the paint.
- Step 8: Apply Multiple Coats (if needed): Depending on the opacity of the paint and the desired finish, you may need to apply multiple coats. Make sure each layer is fully dry before proceeding with the next coat. This will help achieve a more vibrant and even color.
- Step 9: Optional Finishing Touches: Once the paint has dried, you can add any additional decorative elements to your mirror, such as stencils, decals, or rhinestones. Be creative and personalize your mirror to suit your style.
- Step 10: Apply a Sealant (optional): To protect the painted surface and enhance its durability, you can consider applying a clear sealant. Follow the manufacturer’s instructions for the application and drying time of the sealant.
- Step 11: Remove the Masking Tape: Once the paint and sealant have dried completely, gently remove the masking tape or painter’s tape from the protected areas. Take care not to damage the painted surface.
By following these steps, you can achieve a beautifully painted mirror that adds personality and style to your space. Remember to take your time and allow proper drying between each layer to ensure a smooth and professional finish.
Next, we’ll share some valuable tips to help you achieve the best results in your mirror painting project.
Tips for Achieving the Best Results
Painting a mirror can be a creative and rewarding project. To ensure the best results and a professional-looking finish, consider the following tips:
- Prepare the Surface: Properly clean and prepare the mirror surface before painting. This includes removing any dust, dirt, or residue and, if necessary, lightly sanding the surface to improve paint adhesion.
- Use the Right Paint: Choose a paint specifically formulated for glass surfaces. Acrylic paint, glass paint, or spray paint designed for glass are all suitable options. Using the right paint will ensure better adhesion and longevity.
- Apply Thin Coats: When painting, it’s best to apply thin coats of paint rather than thick layers. Thin coats allow for better control and drying, resulting in a smoother and more even finish.
- Allow Proper Drying Time: Follow the drying time recommended by the paint manufacturer. Rushing the drying process can lead to smudging or damage to the paint. Patience is key to achieving a professional look.
- Consider Layering and Blending: Get creative by layering and blending colors to create unique effects on your mirror. This can add depth and dimension to your design and make your painted mirror stand out.
- Experiment with Techniques: Don’t be afraid to try different painting techniques, such as brush painting, sponge painting, or stenciling. Experimenting with techniques can create interesting textures and patterns on your mirror.
- Protect the Surroundings: Cover the surrounding area with newspapers, drop cloths, or plastic sheets to prevent accidental paint splatters or spills. This will save you time and effort during the cleanup process.
- Consider a Sealant: Applying a clear sealant can protect the painted surface and enhance its durability. Consider using a sealant designed for glass or the specific type of paint you used. Follow the manufacturer’s instructions for applying the sealant.
- Personalize Your Design: Take the opportunity to add your personal touch to the mirror design. Incorporate stencils, decals, or other decorative elements to make your painted mirror unique and reflective of your style.
- Clean and Care for the Painted Mirror: Once your mirror is painted, clean it gently using a soft cloth and non-abrasive cleaner. Avoid using harsh chemicals or abrasive materials that could damage the painted surface.
By following these tips, you can achieve the best possible results and create a beautifully painted mirror that enhances the aesthetics of your space. Remember to have fun, be creative, and enjoy the process!
Now that you have all the information you need, it’s time to embark on your mirror painting journey. Get ready to transform your mirror into a stunning piece of art!
If you are unsure about any step or aspect of mirror painting, it is always recommended to consult professional painters or refer to the specific instructions provided by the paint manufacturer.
Happy painting!
Read more: What Paint To Use On Fireplace
Conclusion
Painting a mirror can be a fantastic way to add a personal touch and refresh the look of your space. Whether you want to create a bold statement or a subtle accent, choosing the right paint and following the proper steps will help you achieve a professional finish. Throughout this article, we have explored the factors to consider before choosing paint, the types of paint suitable for mirrors, preparation steps, and the step-by-step process of painting a mirror. We have also provided useful tips to help you achieve the best results.
Remember to carefully assess the type of mirror you have and the desired finish you want to achieve before selecting paint. Factors such as adhesion, drying time, color options, and application method are crucial in making the right paint choice. Acrylic paint, spray paint, and glass paint are popular options that offer different benefits and finishes.
Proper surface preparation is key to ensuring paint adhesion and a smooth finish. Clean the mirror thoroughly, consider sanding (for non-glass mirrors), and protect the surrounding area. Additionally, following the step-by-step process for painting a mirror will help you achieve the desired result. Thin coats, proper drying time, and attention to detail will contribute to a professional and beautiful end product.
By considering the tips provided, you can enhance your mirror painting experience and create a personalized masterpiece. From experimenting with techniques to adding finishing touches, these tips will help you achieve a mirror that showcases your creativity and style.
Whether you’re updating a framed mirror in your living room, adding flair to a bathroom mirror, or reimagining a dresser mirror, painting can breathe new life into your space. The possibilities are endless, so let your imagination run wild!
As you embark on your mirror painting project, always refer to the specific instructions provided by the paint manufacturer and ensure proper safety precautions. If you’re uncertain about any step, consider consulting professional painters for guidance.
Now it’s time to gather your supplies, envision your design, and bring your mirror painting project to life. Enjoy the process and have fun expressing your creativity!
Frequently Asked Questions about What Paint To Use On Mirrors
Was this page helpful?
At Storables.com, we guarantee accurate and reliable information. Our content, validated by Expert Board Contributors, is crafted following stringent Editorial Policies. We're committed to providing you with well-researched, expert-backed insights for all your informational needs.
0 thoughts on “What Paint To Use On Mirrors”