Articles
What Paint To Use On Bathroom Countertops
Modified: August 17, 2024
Discover the best paint for bathroom countertops in our informative articles. Transform your space with these easy tips and expert advice.
(Many of the links in this article redirect to a specific reviewed product. Your purchase of these products through affiliate links helps to generate commission for Storables.com, at no extra cost. Learn more)
Introduction
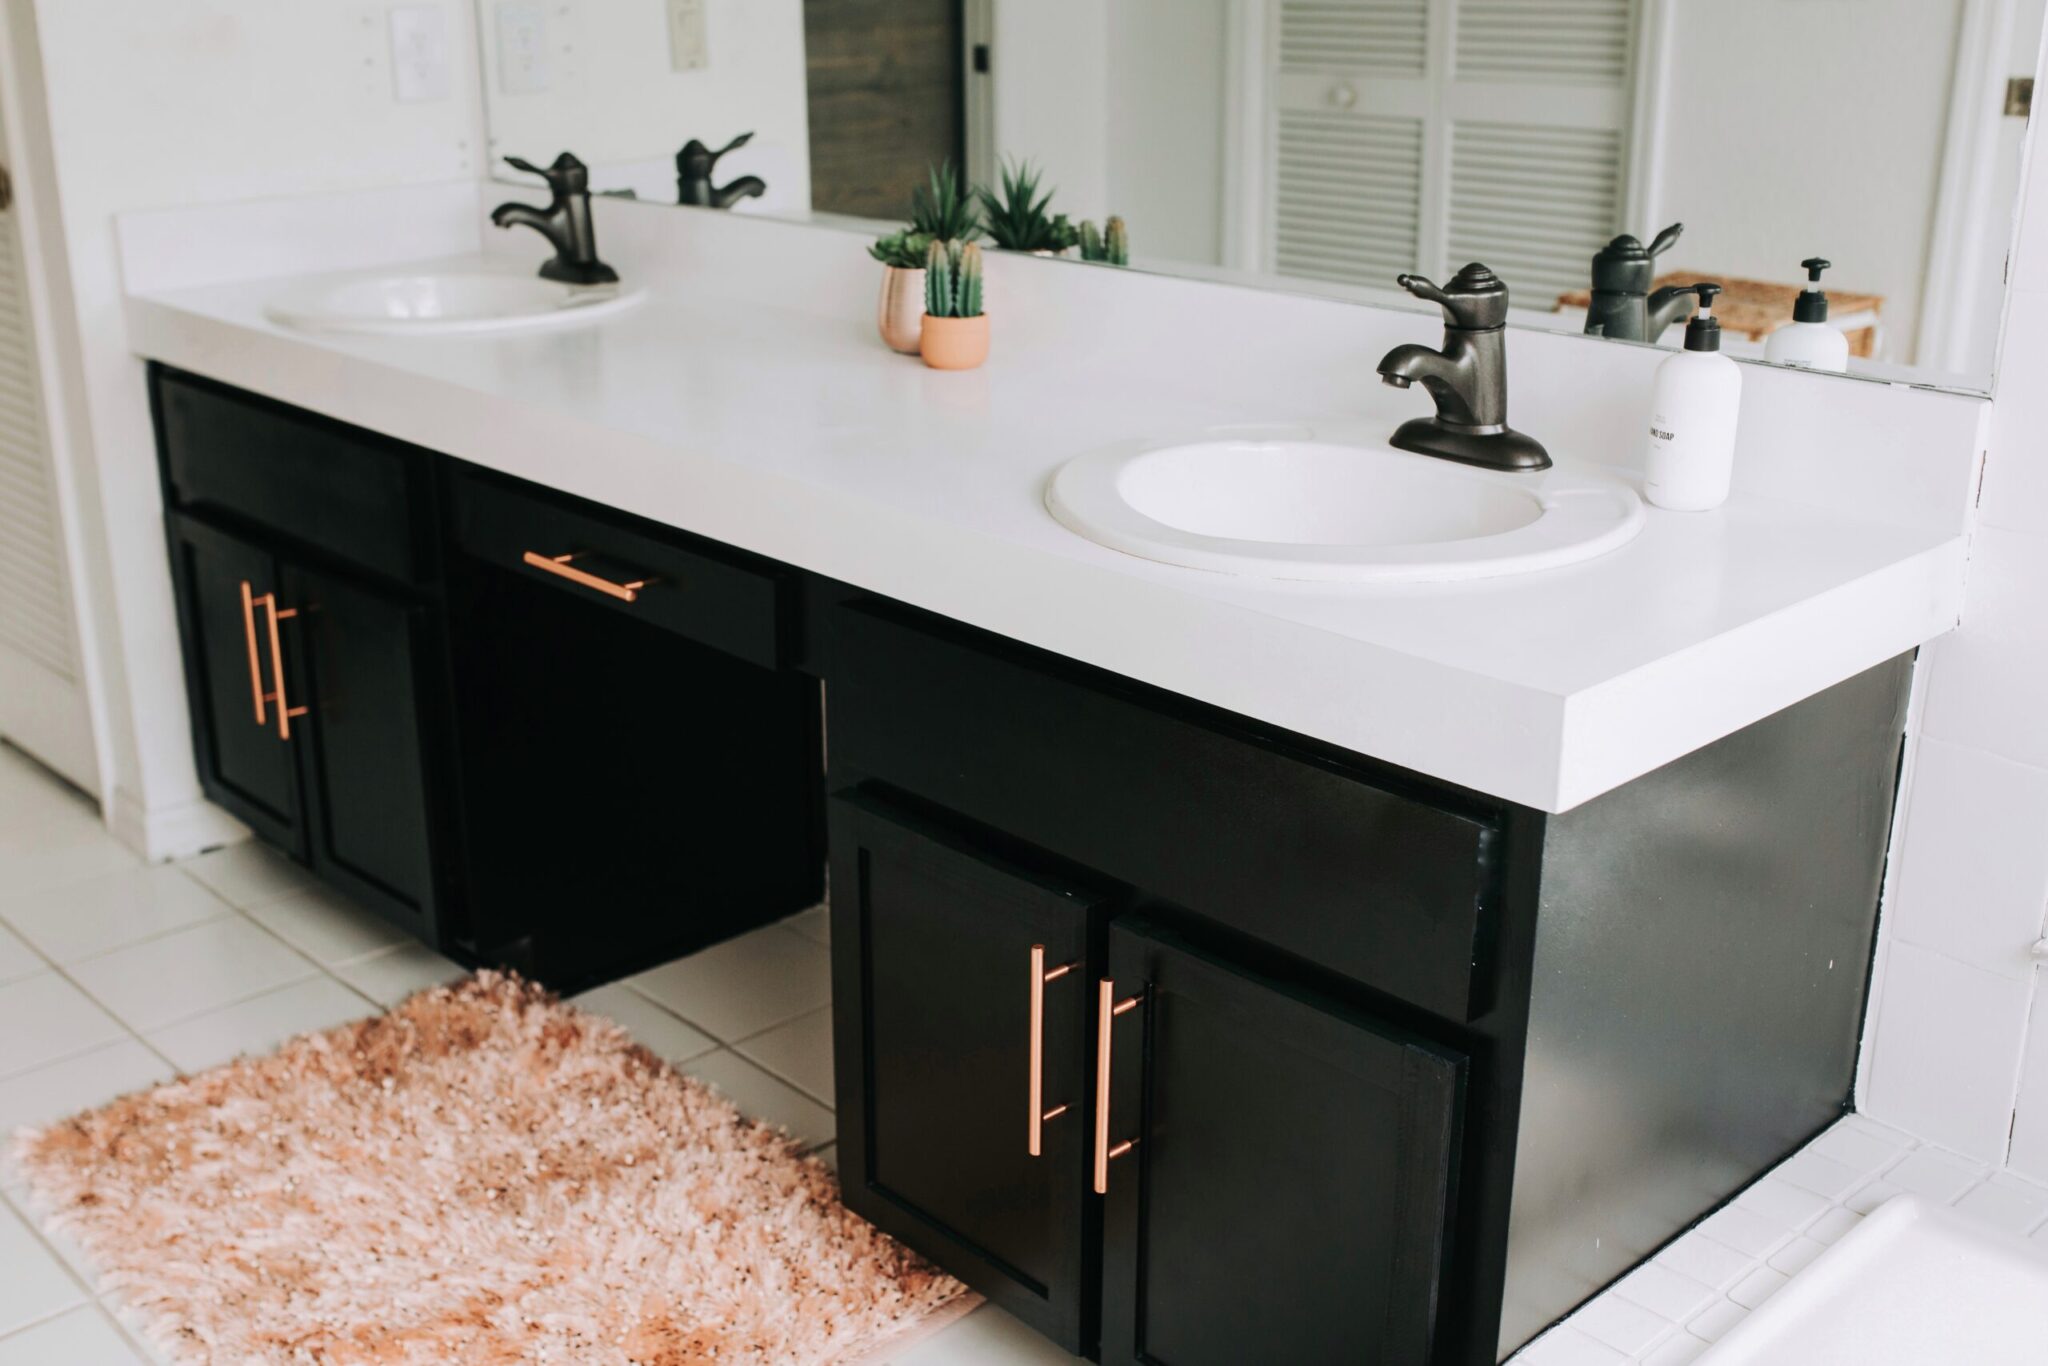
When it comes to renovating or refreshing your bathroom, one of the most cost-effective ways to create a noticeable difference is by giving your countertops a fresh coat of paint. Painting bathroom countertops can instantly update the look of the entire space, giving it a new lease on life without breaking the bank.
However, choosing the right type of paint for your bathroom countertops is crucial to ensure a long-lasting and durable finish. With the constant exposure to moisture, humidity, and potential spills, it’s important to select a paint that can withstand these conditions and maintain its beauty over time.
In this article, we will explore the various factors to consider when choosing paint for bathroom countertops, the different types of paint that are suitable for this application, and best practices for achieving a professional-looking finish. Whether you have laminate, tile, or even wood countertops, we’ve got you covered.
So, if you’re ready to transform your bathroom countertops and give your space a fresh new look, let’s dive into the world of bathroom countertop paints!
Key Takeaways:
- Transform your bathroom with a fresh look by choosing the right paint, proper preparation, and best practices for application and maintenance of your countertops.
- Elevate your bathroom space with durable and beautiful painted countertops, achieved through careful consideration of paint type, surface preparation, and maintenance practices.
Read more: What Paint To Use On Countertops
Considerations for choosing paint for bathroom countertops
Before you embark on your bathroom countertop painting project, there are several important factors to consider to ensure that you choose the right paint for the job. These considerations will help you achieve a professional-looking finish that can withstand the unique challenges of a bathroom environment.
1. Durability: The bathroom is a high-traffic area that is prone to spills, splashes, and constant moisture. It’s essential to select a paint that is durable and can withstand regular cleaning and exposure to water without peeling or fading.
2. Moisture resistance: Given the high humidity and moisture levels present in bathrooms, it’s crucial to choose a paint that is specifically formulated to resist moisture. This will prevent the growth of mold and mildew and ensure the longevity of the painted surface.
3. Stain resistance: Bathroom countertops are susceptible to stains from makeup, hair products, and toiletries. Look for a paint that has stain-resistant properties to make cleanup easier and maintain the beauty of your painted countertops.
4. Adhesion: Proper adhesion is key to a successful paint job. Ensure that the paint you choose adheres well to the surface of your countertops, whether they are laminate, tile, or wood. This will prevent chipping and peeling over time.
5. Heat resistance: Bathroom countertops may come into contact with hot hair styling tools or hot water. To avoid any damage or discoloration, it’s important to choose a paint that can withstand heat without compromising its appearance.
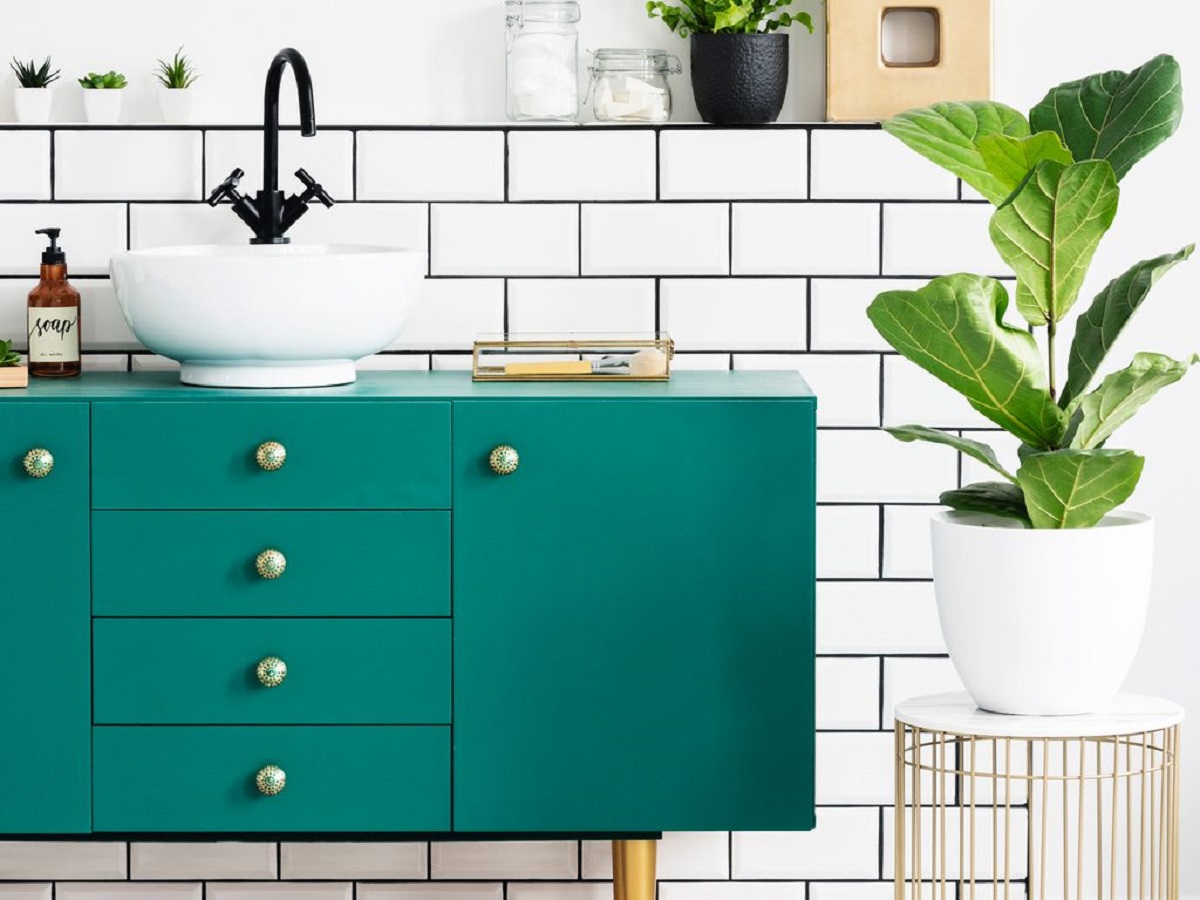
6. Color selection: Select a color that complements your bathroom’s overall design aesthetic and creates a cohesive look. Consider factors such as lighting, wall colors, and existing fixtures to choose the perfect shade for your bathroom countertops.
7. Environmental impact: If you’re conscious of the environmental impact of your paint choices, opt for low-VOC or no-VOC paints. These options are safer for your health and the environment, as they contain fewer harmful chemicals.
By taking these considerations into account, you’ll be able to narrow down your options and choose a paint that meets the specific requirements of your bathroom countertops. With the right paint, you can transform your space and enjoy beautiful, durable countertops for years to come.
Types of paint suitable for bathroom countertops
When it comes to painting bathroom countertops, there are several types of paint that are suitable for this specific application. Each type of paint has its own advantages and considerations, so it’s important to choose the one that best aligns with your needs and preferences.
1. Latex paint: Latex paint, also known as water-based paint, is a popular choice for bathroom countertops due to its durability, versatility, and ease of application. It dries quickly and is resistant to moisture, making it a great option for bathrooms. Latex paint comes in a variety of finishes, including matte, satin, and high gloss, allowing you to achieve the desired look for your countertops.
2. Acrylic paint: Acrylic paint is another water-based paint that offers excellent adhesion and durability. It is known for its flexibility, as it expands and contracts with temperature changes, making it suitable for bathroom countertops. Acrylic paint is available in a wide array of colors and finishes, giving you the freedom to customize your countertops to your liking.
3. Epoxy paint: Epoxy paint is a popular choice for bathroom countertops due to its superior durability and resistance to water, stains, and chemicals. It creates a hard, glossy surface that is highly durable and long-lasting. Epoxy paint requires careful preparation and application, as it typically involves multiple steps and can be more challenging to work with. However, the final result is a smooth, high-gloss finish that can transform the look of your bathroom countertops.
4. Oil-based paint: Oil-based paint is a traditional and durable option for painting bathroom countertops. It provides a hard, thick coating that is resistant to moisture and wear. However, oil-based paint has a strong odor, requires longer drying times, and can be more challenging to clean up. It’s important to ensure proper ventilation when working with oil-based paints.
When choosing the type of paint for your bathroom countertops, consider factors such as durability, moisture resistance, ease of application, and personal preferences. Each type of paint has its own unique qualities, so take the time to research and select the one that will give you the best results for your specific project.
Latex paint
Latex paint, also known as water-based paint, is a popular choice for painting bathroom countertops due to its versatility, durability, and ease of application. It offers several benefits that make it suitable for this specific application.
Durability: Latex paint is known for its durability and ability to withstand regular use in a high-moisture environment. It forms a strong bond with the countertop surface, providing long-lasting protection against scratches, stains, and moisture damage. With proper preparation and application, latex paint can maintain its beauty and integrity for years to come.
Moisture resistance: Bathrooms are prone to high humidity levels and frequent exposure to water. Latex paint is specifically formulated to resist moisture, making it an ideal choice for bathroom countertops. It helps prevent the growth of mold and mildew, ensuring a hygienic and clean surface.
Easy application: Latex paint is user-friendly and easy to apply, even for beginners. It has a low odor, making it more pleasant to work with compared to oil-based paints. Additionally, latex paint dries quickly, allowing for faster project completion and reduced downtime in your bathroom.
Adhesion: Proper adhesion is essential for a successful paint job. Latex paint adheres well to various countertop materials, including laminate, tile, and wood. It creates a strong bond with the surface, reducing the risk of peeling or chipping.
Finish options: Latex paint comes in a wide range of finish options, including matte, satin, semi-gloss, and high gloss. This allows you to choose the level of sheen that best suits your bathroom decor and personal preferences. A matte finish creates a more subtle and understated look, while a high gloss finish adds a sleek and modern touch.
When using latex paint for bathroom countertops, proper preparation is key to achieve a professional-looking finish. This includes cleaning the surface thoroughly, sanding any rough patches, and applying a primer if recommended by the paint manufacturer. It’s also important to follow the paint manufacturer’s instructions regarding drying and curing times to ensure optimal results.
Overall, latex paint is a reliable and versatile option for painting bathroom countertops. Its durability, moisture resistance, easy application, and range of finish options make it a popular choice among DIY enthusiasts and professionals alike. With the right techniques and proper maintenance, latex-painted bathroom countertops can transform the look of your space and provide long-lasting beauty.
Acrylic paint
Acrylic paint is a water-based paint that offers excellent adhesion, durability, and versatility, making it a suitable choice for painting bathroom countertops. Here are some key factors that make acrylic paint a popular option for this specific application:
Adhesion: Acrylic paint adheres well to various countertop surfaces, including laminate, tile, and wood. It forms a strong bond with the surface, preventing peeling or chipping over time. This ensures a long-lasting finish that can withstand regular use in a bathroom environment.
Durability: Acrylic paint is known for its durability and ability to withstand daily wear and tear. It forms a tough and resilient coating that is resistant to scratches, stains, and moisture. This makes it an ideal choice for bathroom countertops that are exposed to water, chemicals, and cosmetics.
Flexibility: One of the advantages of acrylic paint is its flexibility. It can expand and contract with temperature changes, which is particularly important in a bathroom where humidity levels can fluctuate. This flexibility helps prevent cracking or peeling of the painted surface, ensuring long-lasting beauty.
Color options and finishes: Acrylic paint offers a wide range of color options and finishes, allowing you to customize your bathroom countertops to match your desired aesthetic. Whether you prefer a matte, satin, or glossy finish, acrylic paint can deliver the look you want for your bathroom.
Easy application and clean-up: Acrylic paint is known for its user-friendly application process. It has a smooth consistency that makes it easy to apply with a brush or roller. Acrylic paint also dries quickly, reducing the overall time needed for the project. Additionally, it is water-soluble, making clean-up a breeze.
Before applying acrylic paint to your bathroom countertops, it’s important to properly prepare the surface by cleaning it and ensuring it is free from any grease or residue. If needed, sanding the surface lightly can help improve adhesion. Applying a primer specially formulated for acrylic paint can also enhance the durability and appearance of the finish.
Overall, acrylic paint offers a durable and versatile option for transforming your bathroom countertops. Its adhesion, durability, flexibility, color options, and ease of application make it a popular choice among DIY enthusiasts and professionals alike. With proper preparation and maintenance, acrylic-painted bathroom countertops can provide a beautiful and long-lasting finish that enhances the overall look of your bathroom.
Read more: What Kind Of Paint To Use On Bathroom Vanity
Epoxy paint
Epoxy paint is a popular choice for painting bathroom countertops due to its exceptional durability, water resistance, and high-gloss finish. It offers several advantages that make it an ideal option for transforming your bathroom countertops:
Durability: Epoxy paint is known for its outstanding durability and ability to withstand heavy daily use. It creates a strong and resilient surface that is resistant to scratches, stains, and moisture. This makes it highly suitable for bathroom countertops, which are often exposed to water, chemicals, and cosmetics.
Water resistance: The high water resistance of epoxy paint makes it especially well-suited for bathroom countertops. It forms a protective barrier that prevents water from seeping into the countertop material, reducing the risk of damage, mold, and mildew growth.
Chemical resistance: Epoxy paint is highly resistant to chemicals, making it ideal for use in bathrooms where many personal care products and cleaning agents are used. It can withstand exposure to common bathroom chemicals without discoloration or weakening the surface.
High-gloss finish: Epoxy paint provides a smooth and glossy finish that can instantly elevate the look of your bathroom countertops. The high-gloss finish creates a sleek and modern appearance, adding a touch of elegance to the space. It is particularly popular in contemporary bathroom designs.
Low maintenance: Epoxy paint requires minimal maintenance once applied. Its smooth surface is easy to clean, and stains can be easily wiped away. Routine cleaning with a mild soap or non-abrasive cleanser is typically sufficient to keep epoxy-painted countertops looking their best.
However, it’s important to note that epoxy paint application can be more involved compared to other types of paint. It typically involves multiple steps, such as proper surface preparation, the use of a primer or base coat, and the application of the epoxy paint itself. It is crucial to follow the manufacturer’s instructions carefully to achieve the desired results.
Additionally, proper ventilation is essential when working with epoxy paint due to its strong fumes. It is recommended to wear protective equipment, such as a mask and gloves, to ensure safety during the application process.
Overall, epoxy paint offers a durable and visually stunning option for reimagining your bathroom countertops. Its durability, water resistance, high-gloss finish, and low maintenance requirements make it a popular choice among homeowners looking to create a luxurious and modern bathroom space.
Oil-based paint
Oil-based paint is a traditional and durable option for painting bathroom countertops. It offers several advantages that make it a suitable choice for this specific application, although it does have some unique considerations:
Durability: Oil-based paint is known for its durability and ability to withstand heavy use. It creates a hard and durable surface that is resistant to scratches and abrasions. This makes it a good option for bathroom countertops that are subjected to regular wear and tear.
Moisture resistance: While oil-based paint is generally moisture-resistant, it is not as resistant to water and humidity as some other types of paint. This makes it less suitable for areas with high moisture levels, such as bathrooms. If you choose to use oil-based paint on your bathroom countertops, it’s important to ensure proper ventilation and use appropriate sealing techniques to protect against moisture damage.
Rich and smooth finish: One of the advantages of oil-based paint is its ability to provide a smooth and even finish. It typically results in a glossy surface, which can add a touch of elegance to your bathroom countertops. Oil-based paint also tends to flow smoothly, making it easier to achieve a professional-looking finish.
Longer drying time: Oil-based paint has a longer drying time compared to other types of paint. This can be both an advantage and a disadvantage. On the one hand, it allows for better leveling and self-smoothing properties. On the other hand, it makes the project take longer to complete and may require more downtime for your bathroom.
Strong odor and cleanup: One notable aspect of oil-based paint is its strong odor. This is due to the volatile solvents contained in the paint, which can be unpleasant and require thorough ventilation during application. Additionally, cleaning up oil-based paint tools and brushes can be more challenging as they require solvents such as mineral spirits or paint thinner.
When using oil-based paint for bathroom countertops, it’s important to properly prepare the surface by cleaning it and ensuring it is free from any grease or residue. Applying a primer suited for oil-based paint can enhance the adhesion and durability of the finish. It’s also recommended to apply a protective topcoat or sealer to further protect the surface.
While oil-based paint can provide a durable and smooth finish for bathroom countertops, it’s important to weigh the considerations mentioned above before making a decision. The moisture resistance, longer drying time, strong odor, and specific cleanup requirements make it a better choice for bathroom countertops in less humid environments or for those who are comfortable with the additional precautions and maintenance involved.
Best practices for painting bathroom countertops
When it comes to painting bathroom countertops, following best practices ensures a successful and professional-looking finish. These practices help ensure proper adhesion, durability, and longevity of the painted surface. Here are some key best practices to keep in mind:
1. Proper surface preparation: Before painting, it’s crucial to prepare the countertop surface properly. This includes cleaning it thoroughly to remove any dirt, grime, or grease. Sanding the surface lightly can help improve adhesion by creating a more conducive surface for the paint to adhere to. Ensure the countertop is completely dry before proceeding.
2. Selecting the right type of paint: Choose a paint that is specifically formulated for bathroom countertops and is suitable for the material of your countertop. Consider factors like durability, moisture resistance, and ease of maintenance. This will ensure the paint can withstand the unique challenges of a bathroom environment.
3. Using a primer: Applying a primer before the paint can improve adhesion and durability of the finish. The primer acts as a bonding agent between the countertop and the paint, ensuring better adhesion and preventing peeling or chipping over time. Use a primer that is compatible with the type of paint you are using and follow the manufacturer’s instructions for application.
4. Applying thin and even coats: When applying the paint, it’s important to apply thin and even coats to achieve a smooth and consistent finish. Thick or uneven coats can lead to drips, streaks, or an uneven appearance. Depending on the type of paint, multiple coats may be necessary to achieve the desired coverage and depth of color. Follow the paint manufacturer’s instructions regarding drying times between coats.
5. Allowing proper drying and curing time: After applying the paint, allow sufficient drying and curing time before exposing the countertop to regular use. This ensures that the paint fully sets and hardens, providing a durable finish. Follow the paint manufacturer’s instructions for the recommended drying and curing times, as they may vary depending on the type of paint used.
6. Applying a protective topcoat or sealant: To further enhance the durability and longevity of the painted surface, consider applying a protective topcoat or sealant. This will provide an additional layer of protection against moisture, stains, and daily wear and tear. Choose a topcoat or sealant that is appropriate for the type of paint used and follow the manufacturer’s instructions for application.
7. Regular maintenance: To ensure the longevity of your painted bathroom countertops, it’s important to perform regular maintenance. Clean the surface regularly with a mild soap or non-abrasive cleanser and avoid using harsh chemicals or abrasive cleaners that may damage the paint. Wipe up any spills promptly to prevent staining.
By following these best practices, you can achieve a professional-looking finish and enjoy beautiful, long-lasting bathroom countertops. Proper surface preparation, selecting the right type of paint, using a primer, applying thin and even coats, allowing adequate drying and curing time, applying a protective topcoat, and regular maintenance will contribute to the success of your painting project.
When painting bathroom countertops, use a high-quality, durable paint specifically designed for use in high-moisture areas. Look for paints labeled as “bath and kitchen” or “cabinet and trim” for best results.
Step-by-step guide for painting bathroom countertops
Painting bathroom countertops is a rewarding DIY project that can rejuvenate the look of your bathroom. By following this step-by-step guide, you can achieve a professional-looking finish and enjoy beautiful, painted countertops:
Step 1: Prepare the countertop surface:
1. Start by removing any items, such as toiletries, from the countertop.
2. Thoroughly clean the surface using a mild soap and water solution. Make sure to remove any dirt, grime, or grease.
3. If there are any rough patches or imperfections, lightly sand them with fine-grit sandpaper. This helps create a smooth surface for better paint adhesion.
4. Wipe down the countertop with a damp cloth to remove any dust or debris from sanding. Allow the surface to dry completely before proceeding.
Step 2: Apply a primer (if necessary):
1. Depending on the type of paint you are using and the condition of the countertop, applying a primer may be recommended. Check the paint manufacturer’s instructions to determine if a primer is necessary and which type to use.
2. Apply the primer evenly using a brush or roller, following the manufacturer’s recommendations for drying time between coats. Allow the primer to dry completely before moving on to the next step.
Step 3: Apply the paint:
1. Stir the paint thoroughly to ensure it is well-mixed.
2. Using a brush or roller, apply the paint to the countertop surface in thin, even coats. Start from one end and work your way across, ensuring complete coverage.
3. Be mindful of drips or pooling of paint and smooth them out immediately to achieve a seamless finish.
4. Allow the first coat to dry according to the paint manufacturer’s instructions. Apply additional coats as needed to achieve the desired depth of color and coverage. Remember to let each coat dry completely before proceeding.
Step 4: Apply a protective topcoat (optional):
1. Depending on the type of paint used, you may choose to apply a protective topcoat or sealant. This step can provide added durability and protection for your painted countertops.
2. Follow the manufacturer’s instructions for the specific topcoat or sealant you are using. Apply it evenly to the painted surface, typically using a brush or roller. Allow it to dry completely before using the countertops.
Step 5: Allow proper curing and drying time:
1. After completing the paint application and optional topcoat, allow the countertops to dry and cure according to the paint manufacturer’s instructions. This typically involves letting the painted surface remain untouched for a specified period of time.
2. Avoid placing any items on the countertops or using them until the paint has fully dried and cured. This ensures the paint sets and hardens, providing a durable finish.
Step 6: Enjoy your newly painted countertops:
1. Once the paint has fully dried and cured, you can begin using your newly painted bathroom countertops.
2. Clean the surface regularly with a mild soap or non-abrasive cleaner to maintain its beauty and longevity.
3. Avoid using harsh chemicals or abrasive cleaners that may damage the paint, and wipe up any spills promptly to prevent staining.
By following these step-by-step instructions, you can transform your bathroom countertops and enjoy a fresh, updated look in your space. Remember to always follow the specific instructions provided by the paint manufacturer for the best results.
Read more: What Paint To Use On Fireplace
Preparing the countertop surface
Properly preparing the countertop surface is crucial to ensure a successful and long-lasting paint job for your bathroom countertops. This step sets the foundation for a smooth and durable finish. Follow these steps to prepare the surface before painting:
Step 1: Clear the countertop:
Start by removing any items from the countertop surface, such as toiletries, decorations, or appliances. Clearing the countertop will allow you to have a clean and unobstructed surface to work on.
Step 2: Clean the surface:
Thoroughly clean the countertop surface to remove any dirt, grime, or grease that may interfere with paint adhesion. Use a mild soap and warm water solution to scrub the countertop. Pay special attention to areas that come into contact with water, like around the sink. Rinse the countertop with clean water and ensure it is completely dry before proceeding to the next step.
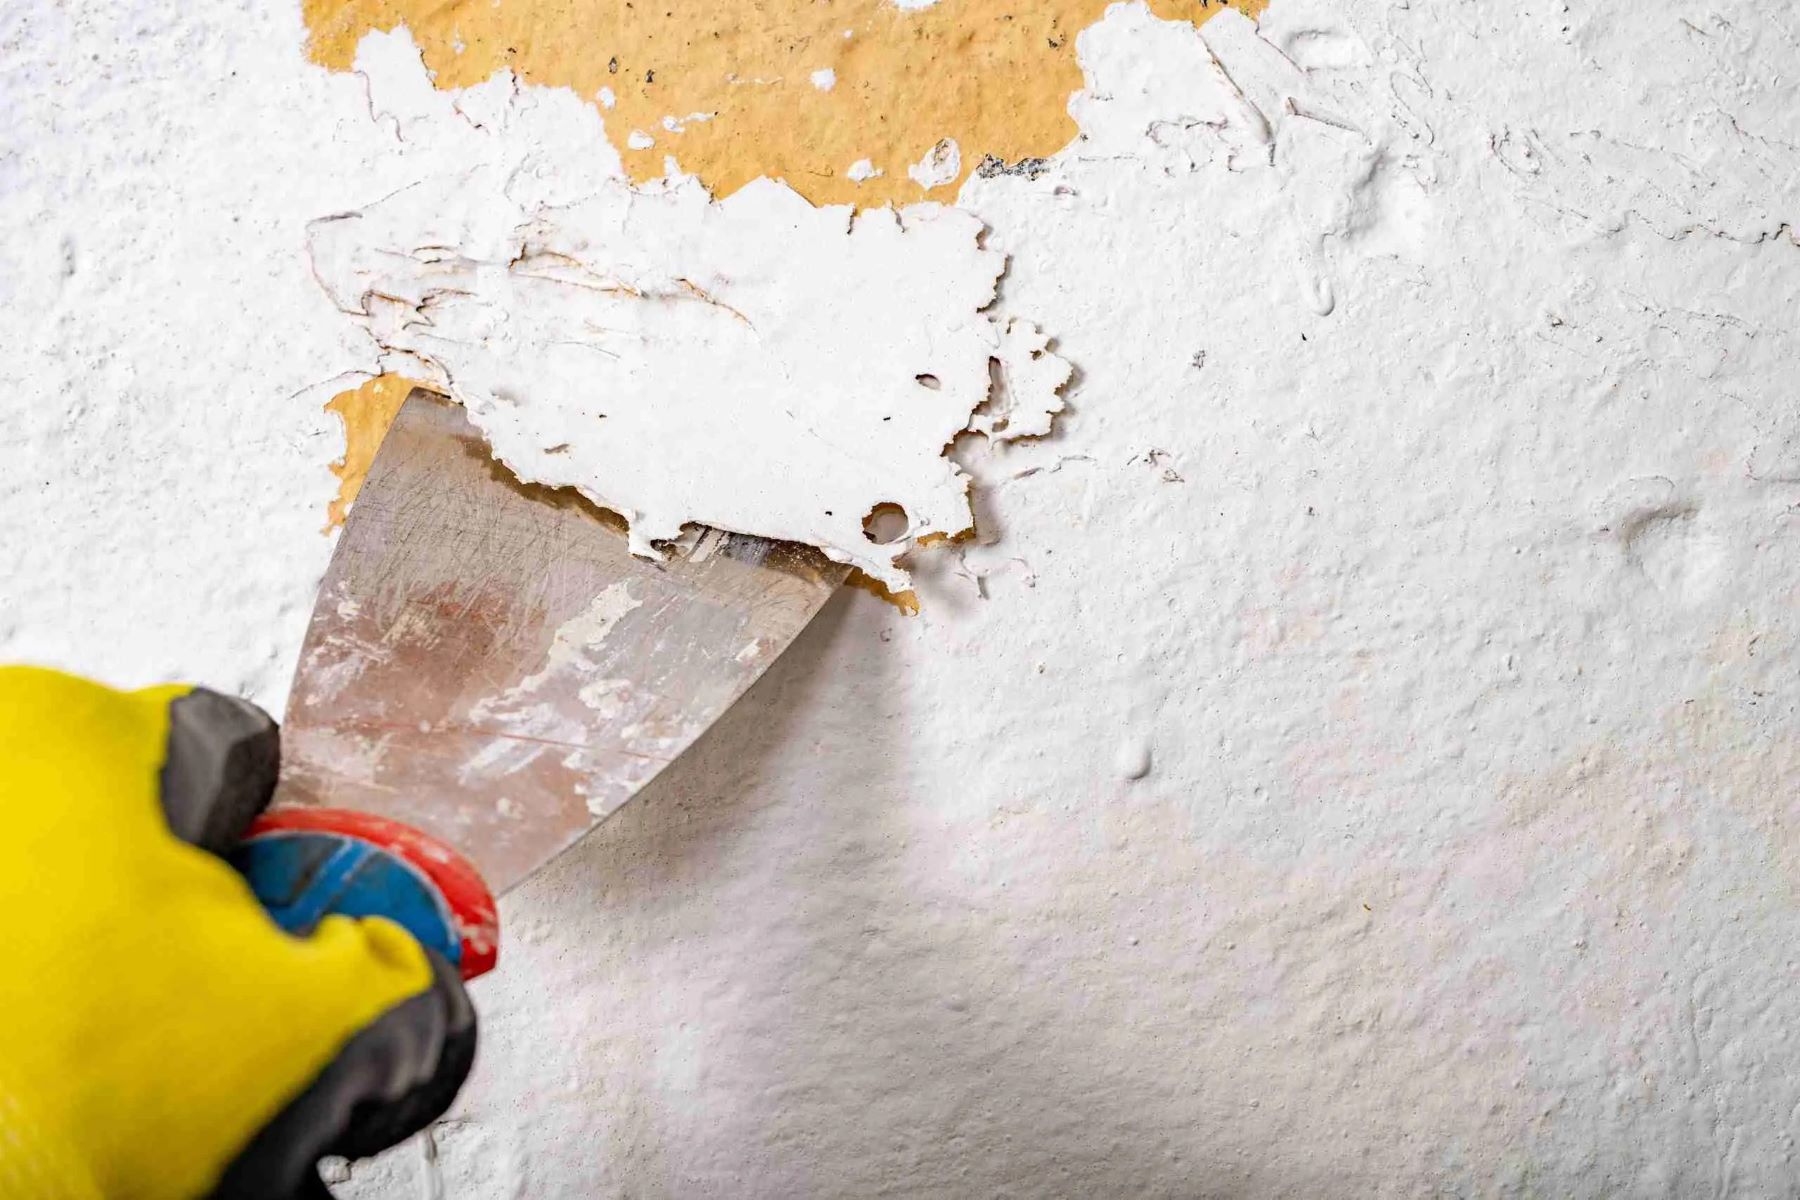
Step 3: Sand the surface:
If the countertop surface has any rough patches, scratches, or imperfections, sanding it lightly can help create a smoother surface for better paint adhesion. Use fine-grit sandpaper and gently sand the surface in a circular motion. Be careful not to sand too aggressively, as it can damage the countertop material. After sanding, wipe away any dust or debris with a damp cloth.
Step 4: Repair any damages:
If there are any significant damages, such as deep scratches, cracks, or chips, take the time to repair them before painting. Consult a professional or follow the manufacturer’s instructions for the appropriate repair method based on the countertop material. This can include using fillers, epoxy, or other repair products. Allow the repairs to fully cure before proceeding.
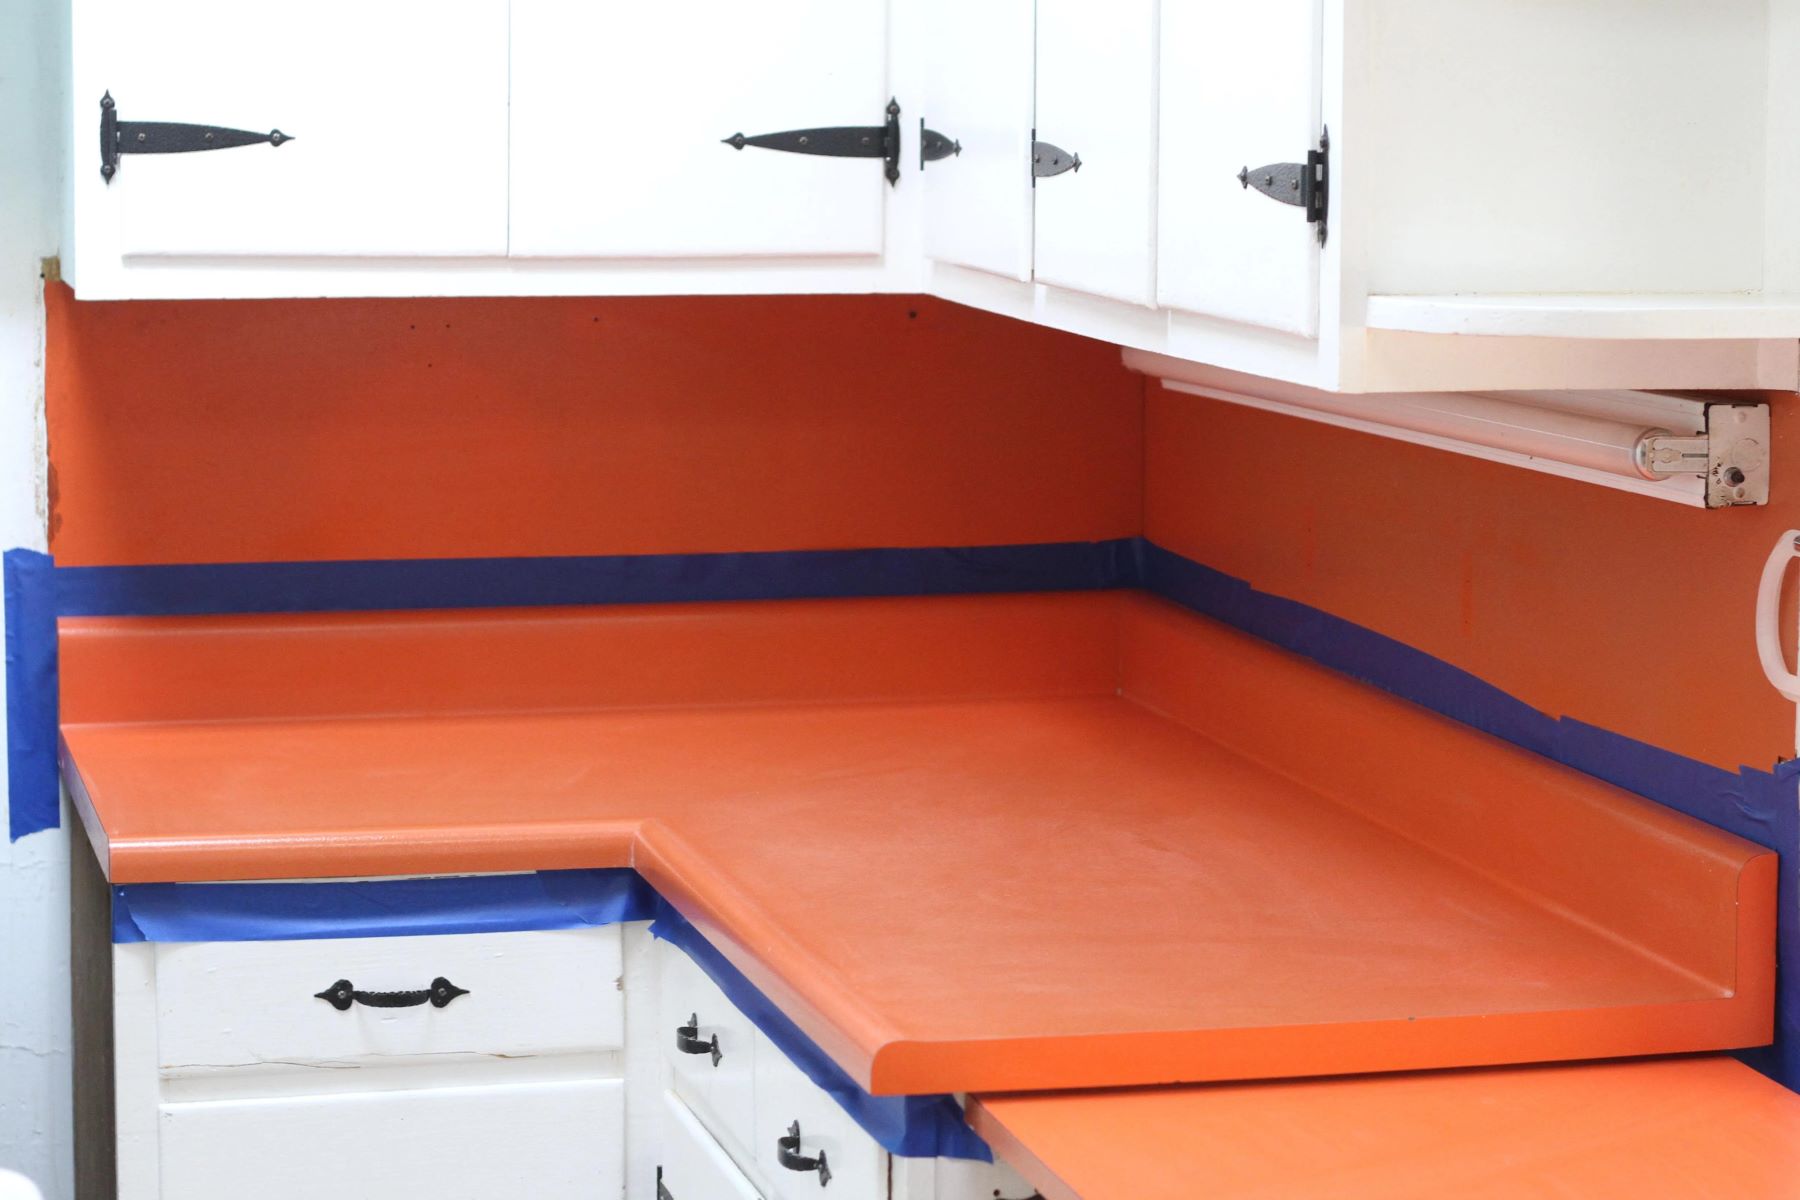
Step 5: Mask off surrounding areas:
To protect the surrounding areas, such as walls or cabinets, from accidental paint splatters or drips, use painter’s tape to create a barrier. Apply the tape carefully along the edges of the countertop, ensuring a clean and straight line. Take your time to ensure the tape is securely attached and covers the desired area.
Step 6: Apply a primer (if necessary):
Depending on the type of paint you plan to use and the condition of the countertop, applying a primer may be necessary. A primer helps create a smooth and even surface, enhances paint adhesion, and improves the longevity of the finish. Consult the instructions provided by the paint manufacturer to determine if a primer is recommended and which type to use.
By properly preparing the countertop surface, you create an ideal foundation for the paint to adhere to. This ensures better adhesion, a smoother finish, and increased durability. Taking the time to clean, sand, repair, and prime the surface will help you achieve professional-looking results for your painted bathroom countertops.
Priming the surface
Priming the surface is an important step when painting bathroom countertops. A primer creates a smooth and even base for the paint to adhere to, enhances adhesion, and improves the overall durability and longevity of the finish. Here are the steps to properly prime the surface before painting:
Step 1: Gather your materials:
Before starting, make sure you have all the necessary materials for priming the surface. This includes the appropriate primer for your countertop material, a high-quality paintbrush or roller, and painter’s tape to protect surrounding areas.
Step 2: Clean the surface:
Ensure that the countertop surface is clean and free of any dirt, dust, grease, or residue. Clean the surface thoroughly using a mild soap and warm water solution. Rinse it off with clean water and allow it to dry completely before proceeding.
Step 3: Tape off surrounding areas:
To protect the surrounding areas, such as walls or cabinets, from primer overspray, use painter’s tape to create a barrier. Apply the tape carefully along the edges of the countertop, ensuring a clean and straight line. Take your time to ensure the tape is securely attached and covers the desired area.
Step 4: Apply the primer:
Read and follow the instructions provided by the primer manufacturer for the best results. Here’s a general guide to applying the primer:
- Stir the primer thoroughly to ensure it is well-mixed.
- Using a high-quality paintbrush or roller, apply the primer to the countertop surface in thin, even coats.
- Work in small sections, starting from one end and working your way across the countertop.
- Apply the primer smoothly and evenly, ensuring complete coverage of the surface.
- Avoid applying the primer too thick, as it may lead to longer drying times and potential issues with the paint adhesion.
- Allow the first coat to dry completely, following the drying time recommended by the primer manufacturer. Apply additional coats as needed, typically one or two coats, depending on the coverage and the primer’s instructions.
- Be sure to let each coat dry completely before applying the next one.
Step 5: Remove the painter’s tape:
While the primer is still drying but not fully cured, carefully remove the painter’s tape. This can help achieve clean edges and prevent the tape from peeling off any dried primer or paint.
Step 6: Allow proper drying time:
Once you have applied the primer, follow the drying time specified by the manufacturer. It’s important to allow enough time for the primer to fully dry and cure before moving on to the next steps of painting the bathroom countertops.
Priming the surface is essential for ensuring proper adhesion and a smooth surface for your paint to adhere to. By taking the time to clean the surface, apply the primer correctly, and allow sufficient drying time, you will create the ideal base for your painted bathroom countertops. Follow the instructions provided by the primer manufacturer for the best results, as the specific application and drying times may vary depending on the product used.
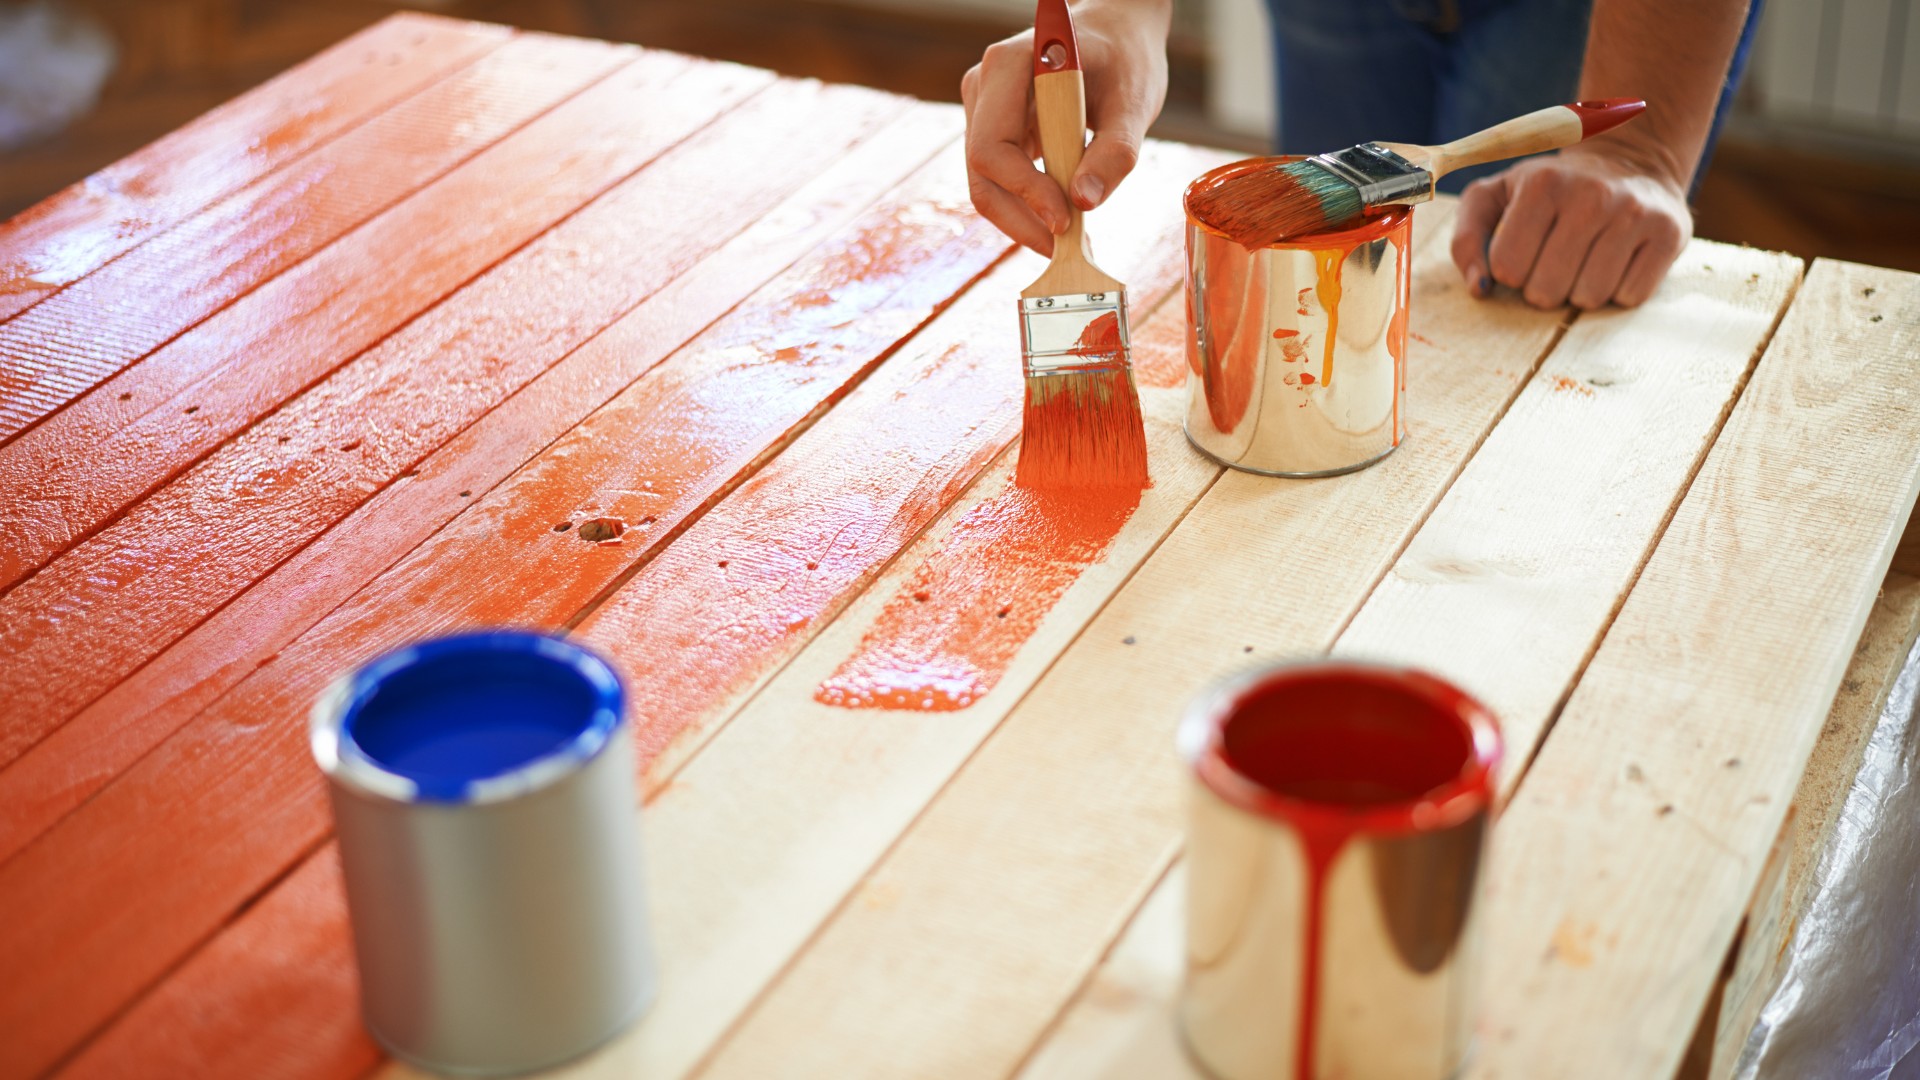
Applying the paint
After properly preparing the surface and priming the countertop, it’s time to apply the paint. Applying the paint correctly is crucial to achieving a smooth and even finish on your bathroom countertops. Follow these steps to ensure a successful paint application:
Step 1: Choose the right paint:
Select a paint that is specifically formulated for bathroom countertops and is suitable for the material of your countertop. Consider factors such as durability, moisture resistance, and your preferred finish. Water-based latex or acrylic paints are commonly used for this type of project.
Step 2: Gather your materials:
Ensure you have all the necessary materials for applying the paint. These may include the chosen paint, high-quality paintbrushes or rollers, a paint tray, drop cloths or newspaper to protect surrounding areas, and painter’s tape if needed.
Step 3: Stir the paint:
Thoroughly stir the paint to ensure it is well-mixed. This will help distribute any settled pigments and ensure a consistent color and texture throughout the project.
Step 4: Tape off surrounding areas (if necessary):
If you want to protect adjacent surfaces, such as walls or cabinets, from accidental paint smudges or spills, use painter’s tape to create a barrier. Apply the tape carefully along the edges of the countertop, ensuring clean and straight lines.
Step 5: Apply the paint:
When it comes to applying the paint, follow these guidelines:
- Start by using a brush or roller to cut-in around the edges of the countertop, carefully painting along the taped-off areas.
- Once you have created an outline, use a roller or brush to apply the paint to the main surface of the countertop.
- Apply the paint in thin, even coats, working in small sections at a time.
- Avoid applying excessive amounts of paint, as it can lead to drips, uneven finishes, and extended drying times.
- If using a roller, work in long, smooth strokes, going in the same direction to achieve a consistent texture.
- Overlap each stroke slightly to ensure even coverage.
- If using a brush, use smooth and even strokes, following the natural shape or pattern of the countertop.
- Continue this process until you have achieved complete coverage.
Step 6: Allow proper drying time:
Follow the drying time recommended by the paint manufacturer before applying additional coats or proceeding to the next steps. It’s crucial to allow sufficient drying time to avoid smudges, marring the finish, or compromising the durability of your painted bathroom countertops.
Step 7: Apply additional coats if needed:
Depending on the coverage and desired intensity of the color, you may need to apply additional coats of paint. Follow the recommended drying times between coats, and repeat the application process, ensuring an even and consistent application each time.
By following these steps and guidelines, you can achieve a smooth, even, and professional-looking finish when applying the paint to your bathroom countertops. Take your time, follow the instructions provided by the paint manufacturer, and enjoy the process of transforming your countertops to enhance the overall look and feel of your bathroom.
Sealant and topcoat application
Once you have applied the desired number of coats of paint and allowed proper drying time, applying a sealant or topcoat can provide an additional layer of protection and enhance the durability of your painted bathroom countertops. Follow these steps for sealant and topcoat application:
Step 1: Choose the right sealant or topcoat:
Select a sealant or topcoat that is appropriate for the type of paint you have used on your bathroom countertops. Consider factors such as the level of protection needed, the desired sheen or finish, and compatibility with the paint. Water-based urethane or polyurethane sealants/topcoats are commonly used for this purpose.
Step 2: Gather your materials:
Ensure you have all the necessary materials for the sealant or topcoat application. These may include the selected sealant/topcoat, a high-quality paintbrush or roller, a paint tray, and drop cloths or newspaper to protect surrounding areas.
Step 3: Prepare the surface:
Ensure the painted surface is clean, dry, and free from any dust or debris before applying the sealant or topcoat. Wipe down the countertops with a clean cloth or tack cloth, if needed.
Step 4: Start with a small section:
Begin by applying the sealant or topcoat to a small section of the countertop to ensure compatibility and desired results. This allows you to identify any issues or adjustments that may need to be made before proceeding with the entire surface.
Step 5: Apply the sealant or topcoat:
When applying the sealant or topcoat, follow these guidelines:
- If using a brush, use smooth and even strokes to apply the sealant or topcoat. Work in the same direction, following the natural shape or pattern of the countertop.
- If using a roller, apply the sealant or topcoat using long, smooth strokes. Use light and even pressure to ensure even coverage.
- Apply the sealant or topcoat in thin, even coats, working in small sections at a time.
- Avoid applying excessive amounts of sealant or topcoat, as it can lead to uneven finishes or extended drying times.
- Overlap each stroke slightly to ensure even coverage of the entire surface.
- Allow the first coat to dry completely, following the drying time recommended by the manufacturer. Apply additional coats as needed to achieve the desired level of protection and sheen.
- Ensure each coat is dry before applying the next one.
Step 6: Allow proper drying and curing time:
After applying the sealant or topcoat, follow the recommended drying and curing times provided by the manufacturer. Proper curing ensures the sealant or topcoat fully sets and hardens, providing the intended level of protection and durability.
Remember to follow the specific instructions and recommendations provided by the sealant or topcoat manufacturer to achieve the best results. The proper application of a sealant or topcoat enhances the longevity of your painted bathroom countertops and helps maintain their beauty and durability over time.
Read more: What Glue To Use On Laminate Countertops
Curing and drying process
After you have applied the paint, sealant, or topcoat to your bathroom countertops, it’s important to allow for proper drying and curing to ensure the best results. Follow these guidelines for the curing and drying process:
Step 1: Consult the manufacturer’s instructions:
Refer to the instructions provided by the paint, sealant, or topcoat manufacturer for specific drying and curing times. Different products may have different requirements, so it’s essential to follow their recommendations for optimal results.
Step 2: Initial drying time:
Allow the painted surface to dry according to the instructions provided by the paint manufacturer. This typically involves waiting for the paint to dry to the touch. Avoid placing any objects or touching the surface until it has dried completely to prevent smudging or damaging the finish.
Step 3: Drying time between coats:
If you have applied multiple coats of paint, allow sufficient drying time between each coat. This ensures that each layer of paint sets properly and prevents any issues with adhesion or texture. Refer to the paint manufacturer’s instructions to determine the recommended drying time between coats.
Step 4: Curing time:
Curing refers to the process of allowing the paint, sealant, or topcoat to fully harden and develop its maximum durability. Follow the recommended curing time specified by the manufacturer. This time may vary depending on the type of product and environmental factors, such as temperature and humidity.
Step 5: Avoid heavy use:
During the curing process, it’s important to avoid placing heavy objects on the countertop or subjecting it to excessive use or harsh cleaning. This can disrupt the curing process and compromise the finish. Exercise caution and be mindful of the recommended curing time before returning to regular use of the bathroom countertops.
Step 6: Regular maintenance:
After the curing process is complete, it’s essential to follow proper maintenance guidelines to preserve the finish and prolong the lifespan of your painted bathroom countertops. Regularly clean the surface with mild soap and water or a non-abrasive cleaner. Avoid using harsh chemical cleaners or abrasive materials that can damage the paint or sealant. Wipe up any spills promptly to prevent staining or etching.
By allowing sufficient drying and curing time, you ensure that the paint, sealant, or topcoat properly sets and hardens, providing a durable and long-lasting finish for your bathroom countertops. Always refer to the instructions provided by the manufacturer for the specific drying and curing times, as these may vary depending on the product and environment.
Maintenance and longevity of painted bathroom countertops
Proper maintenance is key to preserving the beauty and longevity of your painted bathroom countertops. By following these maintenance tips, you can ensure that your countertops stay in great condition for years to come:
1. Regular cleaning: Clean your painted countertops regularly with a mild soap and water solution or a non-abrasive cleaner. This helps remove any dirt, grime, or residue that may accumulate over time. Avoid using harsh chemical cleaners or abrasive materials, as these can damage the paint or sealant.
2. Prompt spill and stain cleanup: Wipe up any spills or splatters promptly to prevent staining or etching on the painted surface. Certain substances, such as acidic liquids, can potentially damage the paint if left for too long. Clean spills using a gentle blotting motion with a clean cloth or sponge.
3. Avoid abrasive cleaning tools: When cleaning your painted countertops, use soft cloths, sponges, or non-abrasive scrubbers. Avoid using abrasive cleaning tools, scouring pads, or rough sponges, as these can scratch or damage the paint. Gentle cleaning techniques will help maintain the integrity and appearance of the surface.
4. Practice caution with hot objects: Take precautions to protect your painted countertops from heat damage. Avoid placing hot pots, pans, or hair styling tools directly on the surface. Use trivets, heat-resistant mats, or coasters to create a barrier between the hot objects and the painted surface.
5. Avoid harsh chemicals and solvents: Harsh chemicals and solvents can erode or damage the paint or sealant on your countertops. Avoid using cleaning products that contain bleach, ammonia, abrasive ingredients, or strong solvents. Opt for mild and non-abrasive cleaners that are suitable for painted surfaces.
6. Conduct regular inspections: Periodically inspect your painted countertops for any signs of wear, peeling, or chips. If you notice any areas of concern, address them promptly to prevent further damage. Consider performing touch-ups or reapplying a topcoat to maintain the appearance and protection of the painted surface.
7. Handle with care: Treat your painted countertops with care to avoid unnecessary damage. Avoid using sharp or abrasive objects directly on the surface. Use cutting boards, chopping mats, or other protective surfaces when handling sharp utensils or knives. By handling your countertops with care, you can help preserve their beauty and longevity.
8. Regularly maintain the sealant or topcoat: If you have applied a sealant or topcoat to your painted countertops, periodically inspect and maintain it according to the manufacturer’s instructions. This may involve reapplying the sealant or topcoat as recommended to ensure its continued effectiveness in protecting the paint.
By following these maintenance practices and being mindful of how you use and care for your painted bathroom countertops, you can extend their lifespan and keep them looking fresh and beautiful. Regularly cleaning, promptly addressing spills, avoiding harsh chemicals, protecting against heat, conducting inspections, handling with care, and maintaining any applied sealants or topcoats will contribute to the longevity of your painted bathroom countertops.
Conclusion
Painting bathroom countertops can be a transformative project that breathes new life into your bathroom space. By choosing the right type of paint, properly preparing the surface, and following best practices for application and maintenance, you can achieve professional-looking results and enjoy beautiful and durable countertops for years to come.
Considerations such as durability, moisture resistance, and adhesion are crucial when selecting the type of paint for your bathroom countertops. Latex paint, acrylic paint, epoxy paint, and oil-based paint are all viable options with their own unique characteristics. Choose the paint that aligns with your specific needs and preferences.
Proper surface preparation, including cleaning, sanding, and repairing any damages, sets the stage for a successful paint job. Applying a primer, if recommended by the paint manufacturer, enhances adhesion and durability.
When it comes to applying the paint, follow best practices such as applying thin, even coats, and allowing for proper drying time between the coats. This ensures a smooth and professional finish. Applying a sealant or topcoat further enhances the durability and longevity of your painted countertops, providing an extra layer of protection.
Maintaining your painted bathroom countertops involves regular cleaning with mild soaps or non-abrasive cleaners, prompt spill cleanup, and avoiding abrasive tools and harsh chemicals. By following these maintenance practices and being mindful of how you handle your countertops, you can preserve their beauty and extend their lifespan.
In conclusion, painting bathroom countertops is a cost-effective way to update and refresh your bathroom space. With the right paint, proper preparation, and best practices, you can elevate the look of your countertops and create a beautiful and personalized bathroom environment. Enjoy the process of transforming your countertops and revel in the long-lasting results.
After brushing up on the best paints for bathroom countertops, why not tackle the next big project? If you're pondering how long it might take to refresh your entire bathroom, our detailed guide on the duration of bathroom renovations will help you plan effectively. With practical timelines and savvy advice, you'll be well-prepared to create a space that's both beautiful and functional.
Frequently Asked Questions about What Paint To Use On Bathroom Countertops
Was this page helpful?
At Storables.com, we guarantee accurate and reliable information. Our content, validated by Expert Board Contributors, is crafted following stringent Editorial Policies. We're committed to providing you with well-researched, expert-backed insights for all your informational needs.
0 thoughts on “What Paint To Use On Bathroom Countertops”